
Walkthrough for the Side Quest The Promontory in Horizon Forbidden West.

Talk to Bree in Plainsong to start “The Promontory”.
How to Start The Promontory
To access this quest you’ll need to complete the main quest The Eye of the Earth. After this, you can start the quest by heading to Plainsong and talking to Bree.
| Quest Giver | Starting Location | Prerequisite | Level | Rewards |
|---|---|---|---|---|
| Bree | Plainsong | Complete The Eye of the Earth | 15 |


(1 of 2) Defeat the Grazers and Skydrifters,

Defeat the Grazers and Skydrifters, (left), then follow various trails to find out what happened to Kalae. (right)
How to Reach the Promontory
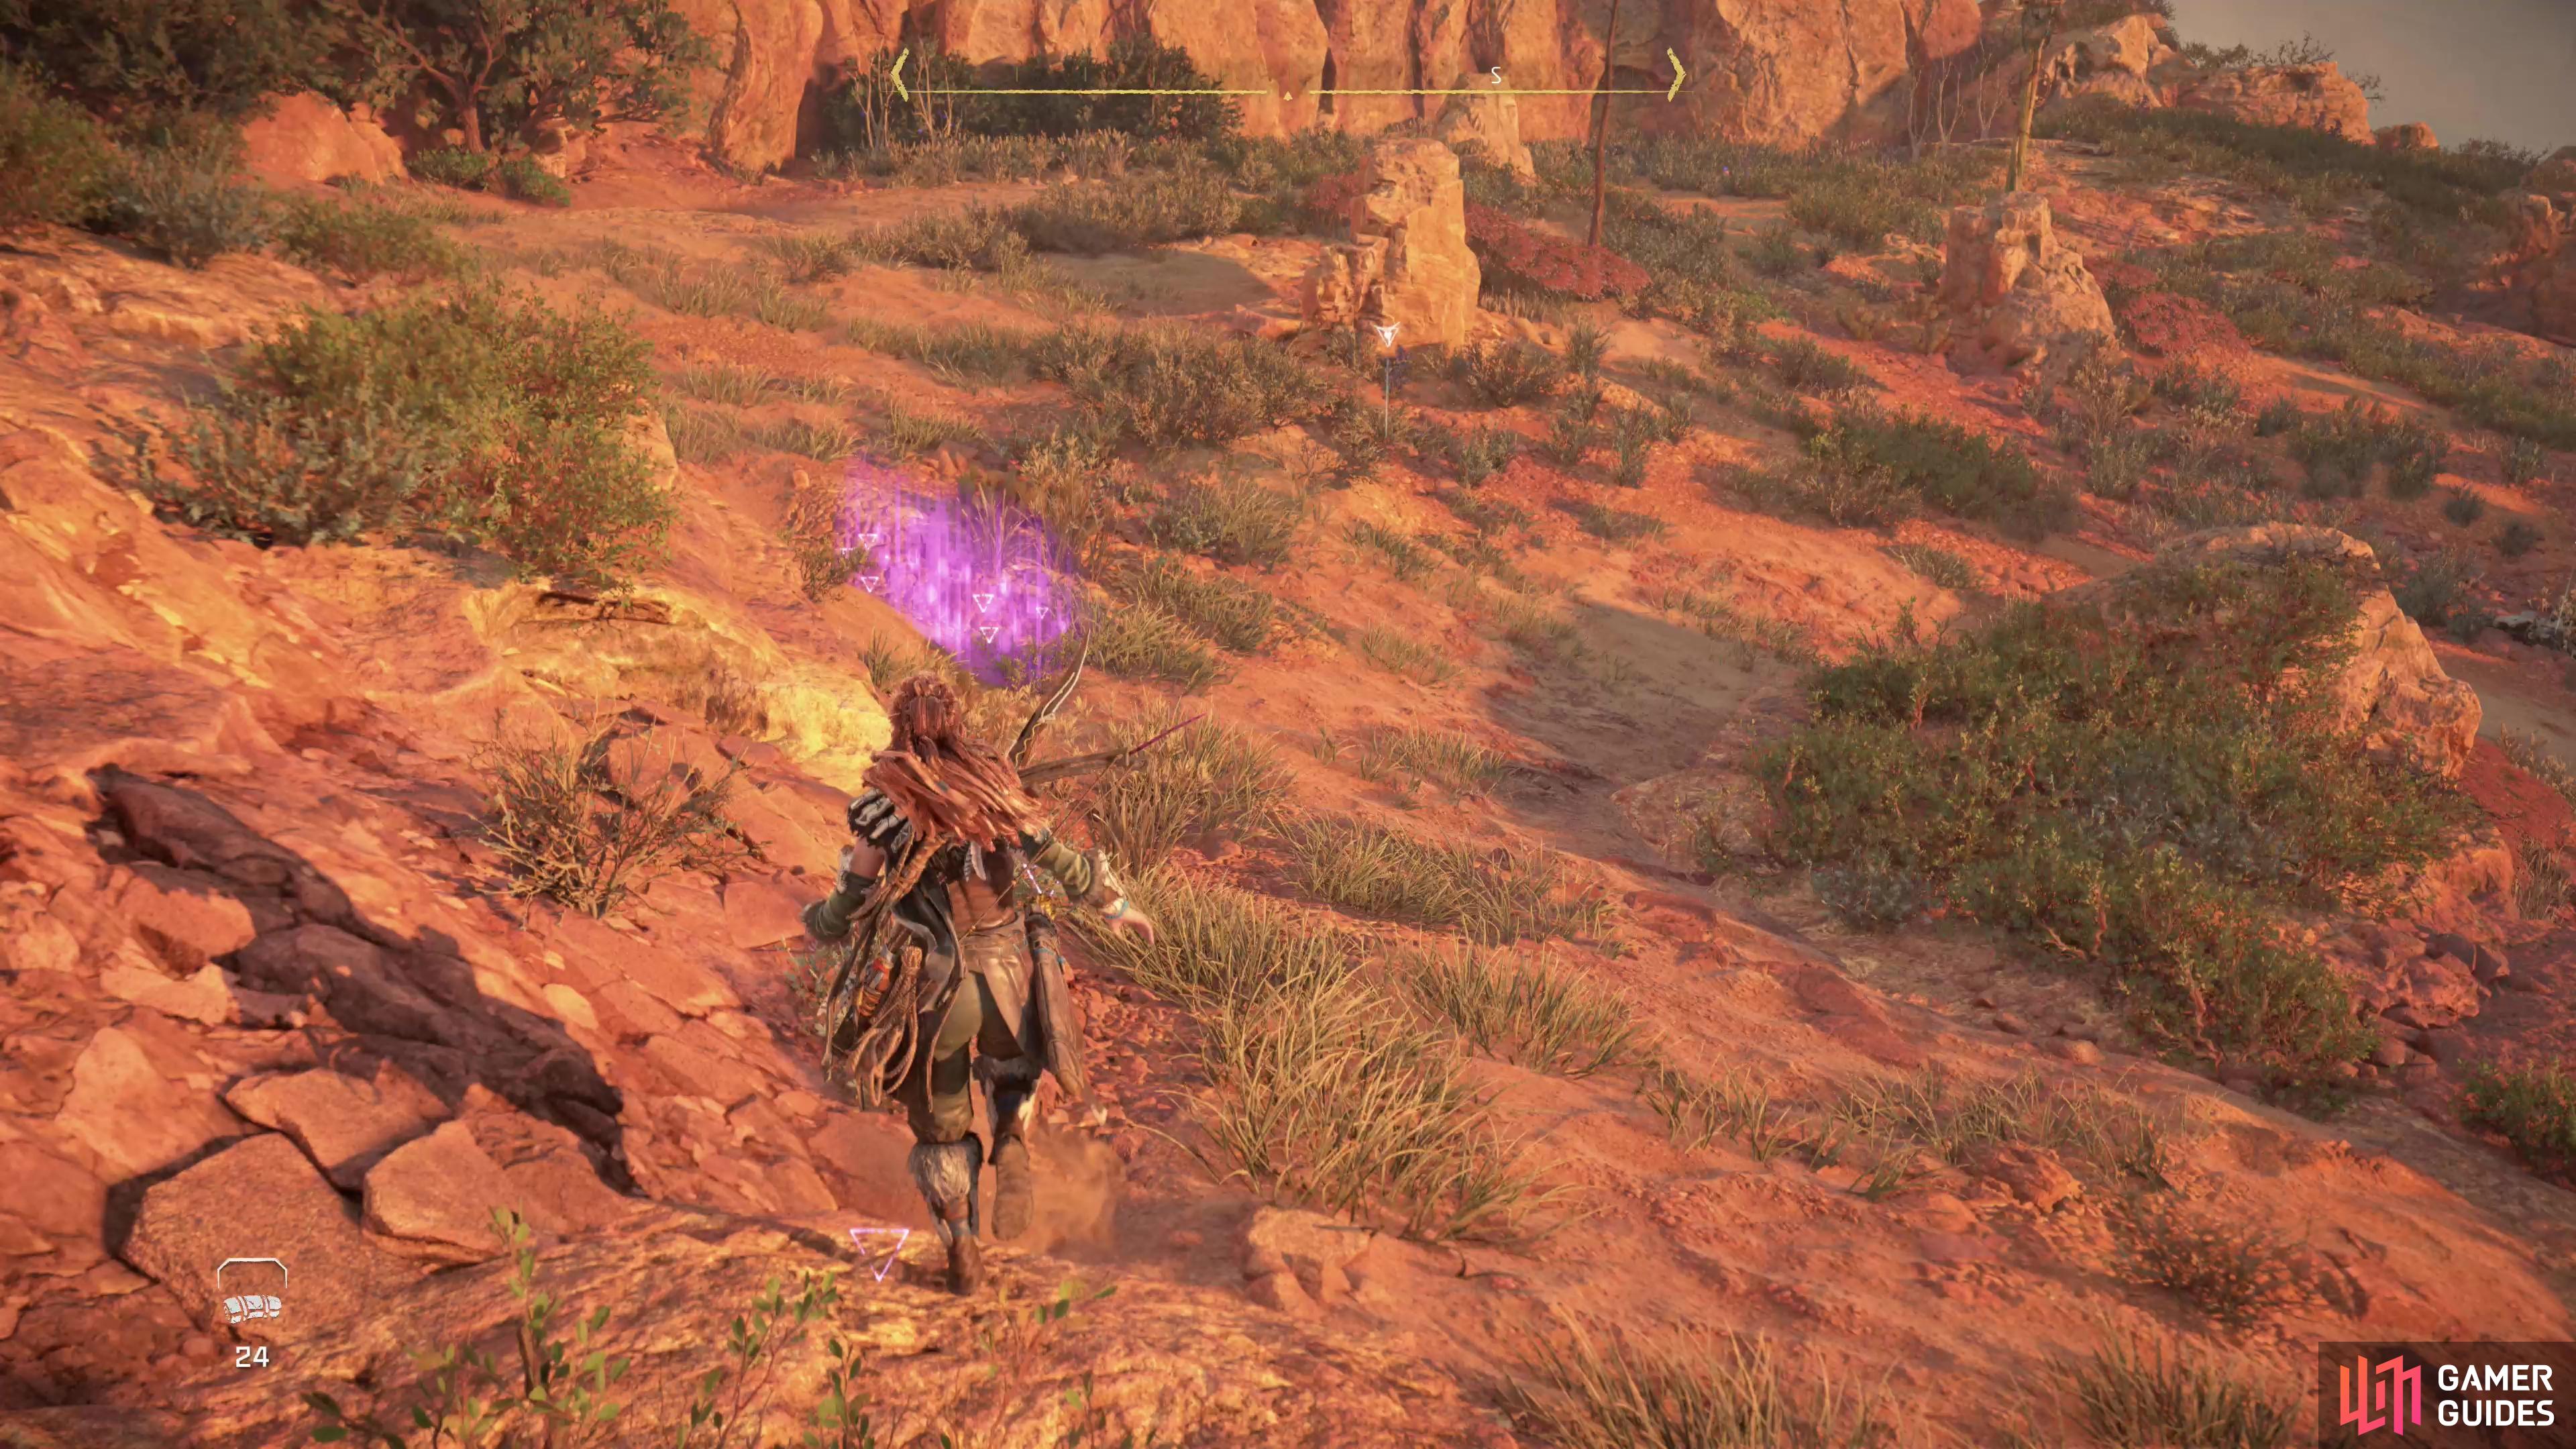
After starting the quest by talking to Bree in Plainsong you’ll need to head northeast to the marked search area. You’ll know you’re on the right track when you reach an arch beyond which is a bound log walkway leading up and around the mountain - typical Utaru craftsmanship.
Follow the ramp uphill and when you reach a plateau you’ll be tasked with killing some machines so you can search unmolested. Your foes consist of several Grazers governed by a pair of Skydrifters.
Dispatch the machines, then make your way east across a ruined bridge. Scan and examine some footprints, then follow the path uphill to the north, stopping to examine some debris at the bottom of a waterfall. Climb a cliff to the left of the aforementioned waterfall, then go through the cave you find atop a ridge.
Make your way south, cross a bridge, then follow a winding trail up the mountain - be on the lookout for evidence of Utaru craftsmanship to make sure you’re on the right path. The bound bamboo arches should be pretty easy to spot. Eventually you’ll need to turn west and climb a cliff, atop of which you’ll find a bridge to the north, northwest. Cross it, then climb some more to the west and when you reach the top turn southwest to find an altar… or rather, a “Stone Table”.
Scan the Stone Table, then scan and examine some tracks and some flowers, the latter of which will yield a track you can scan, tag and follow. The trail leads a short distance uphill to the south, where you’ll need to scam some branches, after which you’ll have to scan, tag and follow some more tracks.
Examine the corpses you find and after Aloy muses to herself you’ll have some company.


(1 of 2) Stalker are weak to Shock damage.


Stalker are weak to Shock damage. (left), Removing the Stalker’s Dart Gun won’t only deprive them of the weapon - you can turn it against the machines who bore it into battle! (right)
How to Defeat the Stalkers
Unless you’ve been in the forests further west, there’s a good chance this is your first encounter with [Stalkers]… in this game, anyways.
Stalkers are feline-like machines that can employ pounces, claws and tails swipes to deal damage, and while these are all deadly enough, their main strengths lie elsewhere. For all their melee potency, Stalkers are inherently ambush predators, typically preferring to take potshots at victims from afar with their Dart Guns. This would be bad enough, but they’re also nigh invisible thanks to their Stealth Generators. Both of these devices are back-mounted, act as weakpoints, and can be detached. A Stalker without its Stealth Generator and its Dart Gun has been significantly compromised.
While picking off components is a fine way to neutralize a Stalker’s offense, they’re also vulnerable to Shock damage. A few Shock arrows should stun them and allow you to follow up with a Critical Strike. Or better yet, it may give you enough time to pick off their aforementioned components. Having a source of Shock damage will make this fight much, much easier - especially considering the damage output their Dart Gun is capable of. On the plus side, if you detach the Dart Gun you can turn it on the Stalker.

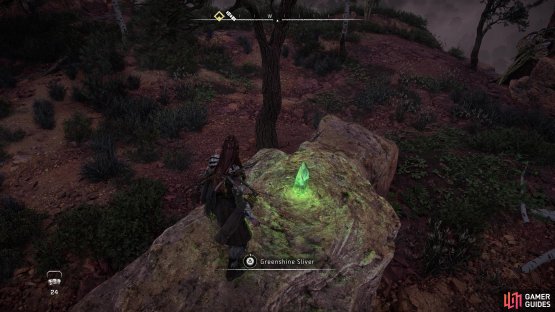
(1 of 2) Loot a Seed Pouch from the corpses,
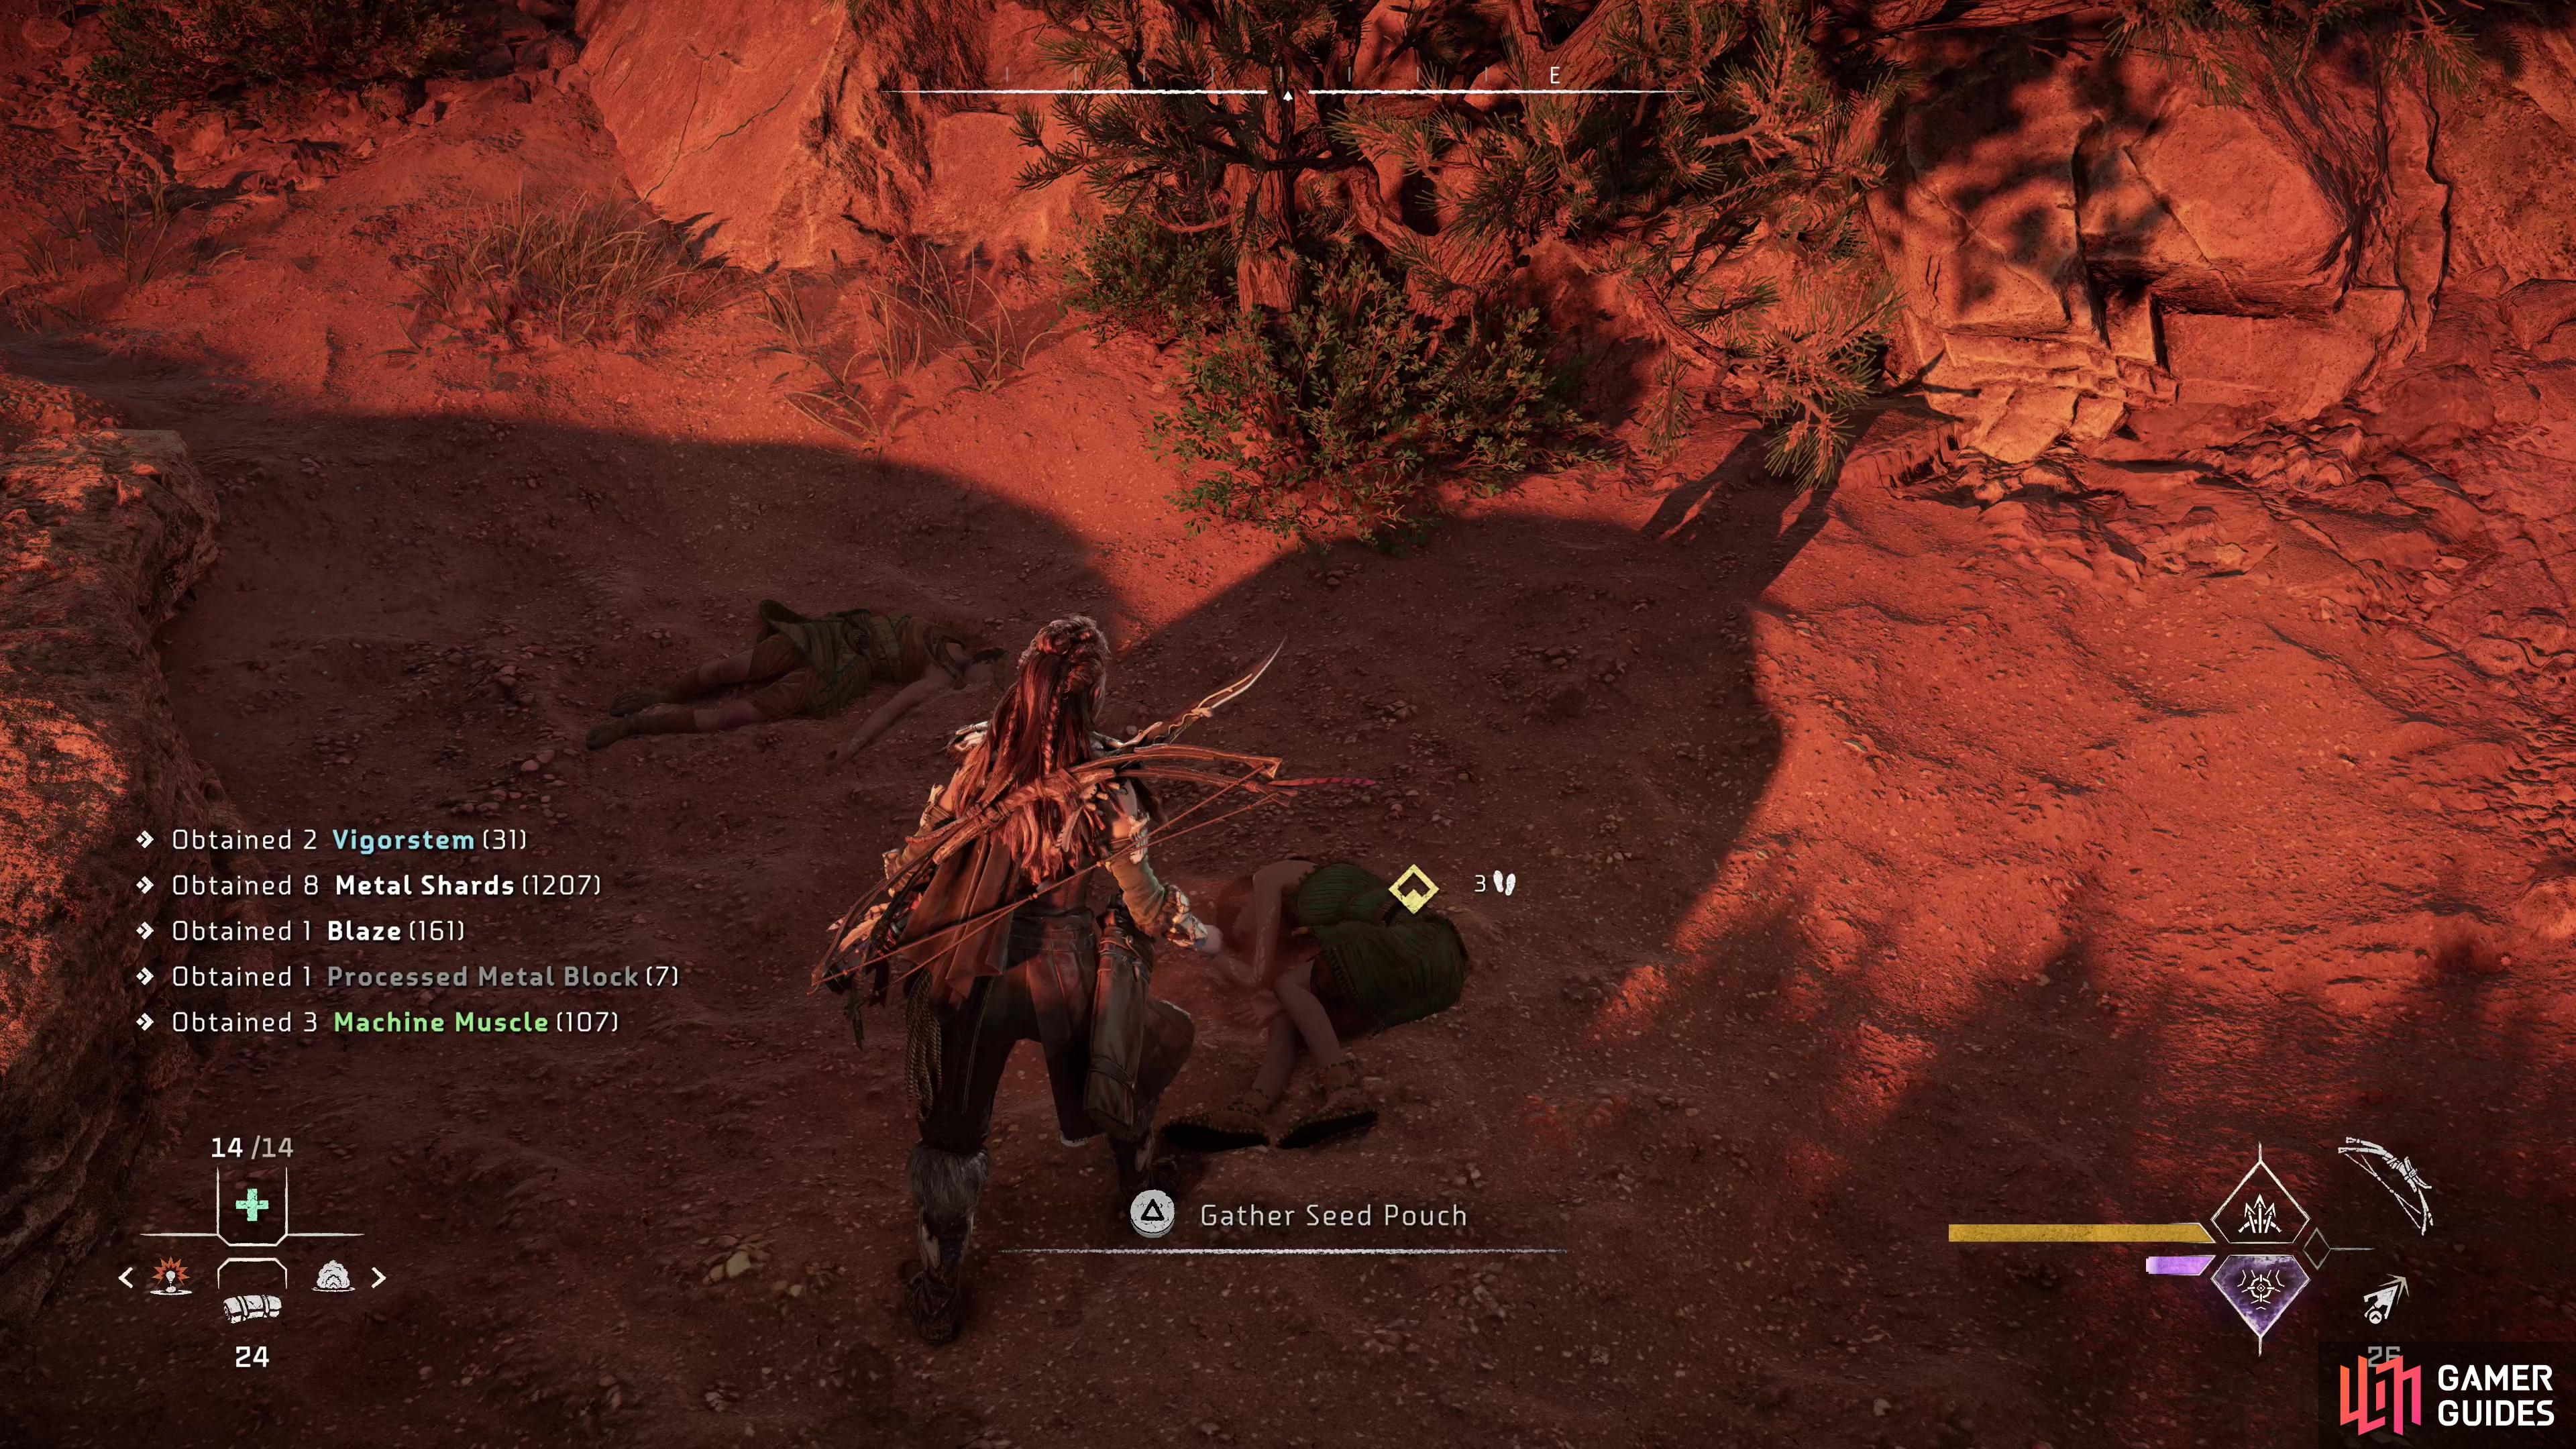

Loot a Seed Pouch from the corpses, (left), and grab a Greenshine Shard before you return to Plainsong. (right)
Kill the Stalker, after which a second Stalker will show up and attack. Once both machines have been defeated, return to the corpses and grab the damning Utaru Seed Pouch, grab a Greenshine Shard off a rock, then return to Plainsong.
How to Reach Summerwind
Present your evidence, after which you’ll be tasked with heading to Summerwind. Make your way to the marked Campfire south of Plainsong. Summerwind is just south of this Campfire.
Head up a ramp to the upper floor to find your target. Talk to Kel, and after the encounter the quest will end.
No Comments