
Walkthrough for the Main Quest The Dying Lands in Horizon Forbidden West, including information about how to defeat the Grimhorn.
This quest will begin immediately after completing Death’s Door.
| Starting Location | Prerequisite | Level | Rewards |
|---|---|---|---|
| Cinnabar Sands | Complete Death’s Door | 15 |  |
How to Reach Plainsong
After the lengthy scenes following Death’s Door, you’ll regain control in Stone’s Echo, a small Utaru village in the middle of the Cinnabar Sands region. Your goal now is to rendezvous with Varl and Zo in Plainsong, which is a good distance to the north (and slightly west). If you completed the Tallneck: Cinnabar Sands earlier and discovered a nearby Campfire, that’ll get you more than half of the way there, otherwise, override a Charger, as it’s a long trek.
Other than machines, be wary when you reach the forests on the outskirts of Plainsong, as rebels can often be found hiding in ambush among the trees.
Once you reach Plainsong, note that you can visit the Hunter to buy new weapons:
- [Frost Hunter Bow]
- [Slicing Hunter Bow]
- [Acid Warrior Bow]
- [Shearing Warrior Bow]
- [Hardweave Sharpshot Bow]
- [Forgefire Tripcaster]
- [Slicing Shredder Gauntlet]
You can also find new threads at the Stitcher:
- [Oseram Wayfarer]
- [Utaru Harvester]
- [Carja Shadow]
Now’s not a bad time to upgrade, especially if you’re still using uncommon weapons and armor.
Meet up with Varl and Zo and exhaust their dialog options, and after they leave you’ll have to track them down on the upper levels of Plainsong and talk to them again to really get things started. Make sure you’re prepared before you proceed, and when you’re ready, agree to meet the Chorus. After some scenes events will make Aloy’s previous attempts at negotiating moot.
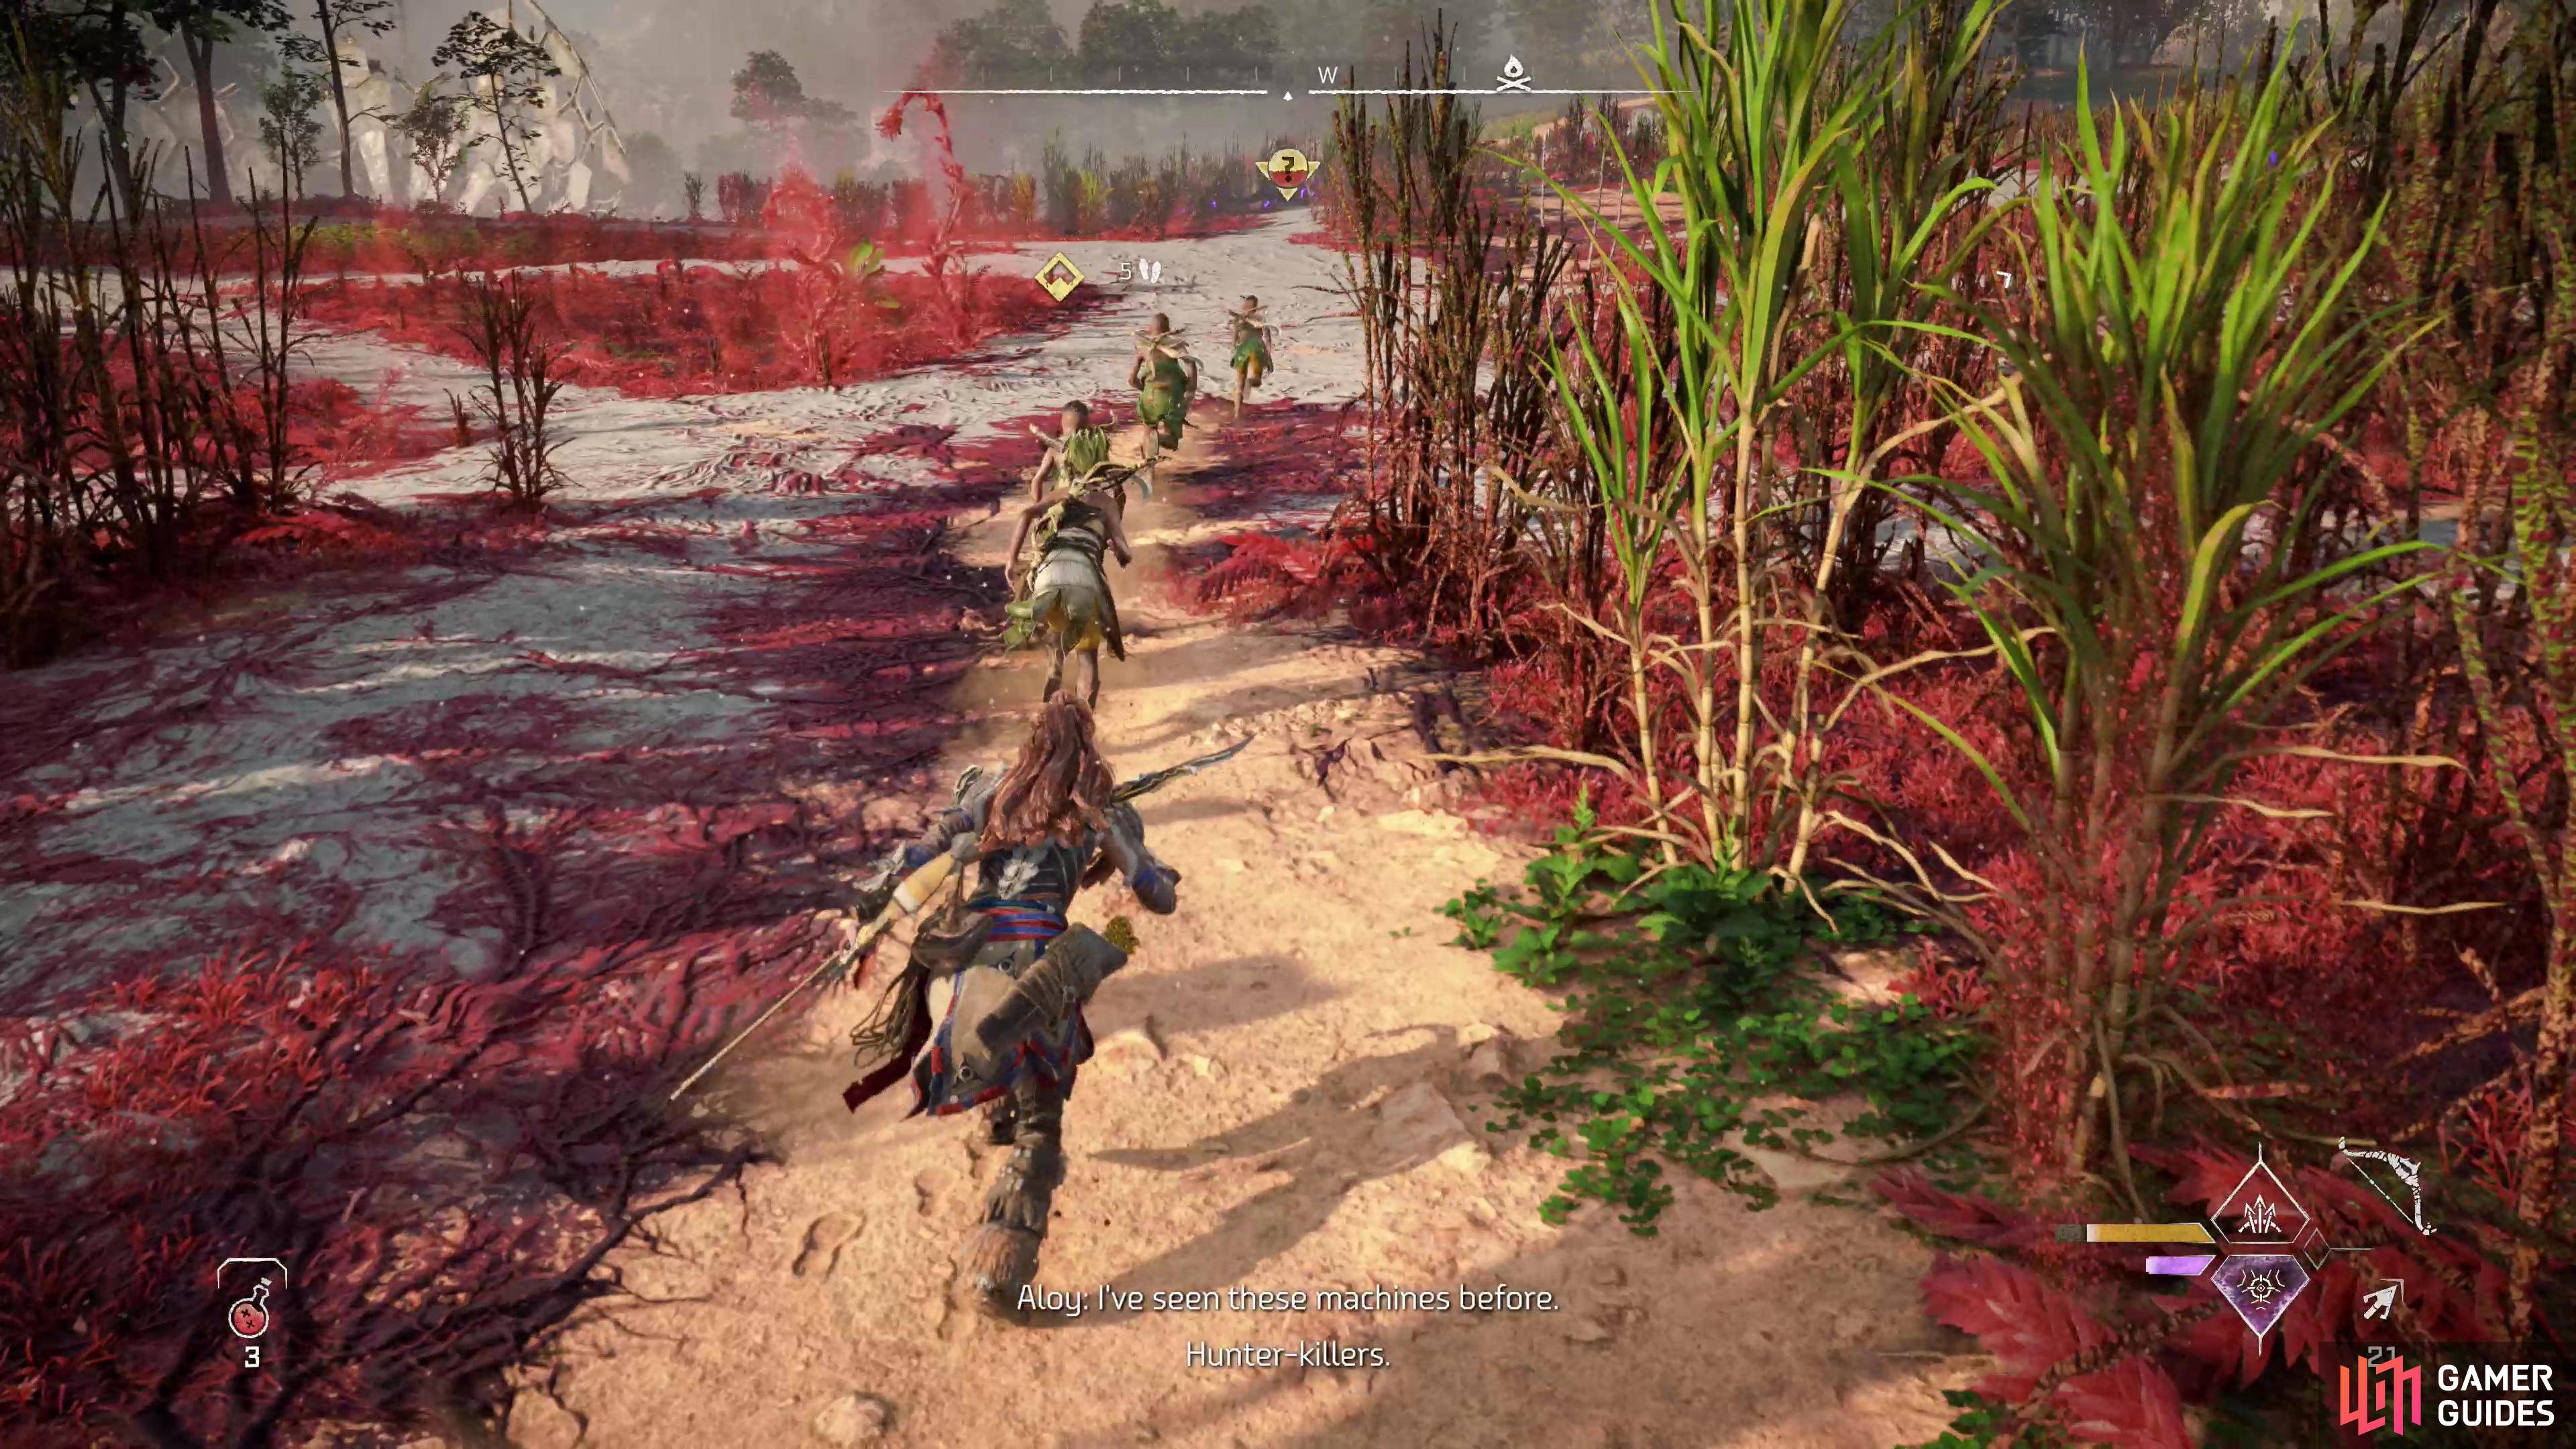
How to Reach the Cordon
Follow Varl and Zo northwest through the barren fields surrounding Plainsong. Unless Varl and Zo stop to fight any of the machines, you don’t need to bother with them, so ignore them if you wish and keep following the two. You’ll encounter Apex variants of Burrowers, Scroungers and [Scrappers] as you go, along with the odd [Clawstrider], but you shouldn’t need to fight most of these machines. You can, however, scan them if you want to add the Apex variants to your notebook.
When you turn south and start to head into the mountains you’ll need to defeat some local machines, which include two Apex Scrappers and two Clawstriders. Remember that Clawstriders are weak to Acid and Shock damage, and target their Razor Tails for extra damage and components. Apex Scrappers are also weak to Shock damage, although their lower health pools and exposed Radars make them easier to deal with conventionally.
After the machines are defeated, continue following Varl and Zo. You may encounter more machines as you ascend, but you should be able to just run past. When you reach the entrance to the cave, search to the left (east) to find a cache you can pry open then loot for the Utaru Whisperer armor. Loot around outside of the cave, then enter.
How to Reach the Repair Bay Core in Repair Bay TAU
Make your way south, then east, only to find your way blocked by a triangular Energy Shield. Turn right south, climb some ledges, follow a circular passage around, then leap a gap to the east. Make your way downhill and when you reach a fork turn left (east) and when you enter a chamber turn southeast to find a Cauldron Door. Approach it and override it to get a scene, after which the way to the interior of the Cauldron will be opened.
Go through the Cauldron door and when you reach a fork, note another triangular Energy Shield to the southwest. There’s also three Leapslashers down that way. Try to score Silent Strikes to destroy or significantly injure them - fighting three at once can be something of a chore. Once they’re vanquished, head up a ramp to the southeast and override another Cauldron door.
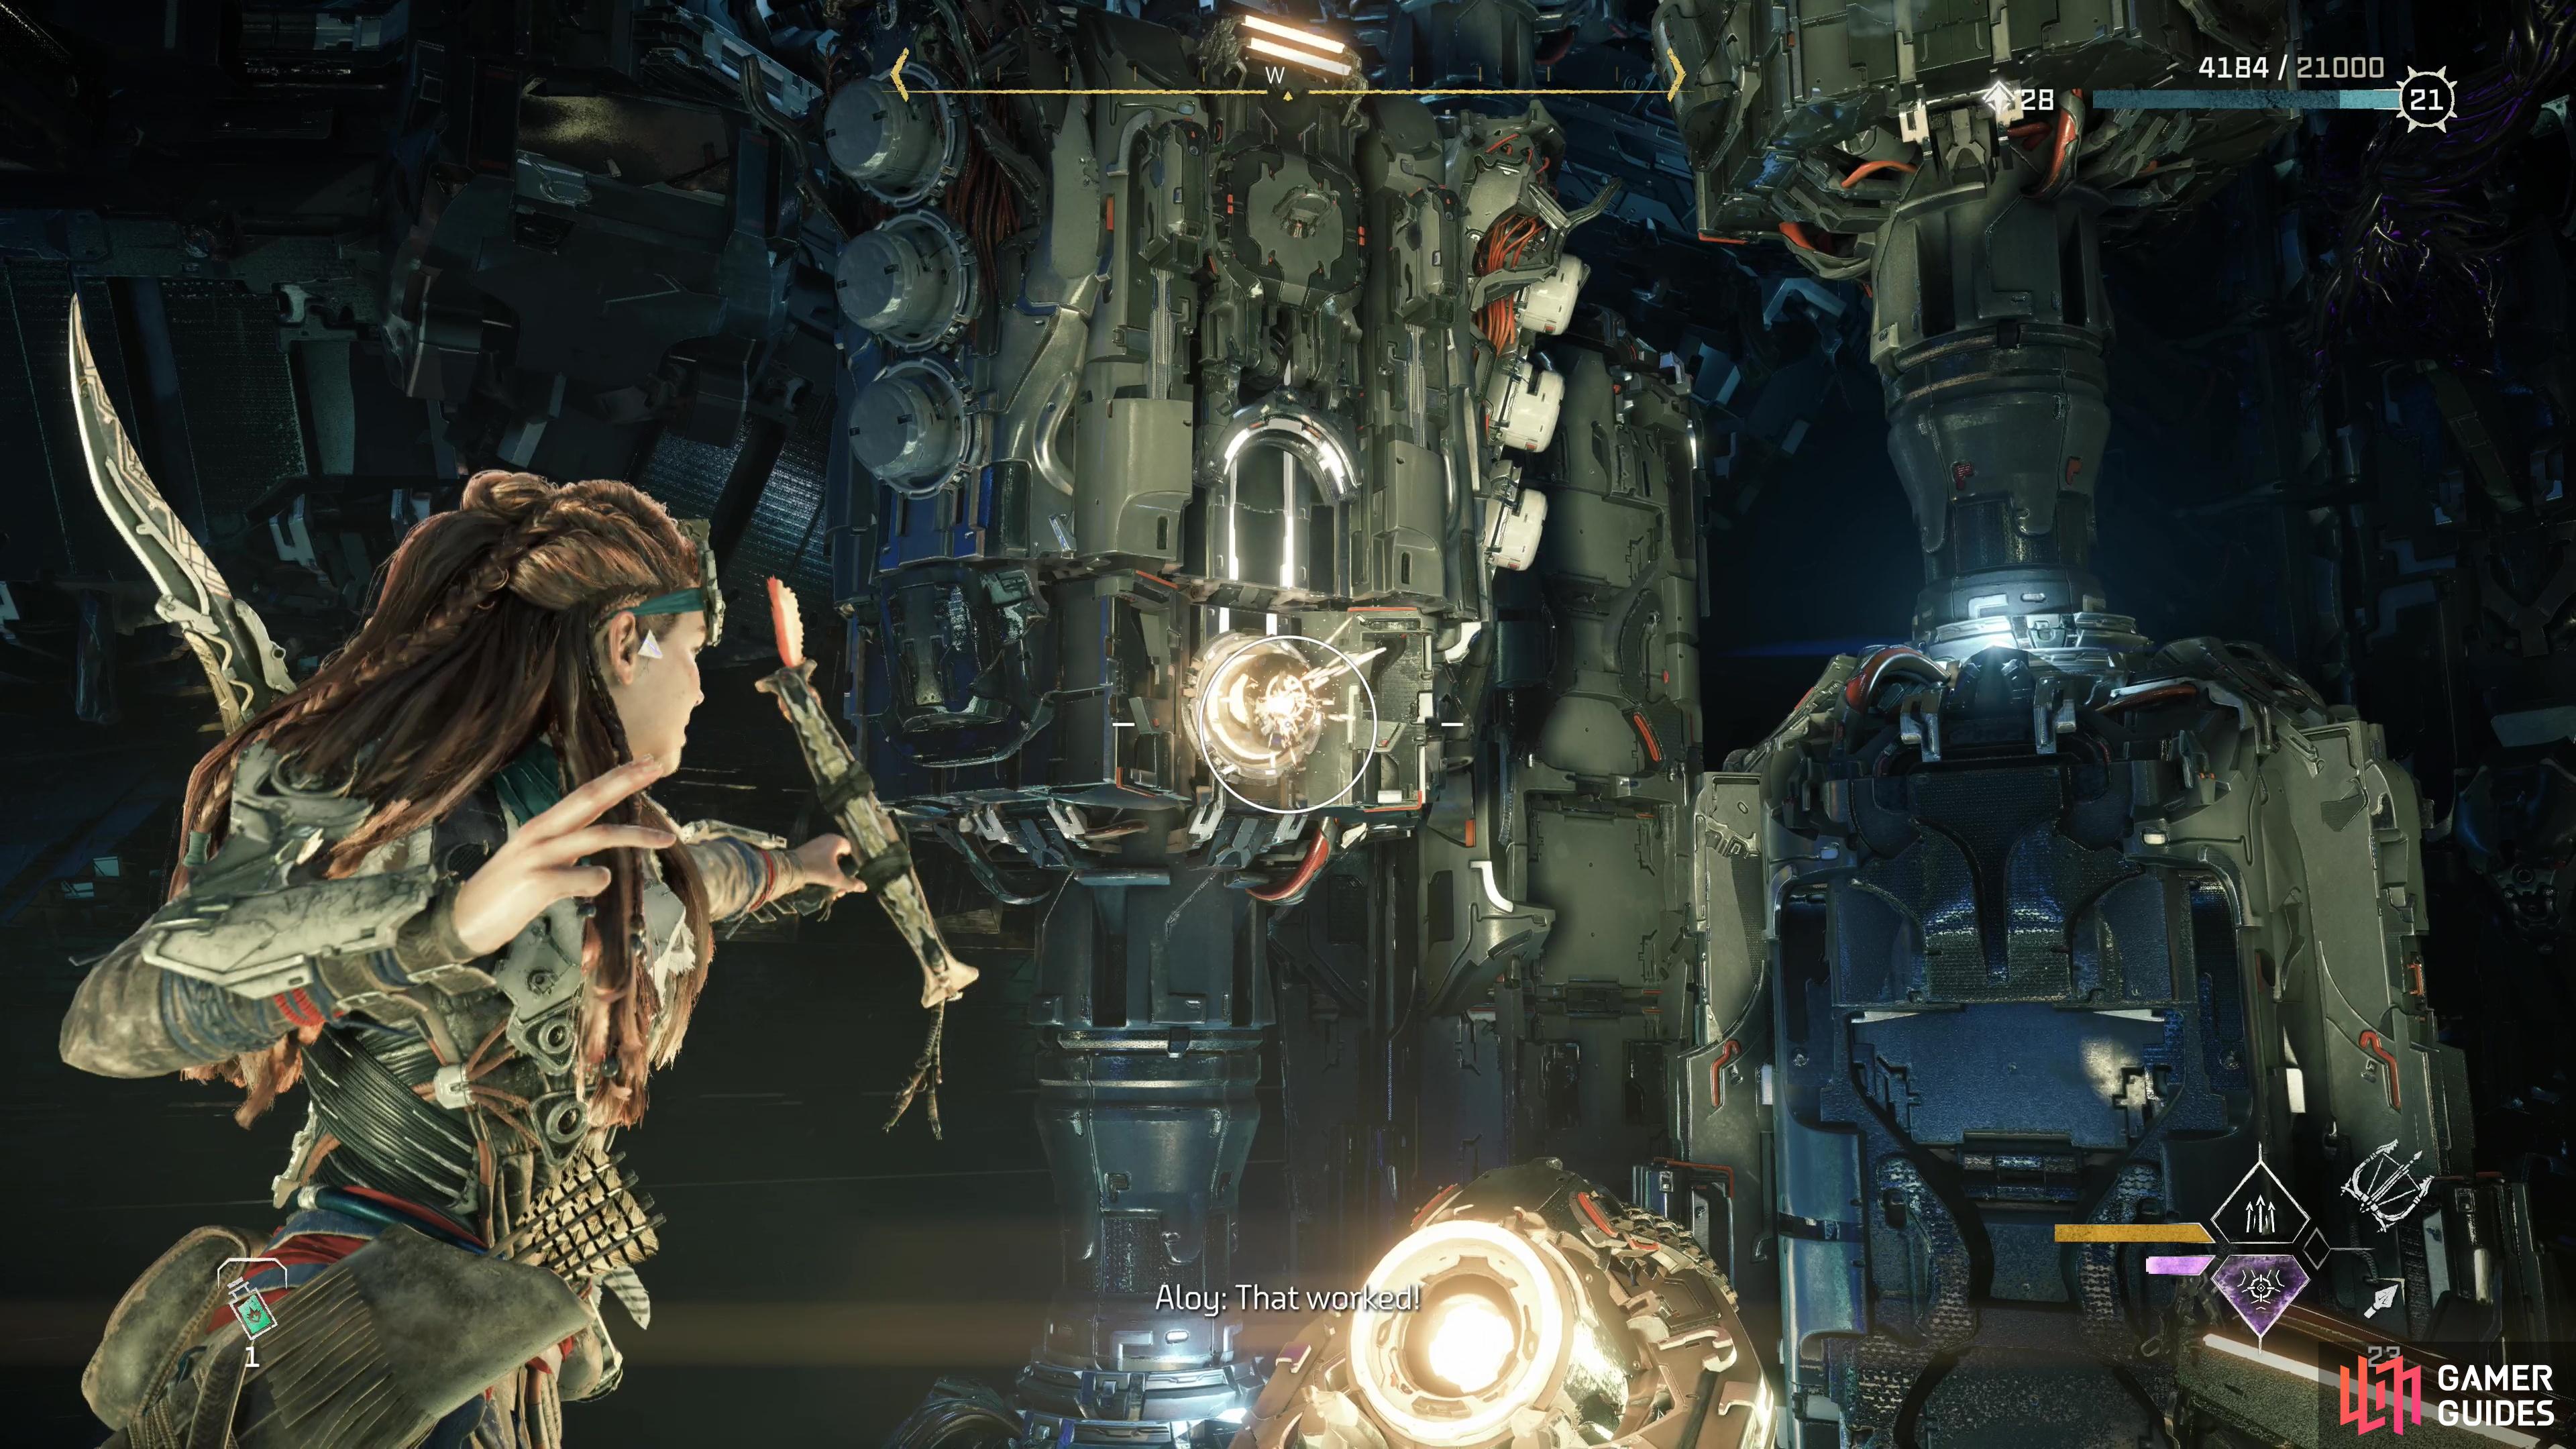
Stand on a Pressure Plate and shoot a protrusion on a pylon to lock it into place.
Follow the linear passage ahead and when you emerge into a larger chamber, turn right (northwest) and stand on a triangular Pressure Plate (Varl will obsess about it until you do). Stand on the Pressure Plate and a pylon to the west will raise and start to rotate. Wait until a protrusion on the bottom section of the pylon rotates to face you, then shoot it (it’ll glow when the right section of the pylon is facing you).
Now that the pylon has been tamed, head to a nearby walkway and use it to jump onto the pylon. Climb to the top of the pylon and loot north to find another pylon. You don’t need to worry about teamwork here, Aloy will get Zo to stand on the Pressure Plate automatically - just be ready to shoot the bottom section of this pylon when it’s properly aligned. Once done, leap onto the second pylon and climb to the top. Repeat the process again with a third pylon to the northwest.
Climb onto the third pylon, and from there make your way west onto an adjacent walkway. If you look east you’ll find more spinning pylons, while along the southwestern end of the walkway is another Pressure Plate. You can’t shoot the pylons while standing on this Pressure Plate, so ignore it for now.
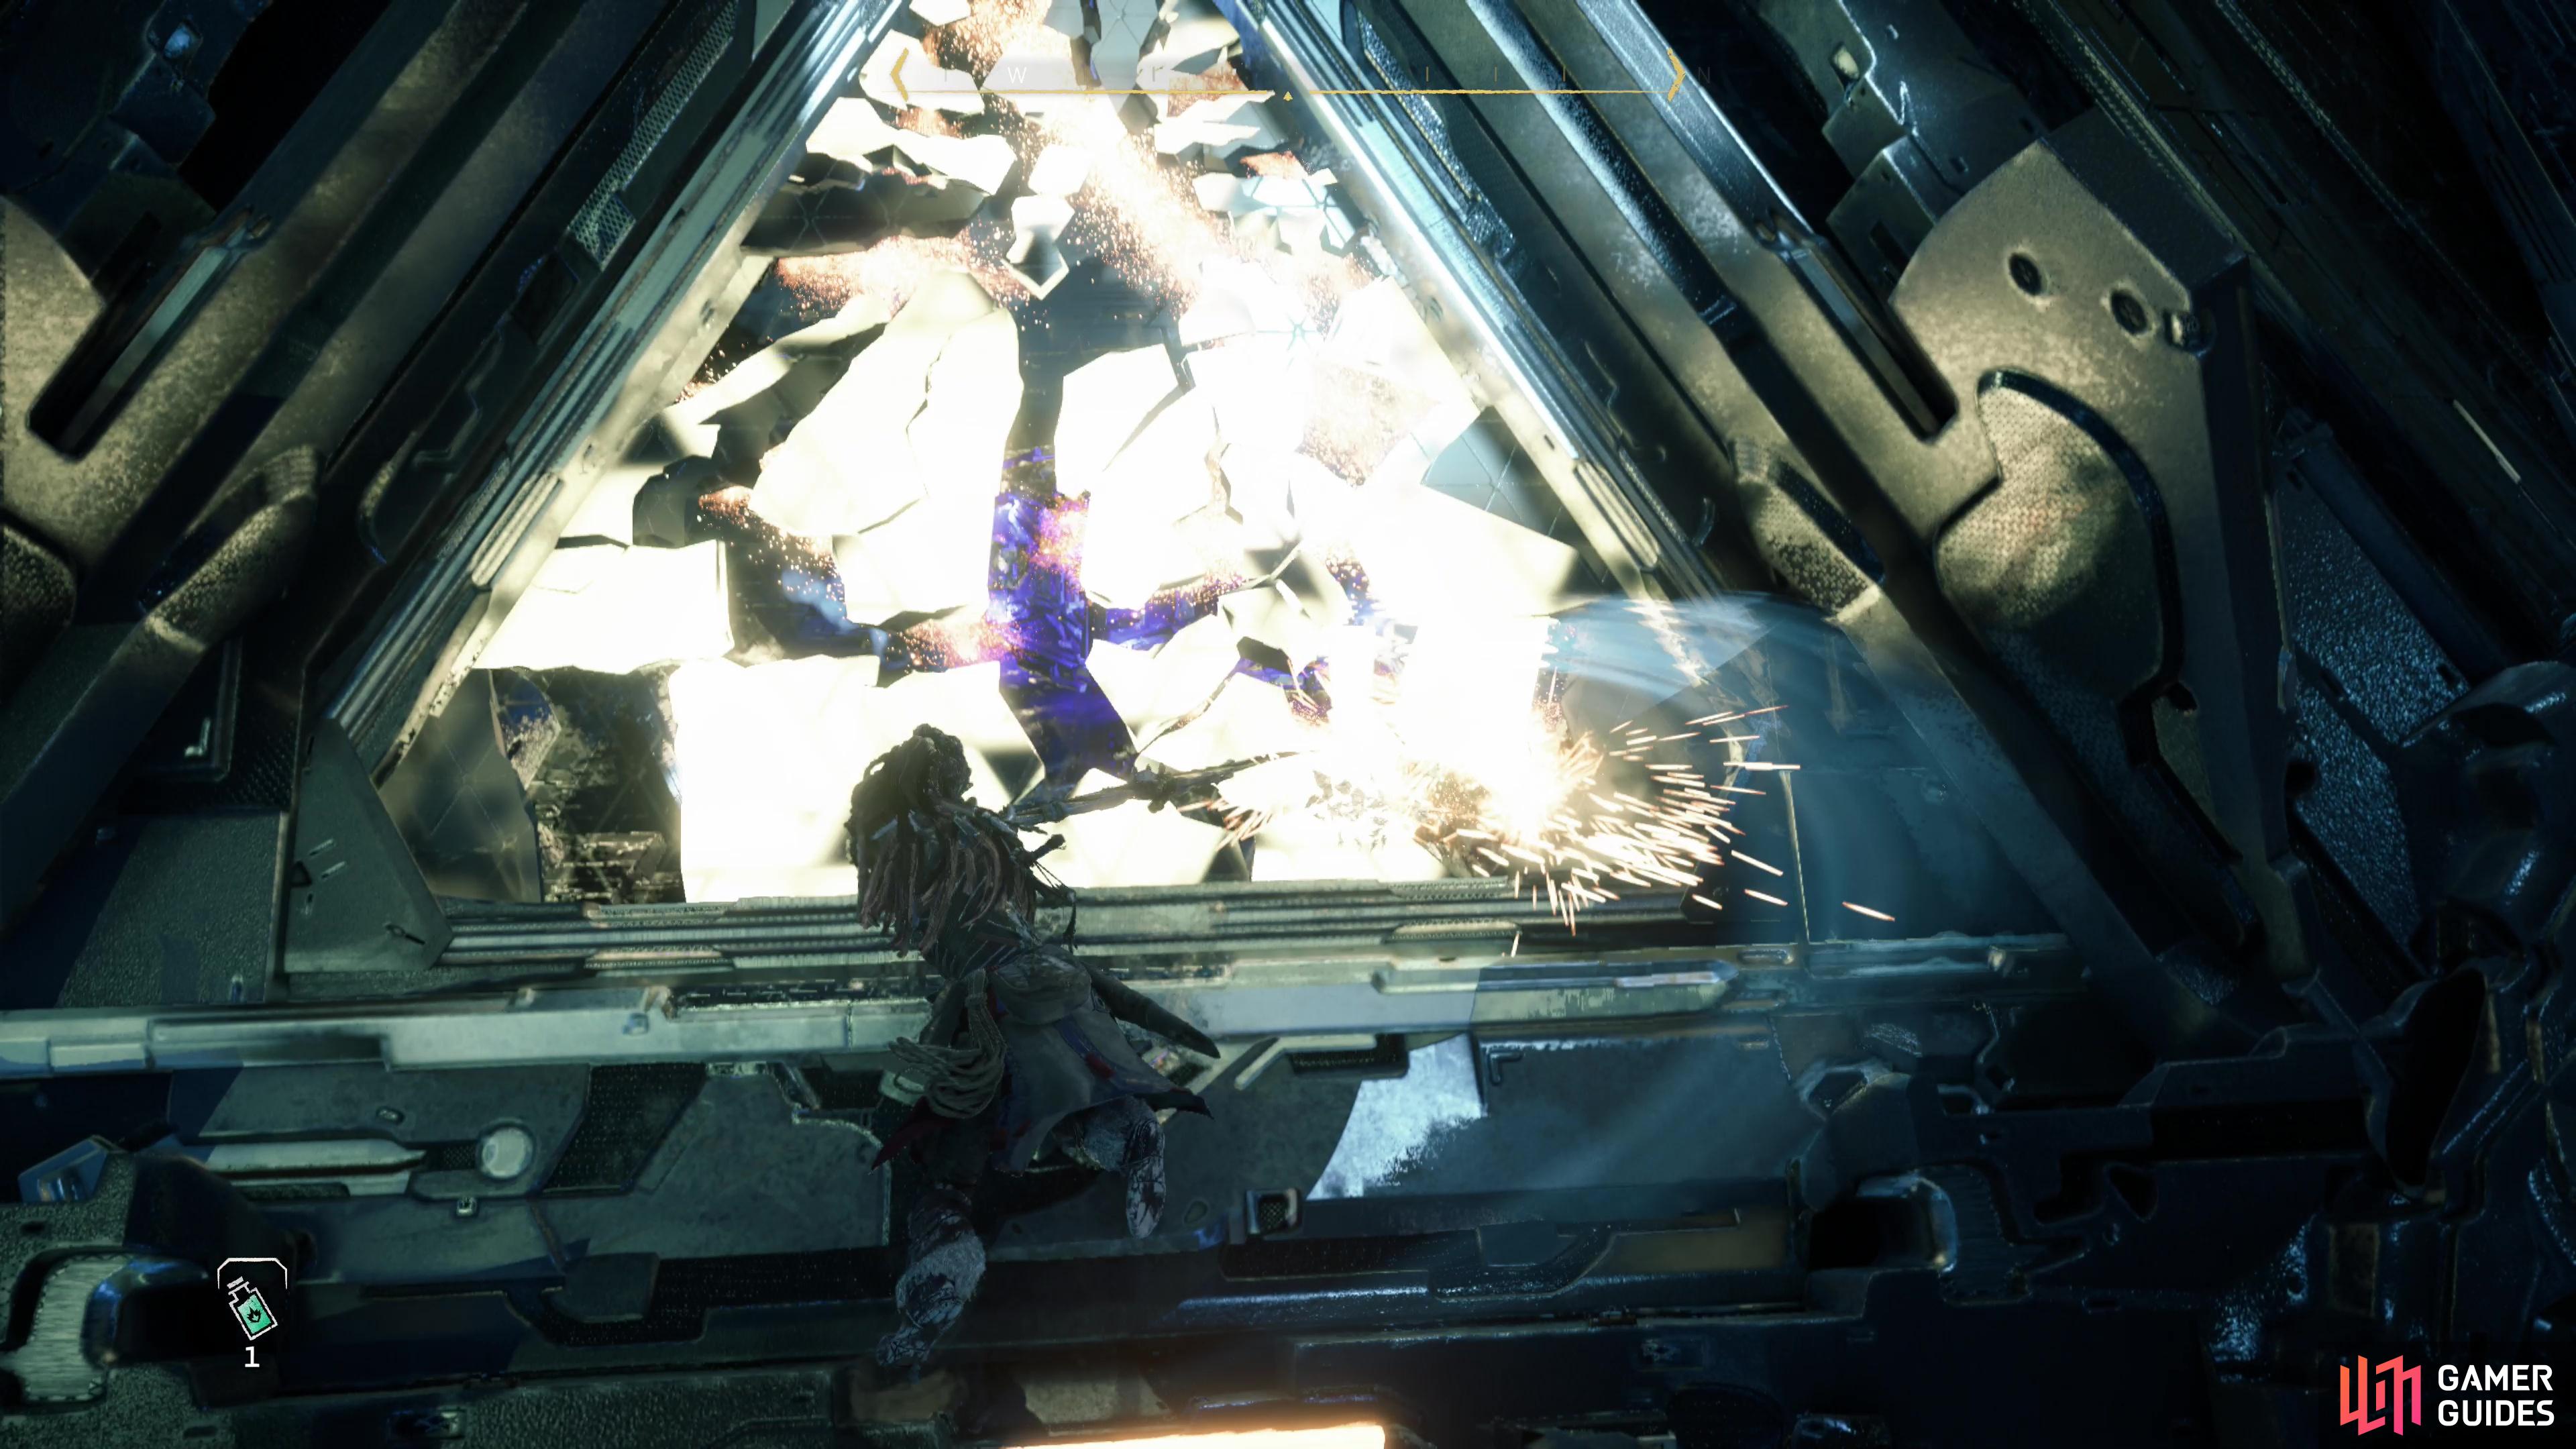
Instead, climb the wall to the right (northwest) of the Pressure Plate, smash a triangular pane of glass and go through to find a hexagonal crate. Push it down the passage away from the glass and through an Energy Shield, then exit via the broken glass and push the crate onto the Pressure Plate. With this done you can now head northeast up the walkway and shoot two more pylons. Drop down onto a lower ledge to the southeast and from there make your way onto the pylons and across to a walkway along the southeastern end of the chamber.
Drop down to the north to find another Pressure Plate, and you’ll find the pylons it controls to the north as well. No tricks this time, just shoot the button on the bottom sections of each pylon when they rotate into correct alignment. One is a bit far away and fast-moving, but it’s nothing a Sharpshot Bow can’t fix. When they’re locked in place, leap across them and make your way down to a lower platform to the west.
When you finally arrive, override a Network Uplink to banish all traces of Hephaestus from the chamber and open the way to the northwest.
Continue northwest and before long you’ll reach another barrier to progress: a chasm needs to be bridged, and it’s up to Aloy (of course) to handle it. Turn left (west) and head to a walkway jutting out over the chasm, then look down and wait for a mechanical platform to be extended from the Energy Barrier to the west. This device will retract after a bit of time, so wait for it to pop out, then quickly jump onto it and from it across to a platform on the far side of the room.
Once you’re across, jump down onto a walkway to the northeast, smash some glass to the left to score a stockpile, then continue on to the east. Get a running jump and leap onto a handhold to the east, climb up, turn north and continue climbing until you make it up to a more substantial platform above you. Override the Network Uplink to deploy the bridge, then continue down a triangular shart to the northwest.
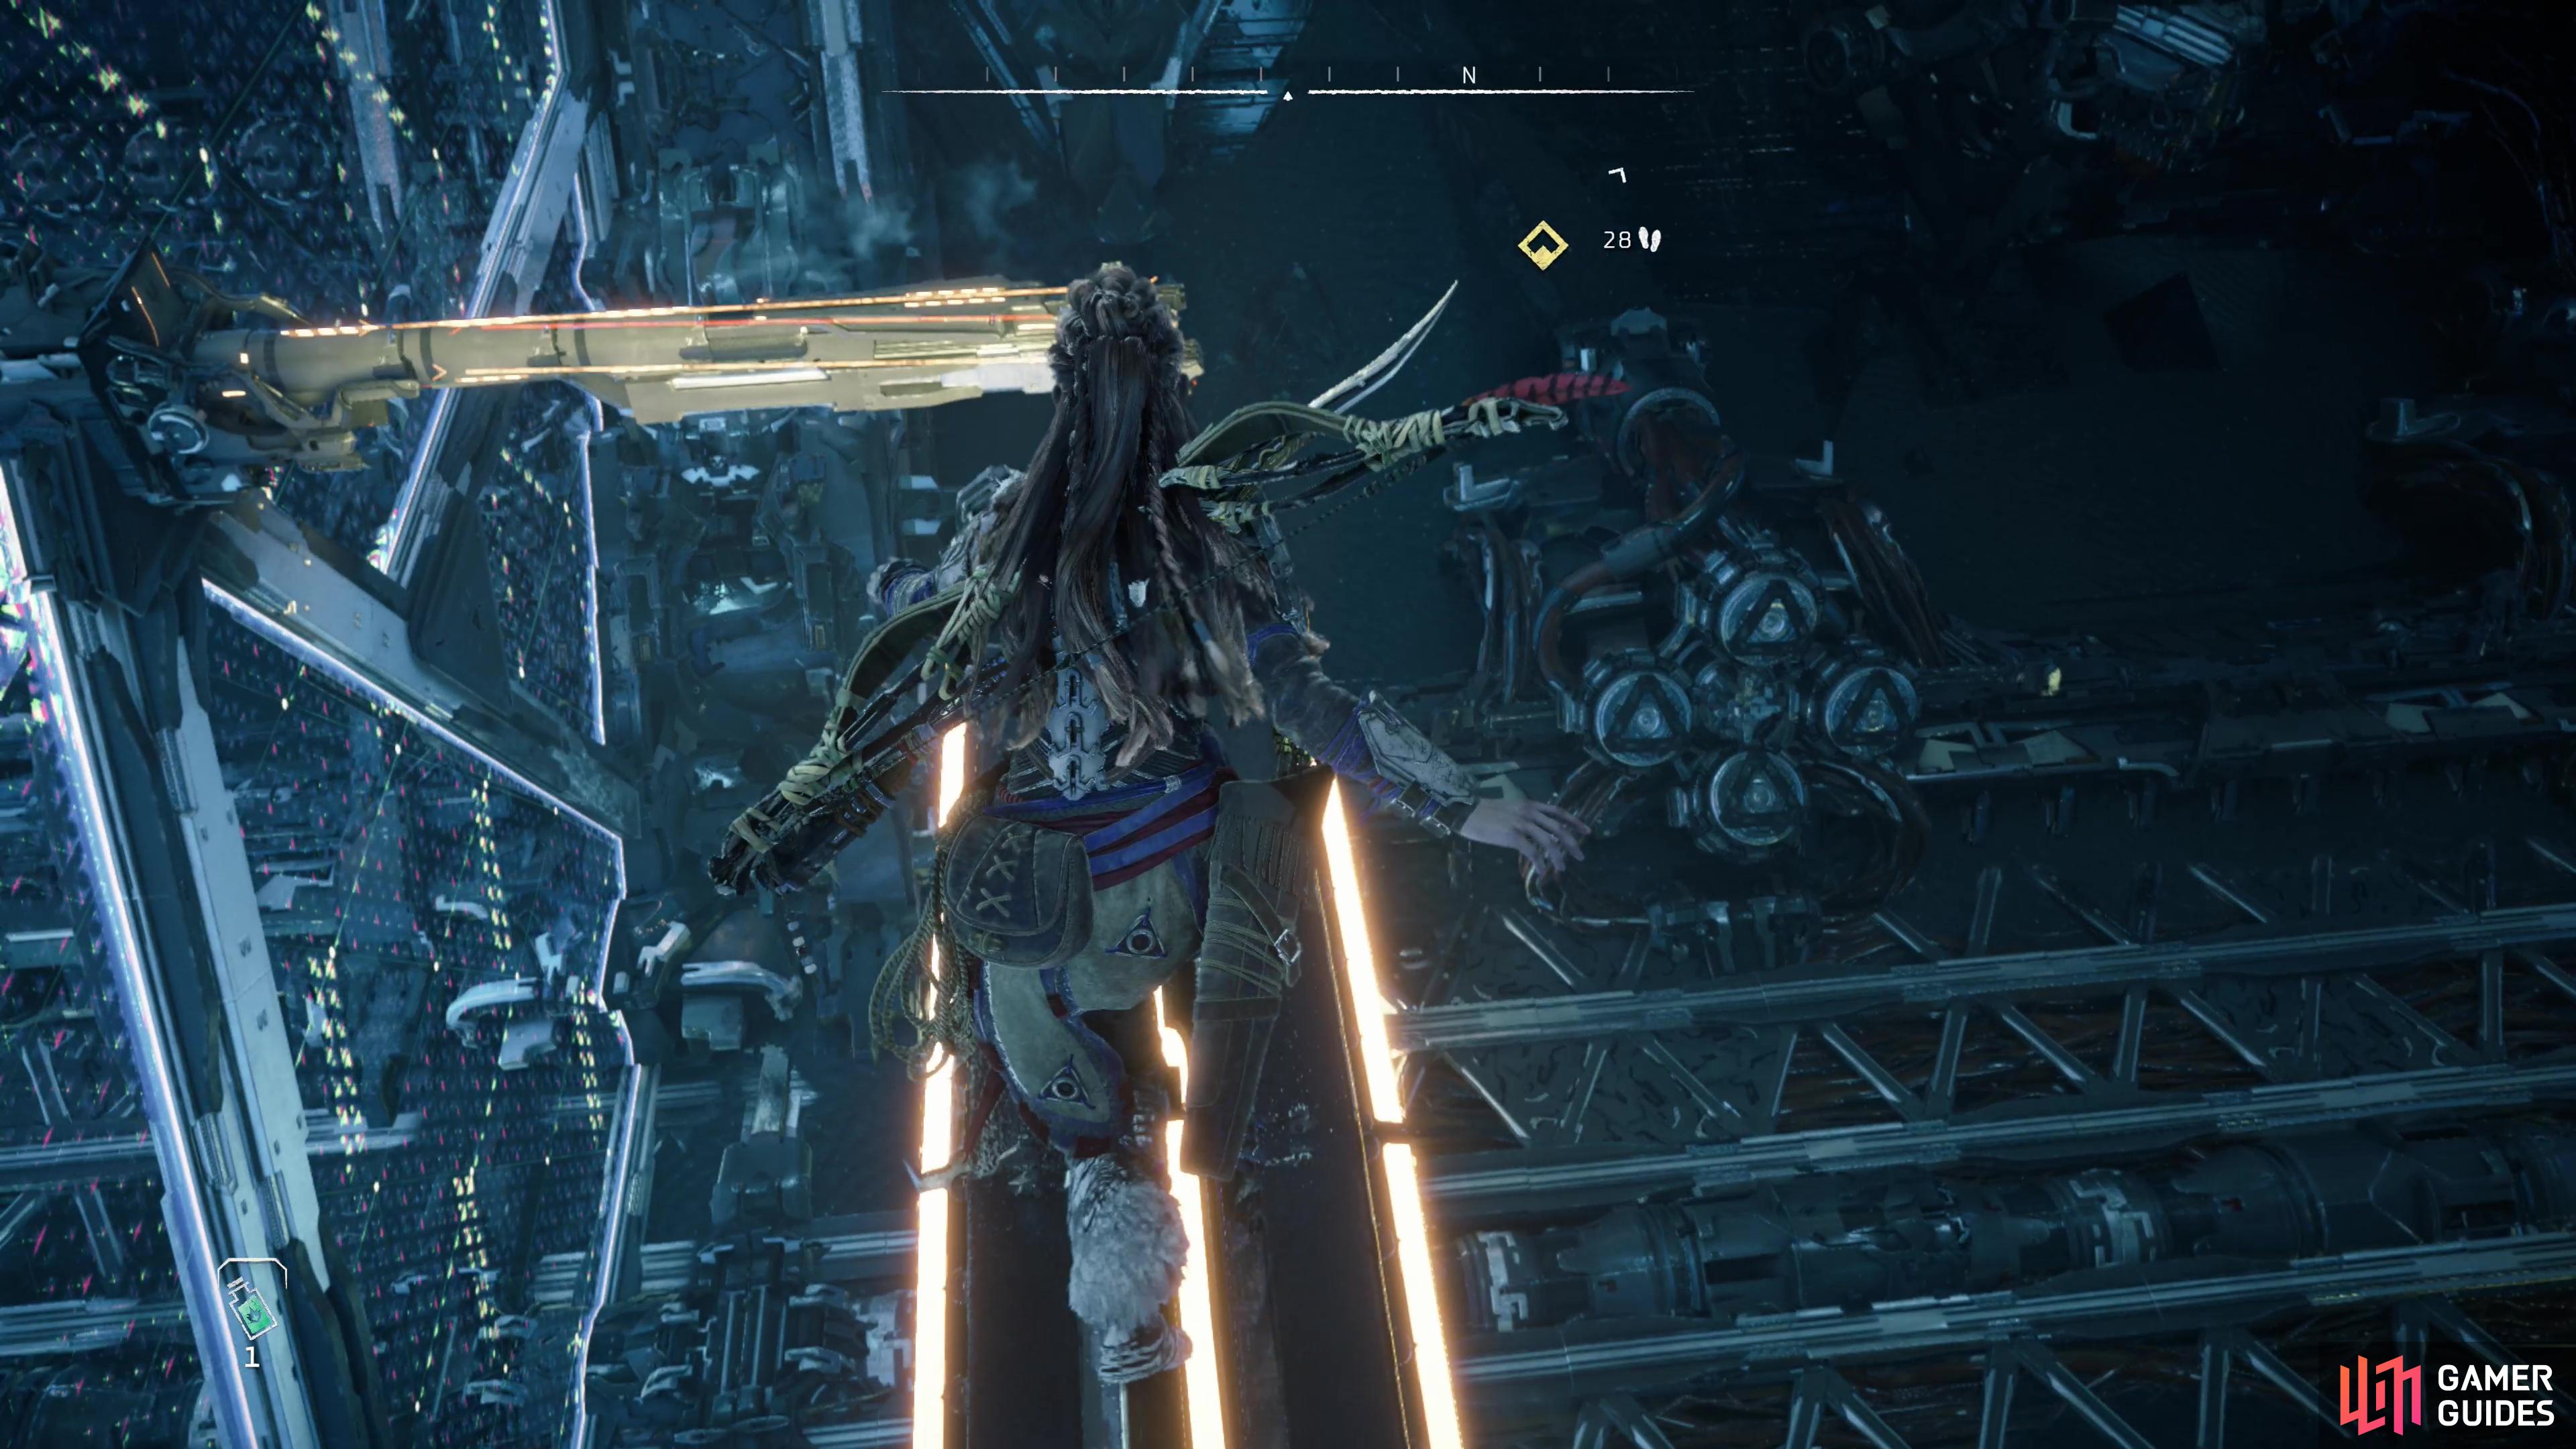
Make your way north, northwest through a breach in an Energy Shield, then head to the edge of a triangular platform and look down and to the north, northeast. Another platform in the distance, past some conveyor machines flying over a lava pit is your destination. Get a running jump and glide on over there.
When you land, turn left (west) and climb some racks - like the device in the previous room, these racks will retract and rise in a regular rhythm, so time your climb. Reach the ledge above, climb a pylon to the east to reach a higher ledge, then jump onto the conveyor machines as they pass by. You’ve got a decent little ride here, just be sure to drop off before the conveyor machines pass through an Energy Shield. When you land, go to the edge of a walkway and look down and to the north, northeast to spot another platform below you. You know the drill - jump and glide down to it. When you land, head east and override another Network Uplink node to extend a bridge and clear Hephaestus’ corruption.
Go through a triangular passage to the north, northwest and follow it until you reach another Cauldron Door. Override it and continue on to the Core.
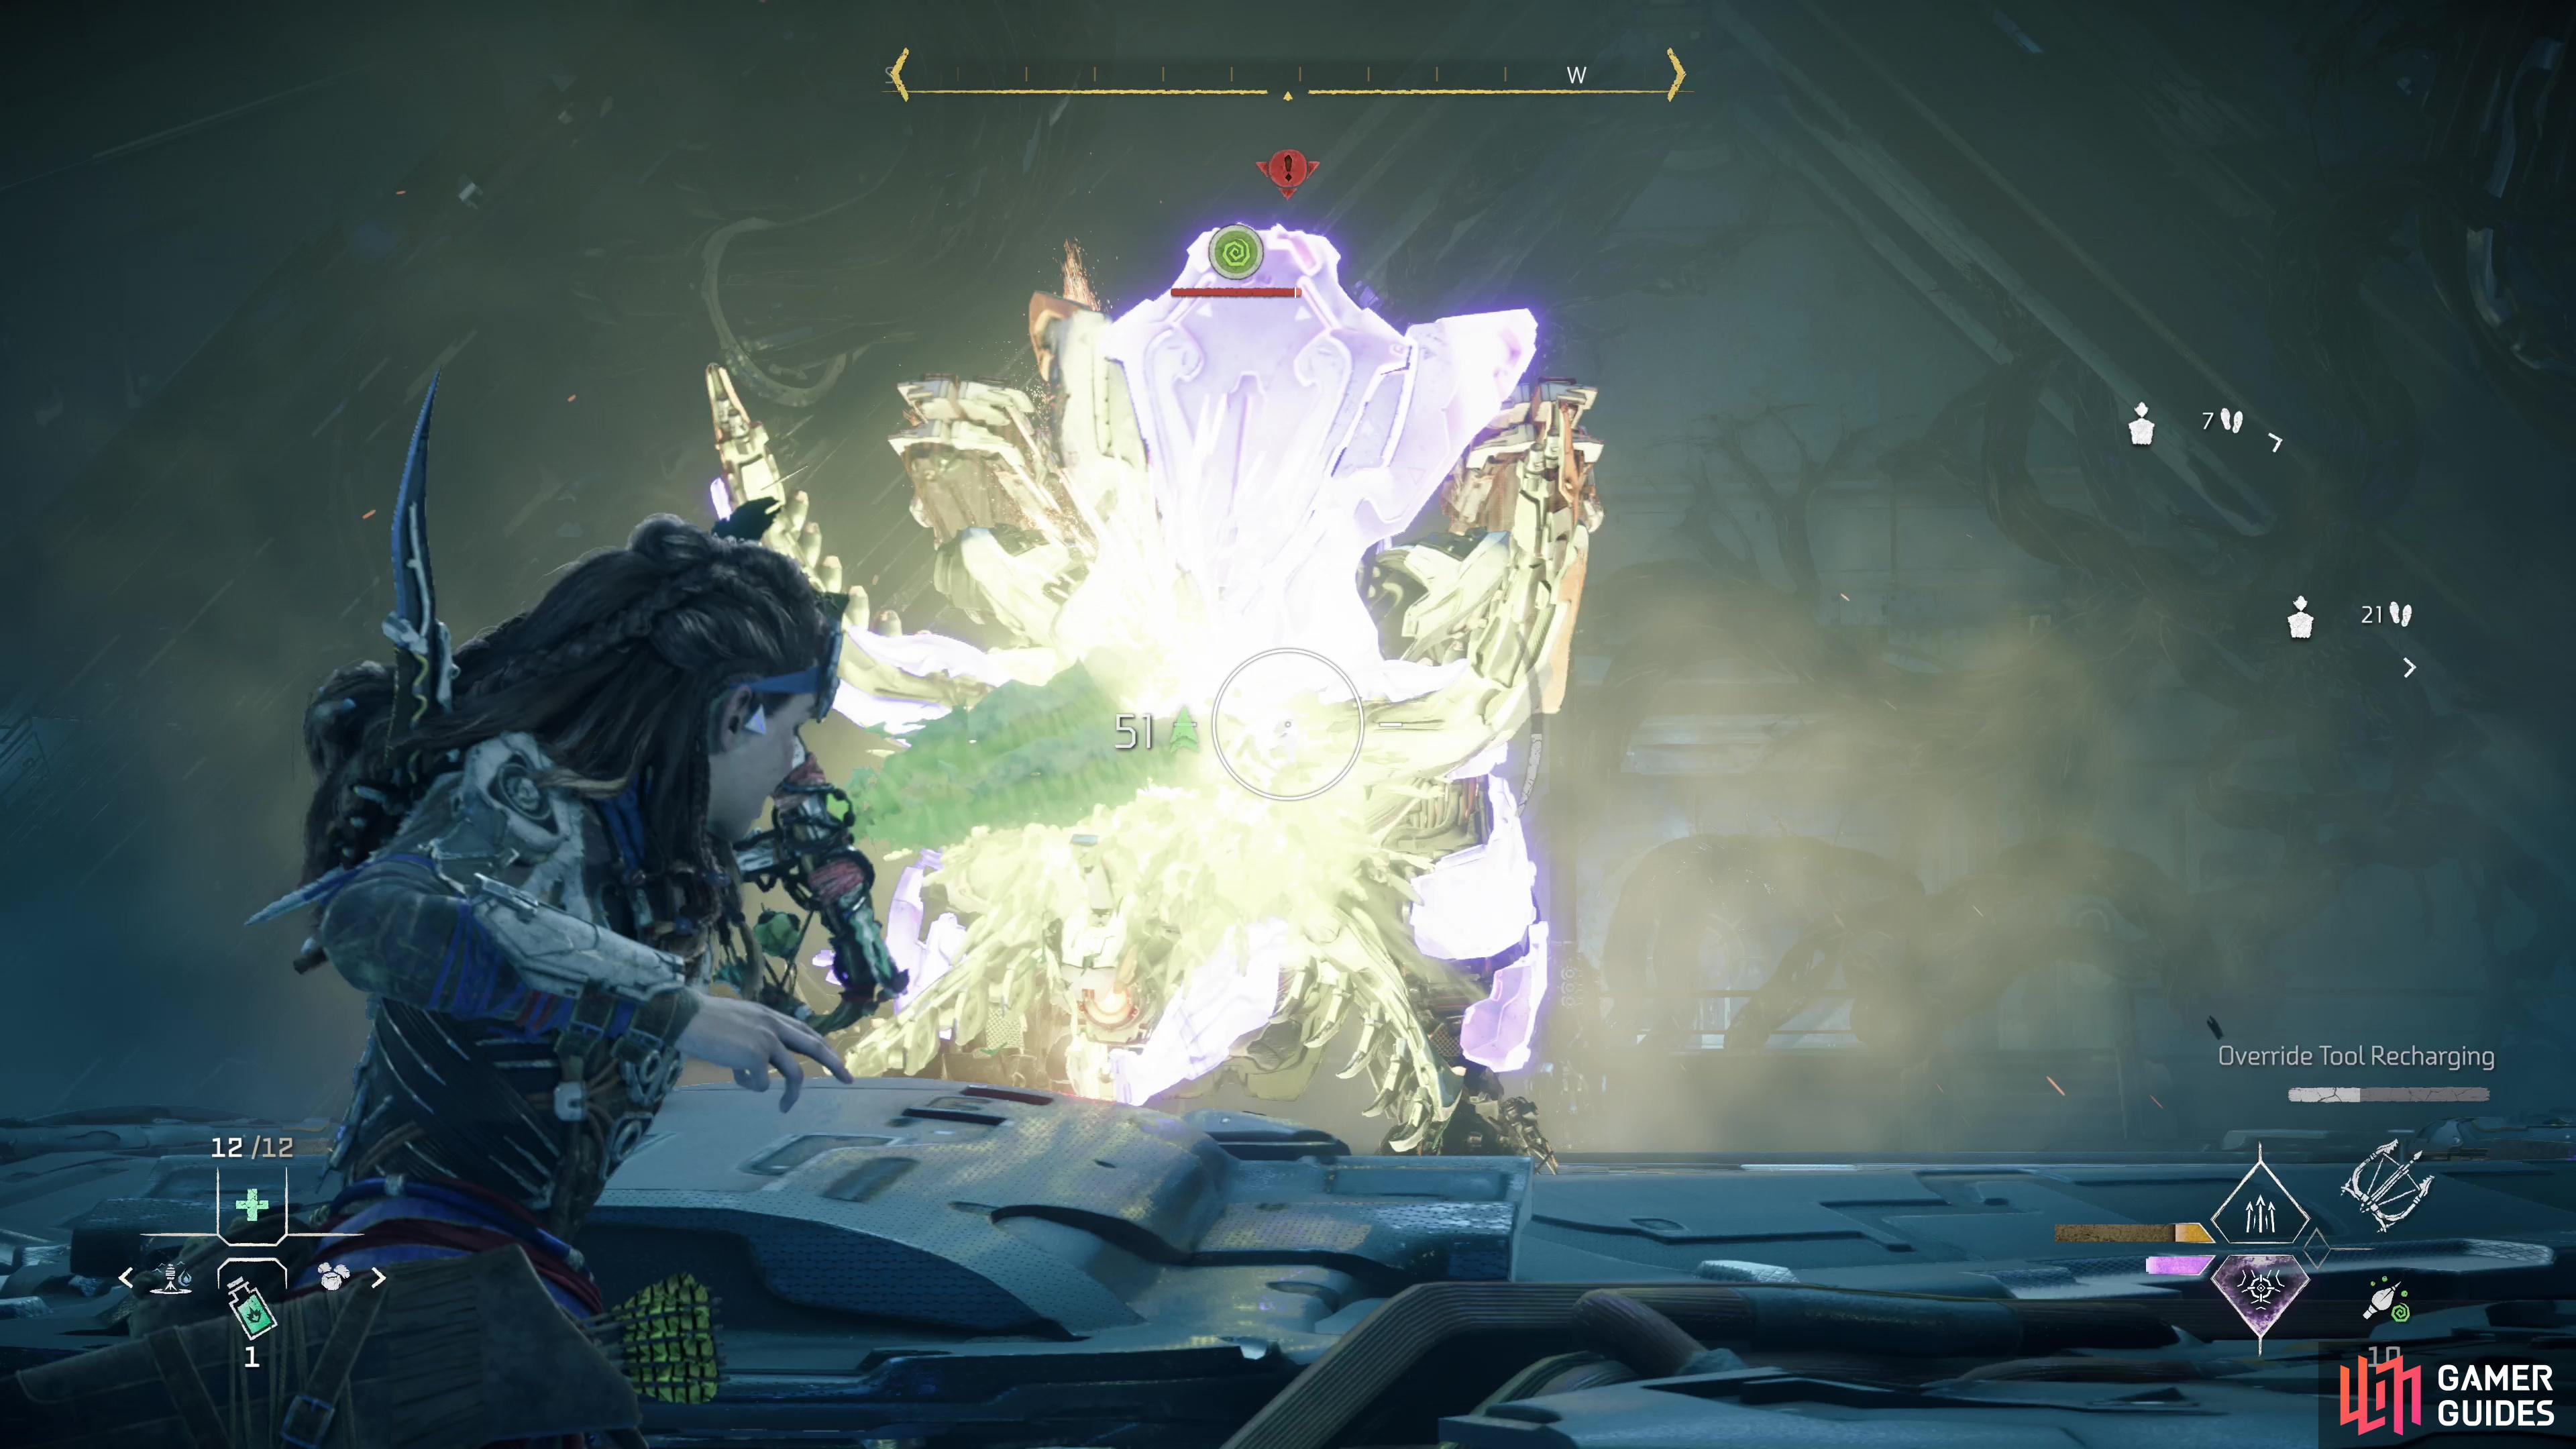
(1 of 5) The Grimhorn is weak to Acid damage - debuff it with Acid is a fine way to start the fight.
How to Defeat the Grimhorn in the Cauldron Core
After some scenes it’ll be time for a bit of deicide.
Rappel down and head southeast to find a Network Uplink node you can override. Be prepared, because you’re in for a fight when the node is hacked.
Override the node and the modified go of the Utaru will be unleashed - a [Grimhorn]. A midweight machine with moderate endurance, it’s capable of shooting flames, both in explosive gouts that arch through the air, and in a steady torrent. Its most dangerous weapon, however, is its Cluster Launcher, which will launch cluster bombs into the air - watch out for red leasers, as they indicate the trajectory of these bombs. Its Horns are also potentially offensive weapons, as it’ll emit gouts of flame from them, and use them in a more traditional fashion… by trying to skewer you with them.
As offensively potent as the machine is, its many weapons are also liabilities, as its Horns, back-mounted Blaze Sac, and flank-mounted Cluster Launchers are all weakpoints. Weakpoints that are relatively easy to target, too. If you knock off a Horn, its fire attacks will lose potency, if you destroy the Blaze Sac you’ll disable its fire attacks. Best of all, however, if you detach the Cluster Launchers you can turn them on the machine, and one of its own Cluster Launchers has enough firepower to grievously injure the Grimhorn.
On top of all that, the Grimhorn is also weak to Acid. Hitting it with enough Acid damage to fill its debuff meter will deal significant damage, and it’s a great way to start the fight.
Suffice to say, the Grimhorn is offensively potent, but riddled with vulnerabilities.
To mitigate this weakness somewhat it’ll be joined by a [Longleg] and two [Apex Scrappers]. With any luck they’ll busy themselves with Varl and Zo - you’re better off inflicting the Grimhorn with Acid damage and trying to knock off a Cluster Launcher. Once one of those heavy weapons is in your hands, you can easily reduce the machines to rubble.
When the machine-god of the Utaru is dead, loot your kills, then search the room for stockpiles and healing, if necessary. When you’re ready, override the Cauldron Core to complete this quest. The next main quest, [The Eye of the Earth] will begin immediately afterwards.
No Comments