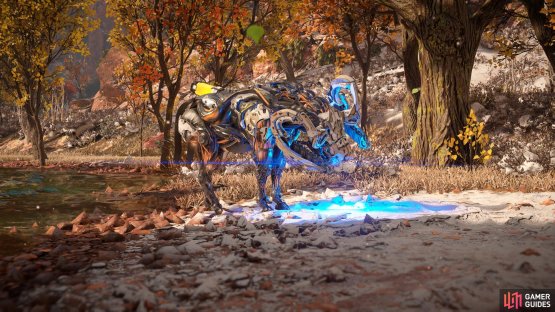
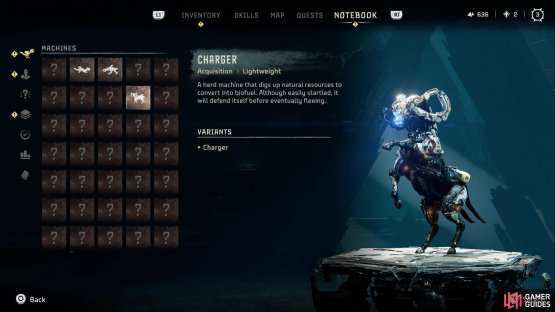
Throughout your journey in Forbidden West, you will come across a variety of Machines, most of which will be out to attack you. This page will concentrate on the Acquisition Machine, the Charger.
(1 of 2) Charger in the game
Charger in the game (left), Charger in the notebook (right)
General Information
A herd machine that digs up natural resources to convery into biofuel. Although easily startled, it will defend itself before eventually fleeing.
| Level | Type | Cauldron | Weak | Strong |
|---|---|---|---|---|
| 13 | Acquisition | Default | Shock  |
None |
Tips for Defeating the Charger
The Charger is not one of those Machines that will be putting up a huge fight, as it is relatively docile and shouldn’t be attacking out of nowhere, like most other Machines. If you do happen to begin a battle, the main thing to watch out for with the Charger is its charging attack. You can usually tell this is coming, as it will begin digging its hooves into the ground to wind up, then charge after a few seconds. You can simply dodge out of the way to avoid this. You can detach the horns on the Charger, which will remove its ramming attack out of its arsenal, plus you will get some exclusive loot that doesn’t drop from its body.
Outside of the above attack, the rest of the moves you will see happen up close and personal. There is the kicking attack with its front legs, as well as a mule kick if you happen to be behind it. The Charger is one of the Machines that Aloy can mount, with it becoming available upon finishing the prologue. That means as soon as you have access to the main map, you can sneak up on any Chargers you find and override it to be able to mount it.
Loot (Body)
All of the loot in the table below can drop upon killing the Machine and looting its body.
| Loot | Chance to Drop |
|---|---|
| Blaze | 100% |
| Metal Shards | 100% |
| Charger Circulator | 32% |
| Machine Muscle | 31% |
| Charger Primary Nerve | 22% |
| Small Machine Core | 17% |
| Metal Bone | 10% |
| Braided Wire | 10% |
| Sturdy Hardplate | 5% |
Loot (Horns)
The Horns, as one might expect, are on the sides of the head of the Charger. If you destroy/detach the horns, then you will get rid of its ramming attack. Detaching is the best option, as it nets you a unique piece of loot you cannot get elsewhere. This part is destroyed upon killing the Machine.
| Loot | Chance to Drop |
|---|---|
| Charger Horn | 100% |
Loot (Blaze Canister)
The Blaze Canister is on the back of the Charger and can be shot off like most other parts. If you happen to shoot this with Fire Arrows, then you will detonate the canister, causing an explosion that deals pretty good damage to the Charger, as well as any nearby Machines. This part is destroyed upon killing the Machine.
| Loot | Chance to Drop |
|---|---|
| Blaze | 100% |


No Comments