This is a walkthrough for the Cauldron, IOTA. in Horizon Forbidden West. It’ll navigate you through the necessary steps to defeating the Rollerback and overriding the Tallneck.
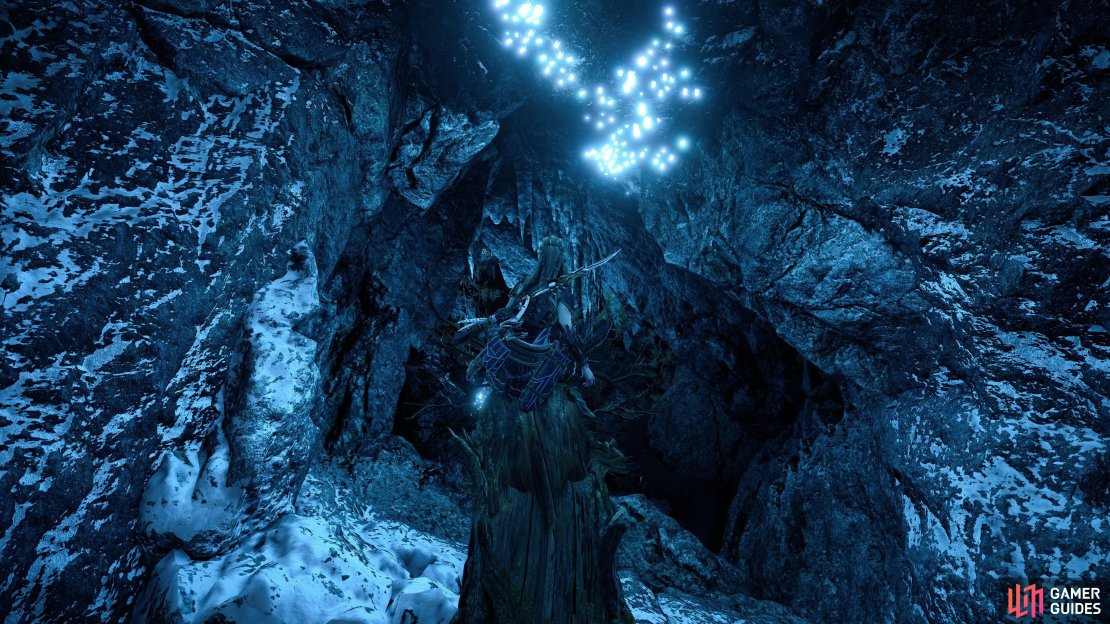
Aloy inspects the cave.
| Starting Location | Level | Rewards |
|---|---|---|
| Northeast of Salt Bite | 22 |
Description
Explore the Cauldron and discover the secrets within
Overrides Unlocked
Completing this Cauldron Core will allow you to override the following Machines:
- Leaplasher
- Glinthawk
- Lancehorn
- Longleg
- Clawstrider
- Skydrifter
- Bellowback
- Ravager
- Snapmaw
- Rollerback
Objectives
- Find a Different Entrance
- Find The Core
- Climb Across the Forges
- Override the Core
- Defeat the Rollerback
- Find A Way Out
- Find a Way To The Tallnecks Head
- Override The Tallneck
Find a Different Entrance
Once you’ve reached the entrance to the Cauldron you’ll notice you cannot get through, so walk southwest a litte and you’ll find a crevice you can drop into. Head down the path along and you’ll find a cave that leads into the Cauldron.
Find The Core
Here you’ll want to drop down to the path on the left and follow it along until you reach a door, then hold R2 
Climb Across the Forges
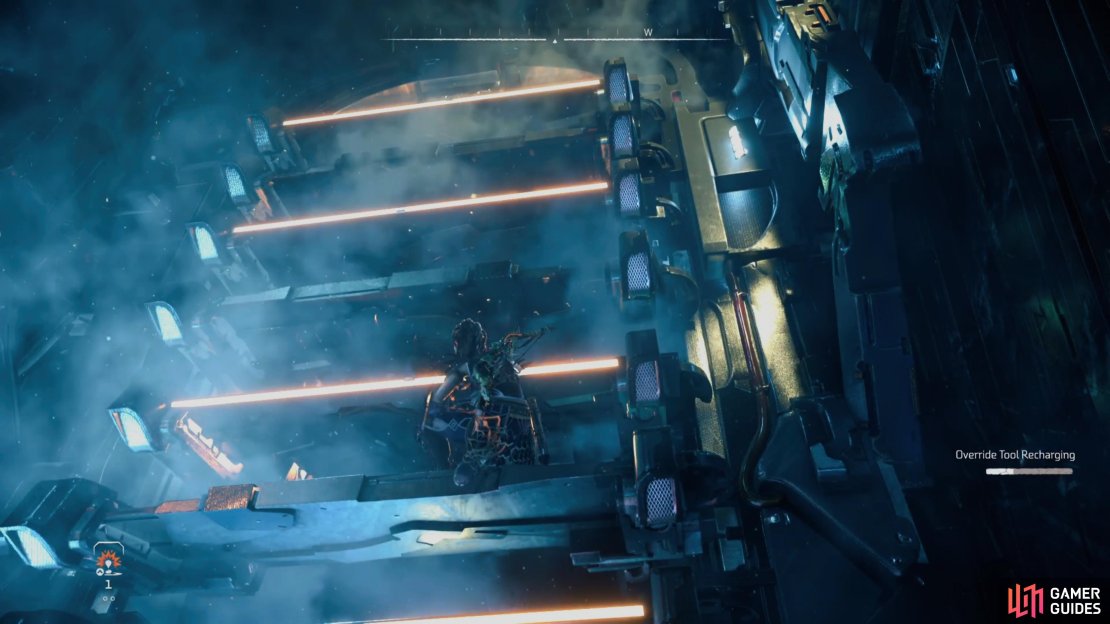
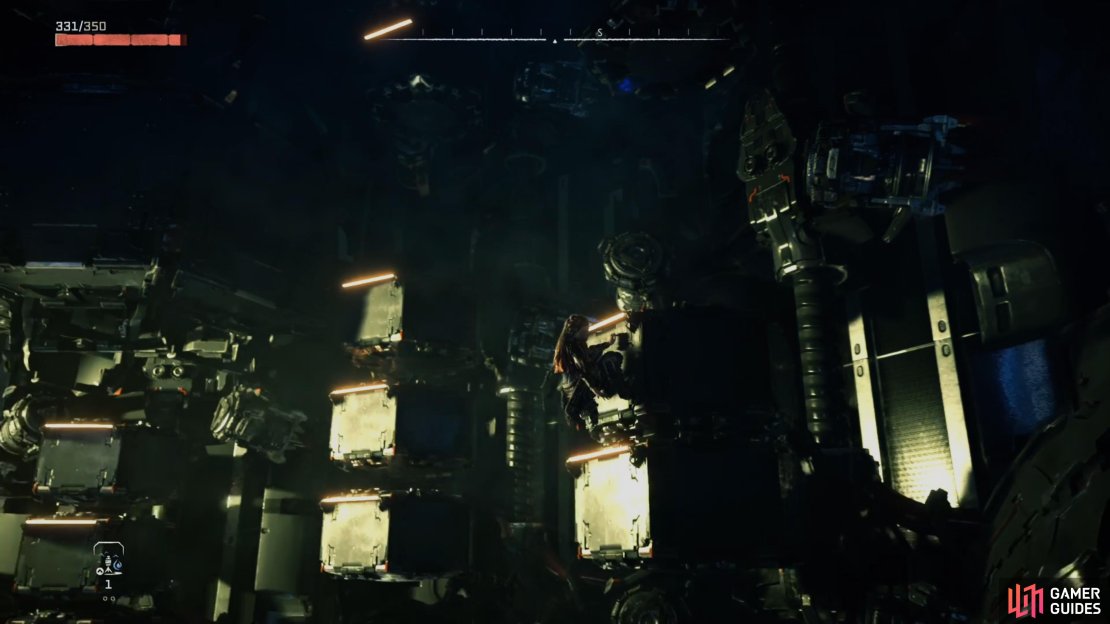
You’ll want to use Acid and Frost Ammo against the Scrounger, then you’ll want to use Shock against the Clawstrider. After you’ve taken them down, head over to the right side of the room and override Network Uplink to reveal a climbable surface. Reach the top and shimmy over to the platform on the right, then wait for the Frame Smelter to be sitting upright before jumping onto it. Move down to the lower portion of the smelter, wait for the one behind it to align before pressing circle 
(1 of 3) Climb up to the top using the ledge
Climb around the and jump between the smelters until you reach the platform on the left side of the room. Here you’ll want to override the door, but before you do, break open the shattered glass to the left of the door to reveal a Small Valuables Stockpile. Walk through to the next room and you’ll be greeted by two Apex Burrowers and a Spikesnout. Apex Burrowers don’t have any elemental weaknesses, so make sure you aim for their weak points, such as the Resource Container or Eye. As for the Spikesnout you’ll want to be using either Fire or Purgewater Ammo and aiming for the Acid Canisters or Stamina Drain Sac.
Once you’ve defeated the machines, climb the ledges in the left corner, but you’ll need to time it to ensure you don’t fall. You’ll know when it’s about to fold inwards, as the lights will begin to blink faster.
Override the Core
Upon reaching the top, override the door to your right and you’ll find out that the purpose of this cauldron is to create Tallnecks. Rappel down to the area below and override the Network Uplink to trigger a Rollerback to spawn.
How to Defeat the Rollerback
The Rollerback is weak against Acid Ammo and resistant towards Frost and Shock Damage, so make sure you’re fully loaded on acid arrows throughout the fight. This Machine has multiple weak points, but you’ll want to focus on the Gravity Generator, Thrusters and Hammer Tail as they are easier targets to hit. Keep your distance from the Rollerback whilst firing Acid Ammo at those Weak Points, as it can unleash deadly rolling attacks. Below you’ll find out the Rollerbacks attacks and how to best avoid them:
Rolling Attack
Throughout the fight the Rollerback will roll into you at speed whilst covered in fire, so make sure to keep your distance and keep rolling away until it stops.
Tail Swing
The Rollerback will sometimes begin spinning around in circles in an attempt to hit you with its Tail, so make sure you’re not too close to avoid it. You can completely ignore this attack if you manage to destroy the tail early on in the fight.
(1 of 3) The Rollerback will roll into you whilst covered in flames.
Tail Slam
You’ll notice the Rollerback will point it’s tail in your direction and keep slamming the ground, so keep your distance and you should be fine. Like the Tail Swing, try to detach the Tail to avoid coming across this attack.
Rock Throw
The Rollerback will start rolling in one spot causing lots of rocks to be thrown across the arena, so keep dodging side to side to avoid it.
Find A Way Out
After you’ve successfully defeated the Rolleback, override the core, then drop down and climb down to the platform below. Here you’ll want to follow the path around and climb up, then override the Cauldron Door. At the end of the path you’ll want to jump between the beams to reach the room opposite. Defeat the Apex Burrower using the method you used earlier in the cauldron, then climb up and override the Network Uplink before crossing the bridge.
(1 of 2) Climb down the platform underneath the tallneck
Climb down the platform underneath the tallneck (left), then jump across the beams to reach the room on the opposite side. (right)
Find a Way To The Tallnecks Head
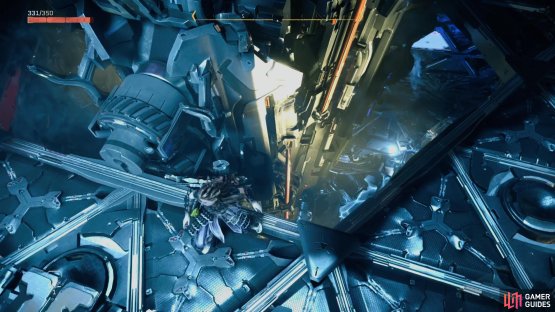
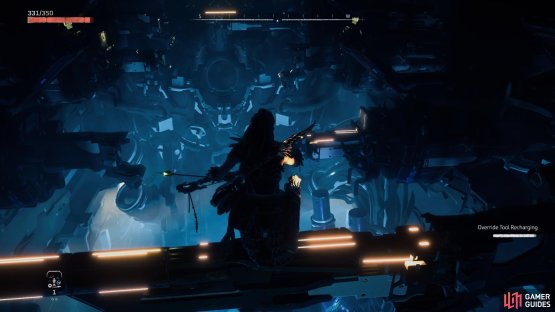
Follow the path along to the right and climb across the ledges to reach the platform on the left. Here you’ll want to jump onto the elevating platforms and wait for it to take you up to the top, then jump between them to the left to reach the platform. Rappel down at the end of the path and defeat the Scroungers and Burrowers, then smash open the broken glass at the end to find a Moderate Supply Cache.
(1 of 4) Take the elevating platforms up to the top and then jump across tot he left
Use the grapple point to the right when you exit and climb up, then take the moving platform and wait until you hover over the beam before dropping down. Walk over to the Tallnecks head and Clear the Debris by pressing Triangle 
Override the Tallneck
Follow the path along to the left and take the zip line across, then climb along the arm and override the Tallneck to complete this Cauldron.






No Comments