The primary objective of this investigation is to find and rescue Ali ibn Muhammad, a rebel leader who is suspected to have been captured by the Order of the Ancients. The path for progressing through this investigation isn’t always linear. You can choose to find Nur’s contact first, or you can find Beshi first if you prefer. Either way, we’ll guide you through the investigation as we chose to pursue it.
Ali ibn Muhammad investigation in Assassin’s Creed Mirage.
Where to Find Beshi in Harbiyah, Baghdad
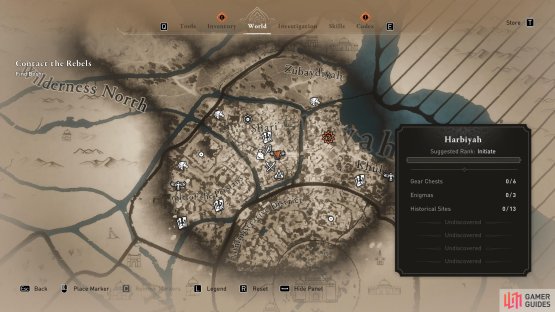
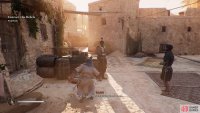
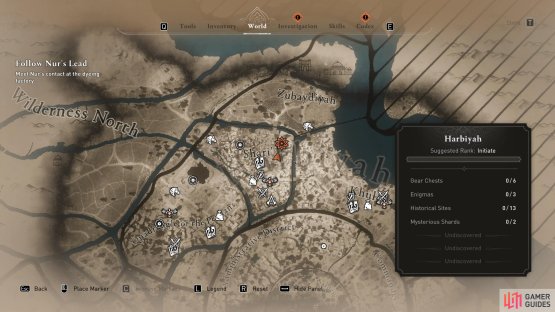
We’ll start by finding Beshi, who is located somewhere in the Khuld district of the Harbiyah region in Baghdad. This is just northeast of the Harbiyah Bureau, so you don’t have far to travel. As you approach the Upper Harbor where Beshi can be found, you can use your bird to scout his exact location in the area. You’ll see him rallying some of his rebel troops, and a cutscene will begin when you speak with him for the first time.
During the scene, you’ll learn more about the situation at hand. Some of Beshi’s rebel troops have been captured by the guards nearby, and he’s trying to figure out a way to free them. Basim will offer to free them alone, using stealth tactics, and Beshi accepts.
(1 of 2) The location of the Upper Harbor in the Khuld district of the Harbiyah region, Baghdad.
The location of the Upper Harbor in the Khuld district of the Harbiyah region, Baghdad. (left), Find and speak with Beshi, who can be found just outside the Upper Harbor. (right)
How to Free the Rebels
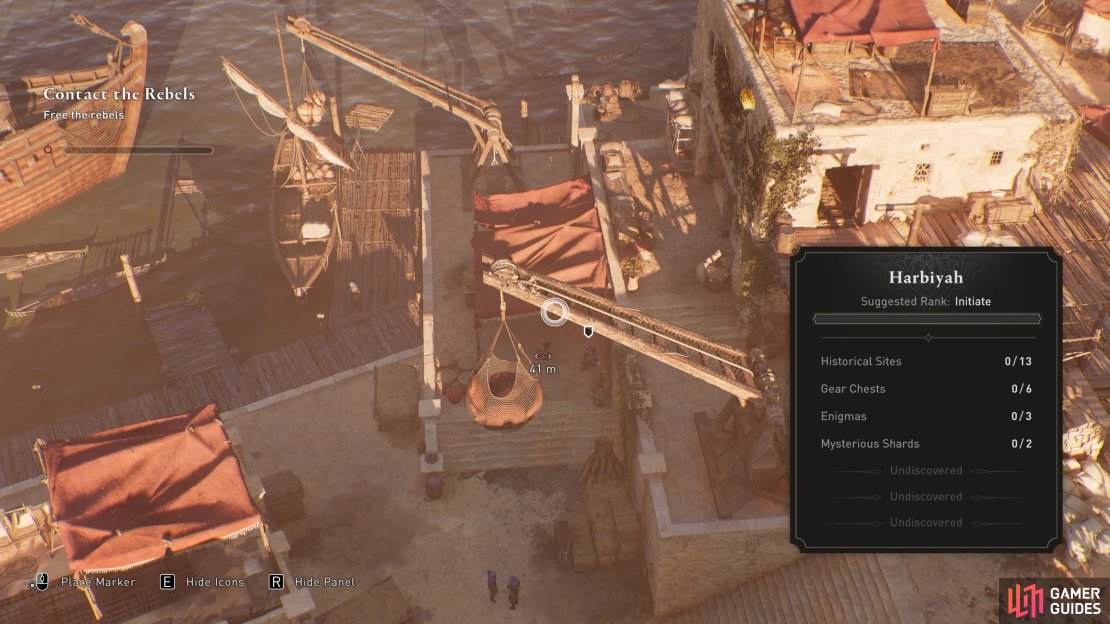
In truth, you don’t absolutely need to remain undetected while you attempt to free the rebels, but it’ll be easier if you do. You’ll see a number of hostile guards positioned around the Upper Harbor, and you can reveal their precise locations by using Eagle Vision if you prefer. You’ll also see the locations of the captured rebels. The guards will be highlighted in red, while the rebels are highlighted in orange.
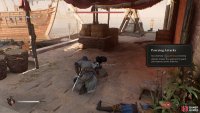
Once you’ve identified the location of the rebels, all you need to do is assassinate the guards around them. You should be able to do this fairly easily, since most of the guards are positioned far enough apart from each other so that you’re unlikely to trigger an alarm as you assassinate them one at a time. Make good use of the surrounding buildings to give yourself some cover, and be sure to crouch to remain unseen.
The tip related to using various objects to kill guards can be applied to any stealth situation, but you’ll need to make sure that the explosion or any other damage caused doesn’t also harm one of your allies, such as the rebels in this case. If a fire pot is positioned near a rebel and a guard, it’s probably best to leave it alone, and assassinate the guard in a more direct way. Once all the guards in an area are cleared, you can free the rebel prisoners and they’ll run back to Beshi. With all of them free, you can return to him at the harbor to finish this part of the case.
(1 of 3) You can use your bird to scout for rebel prisoners in the Upper Harbor.
Follow Nur’s Lead - Where to Find Nur’s Contact
Now that you’ve successfully aided Beshi, it’s time to find Nur’s contact. You already have a lead on this in the form of the likely location being at Shari’s Factory District, but you can return to the Harbiyah Bureau to obtain even more information from Roshan. She’ll tell you about a merchant contact at the dyeing factory in Baghdad, giving you a more precise location. All you need to do from here is follow the mission marker to the location, and use your bird to locate the building where the merchant can be found.
When you first enter the building at the dyeing factory, you’ll soon realize that this merchant contact is none other than Dervis - someone Basim once knew and worked for as a young man in Baghdad. He’ll welcome you with open arms as you reunite and catch up with all that has happened since those days, and he’ll provide Basim with some valuable advice related to how he can manage his guilt in healthy ways.
(1 of 2) Look for the Dyeing Factory in the Shari district of Harbiyah.
Look for the Dyeing Factory in the Shari district of Harbiyah. (left), You’ll need to use your bird to scout the exact building where the contact can be found. (right)
Look for Ali at the Khurasan Gate Guardhouse
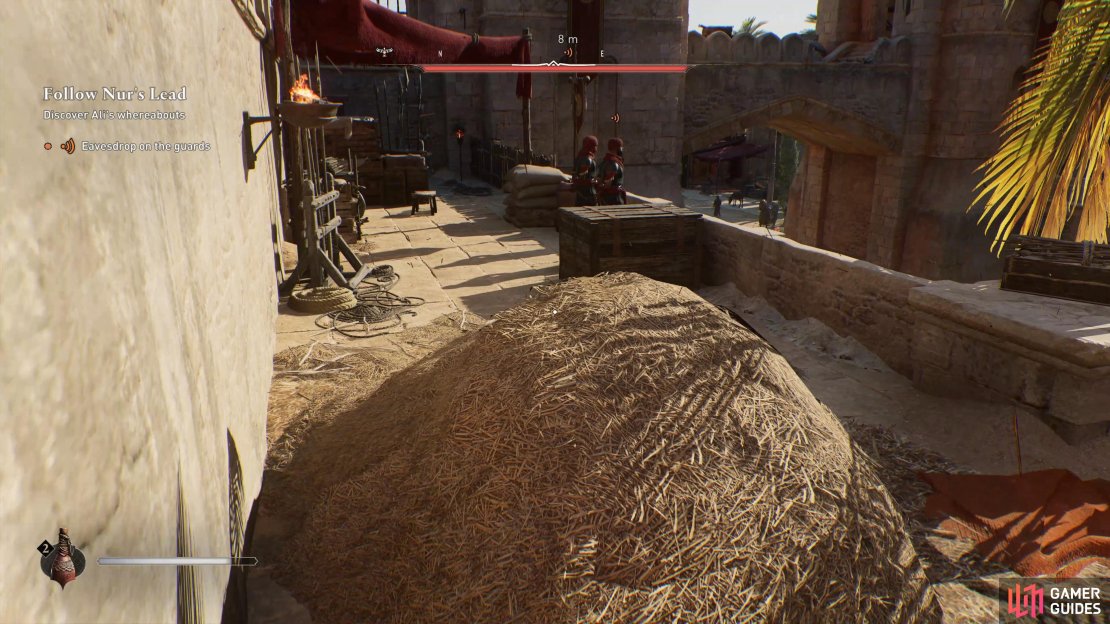
After the meeting with Dervis, you’ll learn that Ali is thought to have been taken to the Khurasan Gate Guardhouse. Follow the mission marker to reach it, where you’ll find it heavily guarded by numerous guards. If you want to obtain some relevant information, you’ll need to remain undetected while you eavesdrop on their conversation. Look for the guards with the orange sound icon above their heads (as shown in the screenshot below), then find a place where you can eavesdrop without being seen. We used a nearby haystack.
Find the Prisoner Records
After eavesdropping on the conversation between the guards, your next task is to find the prisoner records. These will be highlighted with an orange icon, but they’re located in a locked building within the guardhouse. You need to identify the guard who carries the key, assassinate them, then open the door to find the records inside. A good way of doing this is by hiding in the bushes next to the door of the building, then whistling for the guard to draw their attention. You should then be able to assassinate them to obtain the key without alerting the others.
Now that you’ve obtained the prisoner records, you have enough information to regroup at the Harbiyah Bureau and inform the others.
(1 of 3) You can hide in the haystack to eavesdrop on the guards’ conversation.
Jailbreak - Meet Fuladh Outside the Damascus Great Prison
After speaking with Roshan, Ahmad, and Fuladh at the Harbiyah Bureau, a plan will be forged for you to break into the most heavily guarded prison in Baghdad - the Damascus Great Prison - and rescue Ali. You’ll find this in the Quadrangle of the Persians district in the Harbiyah region. Go there and use your bird to scout for Fuladh, who can be found on a rooftop just opposite the prison. Speaking with him will begin a cutscene, after which you can find a way into the prison.
How to Infiltrate the Damascus Great Prison
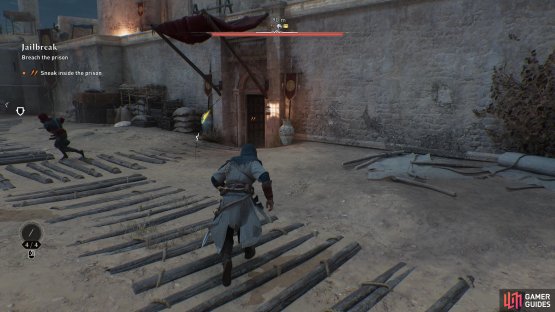
There are multiple ways in which you can get inside the prison, but the two main methods highlighted by the quest involve either hiring a musician to distract the guards at the entrance, or hiring some rebels to distract the guards at the side of the prison. You can find both of these by using your bird to scout around the periphery of the prison. We chose the latter method, which will result in the rebels immediately climbing the walls and attacking the guards, giving you time to sneak through the side entrance, as shown in the screenshot below.
Once you’re inside the prison, just follow the linear path as you make your way deeper into the cell dungeons. You’ll encounter numerous guards along the way, but you can assassinate them with ease so long as you’re careful not to alert too many at once. You’ll soon reach a courtyard area with some prisoners gathered at its center, and guards in the hallways around it. Assassinate these guards and continue through the southeast door into the next part of the prison.
(1 of 2) You can ask the rebels outside to cause a distraction by attacking the guards.
You can ask the rebels outside to cause a distraction by attacking the guards. (left), With the guards distracted, you have your chance to infiltrate the prison. (right)
How to Find the Jailer in the Prison
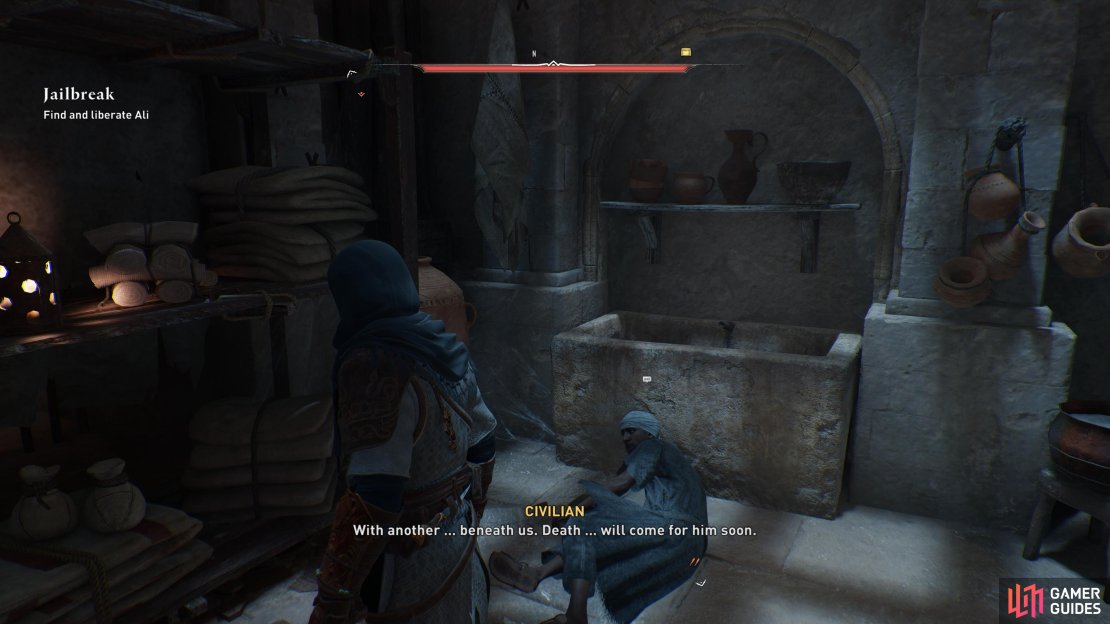
This next part of the prison leads to more cells, where you’ll find plenty of guards. Assassinate them and keep going until you find a civilian on the ground, who tells you about the cruel jailer who beat him. Your task now is to find this jailer, who is likely watching over Ali. Look directly above the civilian on the ground to see a hidden passage, and climb the shelves to reach it. There are more guards up here, so be ready to kill them.
After dealing with the guards in this new section, you need to head through the passageway to the northwest. However, rather than going down the stairs, jump on to the beams above them, then turn southwest to enter another room. You can assassinate the guard below by jumping from the beam, then go down the stairs and through the gate to the northwest.
You’re not far from Ali now, so just keep going through the hallways and follow the path down until you reach the room with the jailer. You can assassinate him from behind, then speak with Ali during the cutscene that follows.
(1 of 4) Find the civilian on the floor to learn more about the jailer.
Find the Guards Quarters
Now that you’ve found Ali and taken the keys from the jailer, it’s time to make your escape. You can head back up the way you came and use your newly-acquired keys to open the doors that were previously locked. You’ll soon find yourself entering a room which triggers a cutscene, where Ali frantically looks for a book as you hold off the guards. When the scene is done, all you need to do is escape the prison by running outside of the walls to complete the mission.
More Assassin’s Creed Mirage Guides
If you’re looking for more AC Mirage guides, be sure to check the links below.











No Comments