
This is a one-time quest available after clearing three 5-star Village Quests. By doing this quest, you’ll promote to Hunter Rank 3 and unlock 3-star Hub Quests.
You’ll get this quest from Hinoa if you’ve cleared three 5-star Village Quests while at Hunter Rank 2.
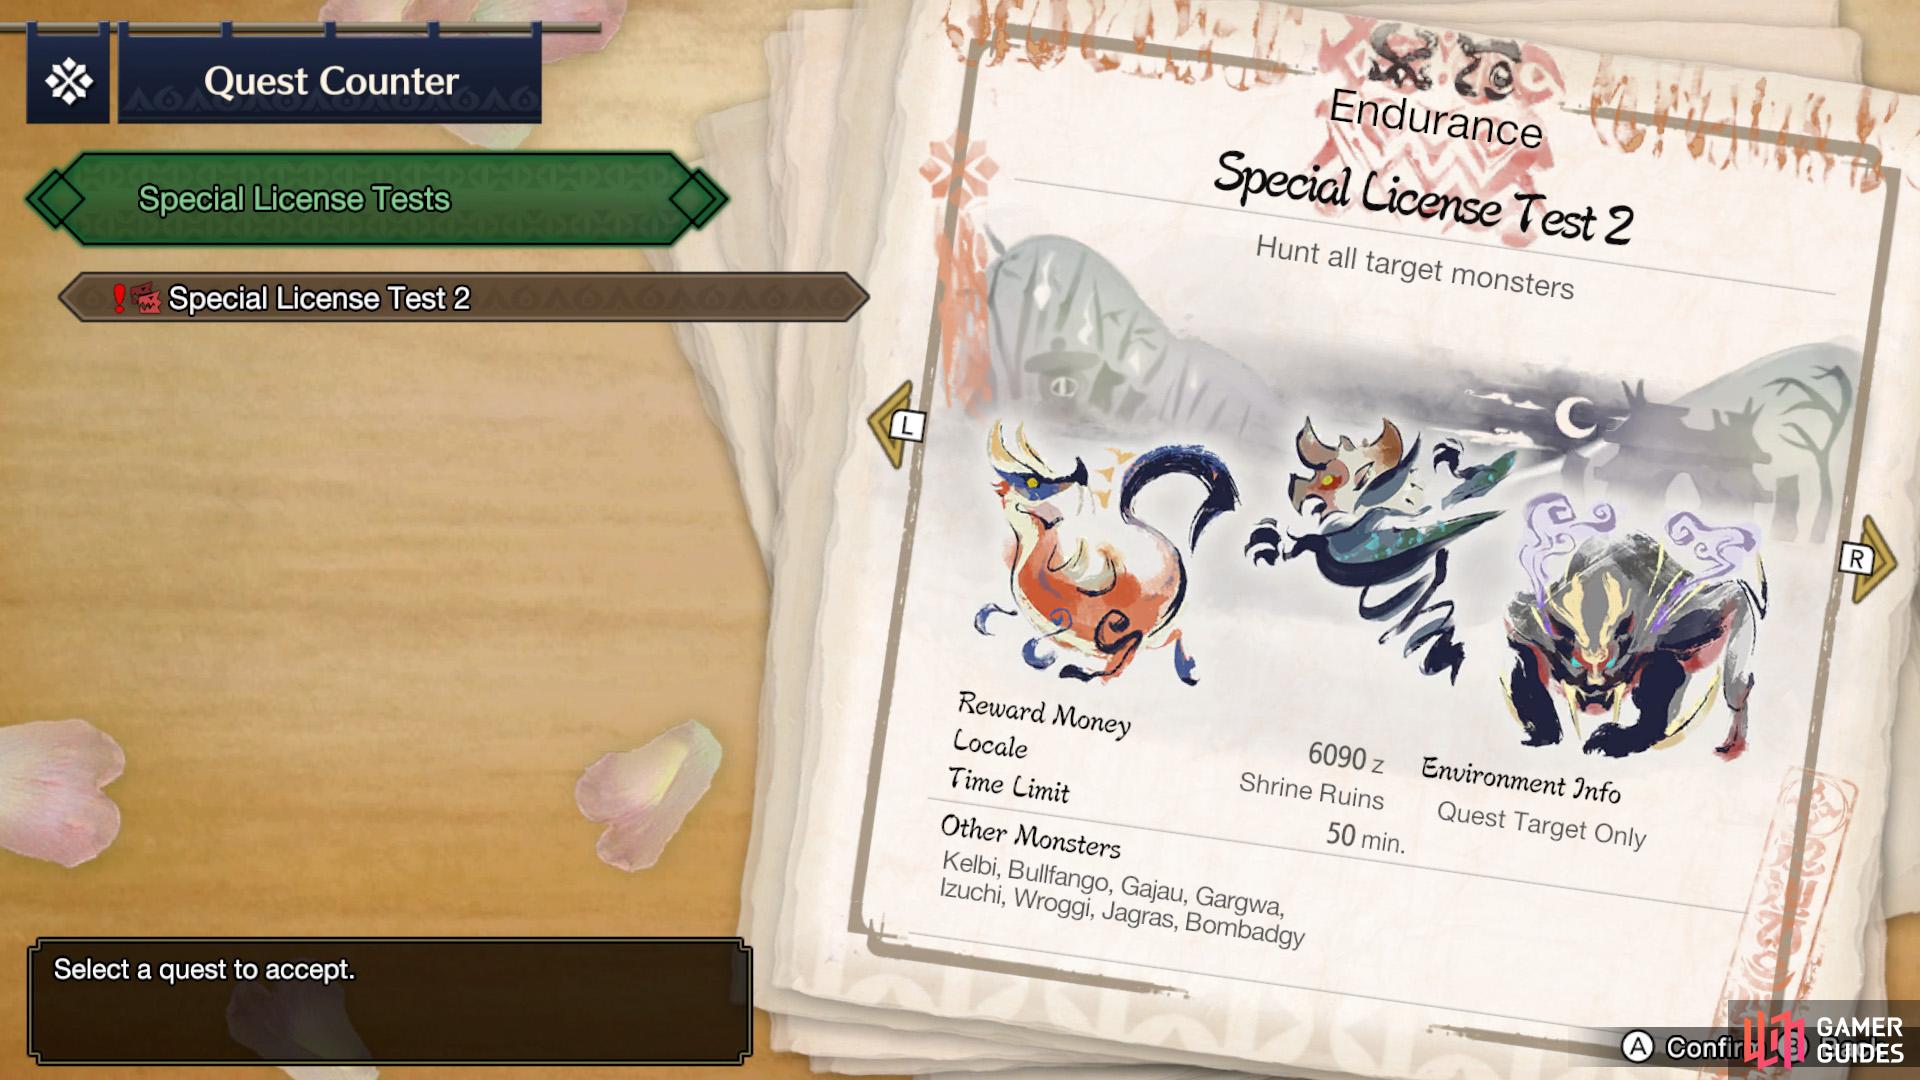
| Reward | Locale | Time Limit |
|---|---|---|
| 6090z | Shrine Ruins | 50 minutes |
In this quest, you must hunt three monsters: a Great Izuchi, Bishaten and Magnamalo. These are all monsters you’ve fought before, ranging from easy to pretty dang hard.
Unlike the Special License Test 1, only one monster–the Great Izuchi–will be on the map when the quest begins. After dealing enough damage to the Great Izuchi, Bishaten will appear. Then once you’ve damaged Bishaten a good amount, Magnamalo will finally show up.
Preparing for the Hunt

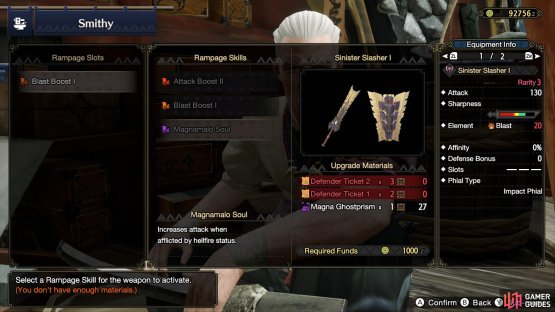
(1 of 2) Hellfire Cloak lowers hellfire damage you receive. At Level 3, it gives you hellfireblight.
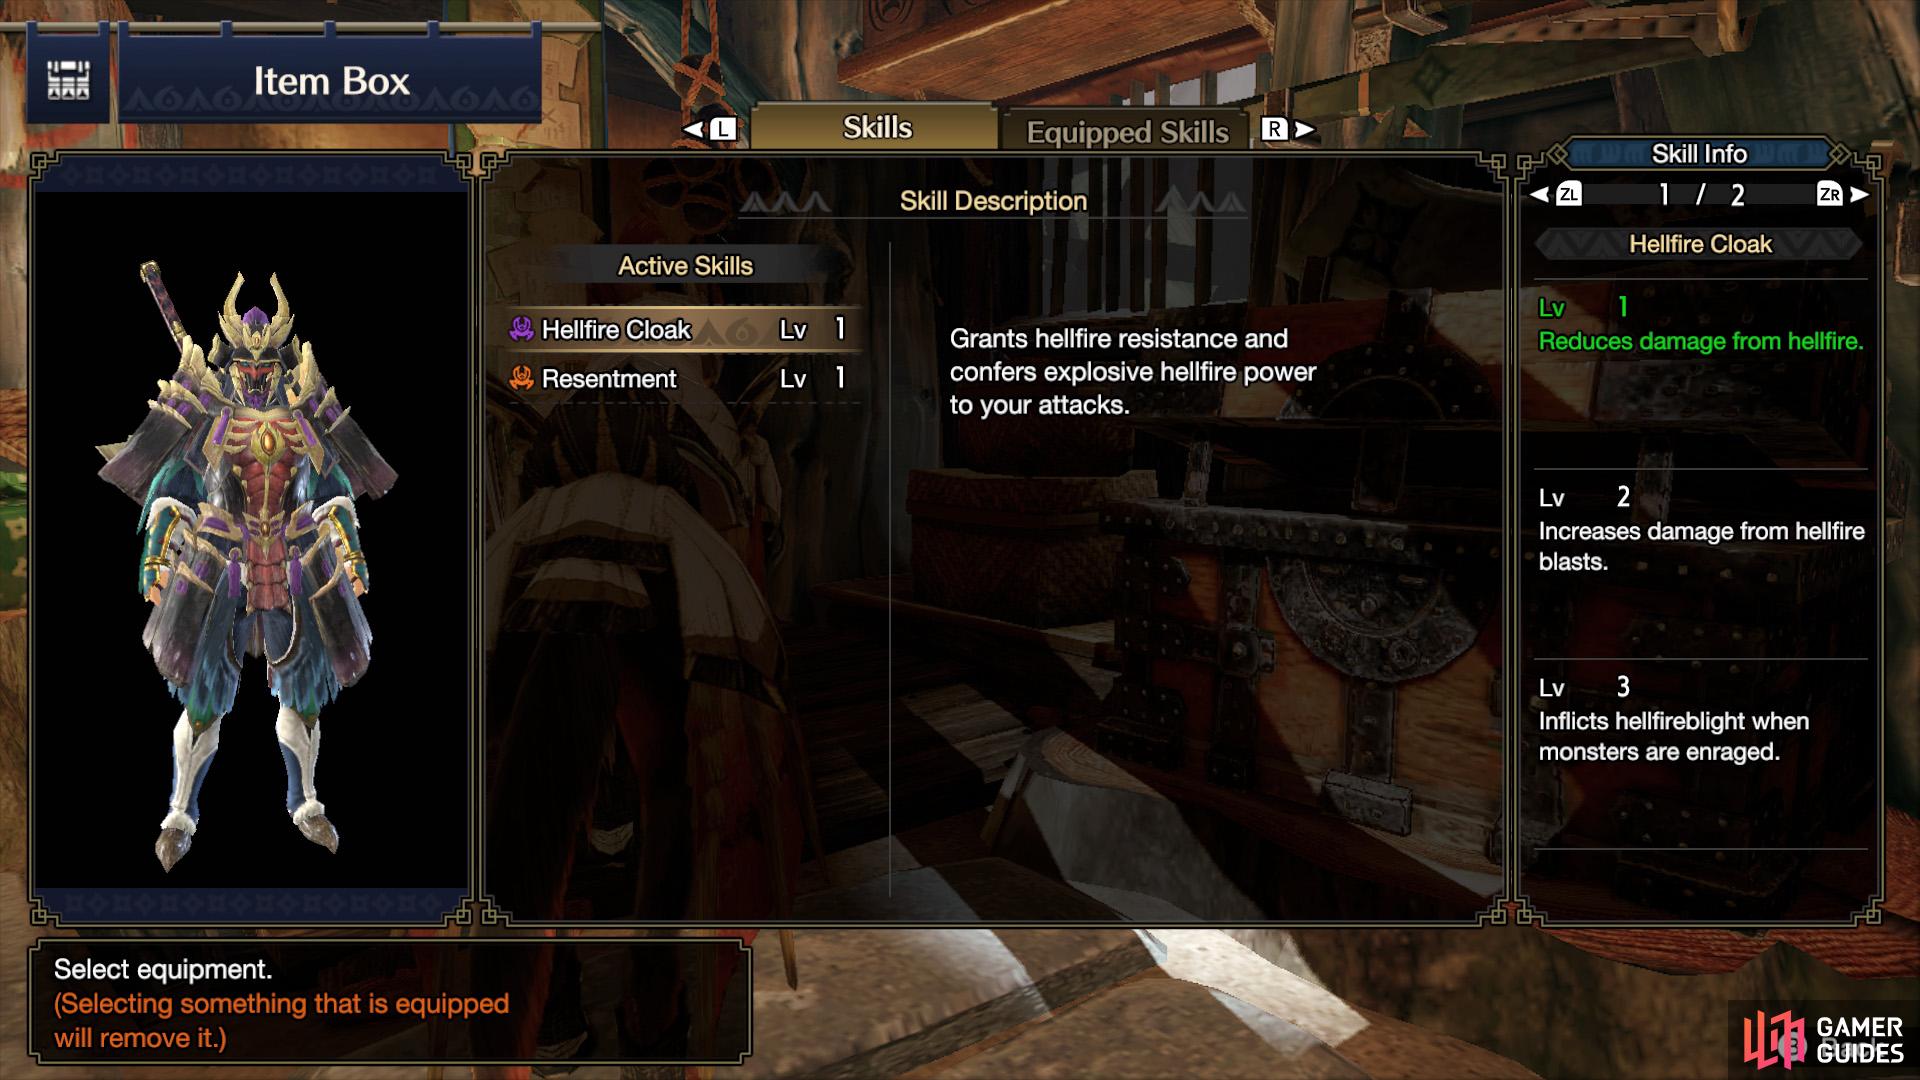
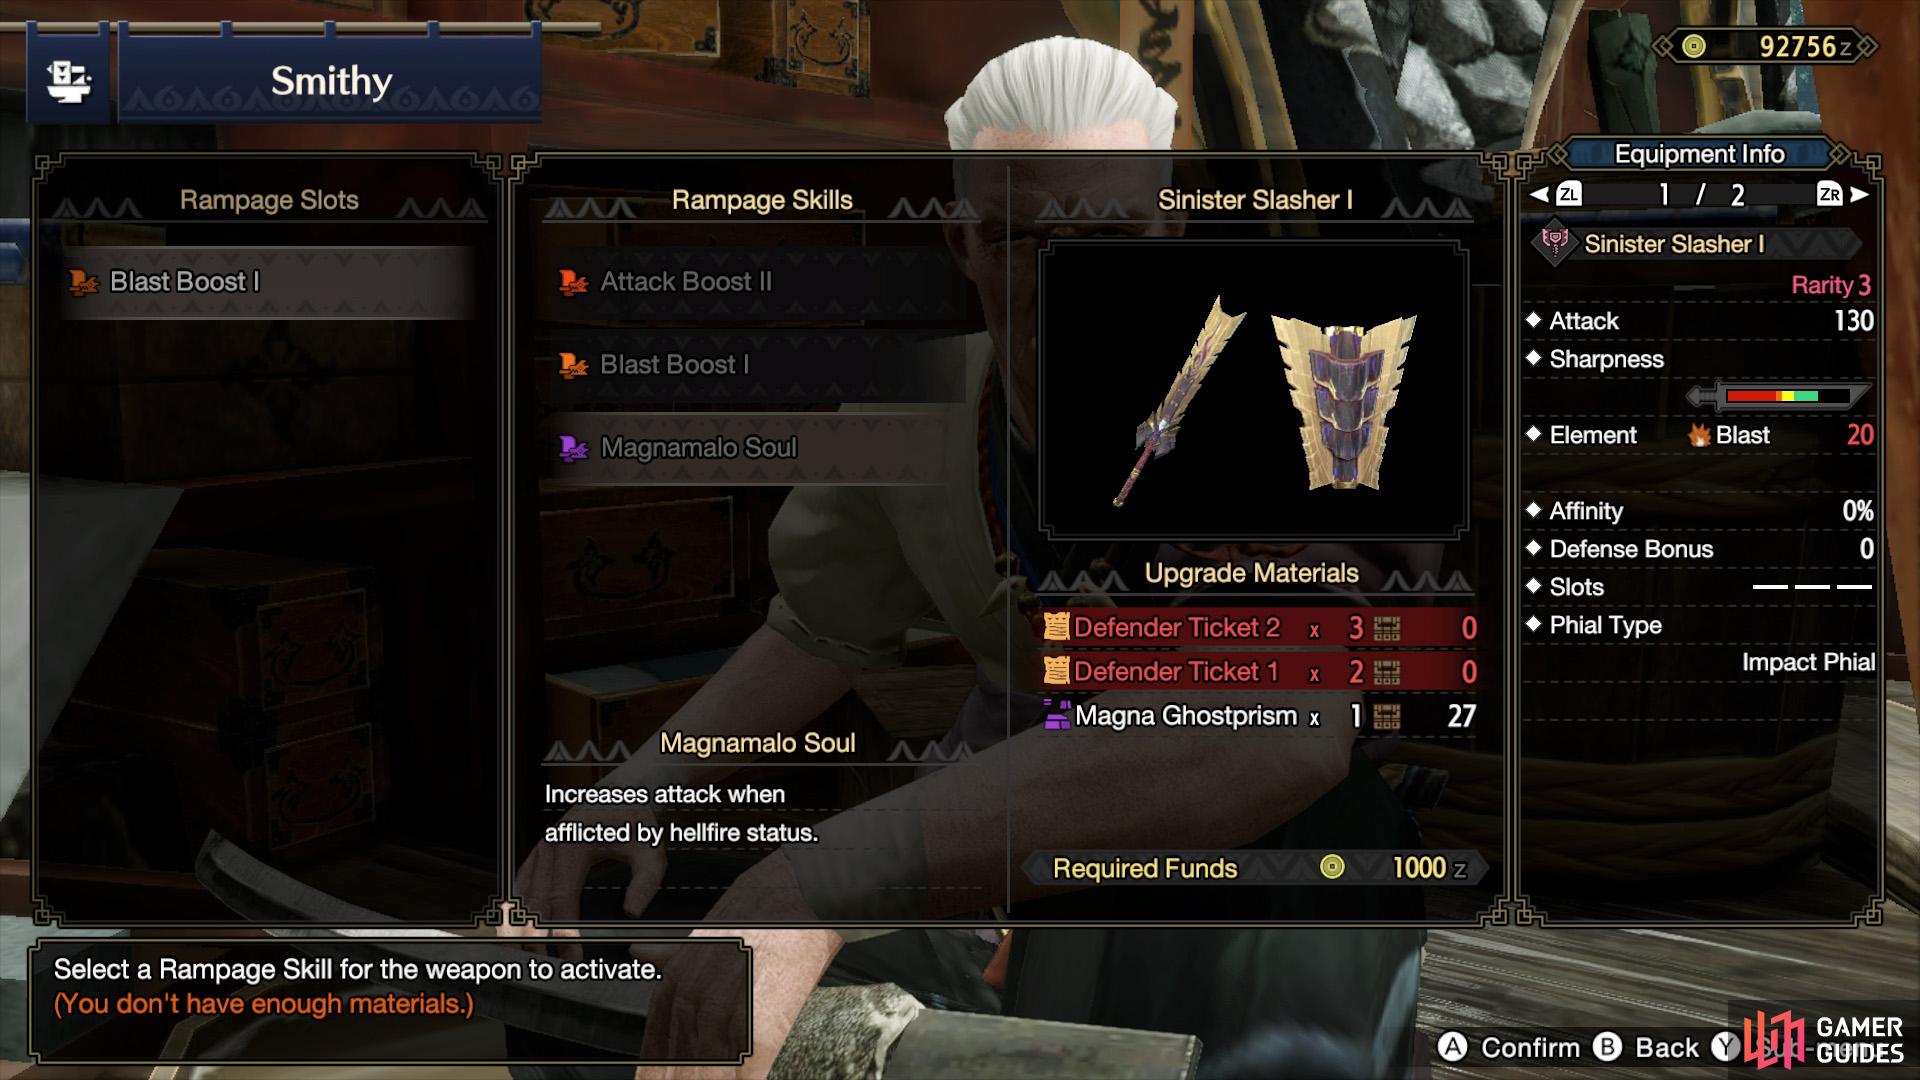
Hellfire Cloak lowers hellfire damage you receive. At Level 3, it gives you hellfireblight. (left), Why would you want hellfireblight? The Magnamalo weapons have a Rampage Skill that requires it. (right)
At this point, the Great Izuchi and Bishaten should barely register as a threat. However, Magnamalo is still a major menace. As such, you’ll want to focus most of your preparations towards Magnamalo. If you have any Magnamalo armor, especially the ones with Hellfire Cloak, they can weaken the damage from Magnamalo’s hellfire attacks.
Early Stages of the Hunt
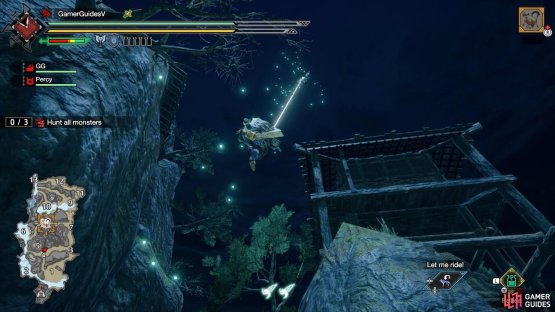

(1 of 2) There are two Great Wirebugs between Areas 4 and 5 that you can use to climb up the tall mountain.
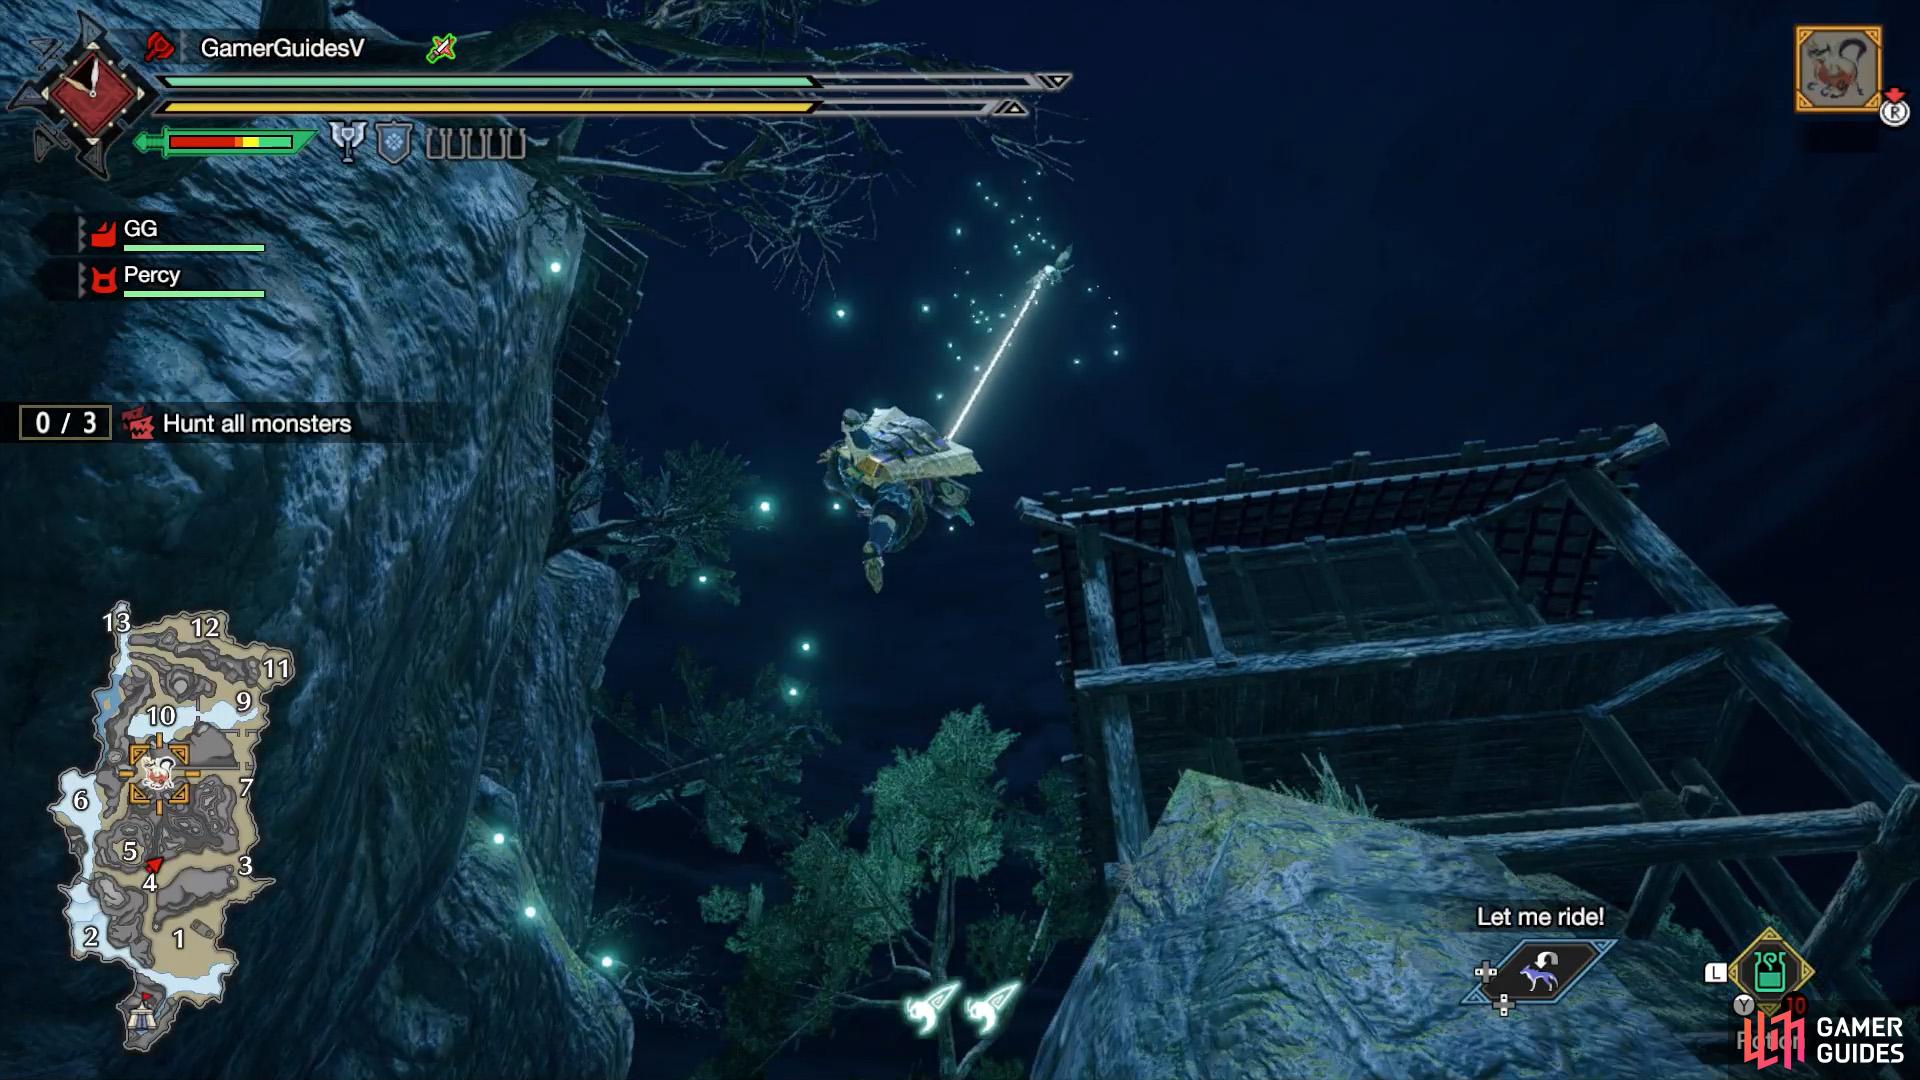
There are two Great Wirebugs between Areas 4 and 5 that you can use to climb up the tall mountain. (left), Hmm, think the Great Izuchi’s seen us? (right)
Each monster will spawn in a random location, but there are some areas where they’re more likely to show up. From what we can tell, the Great Izuchi usually starts in Area 4 or 8. If it’s in Area 4, that’s pretty close to the base camp. But if it’s in Area 8, you’ll have to go around (or through) the mountainous zone in the center, which can take some time.
Meanwhile, Bishaten likes to appear in Areas 3 and 6. Last but not least, Magnamalo seems to frequently show up in Area 9, although we’ve spotted it in Areas 6 and 12 as well. By the way, it’s possible for new monsters to spawn in the same area you’re currently at. A good example is if you’re fighting Bishaten in Area 6, then suddenly Magnamalo comes in and says “hi”.
As a reminder, you’ve got 50 minutes to hunt all three monsters. However, for multiple monster hunts like this, the target monsters have reduced HP. So you won’t be spending three times the amount of time. Chances are, the Great Izuchi and Bishaten should take a few minutes each, but Magnamalo will eat up most of your time.
Strategy
To re-iterate, you’ve fought all three monsters before and the strategy to beat them is the same. If you’ve forgotten or need a hint, please check out each monster’s individual page (linked above).
Anyway, since all three target monsters aren’t on the map to start with (and there are no other large monsters), you can’t begin a fight by Wyvern Riding. Fortunately, the Great Izuchi should be a piece of cake to fight normally.
Besides, once you’ve dealt enough damage to the Great Izuchi, Bishaten will show up. Which means Wyvern Riding is back on the table! You probably don’t need to use Wyvern Riding to beat the Great Izuchi or Bishaten, since they’re that easy, but Magnamalo is a different beast altogether. Before you slay or capture Bishaten, grab a Stinkmink and lure it to Magnamalo. Then sit back and see how the turf war unfolds.
If Bishaten is stunned, great. You can wallop Magnamalo with it, then you can either run off to finish off Bishaten or focus on Magnamalo, then hunt down the wounded Bishaten later. In the event that Magnamalo gets stunned, ride it and then launch it into Bishaten, so Bishaten is stunned. Then switch over and ride Bishaten. Magnamalo should be trapped by the wires, so it’ll be a sitting duck.
Other than that, since you have to fight so many monsters, don’t hesitate to retreat to your base camp and use the tent to restock on supplies. If you prefer to capture your monsters, you’ll need to return to the tent anyway after capturing the first two monsters, to grab some more traps.

 Sign up
No Comments