
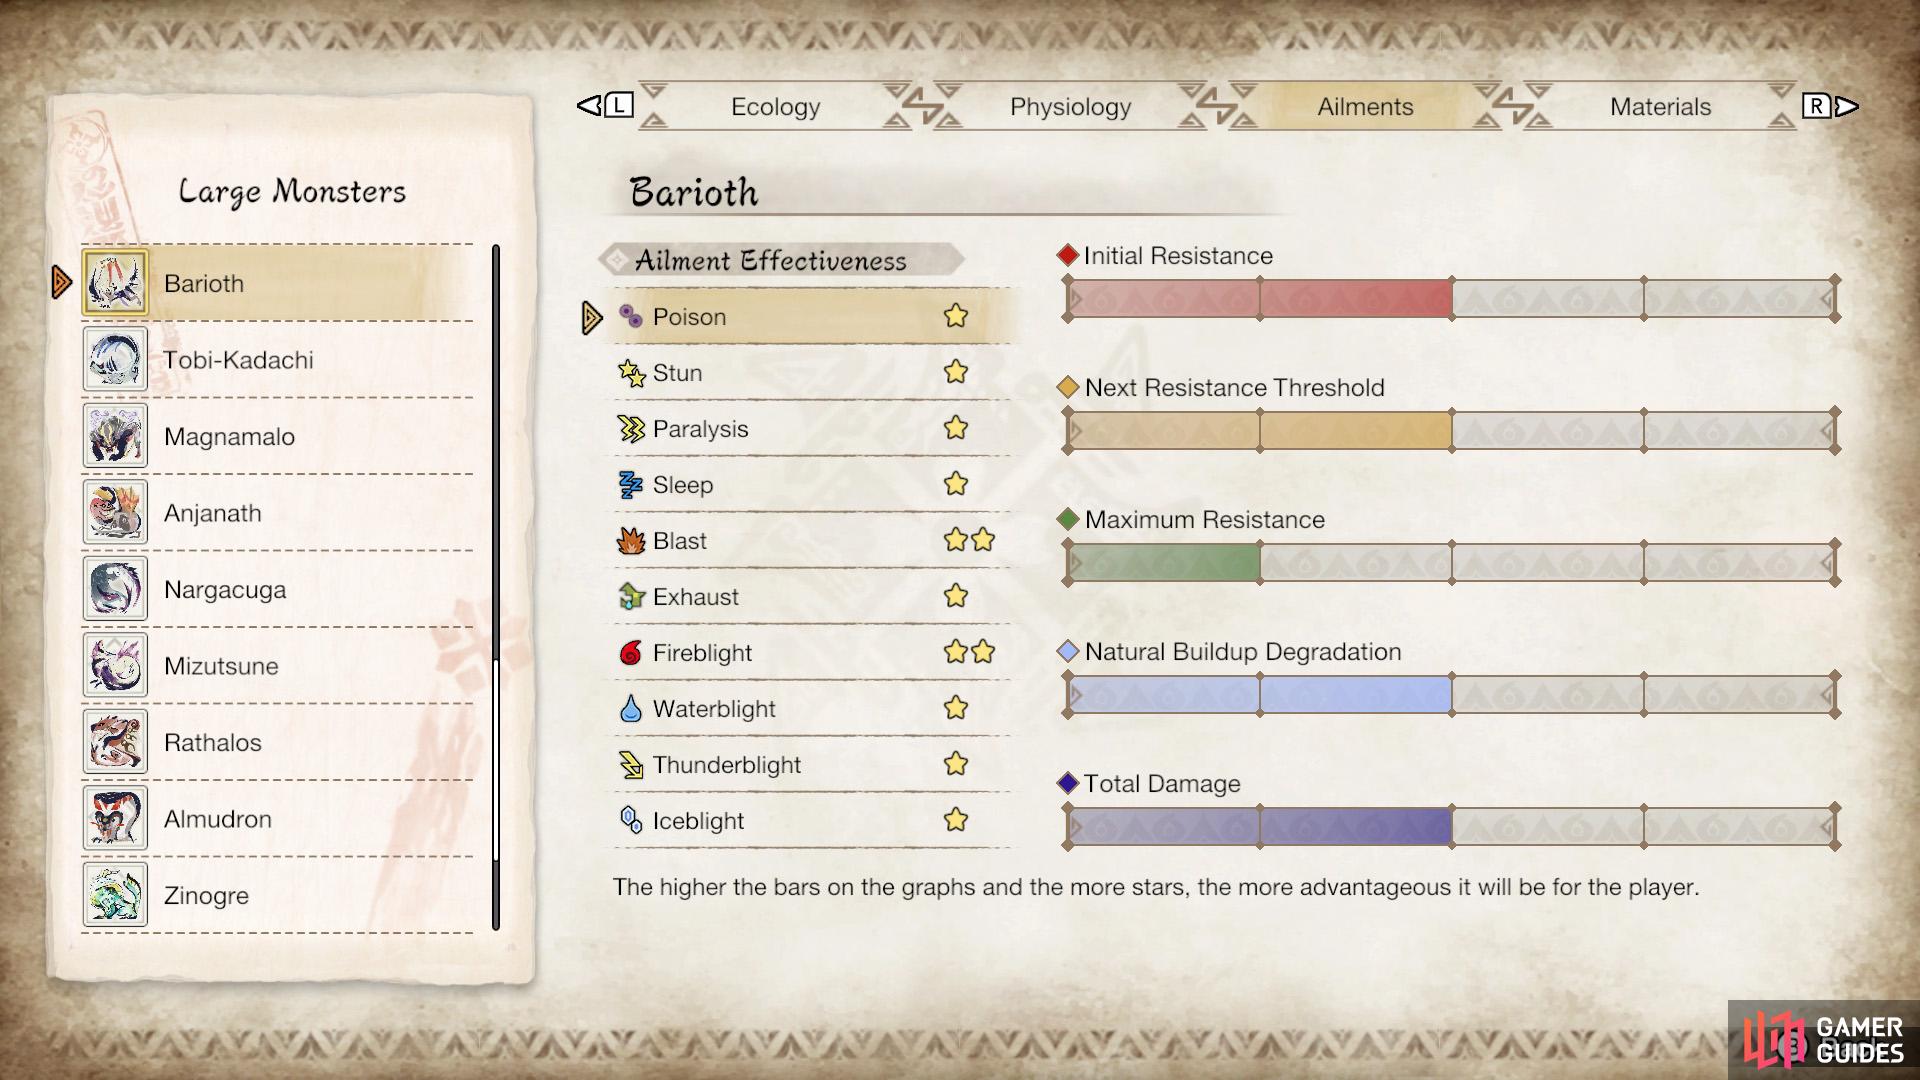
Barioth is a Flying Wyvern introduced in the 3rd generation of Monster Hunter games. It’s encountered in the Village Quest, Raging White-out.
Overview
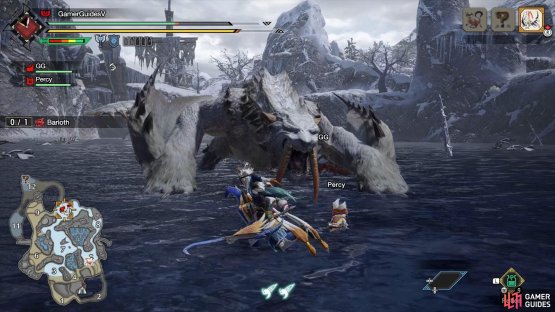
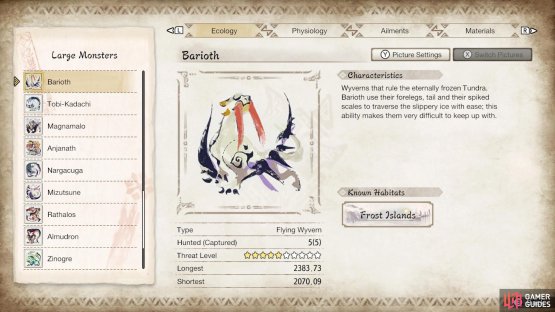
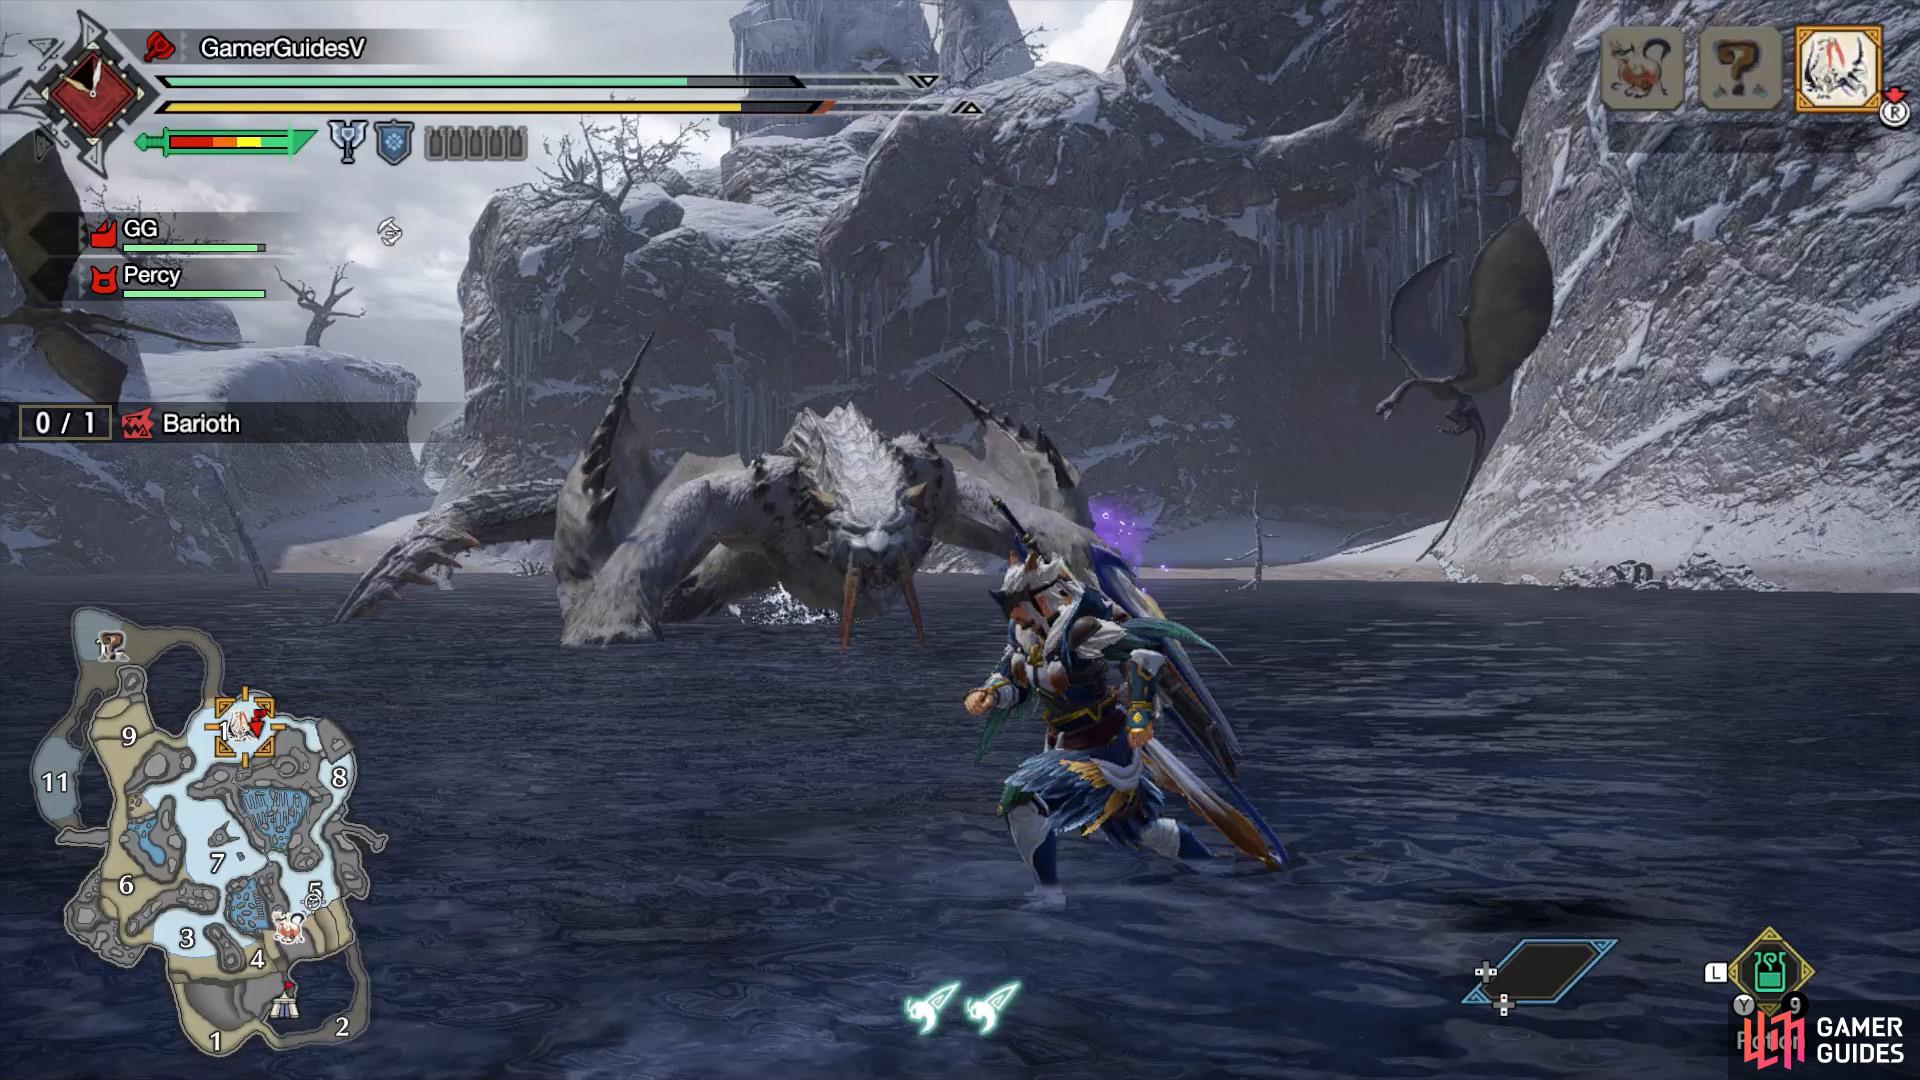
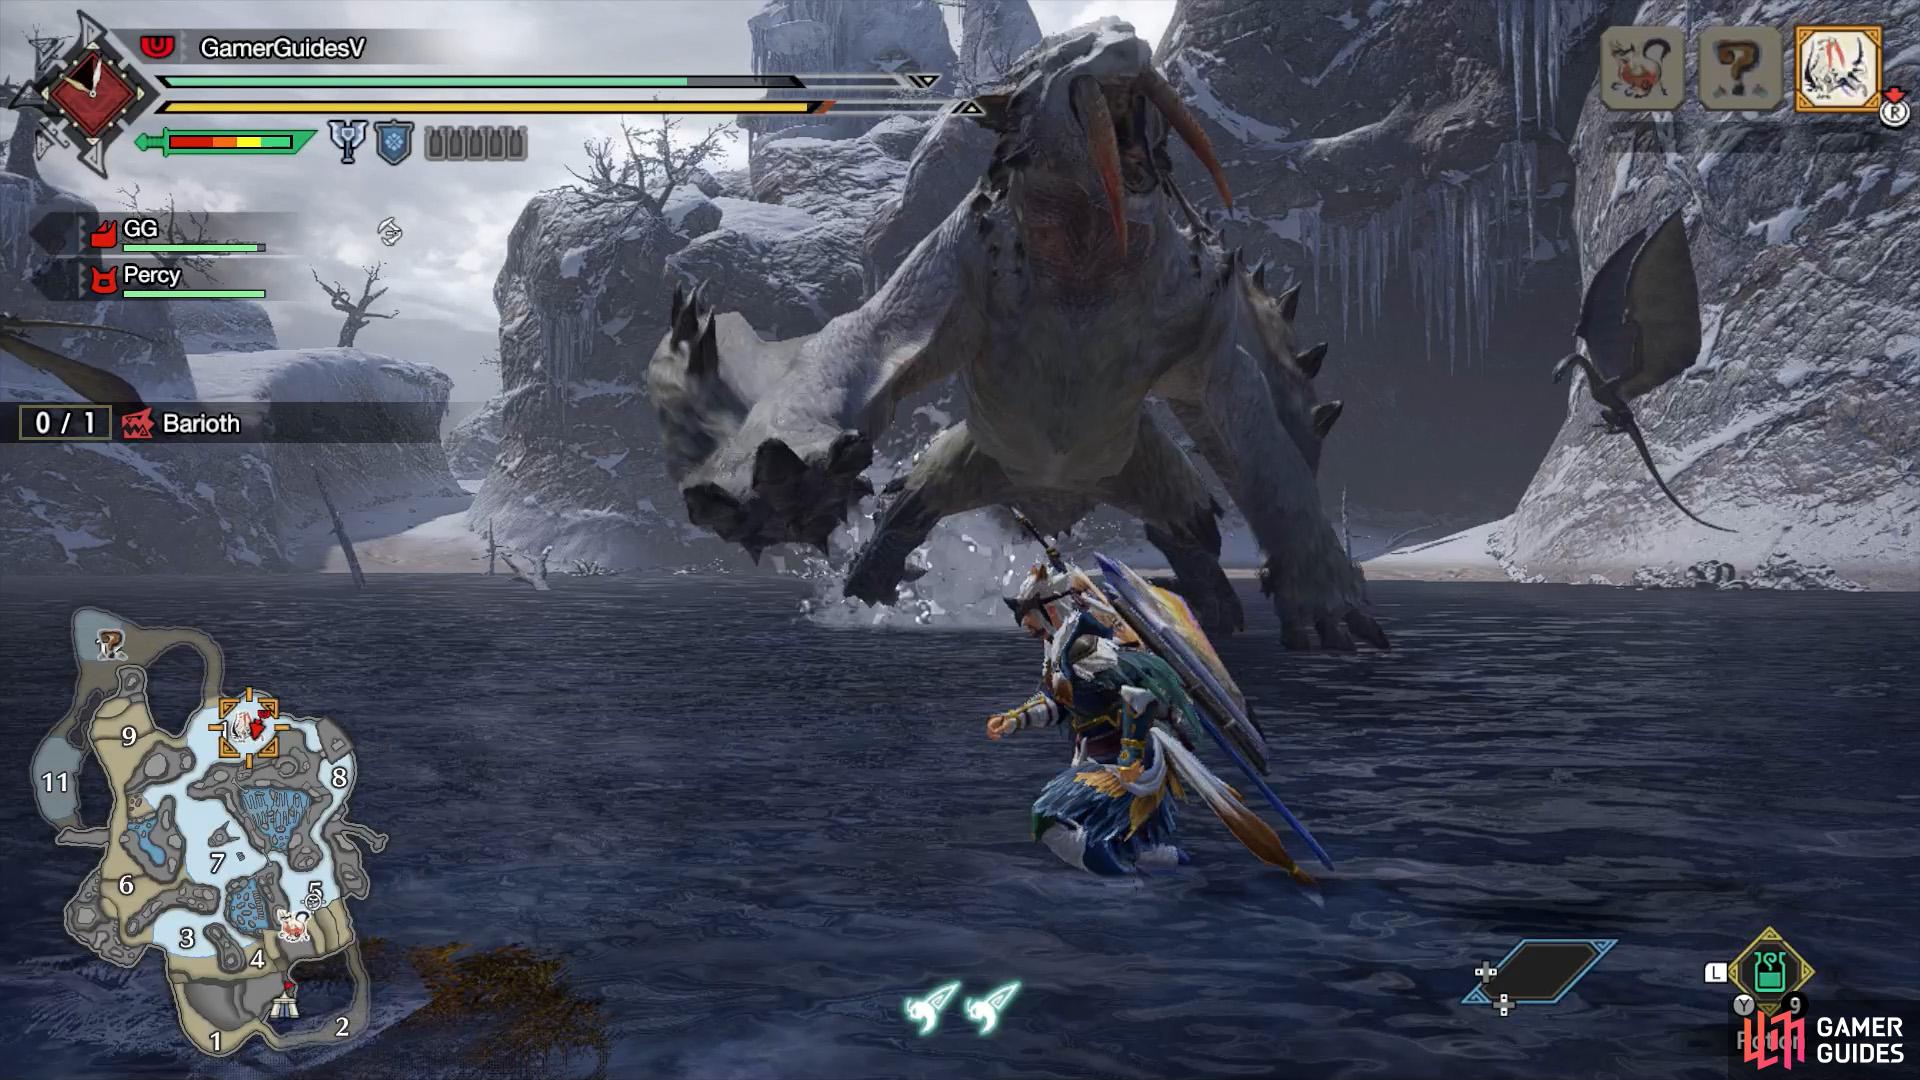
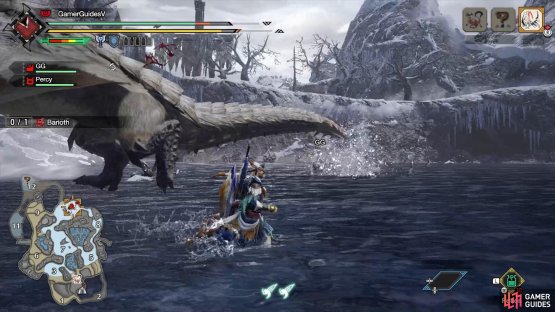
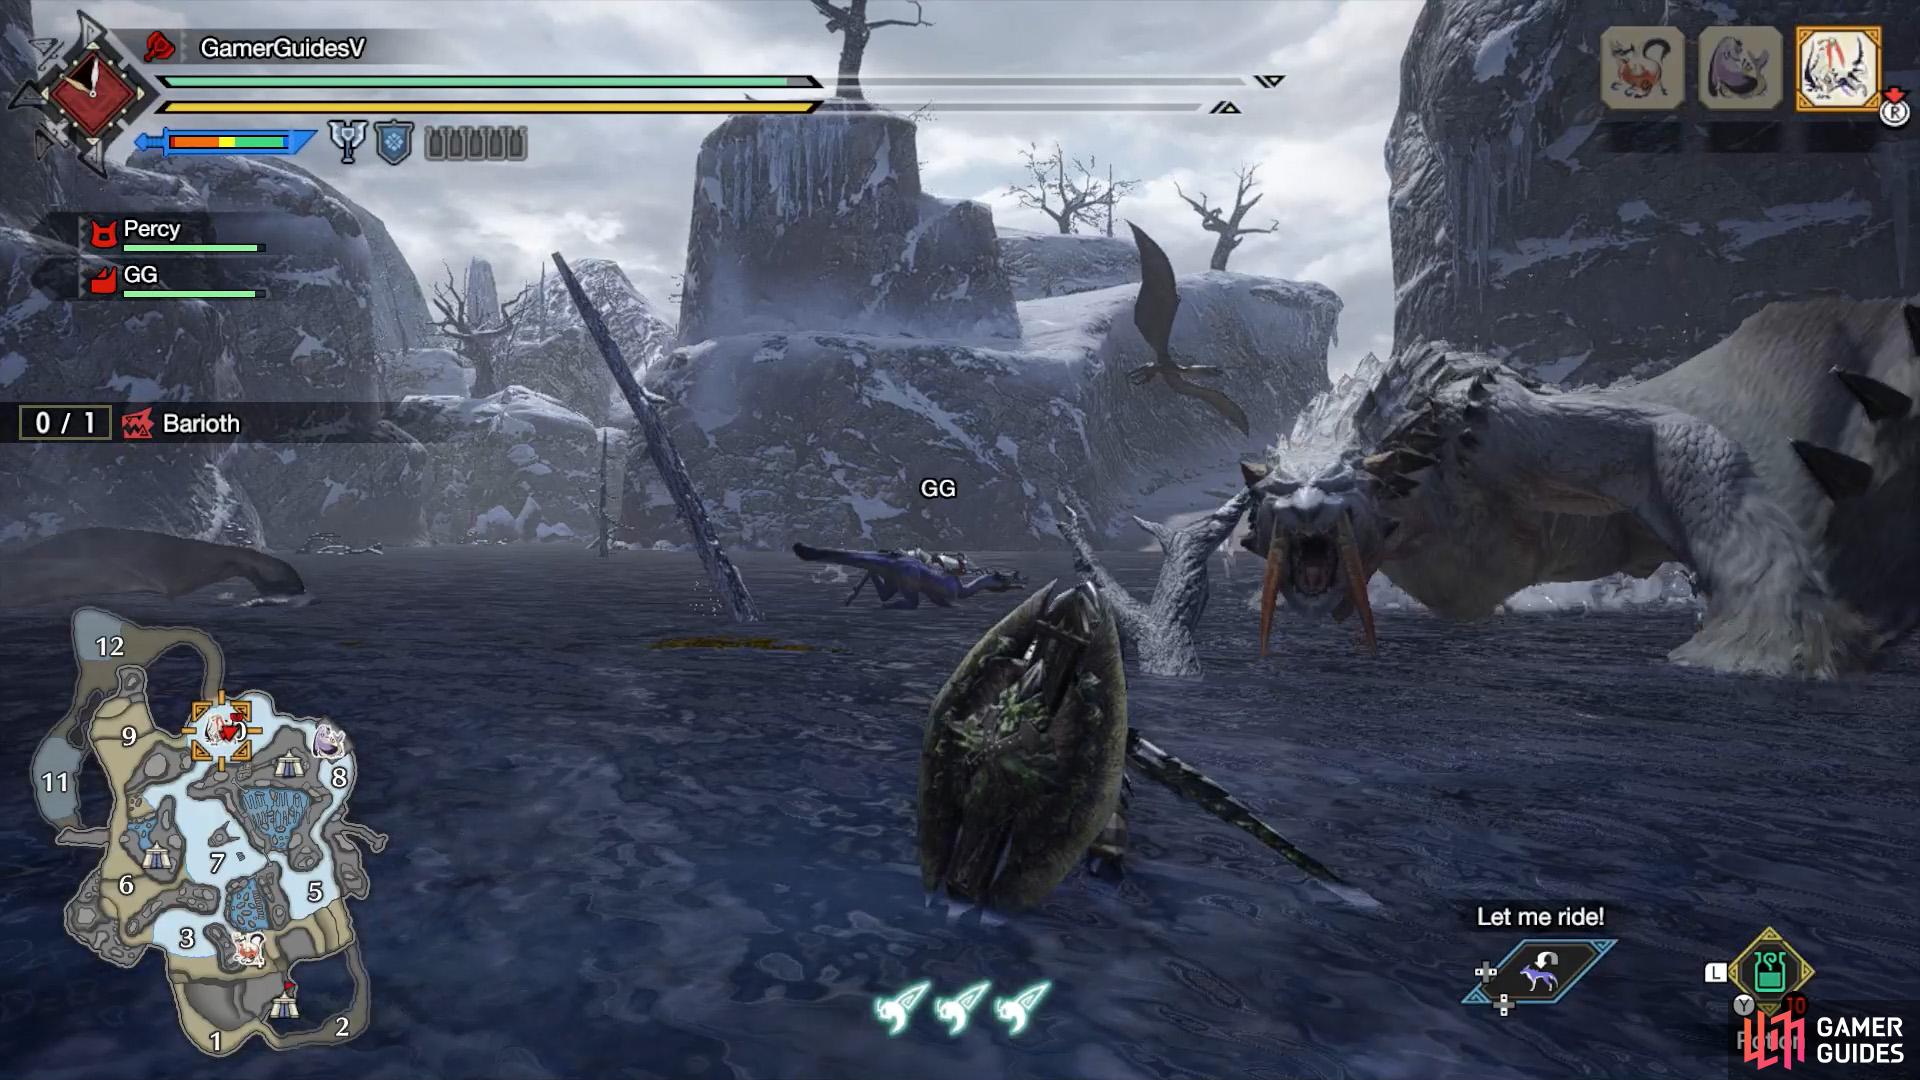
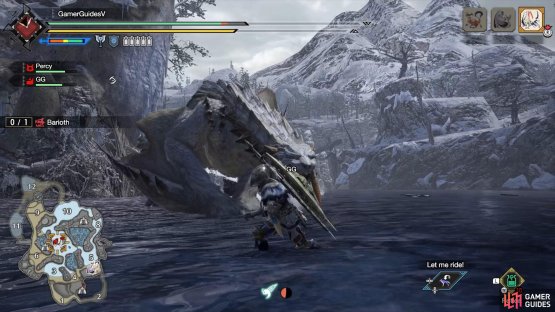
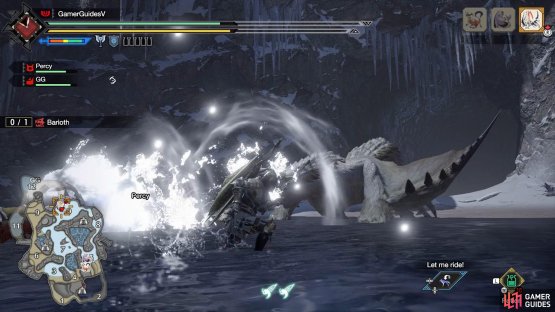
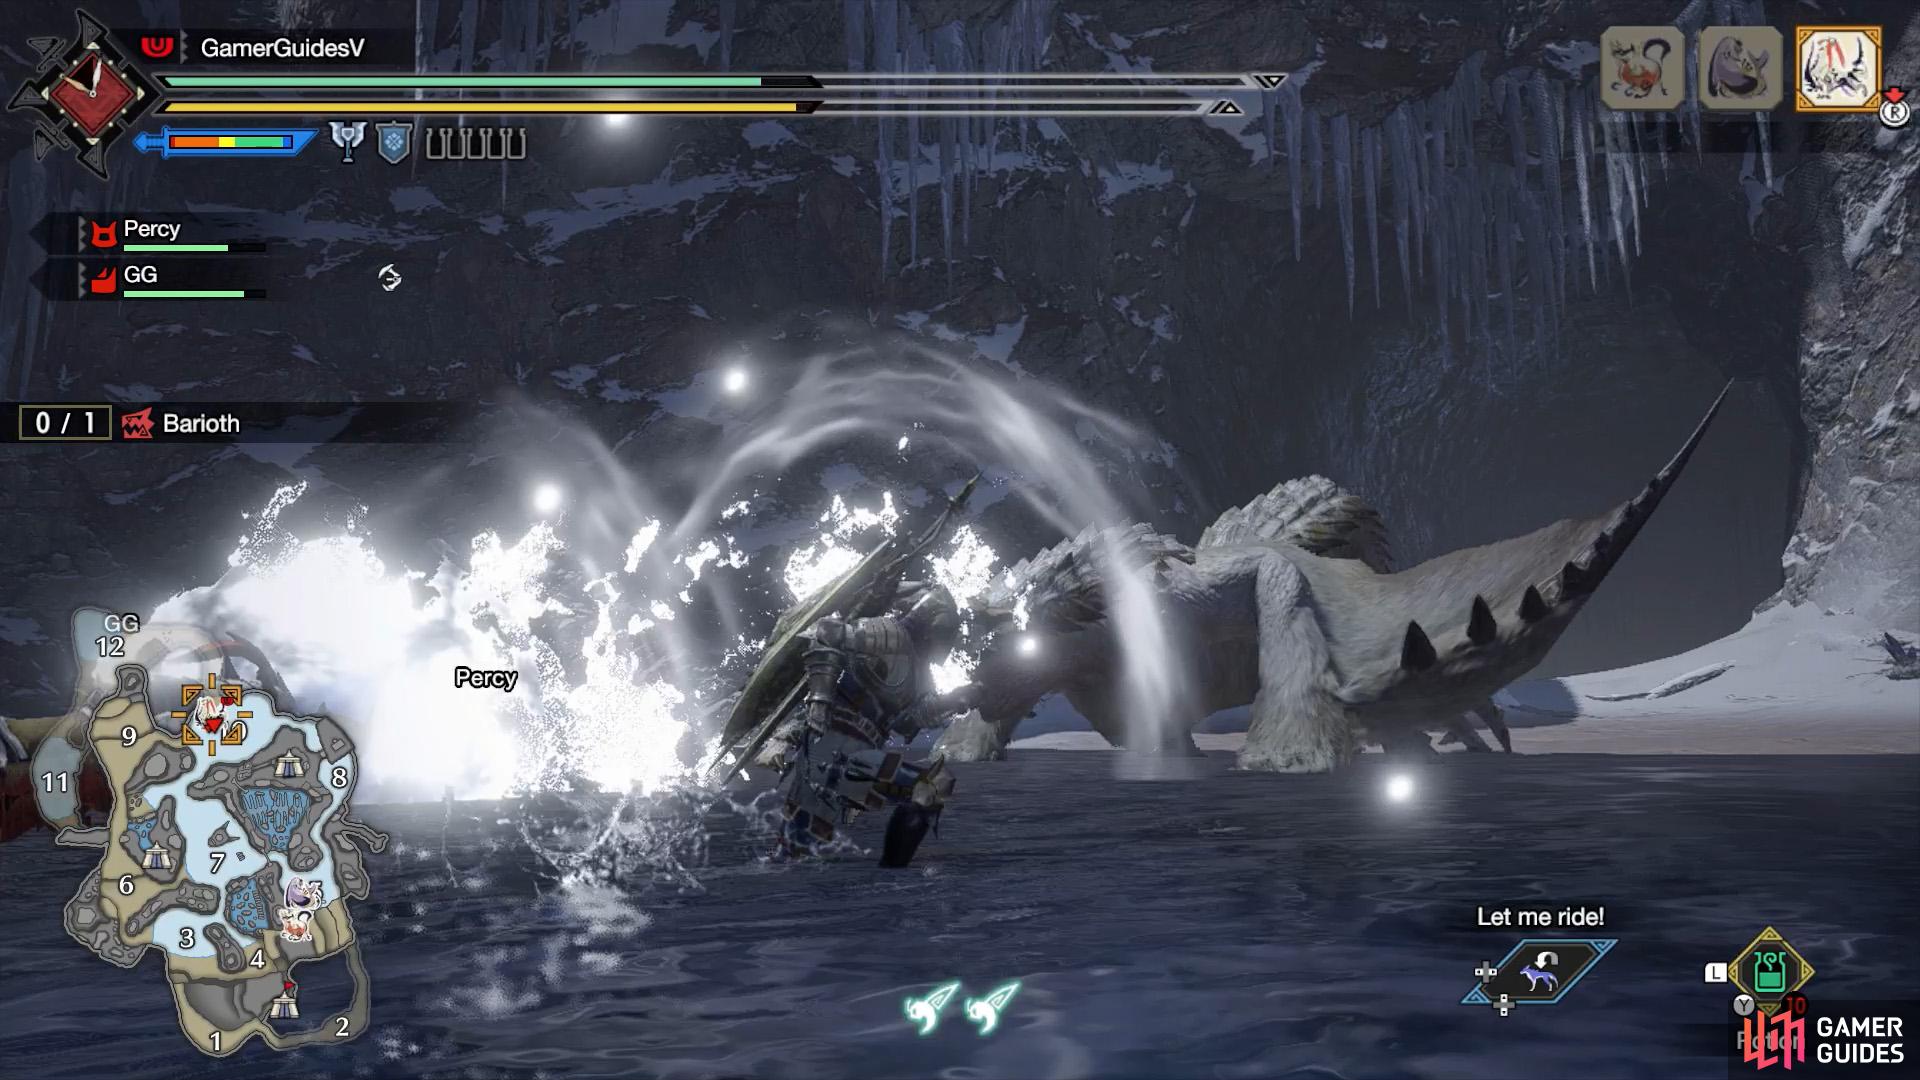
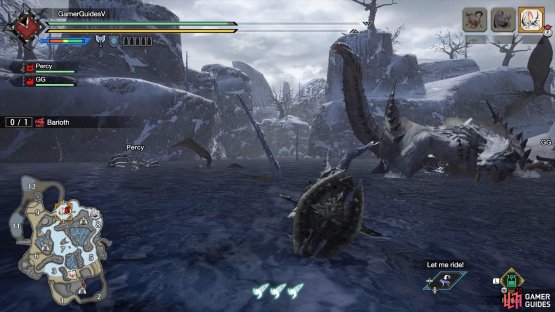
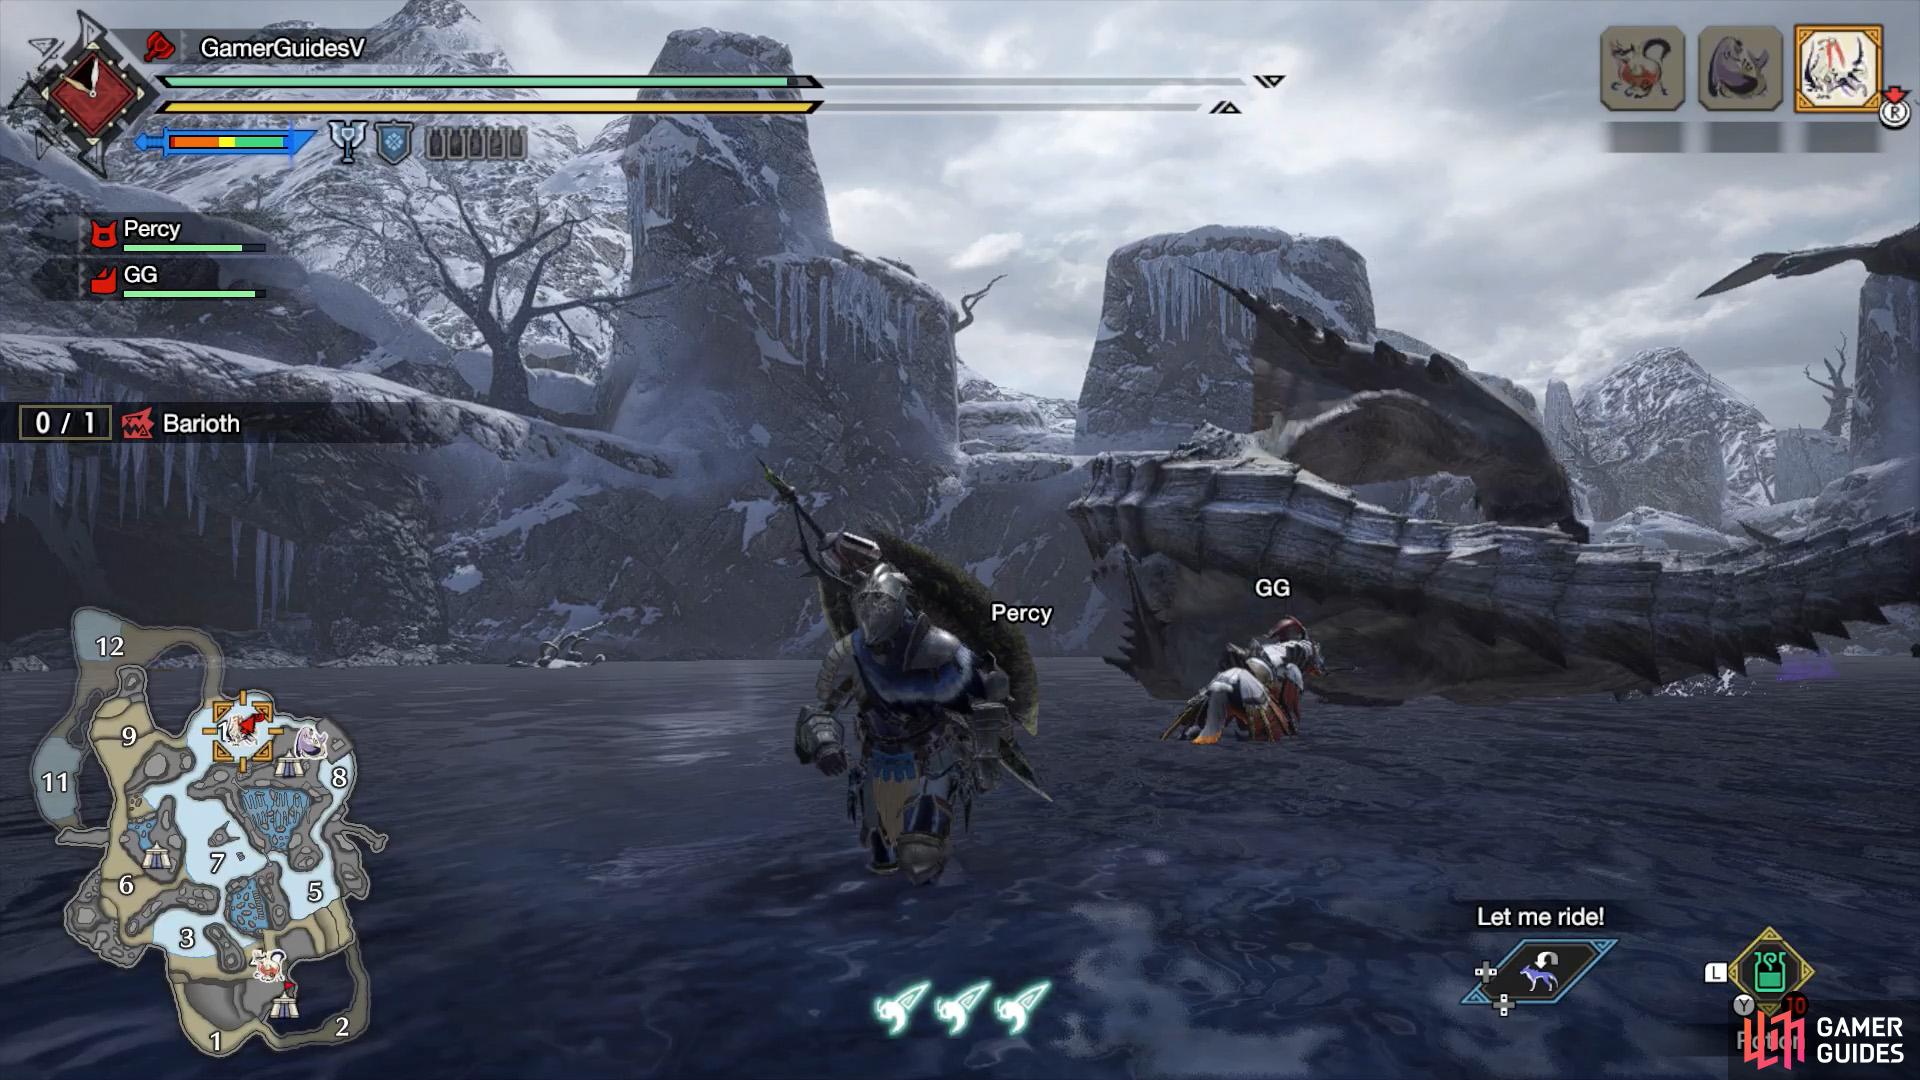
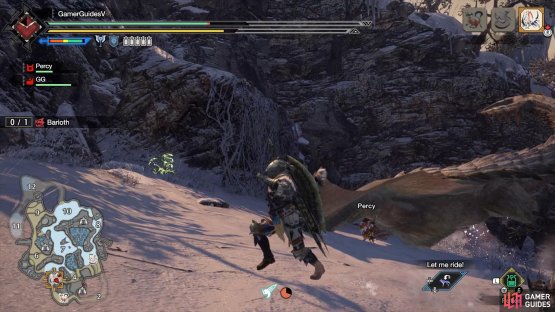
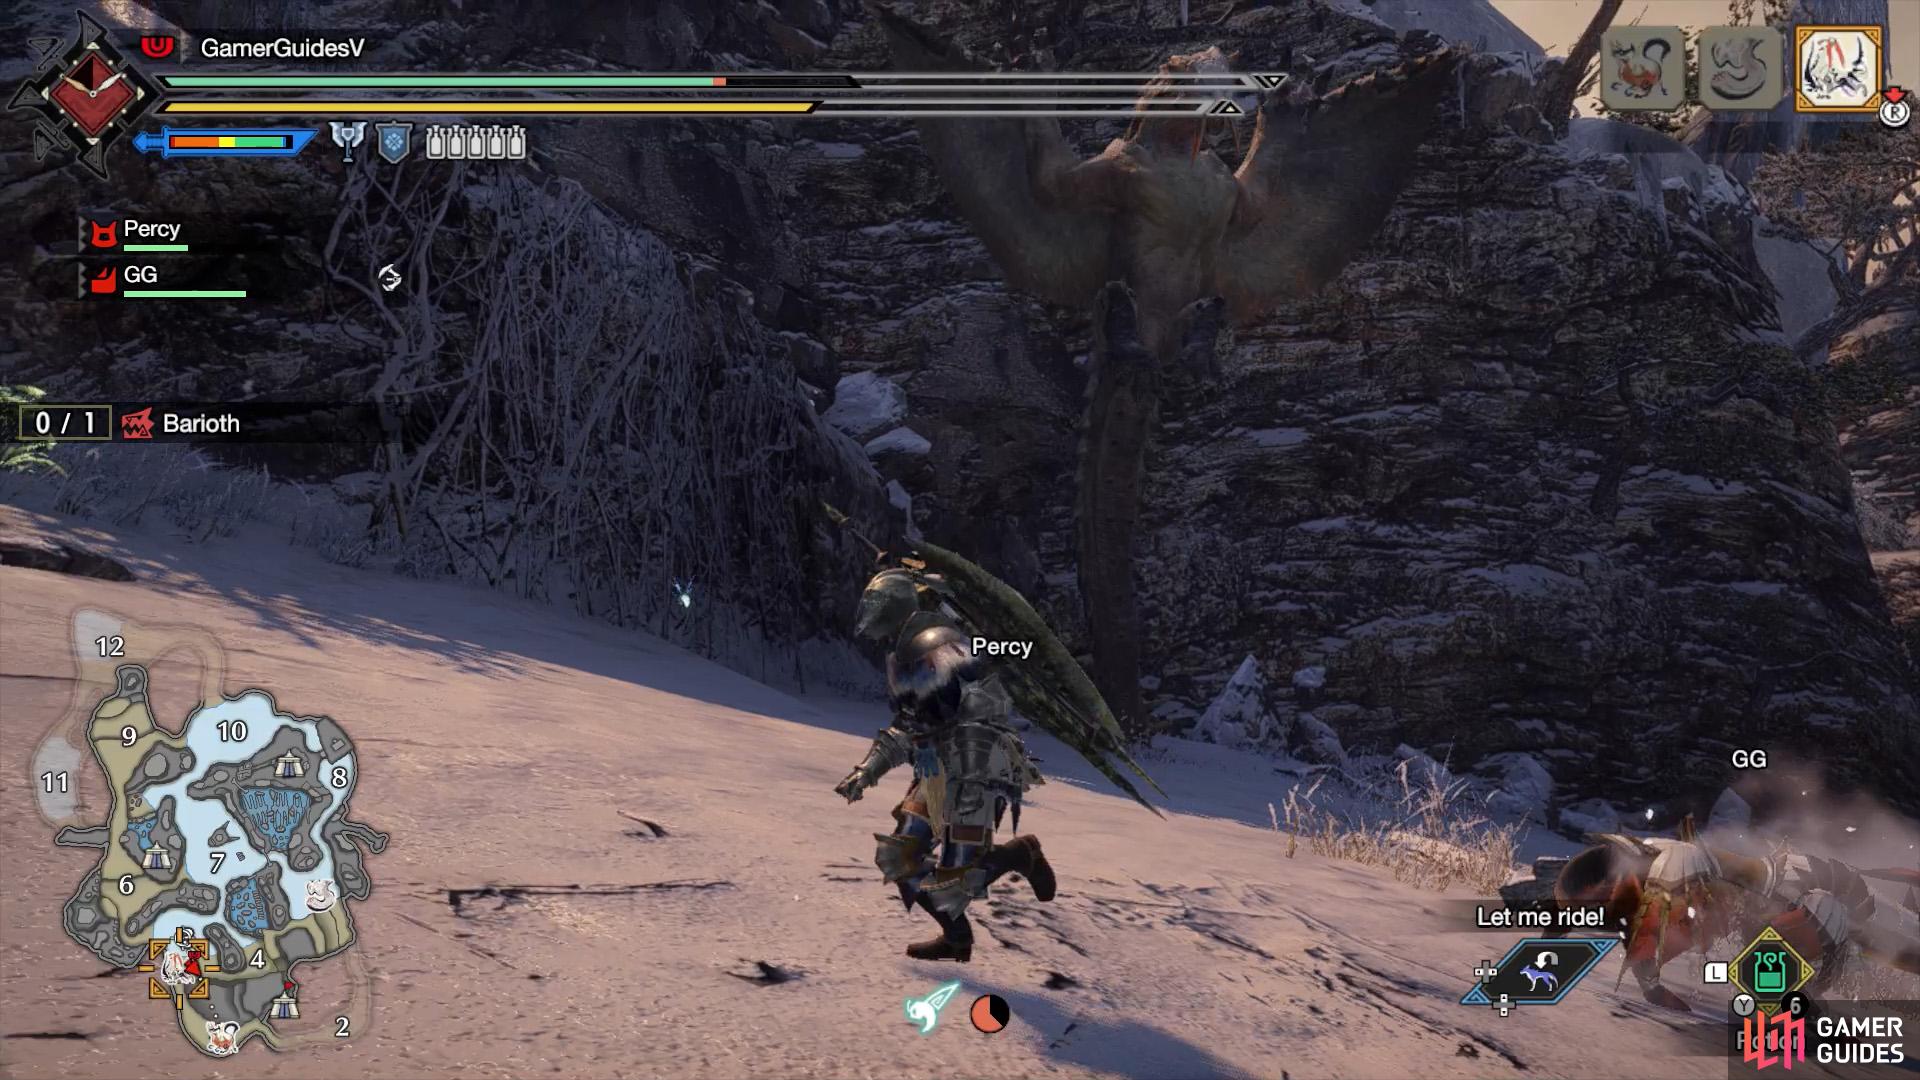
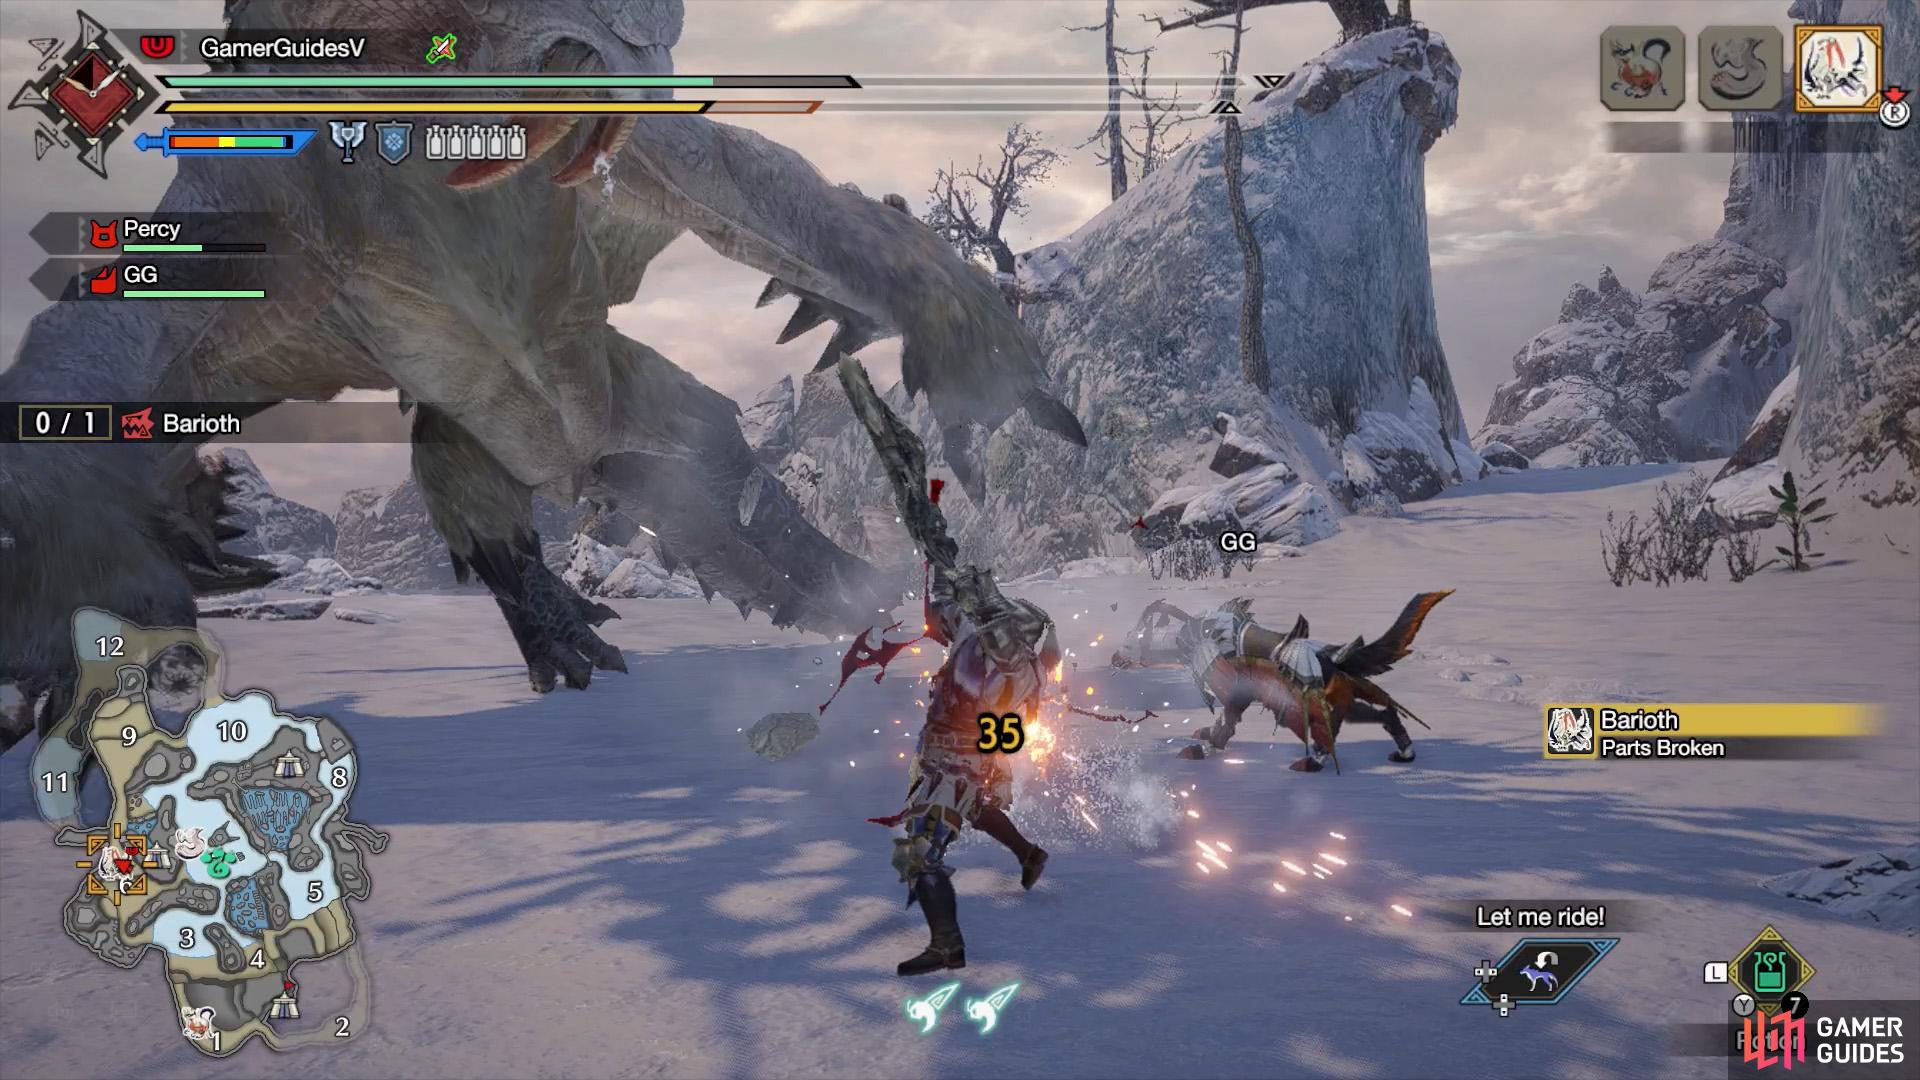
(1 of 2) Fighting Barioth at the Frost Islands.


Fighting Barioth at the Frost Islands. (left), Barioth’s profile in the Hunter’s Notes. (right)
Not to be confused with the mud-flinging Barroth, Barioth is a hulking beast that roams snowy environments.
Despite its size, this brutish monster can move around quickly, jumping around like it owns the place (which it kind of does). When it’s not making laps around you, it can shoot ice from its mouth and fly around for a short period of time.
Weaknesses
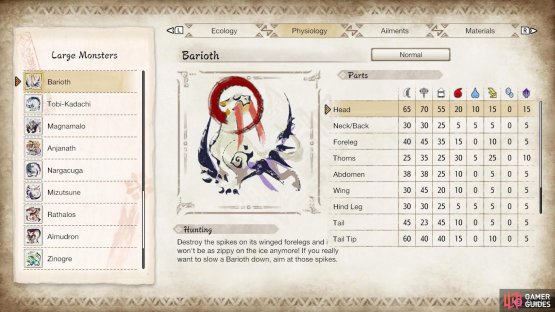

(1 of 2) Barioth’s parts/elemental susceptibility.
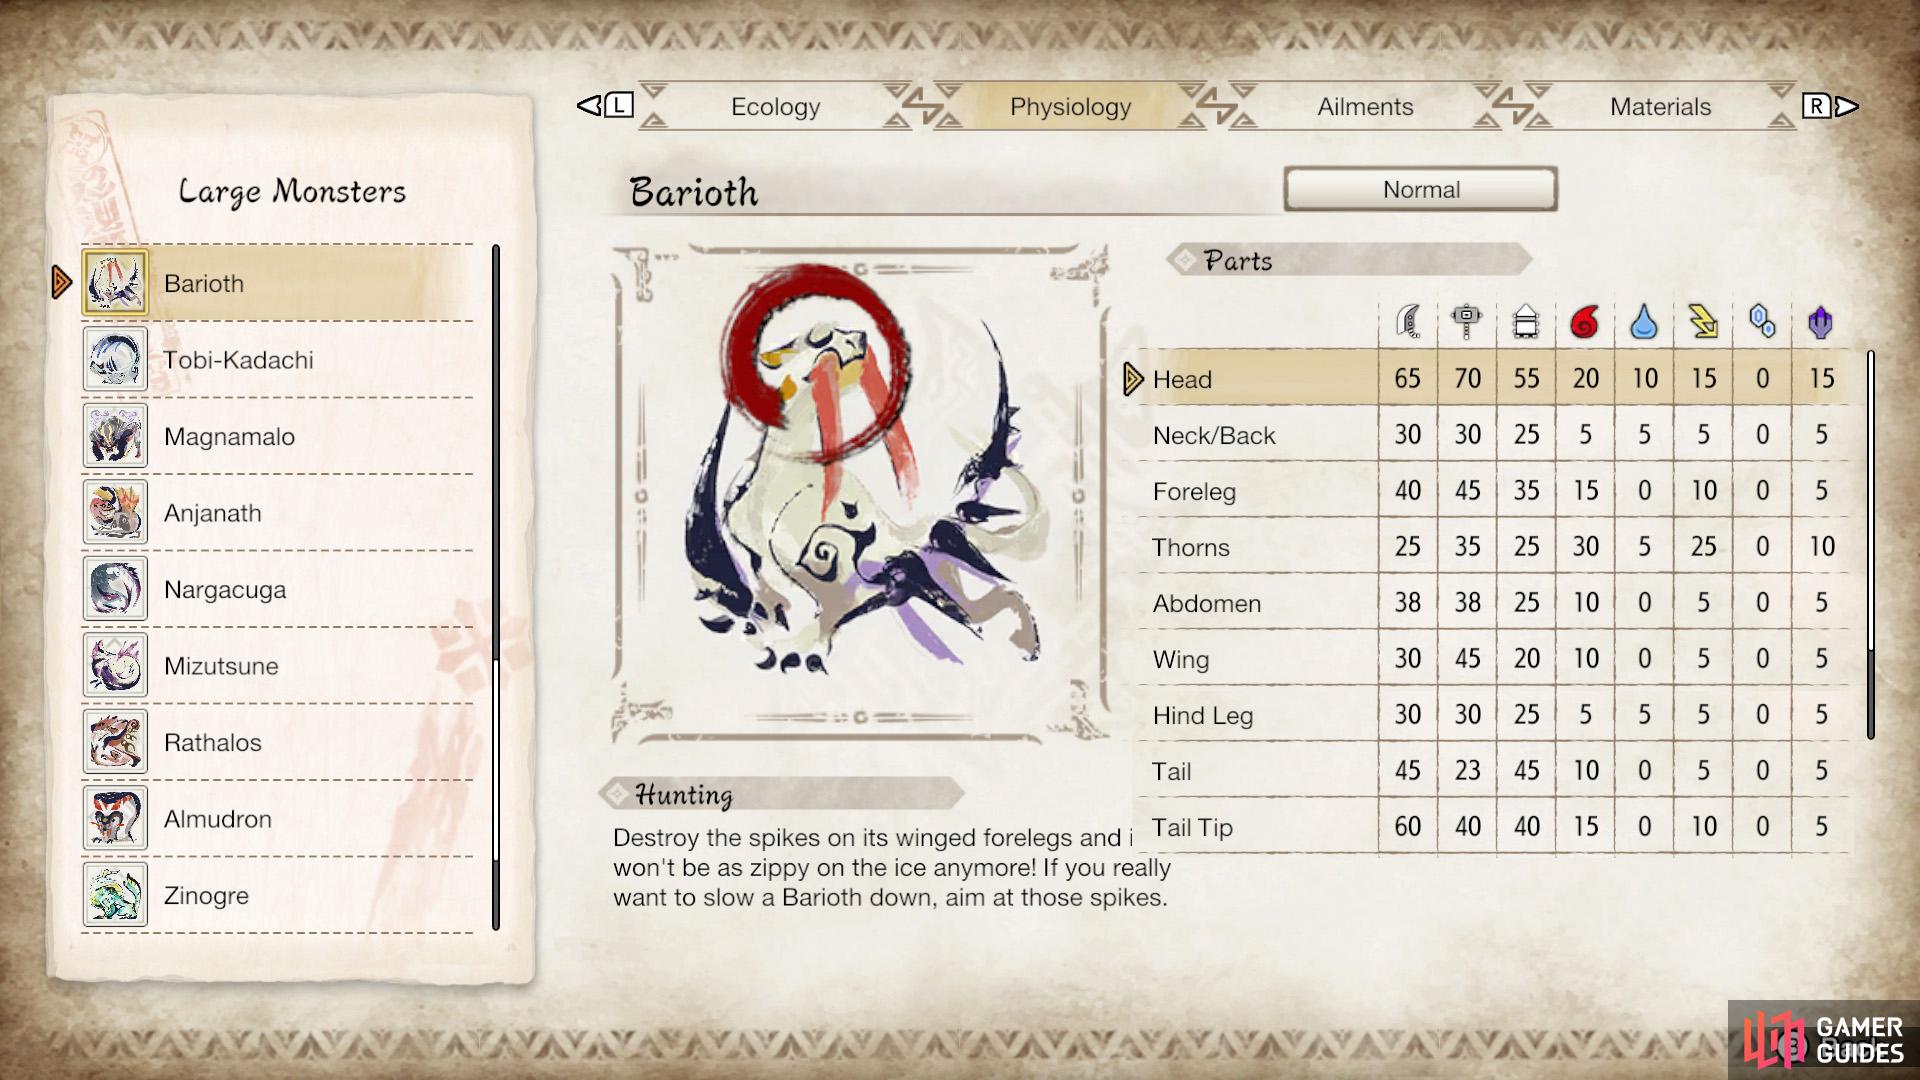
Barioth’s parts/elemental susceptibility. (left), Barioth’s ailment susceptibility. (right)
| Parts | Elements | Ailments |
|---|---|---|
| Head | Fire | Blast, Fireblight |
Attack Patterns
Bite


(1 of 2) Barioth crouches with both forelegs at the same height.
Barioth crouches with both forelegs at the same height. (left), It’ll then come forward to try and chomp you. (right)
Barioth makes a very quick growl and then moves forward to try and bite its opponent. This attack is performed very quickly, with barely any time to react. However, its aim is terrible, often overshooting its target.
Forward Leap/Dash

(1 of 2) Barioth crouches while looking straight ahead.
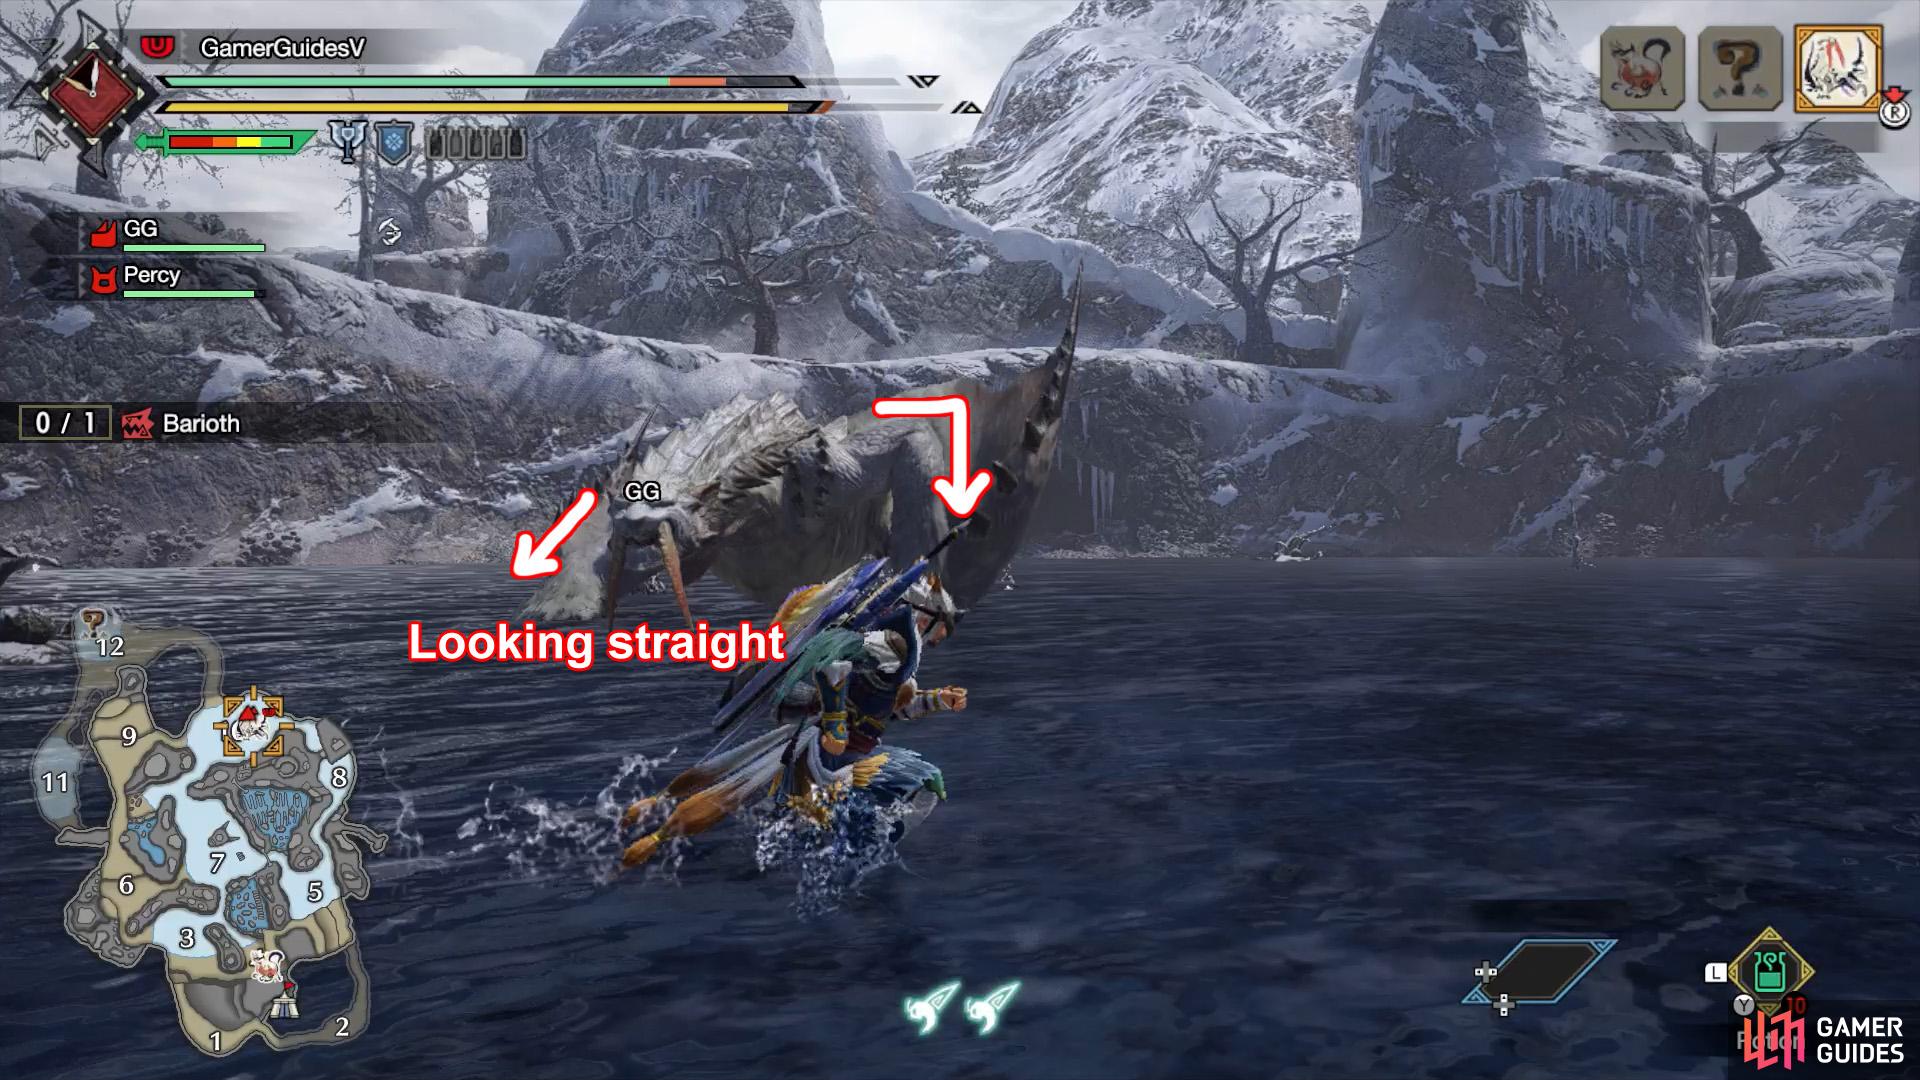

Barioth crouches while looking straight ahead. (left), It’ll then leap forward or, if you’re faraway, dash instead. (right)
Barioth growls while lowering its front body. One of its forelegs will be slightly lower than the other. It’ll then lift itself off the ground and jump forward a decent distance, while turning to face its opponent again.
This move is performed very quickly, with little time to react. But fortunately it doesn’t directly deal damage, although you can be hurt by its spikes.
If there’s a large distance between you and Barioth, be careful as it may dash forwards instead.
Shuffle Back
Barioth hops backwards while making a sort of inhaling sound. It’s hard to describe the sound (it sounds a bit like “hurr hurr”), but you should recognize it after a while.
After moving backwards, Barioth may transition to a different attack; we’ve seen it follow up with a bite and pivoting sweep. Or it could just keep moving.
Side Jump
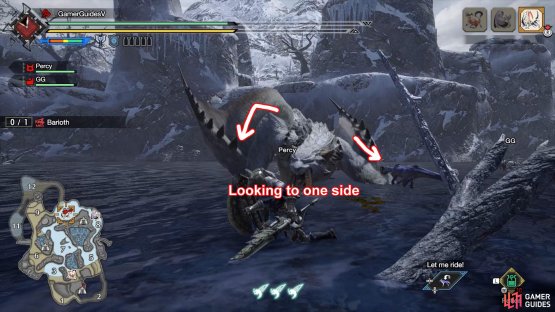
(1 of 2) Barioth crouches and looks to one side.
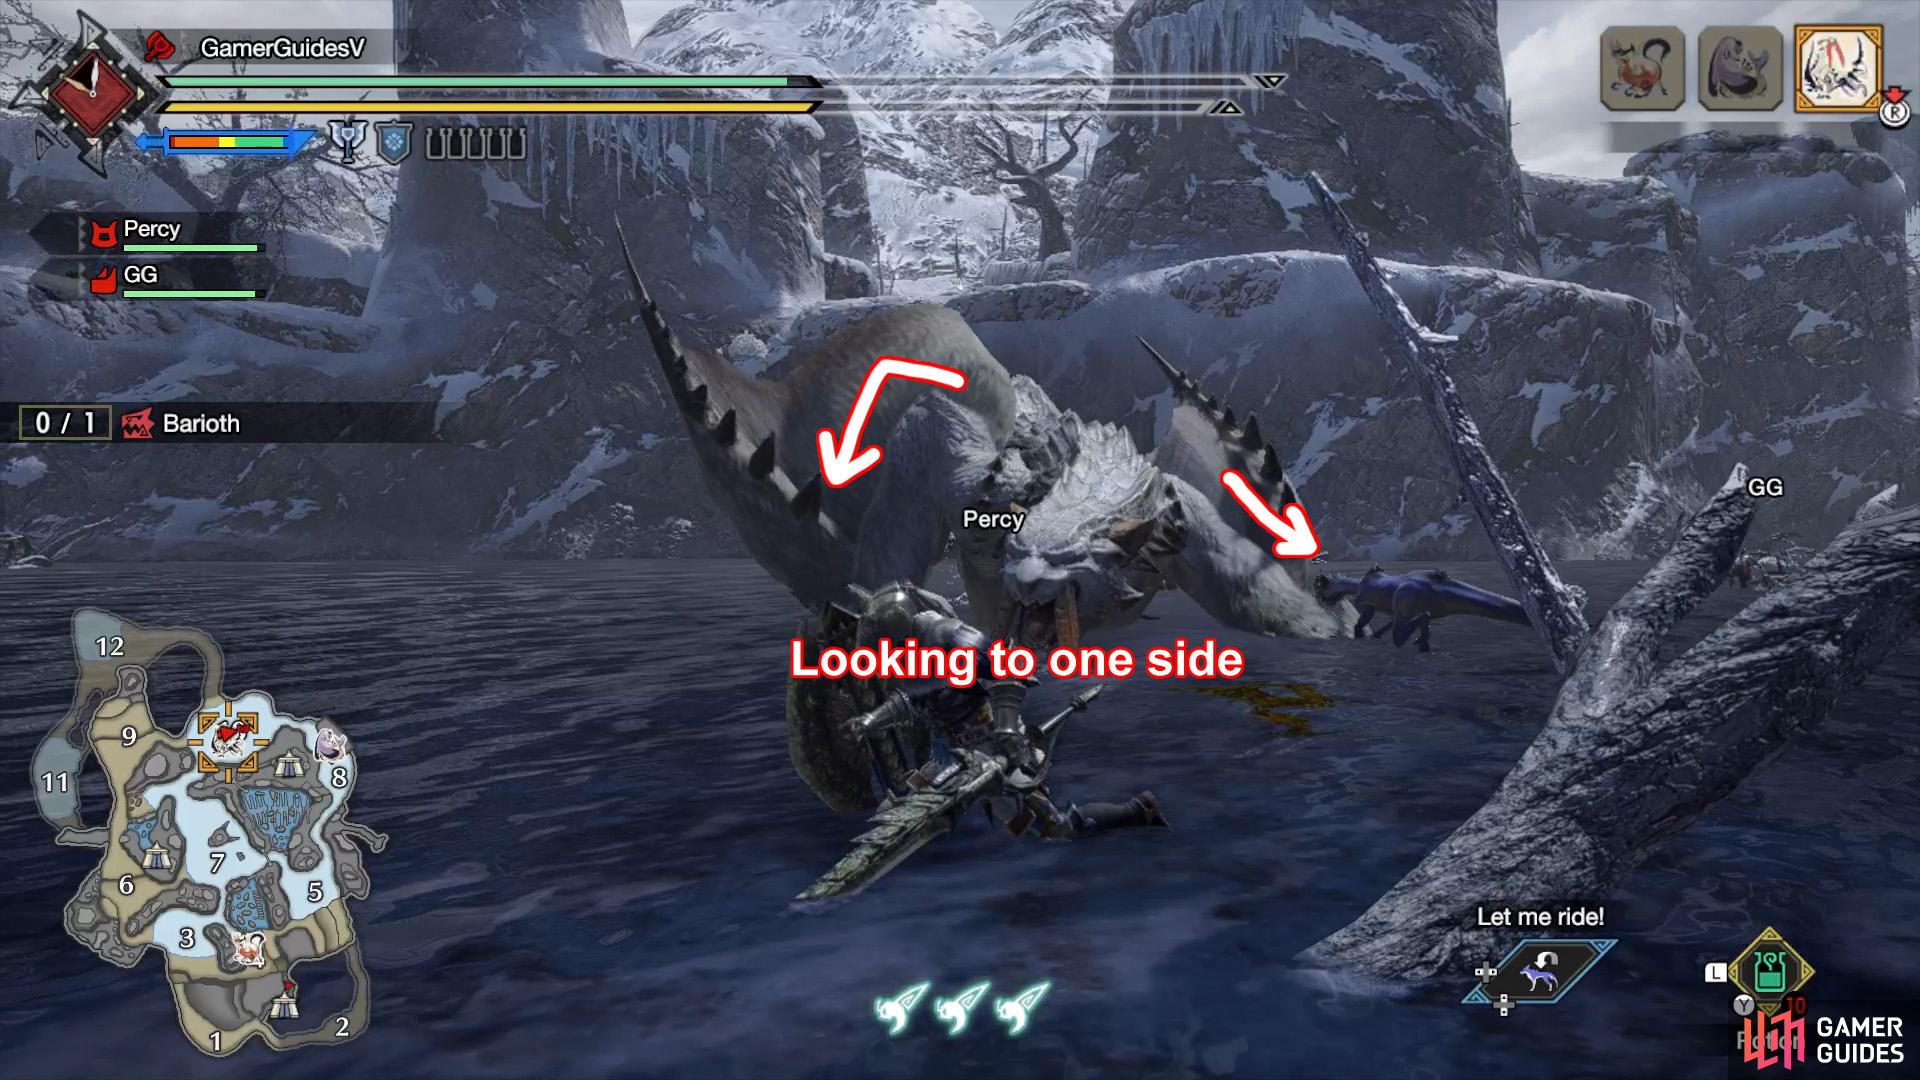
Barioth crouches and looks to one side. (left), It’ll then jump sideways to try and disorientate you. (right)
Barioth crouches, while leaning to one side. It’ll then do a sideways jump in the direction it’s leaning, while turning to face its foe. This move doesn’t deal any damage directly, but Barioth’s spikes may scratch you.
When Barioth uses a Side Jump, it can land on your left/right or even behind you. To avoid a surprise attack, you’ll want to quickly re-position your camera, preferably by pressing  to lock on again.
If you break Barioth’s forelegs, depending on which foreleg it lands on, there can be a minor delay after it uses this move, where it looks like it’s in pain.
(1 of 2) If you see wind after Barioth performs a Side Jump…

If you see wind after Barioth performs a Side Jump… (left), It means it’ll fly around for a bit. (right)
Sometimes, when Barioth performs a side jump, there will be wind coming from where it jumped, this means Barioth will fly using the wings on its forelegs for a brief amount of time.
After it starts flying, Barioth may land without doing anything else; other times, it might perform an aerial attack.
Fly Back
Barioth jumps back and then flies backwards using the wings on its forelegs. This move is solely used to increase Barioth’s distance from you. Afterwards, it may take advantage of the gap to use an Ice Whirlwind attack.
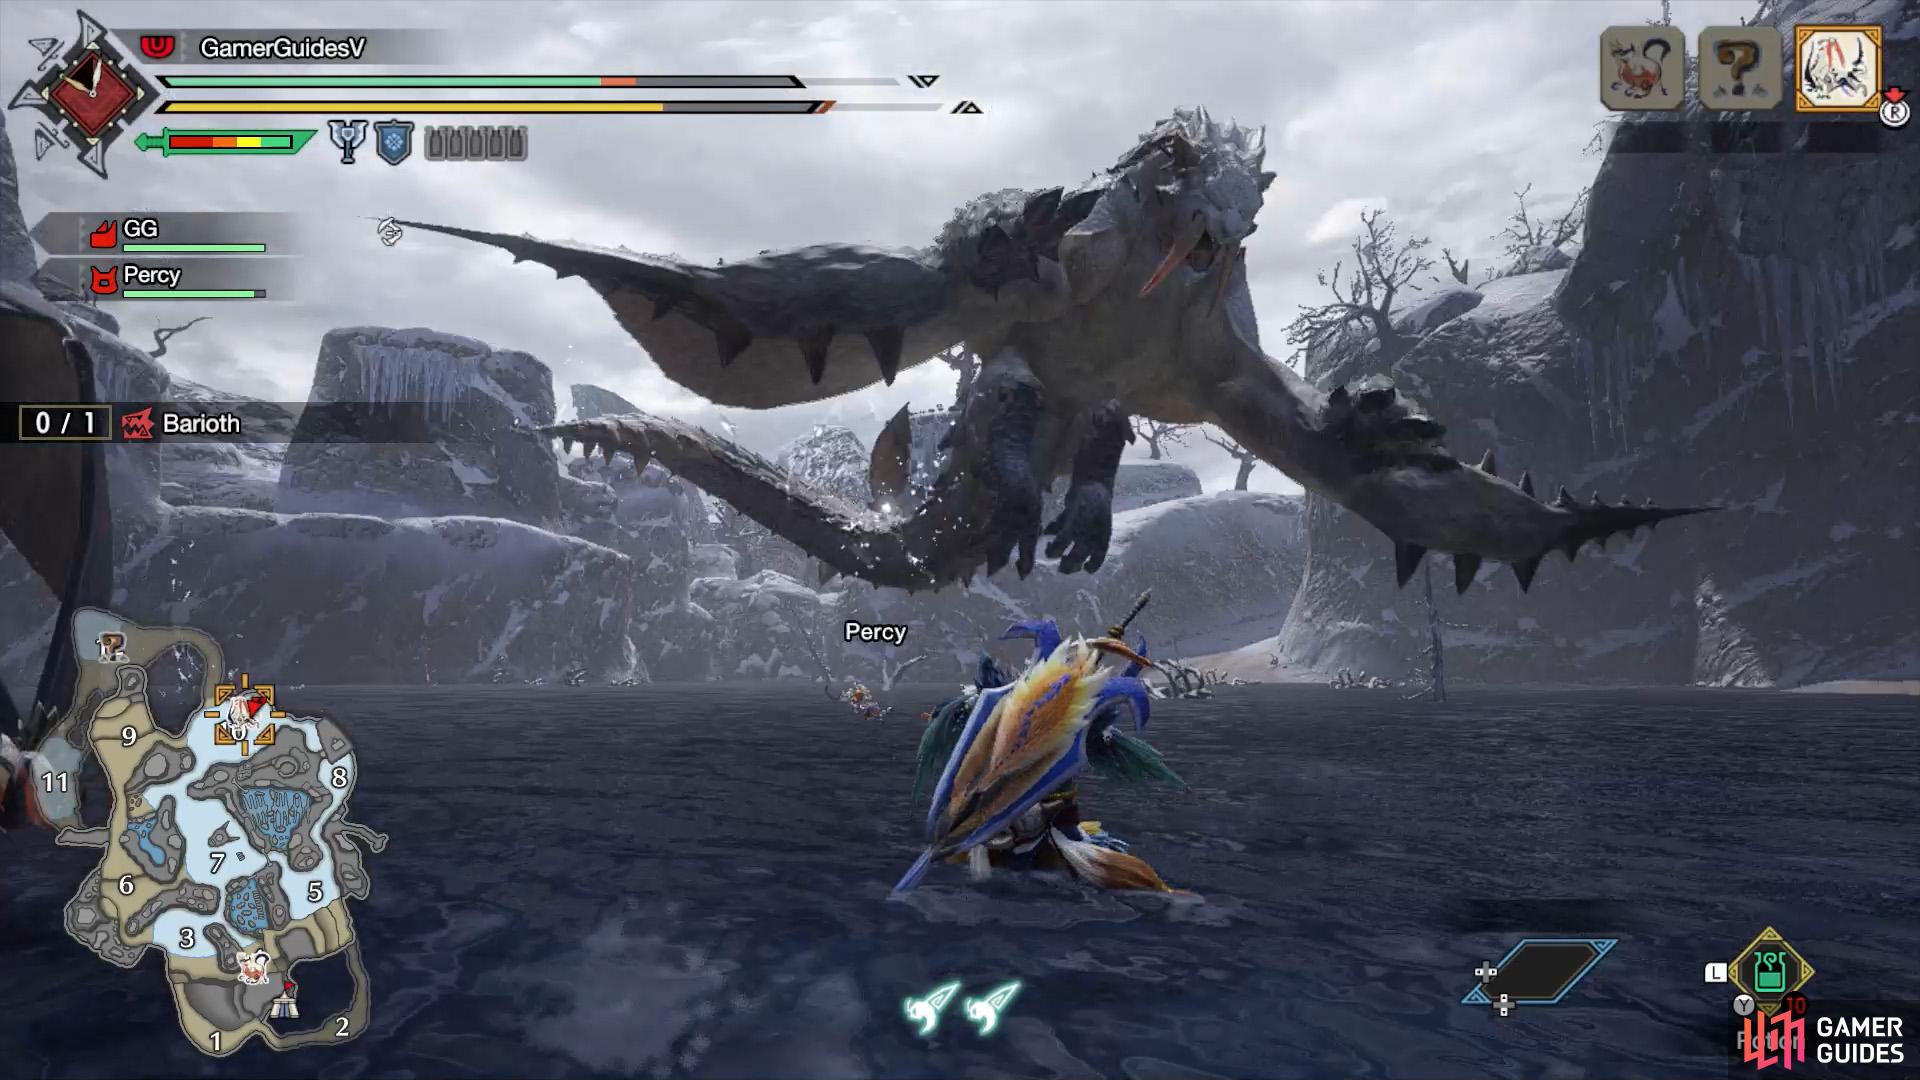
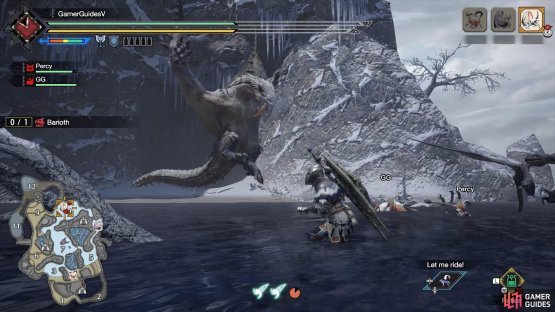
Lunge

(1 of 2) Barioth growls and gets into a pouncing position.
Barioth growls and gets into a pouncing position. (left), The brute will then jump straight ahead with nary a concern for health and safety. (right)
Barioth growls while facing forward. It’ll shake its front body and settle into a pouncing position. Soon afterwards, it’ll leap forward a considerable distance, causing heavy damage to anyone caught in its path.
If Barioth’s forelegs are broken, it may collapse after using this move.
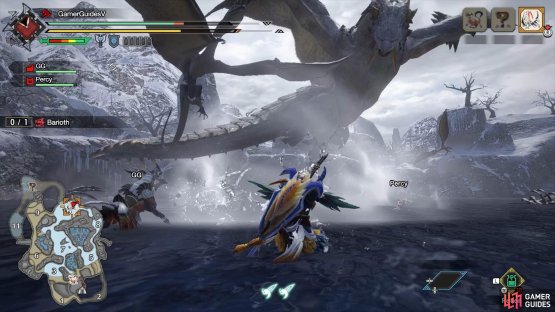
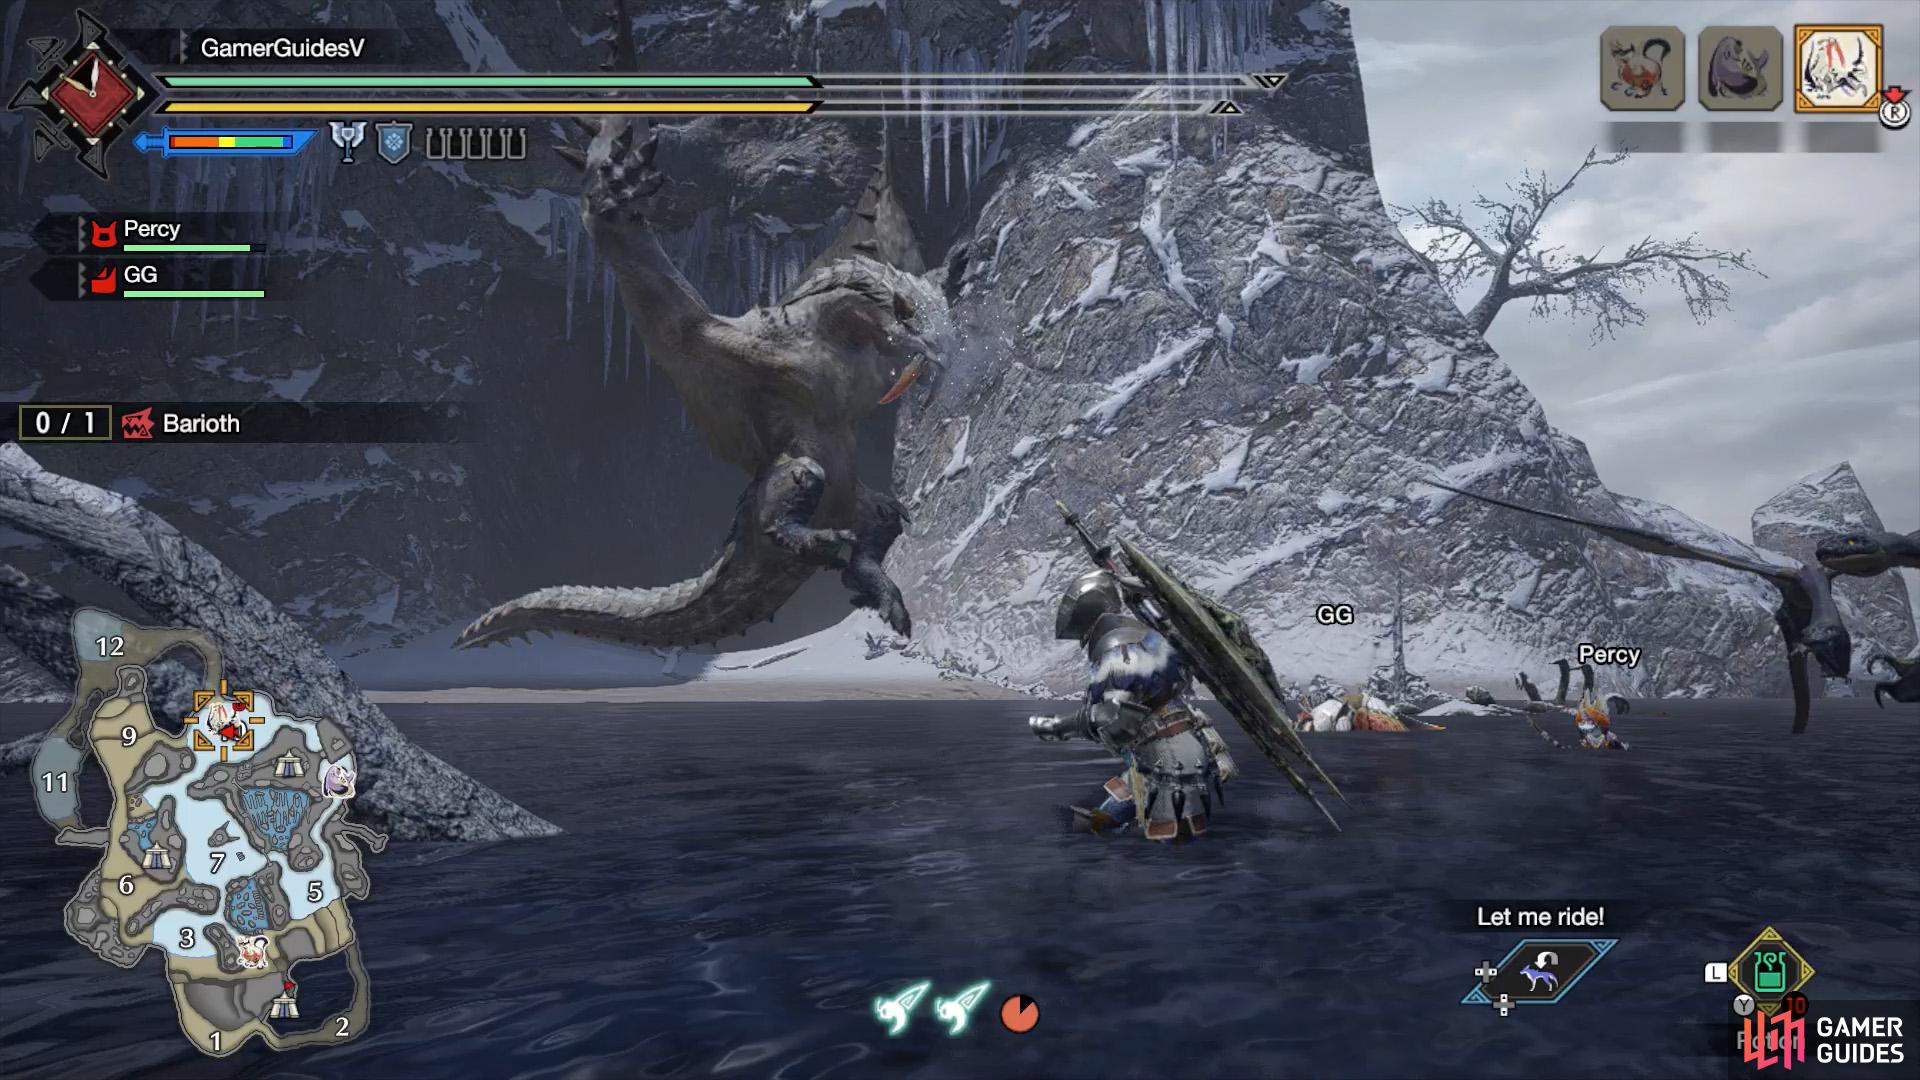
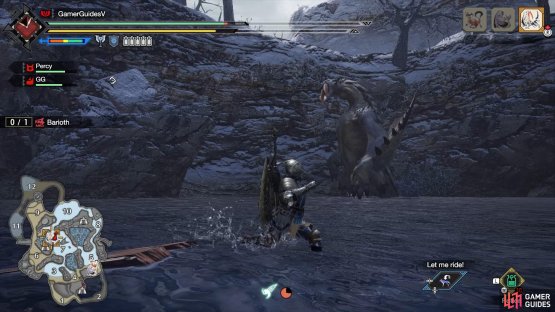
Ice Whirlwind
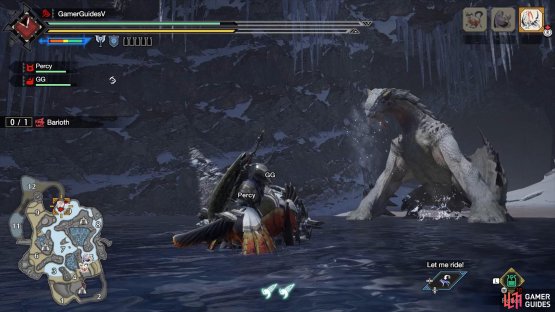
(1 of 2) Barioth stretches its neck up while ice appears from its mouth.

Barioth stretches its neck up while ice appears from its mouth. (left), What follows is a blast of ice straight ahead, creating a powerful whirlwind. (right)
There will be a subtle whining sound and Barioth will raise its neck high, while ice appears near its mouth. After a short while, it’ll lower its head and shoot out a blast of ice directly ahead, forming a frigid whirlwind. If you’re hit, it’ll cause Iceblight.
When Barioth is tired, there’s a chance this move will fail.
Pivoting Sweep
(1 of 2) Barioth raises one of its forelegs.


Barioth raises one of its forelegs. (left), It’ll then pivot around, whacking its opponents as it turns. (right)
Barioth raises one of its forelegs, while opening its mouth wide. The agile beast will perform a 270~360 degree rotation in the direction it’s facing, initially pivoting on the foreleg that’s on the ground, then swapping to the previously raised foreleg halfway through.
Tail Whip
(1 of 2) Barioth crouches, while its tail is up high.


Barioth crouches, while its tail is up high. (left), It’ll then swing its tail towards the front of its body. (right)
Barioth crouches down while bringing its tail upwards and to one side. The monster will then rotate 90 degrees in the direction of its tail, while its tail swings in front of its body, from the other side. Getting hit by the tail can inflict you with Iceblight.
Side Bash
(1 of 2) Barioth hops on the spot, while turning its body to face sideways.

Barioth hops on the spot, while turning its body to face sideways. (left), Next, it’ll violently shudder its body sideways. (right)
Barioth hops and rotates its body on the spot, so its body is sideways to you. It’ll then lean away from you, before violently shaking its body towards you. As soon as you see the hop, get ready to move away or block etc.
If you break Barioth’s forelegs, depending on which foreleg it’s leaning on, it can stumble slightly after using this move.
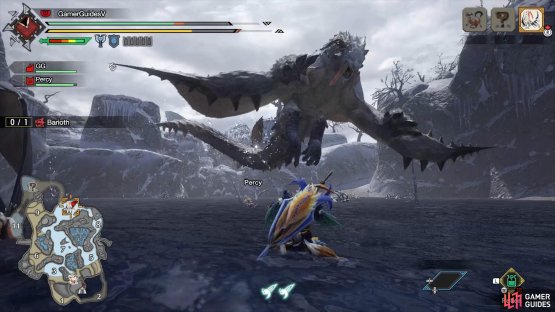
Aerial Ice Whirlwind
(1 of 2) Barioth pulls back its upper body slightly and ice gathers near its mouth.

Barioth pulls back its upper body slightly and ice gathers near its mouth. (left), It’ll then shoot a blast of ice forward onto the ground. (right)
While Barioth is flying, it may pull its upper body slightly back and you’ll hear a crackling ice sound, as well as see ice coming from its mouth. After a while, Barioth will shoot a whirlwind of ice onto the ground directly ahead.
Aerial Slam

(1 of 2) Barioth flies up and straightens its body.

Barioth flies up and straightens its body. (left), When its forelegs are broken, Barioth can muck up the landing. (right)
While flying, Barioth may fly up and straighten its body. It’ll then dive forwards, towards the ground. Note that Barioth can use this move right after an Aerial Ice Whirlwind.
If Barioth’s forelegs are broken, it may mess up the landing and collapse on the ground.
Leaping Stomp

(1 of 2) Barioth shuffles back slightly and it’ll stand up, then shake its neck.

Barioth shuffles back slightly and it’ll stand up, then shake its neck. (left), Afterwards, it’ll leap sky high, before slamming the ground. (right)
This is Barioth’s strongest attack, which it can use when it’s enraged (after it roars and you can clearly see its breath coming from its mouth; also, its eyes glow orange).
Barioth will shuffle ever so slightly back and you may hear an audible warning. The beast will then stand up on its hind legs, shake its neck a bit and then leap high into the air, before crashing down a fair distance ahead. If you’re hit, you’ll be knocked upwards.
Strategy
To be safe, we encourage bringing gear with high Ice resistance as well as Nulberries, in case you succumb to Iceblight. While Iceblight isn’t deadly, it can be inconvenient since it greatly slows down your wirebug recovery.
Annoyingly, until you can farm Barioth, the easiest Ice armor is the Baggi armor, which has low Defense. However, if you’re patient, you can send your Meowcenaries to the Flooded Forest to grab Bumblepumpkins or Omegapumpkins, to forge Mosgharl armor.


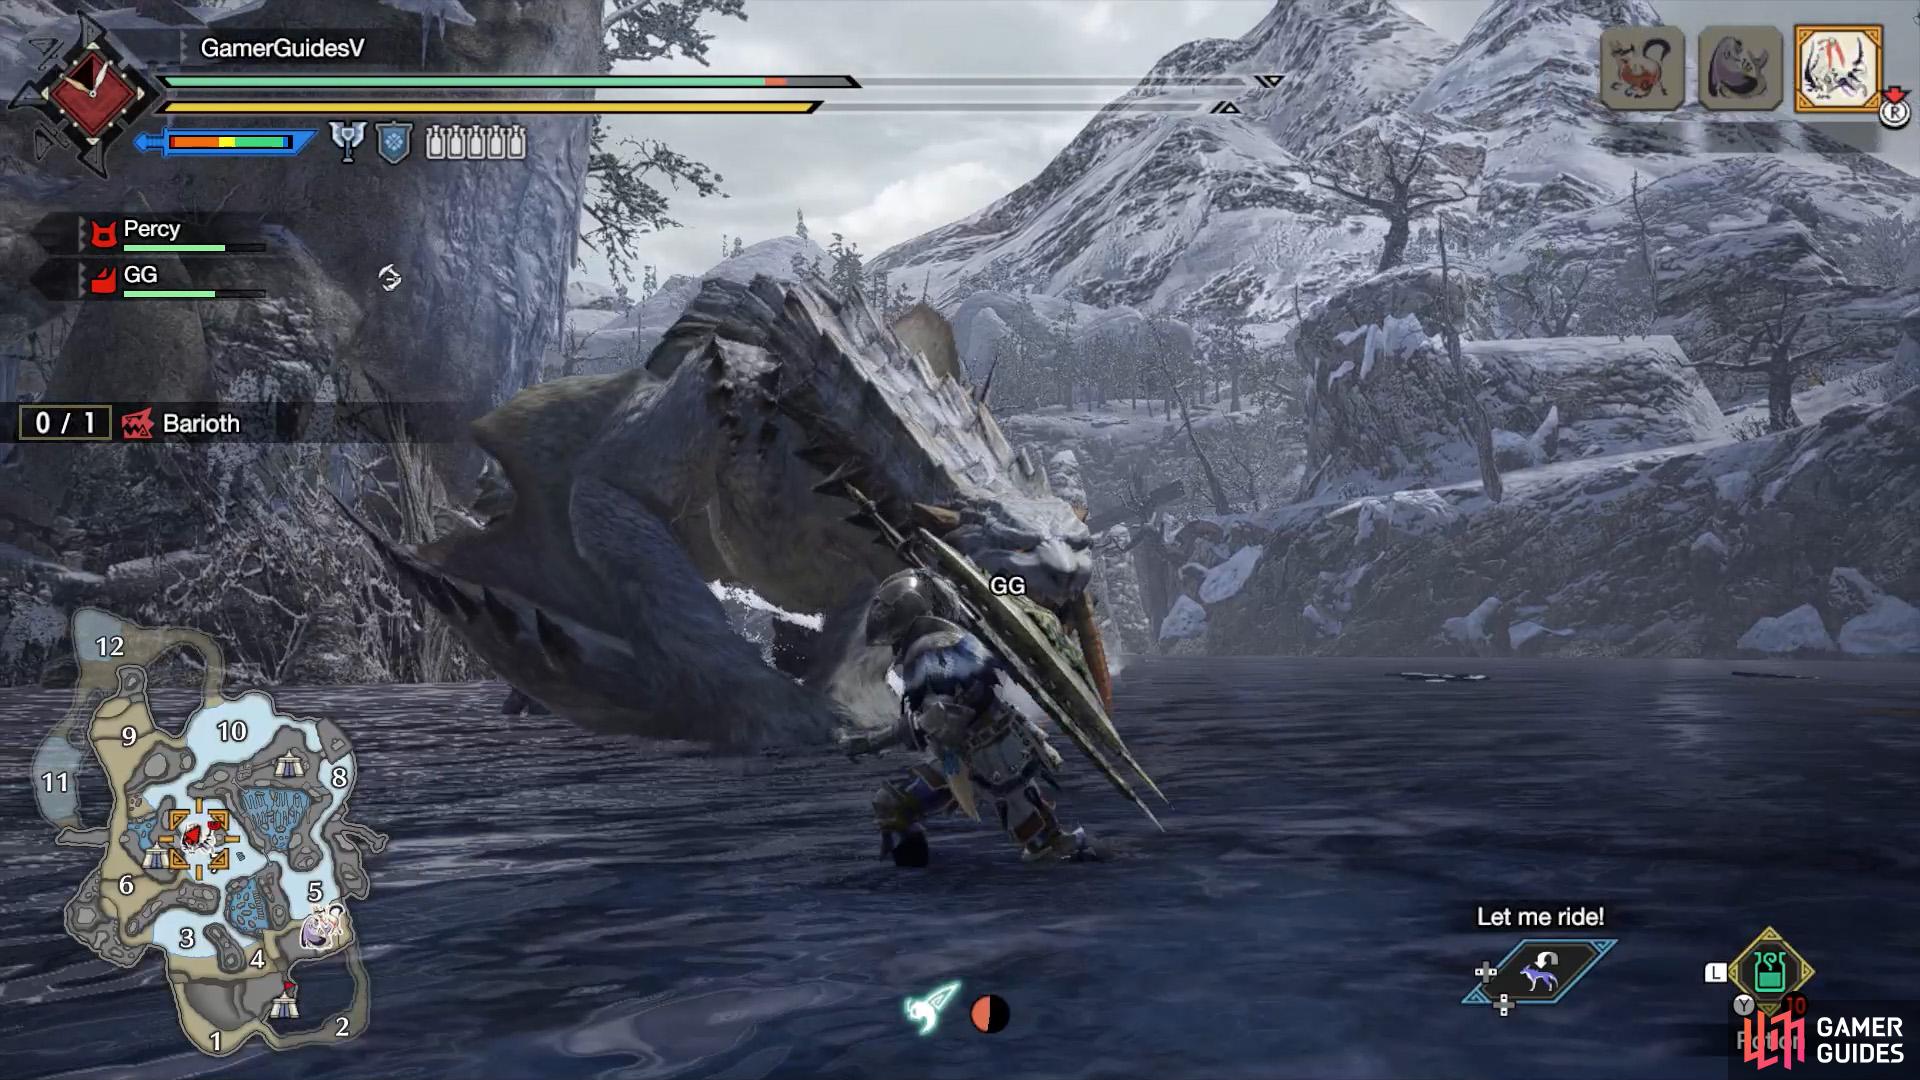
(1 of 2) Aim to break Barioth’s forelegs to hinder its movement.
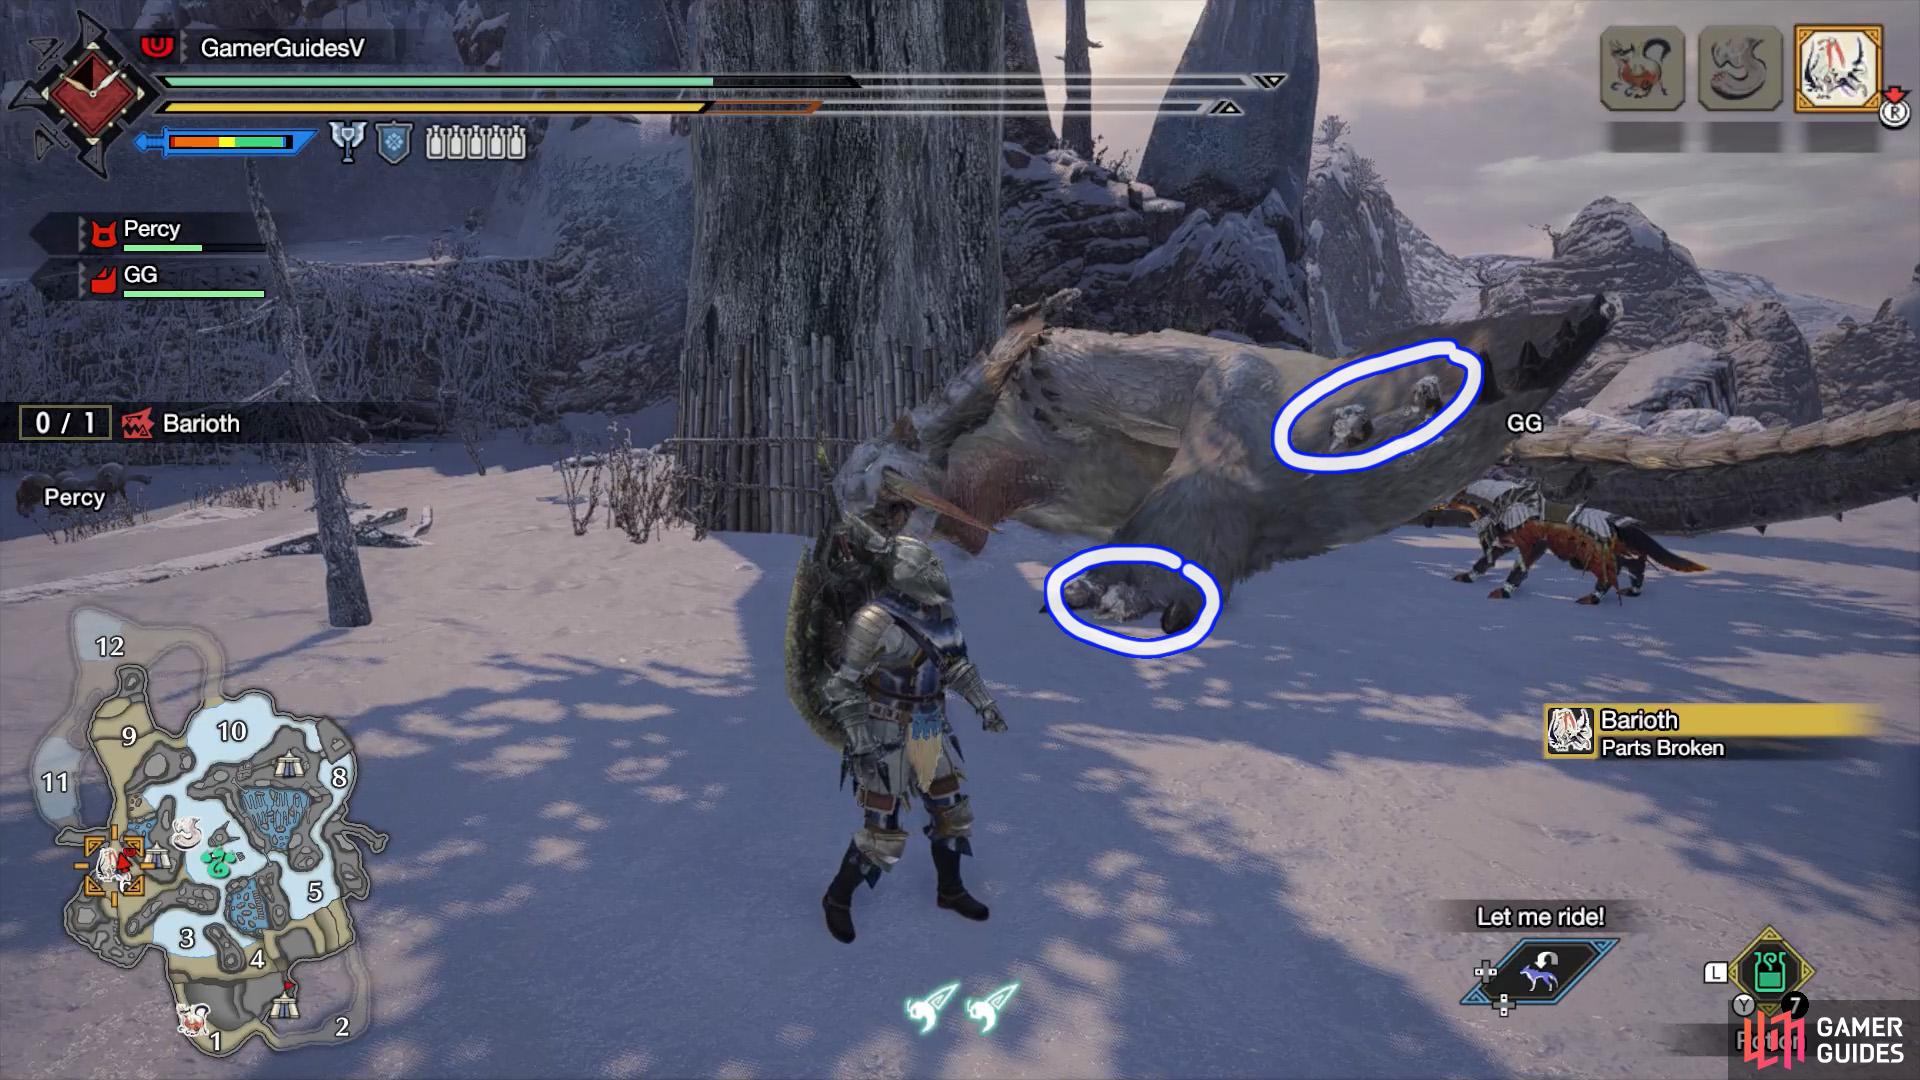
Aim to break Barioth’s forelegs to hinder its movement. (left), The toes and spikes will look damaged if you’ve broken a foreleg. (right)
Barioth itself is extremely agile and loves jumping around. To slow it down, try your best to break its two forelegs. You can tell they’re broken when the side spikes have come off and the toe claws are damaged. After breaking its forelegs, Barioth will stumble or outright collapse after many of its attacks.
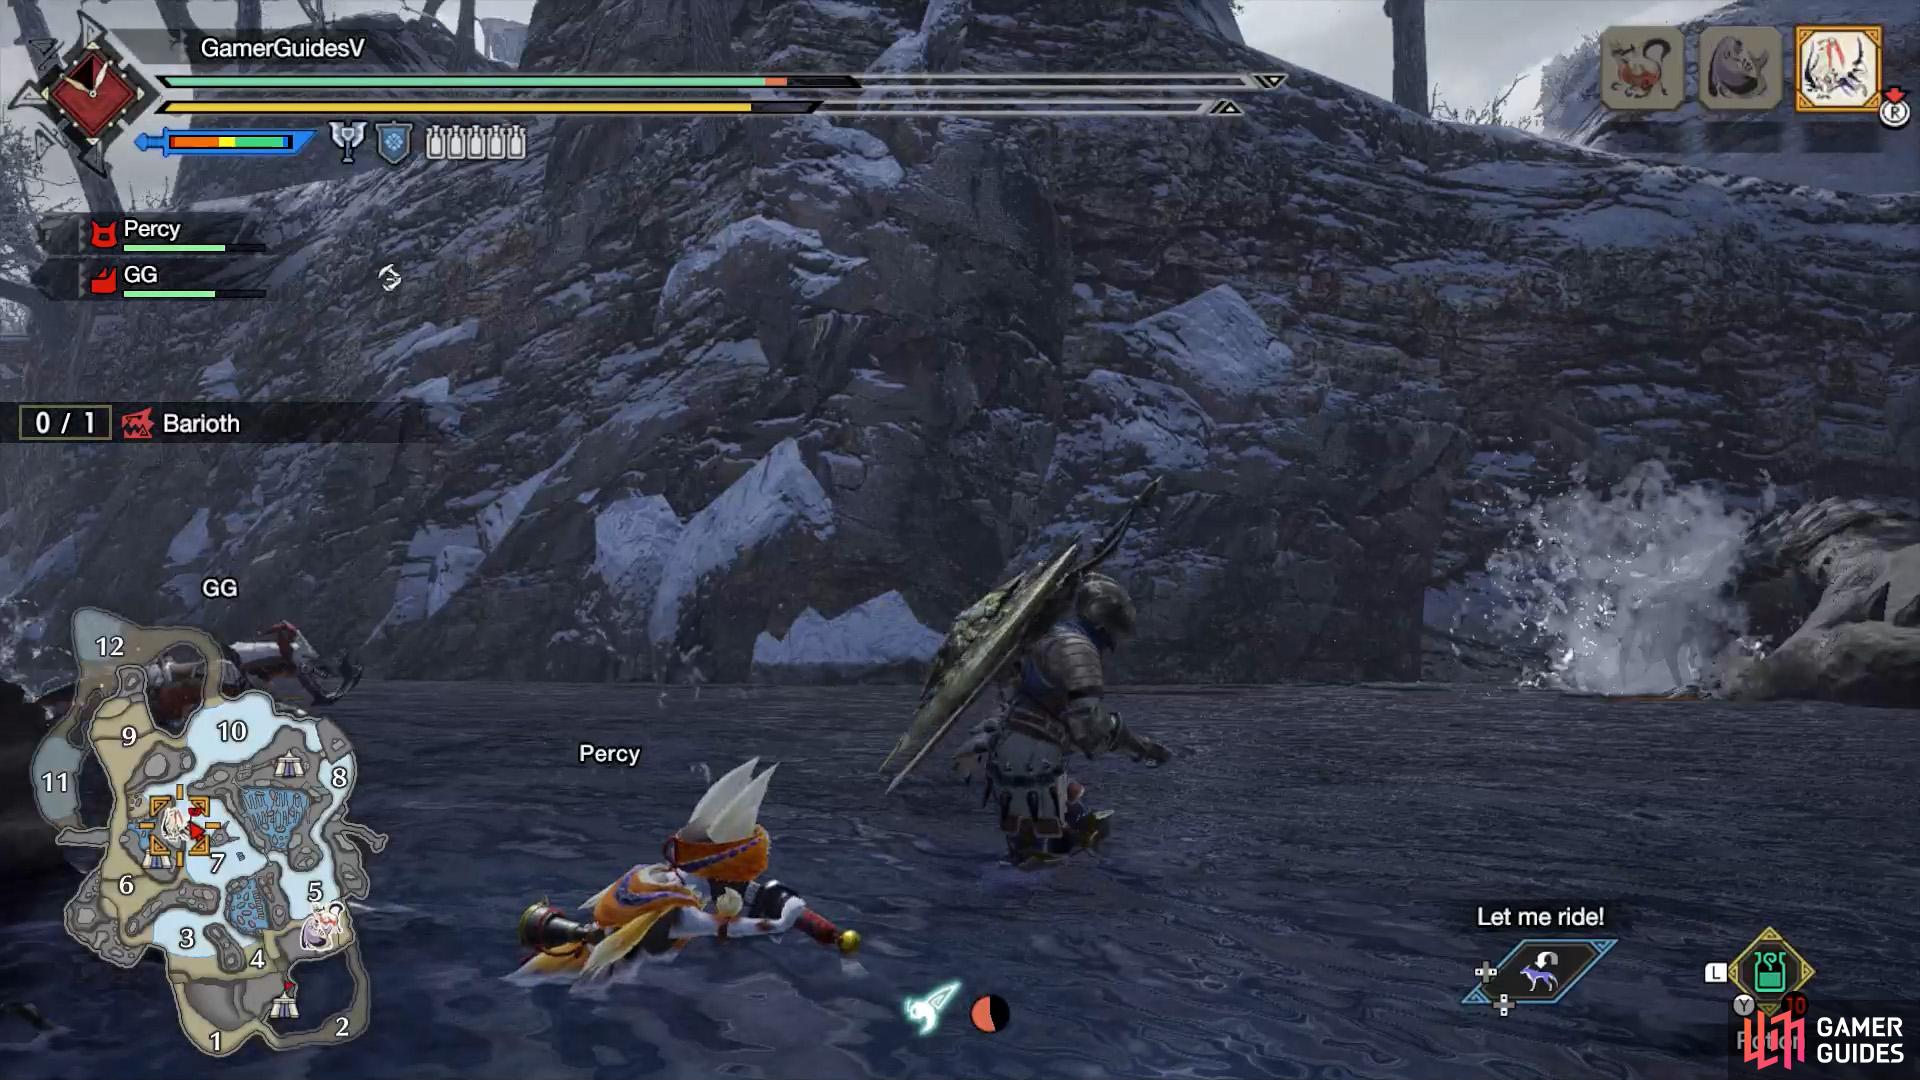
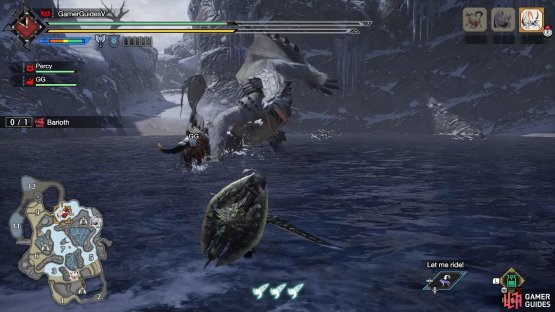
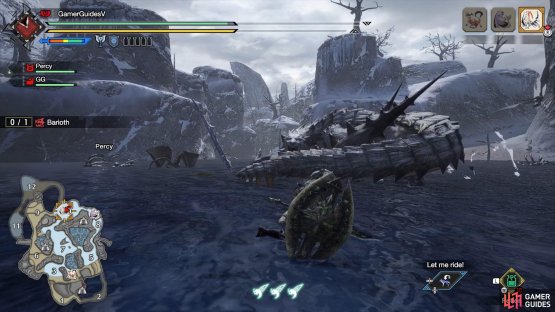
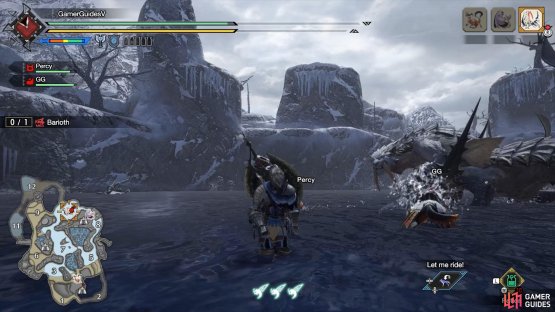
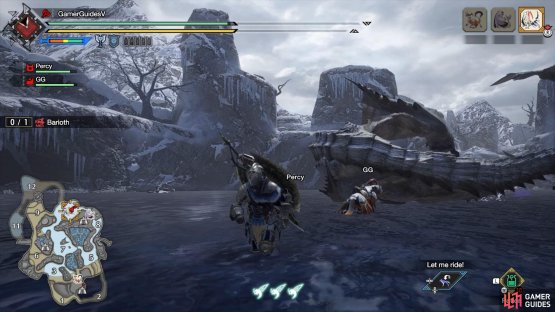
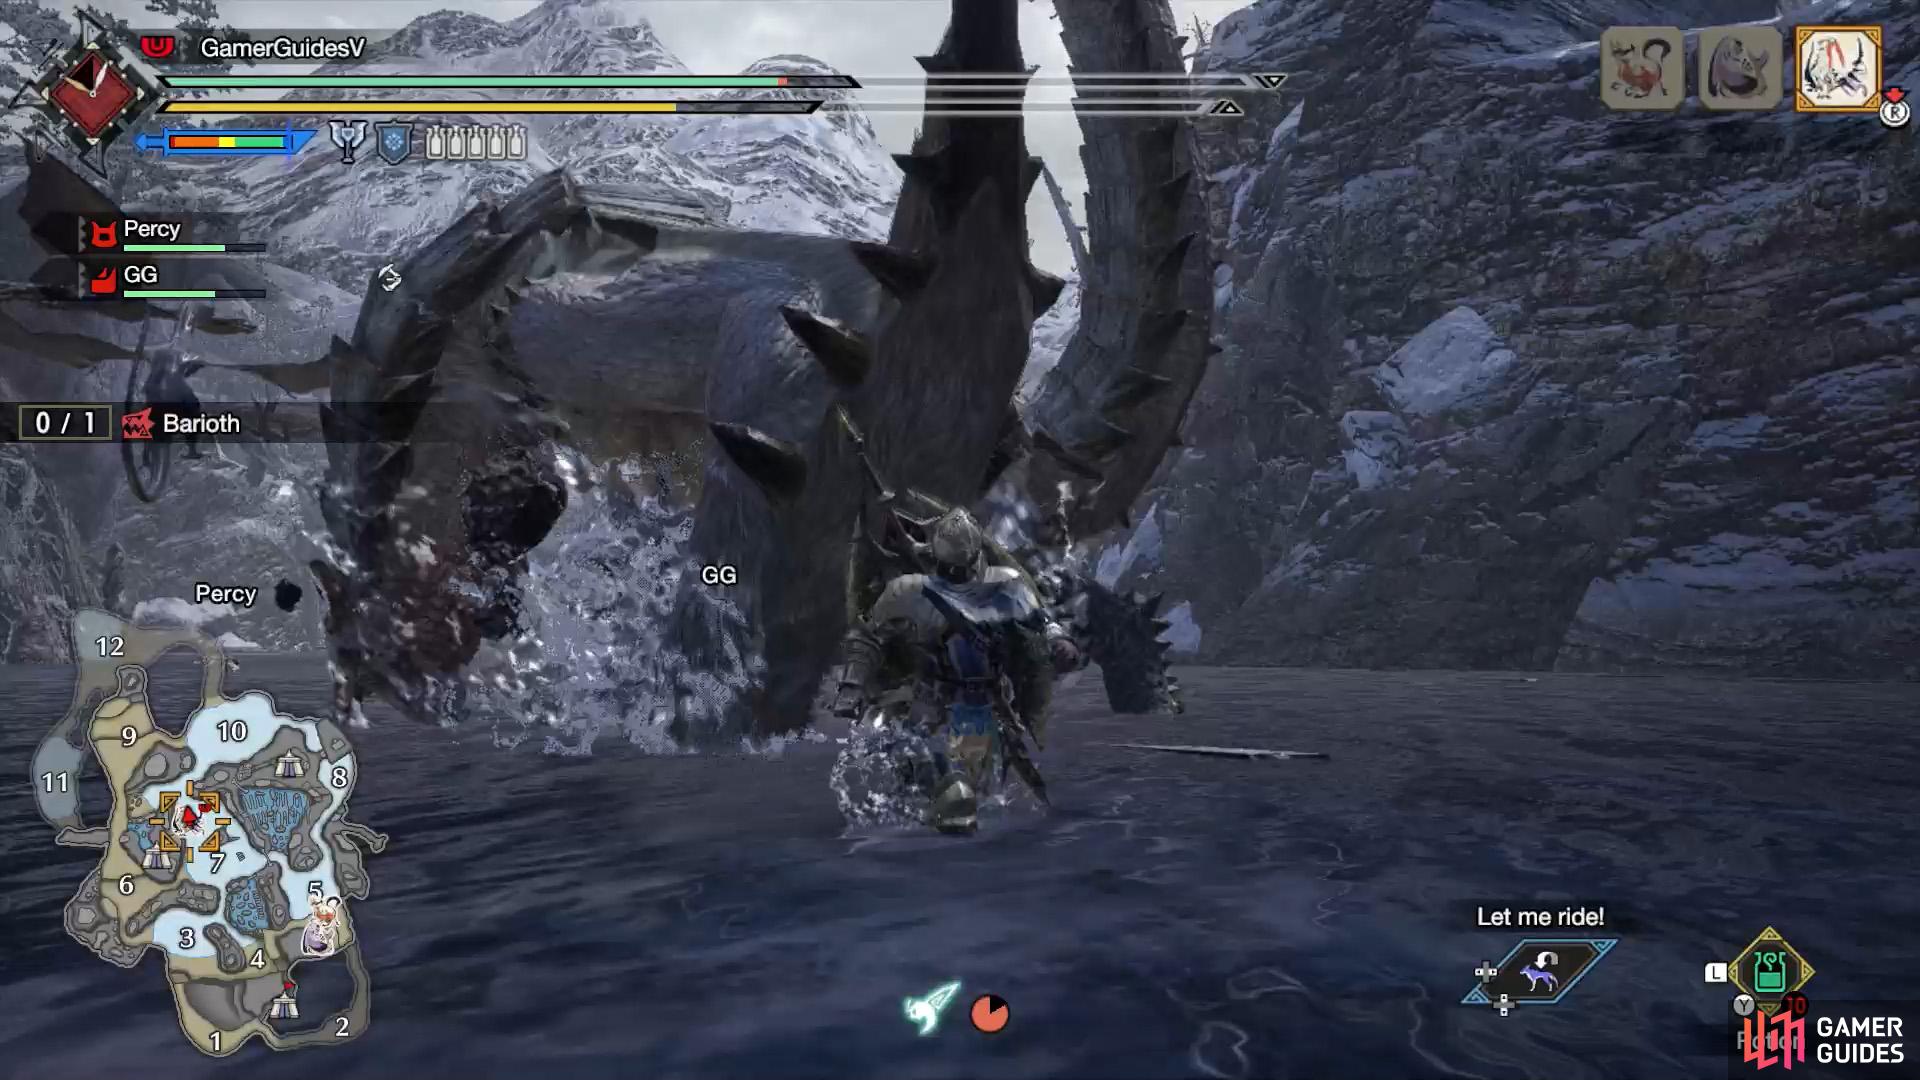
If you’re struggling to keep up with Barioth, you can borrow some “outside help”. Generally, there should be two other large monsters around, which you can lure to Barioth using a Stinkmink for example. After the two monsters fight, you can use Wyvern Riding to damage and stun Barioth.
Material Drops (Low Rank)
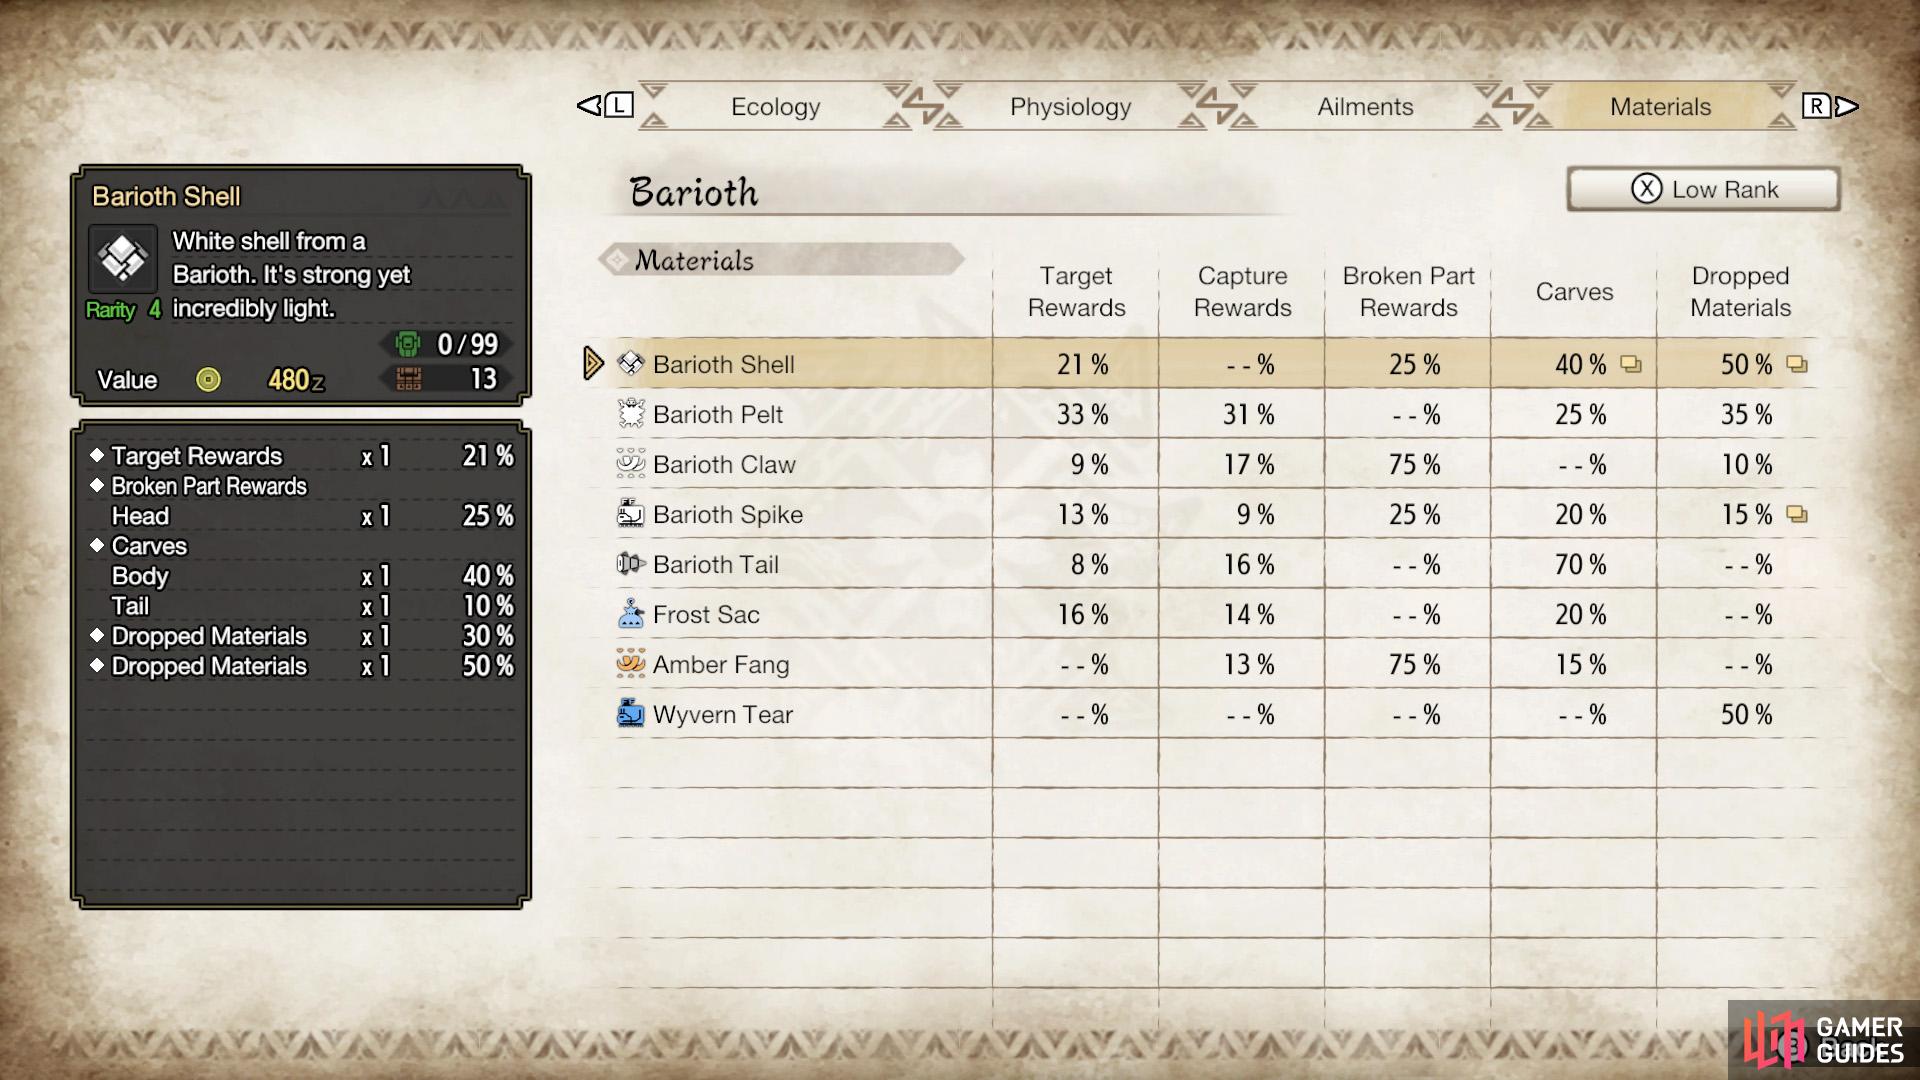
Barioth’s Low Rank drops.
Target Rewards
| Material | Drop Rate (%) |
|---|---|
| Barioth Shell | 21% |
| Barioth Pelt | 33% |
| Barioth Claw | 9% |
| Barioth Spike | 13% |
| Barioth Tail | 8% |
| Frost Sac | 16% |
Capture Rewards
| Material | Drop Rate (%) |
|---|---|
| Barioth Pelt | 31% |
| Barioth Claw | 17% |
| Barioth Spike | 9% (x2) |
| Barioth Tail | 16% |
| Frost Sac | 14% (x2) |
| Amber Fang | 13% |
Broken Part Rewards
| Material | Drop Rate (%) |
|---|---|
| Barioth Shell | Head - 25% |
| Barioth Claw | Thorns - 75% |
| Barioth Spike | Thorns - 25% |
| Amber Fang | Head - 75% |
Carves
| Material | Drop Rate (%) |
|---|---|
| Barioth Shell | Body - 40%, Tail - 10% |
| Barioth Pelt | Body - 25% |
| Barioth Spike | Tail - 20% |
| Barioth Tail | Tail - 70% |
| Frost Sac | Body - 20% |
| Amber Fang | Body - 15% |
Dropped Materials
| Material | Drop Rate (%) |
|---|---|
| Barioth Shell | 30%, 50% |
| Barioth Pelt | 0%, 35% |
| Barioth Claw | 10%, 0% |
| Barioth Spike | 10%, 15% |
| Wyvern Tear | 50%, 0% |
Material Drops (High Rank)
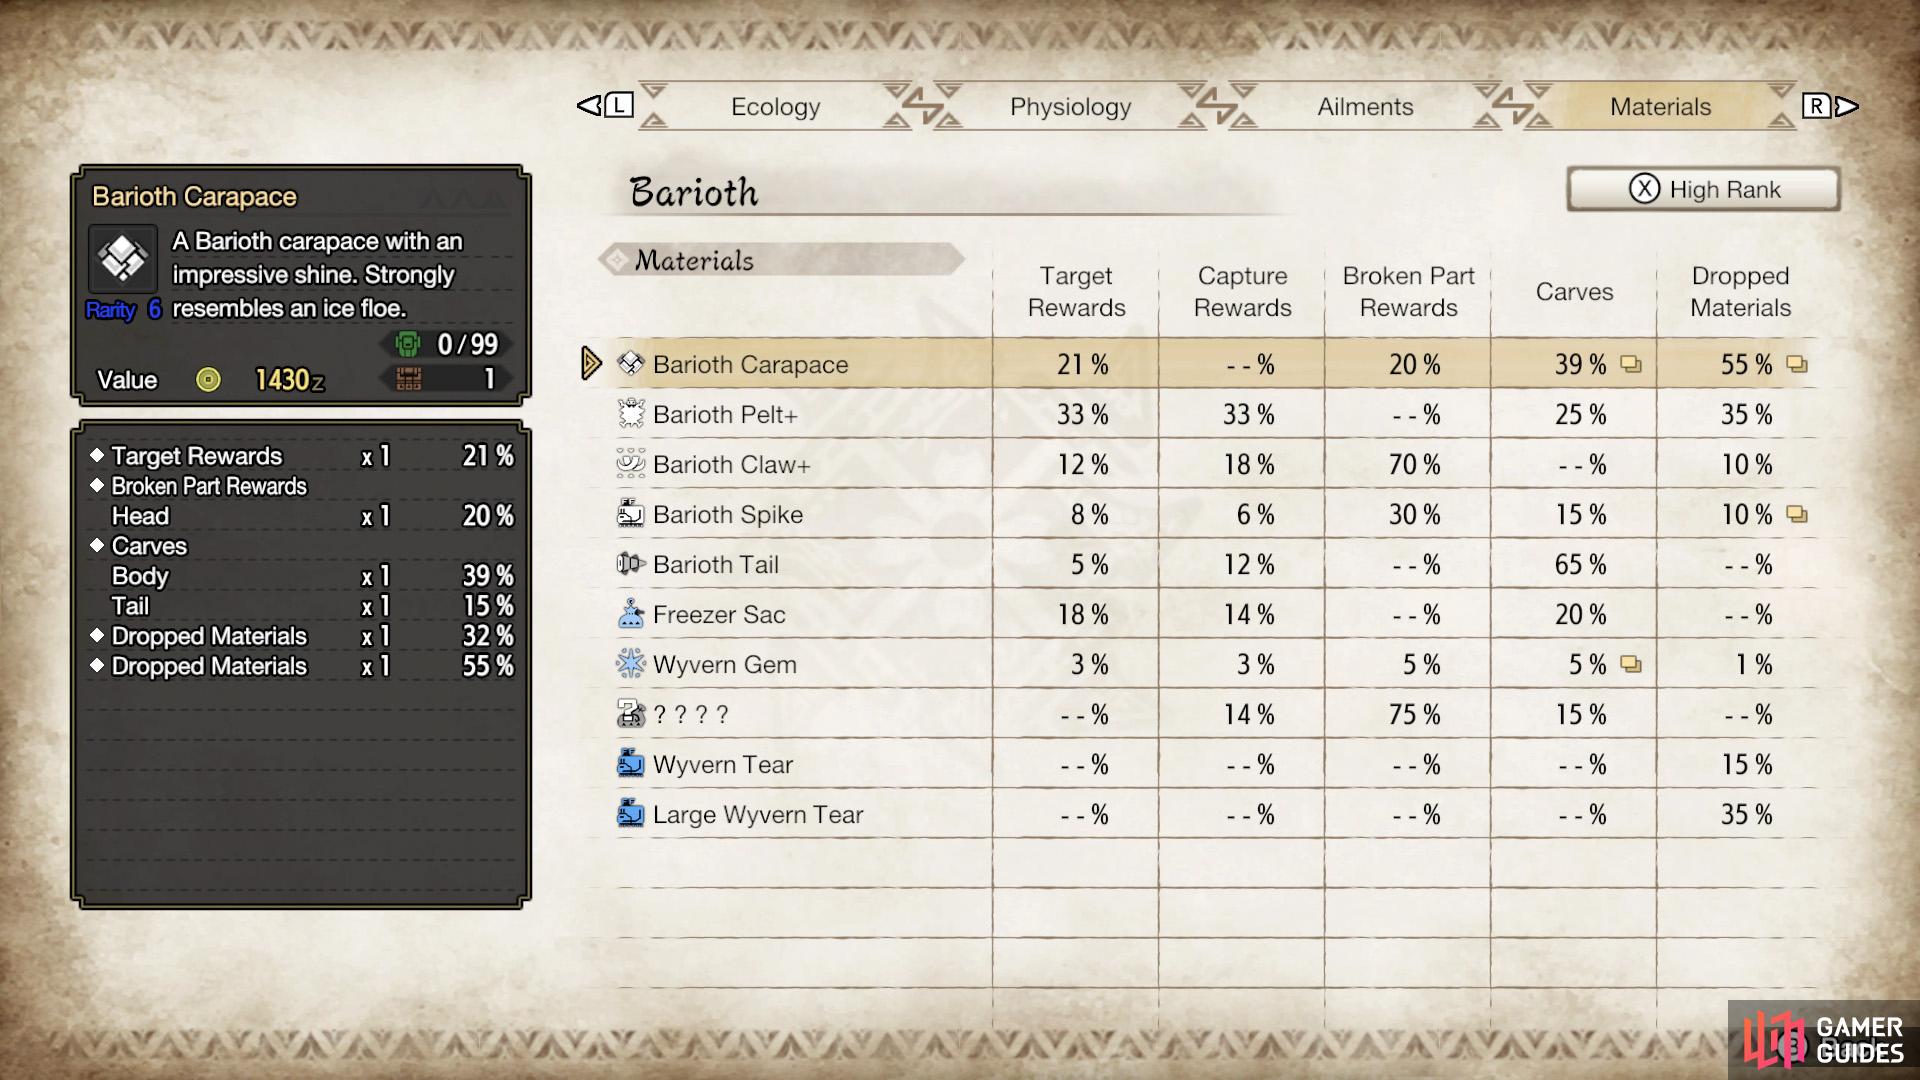
Barioth’s High Rank drops.
Target Rewards (HR)
| Material | Drop Rate (%) |
|---|---|
| Barioth Carapace | 21% |
| Barioth Pelt+ | 33% |
| Barioth Claw+ | 12% |
| Barioth Spike | 8% (x2) |
| Barioth Tail | 5% |
| Freezer Sac | 18% |
| Wyvern Gem | 3% |
Capture Rewards (HR)
| Material | Drop Rate (%) |
|---|---|
| Barioth Pelt+ | 31% |
| Barioth Claw+ | 18% |
| Barioth Spike | 6% (x2) |
| Barioth Tail | 12% |
| Freezer Sac | 14% (x2) |
| Wyvern Gem | 3% |
| Amber Fang+ | 14% |
Broken Part Rewards (HR)
| Material | Drop Rate (%) |
|---|---|
| Barioth Carapace | Head - 20% |
| Barioth Claw+ | Thorns - 70% |
| Barioth Spike | Thorns - 30% (x2) |
| Wyvern Gem | Head - 5% |
| Amber Fang+ | Head - 75% |
Carves (HR)
| Material | Drop Rate (%) |
|---|---|
| Barioth Carapace | Body - 39%, Tail - 15% |
| Barioth Pelt+ | Body - 25% |
| Barioth Spike | Tail - 15% (x2) |
| Barioth Tail | Tail - 65% |
| Freezer Sac | Body - 20% |
| Wyvern Gem | Body - 1%, Tail - 5% |
| Amber Fang+ | Body - 15% |
Dropped Materials (HR)
| Material | Drop Rate (%) |
|---|---|
| Barioth Carapace | 32%, 55% |
| Barioth Pelt+ | 0%, 35% |
| Barioth Claw+ | 10%, 0% |
| Barioth Spike | 7% (x2), 10% (x2) |
| Wyvern Gem | 1%, 0% |
| Wyvern Tear | 15%, 0% |
| Large Wyvern Tear | 35%, 0% |
No Comments