
Machalite Ore is an uncommon ore found in the Sandy Plains, Flooded Forest and Lava Caverns. It’s required for many weapons and armor.
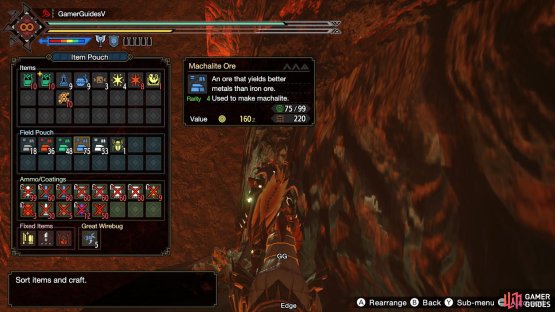
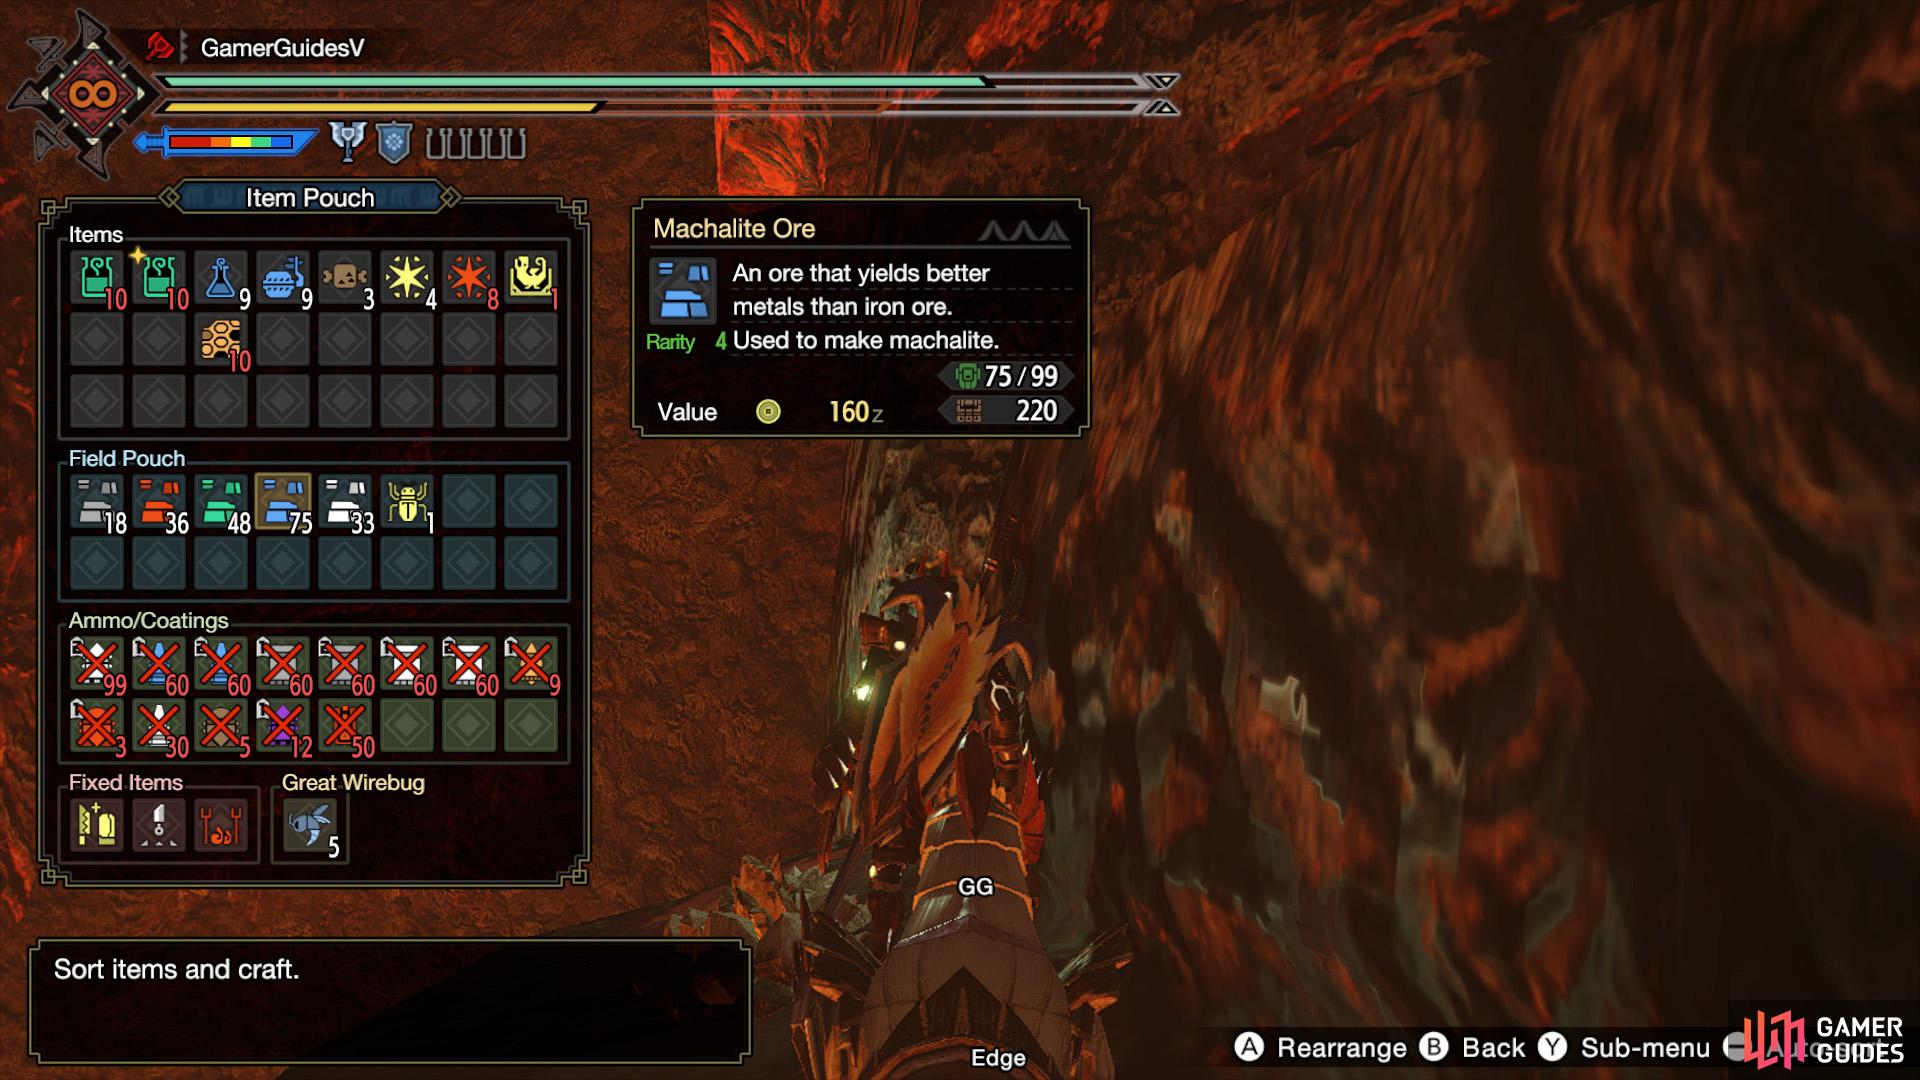
“An ore that yields better metals than iron ore. Used to make machalite.”
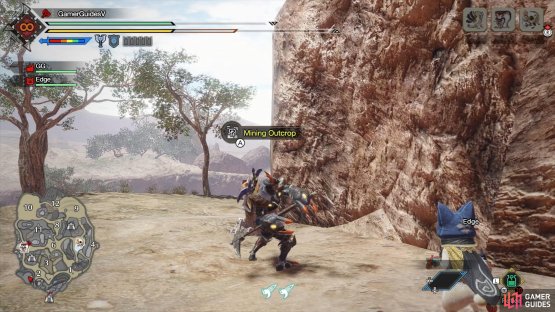
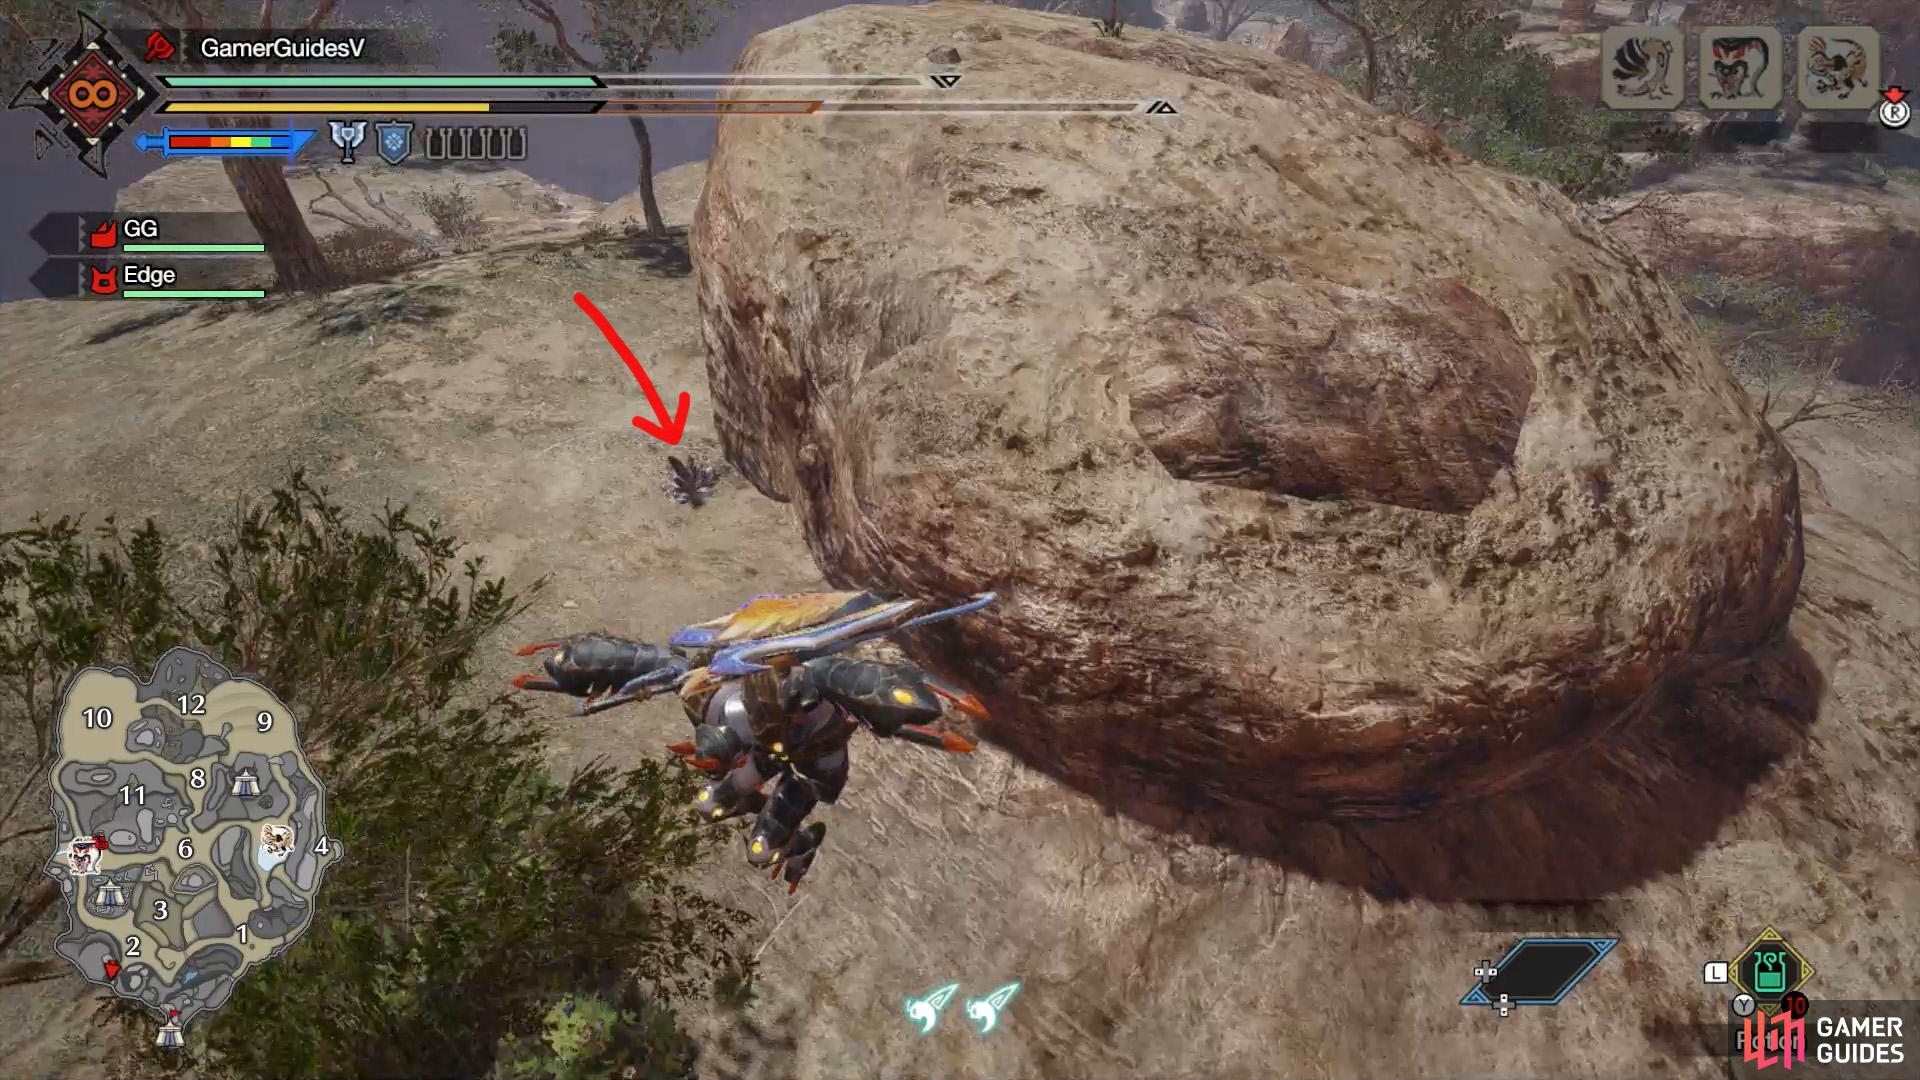
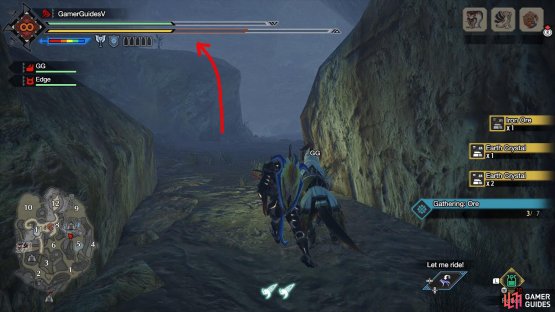
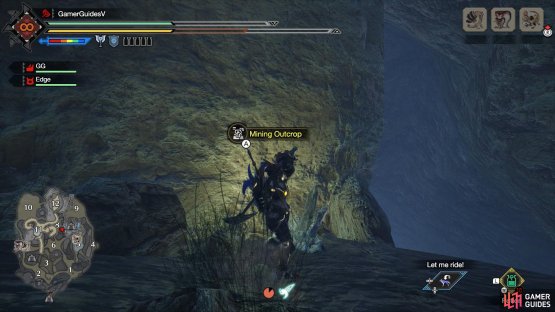
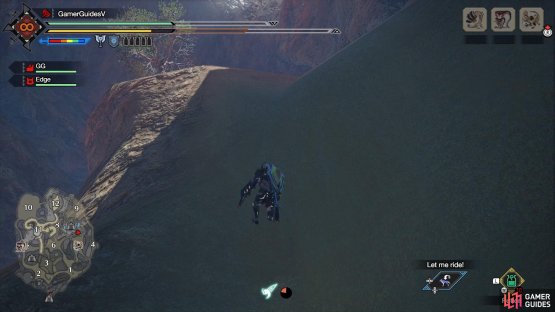
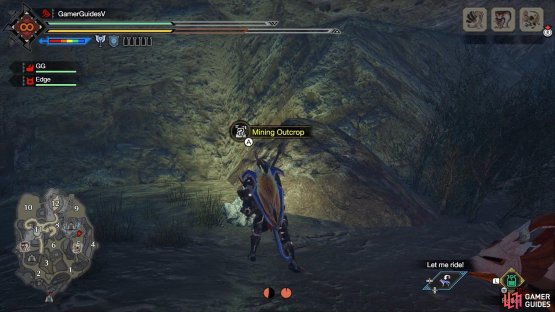
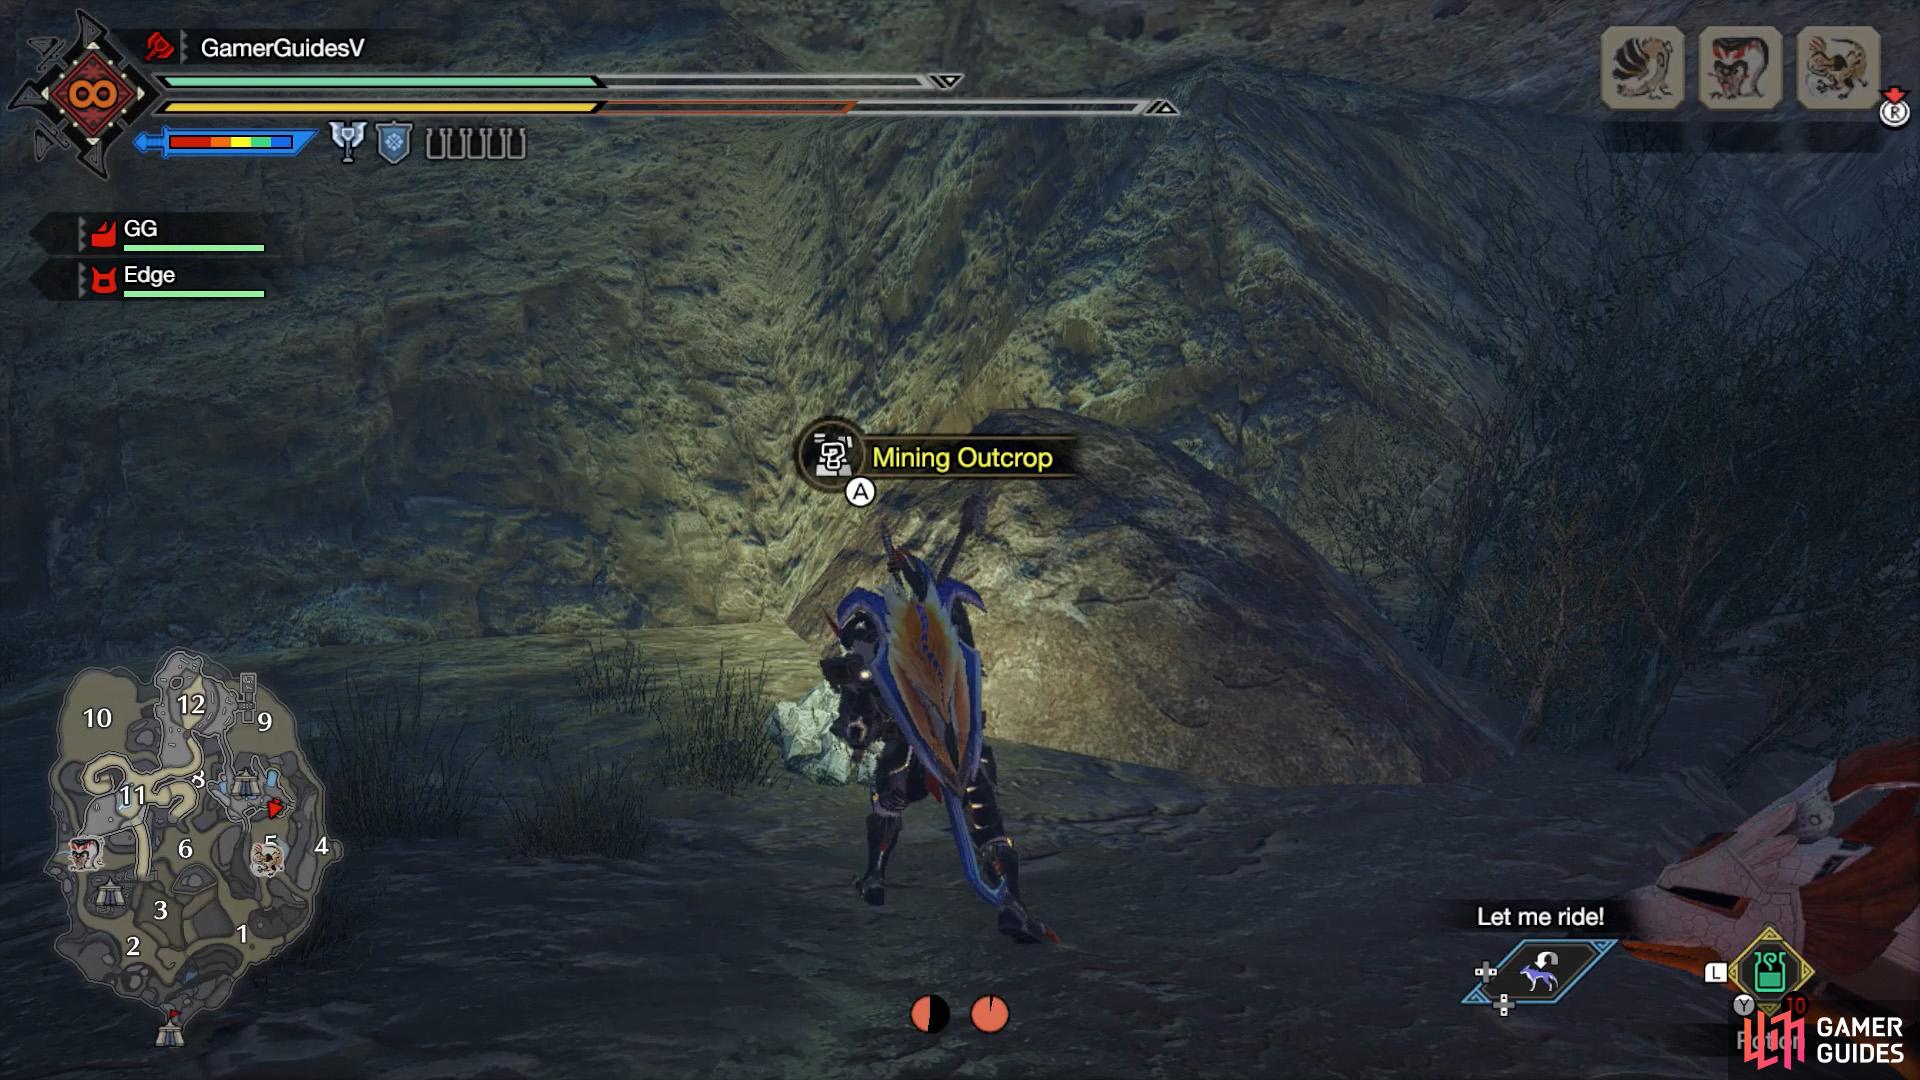
(1 of 2) Keep your eyes peeled for an upsurge in mining outcrops.

Keep your eyes peeled for an upsurge in mining outcrops. (left), During an upsurge, you can reap lots of Machalite Ore. (right)
| Carry | Rarity | Value |
|---|---|---|
| 99 |
Rarity 4 | 160z |
How to Get Machalite Ore
The main method to obtain Machalite Ore is by gathering from blue or white mining outcrops in the Sandy Plains, Flooded Forest and Lava Caverns.
If you only want Machalite Ore, the white mining outcrops in the Sandy Plains have the highest drop rates in our experience.
Otherwise, if you don’t need a lot of Machalite Ore, the Flooded Forest and Lava Caverns have a lower drop rate for Machalite Ore, but you can farm other ore at the same (Lightcrystals in the forest and Dragonite Ore in the caverns).
Sandy Plains

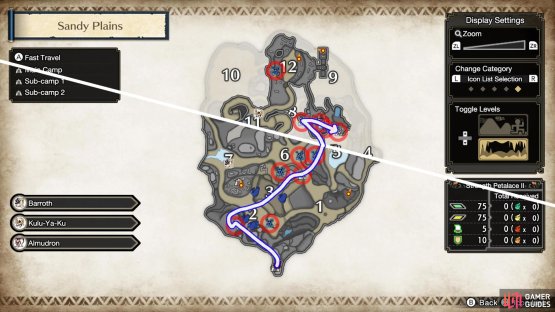
(1 of 2) Sandy Plains key mining outcrop locations.
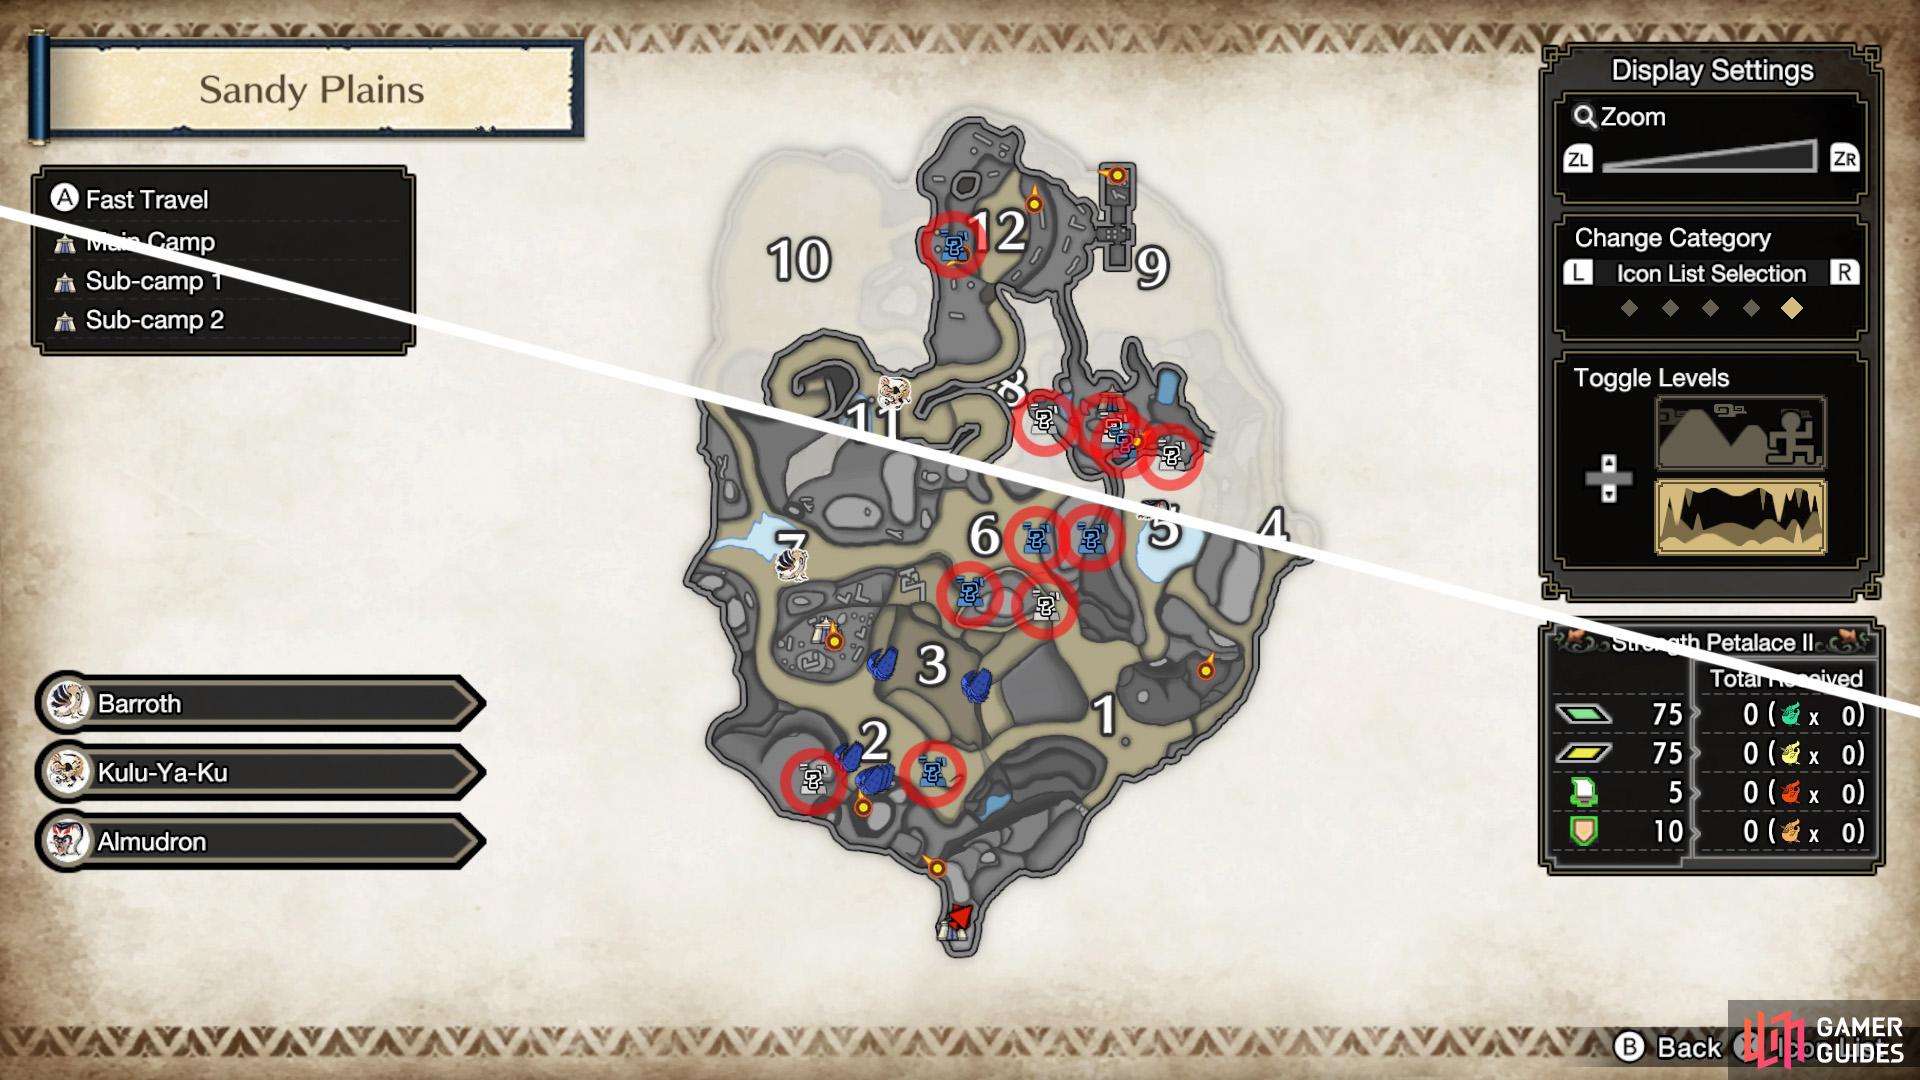
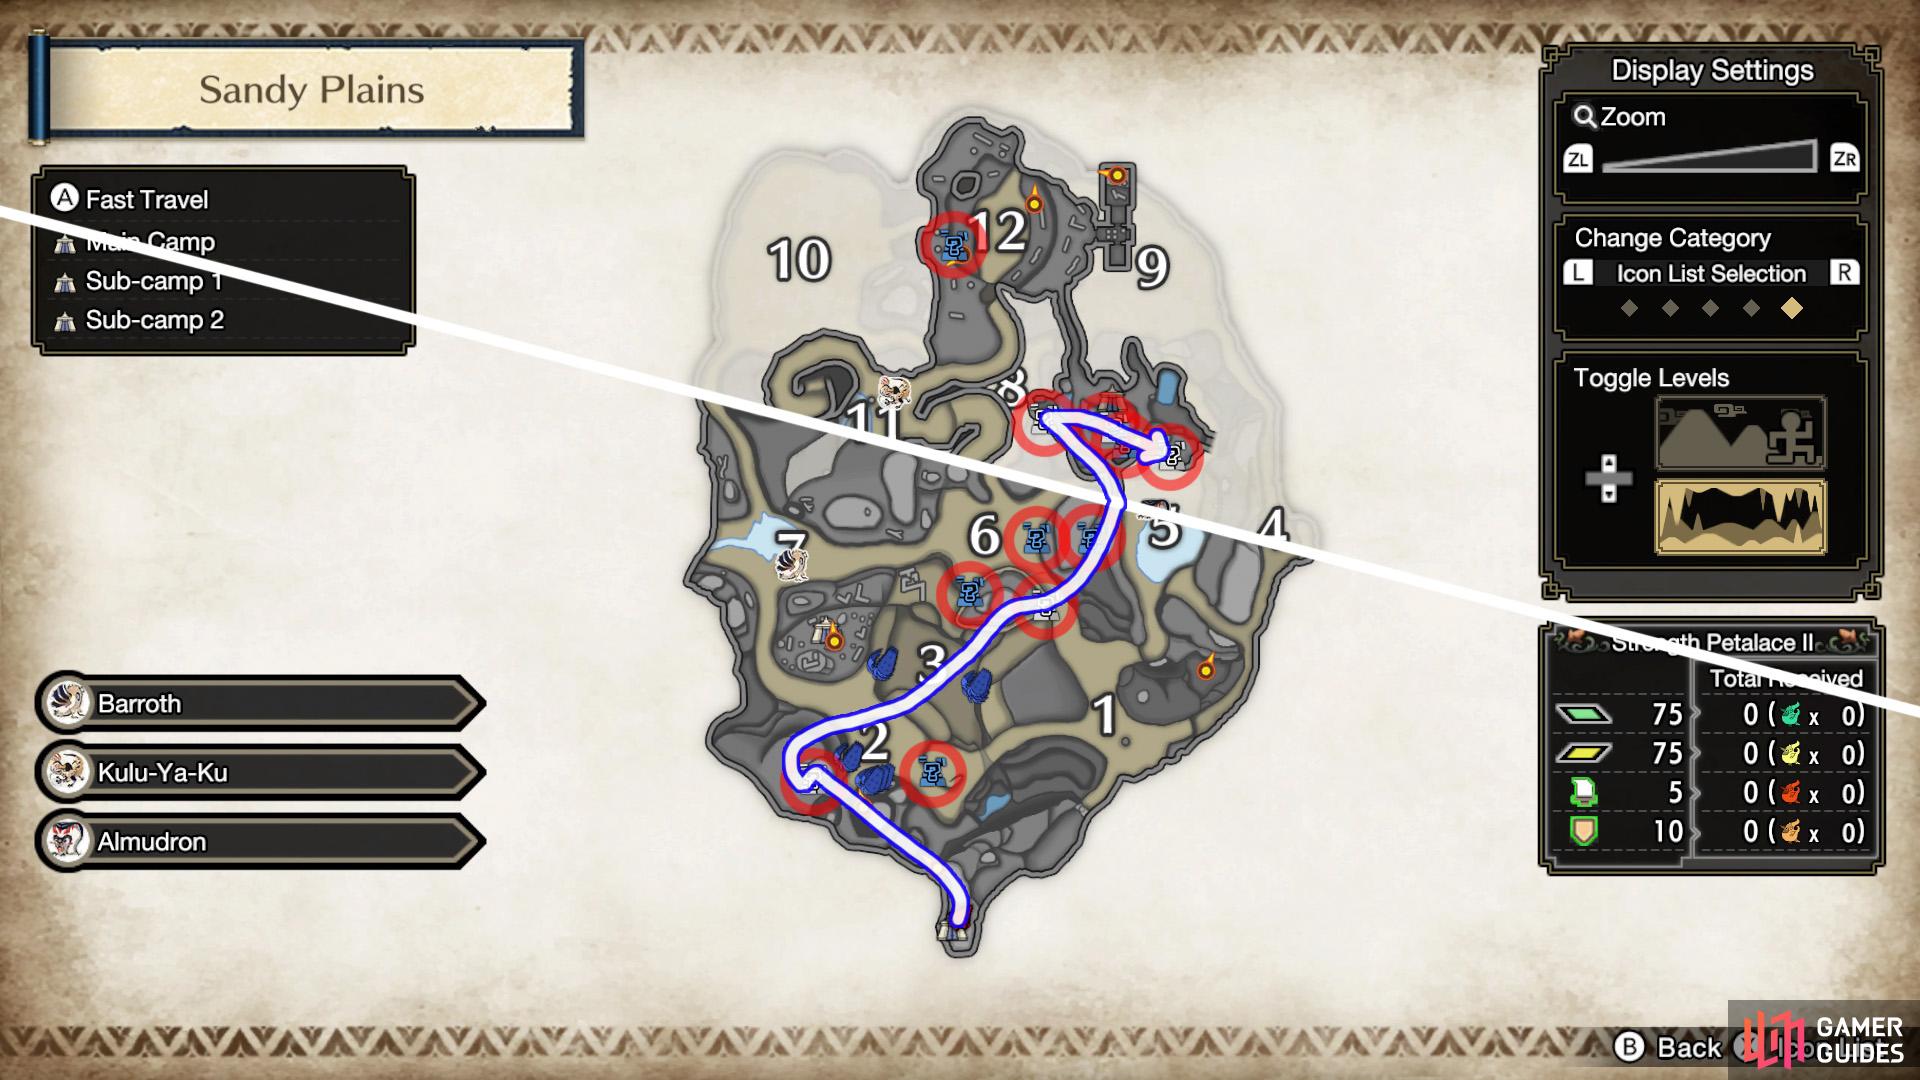
Sandy Plains key mining outcrop locations. (left), Sandy Plains farming route. (right)
We suggest gathering exclusively from the white mining outcrops; avoid the blue ones unless they’re directly in your path.
The downside is that there are only 5 such outcrops and you can visit them all within 5 minutes. So you’ll either have to wait for the outcrops to respawn or exit the map and re-enter.
(1 of 2) Launch yourself using the great wirebug at the end of the tunnel near the main camp.

Launch yourself using the great wirebug at the end of the tunnel near the main camp. (left), The first white mining outcrop is by the wall of the raised ground where you land. (right)
1: Go through the tunnel near the main camp and use the great wirebug at the end to launch yourself north-west. After landing, drop down from the raised ground and the first white mining outcrop is near the wall of the raised ground.

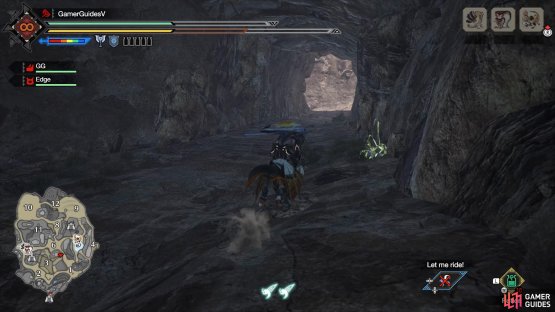
(1 of 2) Go through this narrow gap towards the north-east of Area 3.
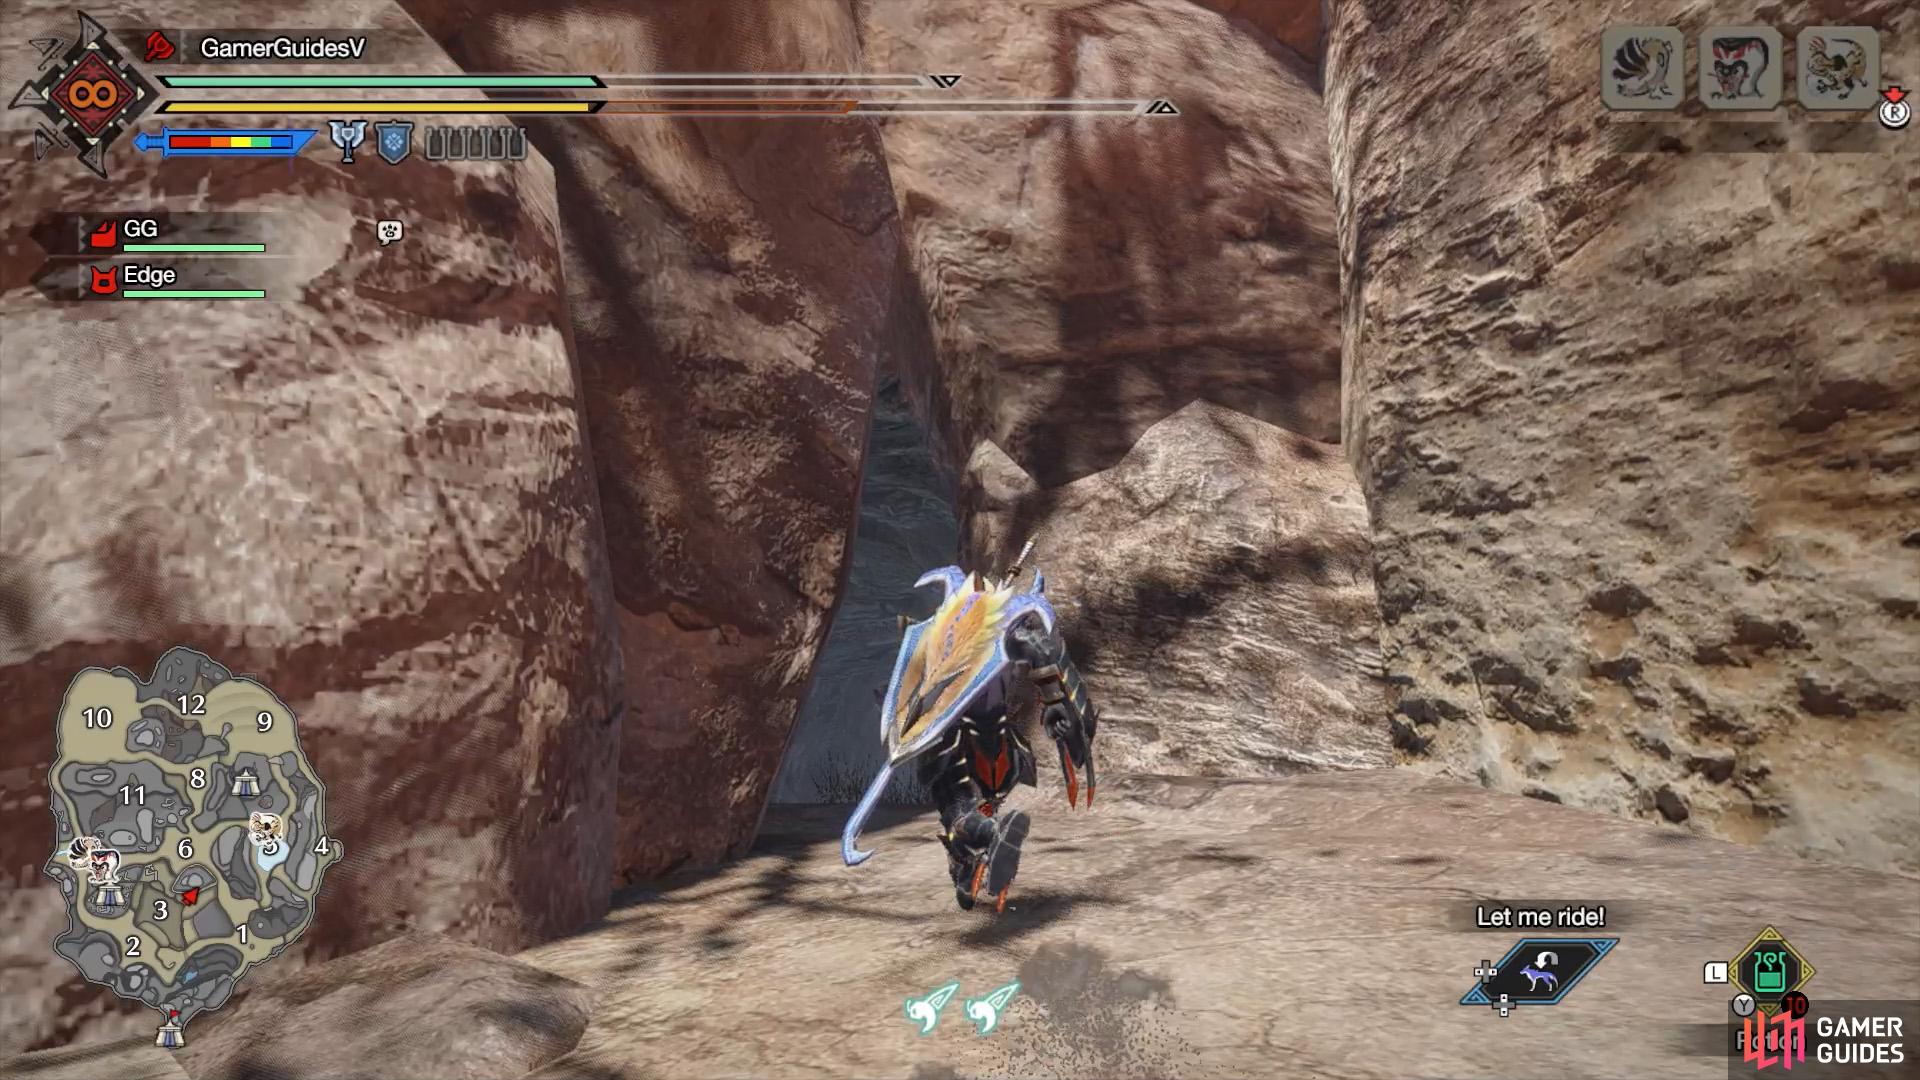

Go through this narrow gap towards the north-east of Area 3. (left), Follow the tunnel and you’ll find the mining outcrop on the right. (right)
2: Head north-east, through Area 2–and into the Area 3 battleground. If you want, you can gather from the blue mining outcrop towards the east side of the Area 2 battleground. Once in Area 3, climb up the vine-covered wall to the north-east and go through the narrow crack. The second outcrop’s halfway through the tunnel.
(1 of 2) Enter the cave between areas 5 and 6. Then climb up the raised ground on the left.


Enter the cave between areas 5 and 6. Then climb up the raised ground on the left. (left), Ta-da, another white mining outcrop. (right)
3: Follow the tunnel to reach the lower section between areas 5 and 6. Head north into the caves. Along the way, there’s a blue mining outcrop on the left that you may as well gather from. Inside the caves, turn left and go up the raised land. The third white outcrop’s near the end.
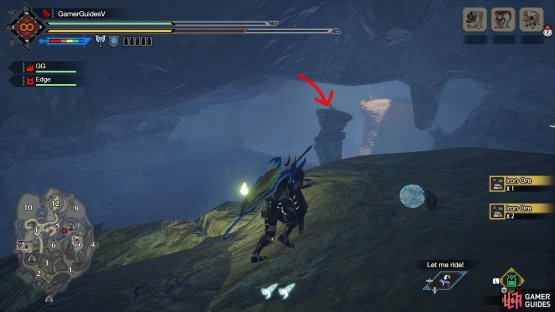

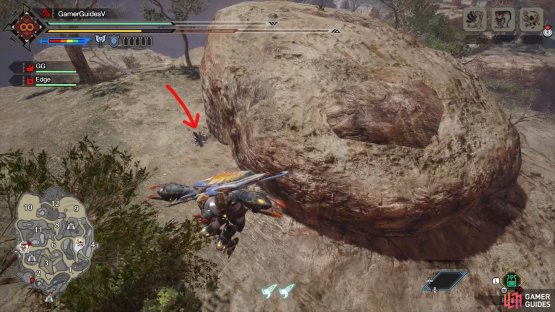
(1 of 2) Use your wirebugs to climb up this rock pillar.
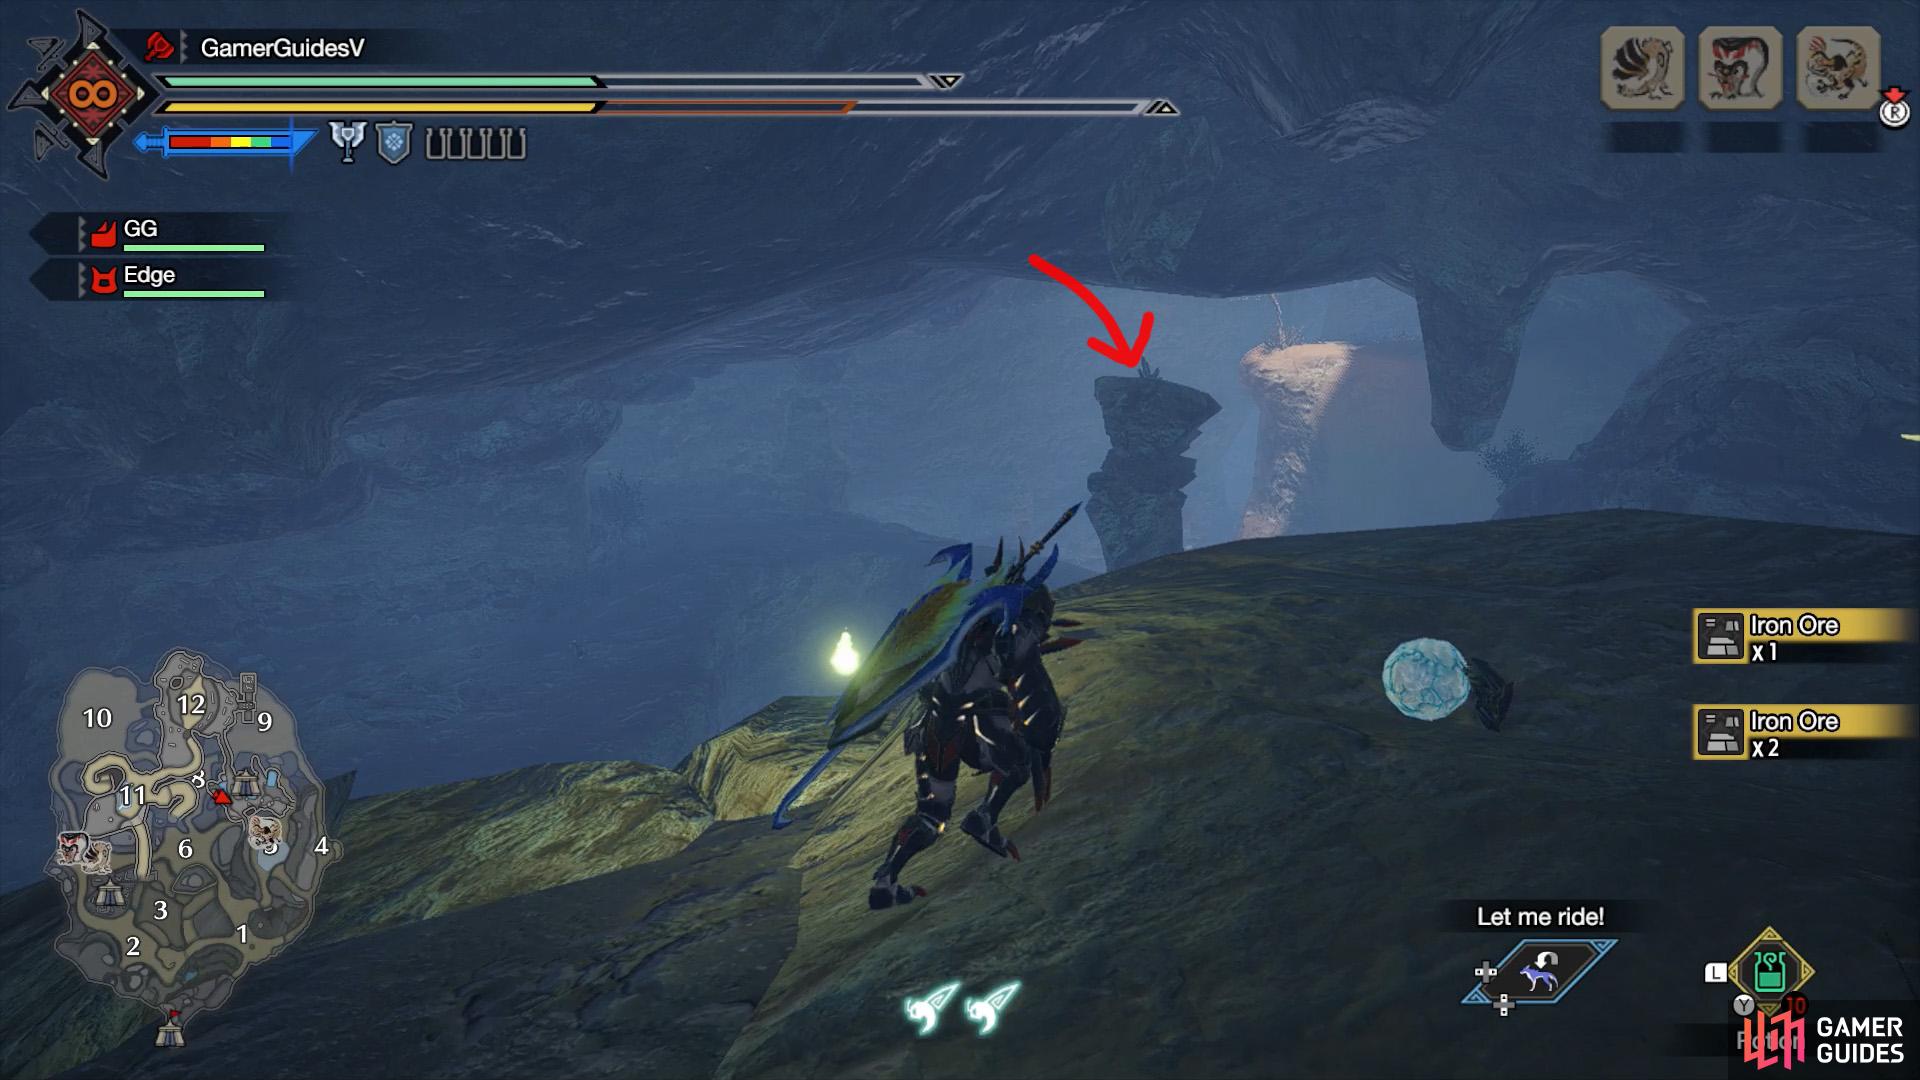
Use your wirebugs to climb up this rock pillar. (left), It’s rather narrow up here; be careful not to fall off. (right)
4: Turn around and head for the wobbly rock pillar near the center of the cave. Use your wirebugs to climb up, where the fourth white mining outcrop is waiting.
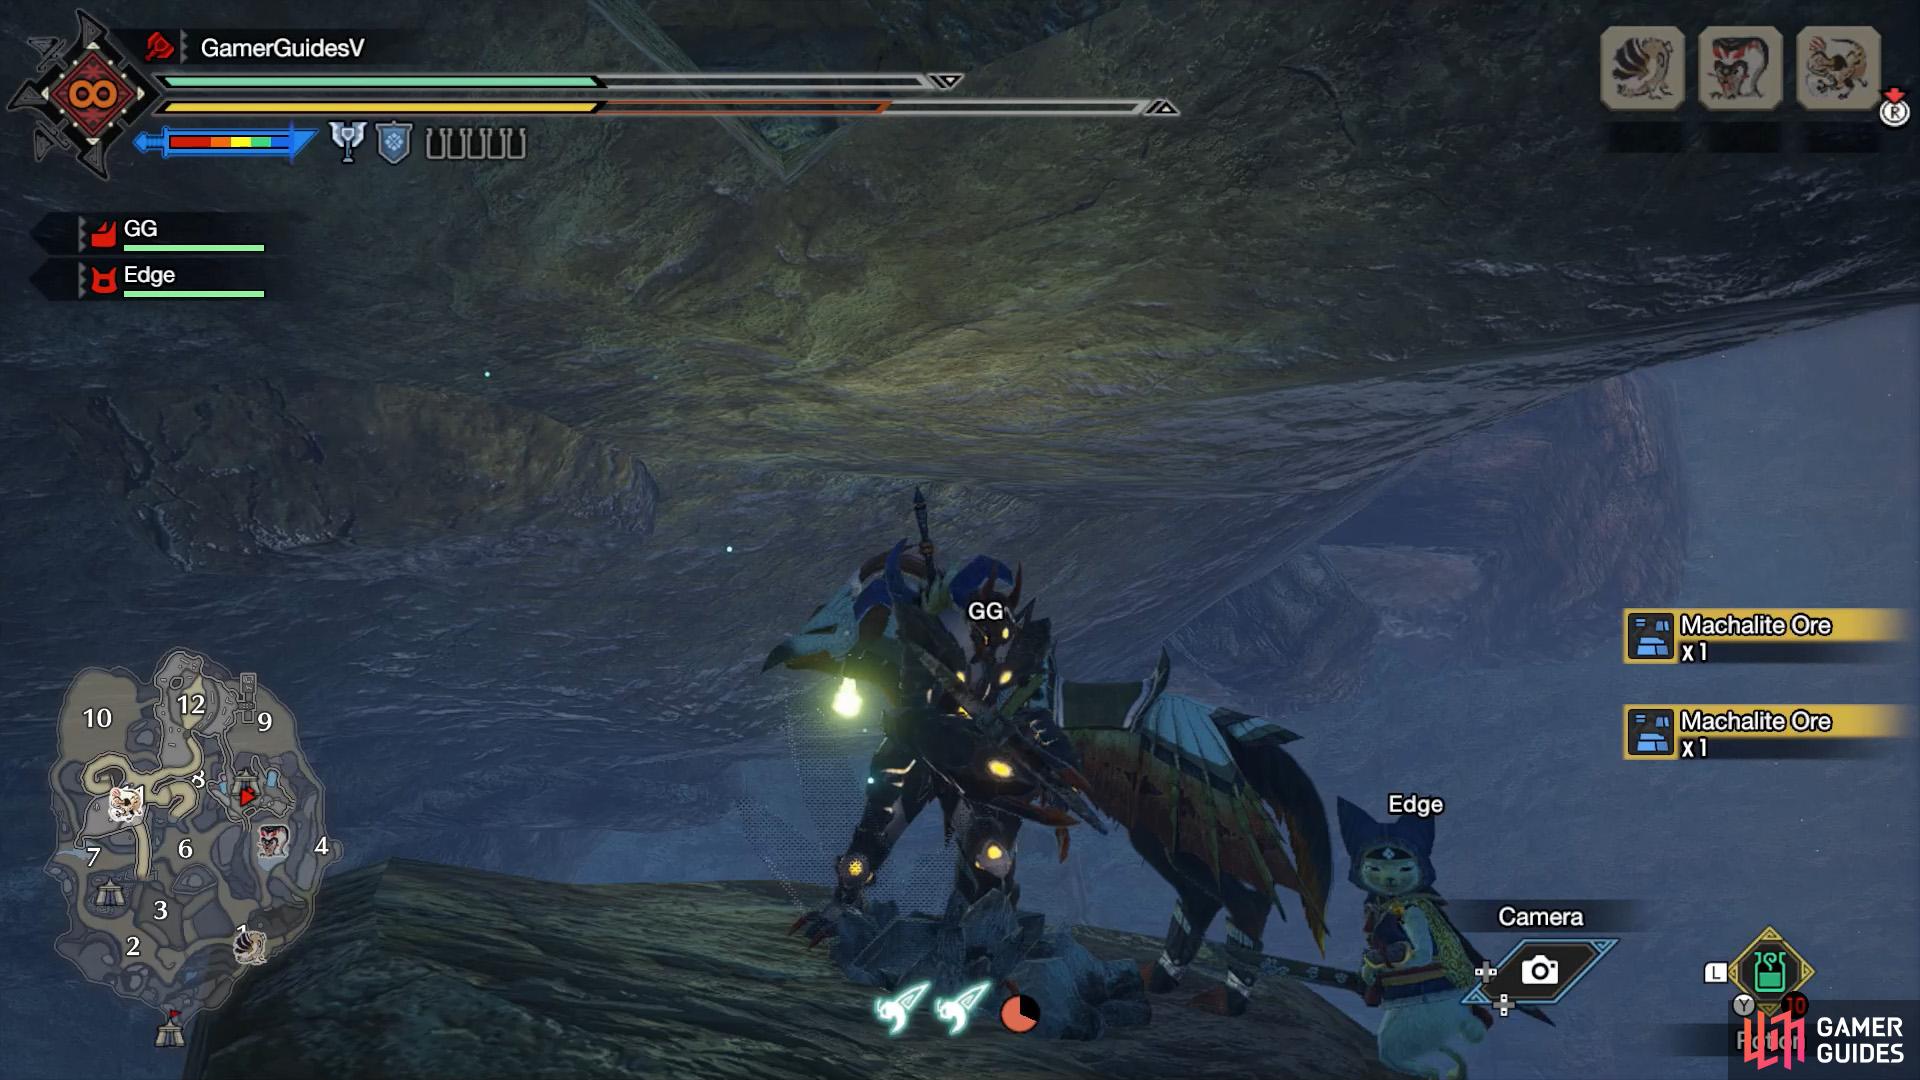
(1 of 2) Lastly, climb up the side of this tall wall.

Lastly, climb up the side of this tall wall. (left), The final white mining outcrop is found above. (right)
5: Continue east inside the cave. Nearby on the right, there’s a blue mining outcrop on the wall. Ahead, there should be a great wirebug/jewel lily. Go past it and climb up the tall wall ahead. At the top is a tree lit up by light coming from above. The last white minecrop is close by.
Flooded Forest

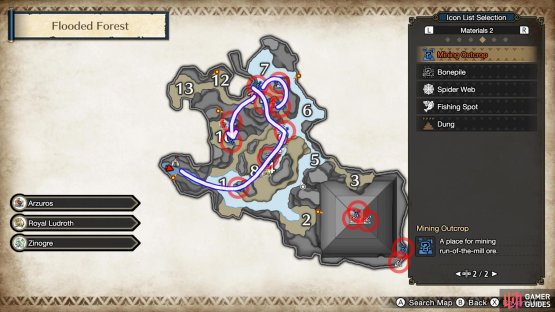
(1 of 2) Flooded Forest mining outcrops.
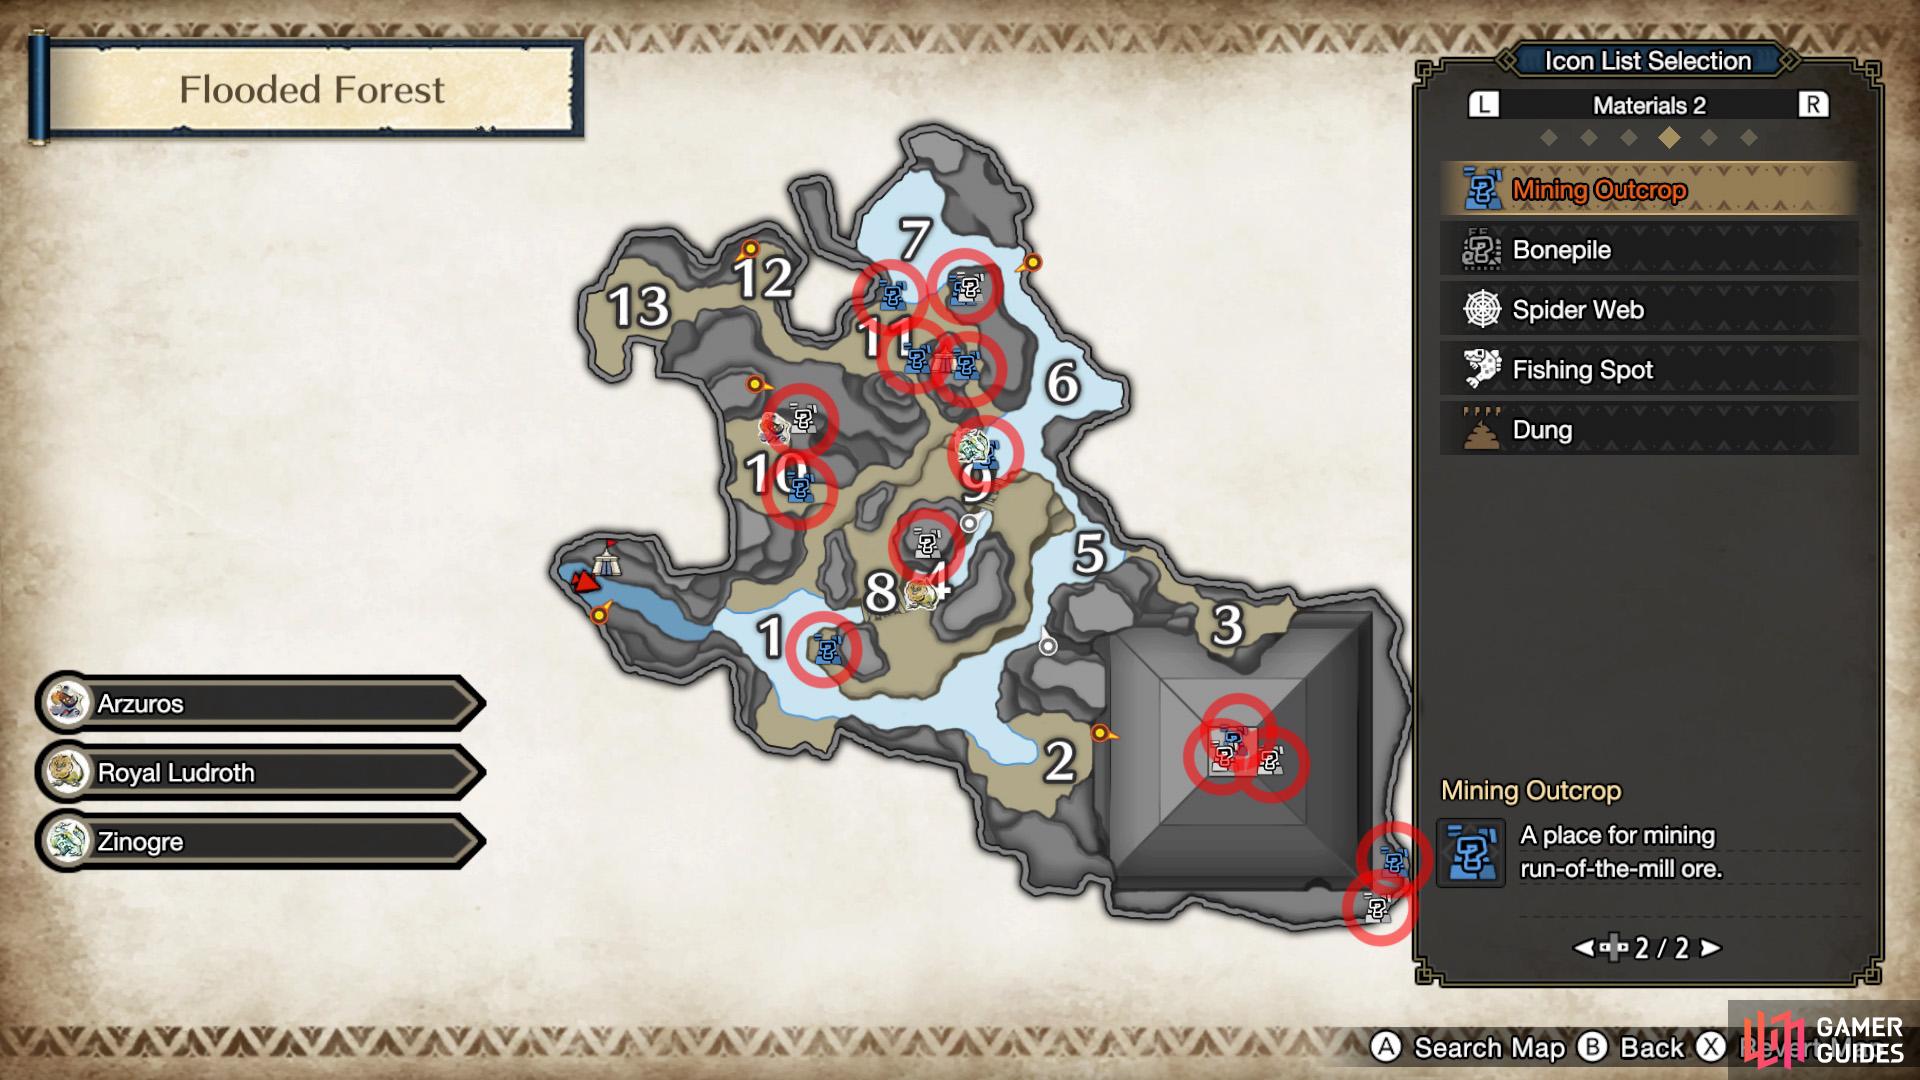

Flooded Forest mining outcrops. (left), Flooded Forest farming route. (right)
We suggest gathering from all the white and blue mining outcrops away from the great pyramid. Start from the blue outcrop in Area 1, then work your way counter-clockwise, finishing in Area 10. By that point, the first outcrop should’ve respawned.
Most of the outcrops here are easy to find. However, there’s a somewhat tricky pair towards the south-east of Area 7. They’re in a small cave halfway up a cliff wall. You can either climb up from Area 7. Or you can drop down from the highlands between areas 6 and 7.
Also, there’s a blue mining outcrop on the same level as the Sub-Camp. You may want to fast-travel to the Sub-Camp to reach it quicker. You can also wiredash to the highlands between areas 6 and 7 from there.
Lava Caverns

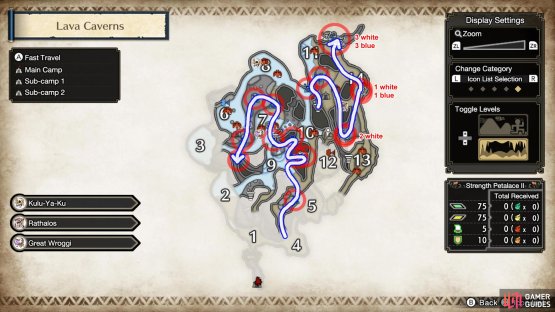
(1 of 2) Lava Caverns mining outcrops on the surface.
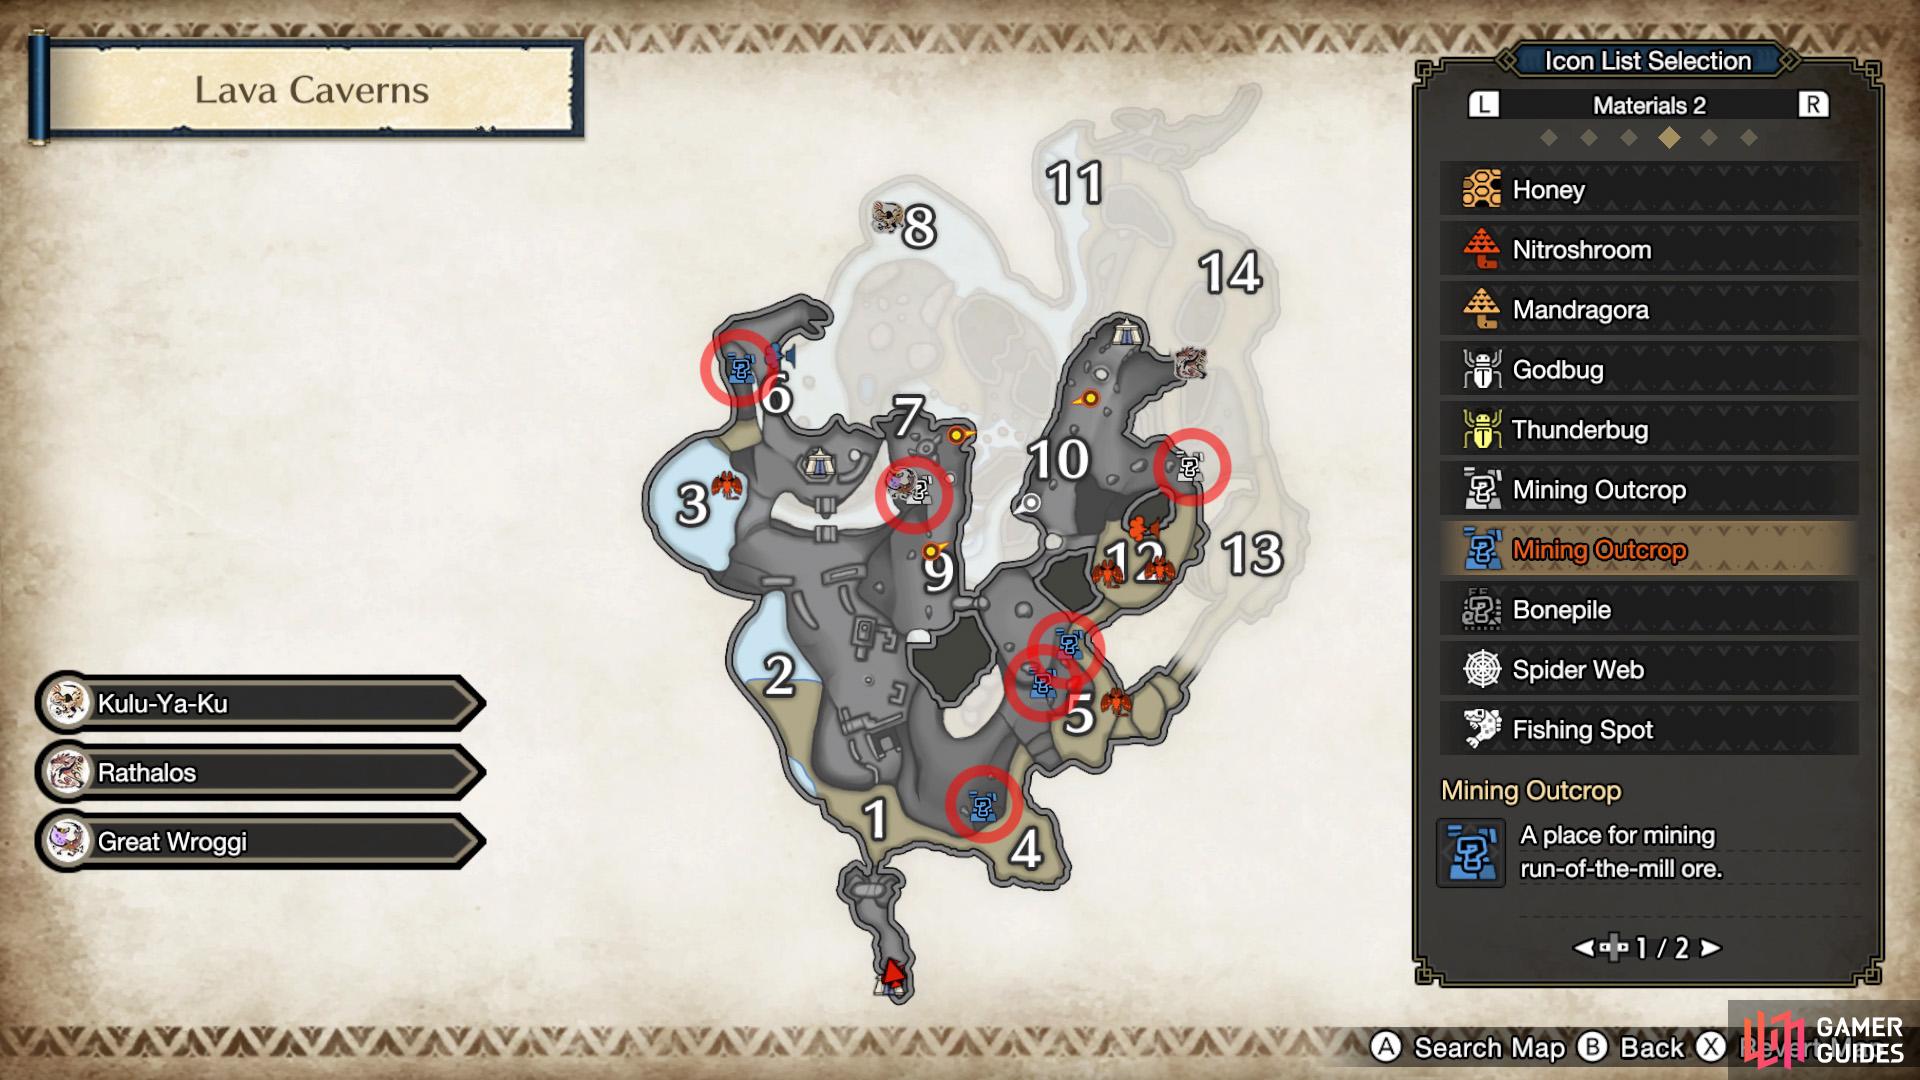

Lava Caverns mining outcrops on the surface. (left), Lava Caverns surface farming route. (right)
We suggest focusing on all the white and blue mining outcrops in the underground section. That said, there are a few outcrops above ground that you should visit on your way there.
From the main camp, gather from the first three outcrops near areas 4 and 5. Once you’re done, return to Area 4 and enter the underground from there.
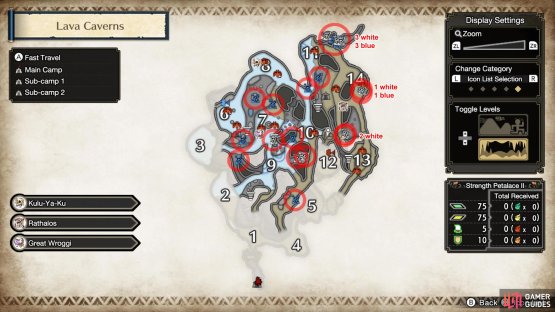
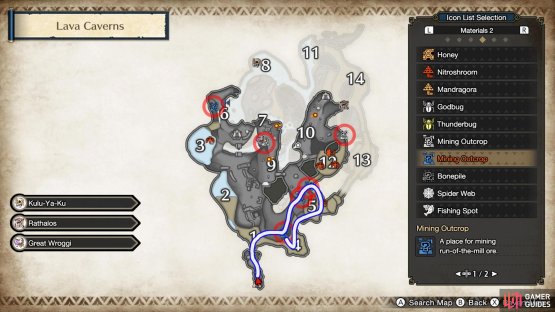
(1 of 2) Lava Caverns mining outcrops underground.
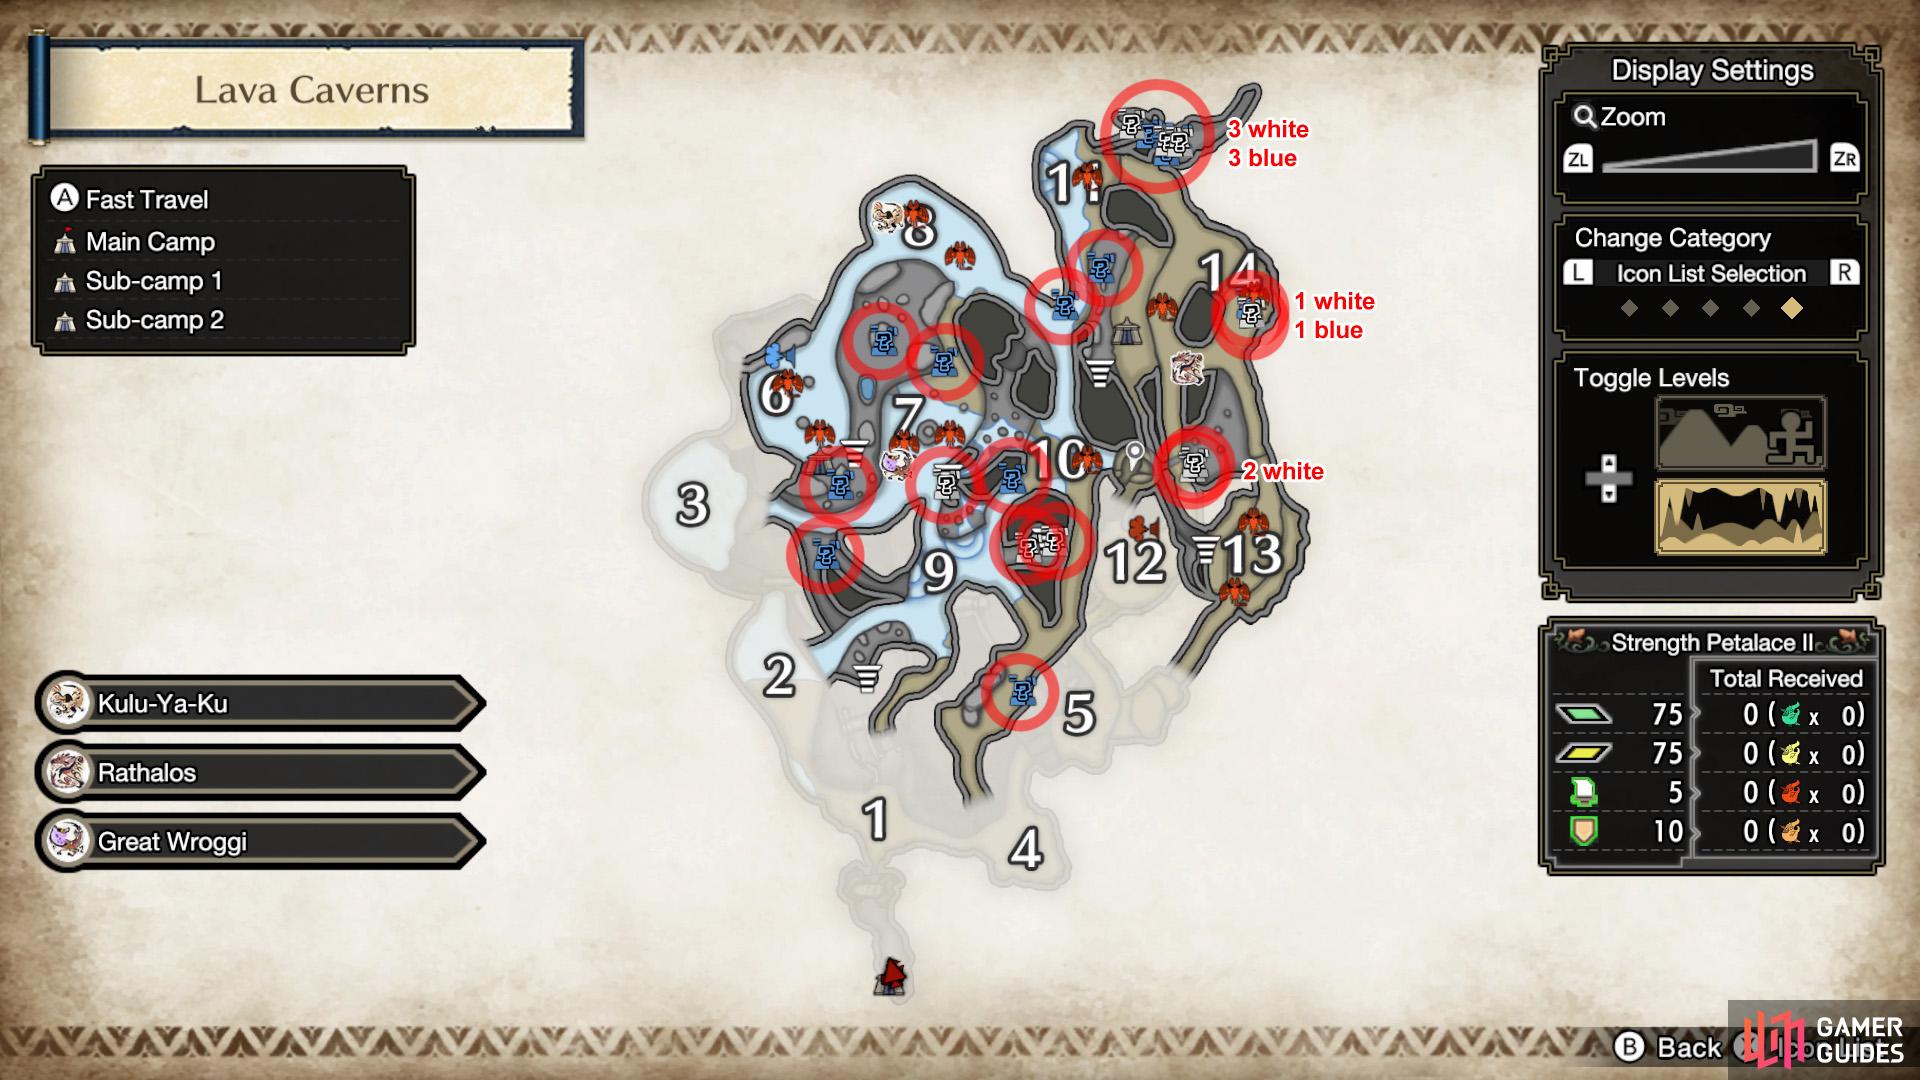
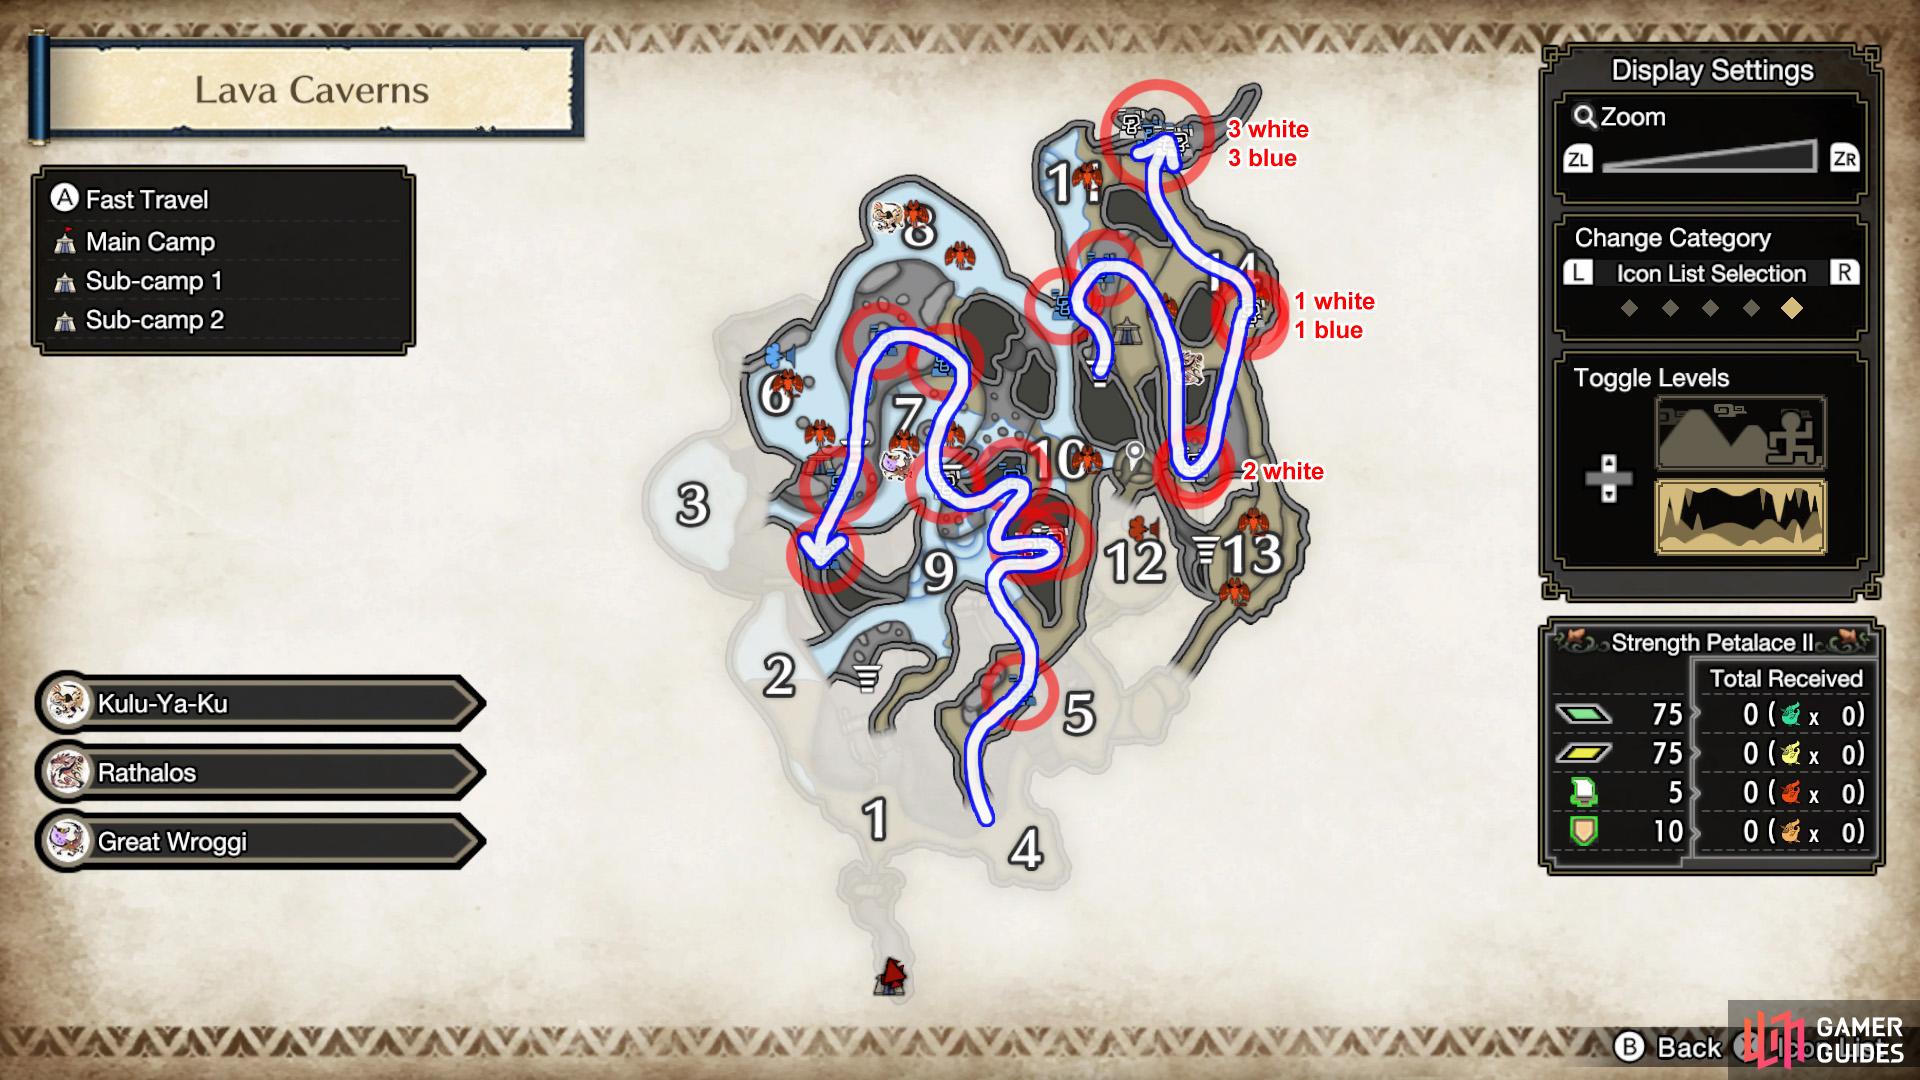
Lava Caverns mining outcrops underground. (left), Lava Caverns underground farming route (right)
Now snake your way through all the outcrops in the west half. Finally, fast-travel to Sub-Camp 1 and drop down the nearby hole. From here, you can easily reach all the outcrops in the east half.
Most of the outcrops are fairly easy to find if you follow your mini-map. However, there are two sections in the east half that can be hard to find. Please refer to our Dragonite Ore page for detailed instructions.
Monsters
You can also obtain Machalite Ore from fighting Low Rank Basarios.
| Monster | Type of Reward Drop | Drop Rate |
|---|---|---|
| Basarios (Low) | Broken Parts - Back | 35% (x2) |
| Basarios (Low) | Broken Parts - Chest | 25% |
| Basarios (Low) | Carves - Body | 12% |
| Basarios (Low) | Target Rewards | 10% (x2) |
| Basarios (Low) | Carves - Tail | 7% (x2) |
Quest Rewards
Many quests starting from Village 3-star and Hub 2-star award Machalite Ore.
| Quest | Reward | Rate |
|---|---|---|
| Village 3-star: Walking on Eggshells |  Machalite Ore x1 Machalite Ore x1 |
13% |
| Village 3-star: Obnoxious Lord, Noxious Monster | Machalite Ore x1 |
11% |
| Village 3-star: The Cactus Diet | Machalite Ore x1 |
13% |
| Village 3-star: A Sandy Cabal | Machalite Ore x1 |
13% |
| Village 3-star: Breath of the Past | Machalite Ore x1 |
11% |
| Village 3-star: Ladies of the Lake | Machalite Ore x1 |
11% |
| Village 4-star: Special License Test 1 | Machalite Ore x1 |
12% |
| Village 4-star: Infernal Lacrimosa | Machalite Ore x1 |
12% |
| Village 4-star: Raging White-out | Machalite Ore x1 |
12% |
| Village 4-star: The Queen’s Procession | Machalite Ore x1 |
12% |
| Village 4-star: Streaking Shadow | Machalite Ore x1 |
12% |
| Village 4-star: A Song of Red and Fire | Machalite Ore x1 |
7% |
| Village 4-star: Off Your Rocker | Machalite Ore x1 |
12% |
| Village 4-star: Monkey Wrench in Your Plans | Machalite Ore x1 |
7% |
| Village 4-star: A Poisonous Project | Machalite Ore x1 |
12% |
| Village 4-star: Deliver the Liver | Machalite Ore x1 |
13% |
| Village 5-star: The Secret Ingredient | Machalite Ore x1 |
12% |
| Village 5-star: BZZZZZ or ZZZZzzzz | Machalite Ore x1 |
12% |
| Village 5-star: The Hottest Around | Machalite Ore x1 |
7% |
| Village 6-star: Abominable Snow-beast | Machalite Ore x1 |
9% |
| Hub 2-star: I Want Off This Ride | Machalite Ore x1 |
7% |
| Hub 2-star: Way of the Pukei | Machalite Ore x1 |
12% |
| Hub 2-star: So Muddy Hardheaded! | Machalite Ore x1 |
12% |
| Hub 2-star: Reinventing the Wheel | Machalite Ore x1 |
7% |
| Hub 2-star: Blasted Basarios! | Machalite Ore x1 |
12% |
| Hub 2-star: The Path to Royalty | Machalite Ore x1 |
12% |
| Hub 2-star: Dawn of the Kestodon | Machalite Ore x1 |
13% |
| Hub 2-star: Hide, Hide, Hide! | Machalite Ore x1 |
11% |
| Hub 2-star: Fried and Baptized | Machalite Ore x1 |
12% |
| Hub 3-star: Beckoning Slumber | Machalite Ore x1 |
12% |
| Hub 3-star: The Blizzard Blender | Machalite Ore x1 |
9% |
| Hub 3-star: Zigzagging Zapper | Machalite Ore x1 |
12% |
| Hub 3-star: White Knight vs. Hunter | Machalite Ore x1 |
12% |
What is Machalite Ore Used For?
You need 3 Machalite Ore to complete the Deliver Palamute Materials request.
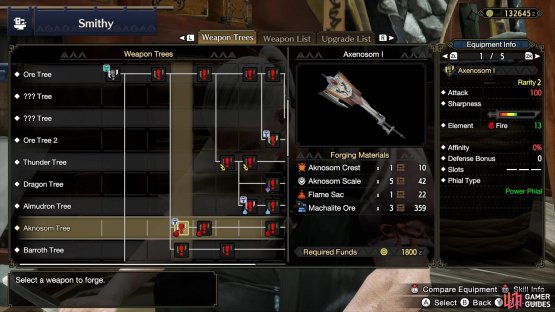

(1 of 2) Forging an awesome Axenosom I.
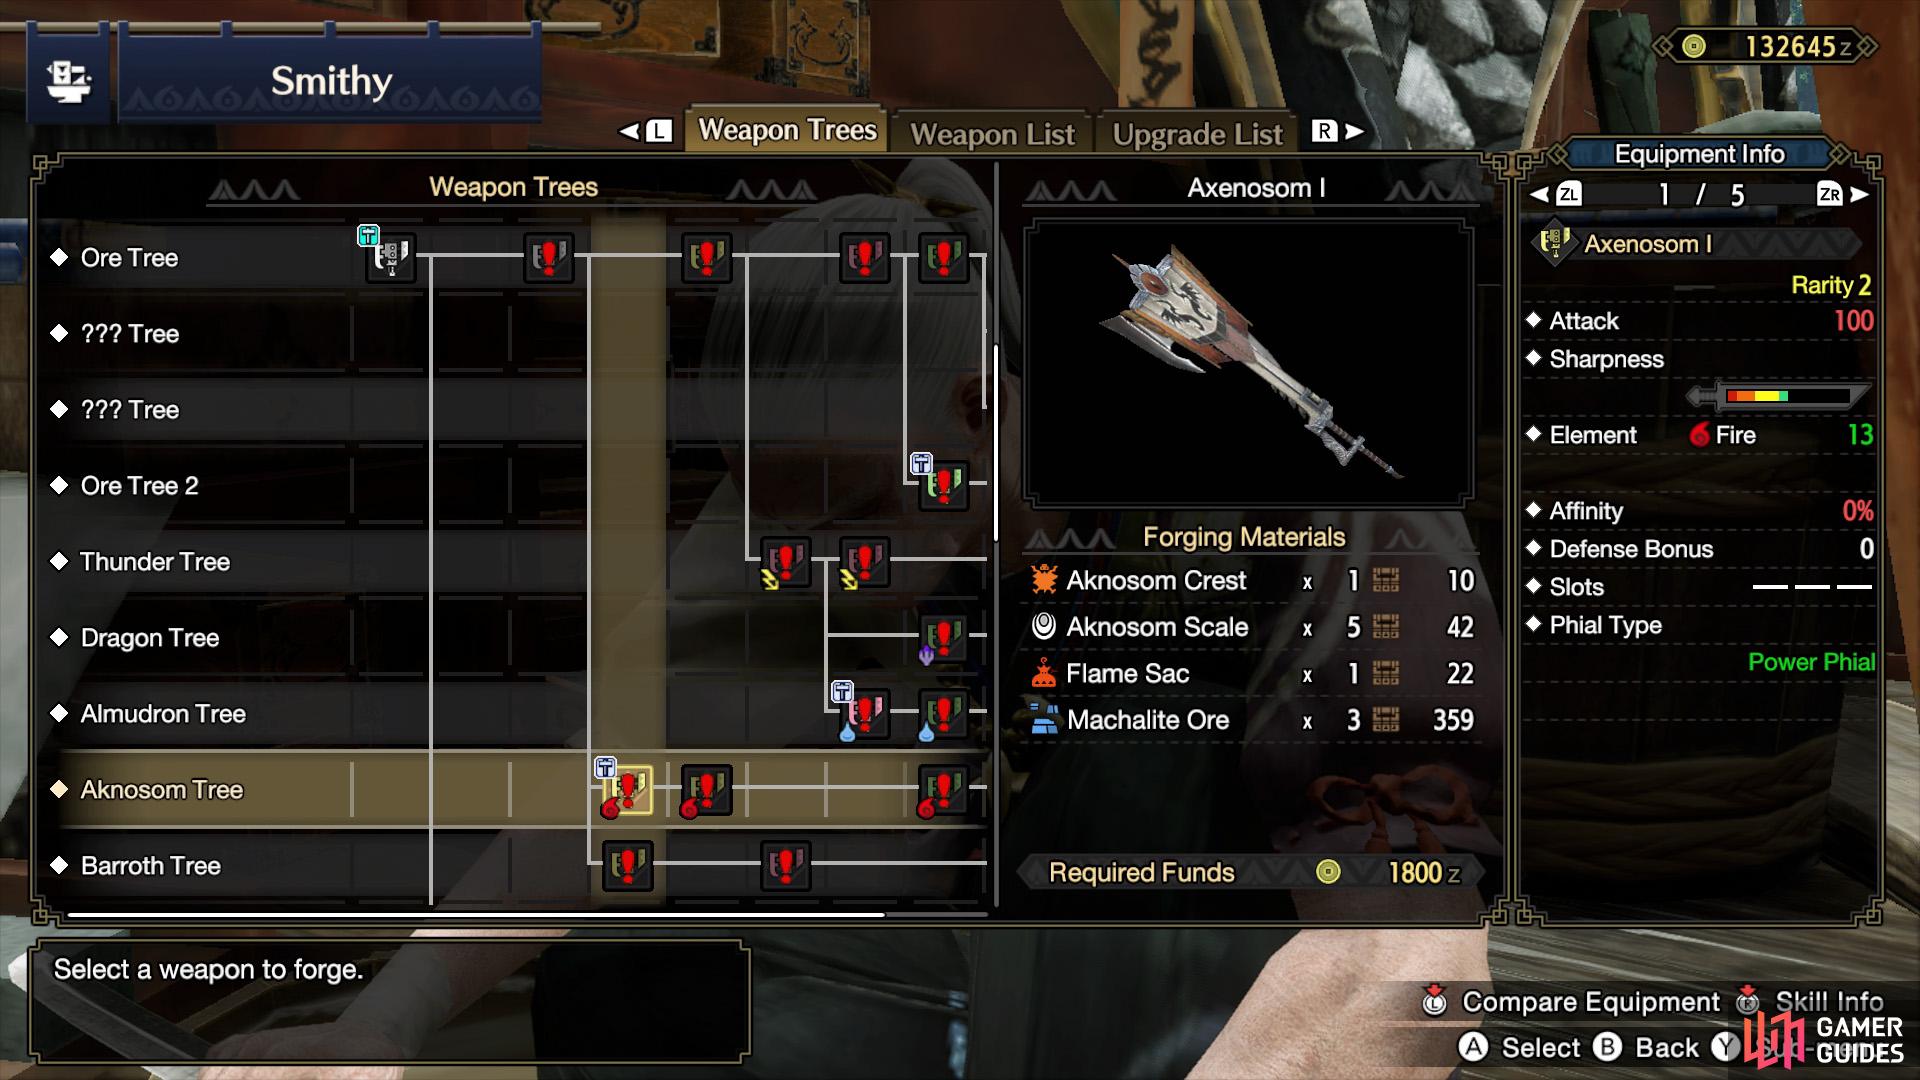
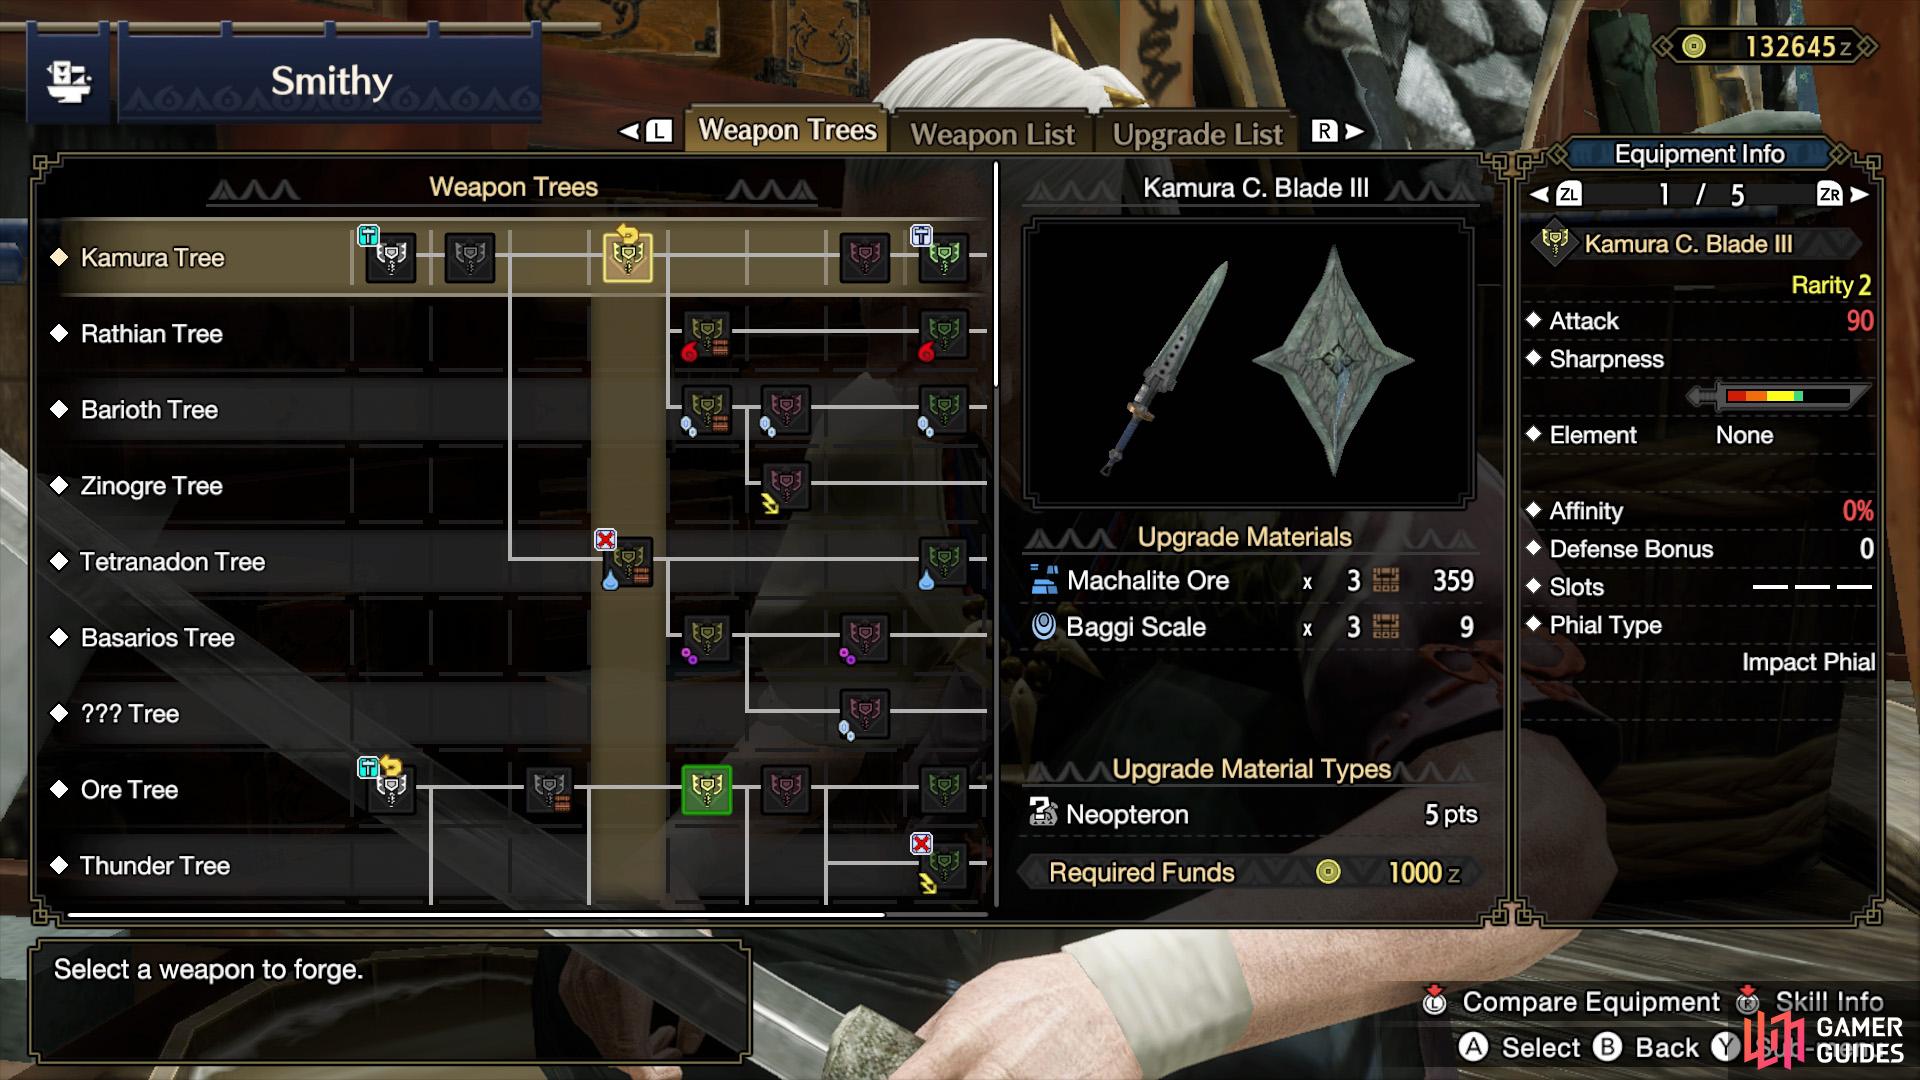
Forging an awesome Axenosom I. (left), Machalite Ore is required to upgrade the Kamura III weapons. (right)
It’s also required for a wide variety of weapons and armor. Most notably, the 3rd tier of Kamura weapons all require Machalite Ore.
Forge Weapons
| Weapon | Type | Material Required |
|---|---|---|
| Aknosom Blade I | Great Sword | Machalite Ore x3 |
| Castello Saif I | Long Sword | Machalite Ore x5 |
| Cunning Riposte I | Sword and Shield | Machalite Ore x2 |
| Dirty Baron I | Sword and Shield | Machalite Ore x2 |
| Sleepy Shellsword I | Sword and Shield | Machalite Ore x2 |
| Desperado I | Dual Blades | Machalite Ore x2 |
| Schirmscorn I | Dual Blades | Machalite Ore x3 |
| Aknosom Lance I | Lance | Machalite Ore x3 |
| Distention I | Lance | Machalite Ore x2 |
| Plegis Needle I | Lance | Machalite Ore x3 |
| Aknosom Gunlance I | Gunlance | Machalite Ore x2 |
| Ludroth Harpoon I | Gunlance | Machalite Ore x2 |
| Sleepy Shellgun I | Gunlance | Machalite Ore x2 |
| Frog Flute I | Hunting Horn | Machalite Ore x3 |
| Axenosom I | Switch Axe | Machalite Ore x3 |
| Sleepy Shellslice I | Switch Axe | Machalite Ore x2 |
| Shovedown Blade I | Charge Blade | Machalite Ore x2 |
| Aknosom Pike I | Insect Glaive | Machalite Ore x3 |
| Leaping Glaive I | Insect Glaive | Machalite Ore x3 |
| Khezu Syringe I | Light Bowgun | Machalite Ore x2 |
| Queen’s Longfire I | Heavy Bowgun | Machalite Ore x2 |
| Reversal Shot I | Heavy Bowgun | Machalite Ore x2 |
| Striker’s Bowgun I | Heavy Bowgun | Machalite Ore x10 |
| Wroggi Revolver I | Bow | Machalite Ore x2 |
Upgrade Weapons
| Weapon | Type | Material Required |
|---|---|---|
| Icicle Fang I | Great Sword | Machalite Ore x3 |
| Buster Sword I | Great Sword | Machalite Ore x3 |
| Kamura Cleaver III | Great Sword | Machalite Ore x3 |
| Hidden Saber I | Long Sword | Machalite Ore x5 |
| Gigant Makra I | Long Sword | Machalite Ore x8 |
| Kamura Blade III | Long Sword | Machalite Ore x3 |
| Khezu Razor I | Sword and Shield | Machalite Ore x2 |
| Fighter Sword | Sword and Shield | Machalite Ore x3 |
| Frost Edge II | Sword and Shield | Machalite Ore x2 |
| Kamura Sword III | Sword and Shield | Machalite Ore x3 |
| Khezu Daggers I | Dual Blades | Machalite Ore x3 |
| Kamura Glintblades III | Dual Blades | Machalite Ore x3 |
| Matched Slicers II | Dual Blades | Machalite Ore x3 |
| Twin Chainsaws I | Dual Blades | Machalite Ore x3 |
| Growling Wyvern I | Lance | Machalite Ore x5 |
| Kamura Spear III | Lance | Machalite Ore x3 |
| Delex Harpoon I | Gunlance | Machalite Ore x2 |
| Kamura Gunlance III | Gunlance | Machalite Ore x3 |
| Striker’s Gunlance I | Gunlance | Machalite Ore x3 |
| Barroth Loader I | Gunlance | Machalite Ore x2 |
| Shattershot I | Gunlance | Machalite Ore x3 |
| Bag o’ Horrors I | Hammer | Machalite Ore x2 |
| Cyclo-Hammer I | Hammer | Machalite Ore x3 |
| Gun Hammer I | Hammer | Machalite Ore x3 |
| Kamura Hammer III | Hammer | Machalite Ore x3 |
| Unbearable Hammer II | Hammer | Machalite Ore x3 |
| War Hammer I | Hammer | Machalite Ore x4 |
| Wroggi Hammer I | Hammer | Machalite Ore x2 |
| Wind Thief Horn II | Hunting Horn | Machalite Ore x2 |
| Basarios Rock I | Hunting Horn | Machalite Ore x5 |
| Kamura Chorus III | Hunting Horn | Machalite Ore x3 |
| Khezu Horn I | Hunting Horn | Machalite Ore x3 |
| Metal Bagpipe I | Hunting Horn | Machalite Ore x3 |
| Arzuros Axe II | Switch Axe | Machalite Ore x3 |
| Daidalos Axe | Switch Axe | Machalite Ore x2 |
| Kamura Iron Axe III | Switch Axe | Machalite Ore x3 |
| Wind Thief Sickle II | Charge Blade | Machalite Ore x3 |
| Giga Grips I | Charge Blade | Machalite Ore x4 |
| Kamura C. Blade III | Charge Blade | Machalite Ore x3 |
| Regas Hyper | Charge Blade | Machalite Ore x3 |
| Poisonous Veil I | Charge Blade | Machalite Ore x1 |
| Kulu Glaive I | Insect Glaive | Machalite Ore x3 |
| Kamura Glaive III | Insect Glaive | Machalite Ore x3 |
| Barro Barrel I | Light Bowgun | Machalite Ore x2 |
| Kamura L. Bowgun III | Light Bowgun | Machalite Ore x3 |
| Lotus Bowgun I | Light Bowgun | Machalite Ore x3 |
| Royal Launcher I | Light Bowgun | Machalite Ore x1 |
| Shotgun (Viper) II | Light Bowgun | Machalite Ore x2 |
| Carom Shot I | Heavy Bowgun | Machalite Ore x1 |
| Highpriest Bowgun I | Heavy Bowgun | Machalite Ore x3 |
| Kamura H. Bowgun III | Heavy Bowgun | Machalite Ore x3 |
| Meteor Bazooka I | Heavy Bowgun | Machalite Ore x2 |
| Rock Eater I | Heavy Bowgun | Machalite Ore x4 |
| Arko Nulo II | Bow | Machalite Ore x2 |
| Dawn Ray Bow I | Bow | Machalite Ore x3 |
| Kamura Iron Bow III | Bow | Machalite Ore x3 |
| Khezu Bow I | Bow | Machalite Ore x1 |
Forge Armor
| Armor | Type | Material Required |
|---|---|---|
| Aknosom Mail | Torso | Machalite Ore x1 |
| Alloy Coil | Waist | Machalite Ore x2 |
| Alloy Greaves | Leg | Machalite Ore x2 |
| Alloy Helm | Head | Machalite Ore x2 |
| Alloy Mail | Torso | Machalite Ore x2 |
| Alloy Vambraces | Arm | Machalite Ore x2 |
| Barroth Vambraces | Arm | Machalite Ore x2 |
| Basarios Mail | Torso | Machalite Ore x2 |
| Basarios Vambraces | Arm | Machalite Ore x3 |
| Ingot Greaves | Leg | Machalite Ore x3 |
| Ingot Mail | Torso | Machalite Ore x3 |
| Khezu Helm | Head | Machalite Ore x1 |
| Khezu Mail | Torso | Machalite Ore x2 |
| Makluva Coil | Waist | Machalite Ore x2 |
| Makluva Hood | Head | Machalite Ore x2 |
| Rhenoplos Coil | Waist | Machalite Ore x2 |
| Rhenoplos Greaves | Leg | Machalite Ore x2 |
| Rhenoplos Helm | Head | Machalite Ore x2 |
| Skalda Crura | Leg | Machalite Ore x2 |
| Skalda Thorax | Torso | Machalite Ore x2 |
| Spio Crura | Leg | Machalite Ore x2 |
| Spio Thorax | Torso | Machalite Ore x2 |
| Tetranadon Braces | Arm | Machalite Ore x1 |
| Valk Mail | Torso | Machalite Ore x3 |
| Wroggi Helm | Head | Machalite Ore x2 |
| Wroggi Vambraces | Arm | Machalite Ore x1 |
| Alloy Greaves S | Leg | Machalite Ore x2 |
| Alloy Mail S | Torso | Machalite Ore x2 |
| Alloy Coil S | Waist | Machalite Ore x2 |
| Alloy Helm S | Head | Machalite Ore x2 |
| Alloy Vambraces S | Arm | Machalite Ore x2 |
| Basarios Vambraces S | Arm | Machalite Ore x3 |
Buddy Equipment
| Equip | Type | Material Required |
|---|---|---|
| C Basarios Axe | Weapon | Machalite Ore x2 |
| F Basarios Axe | Weapon | Machalite Ore x2 |
No Comments