
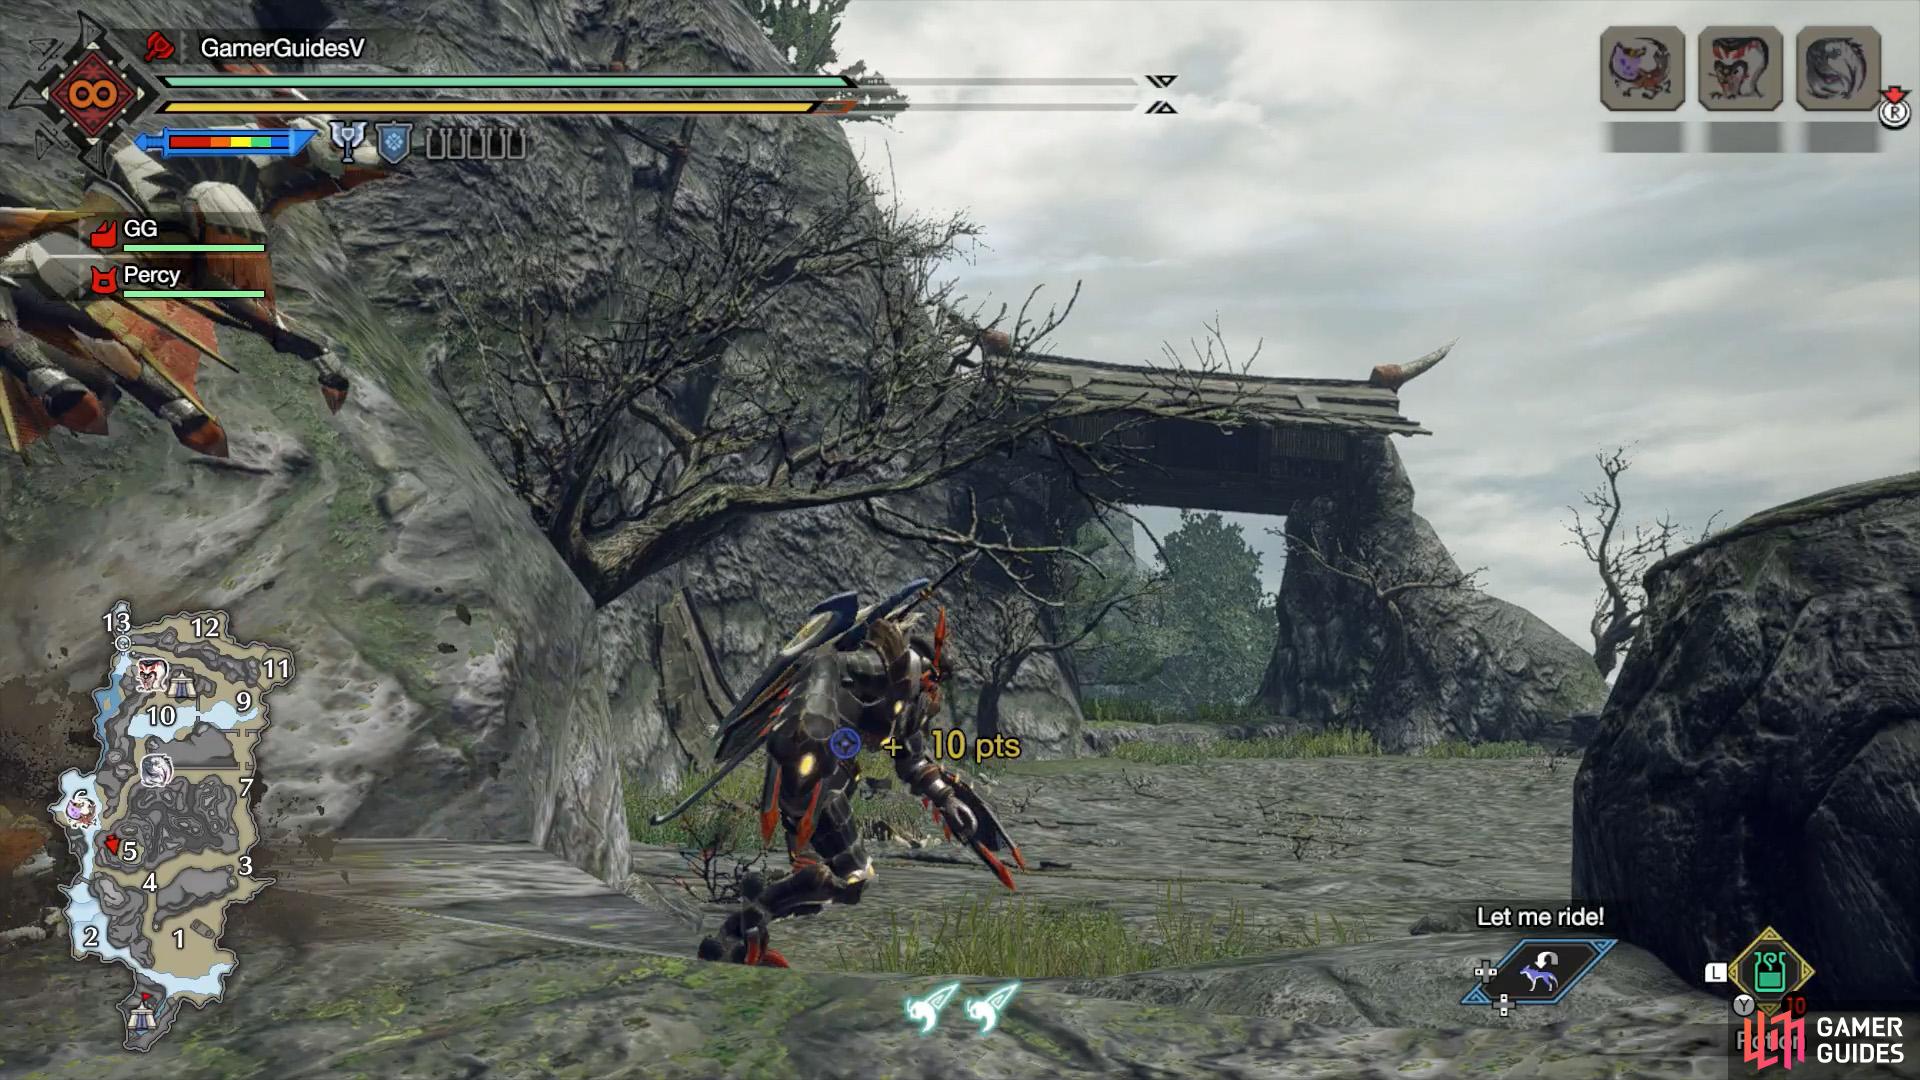
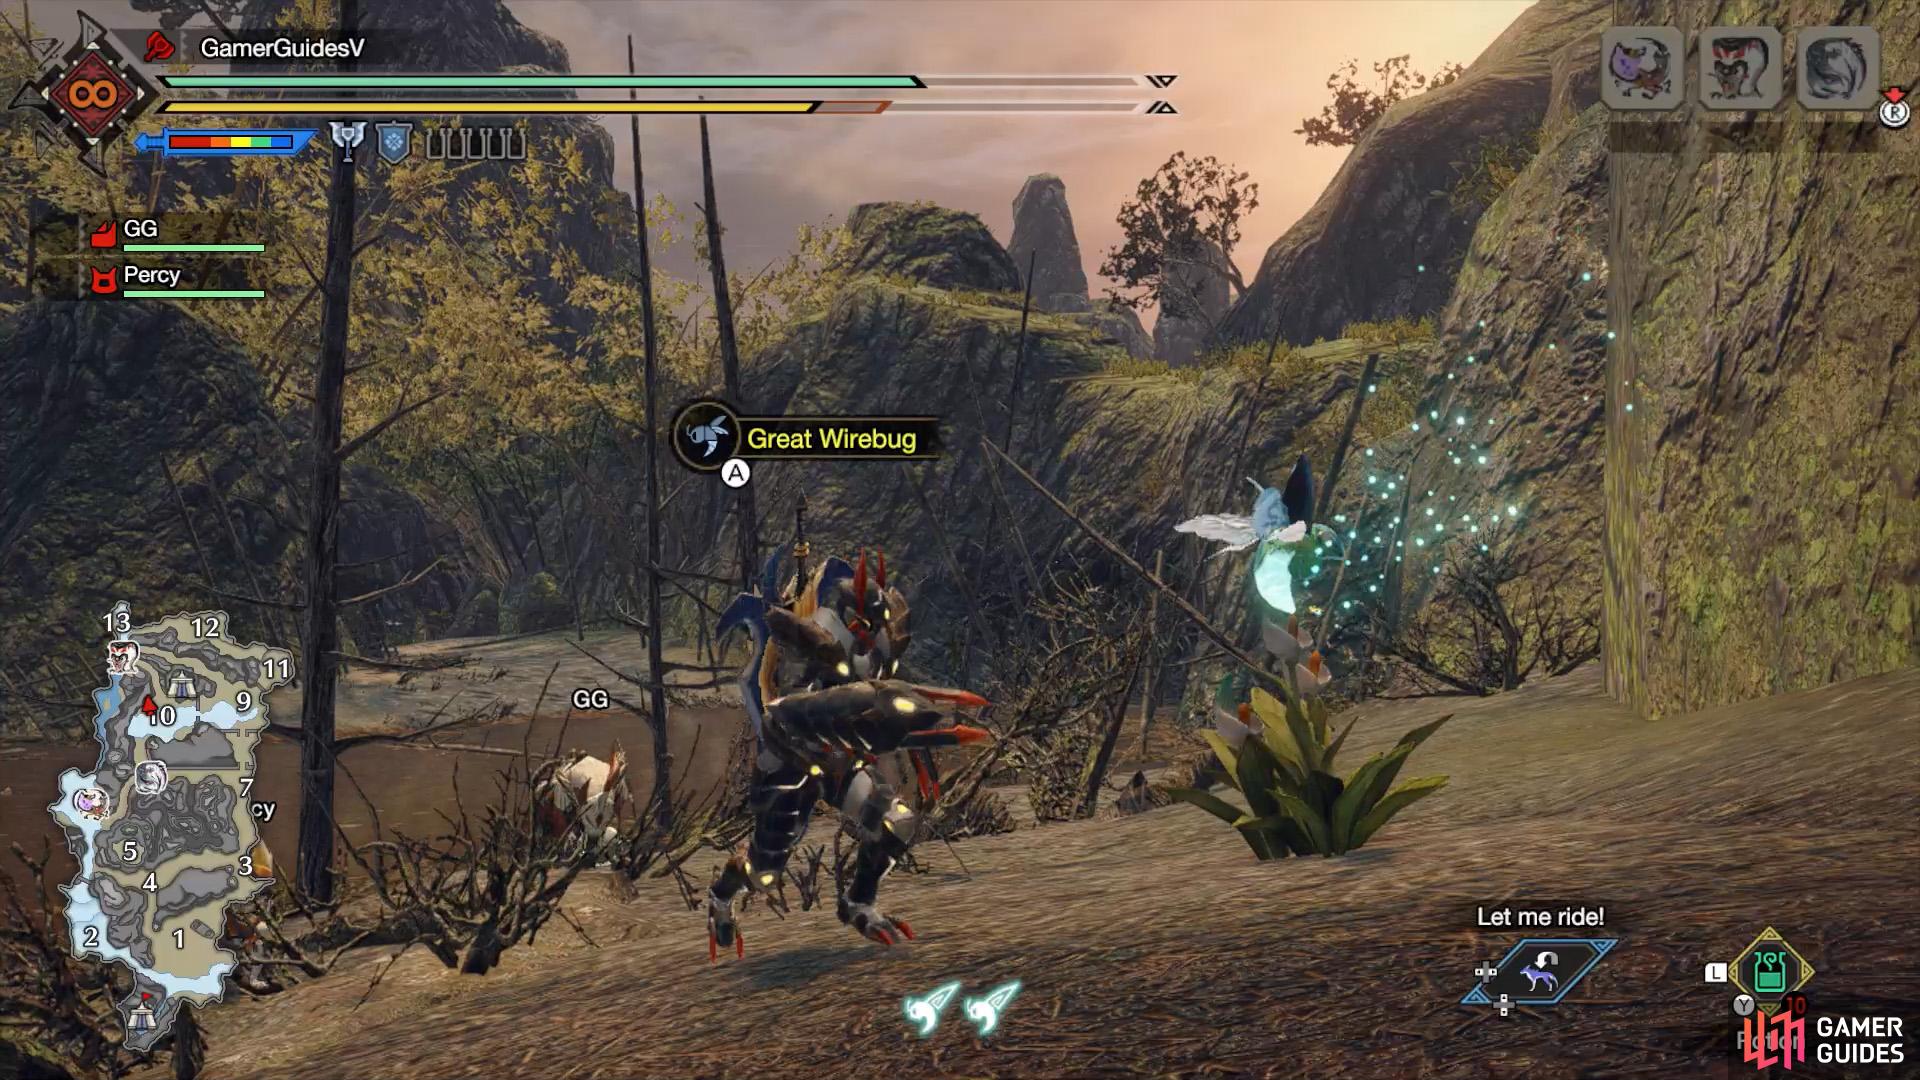
This page will help you find all the Great Wirebugs and Jewel Lilies in the Shrine Ruins.
What are Great Wirebugs/Jewel Lilies?
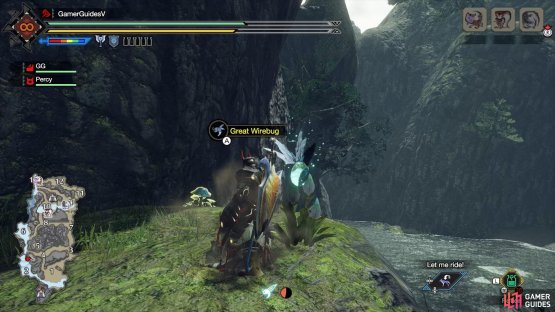
Great Wirebugs are bigger versions of wirebugs that can be used to create permanent shortcuts. To use them, you must find a suitable Jewel Lily spot, then place a Great Wirebug from your inventory. You can receive Great Wirebugs from Senior Hunter Hanenaga in Kamura Village. There are also a small number of Great Wirebugs that are already there on the map (usually in mid-air).
Main Camp

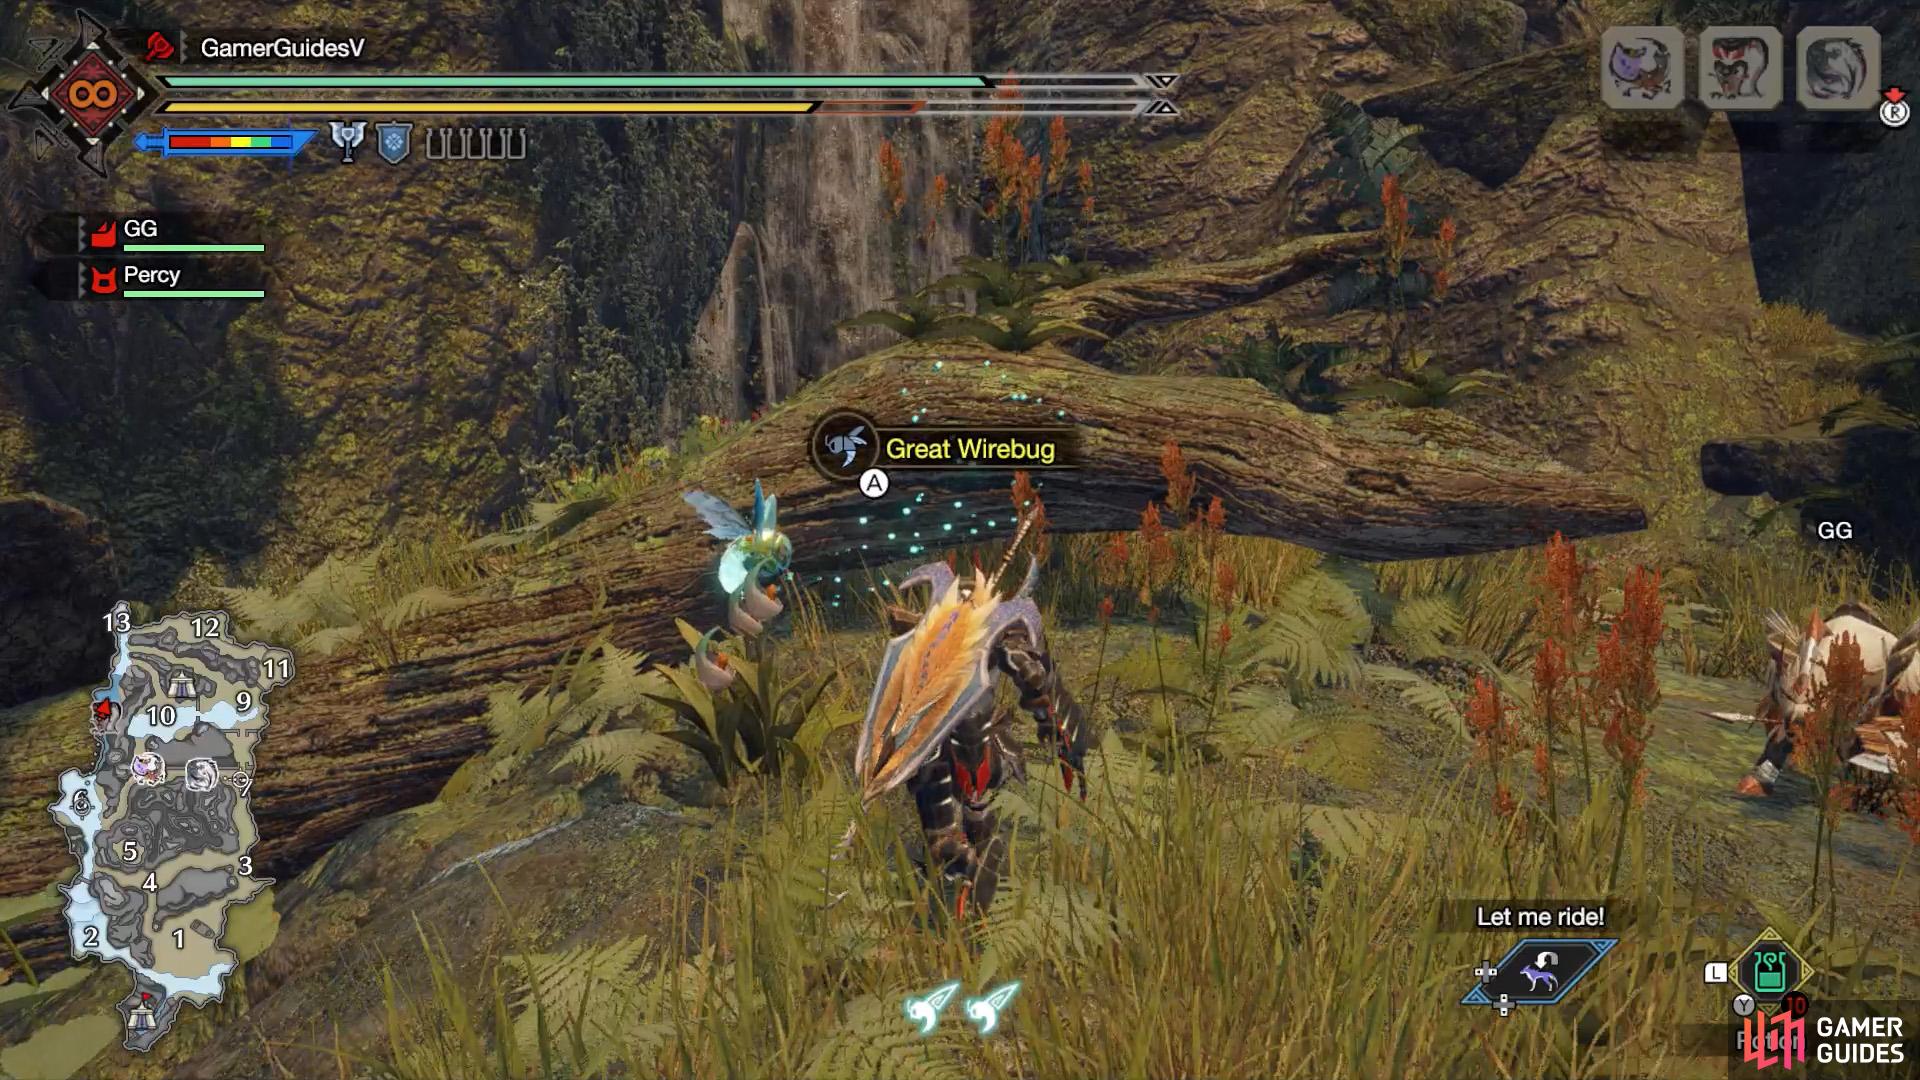
(1 of 2) Start: Behind the tent in the main camp.

Start: Behind the tent in the main camp. (left), Destination: Atop the dog-shaped highlands near the main camp. (right)
The first location is found in the starting area. Specifically behind the tent and on the left. Using it will launch you north and upwards, placing you near the head of the dog-shaped highlands. From here, you can wiredash up the head to do a spot of mining.
Area 2
(1 of 2) Start: Second step in front of the waterfall dividing areas 2 and 6.

Start: Second step in front of the waterfall dividing areas 2 and 6. (left), Destination: Top of the waterfall, near Area 6. (right)
There are two jewel lilies near each other, south of the waterfall that divides this area and Area 6. The first one can be reached by climbing up two big steps. A great wirebug from here will send you up the waterfall, making for a great shortcut to Area 6.
(1 of 2) Start: Third step in front of the waterfall dividing areas 2 and 6.

Start: Third step in front of the waterfall dividing areas 2 and 6. (left), Destination: Highlands in-between areas 2 and 4. (right)
The second one can be found on the next big step on the right. This one will launch you very high up, near the top of the highlands in-between areas 2 and 4.
Area 4


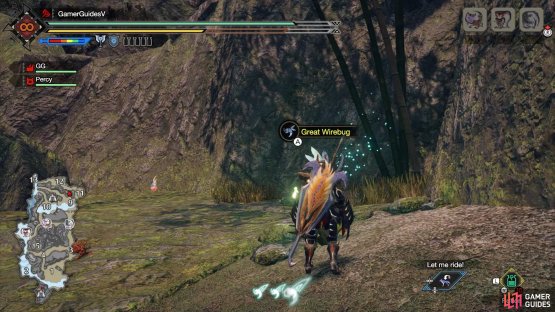
(1 of 2) Start: Ledge along the north side of the Area 4 battleground.
Start: Ledge along the north side of the Area 4 battleground. (left), Destination: Roof of a building east from Area 5 battleground if you use the mid-air great wirebug. Otherwise, two ledges up. (right)
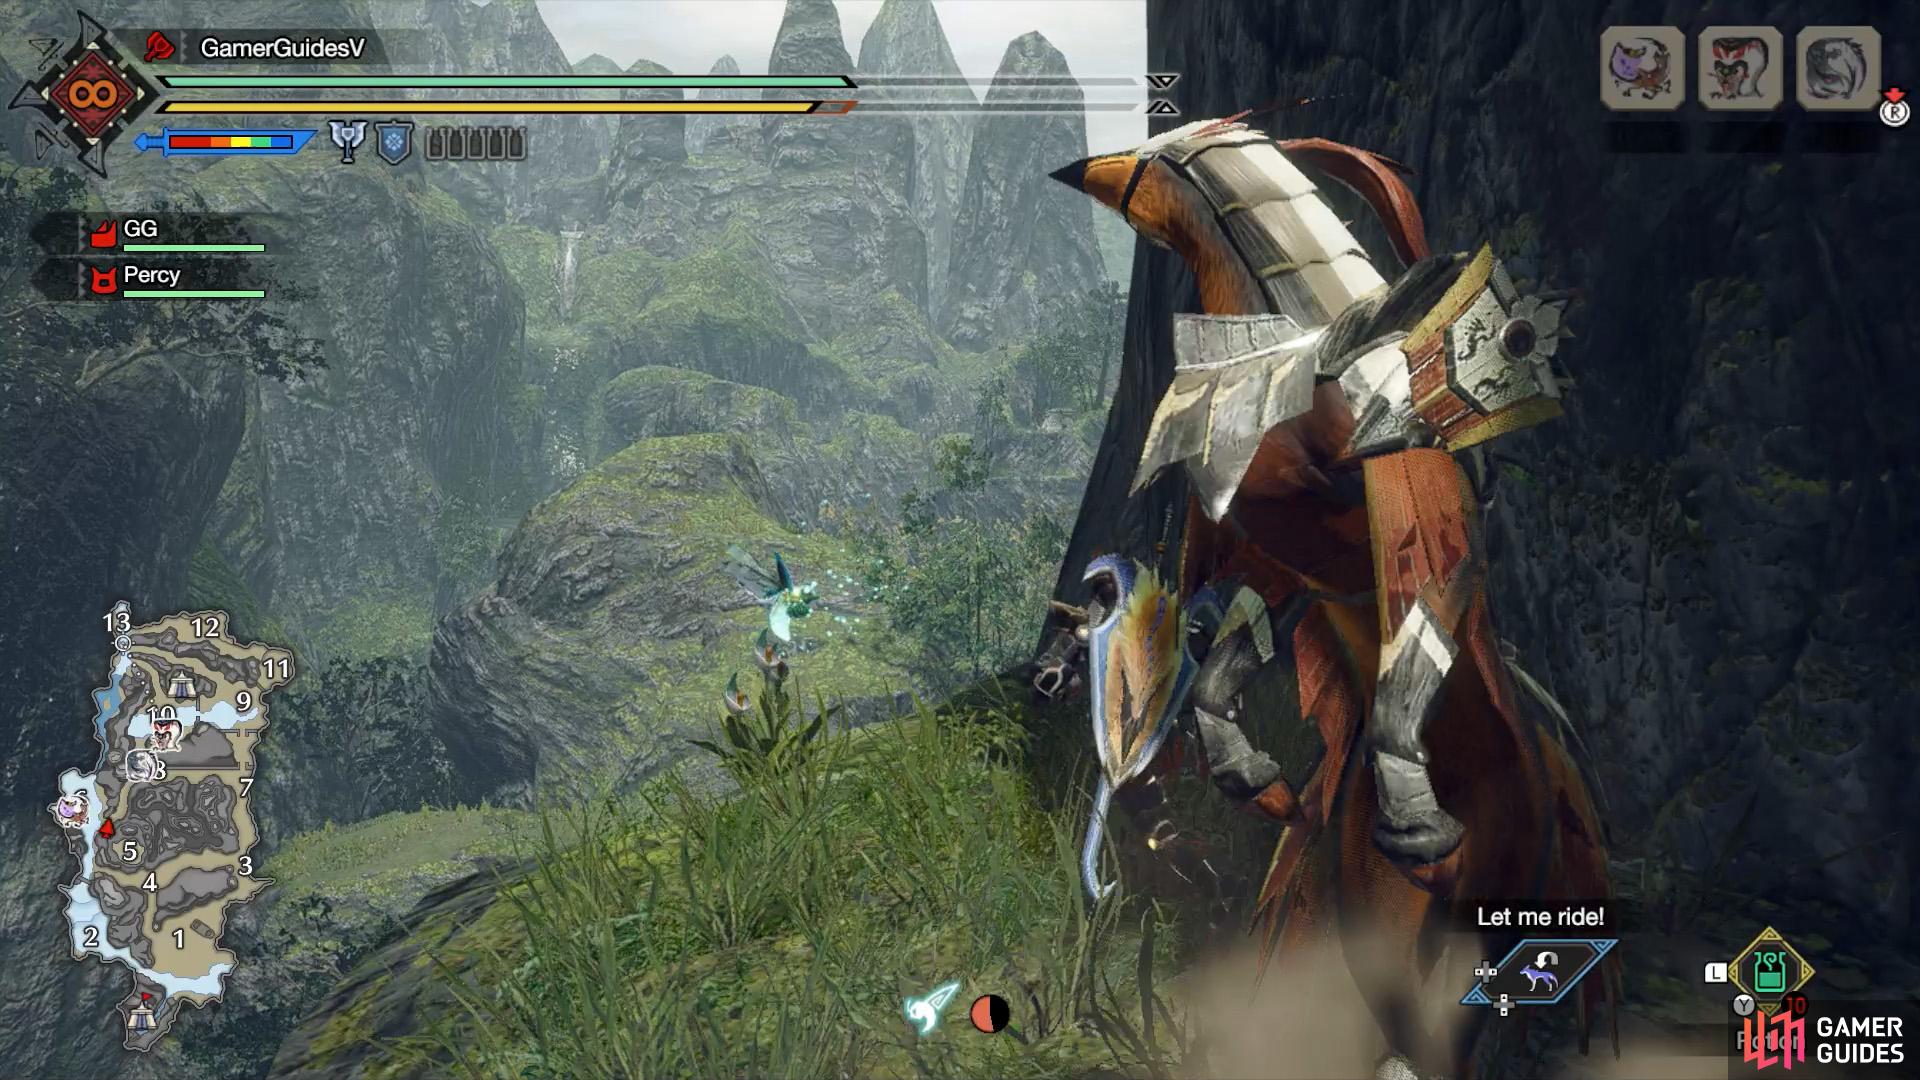
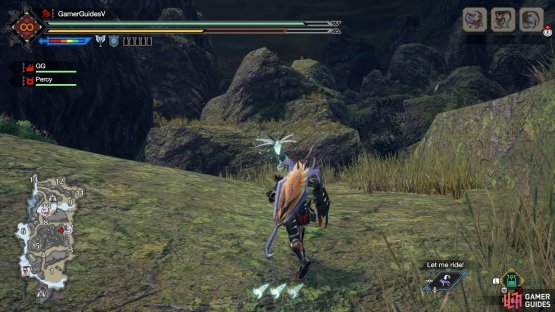
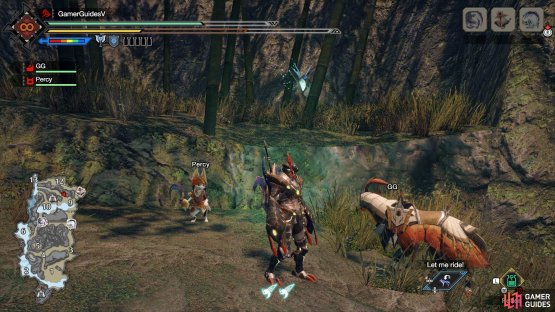
A jewel lily can be found along the north side of the battleground. Look for a statue by the wall with a Butterflame near it. Climb up the nearby cliff on the right, where there are some Golden Spiribirds near the top. This one will launch you high up, but that’s not all.
At the peak of your flight, there’s an already-active great wirebug positioned in mid-air. If you press  when you’re near it, you’ll be launched even higher up, to the roof of a building east from the Area 5 battleground. Also, across the gap directly ahead, are a cluster of three Spiribirds for the taking.
Area 5/6
(1 of 2) Start: Ledge along the west side of the Area 5 mountains.


Start: Ledge along the west side of the Area 5 mountains. (left), Destination: Halfway point of the mountains. (right)
Go towards the halfway point of areas 2 and 6. You can use the north-facing great wirebug in Area 2 to climb up the waterfall. Or you can come around from Area 4. Once there, face the Area 5 battleground and look slightly up. You’re looking for a ledge with 2 Golden Spiribirds nearby. Climb up there to find the first jewel lily here. You can use this to launch higher up.


(1 of 2) Start: Ledge overlooking Area 6. North from the previous destination.
Start: Ledge overlooking Area 6. North from the previous destination. (left), Destination: Area 5 battleground, if you use the mid-air great wirebug. (right)
From here, head north along the grass for a while. Stop when there’s a gap in the path. If you look ahead, there should be a ledge. Wiredash across. You’ll find a second jewel lily. If you use this one, you’ll be launched higher up. Like in Area 4, there’s another already-active great wirebug near the peak of your flight. Use this to fly higher up still, to the Area 5 battleground.
Area 7

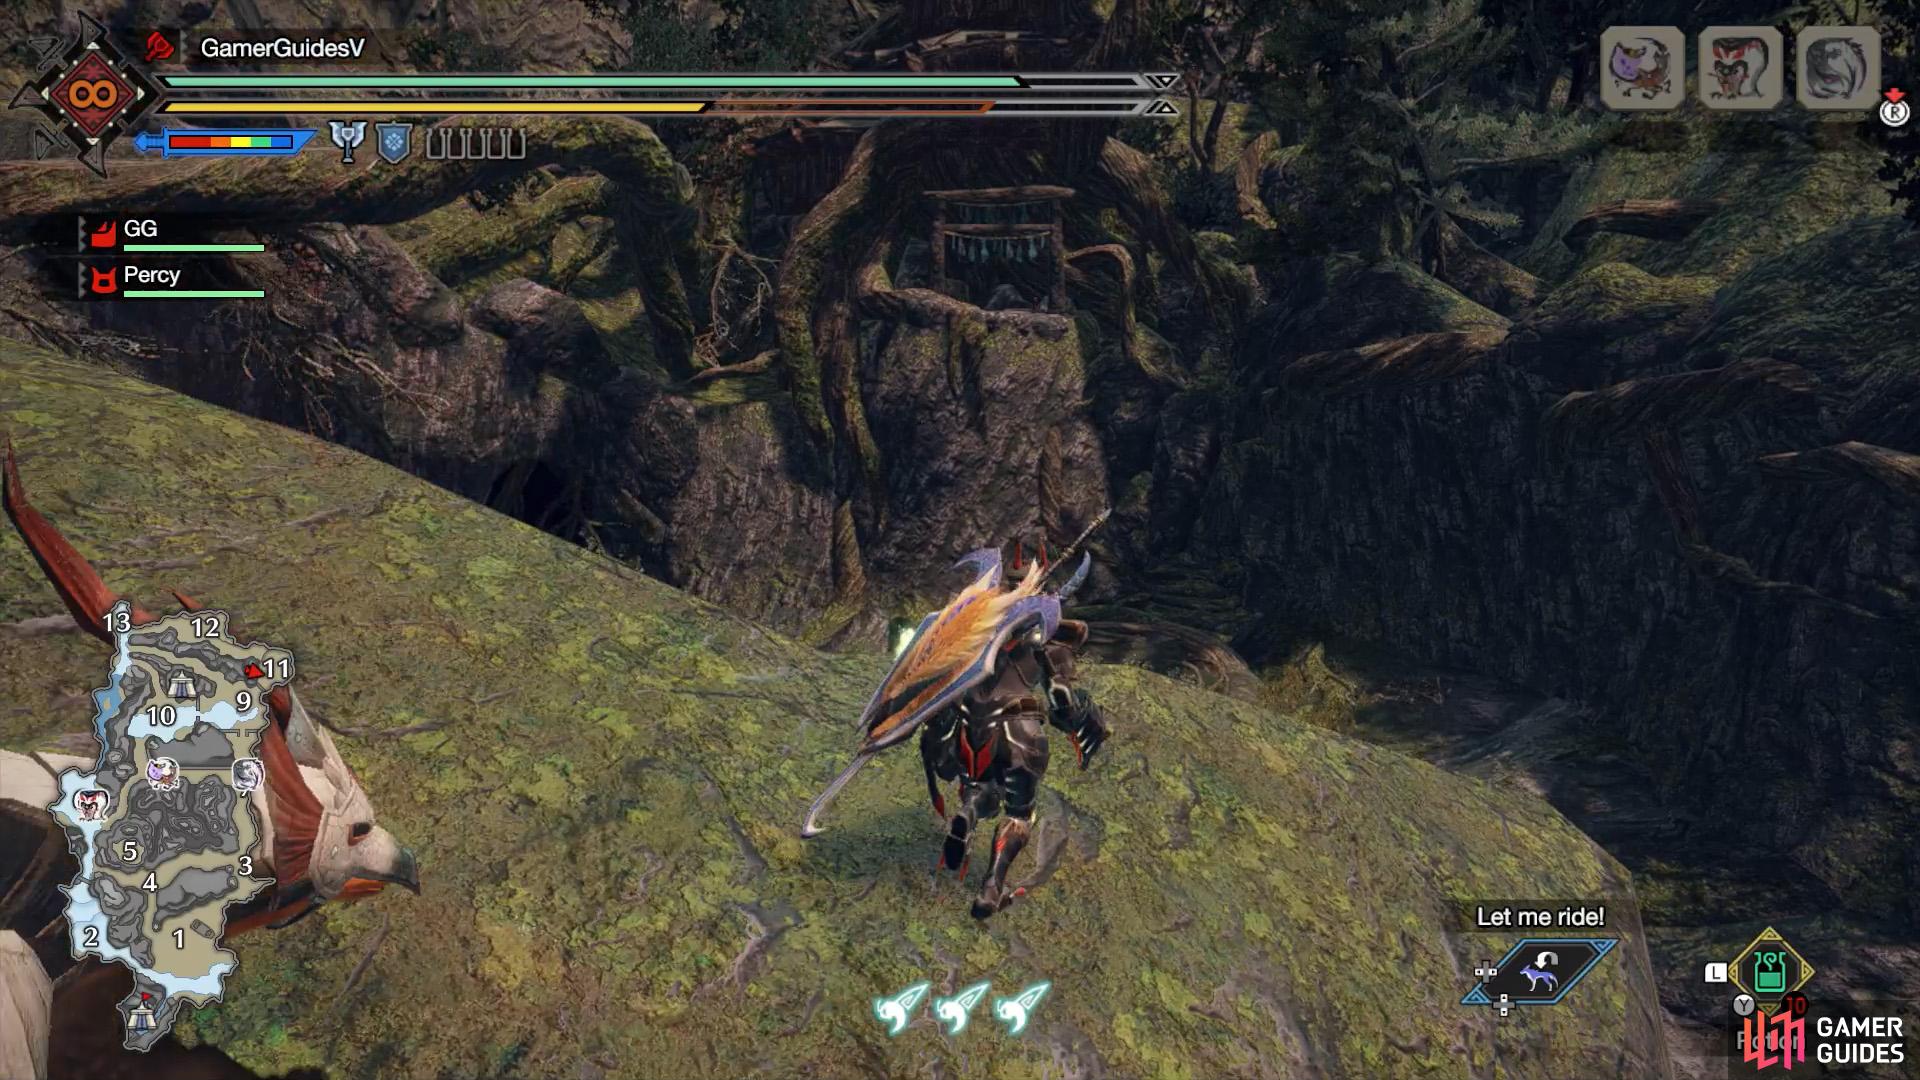
(1 of 2) Start: South-east corner of raised land between areas 7, 8, 9 and 10.

Start: South-east corner of raised land between areas 7, 8, 9 and 10. (left), Destination: Highlands west from the Area 7 battleground (right)
The first one’s located north-west from the Area 7 battleground, near the corner of the raised land at the heart of areas 7, 8, 9 and 10. You can go north through the doorway, then west after clearing the wall. This one will send you south-south-west to the top of the highlands west from the Area 7 battleground.

(1 of 2) Start: Highlands west from Area 7 battleground. Near previous destination.

Start: Highlands west from Area 7 battleground. Near previous destination. (left), Destination: Ramp east of Area 5 battleground. (right)
Also, you’ll find another jewel lily near the center of the plateau you’re on. Using the great wirebug here will fling you south-west, towards the top of a ramp near the center of the map. From here, you’ll be directly facing the Area 5 battleground. If you’re heading that way, wiredash across the gap, then climb up the vine-covered wall on the left.
Area 9
(1 of 2) Start: Base of the cliff along north side of the Area 9 battleground.


Start: Base of the cliff along north side of the Area 9 battleground. (left), Destination: Nearby highlands to the north. (right)
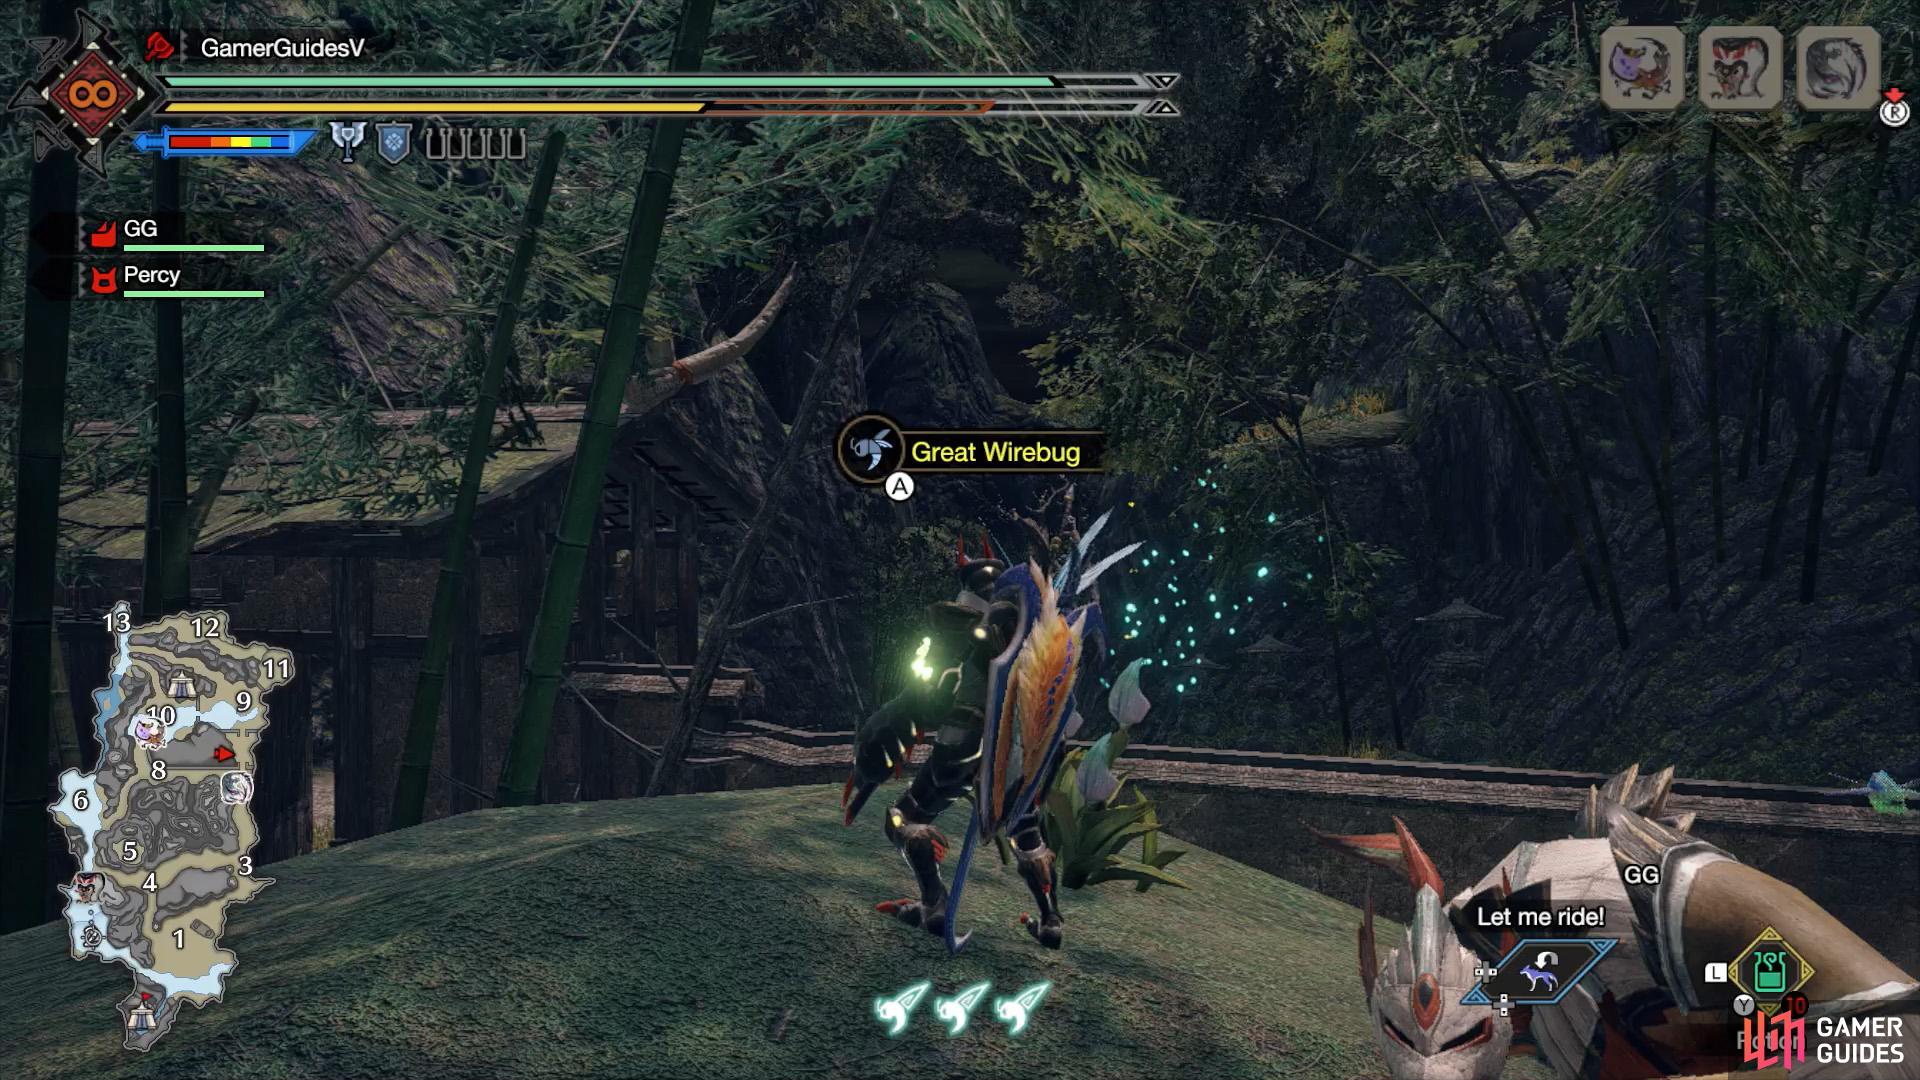
There are a bunch of jewel lilies here. One of them is directly north of the southern entrance. If you’re approaching from there, go in-between the two buildings. It’s near the foot of the cliff, towards the right. Using it will propel you to a higher ledge, while passing through some Golden Spiribirds.

(1 of 2) Start: Highlands at the intersection of areas 9, 11 and 12. One ledge up from previous destination.

Start: Highlands at the intersection of areas 9, 11 and 12. One ledge up from previous destination. (left), Destination: Top of the highlands overlooking Area 11. (right)
From there, climb up the ledge just ahead and you can find a second jewel lily. This one will launch you to the top of the nearby highlands, where you can drop down to easily reach Area 11.
(1 of 2) Start: Near beginning of road from area 9 to 13. Above step on the right.


Start: Near beginning of road from area 9 to 13. Above step on the right. (left), Destination: Area 12 battleground. (right)
Also, there’s a third spot back on ground level. Start heading north-west from the Area 9 battleground, along the road that leads to Area 13. Nearby, on the right, there’s a small step with a bunch of narrow trees. Walk up to find the spot you’re seeking. This one will launch you directly to the Area 12 battleground.
Area 10


(1 of 2) Start: North-west corner of Area 10 battleground.
Start: North-west corner of Area 10 battleground. (left), Destination: Highlands in-between areas 10 and 13. (right)
You can find a single jewel lily towards the north west. It’s between the shallow lake and the beginning of a road that leads to Area 13. This one will send you to the top of the highlands in-betweens areas 10 and 13. You’ll also pass through two Spiribirds.
Area 12/13


(1 of 2) Start: Halfway along the road connecting areas 12 and 13.

Start: Halfway along the road connecting areas 12 and 13. (left), Destination: Nearby highlands to the south. (right)
There’s one jewel lily halfway along the road that connects areas 12 and 13. If you’re coming from Area 13, it’s on the right, near the cliff wall. This one will launch you up the nearby highlands, placing you near a Yellow Spiribird.
Area 13

(1 of 2) Start: Island in the center of the southern half of Area 13.

Start: Island in the center of the southern half of Area 13. (left), Destination: Area 10 battleground. (right)
Lastly, there’s a bunch of spots in the southern portion of Area 13. One of them is on the island in the center. It’ll send you across to Area 10.

(1 of 2) Start: Near the foot of the the waterfall south of the Area 13 battleground.

Start: Near the foot of the the waterfall south of the Area 13 battleground. (left), Destination: Top of the waterfall if you use the mid-air great wirebug. (right)
A second can be found further north, a short distance from the waterfall. If you’re facing the waterfall, it’s near the right. Using the great wirebug here will launch you near the mouth of the waterfall, but if you want to reach the top, you need to press to use another great wirebug in mid-air. This last one will also send you through 3 Golden Spiribirds.
No Comments