
The wirebug is a very important tool for hunters of Kamura Village. It can be used for traversal, as well as attacking and riding monsters. You’ll begin the game with the wirebug already in possession.
Wiredashing
(1 of 2) The wirebug is like a magical grappling hook.

The wirebug is like a magical grappling hook. (left), During the first tutorial quest, you’ll be taught the basics of using wirebugs. (right)
The first application of the wirebug that you’re taught is using it to travel around the map. The wirebug is essentially a grappling hook that can attach to thin air, dragging you to its position.
Controls (ground)
To ready the wirebug, first hold  with your weapon put away. This will make a reticle appear on screen. From here, you can:
- Press
 to shoot the wirebug at the reticle, launching you in that direction.
 - Press
 to fire the wirebug straight ahead, letting you move forward faster.
 - Press
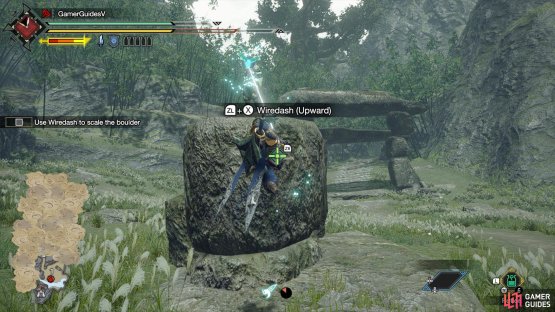
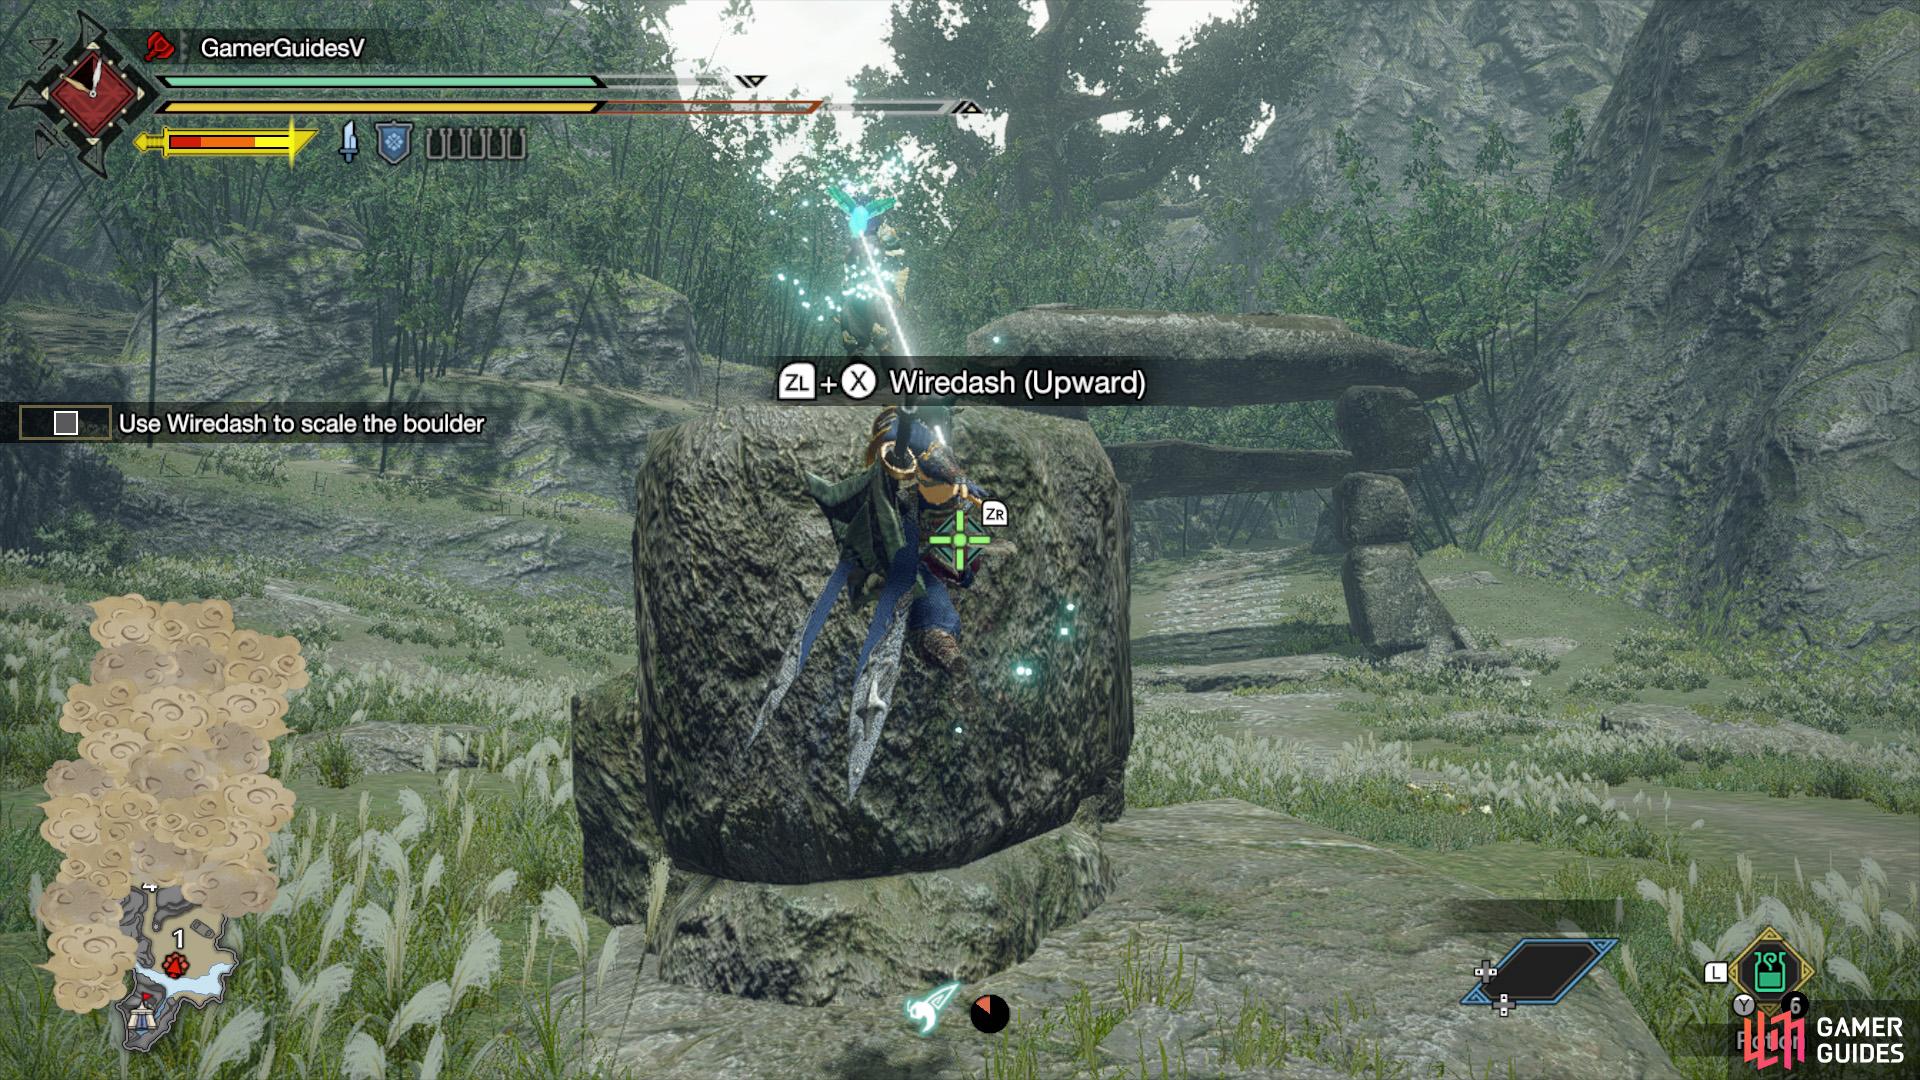
 to launch the bug upwards, allowing you to reach higher places.
Controls (air)
After launching a wirebug, if you’re fast enough, you can launch another while in mid-air. Again, you need to hold . But note that the button behavior is slightly different. While mid-air:
- Press to send the wirebug downwards.
- Press to fire the wirebug forwards.
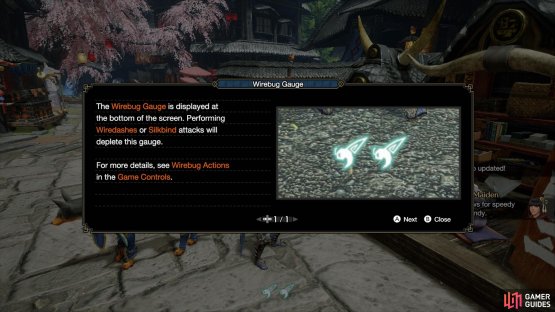
Each time you use the wirebug, it will consume one use of the Wirebug Gauge, which is always at the bottom of the screen. By default, you can shoot two wirebugs in quick succession. After a short period of time, the gauge will automatically replenish (also, each wirebug has its own cooldown).
Wirebug Actions
Scaling Walls

(1 of 2) First, launch yourself at a wall. You don’t need to be as close as us!
First, launch yourself at a wall. You don’t need to be as close as us! (left), After hitting the wall, keep pressing on the left stick to climb the wall. (right)
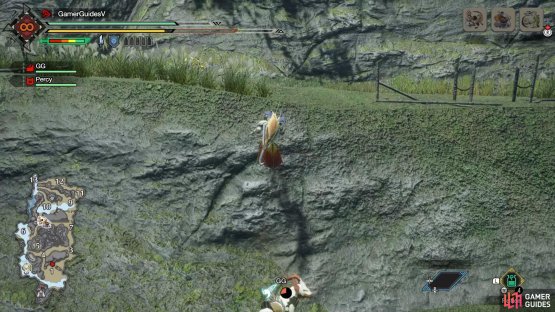
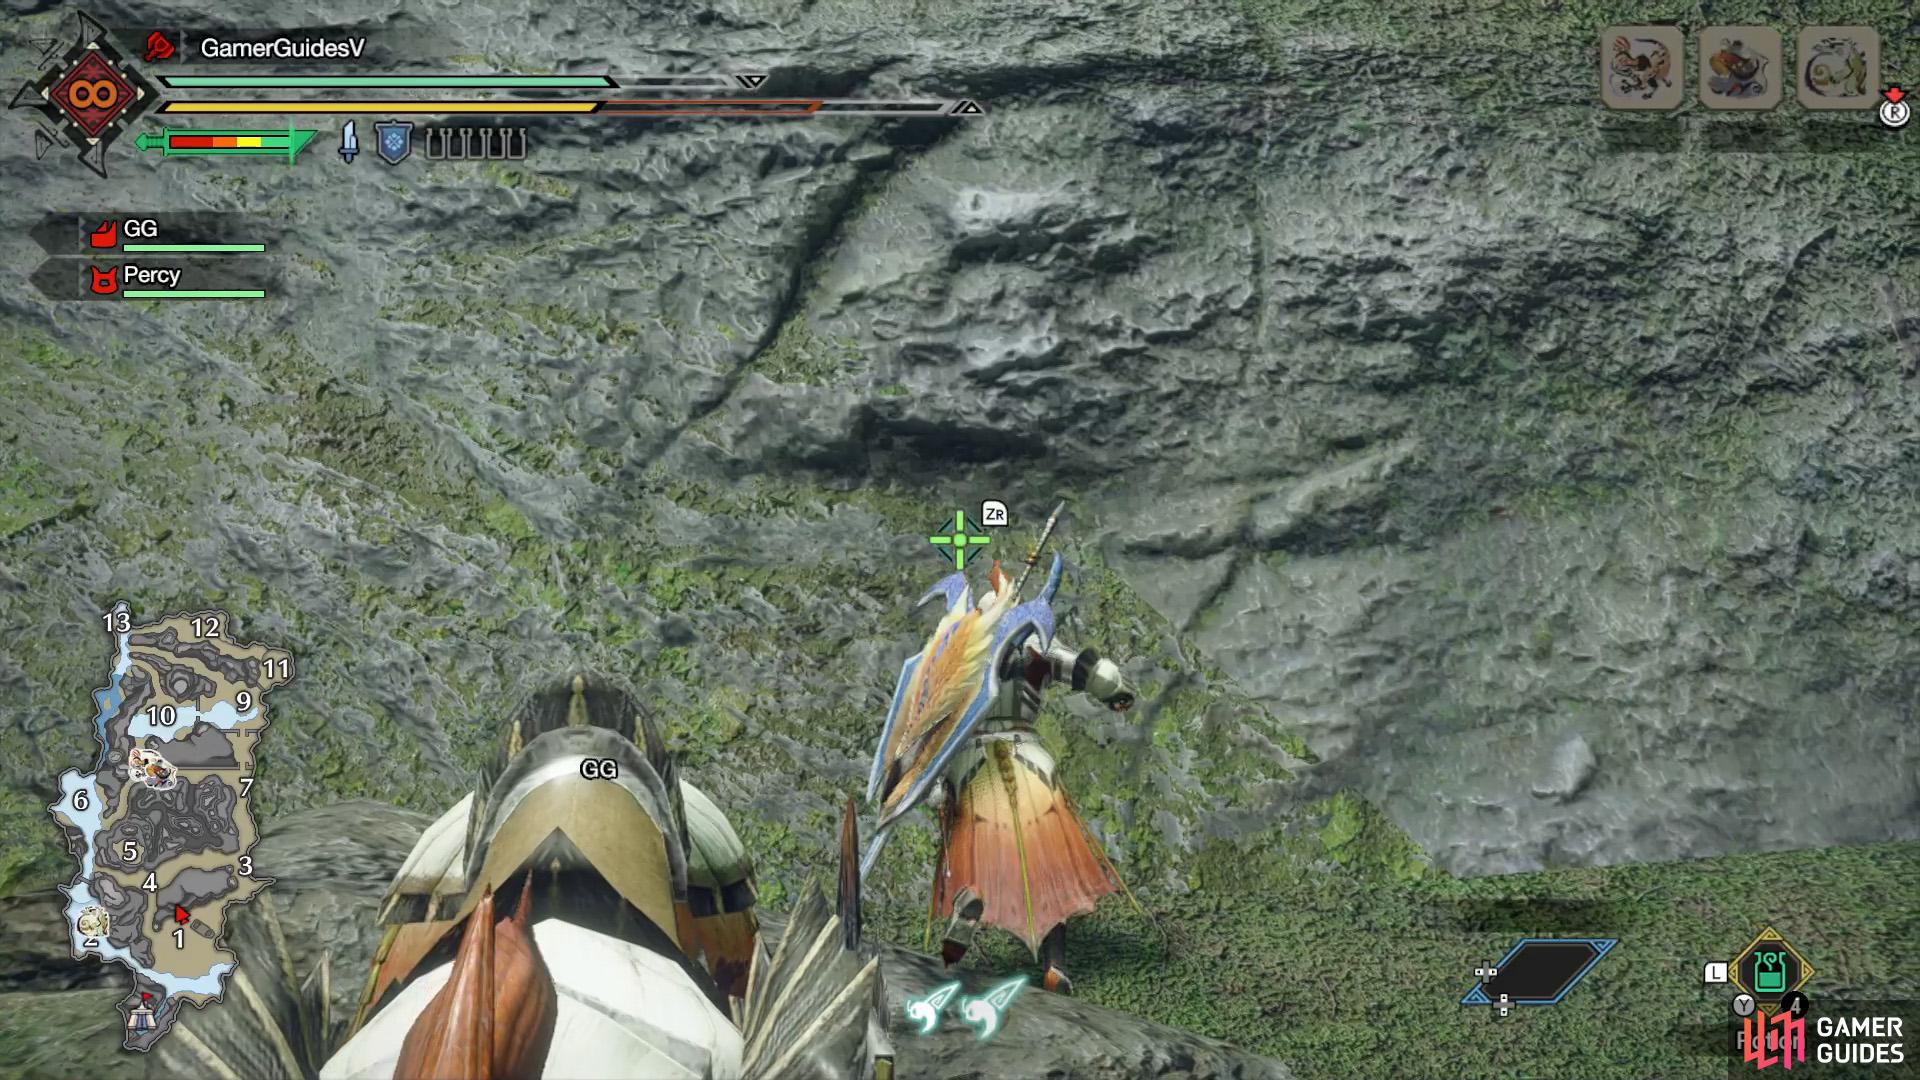
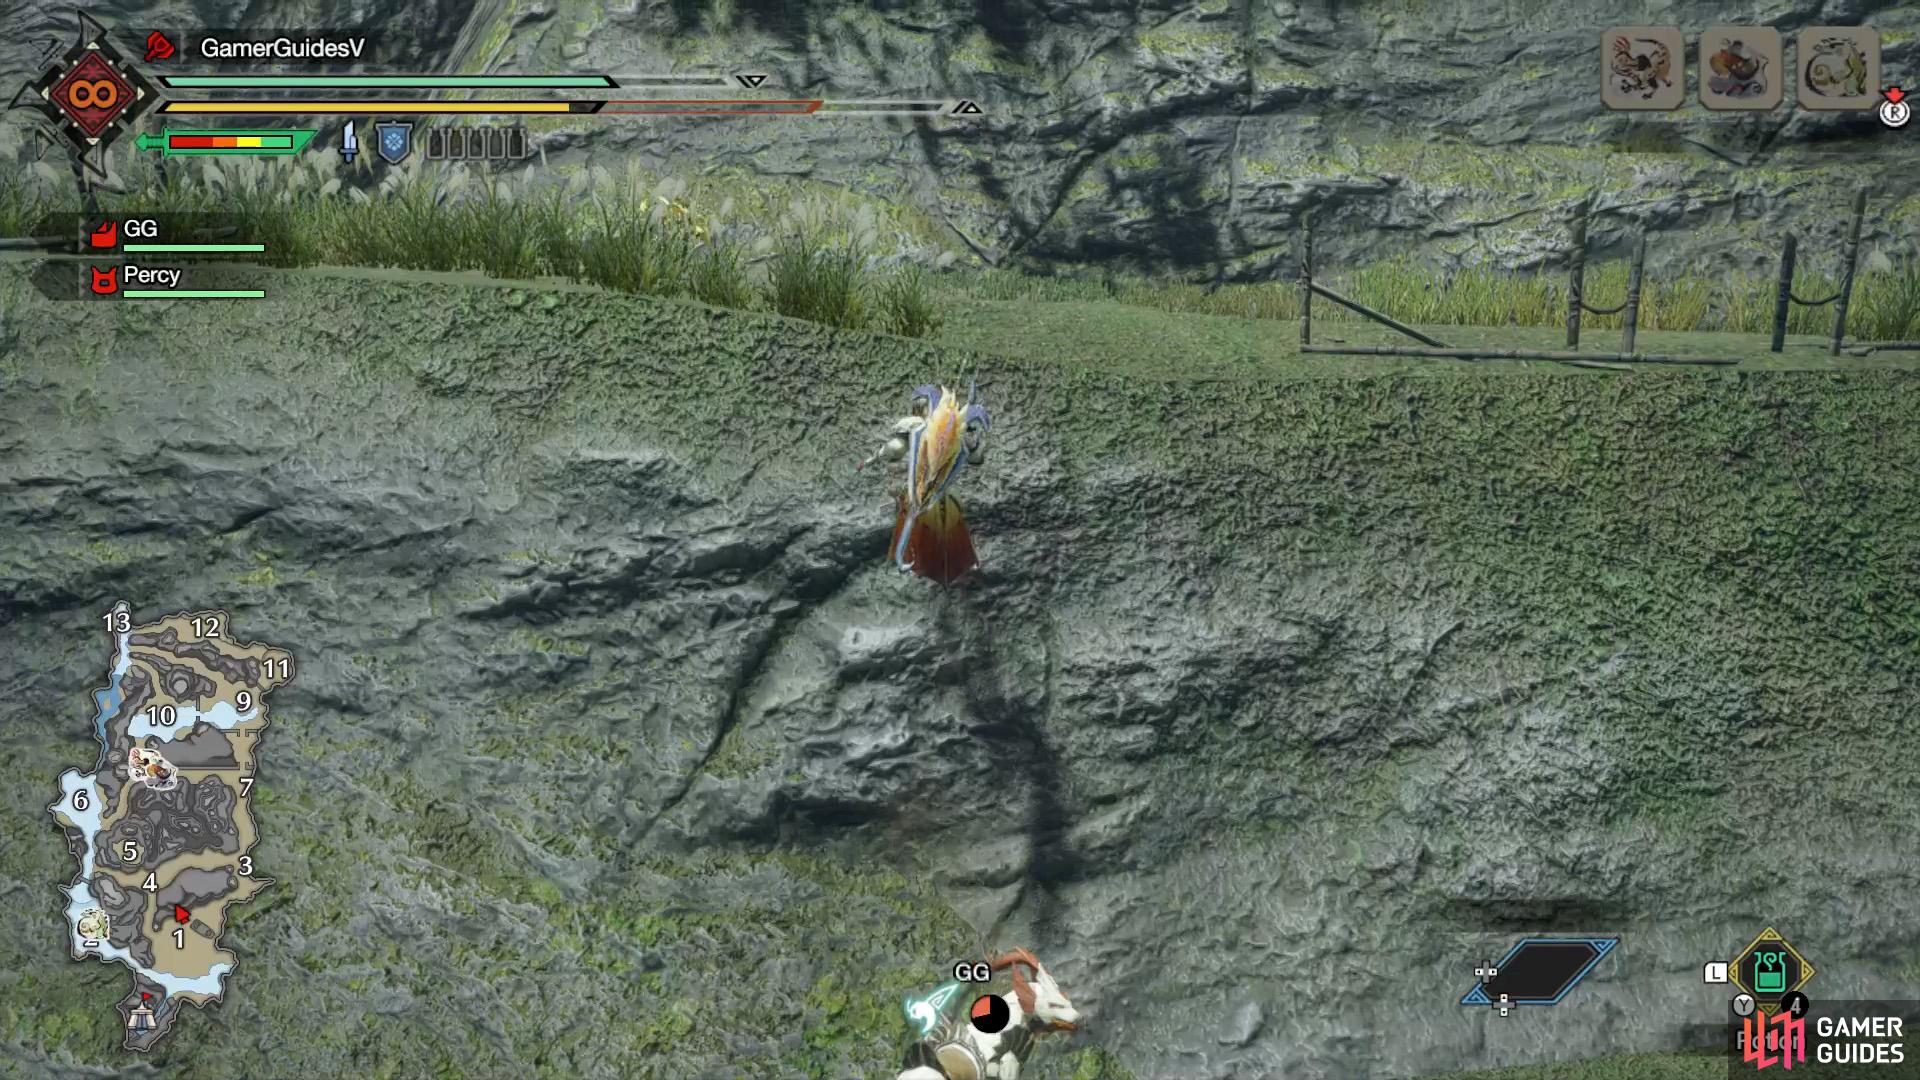
You can use wirebugs to scale any wall within reason (not boundaries of the map). Simply launch the wirebug towards a wall, then–when you hit the wall–keep pressing the left stick in the direction you want to climb the wall. You’ll be able to run up/along the wall for a short time.
If the wall is high (or wide), you can also hold the  to spend stamina to dash across the wall. However, if you run out of time and/or stamina before reaching the end of the wall, your Hunter will stop and do a somersault backwards.
That said, since you have two or three wirebugs, you can shoot the wirebug at the wall again to continue climbing. There’s also another trick you can use to help…
Hang in the Air


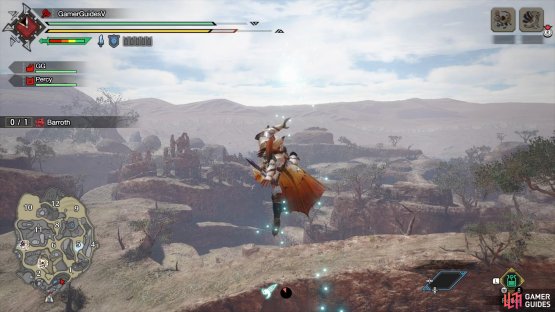
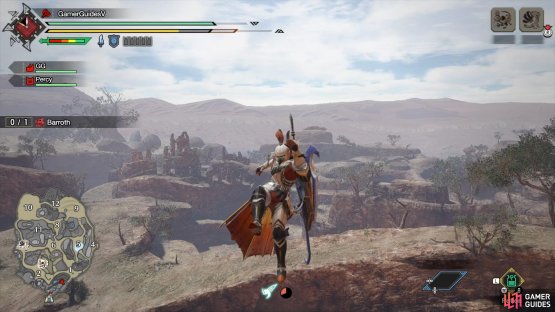
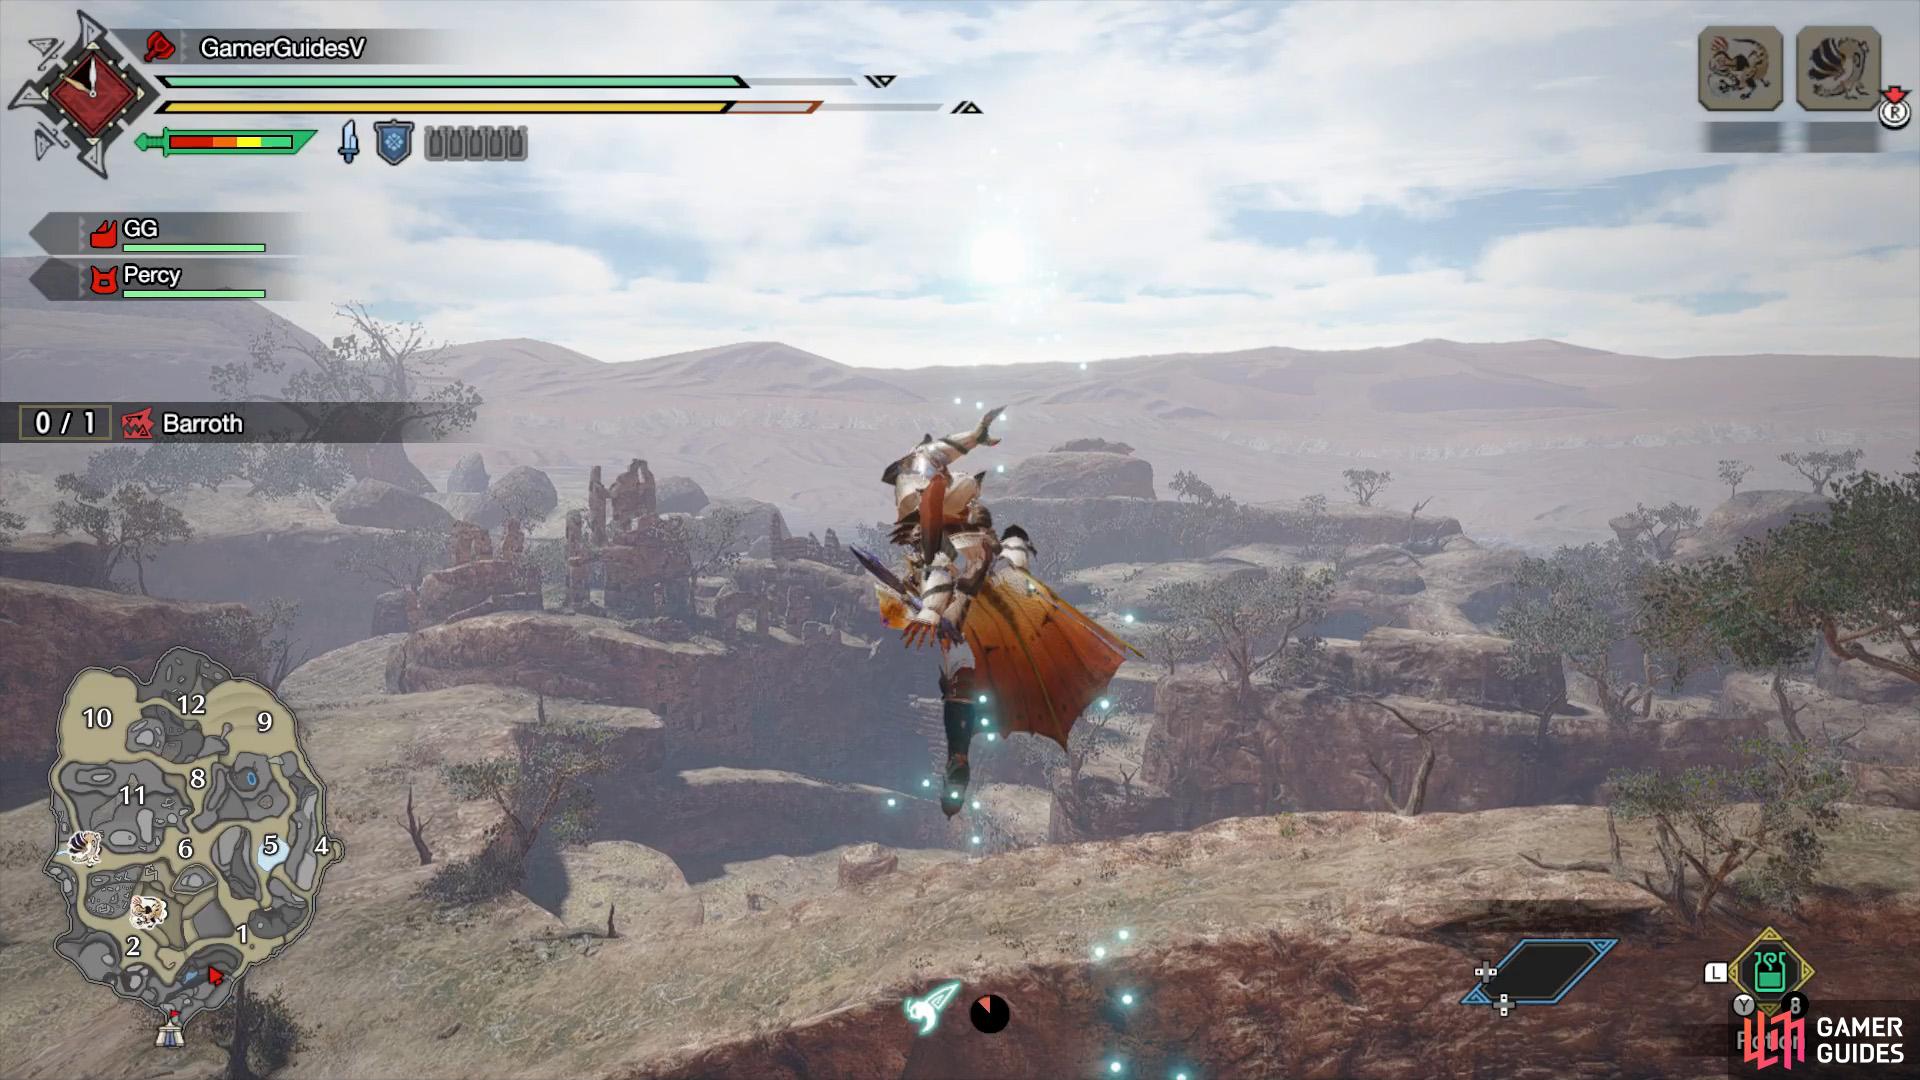
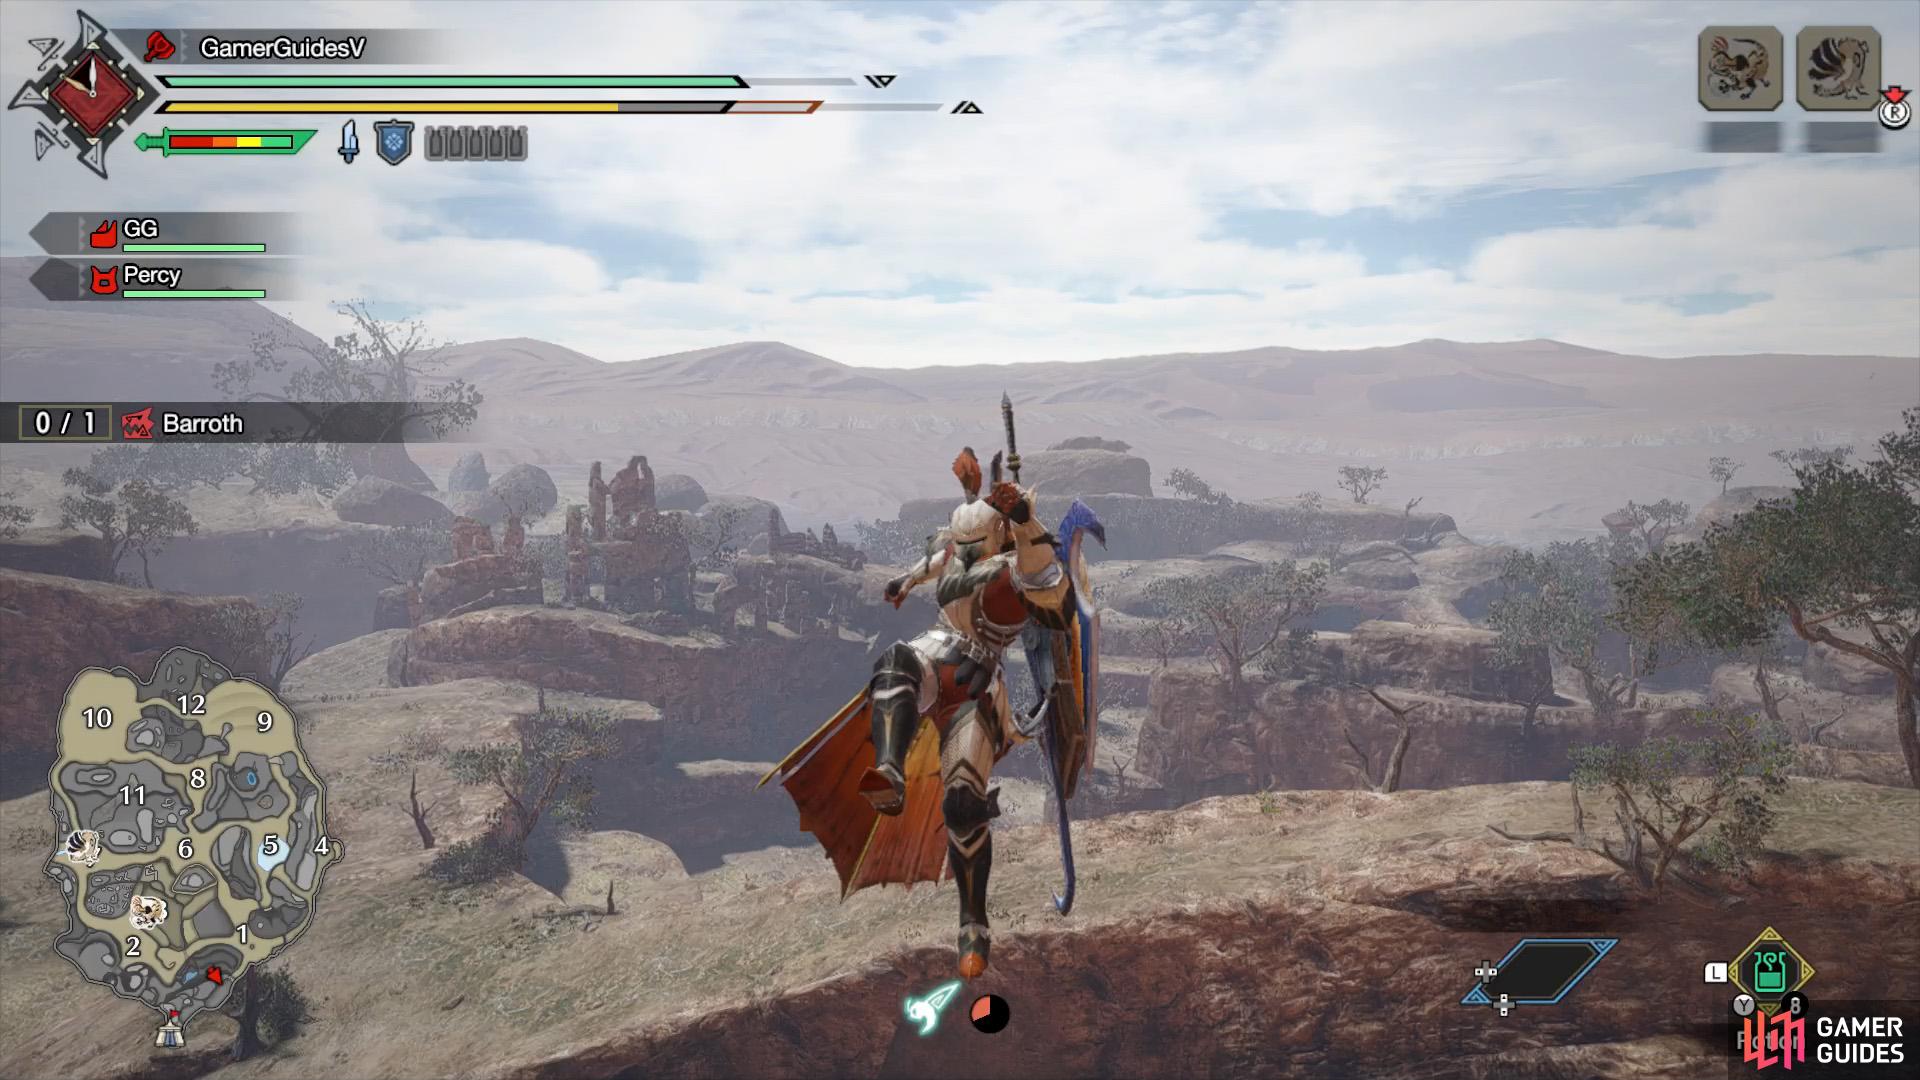
(1 of 2) The wirebug gauge isn’t consumed when stopping mid-air.
The wirebug gauge isn’t consumed when stopping mid-air. (left), You can also admire your scenery for a while like this! (right)
After firing the wirebug (and before touching the ground), if you press (without holding ), your hunter will suspend themselves in the air for a considerable amount of time. During this time, the Wirebug Gauge will temporarily freeze, which can be good or bad. However, your hunter will still regain stamina.
While hanging in the air, you can aim and launch another wirebug. One thing you can do is, when trying to climb a really high wall, after your hunter somersaults, you can press to hang in the air and recover stamina. Before shooting another wirebug at the wall to recommence your climb.
To immediately stop hanging in the air, you can press  . Or you can press to attack. You cannot use items while midair though (that would probably be too useful).
Midair Dash
(1 of 2) Got cold feet after launching yourself off a cliff?
Got cold feet after launching yourself off a cliff? (left), If you’re quick, you can dash back to where you came from. (right)
When you’re flying in the air after using the wirebug, you can press while tilting  to air-dash in that direction. This can be used to travel slightly further ahead. Or you can use it to reverse course if you went flying in the wrong direction (eg. off a cliff).
Wirefall Recovery
So far, wirebugs are great for getting places, but they can also come in handy during gnarly fights. You could be a skilled hunter, but there will probably be times where you get knocked flying by a large monster. When this happens, not only are you stuck in the air for ages, you’ll also be on the floor for what feels like an eternity.
However, if you press and , your hunter will perform a recovery using their wirebug, allowing them to get back on their feet quickly. While performing a recovery, you can also use to control the direction you end up. Like wiredashing, using a wirefall recovery costs 1 wirebug.
Silkbind Attacks
Now you know that wirebugs can useful for defense, but they can also be used offensively too. Every weapon has access to unique silkbind attacks, triggered by holding (for melee classes) or (for ranged classes), then pressing or when your weapon is drawn. Using a Silkbind Attack costs 1 or 2 wirebugs, depending on the attack.
No Comments