
Almudron is a mud-loving serpent-like monster that’s new to Monster Hunter: Rise. It’s encountered in the Village Urgent Quest “Hermit of the Swamp”.
| Quick Jump |
|---|
| Material Drops (Low Rank) |
Overview
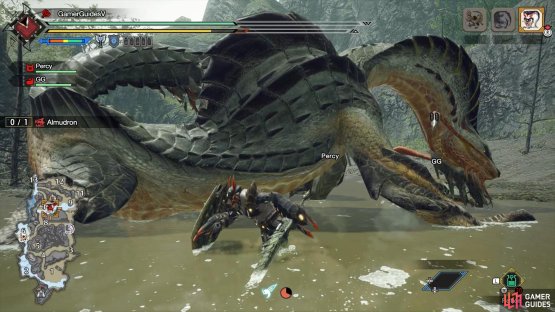
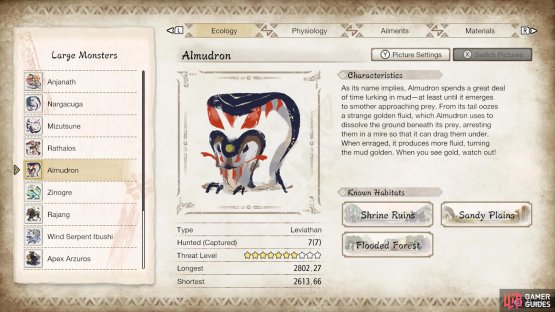
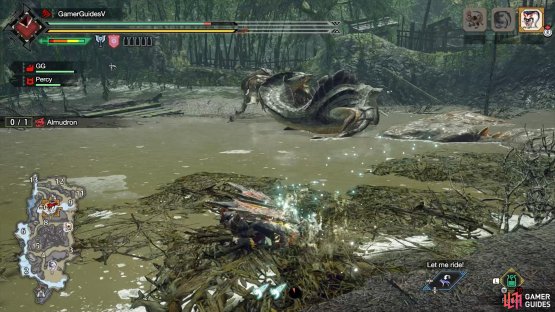
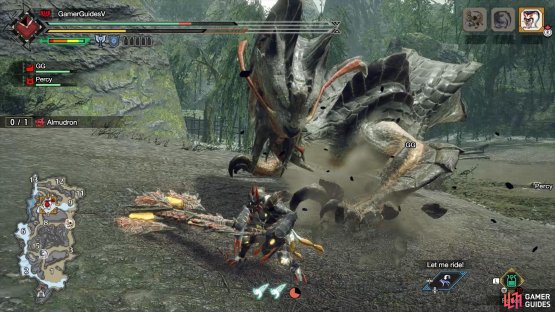
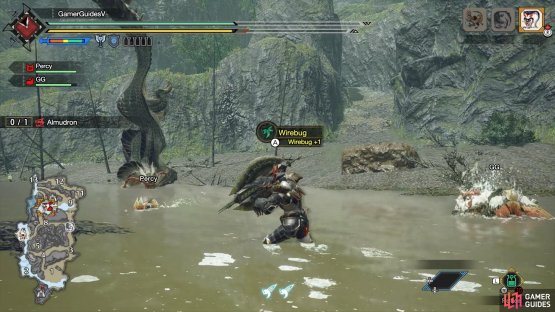
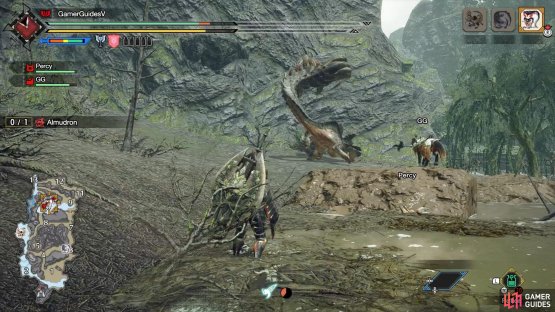
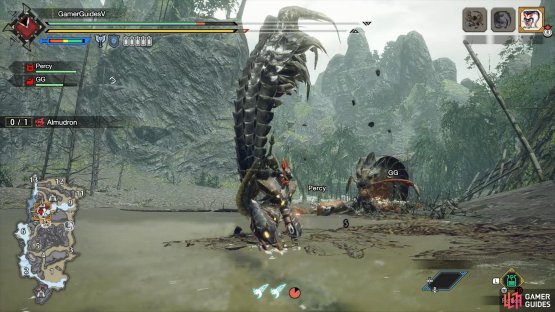
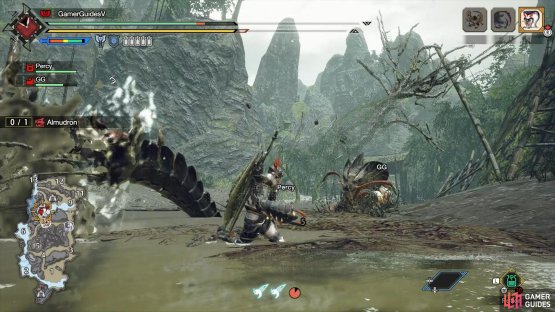
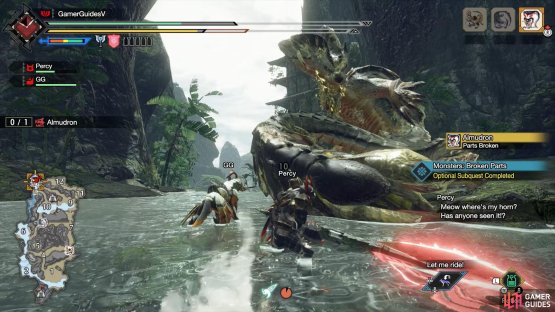
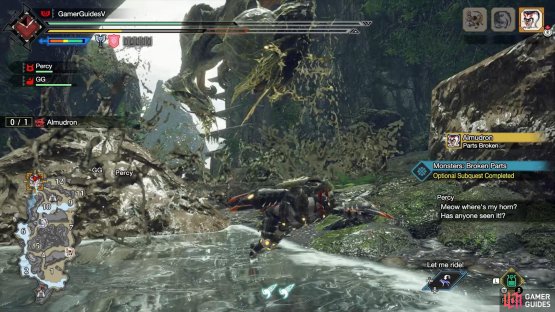
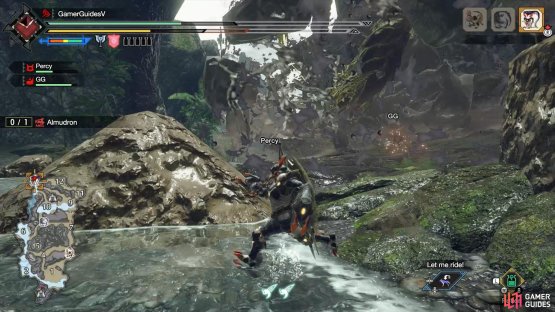
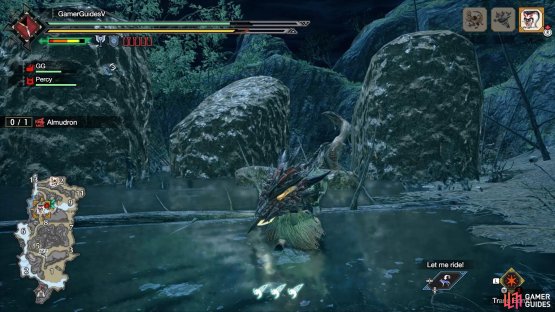
(1 of 2) Fighting Almudron at the Shrine Ruins.


Fighting Almudron at the Shrine Ruins. (left), Almudron’s profile in the Hunter’s Notes. (right)
If you couldn’t tell, Almudron is another muddy monster, so fighting it can be rather messy if you’re inexperienced. As one of the later monsters you’ll encounter, definitely don’t take the Almudron lightly.
Besides flinging mud all over the place, Almudron is very agile and likes to whack hunters with its long tail. It can also dive underground to avoid attacks and try to frighten its prey.
Weaknesses
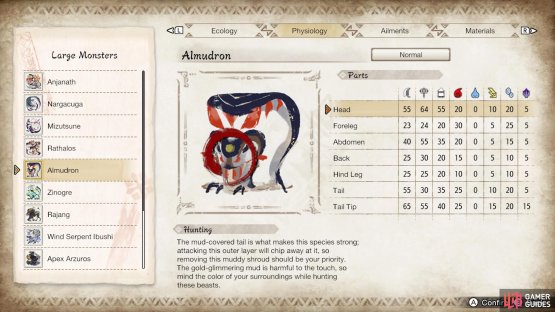
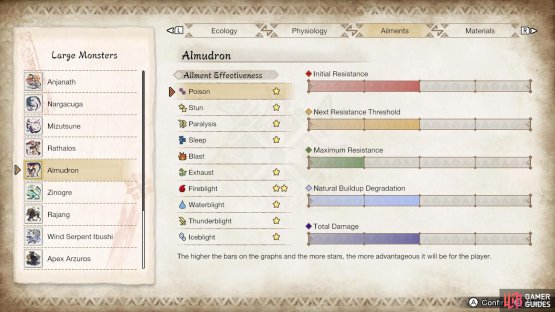
(1 of 2) Almudron’s parts susceptibility.


Almudron’s parts susceptibility. (left), Almudron’s elemental/ailment susceptibility. (right)
| Parts | Elements | Ailments |
|---|---|---|
| Head, Tail, Tail Tip | Fire, Ice | Fireblight |
Attack Patterns
Headbutt
A fast attack where Almudron pulls its head very slightly back after making a “grrr” sound. It’ll then stretch its neck forward, headbutting anybody unlucky enough to be in front.
Overhead Tail Slam

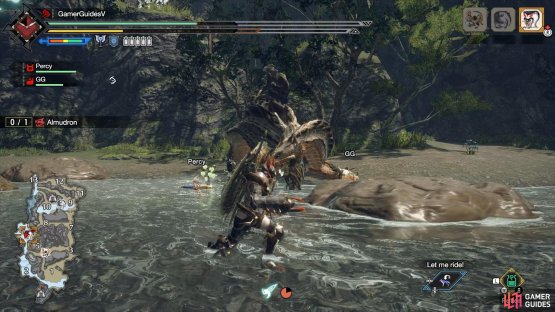
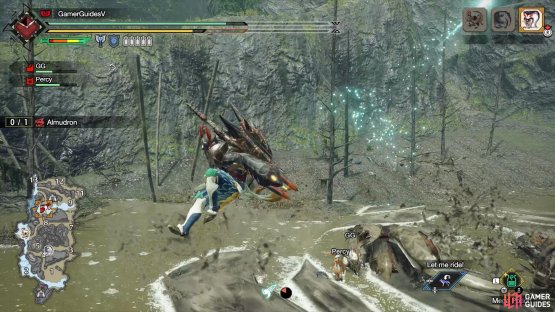
(1 of 2) Almudron coils its head towards its body.


Almudron coils its head towards its body. (left), It’ll then slam its tail down directly in front. (right)
Almudron will hop back and turn its head towards its body. It’ll then swing its lower body forward, slamming its long tail down. This move can reach very far and Almudron is surprisingly good at aiming it.
Tail Punch

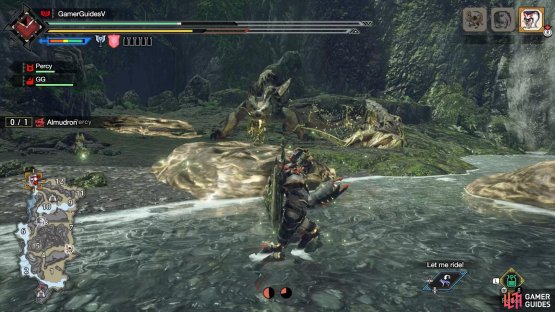
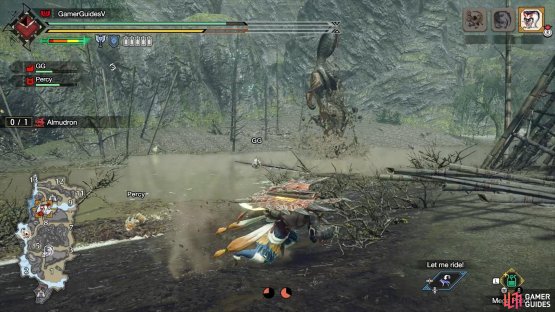
(1 of 2) Almudron crouches, while lowering its head to the ground.


Almudron crouches, while lowering its head to the ground. (left), Afterwards, it’s tail will go flying forward like a punching fist. (right)
Another move that requires quick reflexes. Almudron will crouch down and growl. Afterwards, it’ll thrust its tail forward, like a fist.
Side Swipe

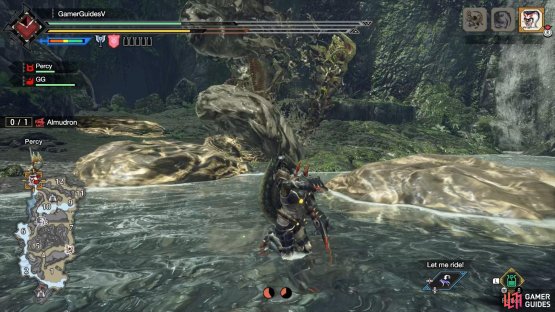
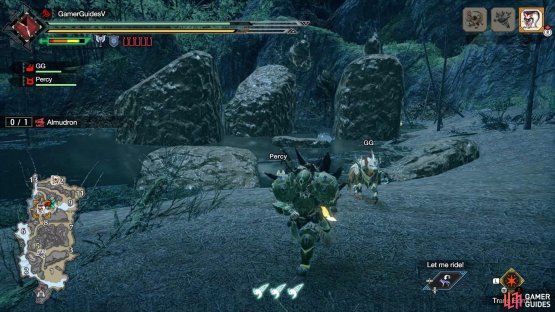
(1 of 2) Look out for the outstretched claw.


Look out for the outstretched claw. (left), Almudron will swipe its claw to the side. (right)
Almudron will twist its upper body away from you, while raising one of its forelegs. It’ll then swipe that foreleg horizontally across
Leg Pound
(1 of 2) Almudron will raise one of its forelegs, claws outstretched.


Almudron will raise one of its forelegs, claws outstretched. (left), It’ll then pounce forward and transition to another attack. (right)
Watch out when Almudron stands on its hind legs. It’ll raise one of its fore legs and then bring it crashing down ahead.
After using this move, Almudron will usually follow up with a second leg pound. On rare occasions, it’ll swing its tail 180 degrees instead. Either way, be prepared to block/dodge a second time.
Tail Swipe

(1 of 2) Almudron looks sideways and briefly waves its tail.


Almudron looks sideways and briefly waves its tail. (left), It’ll then violently lash outs it tail. (right)
Almudron makes a hissing/seething sound and looks sideways, while it waves its tail about, kind of like a dog. What comes next is anything but cute though. Almudron will rapidly spin its body 360 degrees, swinging its tail forward.
Small Mud Wave
(1 of 2) Almudron looks like it wants to leap.


Almudron looks like it wants to leap. (left), Instead, it’ll launch some mud forward. (right)
Almudron gets into a pouncing position and flails its tail next to its body. The tail will then lift up some mud and launch it forward across the floor.
Wide Mud Wave
(1 of 2) Almudron performs a handstand.


Almudron performs a handstand. (left), Afterwards, it’ll create a wide mud wave that moves forward. (right)
For this move, Almudron performs a handstand using its forelegs and stretches its tail all the way up. It’ll then sweep its tail in front of itself, creating a wave of mud directly ahead. You can avoid the mud by wiredashing over it.
Retreating Mud Wave
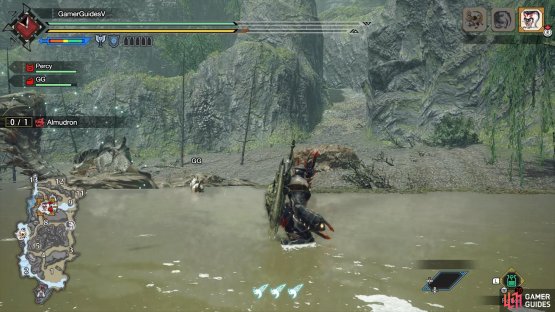
(1 of 2) Almudron shuffles backwards.


Almudron shuffles backwards. (left), As you give chase, be mindful of a mud wave coming your way. (right)
Almudron stands on its hind legs and then pushes itself backwards using its tail. This motion will cause a somewhat wide wave of mud to ripple forward.
Backwards Mud Wave
(1 of 2) Almudron raises its tail and one of its hindlegs, while facing backwards.


Almudron raises its tail and one of its hindlegs, while facing backwards. (left), This will create a mud wave, which you can wiredash over. (right)
Be wary when Almudron rushes away from you. If it’s facing away from you, it may raise its tail and one of its hind legs. Next, it’ll slam its tail down and then sweep it across the floor, generating a wide wave of mud. As usual, you can wiredash over it.
Golden Mud Somersault
(1 of 2) Almudron performs an elegant backwards somersault.


Almudron performs an elegant backwards somersault. (left), The motion will create a trail of nasty golden mud. (right)
Almudron can use this move when it has golden mud dripping from its face. It will shuffle away from you, then perform a fancy backwards somersault in the air. While doing so, its tail will flick a narrow wave of mud forward, leaving behind a line of toxic golden mud.
Burrowed Tail Slam
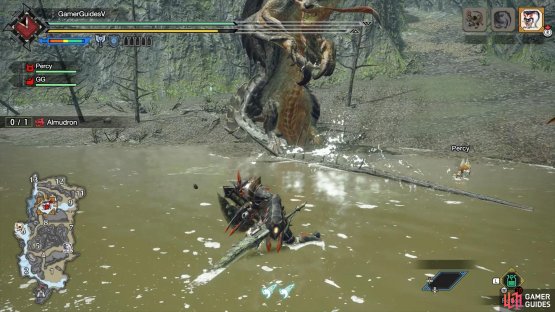
(1 of 2) When Almudron’s tail is pointed upwards, move to the sides.


When Almudron’s tail is pointed upwards, move to the sides. (left), Or you’ll get walloped by its tail. (right)
Almudron can use this move when it dives into the ground and enters its half-buried state. Be careful if its tail remains in the vertical position. It’ll then slam its tail down in front of itself.
Burrowed Tail Slap
When Almudron is half-buried, it can rotate its tail, which is in front of it. This move can be easily avoided by staying clear of the tail. But don’t be complacent as Almudron can reposition its body and tail.
Mud Spikes
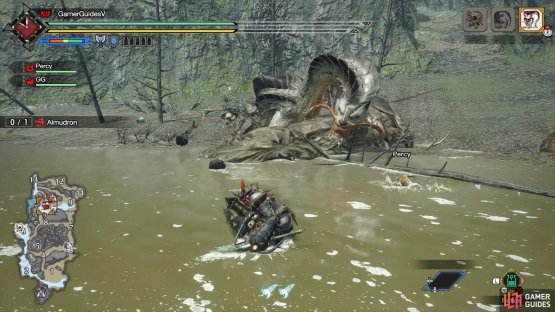
(1 of 2) Almudron shakes its body while half-buried.


Almudron shakes its body while half-buried. (left), It’ll produce mud spikes from the ground that can you knock you into the air. (right)
This move can be used when Almudron is half-buried. It will raise its head skyward and violently wobble its body. It’ll then push its body forward and create spikes of mud in front of itself. These mud spikes can send you flying into the air.
Mud Gather
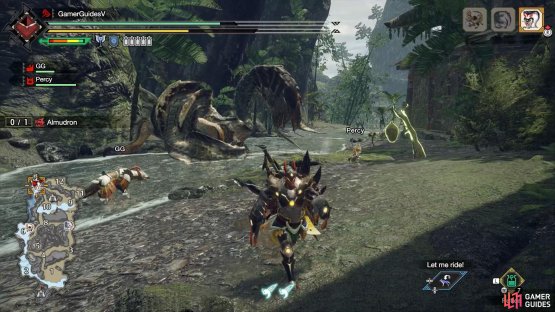
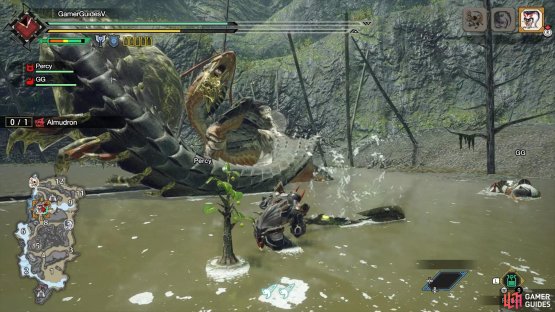
(1 of 2) You’ll want to recognize this intimidating pose.


You’ll want to recognize this intimidating pose. (left), Afterwards, Almudron will create multiple mud waves, while possibly gathering a mud ball. (right)
Almudron stands on its hindlegs and poses menacingly, twisting its body backwards. Next, it’ll spin around multiple times, creating shallow waves of mud around it. Afterwards, a mud ball may become attached to its tail, enhancing its tail-based attacks.
Mud Ball Tail Swipe

(1 of 2) Almudron coils its tail, while a mud ball is attached.


Almudron coils its tail, while a mud ball is attached. (left), It’ll then swing its tail out. (right)
When Almudron has a mud ball on its tail, it may twist its body around, with its tail stretched out in front of it. That’s your cue to block or evade. Afterwards, Almudron will swing its tail forward like a wrecking ball.
Mud Ball Explosion
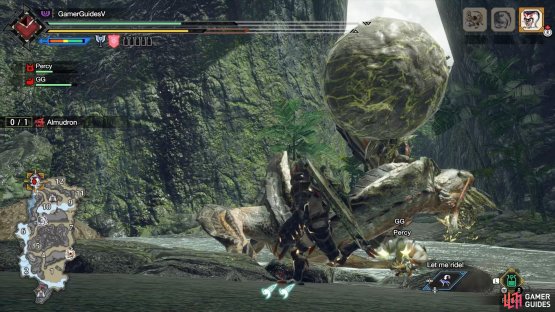
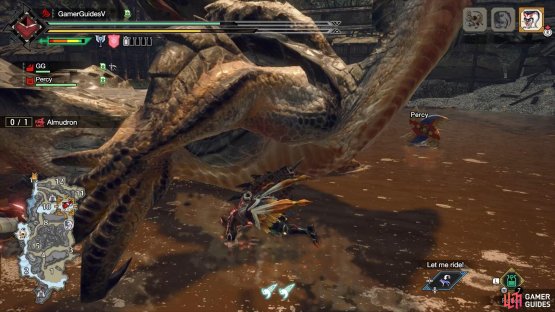
(1 of 2) Besides the audible warning, Almudron will raise the mud ball over its body.


Besides the audible warning, Almudron will raise the mud ball over its body. (left), Next, it’ll leap into the air and come plummeting nearby, blowing up the mud ball. (right)
There will be an audible warning before this move. If Almudron has a mud ball on its tail, it will crouch down and arc its tail upwards, with the mud ball above its body. It’ll then jump up into the air and slam its tail downwards, destroying the mud ball.
Mud Whirlpool
(1 of 2) When Almudron is half-buried, it can dive down and create a whirlpool of mud.


When Almudron is half-buried, it can dive down and create a whirlpool of mud. (left), If you’re stuck in the whirlpool, you’ll get hit when Almudron shoots up like a rocket. (right)
Likewise, there’s an audible warning for this move. If Almudron’s body is half-buried, get away from it ASAP. Almudron will twist its body around and then dive underground. In its place will be a whirlpool of mud that draws you towards its center. After a while, Almudron will shoot up from the center. If you’re stuck in the whirlpool, wiredash out of it.
Mud Pillars

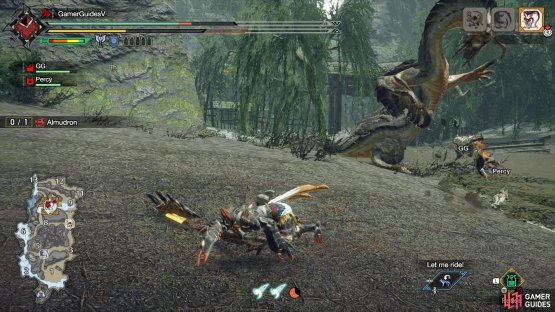
(1 of 2) Almudron dives backwards into the ground and tunnels away.


Almudron dives backwards into the ground and tunnels away. (left), Where it once was, there will be a couple of mud pillars. (right)
Almudron will perform a backwards dive while half-buried and momentarily disappear. A couple of mud pillars will then appear near it. Afterwards, Almudron will resurface a short distance away from where it dived.
Tracking Mud Spikes

(1 of 2) Almudron shakes it body like during a normal mud spikes attack.


Almudron shakes it body like during a normal mud spikes attack. (left), However the mud spikes will now follow your movement. (right)
This is a more powerful version of the normal mud spikes attack, which Almudron can use when the mud pillars are up. The tell is the same: Almudron will look up and wobble its body while half-buried.
Except this time, a number of mud spikes will follow you around and there’ll be multiple audible warnings. Almudron can spam this move until the mud pillars are gone. So keep moving around until it’s had enough fun.
Strategy
Before the fight, we recommend donning equipment with high Water resistance. The Tetranadon armor gives plentiful Water resistance or you could go for the cheap and cheerful Valk armor.
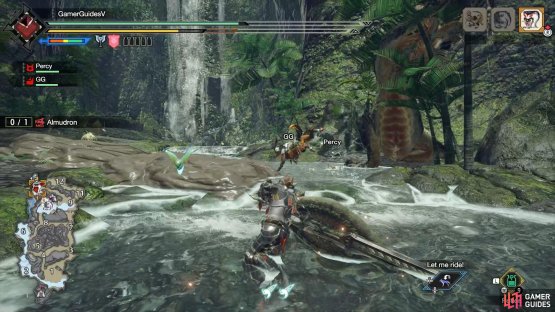

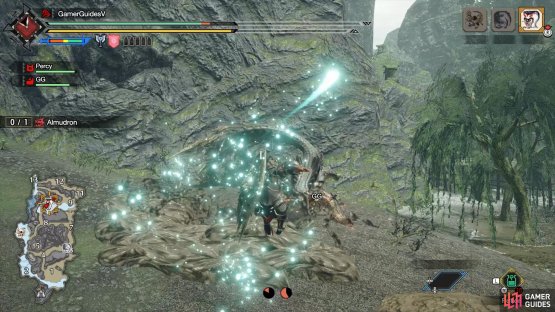
(1 of 2) The ordinary mud can be annoying, slowing you down.


The ordinary mud can be annoying, slowing you down. (left), The golden mud is the same, but also inflicts damage while you’re touching it. (right)
Like Barroth, Almudron has many attacks that throw out mud. The wet mud the remains on the floor will slow you down if you’re inside. If you’re concerned about the mud slowing you down, you can wear the Bone Greaves for Level 1 Muck Resistance (or Level 2 for the High Rank version).
Besides the regular mud that Almudron flings around on the floor, be wary of the golden mud. Coming into contact with this unnatural-looking mud will inflict damage similar to poison.
Almudron can also usher waves of mud towards you. These can also slow you down or, worse, damage/knock you back if they’re high enough. Try to go around them or wiredash over. Or if there are mud platforms around, you can climb onto these to ride the waves out.
During the fight, Almudron can dive underground and become impervious to attacks. While underground, Almudron can travel around–appearing as a trail of mud on the surface. It can also rapidly resurface and dive back into the ground to try and unnerve you. Be patient, while staying on the move, so you’re not hit when by Almudron when it resurfaces.
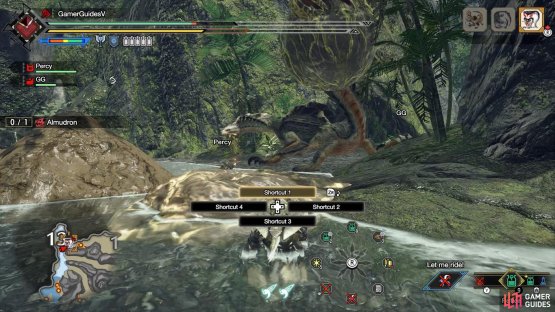
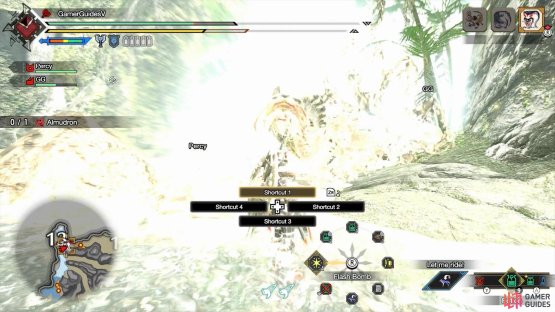
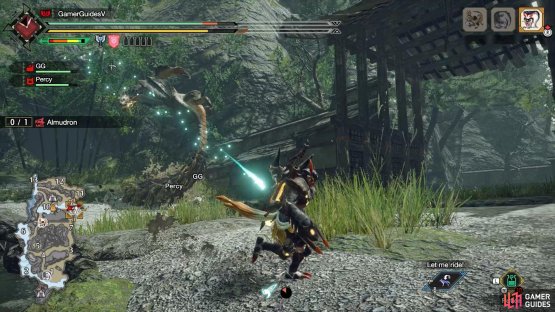
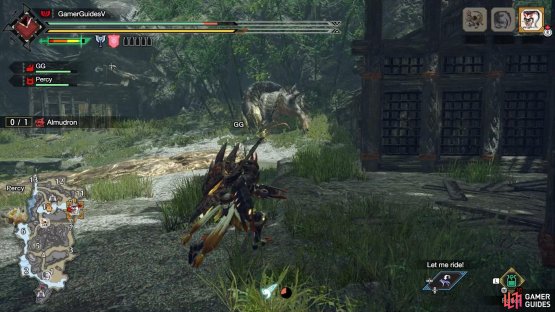
(1 of 2) A simple way to destroy Almudron’s mud ball if by throwing a Flash Bomb.


A simple way to destroy Almudron’s mud ball if by throwing a Flash Bomb. (left), This will also hinder Almudron’s attacks for a while. (right)
The last thing to note is Almudron’s mud ball, which can be attached to its tail after Almudron uses its Mud Gather move. This mud ball will enhance Almudron’s tail attacks and lets it use a dangerous explosion attack. If you can, try and attack the mud ball to break it. You can also use a Flash Bomb or Flash Fly to instantly destroy it.
The safest opportunity to attack Almudron is when it’s half-buried, since it doesn’t move around much and has a very limited movepool. Note that some of the front portions of Almudron’s body can deflect weapons with less than Blue sharpness.
Otherwise, if Almudron is on all fours, try to keep to the sides or behind Almudron. As most of its attacks target directly ahead. When an opportunity arises, such as after Almudron uses its tail attacks, remember to hit its tail, to remove the mud coating from it and break it etc.
Material Drops (Low Rank)

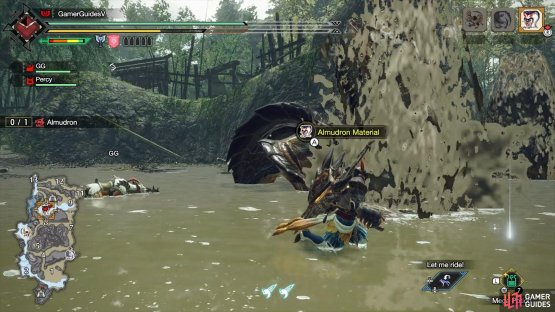
Almudron’s Low Rank drops.
Target Rewards
| Material | Drop Rate (%) |
|---|---|
| Almudron Scale | 16% |
| Almudron Shell | 27% |
| Almudron Fin | 15% |
| Almudron Whisker | 10% |
| Almudron Tail | 8% |
| Golden Muck | 22% |
| Almudron Plate | 2% |
Capture Rewards
| Material | Drop Rate (%) |
|---|---|
| Almudron Scale | 18% |
| Almudron Shell | 23% |
| Almudron Tail | 12% |
| Golden Muck | 13% |
| Almudron Plate | 3% |
| Almudron Claw | 31% |
Broken Parts Rewards
| Material | Drop Rate (%) |
|---|---|
| Almudron Scale | Torso - 70%, Foreleg - 10% |
| Almudron Shell | Torso - 30%, Tail - 20% |
| Almudron Fin | Head - 17%, Tail - 80% |
| Almudron Whisker | Head - 80% |
| Almudron Plate | Head - 3% |
| Almudron Claw | Foreleg - 90% |
Carves
| Material | Drop Rate (%) |
|---|---|
| Almudron Scale | Body - 38% |
| Almudron Shell | Body - 27% |
| Almudron Fin | Body - 22%, Tail - 17% |
| Almudron Whisker | Body - 12% |
| Almudron Tail | Tail - 80% |
| Almudron Plate | Body - 1%, Tail - 3% |
Dropped Materials
| Material | Drop Rate (%) |
|---|---|
| Almudron Scale | 19%, 37% |
| Almudron Shell | 0%, 28% |
| Golden Muck | 30%, 25% |
| Almudron Plate | 1%, 0% |
| Almudron Claw | 0%, 10% |
| Wyvern Tear | 50%, 0% |
Material Drops (High Rank)
Coming Soon!
No Comments