
Sub-camps act as secondary bases during a hunt. Each sub-camp contains a tent with access to the item box, meals, etc. You can also fast-travel to sub-camps, just like the main camp. To utilize a sub-camp, you must find and unlock it first.
Each locale can have one or two sub-camps built; the Shrine Ruins and Flooded Forest have one, while the others have two. The places where a sub-camp can be built is fixed.
When you go to a location where a sub-camp can be built, a prompt will appear towards the right of the screen. Afterwards, when you’re back in Kamura Village, Kagero the Merchant (the masked guy who runs the market) will give you a request so the sub-camp can be built.
All Sub-Camp Locations
Shrine Ruins


(1 of 2) At the start of the road from Area 10 to 13, climb up these ledges.
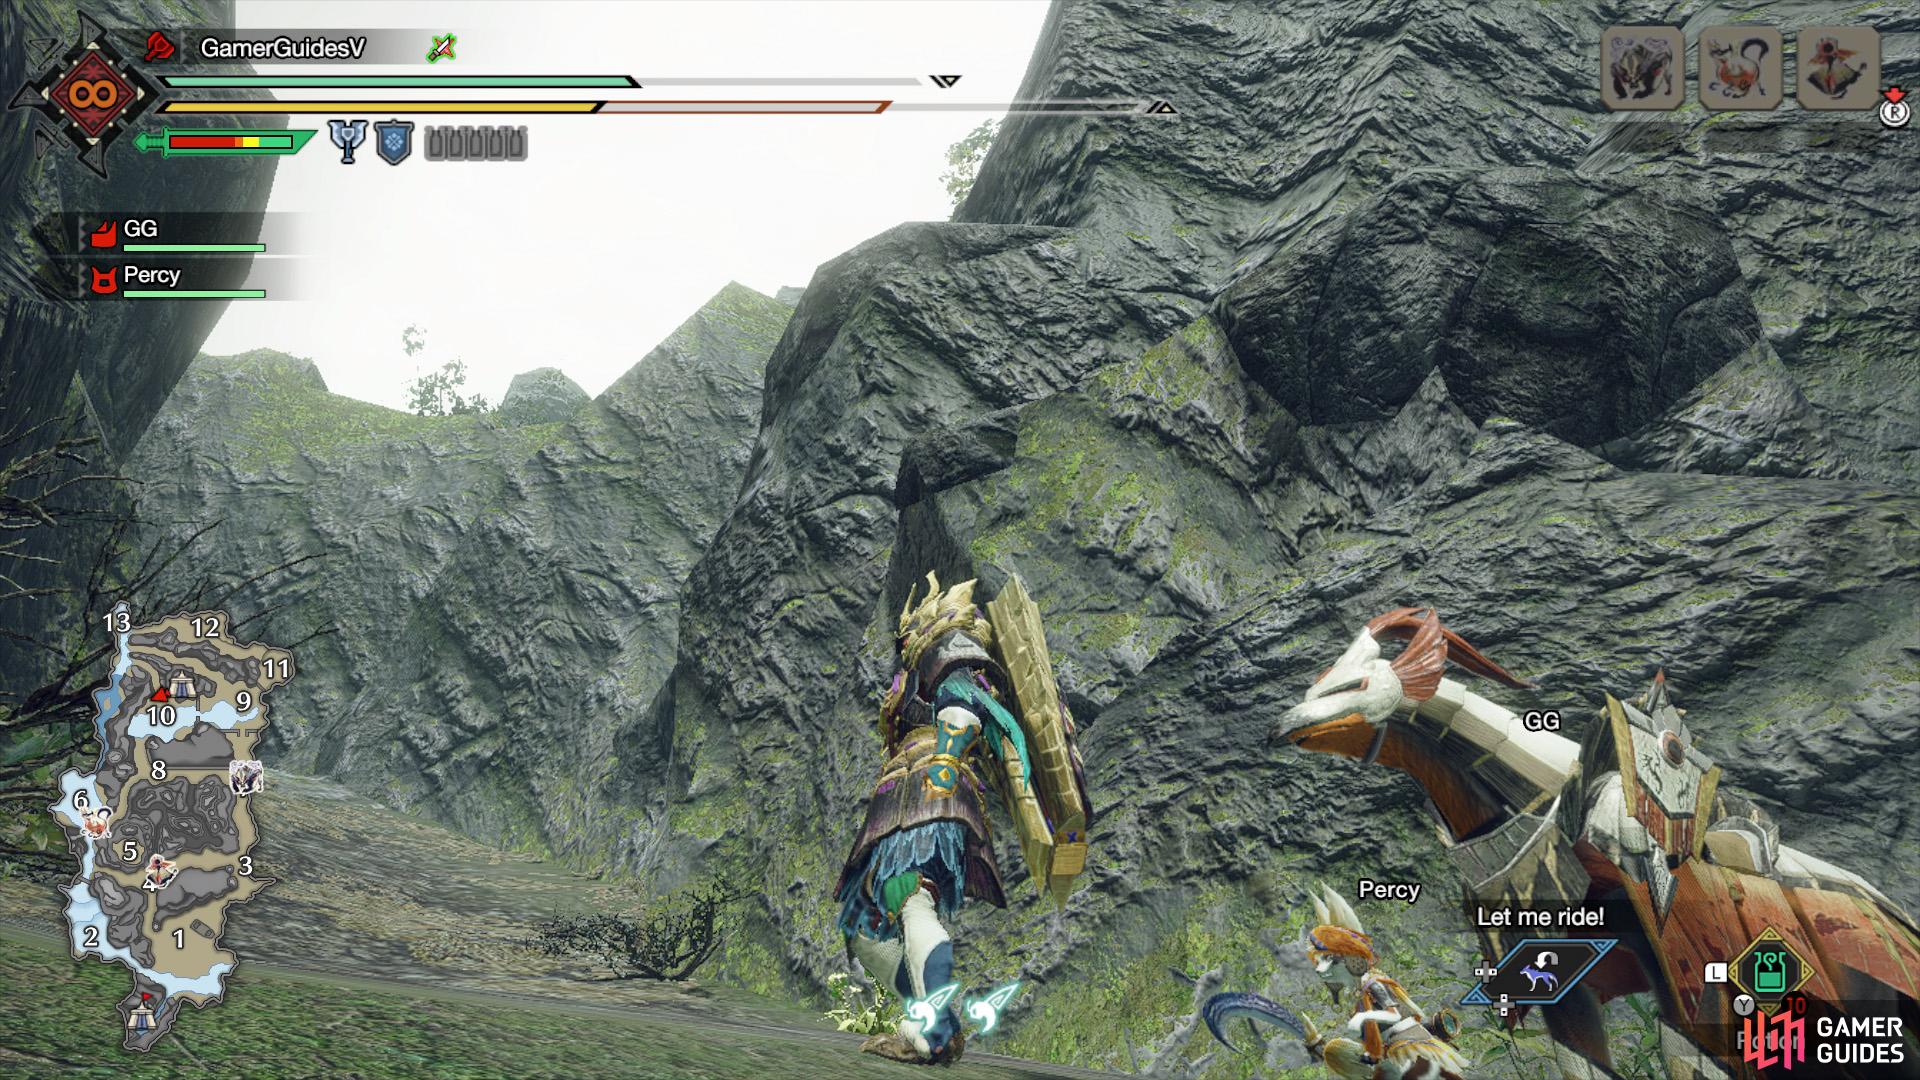
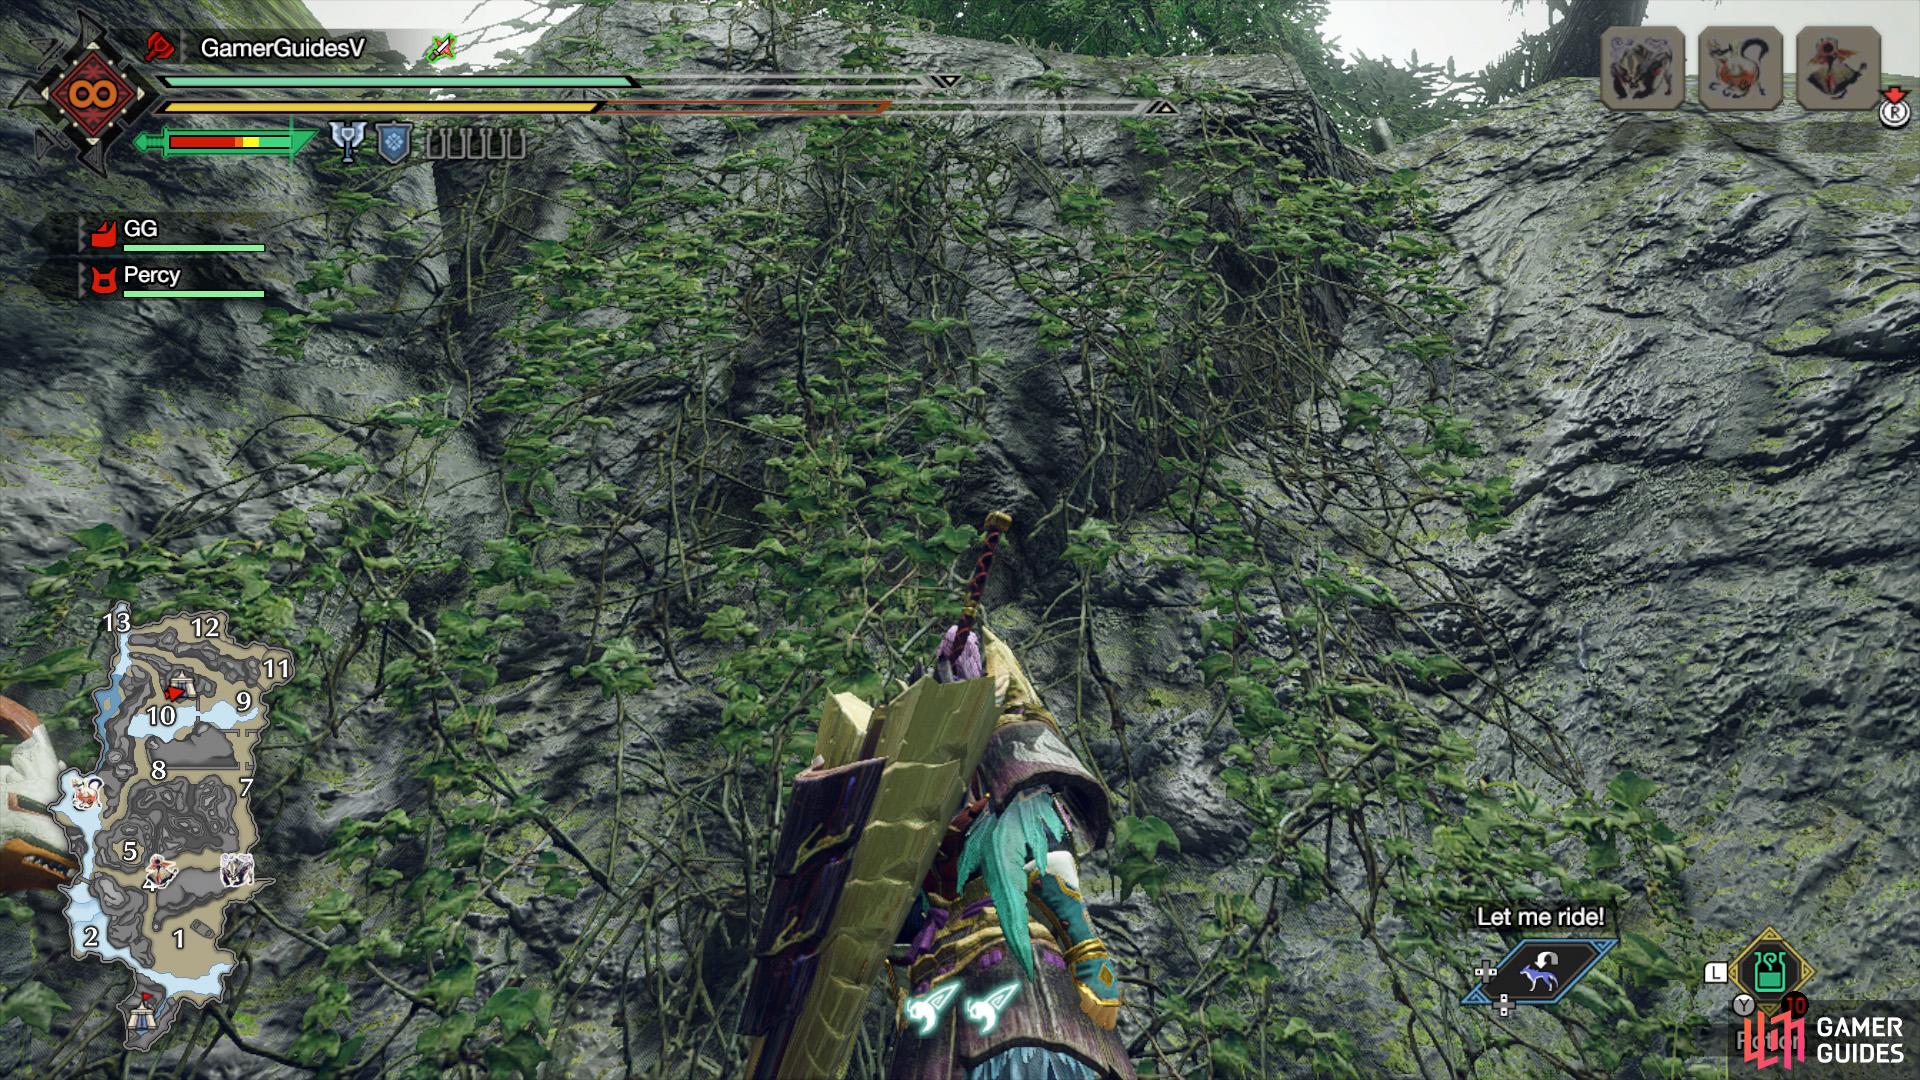
At the start of the road from Area 10 to 13, climb up these ledges. (left), Then go up the vine-covered wall. (right)
Sub-Camp 1: Near the top of the peak that’s along the north side of Area 10. The easiest way to climb up is from the west, near one of the side roads that leads towards Area 13. There are some ledges here that don’t require too much climbing. Near the top, there’s a vine-covered wall facing south.
Frost Islands
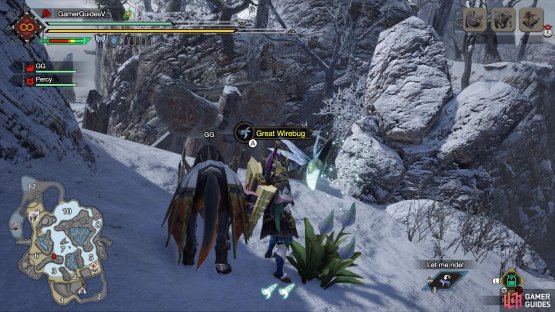

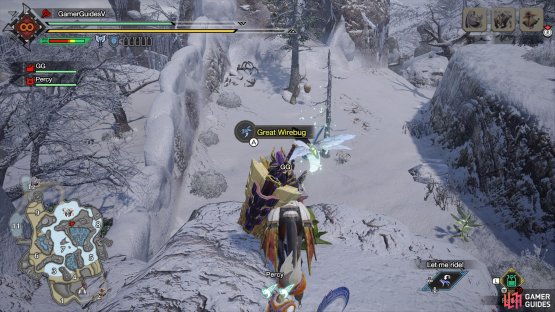
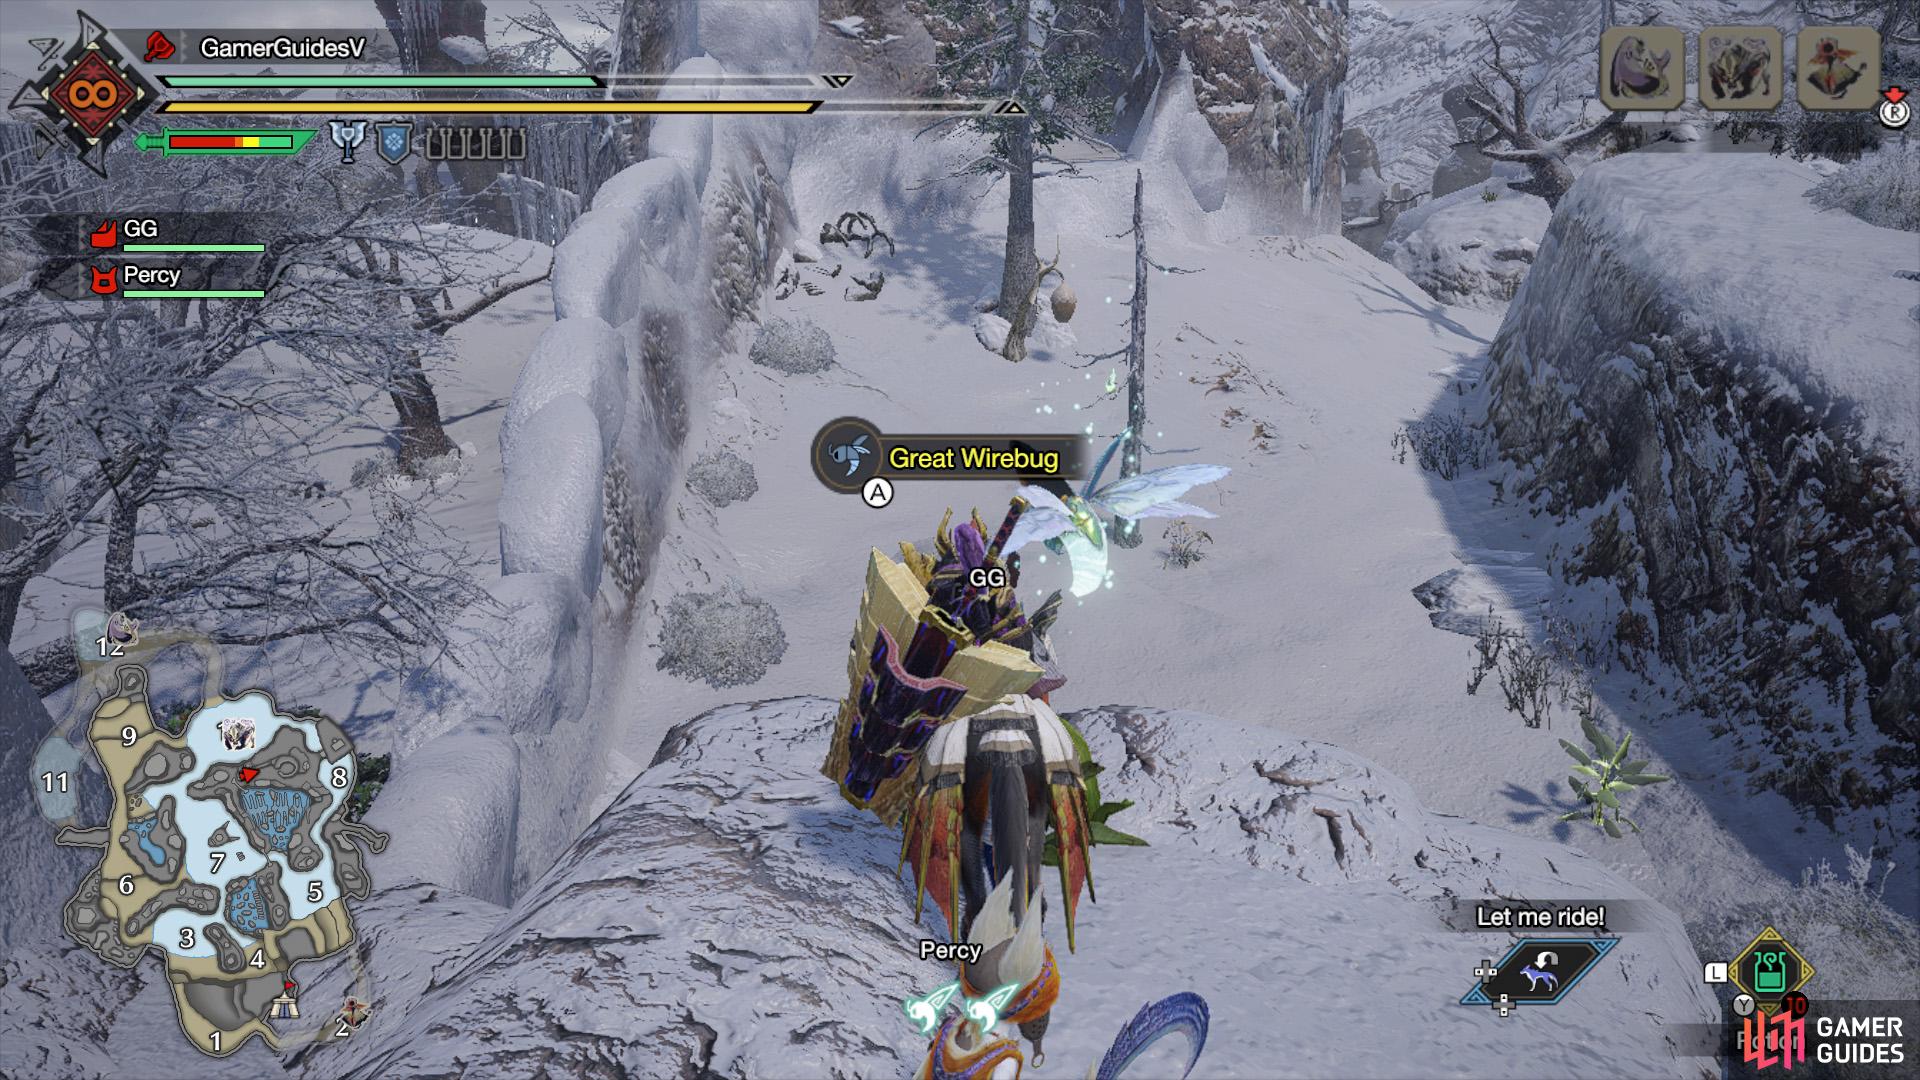
(1 of 2) Use this great wirebug that’s smack bang in the center of areas 3, 6 and 7.
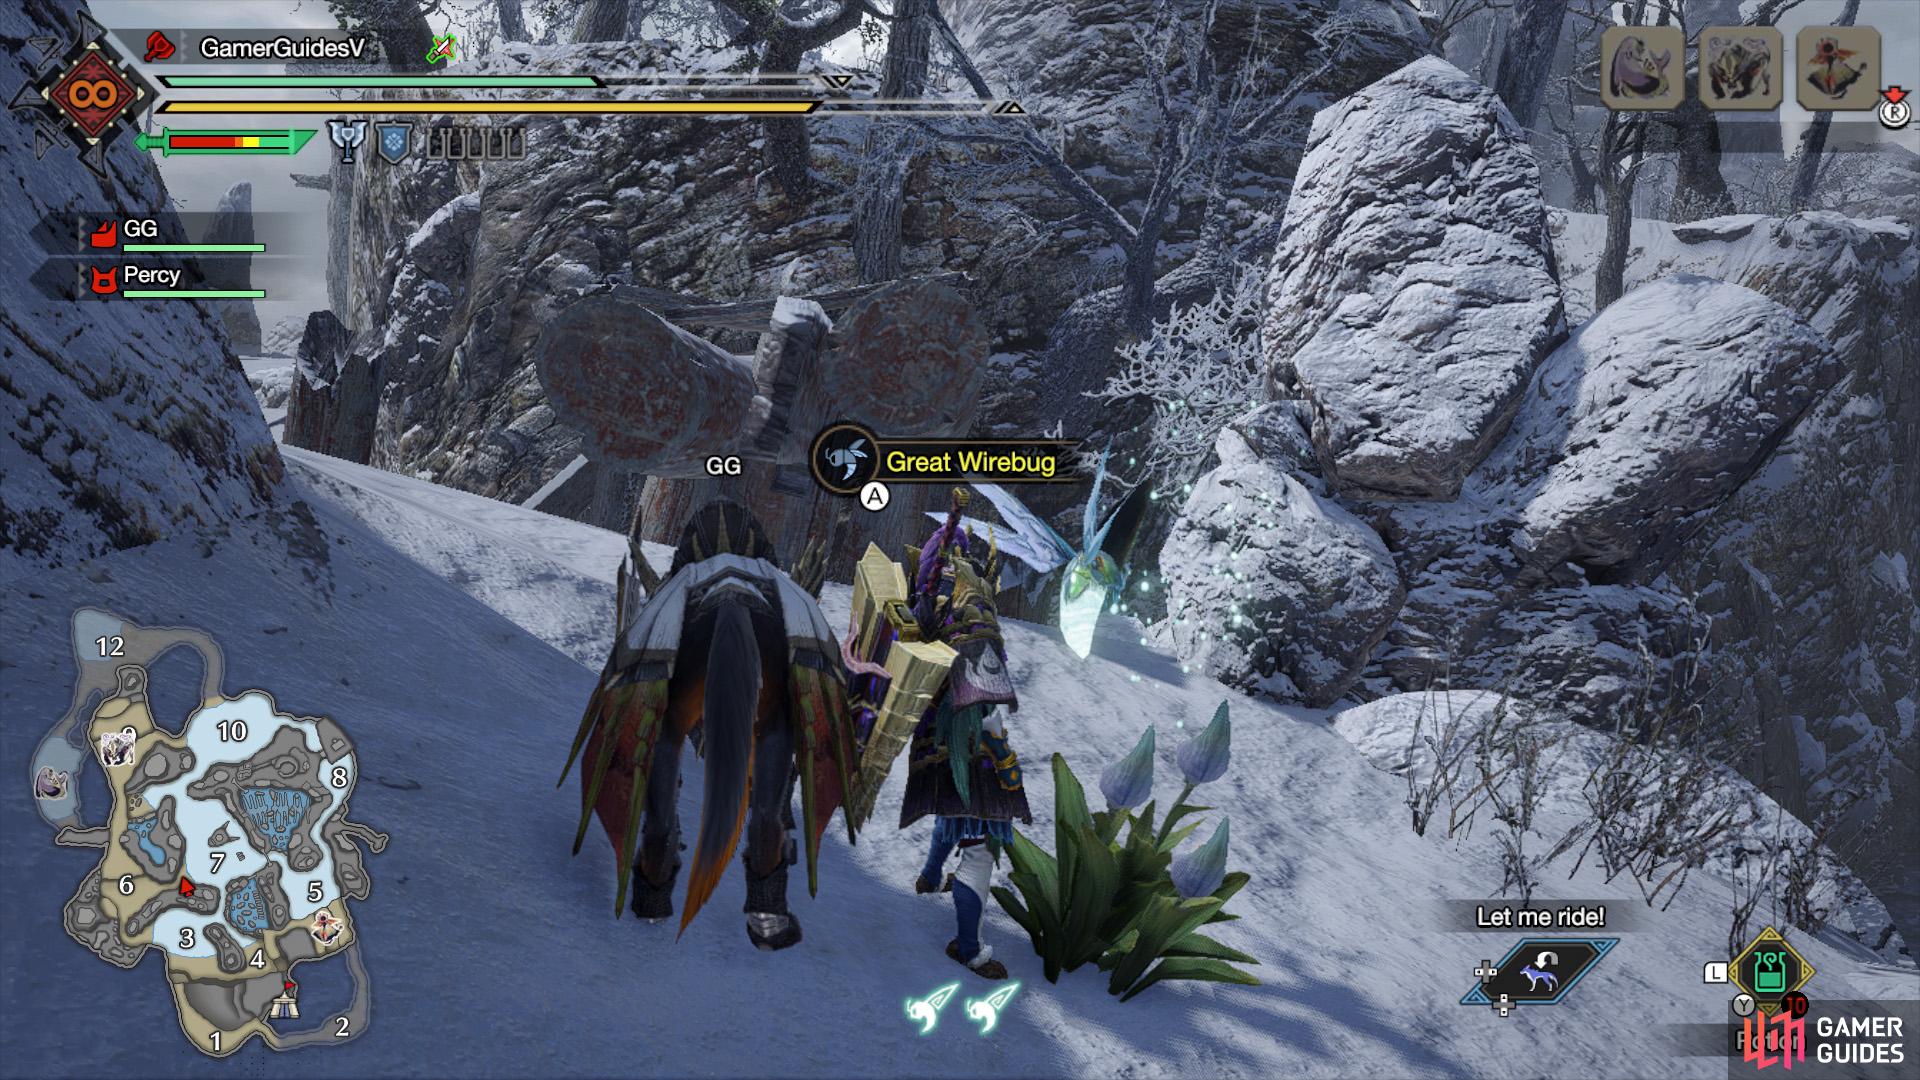

Use this great wirebug that’s smack bang in the center of areas 3, 6 and 7. (left), Then turn around to find your new temporary home! (right)
Sub-Camp 1: At the end of the shallow water path surrounded by cliffs between areas 6 and 7. Use the great wirebug in Area 3 that’s on the shore. After landing, drop down forward and use another great wirebug. Once you land in the shallow water, turn around and you’re there.
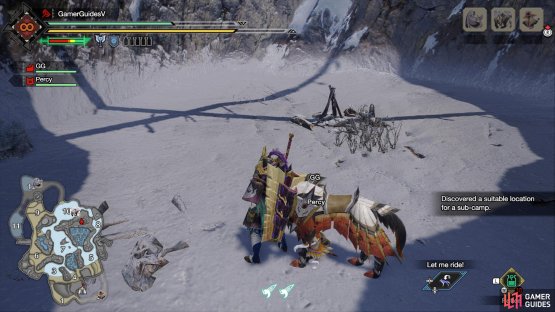
(1 of 2) When you use this great wirebug, do a mid-air dodge left (with the B button) near the end of your flight.

When you use this great wirebug, do a mid-air dodge left (with the B button) near the end of your flight. (left), You’ll land straight into this comfy-looking place! (right)
Sub-Camp 2: Encircled by stone walls between areas 8 and 10. From the previous sub-camp, go forward and use the great wirebug in the center of the rock pillars. Next, turn right and climb up the rocks to find another great wirebug. After being propelled a fair distance, go right to find yet another great wirebug nearby. Use this and then mid=air dodge to the left before landing.
Flooded Forest


(1 of 2) Follow this road north-east.

Follow this road north-east. (left), Climb up the tall, vine-covered wall here. (right)
Sub-Camp 1: Atop a small, isolated highland region in Area 11. Fastest way is probably to go through Area 1 and follow the well-lit road north-east, avoiding the slopes going up. Eventually, the path should widen out and there will be a tall, vine-covered wall in front. Climb up and you’ll find the spot.
Sandy Plains
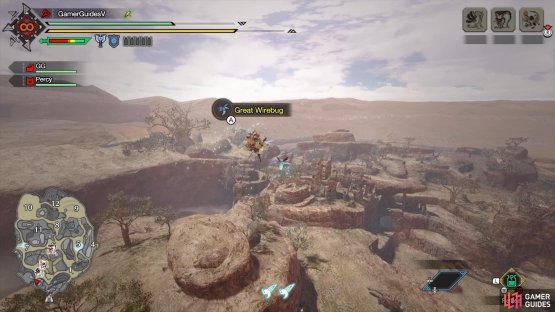
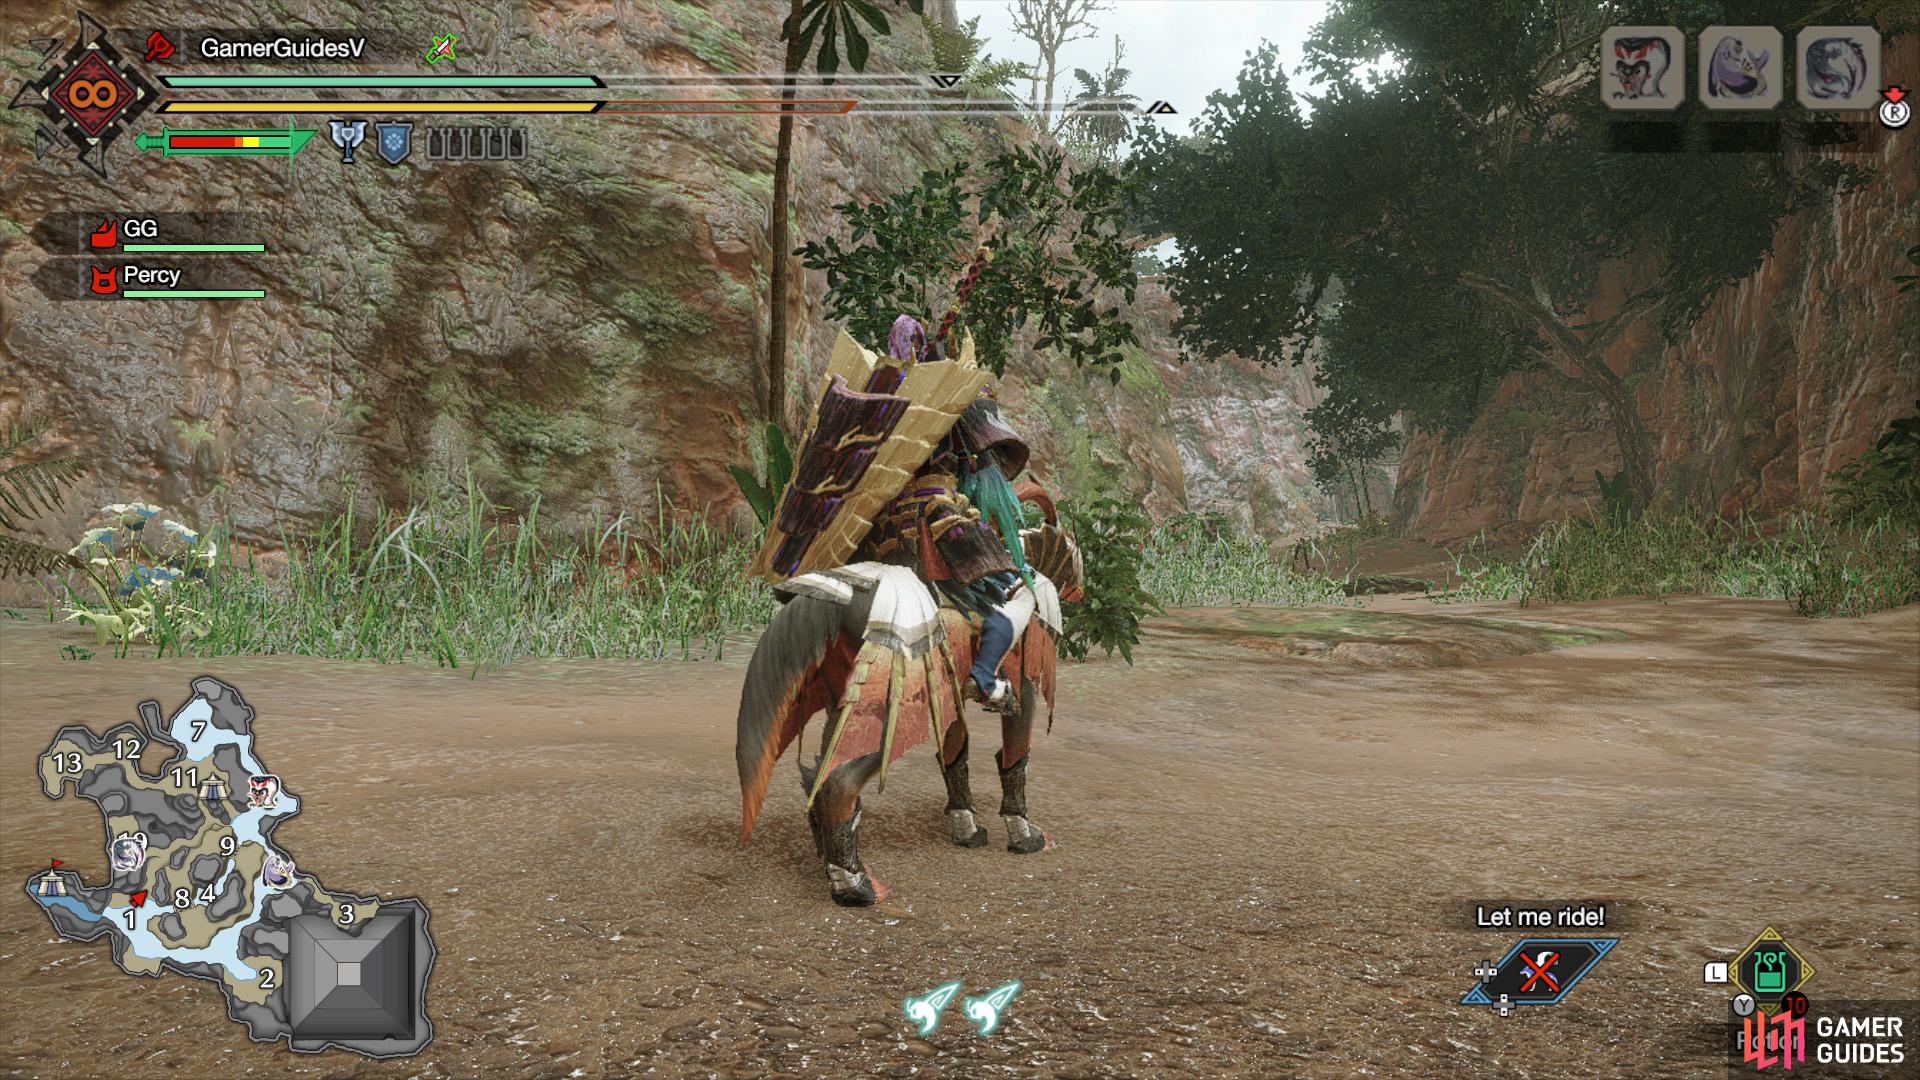
(1 of 2) While mid-flight, look for another great wirebug in the air.

While mid-flight, look for another great wirebug in the air. (left), After landing, drop down to the left. (right)
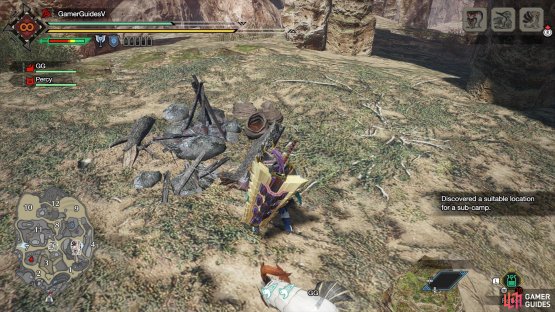
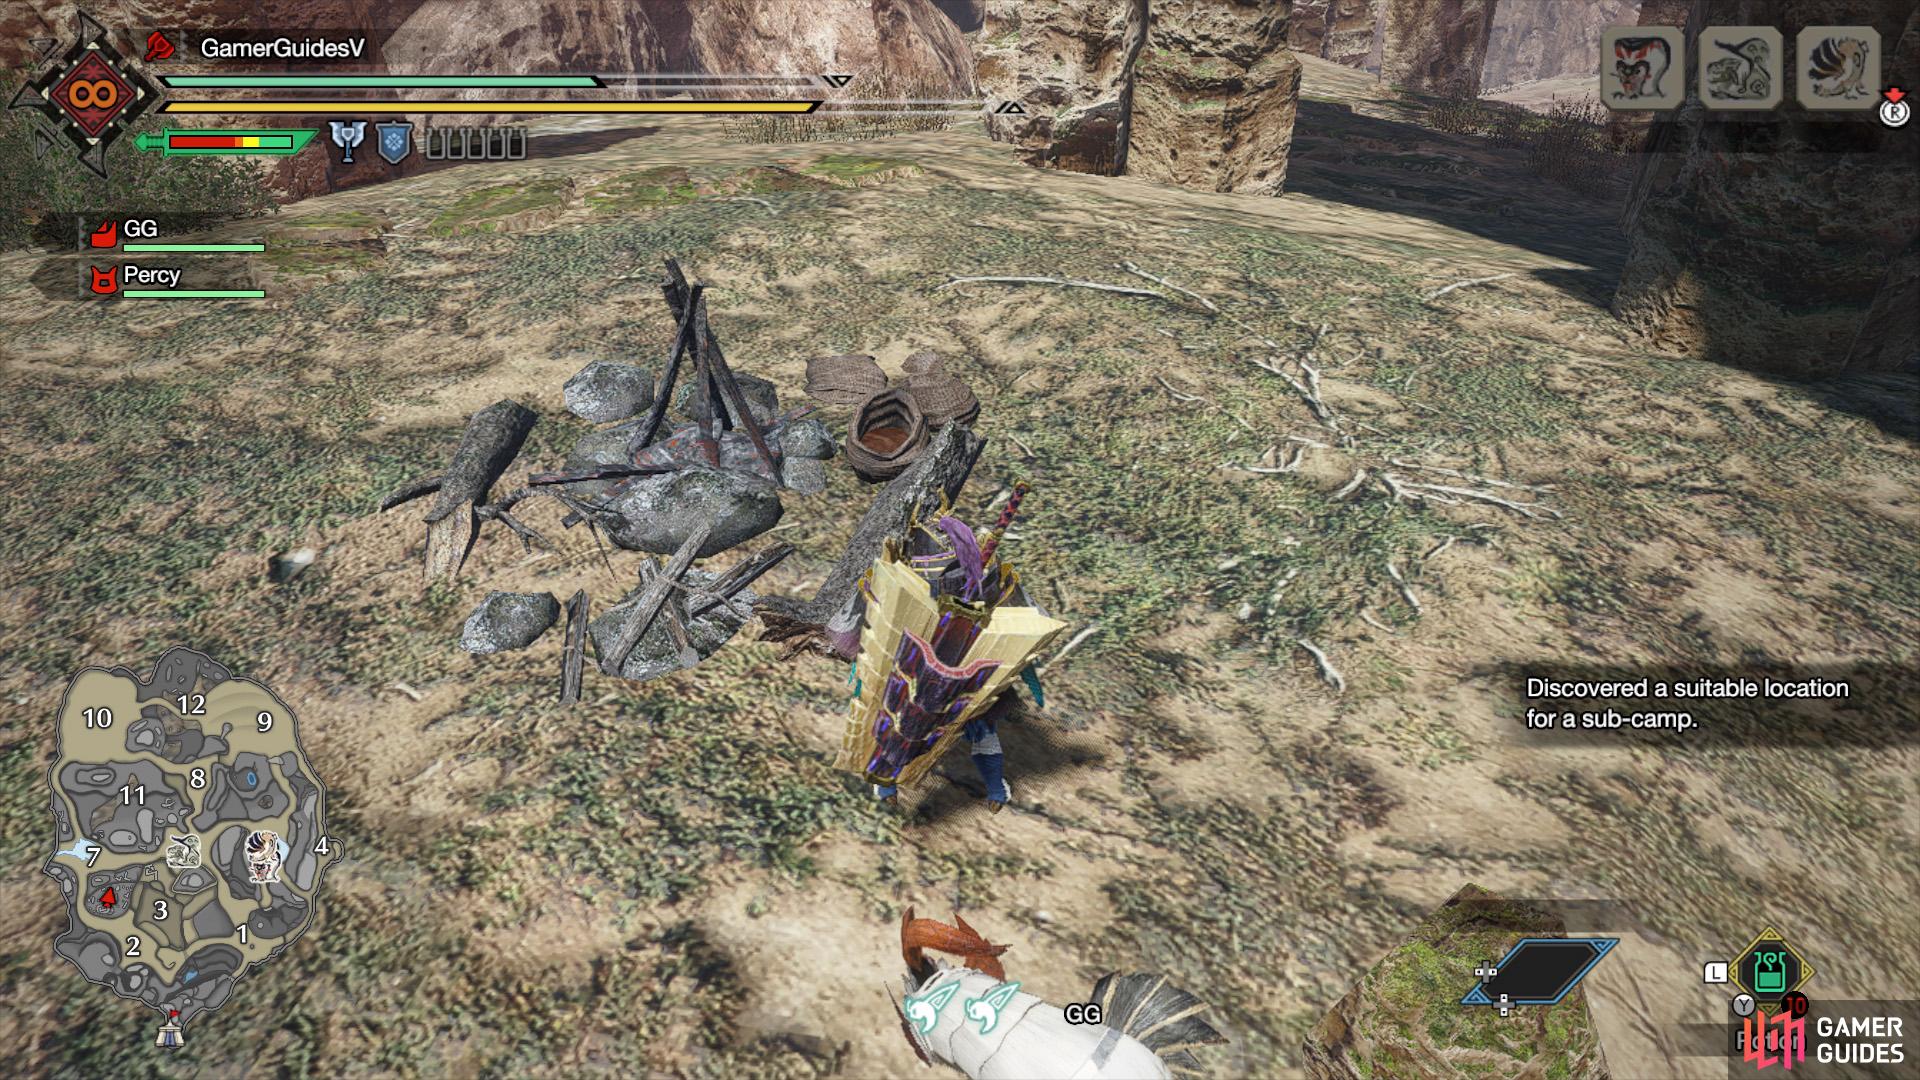
Sub-Camp 1: In the center of the ruins in the highland region between areas 2, 3 and 7. From the main camp, turn left and slide through the tunnel. Use the great wirebug and then spam  to use another great wirebug positioned in the air. When you land, drop down to your left.
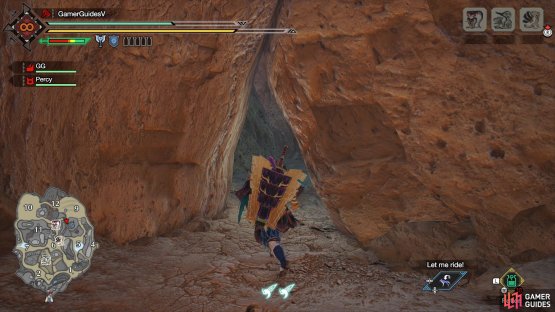

(1 of 2) On your way to Area 9 from Area 8, look for this gap in the wall on your right.
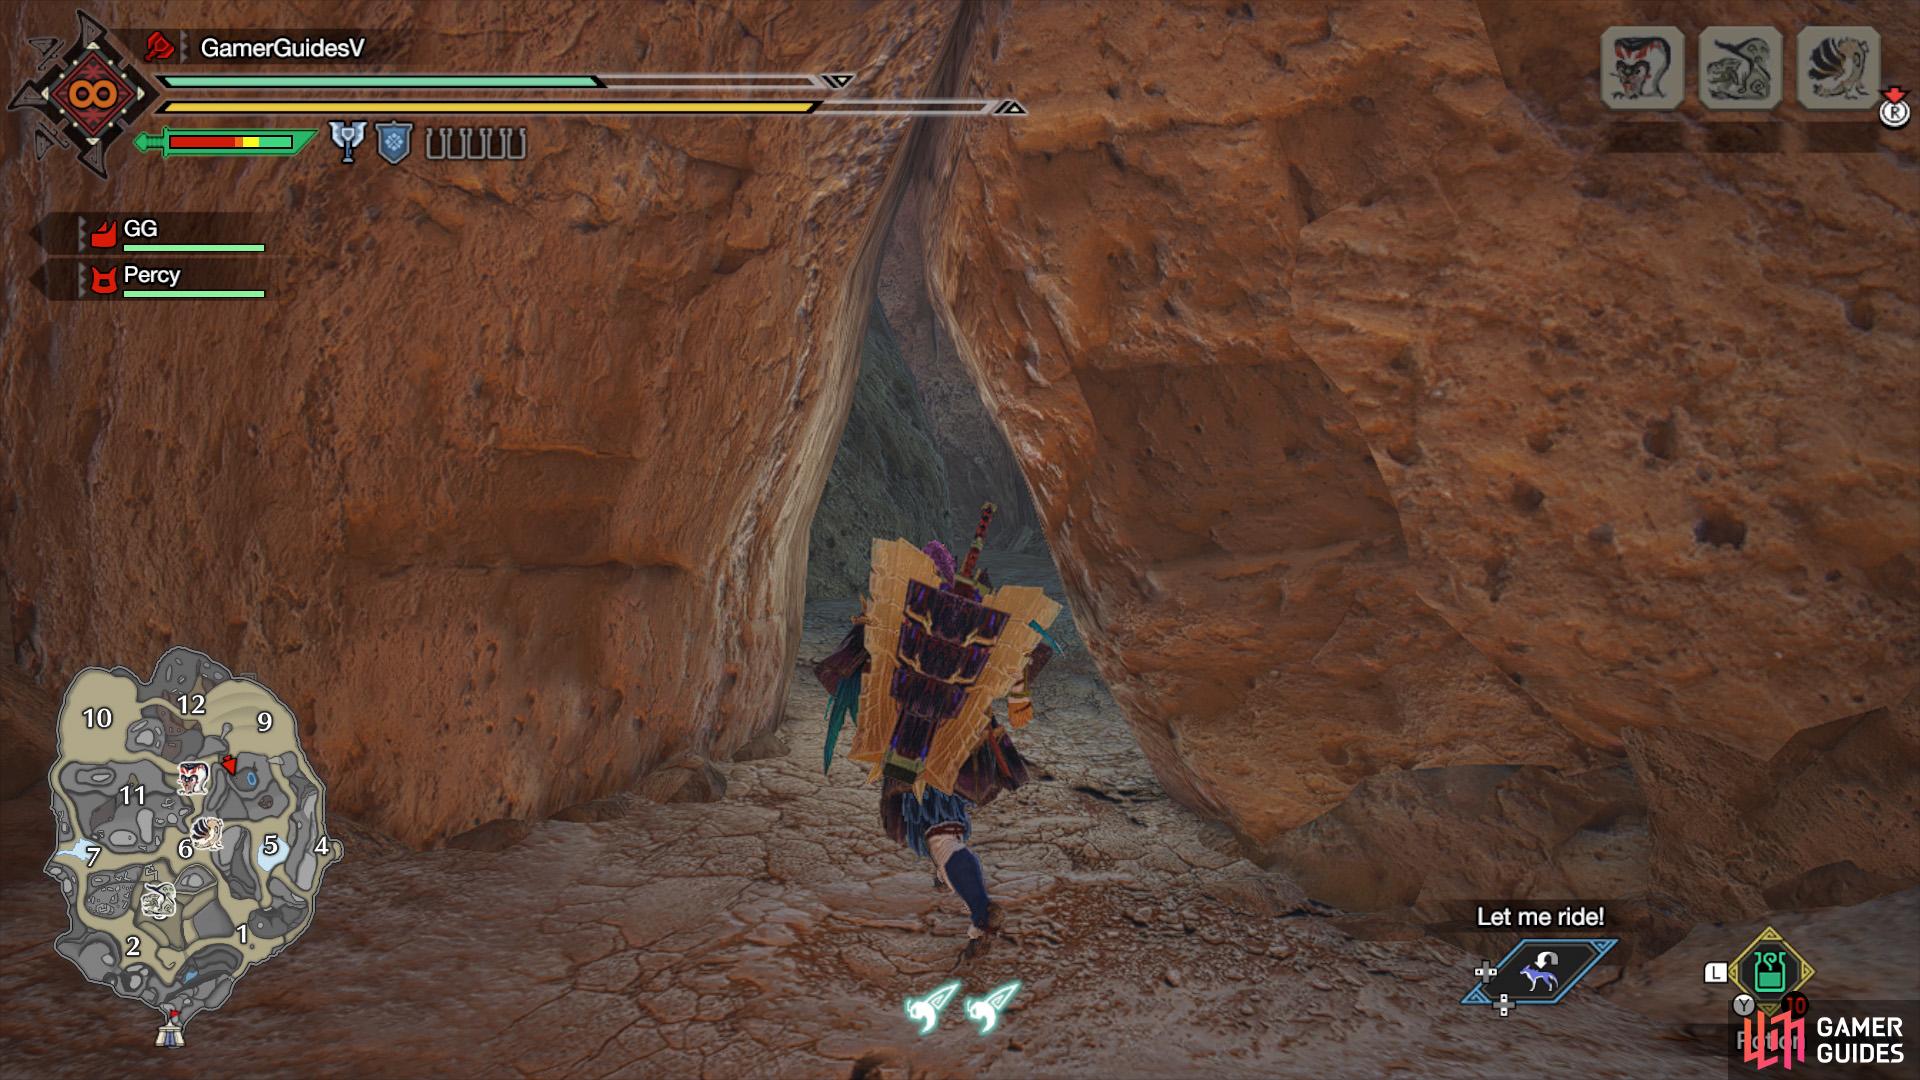
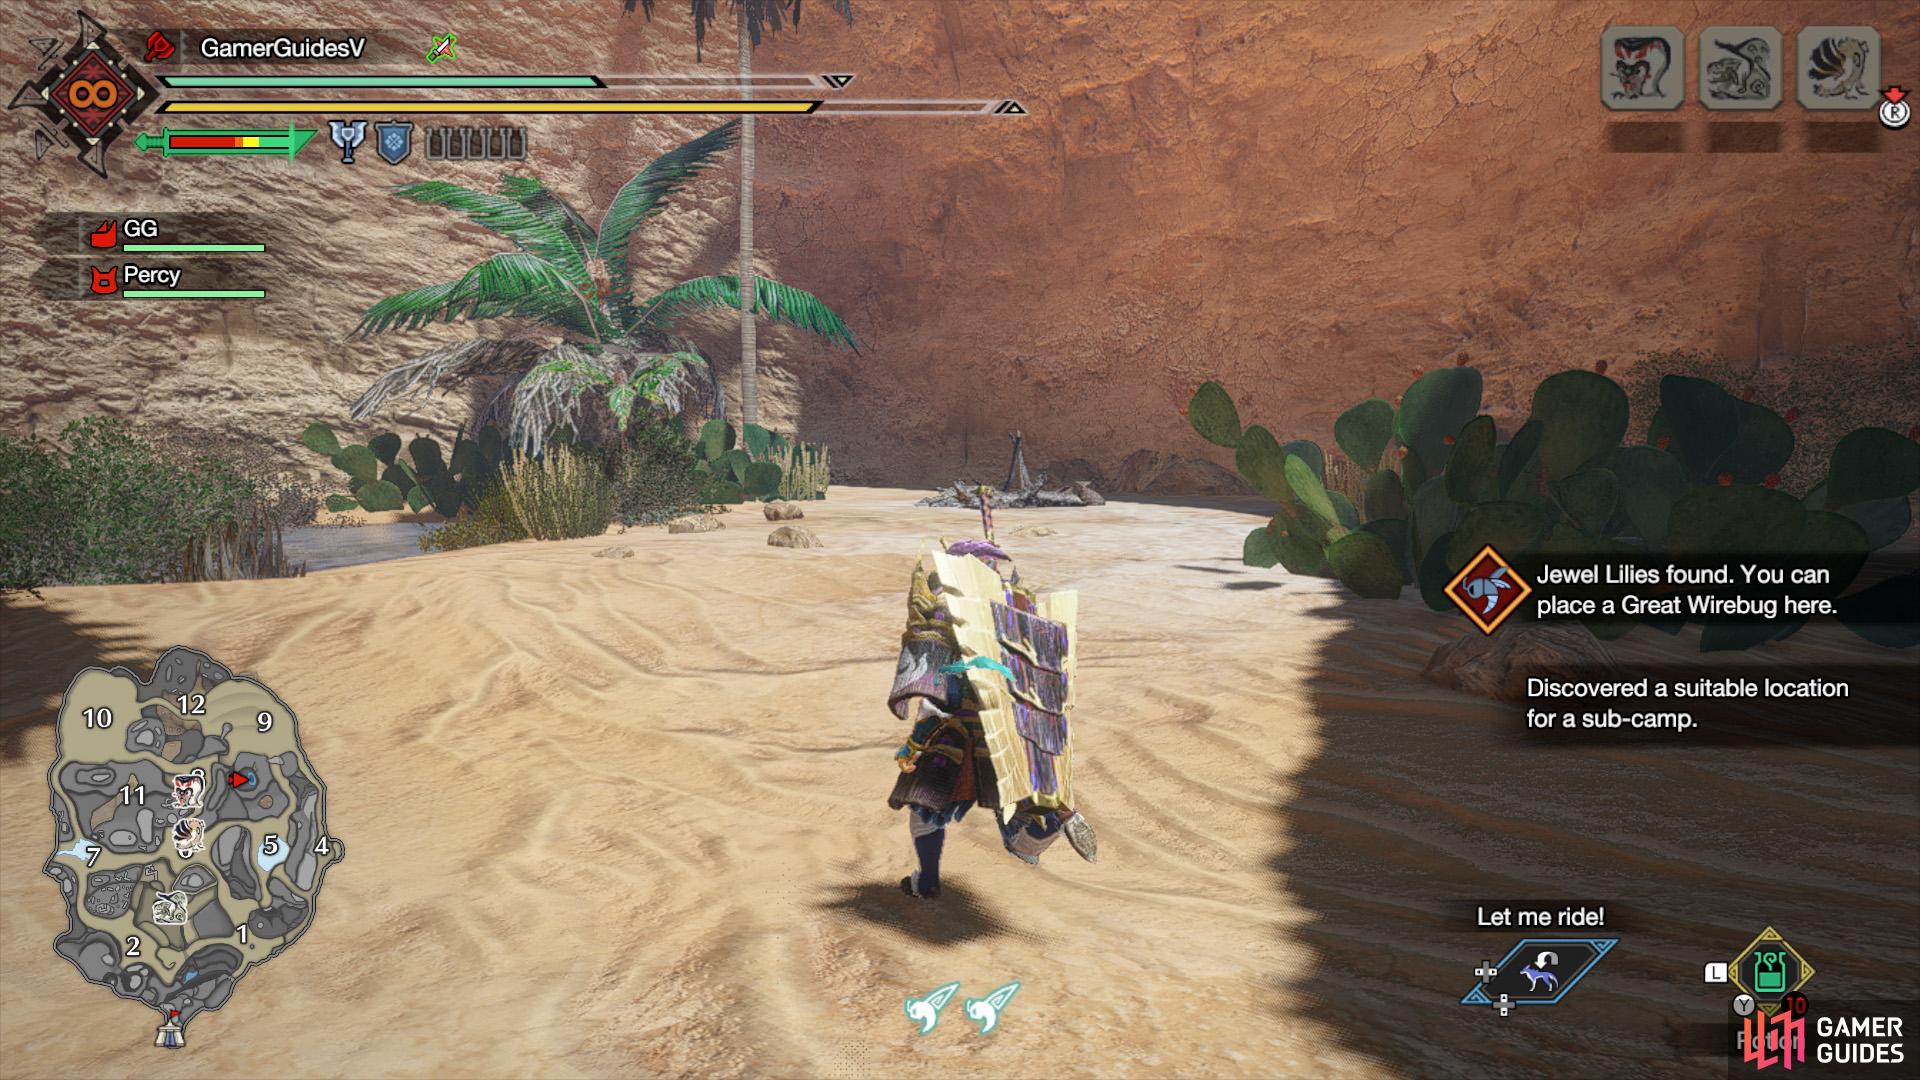
On your way to Area 9 from Area 8, look for this gap in the wall on your right. (left), Wow, there’s a secret oasis here! (right)
Sub-Camp 2: In the alcove between areas 5, 8 and 9. Head to Area 8 and then take the side road towards Area 9. On your right, after dropping down, there’s a gap in the wall that leads to an oasis. If you’re at sub-camp 1, you can use the great wirebug high up, then mid-air dodge right to reach Area 11, then go to Area 8 from there.
Lava Caverns
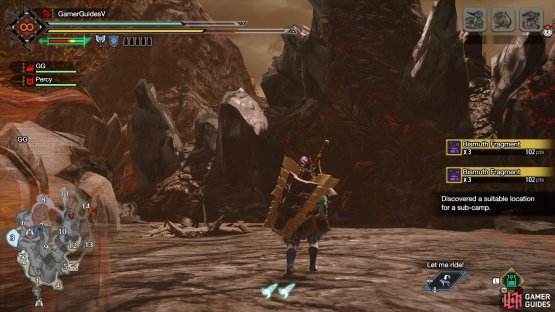
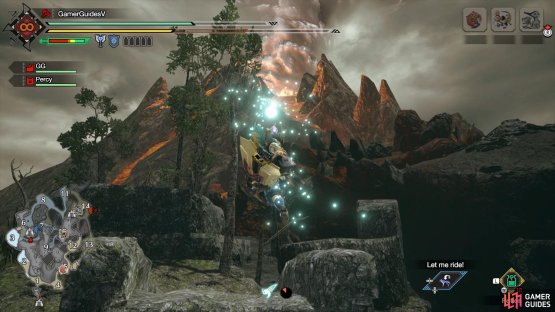
(1 of 2) Take care along the way, as there are some rather deep holes in the ground.

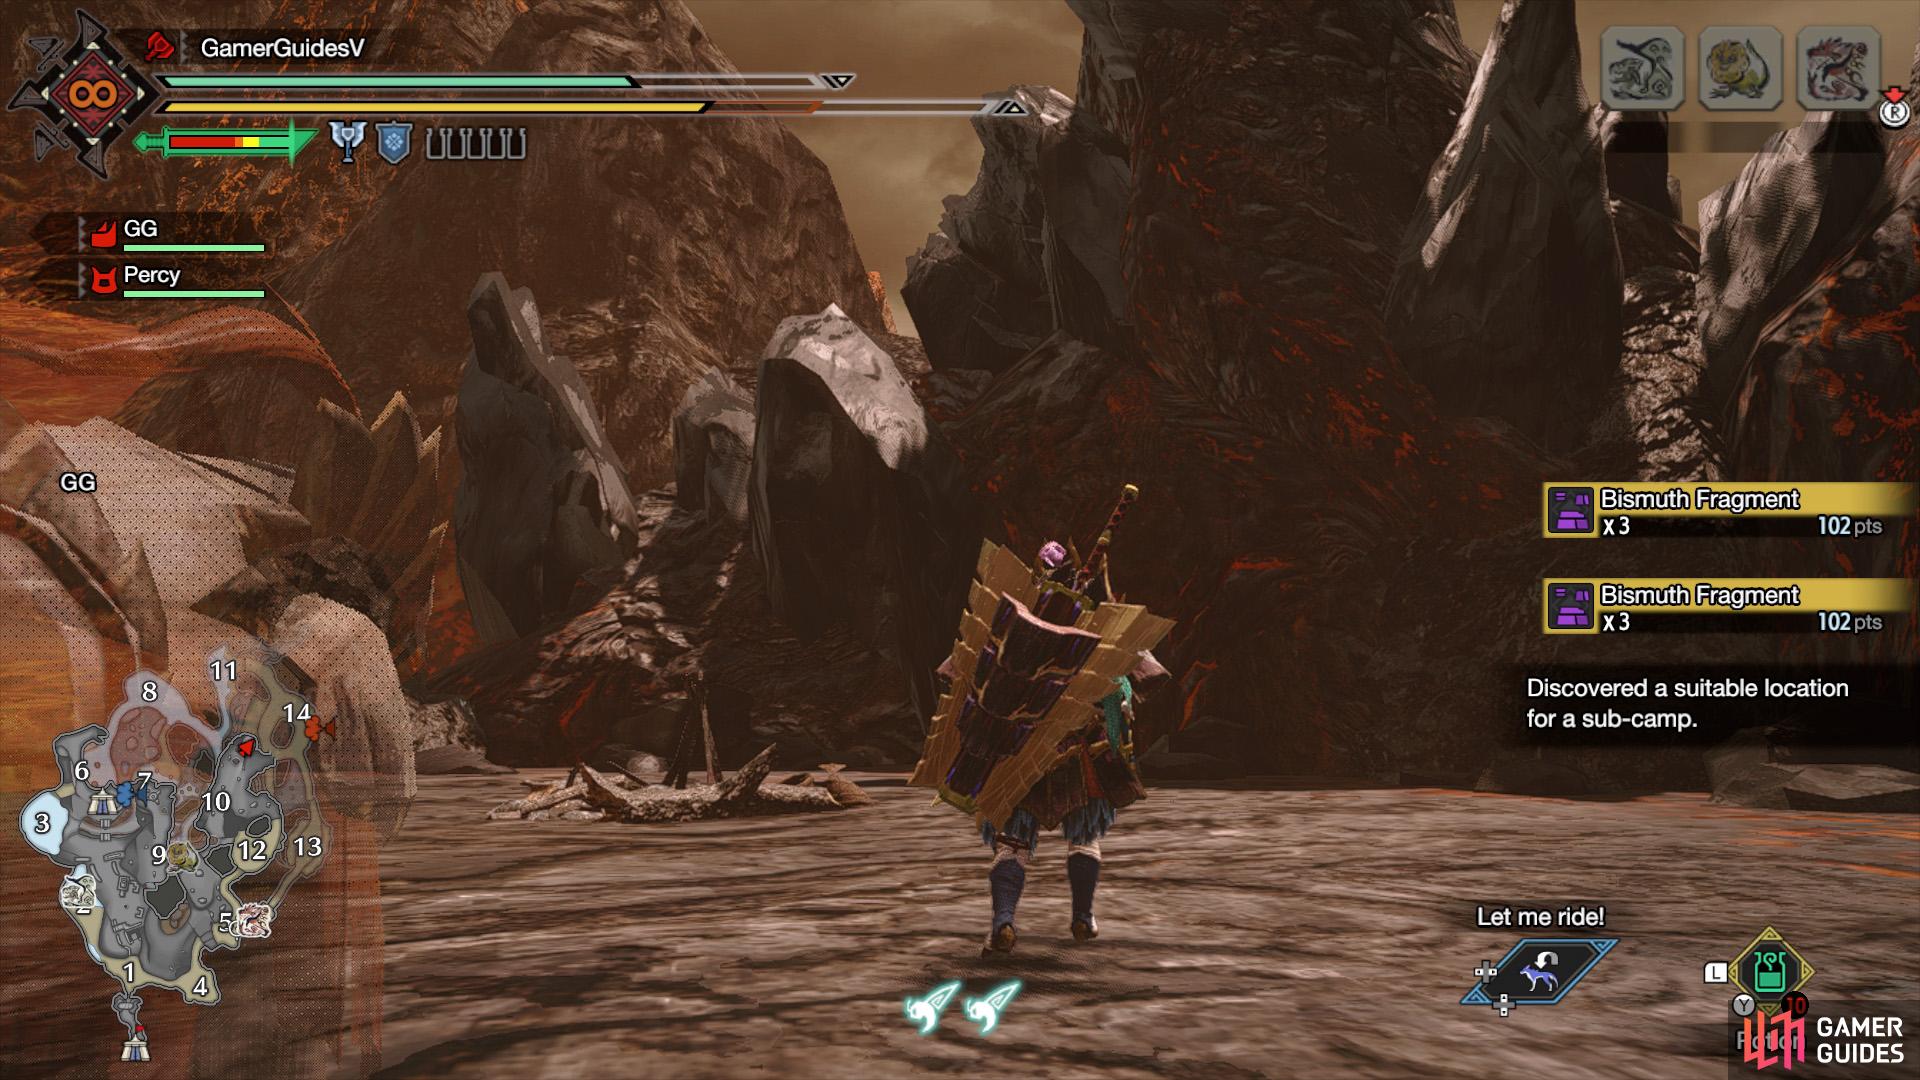
Take care along the way, as there are some rather deep holes in the ground. (left), You can mine for ore nearby as well! (right)
Sub-Camp 1: At the northern tip of Area 10. There are a many ways to get here. You could head towards Area 9 via Area 1 and use a great wirebug to cross the lava flow. Be mindful of the big holes in the ground on your way there.

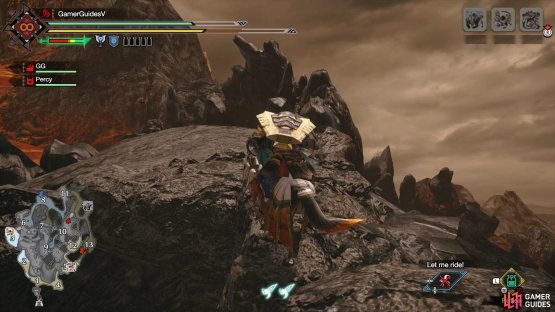
(1 of 2) Use your wirebug to cross the bridge.

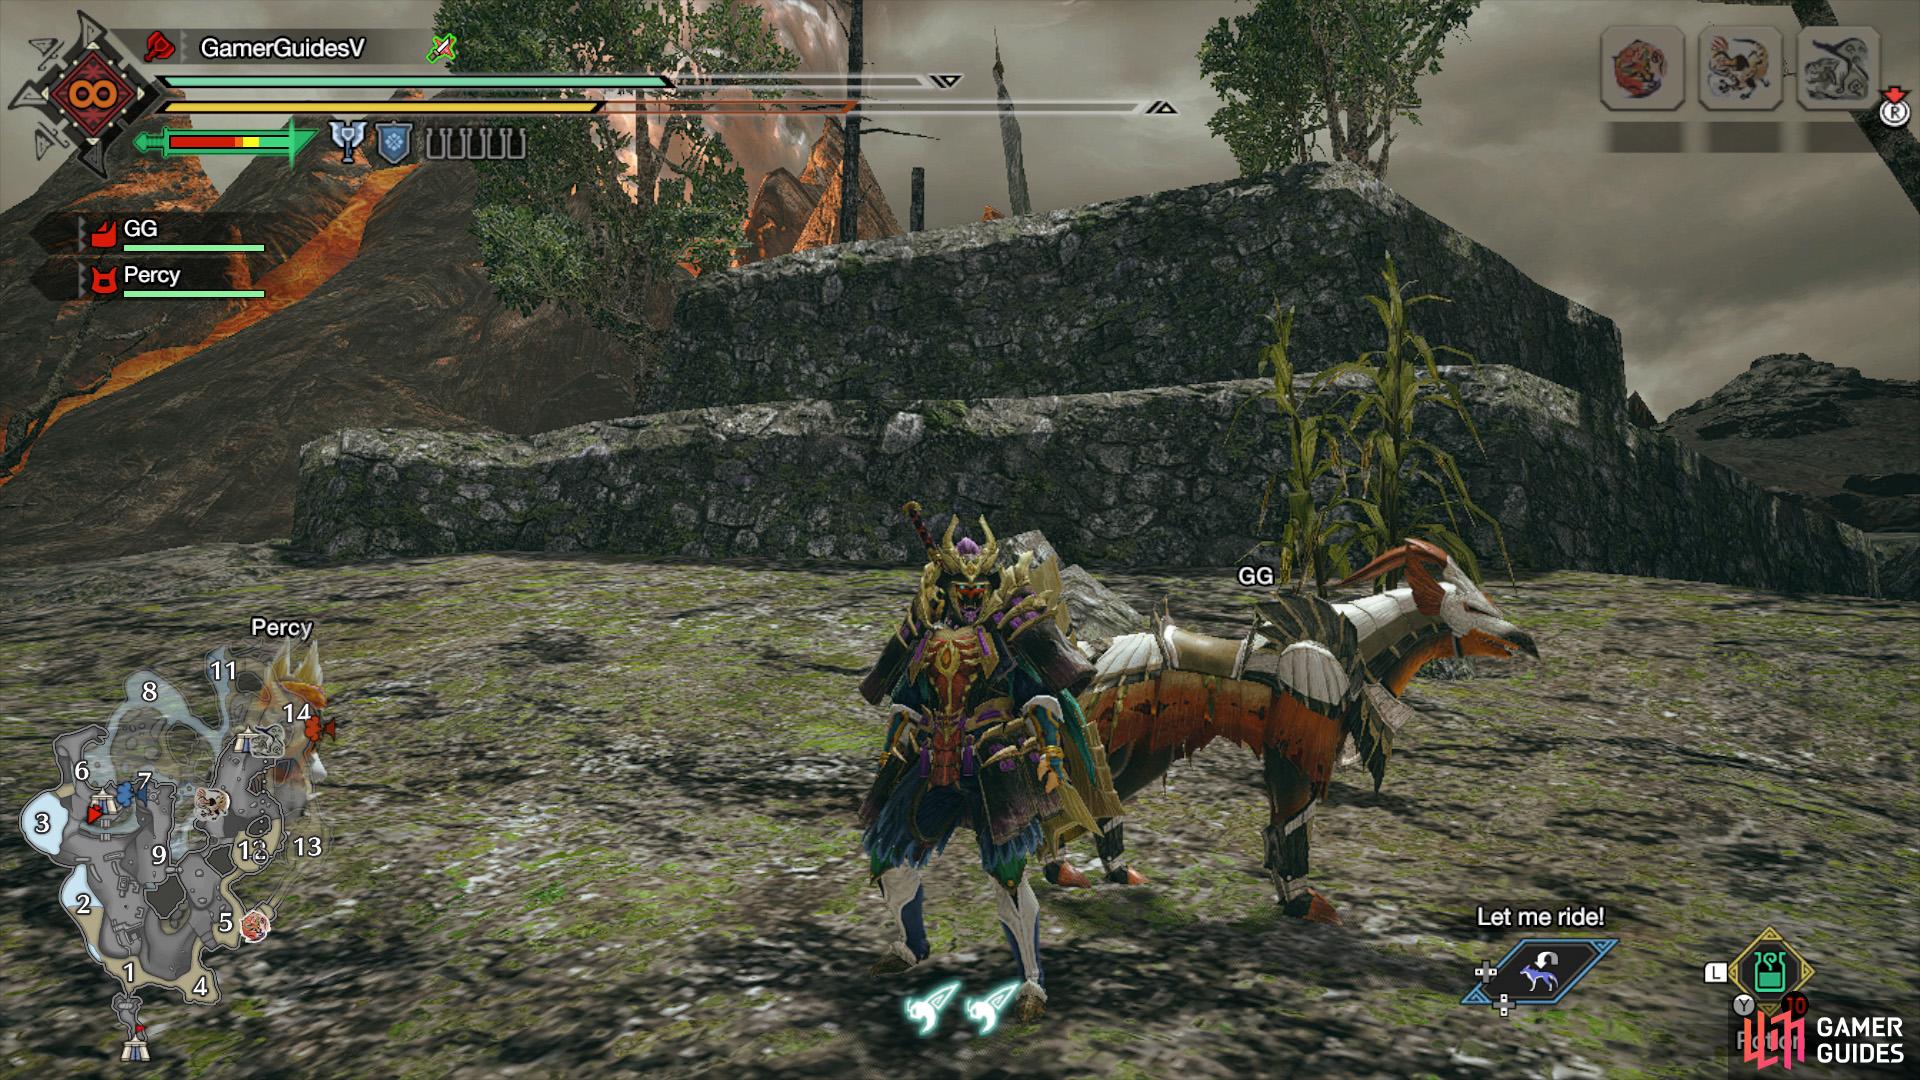
Use your wirebug to cross the bridge. (left), Then go over to the west side of this rock structure. (right)
Sub-Camp 2: North of the broken bridge in Area 6. It’s not too complicated to reach here. You can head directly north from the main camp. To get across the broken bridge, you can rely on good ol’ wiredashing. Or just walk around from the west, near Area 3.
Requests
As mentioned, Kagero the Merchant will give you requests when you speak to him after finding a suitable place for a sub-camp. The requests aren’t too taxing–generally asking for basic materials or for you to hunt small monsters.
| Name | Request | Unlock |
|---|---|---|
| Shrine Ruins Sub-camp Security | Slay 8 Izuchi in the Shrine Ruins | Shrine Ruins Sub-camp 1 |
| Frost Islands Sub-camp Security | Slay 8 Zamite in the Frost Islands | Frost Islands Sub-camp 1 |
| Frost Islands Sub-camp Materials | Deliver 2 Warm Pelt and 4 Monster Bone S | Frost Islands Sub-camp 2 |
| Flooded Forest Sub-camp Security | Slay 8 Wroggi in the Flooded Forest | Flooded Forest Sub-camp 1 |
| Sandy Plains Sub-camp Security | Slay 8 Kestodon in the Sandy Plains | Sandy Plains Sub-camp 1 |
| Sandy Plains Sub-camp Materials | Deliver 1 Lagombi Pelt and 2 Monster Bone M | Sandy Plains Sub-camp 2 |
| Lava Caverns Sub-camp Security | Slay 8 Uroktor in the Lava Caverns | Lava Caverns Sub-camp 1 |
| Lava Caverns Sub-camp Materials | Deliver 1 Tetranadon Hide and 2 Monster Bone L | Lava Caverns Sub-camp 2 |
No Comments