
Capturing monsters is an important skill that every hunter should know. With the exception of the ginormous Elder Dragons, every large monster can be captured.
When you capture a monster, it counts as a successful hunt, just like slaying the monster. The key difference is that you can’t carve the monster, but to compensate, you’ll get “Capture Rewards” once the quest is complete.
Preparations for Capture
There are two things you need to capture a monster.
Traps
These are tools that you can use from your item pouch to keep a monster in place. When used, your hunter will kneel down and place the trap on the floor. This action takes a few seconds.
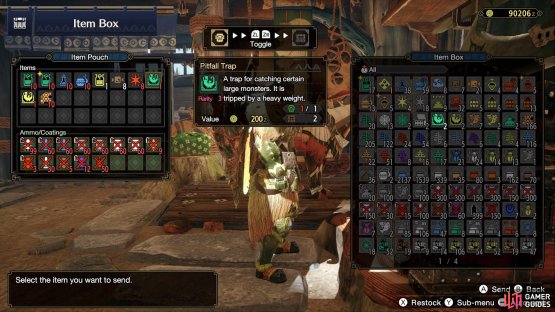

(1 of 2) We suggest keeping a Pitall and Shock Trap with you at all times.

We suggest keeping a Pitall and Shock Trap with you at all times. (left), All trap-related items can be found in the second page of the Traps/Offense tab. (right)
There are two types of traps: Pitfall Traps and Shock Traps. Both are functionally the same, although a very small number of monsters are immune to one of the traps.
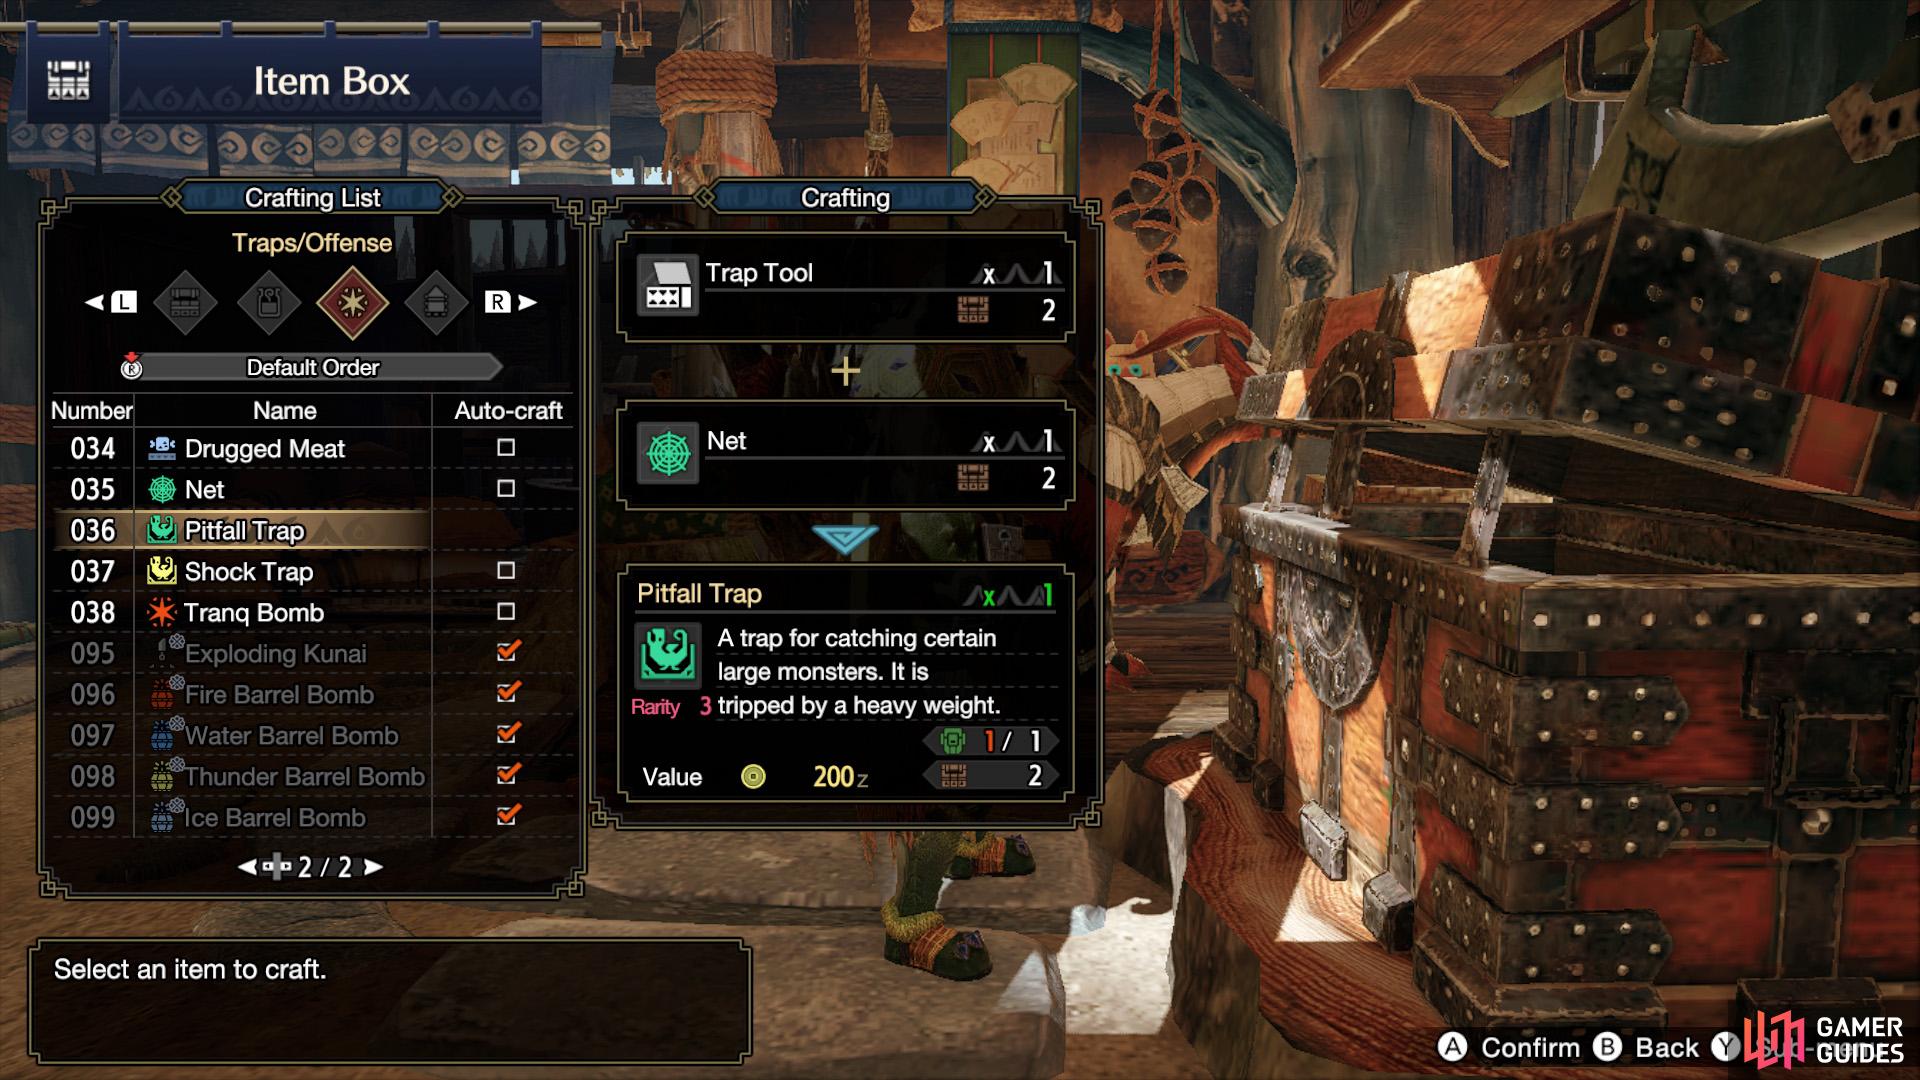
You can obtain some traps as rewards, but generally speaking, you’ll need to craft them yourself. The key material to make traps, the Trap Tool, can be purchased from the market or the guild shop. The other materials can be obtained by gathering or trading with the Argosy etc.
| Item to Craft | Materials Required |
|---|---|
| Pitfall Trap | Trap Tool x1, Net x1 |
| Shock Trap | Trap Tool x1, Thunderbug x1 |
| Net | Ivy x1, Spider Web x1 |
Tranq Bombs
No monster worth their salt is going to stay in a trap willingly, so you need to give them a gentle nudge… Enter, the Tranq Bomb. This is a short-range bomb that exudes a tranquilizing gas. Ranged hunters can also use Tranq Ammo instead, but Tranq Bombs can be used by anyone.
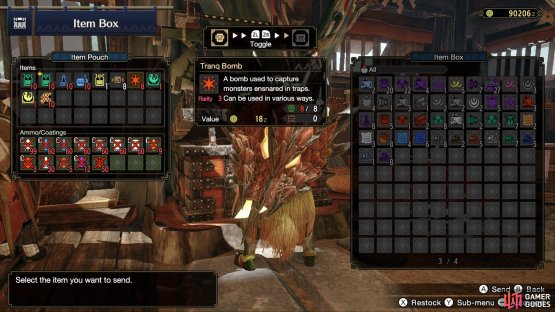
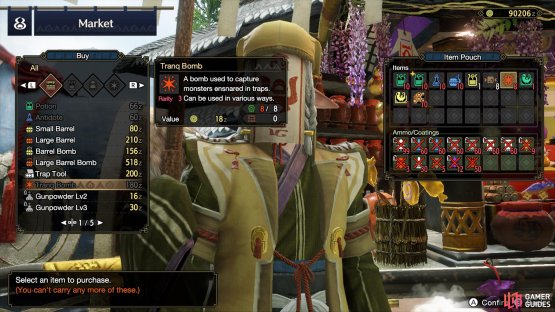
(1 of 2) You can–and should–carry a maximum of 8 Tranq Bombs.
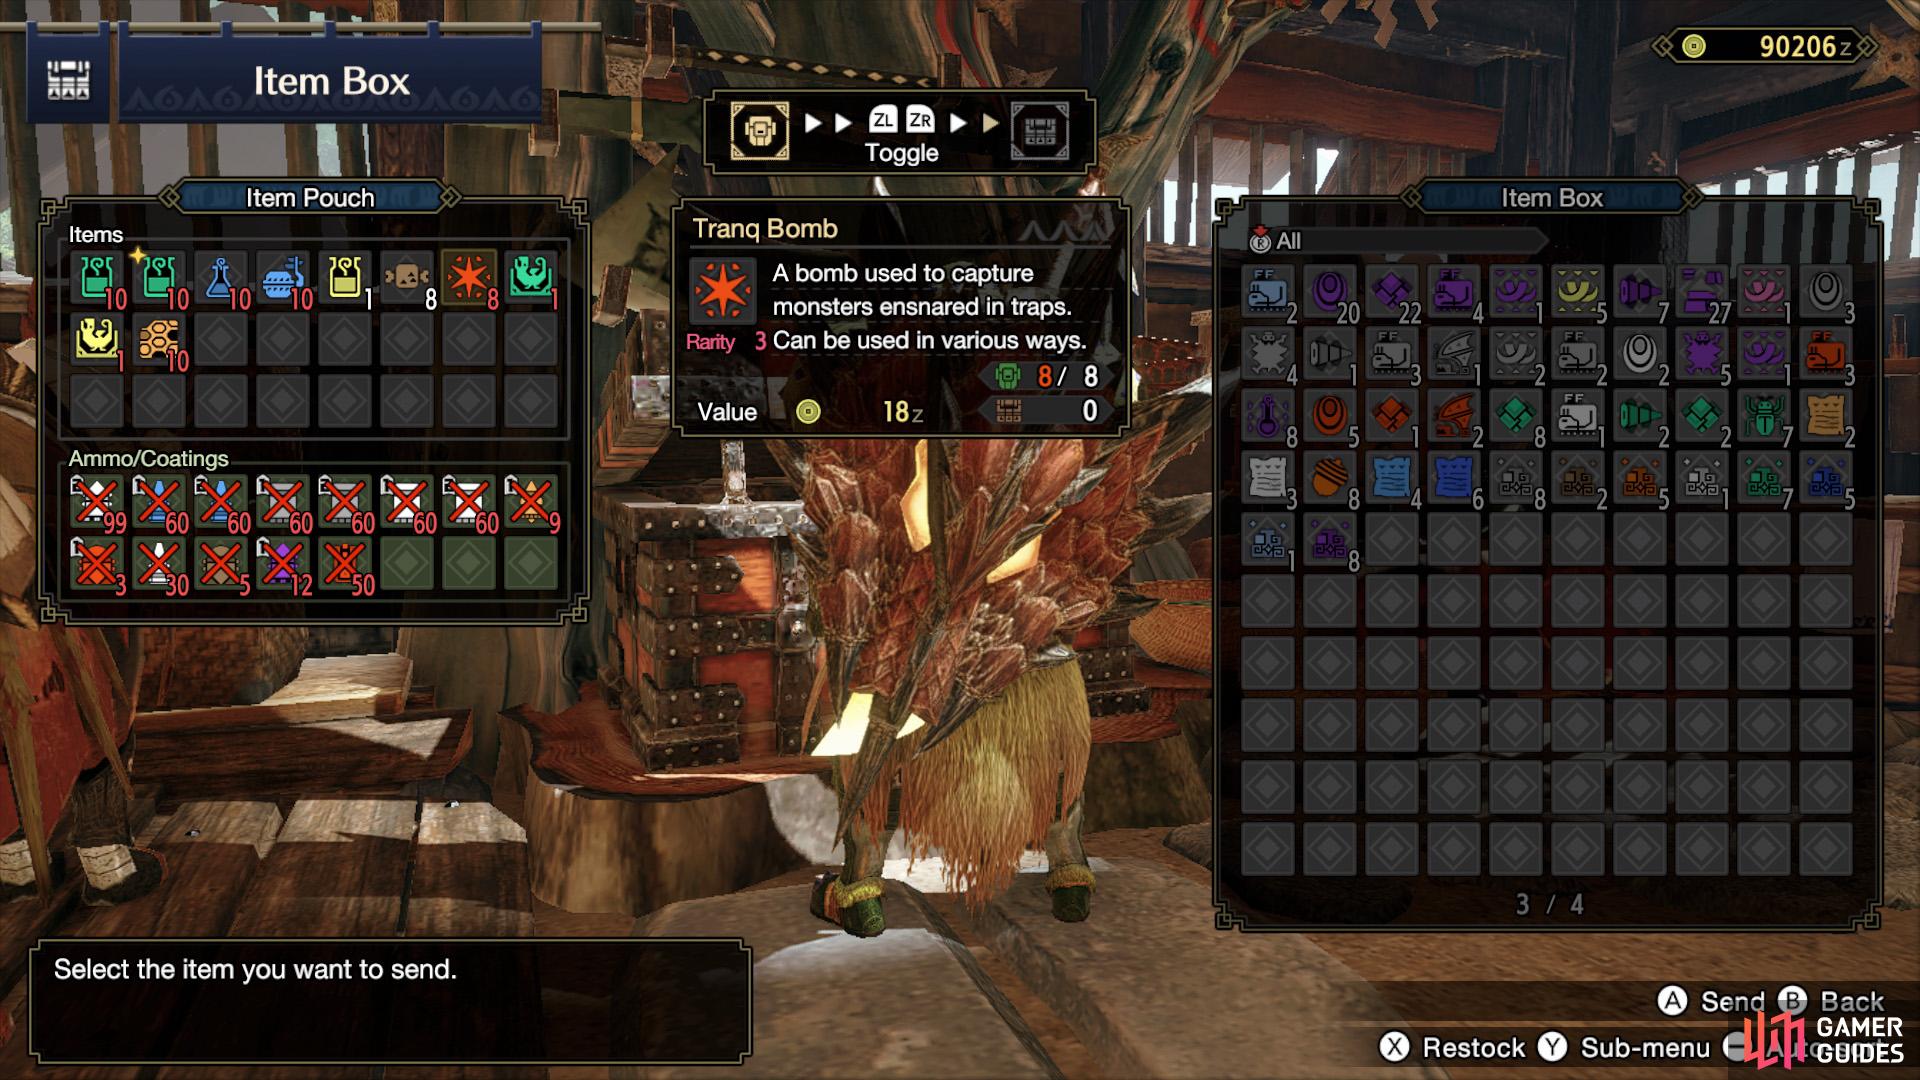
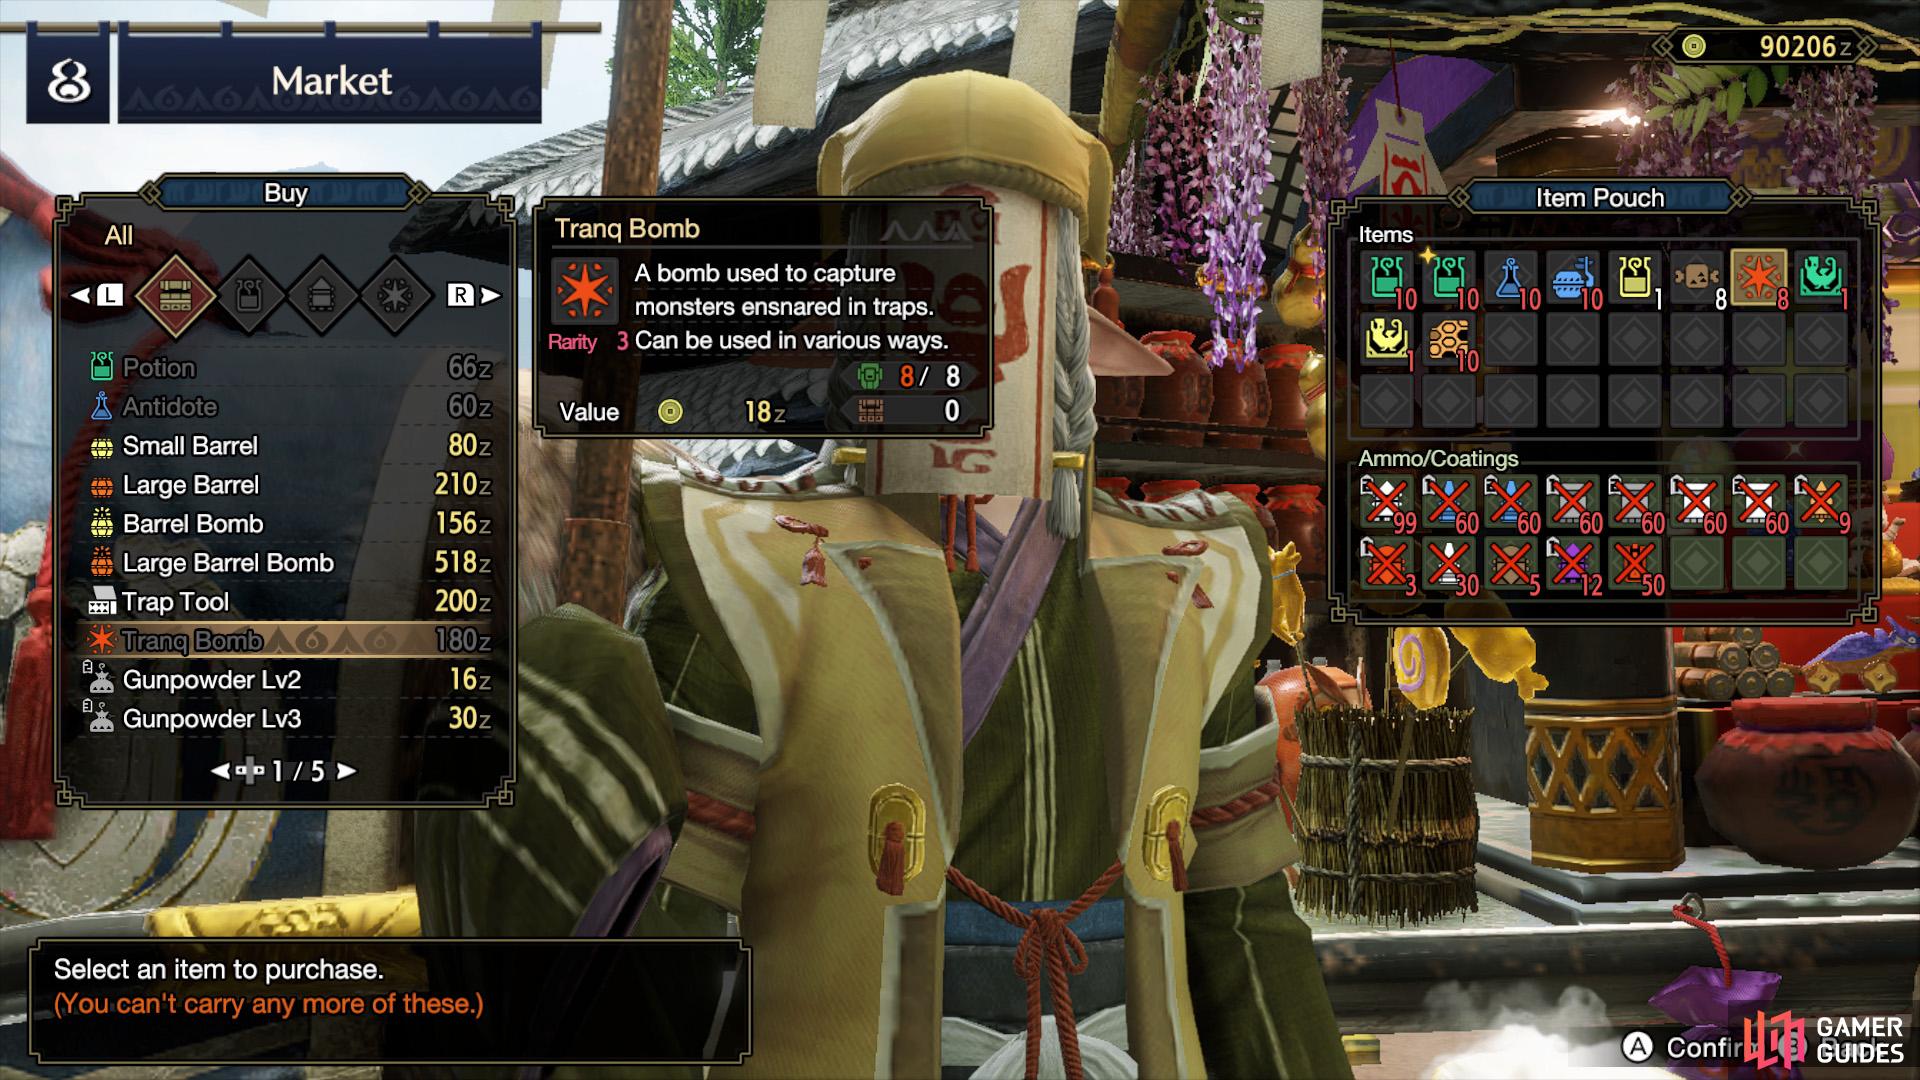
You can–and should–carry a maximum of 8 Tranq Bombs. (left), It’s quicker to buy these from the shops. (right)
You can buy these babies from the usual shops or craft them yourself.
| Item to Craft | Materials Required |
|---|---|
| Tranq Bomb | Sleep Herb x1, Parashoom x1 |
| Tranq Ammo | Tranq Bomb x1, Normal Ammo 1 x1 |
The Capturing Process
In the beginning, capturing can seem complicated, but it’s fairly easy once you get the hang of it. If you’ve played Pokémon, it follows the same general principle.
Weaken the Monster
First, you must weaken the monster to the point where they’ll succumb to Tranq Bombs/Ammo when ensnared in a trap. If you try to capture the monster when they have lots of health, they’ll effortlessly break free. In previous games, it was a crapshoot finding the right time to capture a monster. But now it’s much easier.


(1 of 2) Your Palico will tell you when a monster can be captured.
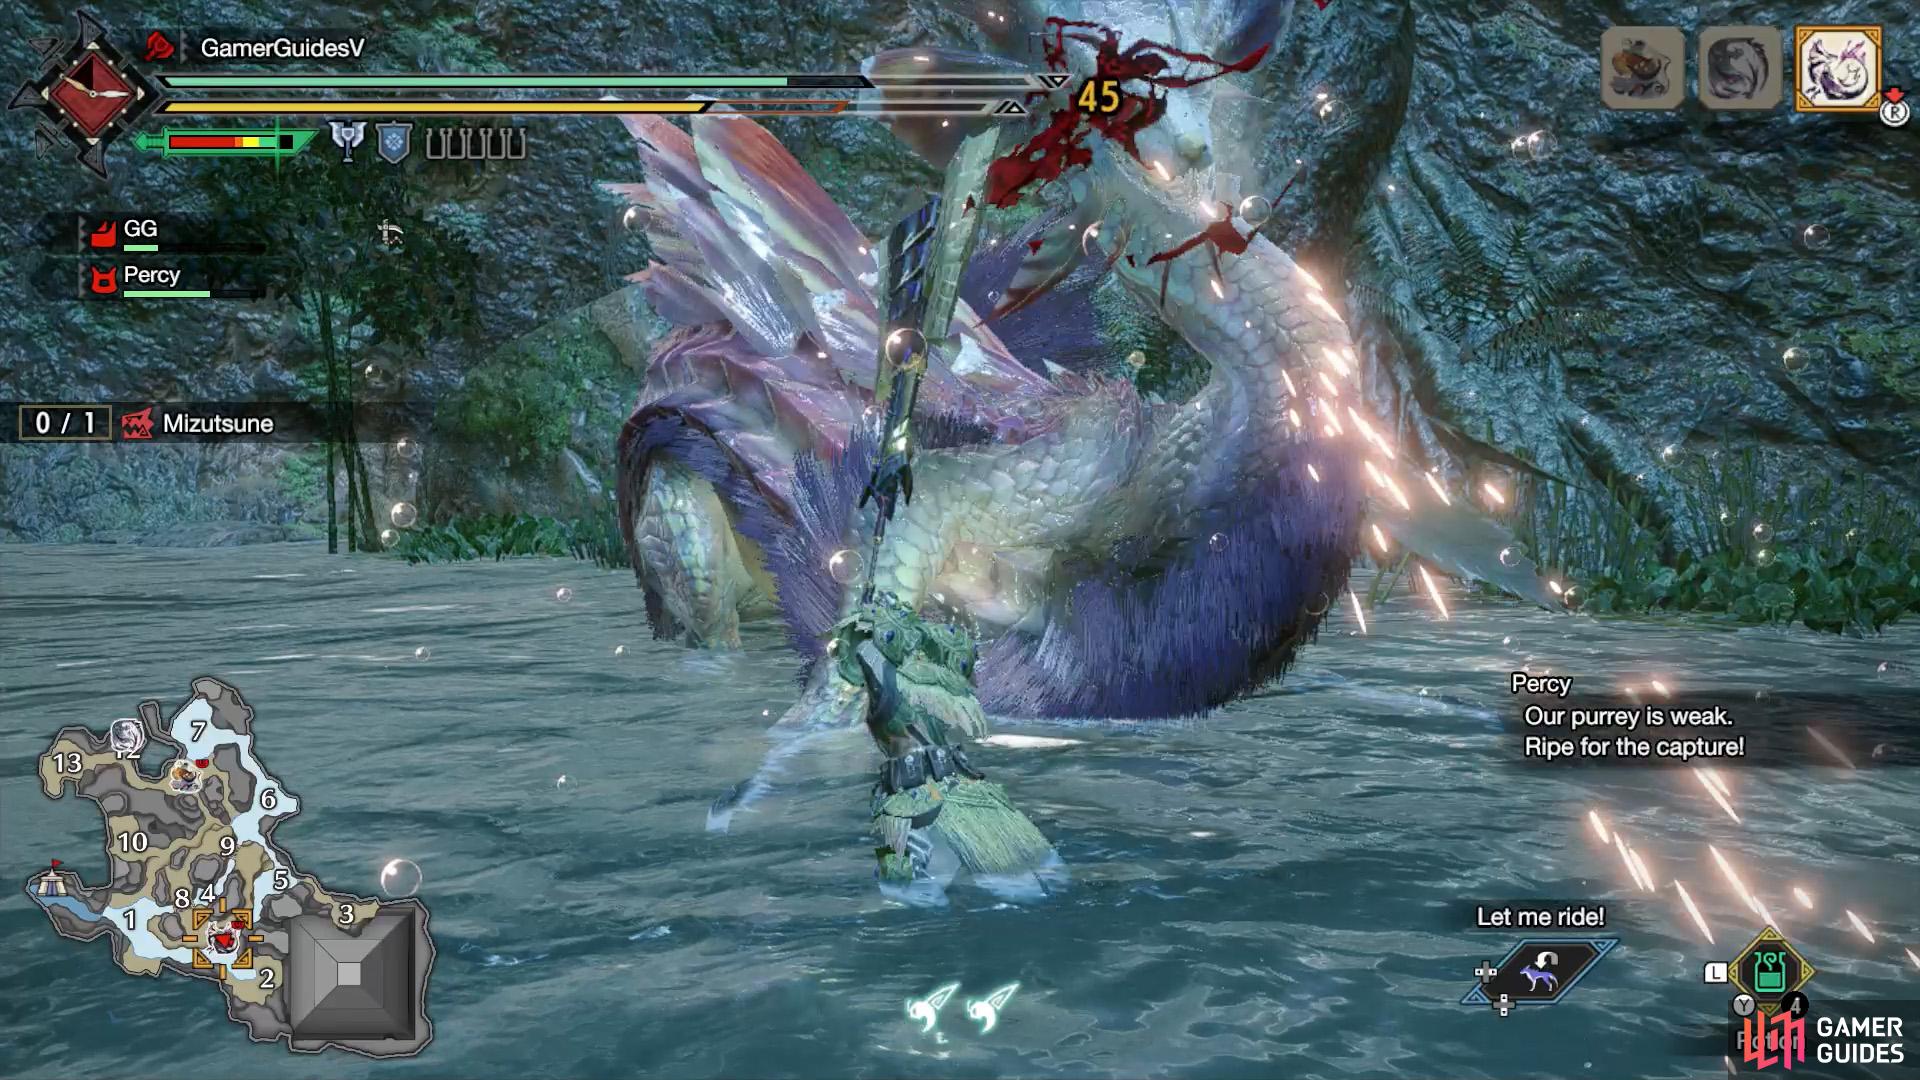
Your Palico will tell you when a monster can be captured. (left), Failing that, look for the blue skull icon, which means the monster is weak. (right)
As the fight is progressing, keep an eye out for what your Palico is saying, along the right side of the screen. Admittedly, it can be hard to multi-task, especially when you’re trying to focus on a fast-moving, hard-hitting beast. However, just do the best you can. Eventually, your Palico will tell you the monster can be captured.
If you miss this prompt, don’t panic, because there’s another obvious sign that won’t go away. When a monster is on its last legs, a blue skull icon will appear below their icon in the top right, as well as near their icon on the mini-map. When a fight has gone on for ages, try to check the top-right corner whenever you’ve got a chance to breathe.
Set your Trap
Once you know the monster can be safely captured, don’t rush. Try to move away from the monster, then go through your item pouch (with  and
and  /
/ ) until the selector is on the Pitfall or Shock Trap.
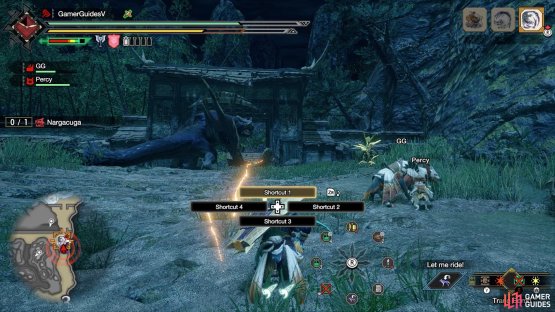
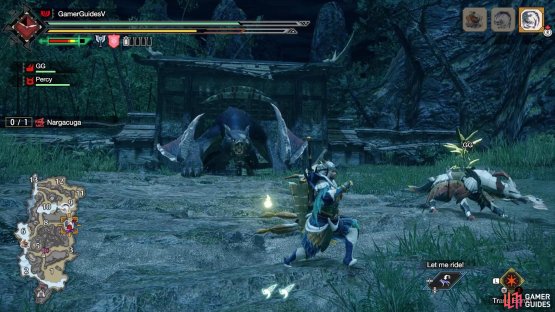
(1 of 2) Don’t worry, it hasn’t seen us yet.
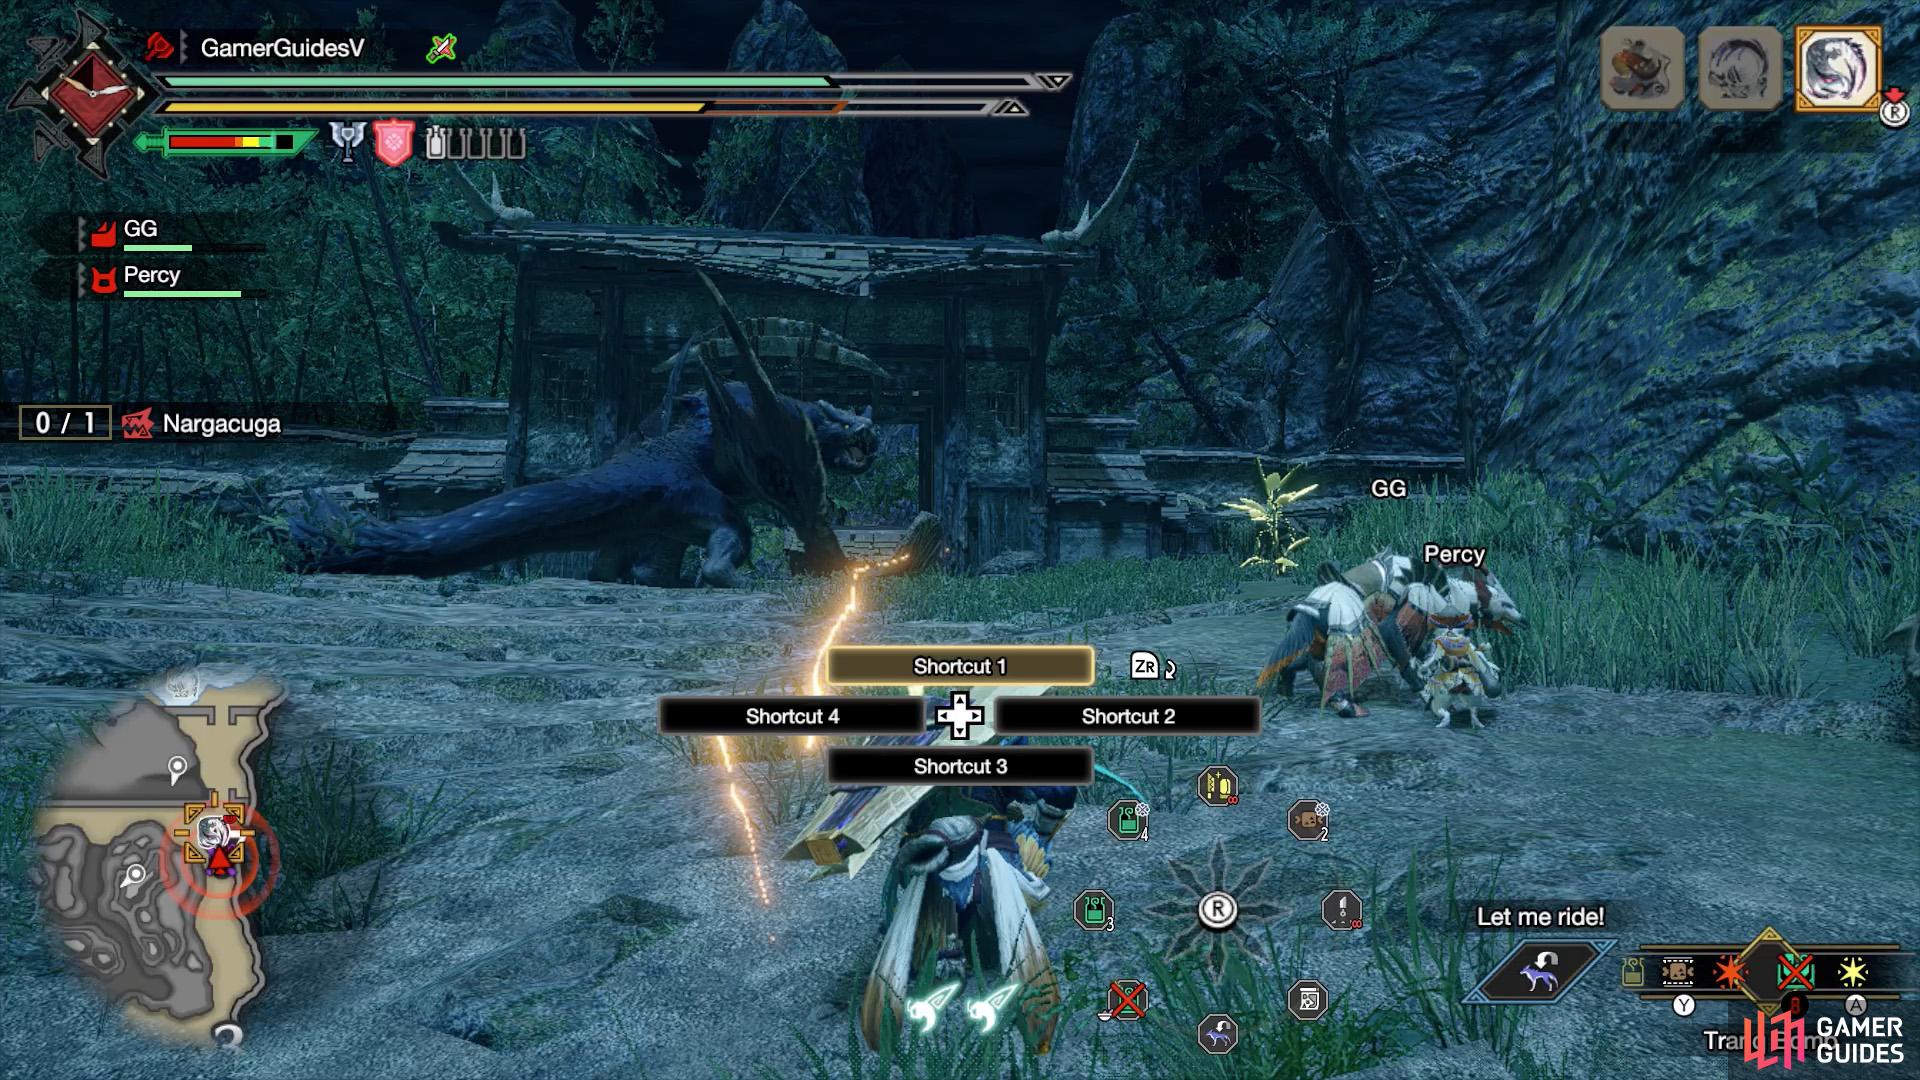

Don’t worry, it hasn’t seen us yet. (left), Now it’s seen us! Time to run towards the trap! (right)
Wait until it looks safe (for instance, when the monster isn’t looking at you or after it’s done a move with a long idle time), then press to place the trap in a good place. In general, the more space you have around you, the better.
After placing the trap, you need the monster to go to it. Chances are, the monster will focus their attention on you before long, at which point, you just need to cleverly lure it towards the trap. If the monster isn’t fighting (and hasn’t see you), you could also try and bait it with meat, but that’ll take longer. However, it’s definitely the safest way.
By the way, if the monster leaves the area after you’ve set the trap, it’s not the end of the world. Like previous games, you can only set one trap at a time. So you can’t leave the area and set up a different trap. However, if you go up to a trap and press , you can destroy the trap. You won’t get it back, but you can now set a different trap.
The more economic way though is to lure the monster back to the area where you placed the trap. Go and grab a Stinkmink from somewhere (listed under Hunting Helpers in your map) and then use it when near the monster. The monster will then follow you like you’re the Pied Piper.
Use your Tranq Bombs/Ammo!
Once the monster steps on the trap, it’ll remain there for several seconds. As soon as you can, chuck your Tranq Bombs or shoot your Tranq Ammo at the fiend. If you’re using Tranq Bombs from your item pouch, it helps if you place them near your traps, so you can access them with one or two presses of and /.
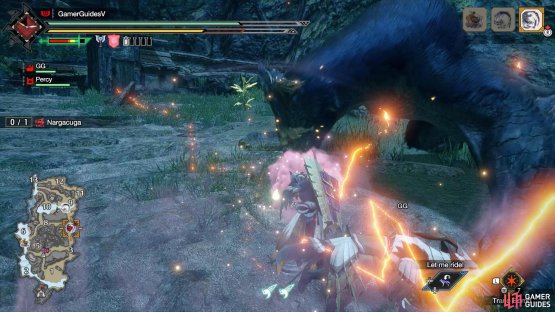

(1 of 2) Run up close and calmly throw 2 Tranq Bombs.

Run up close and calmly throw 2 Tranq Bombs. (left), Success, the monster’s gone off to dream land! (right)
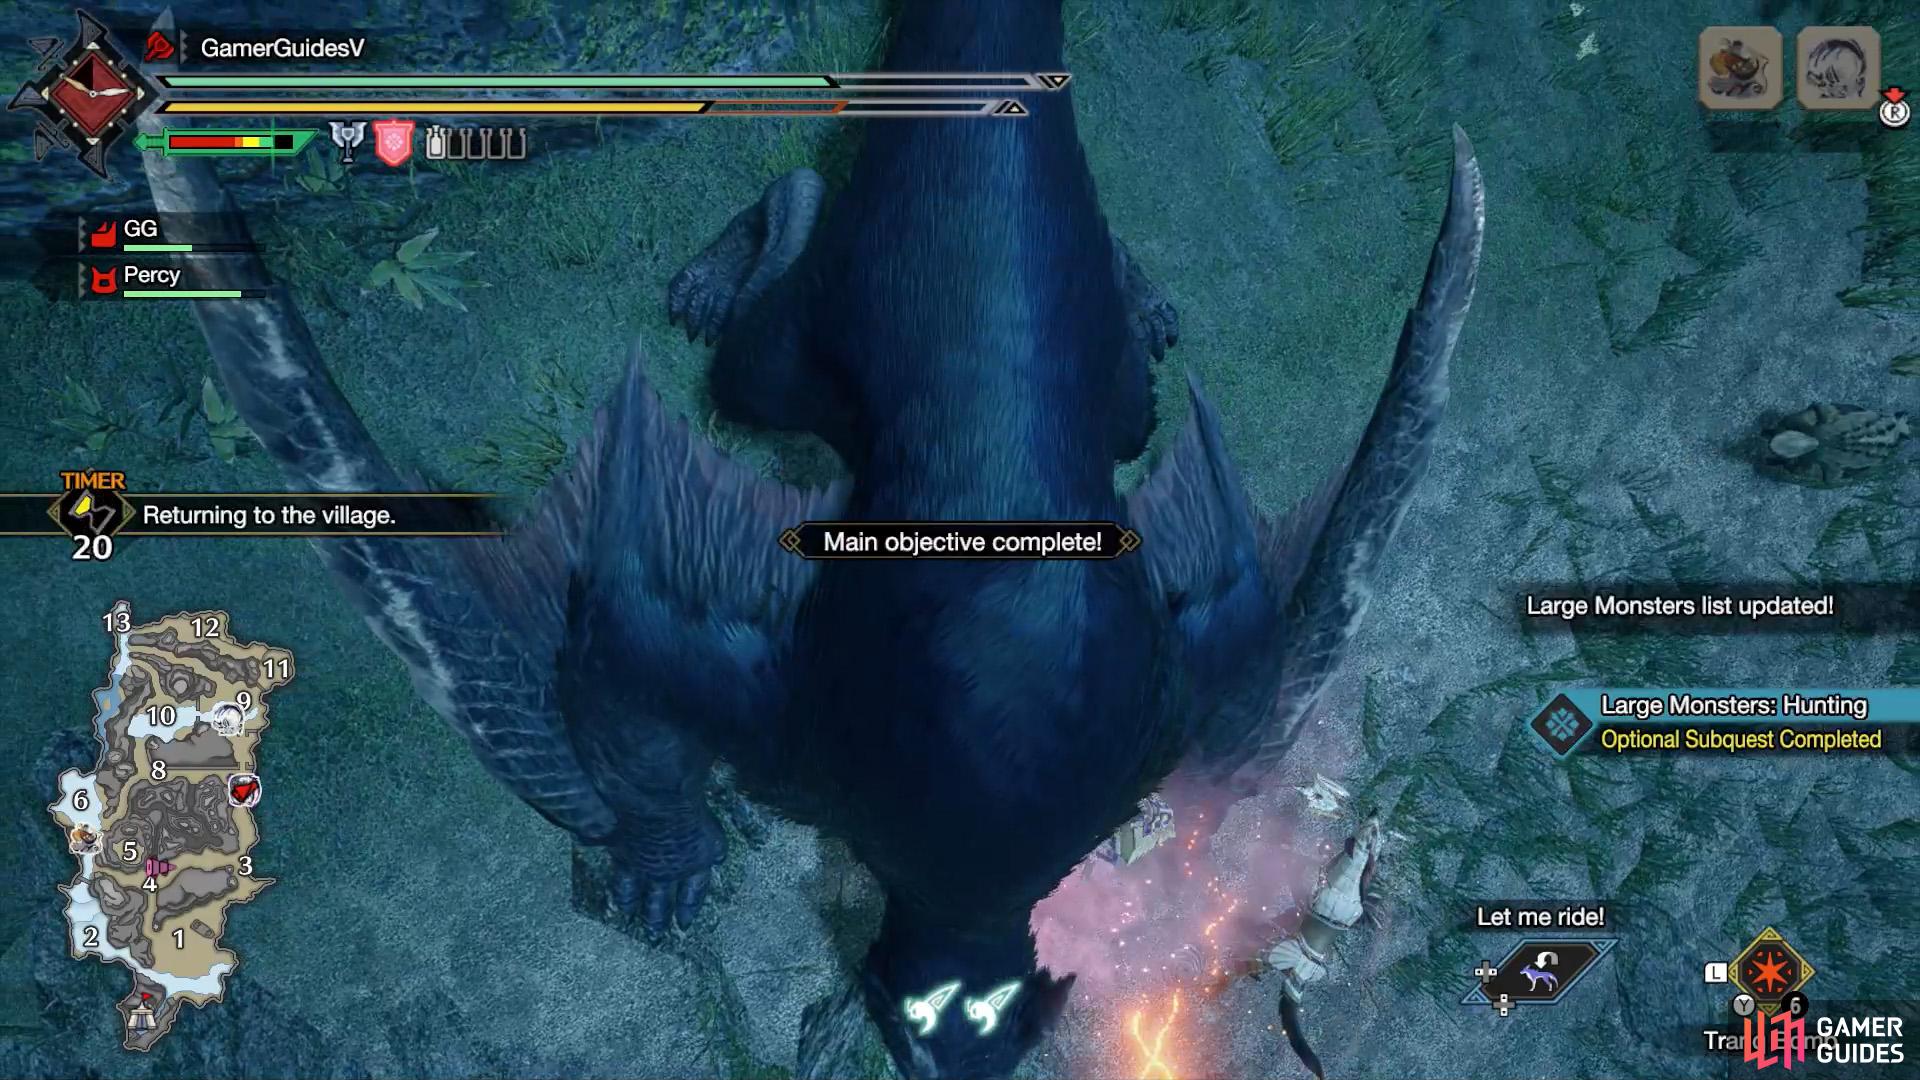
After using 2 Tranq Bombs/Ammo, the monster should fall asleep and it’ll be recorded as a successful capture. You may need to use a few more bombs/ammo if you missed. If it was the last/only target monster, the quest will be cleared and you’ll return to the village after 20 seconds, instead of 60.
If you’re too slow, the monster will break free from the trap and you’ll have to try again. That’s what the other trap you’re carrying is for. Hopefully it doesn’t happen, but if you don’t manage to capture the monster the second time, you’ll need to go back to the tent at base camp to retrieve more traps. Or you can find a safe place to craft more traps.
Why Capture Monsters?
As you’re reading this, you might think capturing monsters seems like more hassle than its worth, but that couldn’t be further from the truth.
Quicker Hunts
By capturing monsters, you can save a lot of time overall and it’s generally the safest way to end quests.
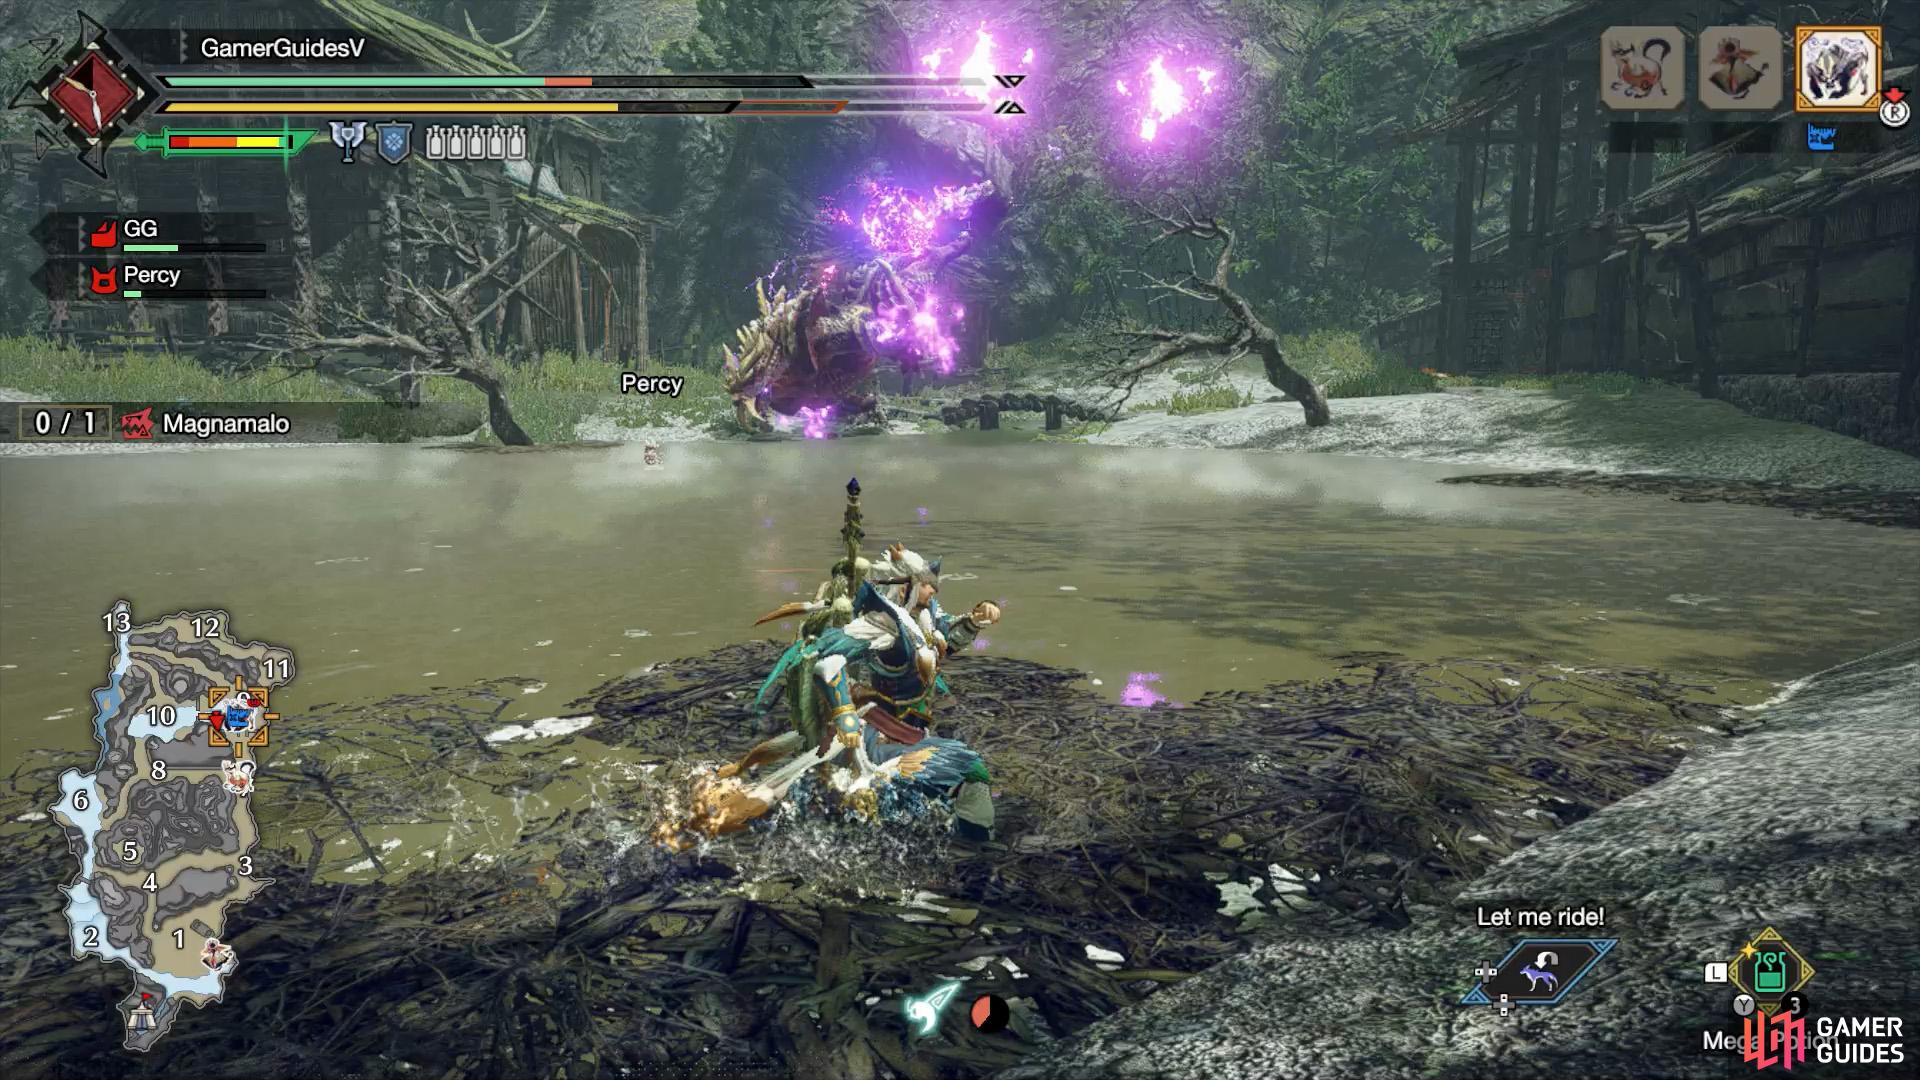
(1 of 2) If your timing is impeccable, you CAN place a trap right before some big attacks.

If your timing is impeccable, you CAN place a trap right before some big attacks. (left), Like Magnamalo’s big divebomb, where it charges straight forward–and right into your trap. (right)
When a monster is on its last legs, especially as their maximum health increases, you could still be several minutes away from slaying them. When the monsters get more and more dangerous, those several minutes could be the difference between life and death (heck, you can easily get carted twice in a few minutes).
So if there’s a way to safely skip those last several minutes, why not go for it?
With that said, when facing particularly dangerous monsters, be extra careful when setting your trap and luring the monster. The last thing you want is getting knocked out by the monster when you’re in the middle of placing a trap or trying to bait them to the trap. Otherwise that would defeat the point.
Better Rewards
Usually, the rewards you get for capturing a monster are better than slaying it. This is the game’s way of rewarding your dexterity in trapping monsters, rather than brainlessly beating them up.
That said, there are some materials you can’t get from capturing alone–and some materials are more common from carving (although it’s generally the less important ones). So it depends on what specific materials you’re looking for. If in doubt, check the monster’s page in your Hunter’s Notes or in our guide!
No Comments