
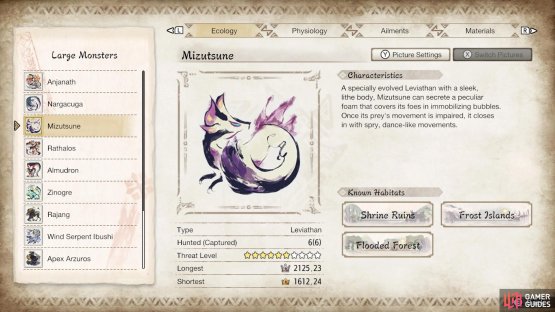
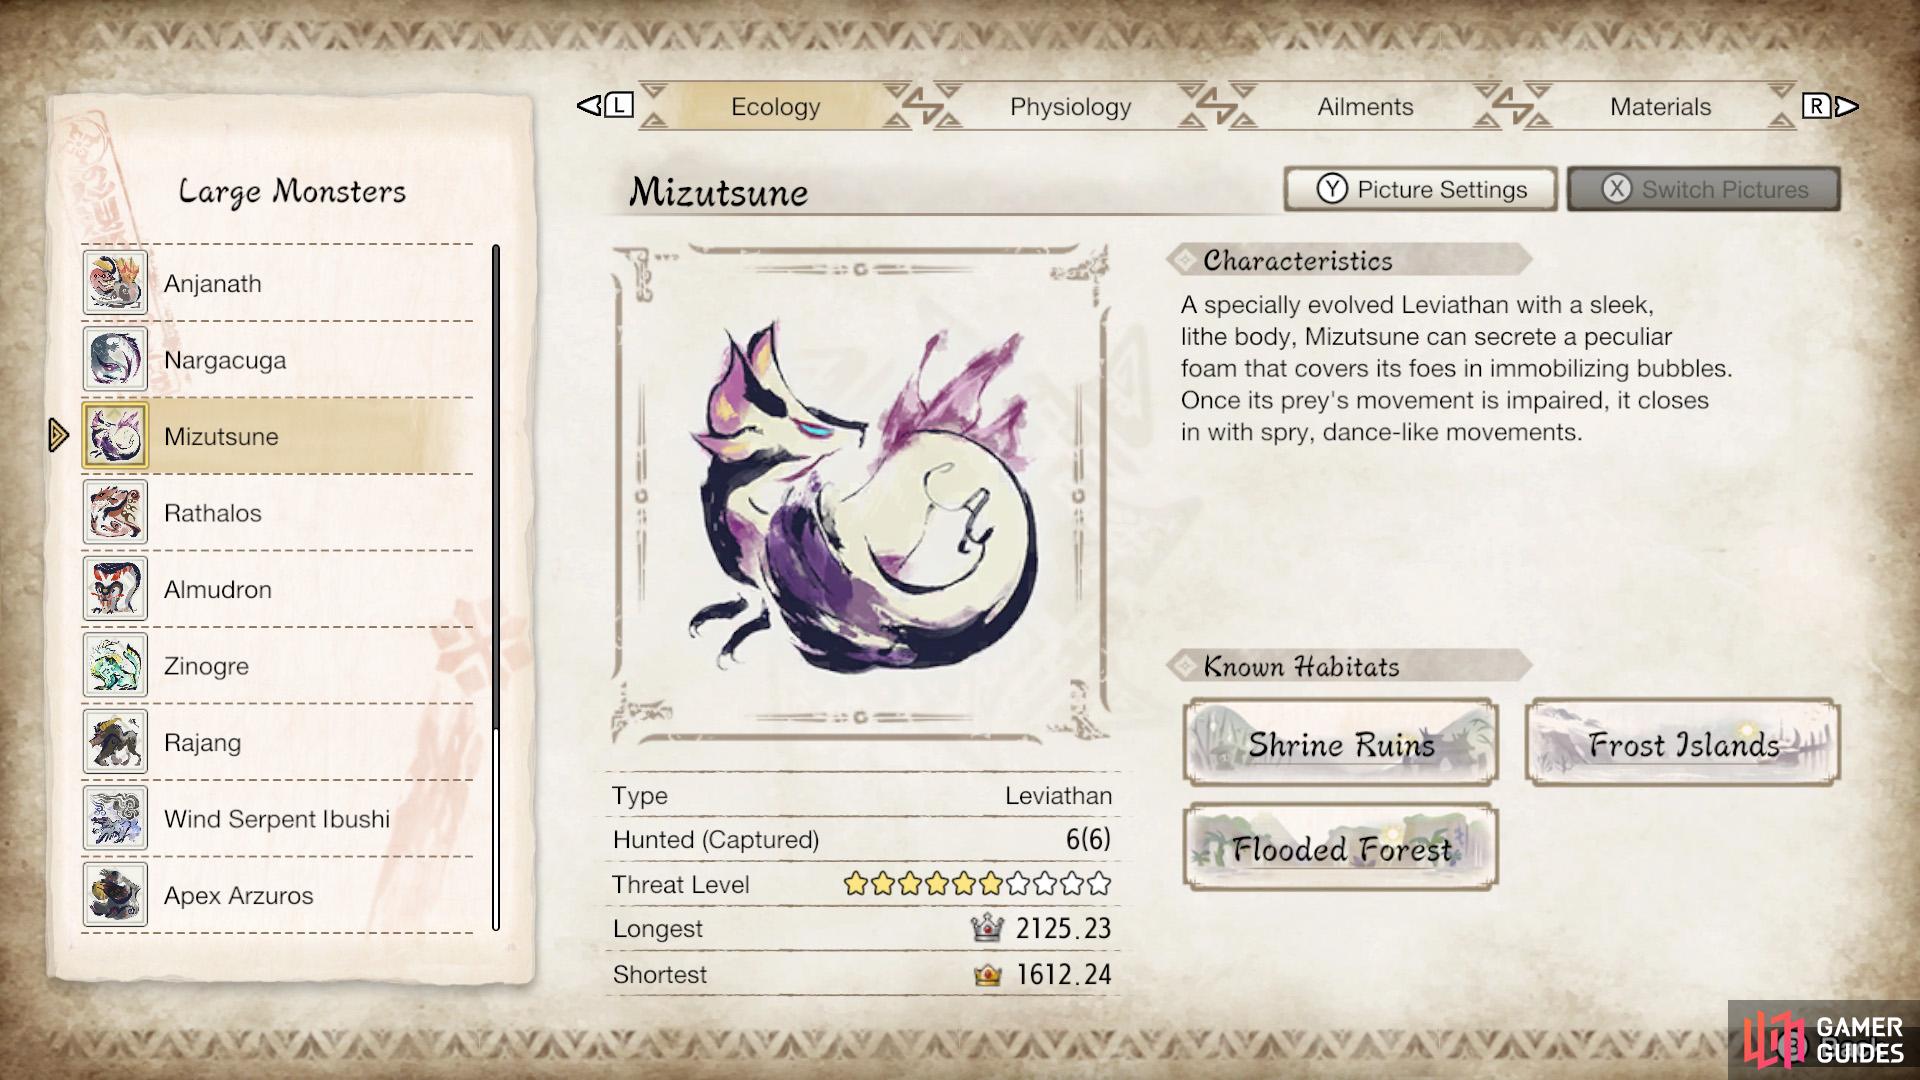
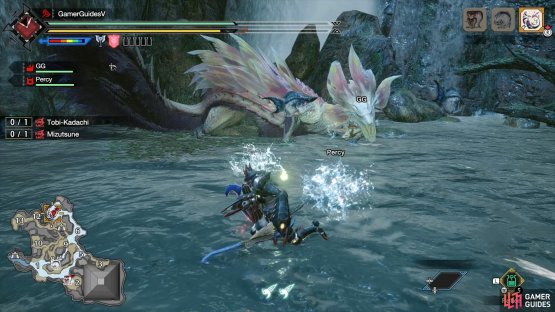
Mizutsune is a serpent-like monster introduced in Monster Hunter Generations. You’ll face Mizutsune in the Hub Urgent Quest “A Bewitching Dance”.
Overview
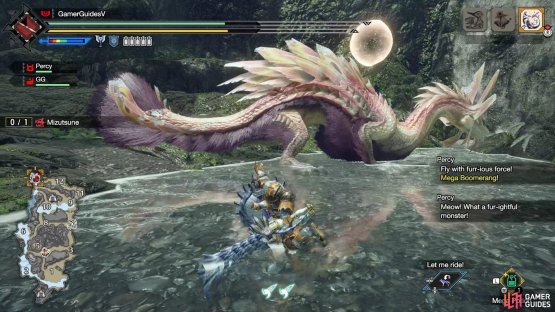
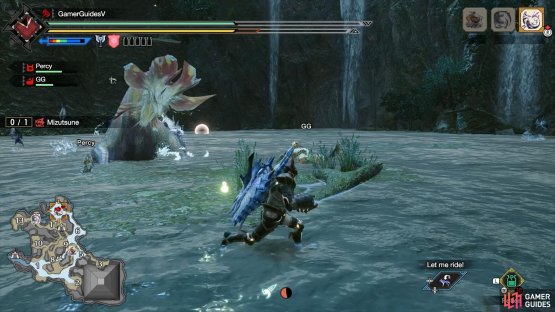
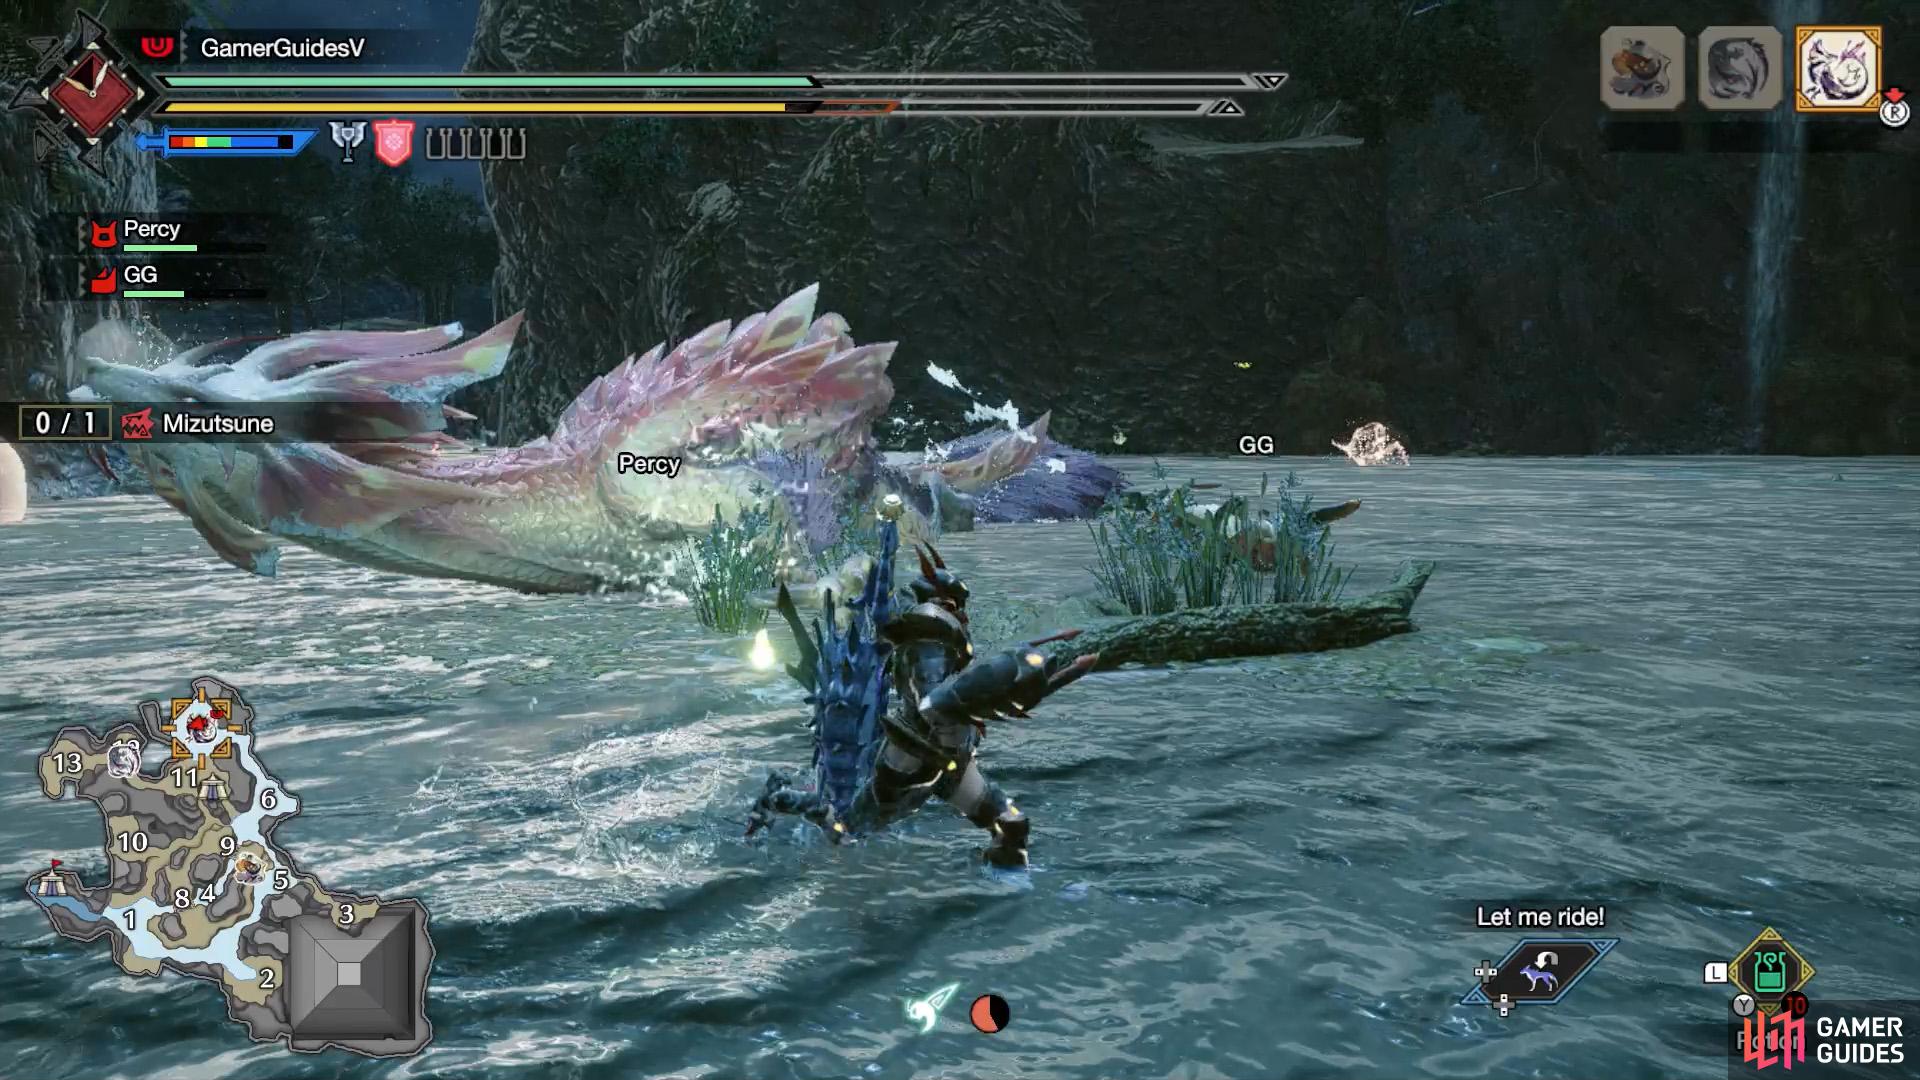
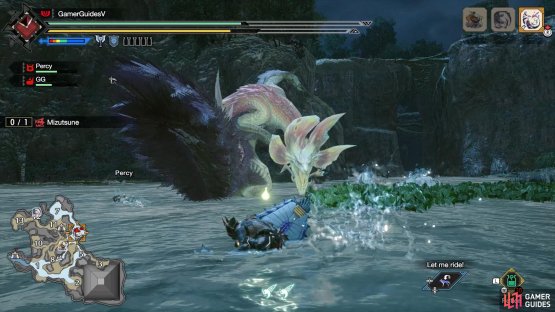
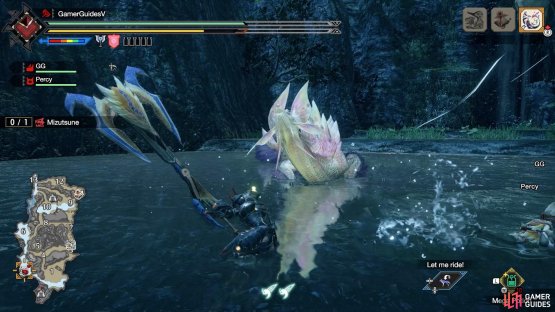
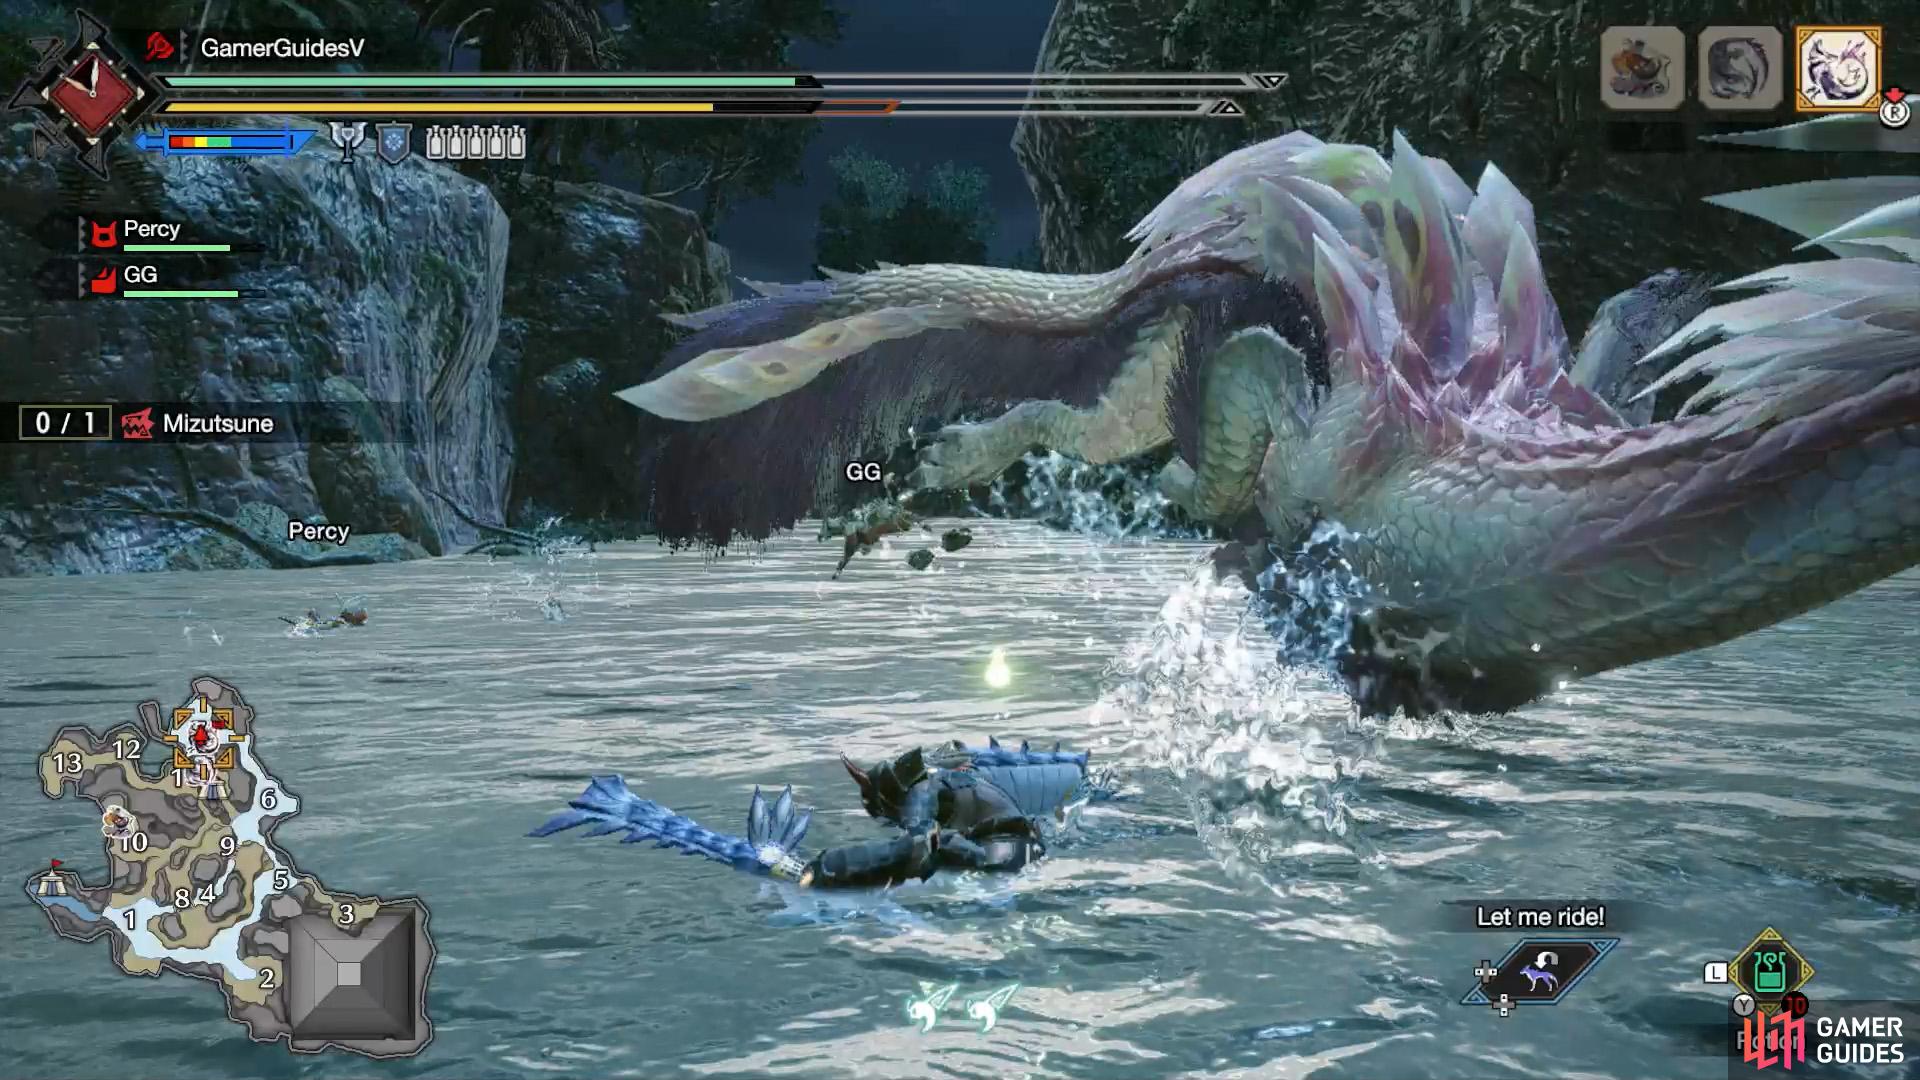
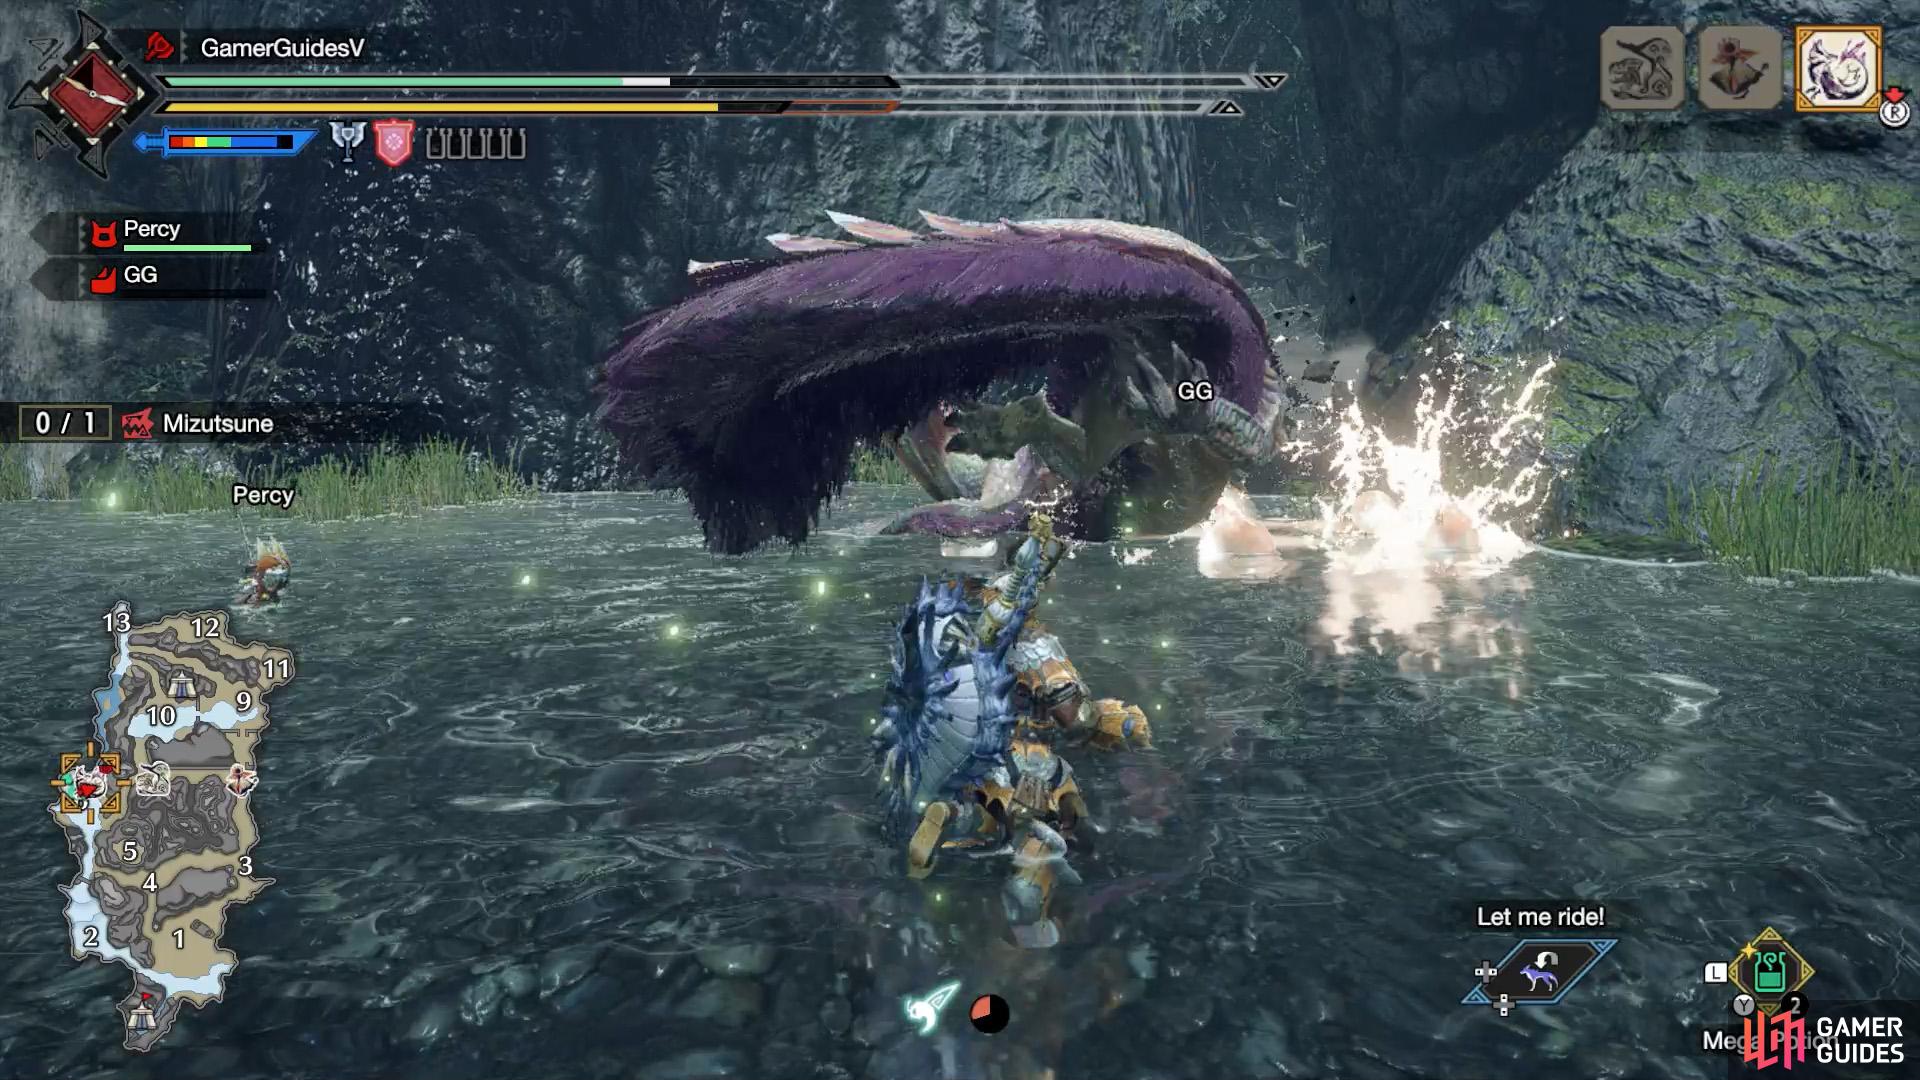
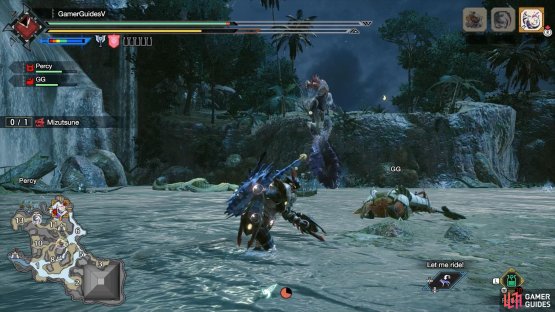
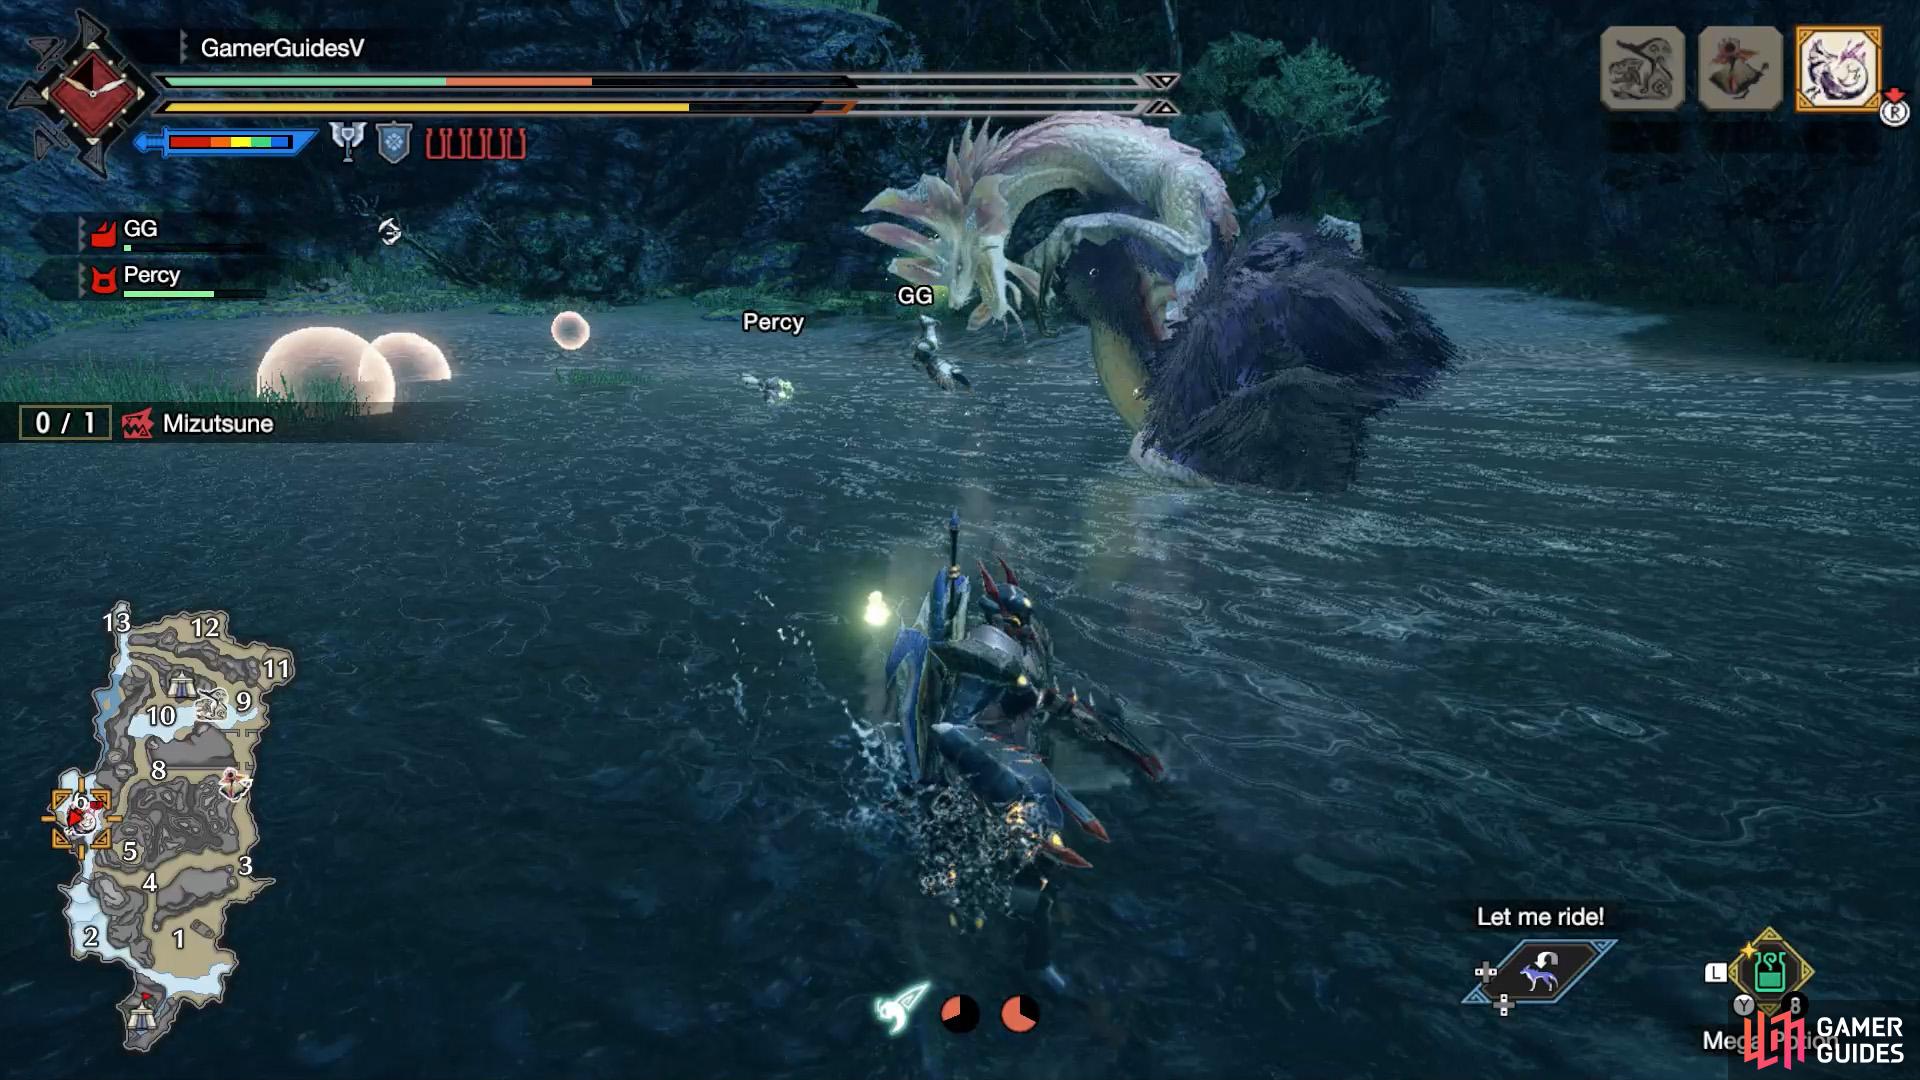
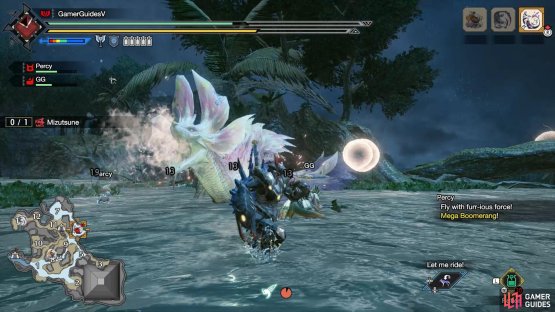
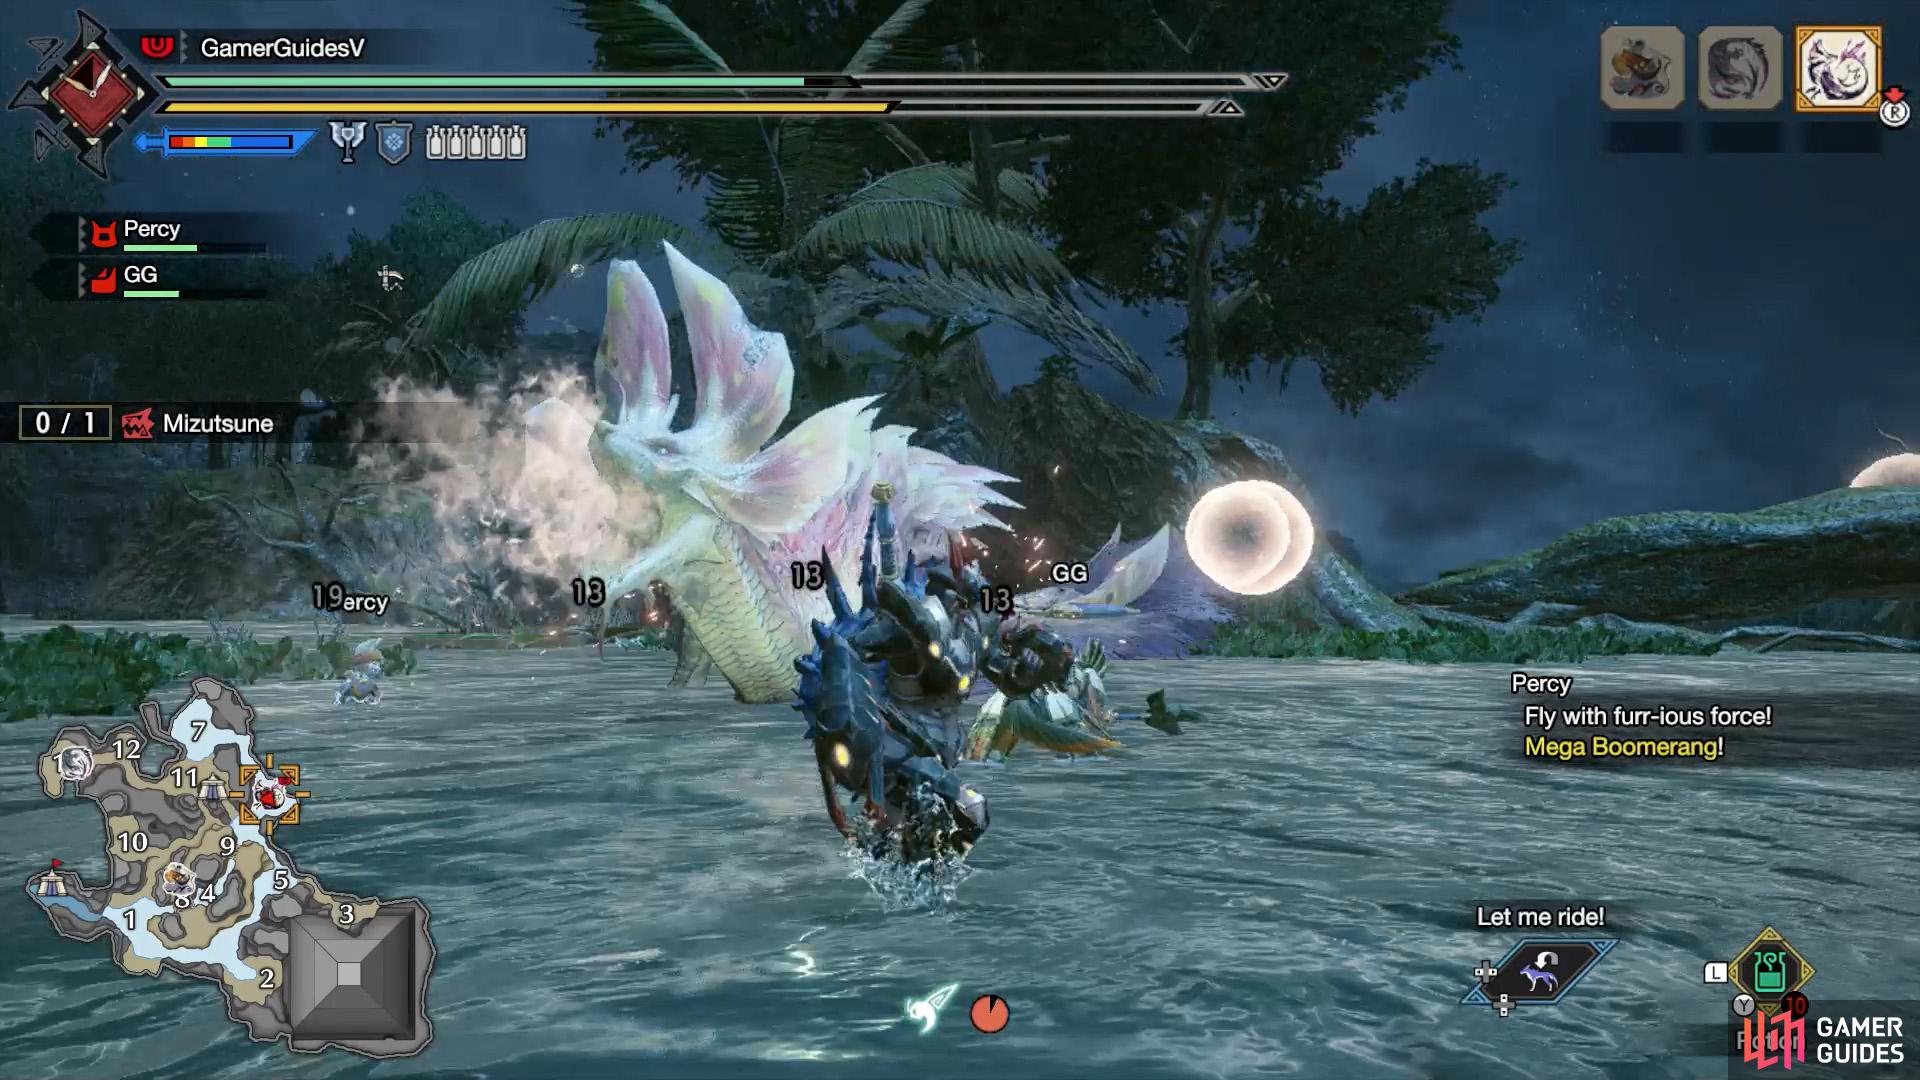
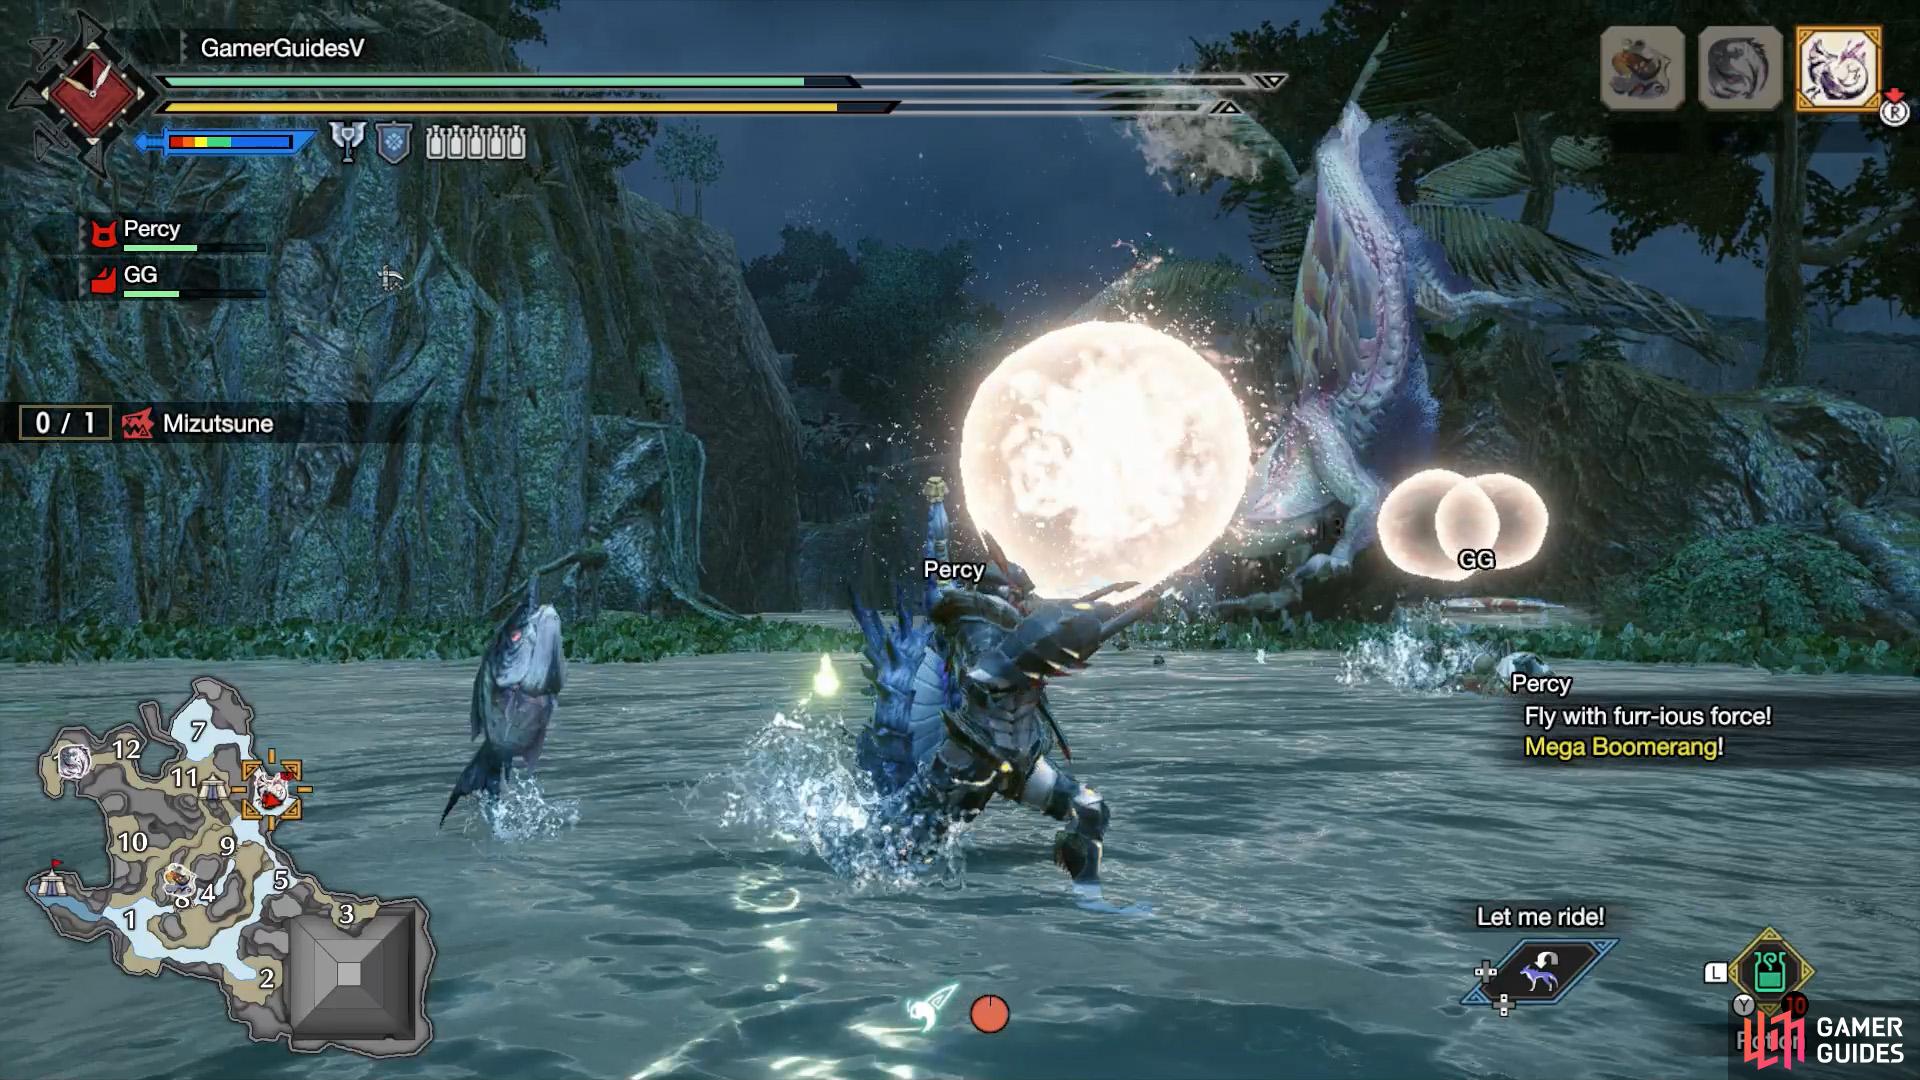
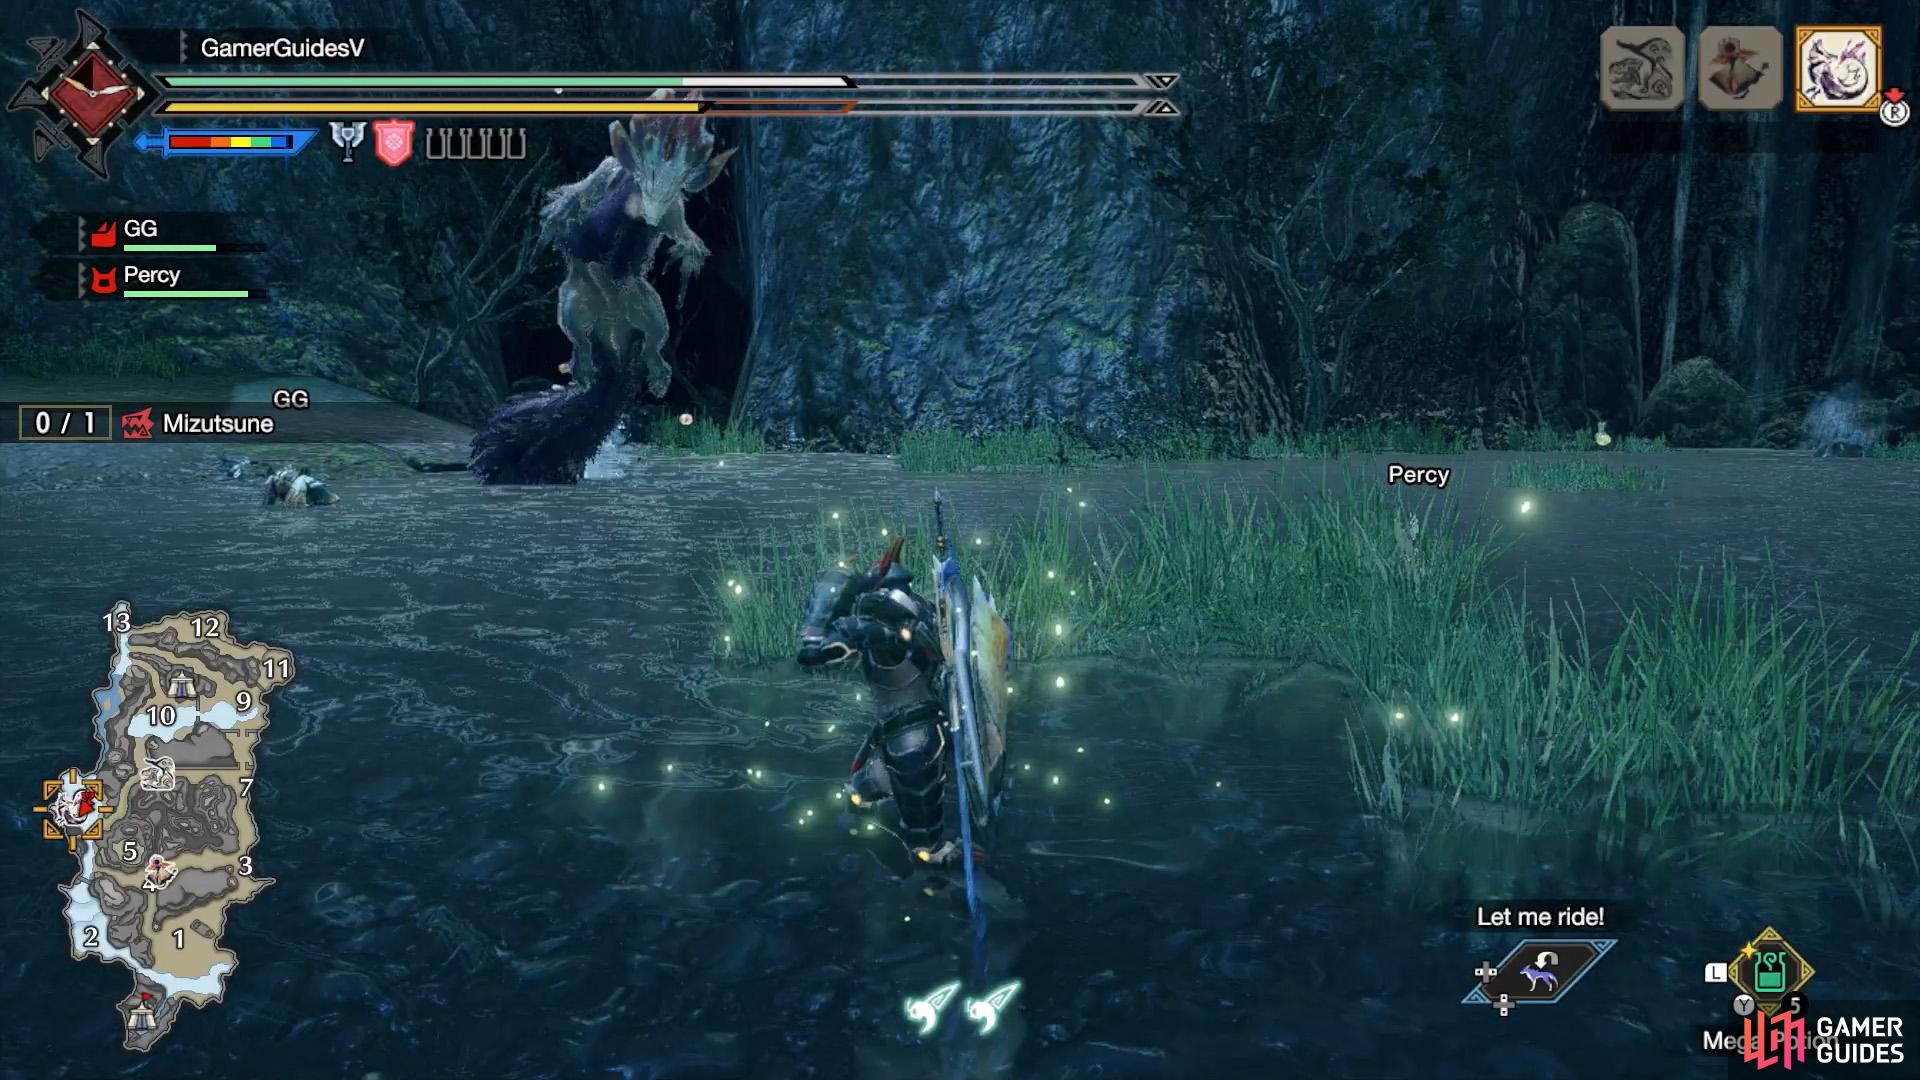
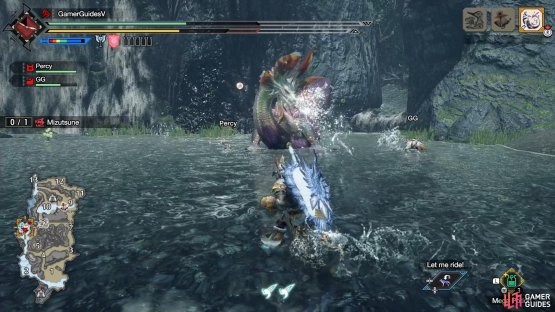
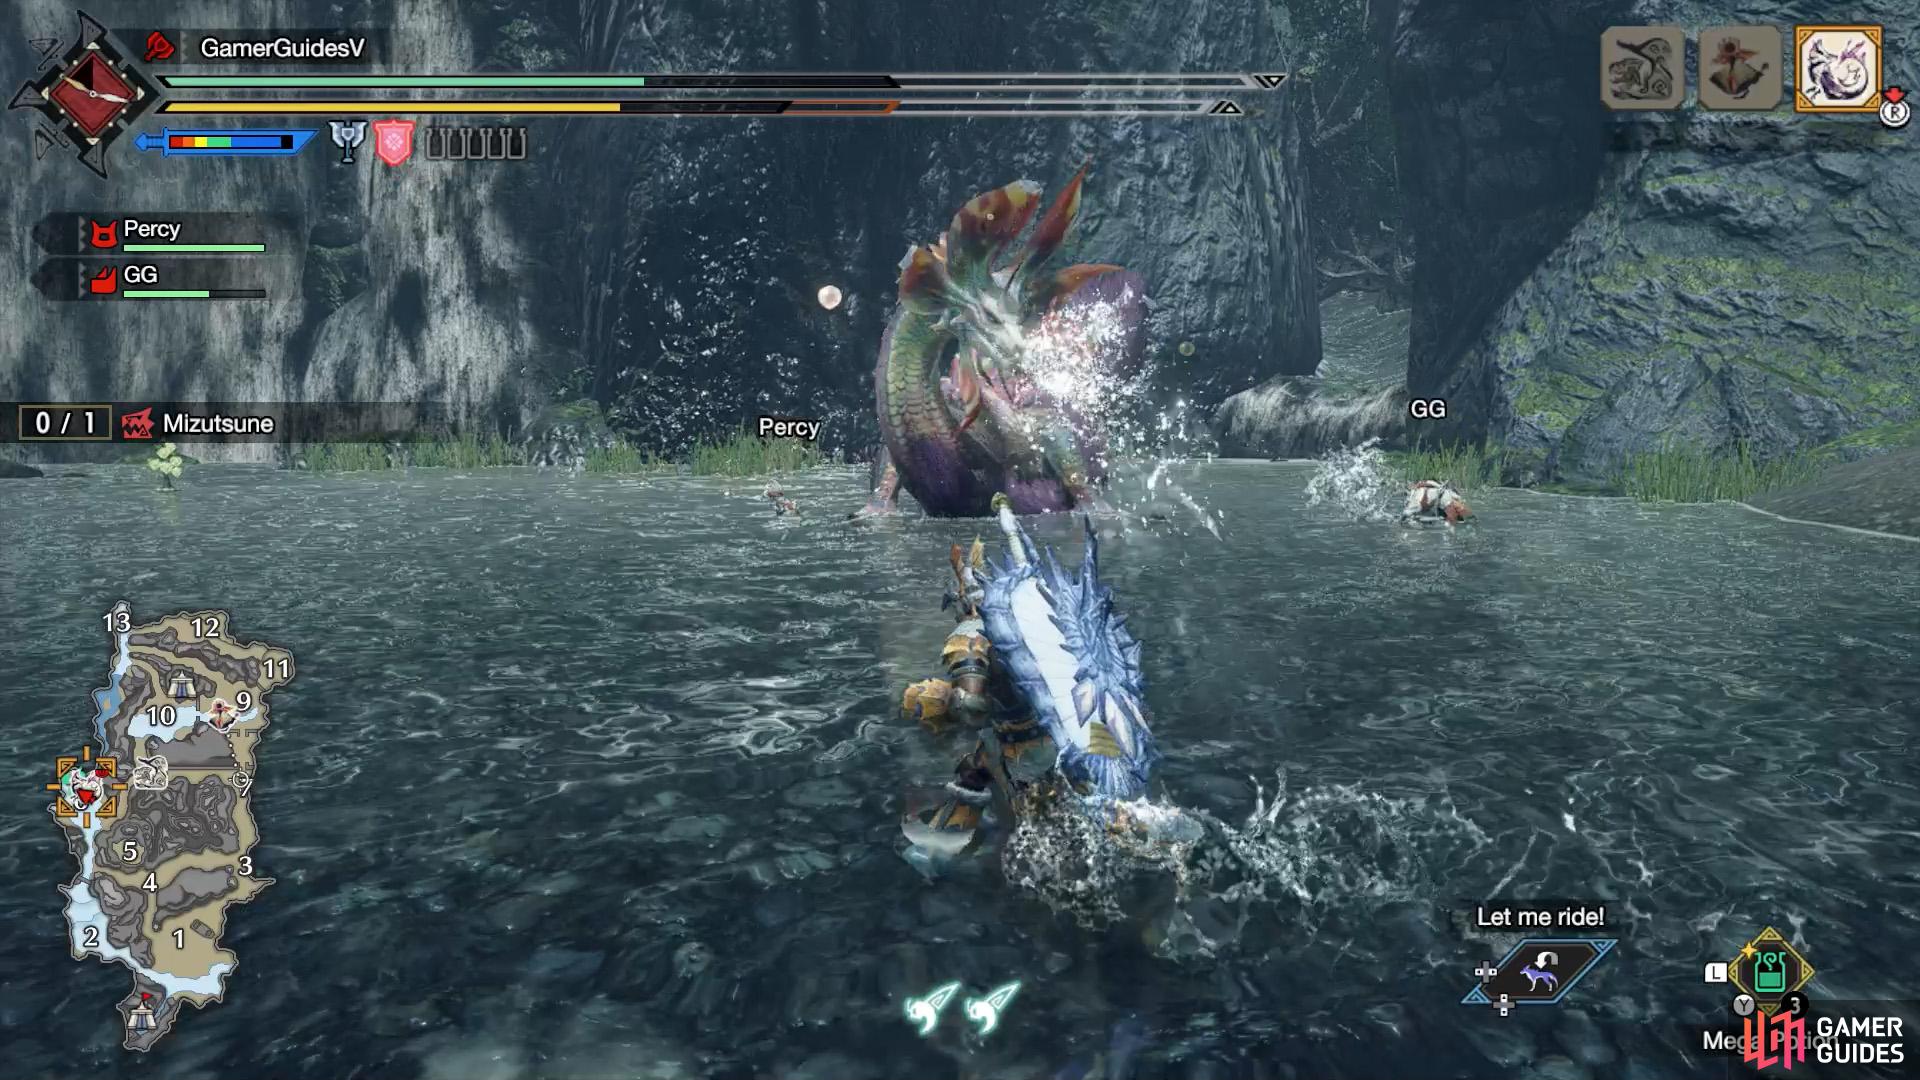
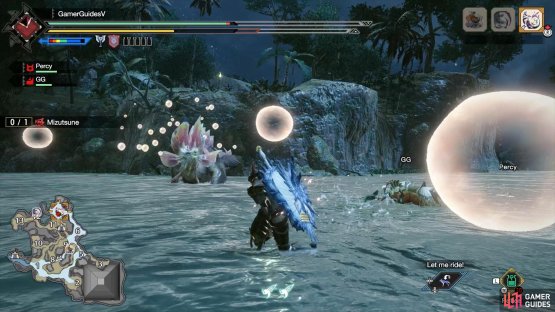
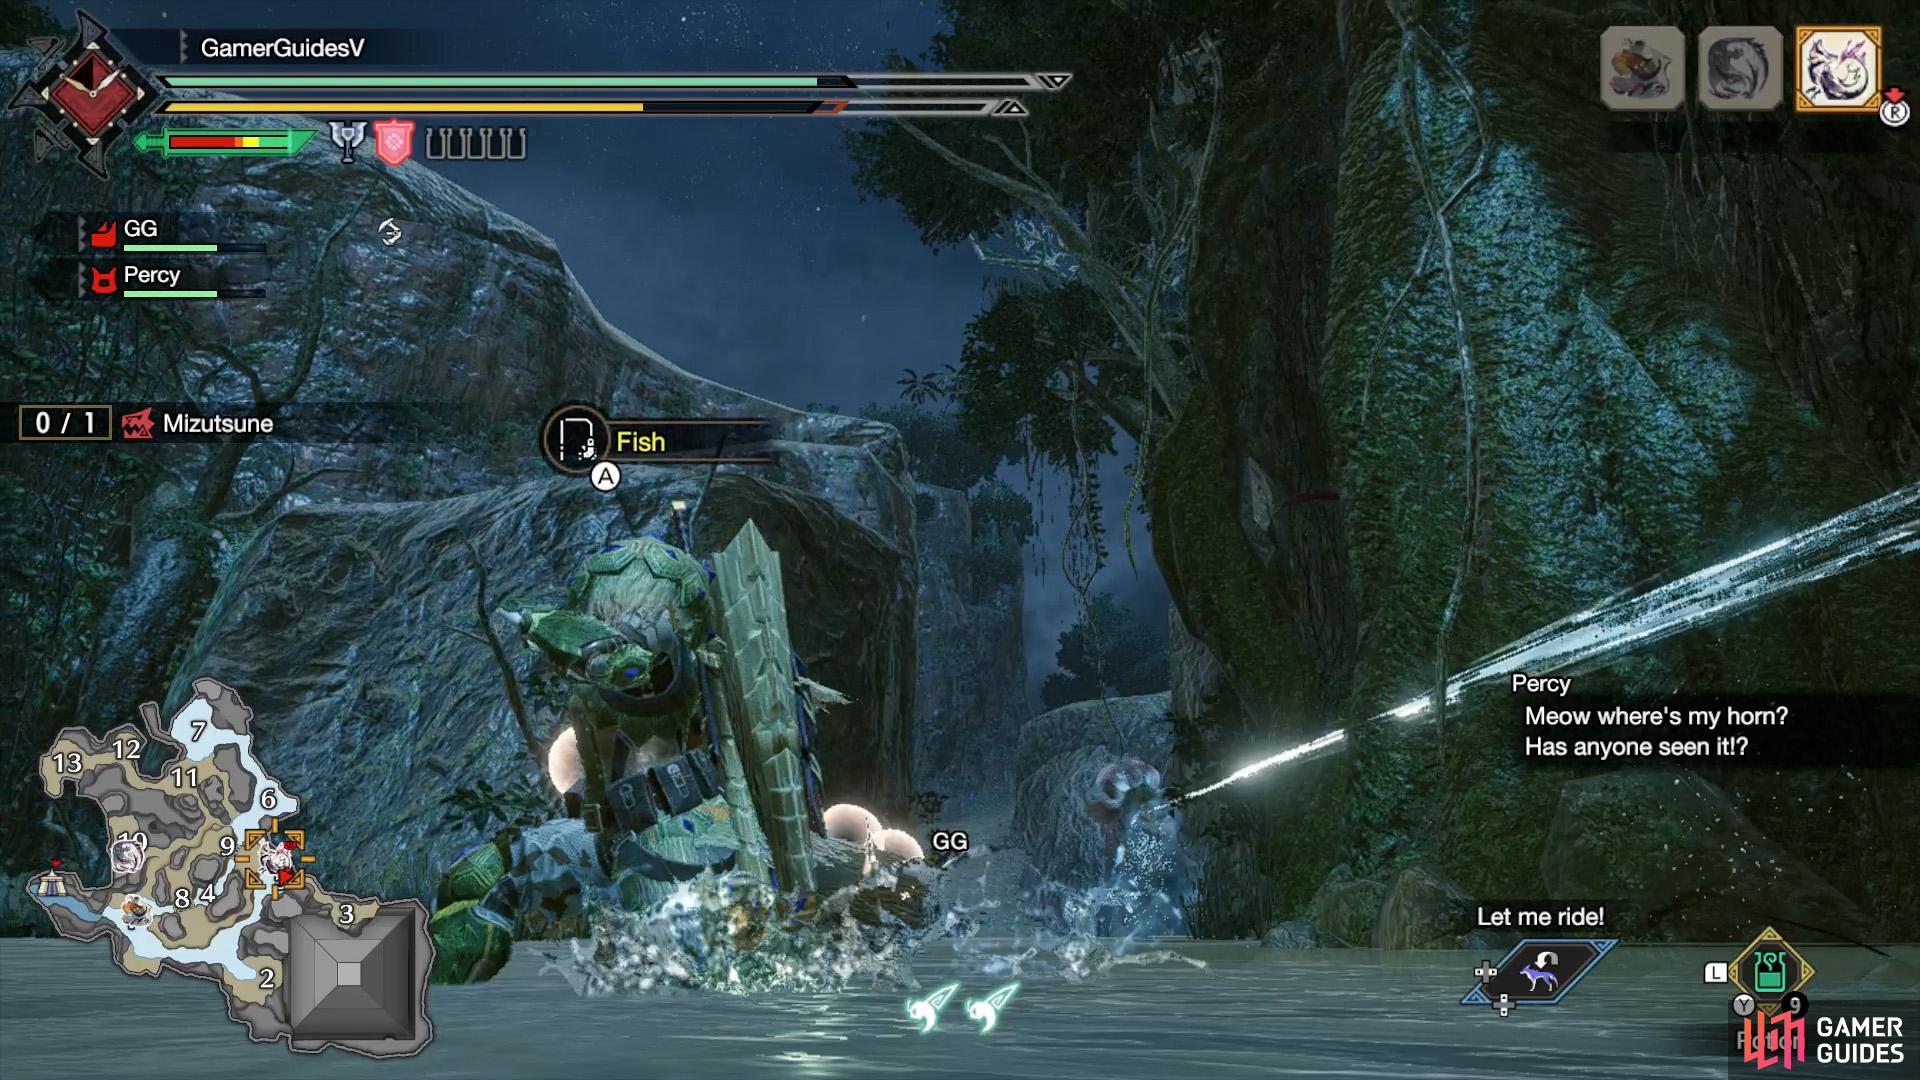
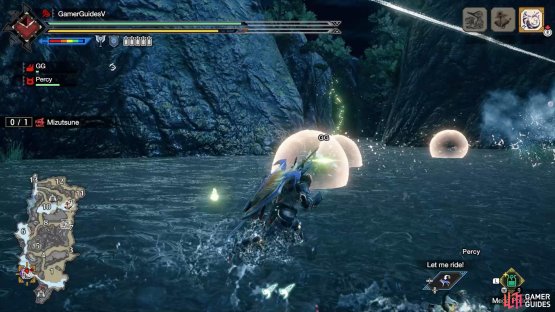
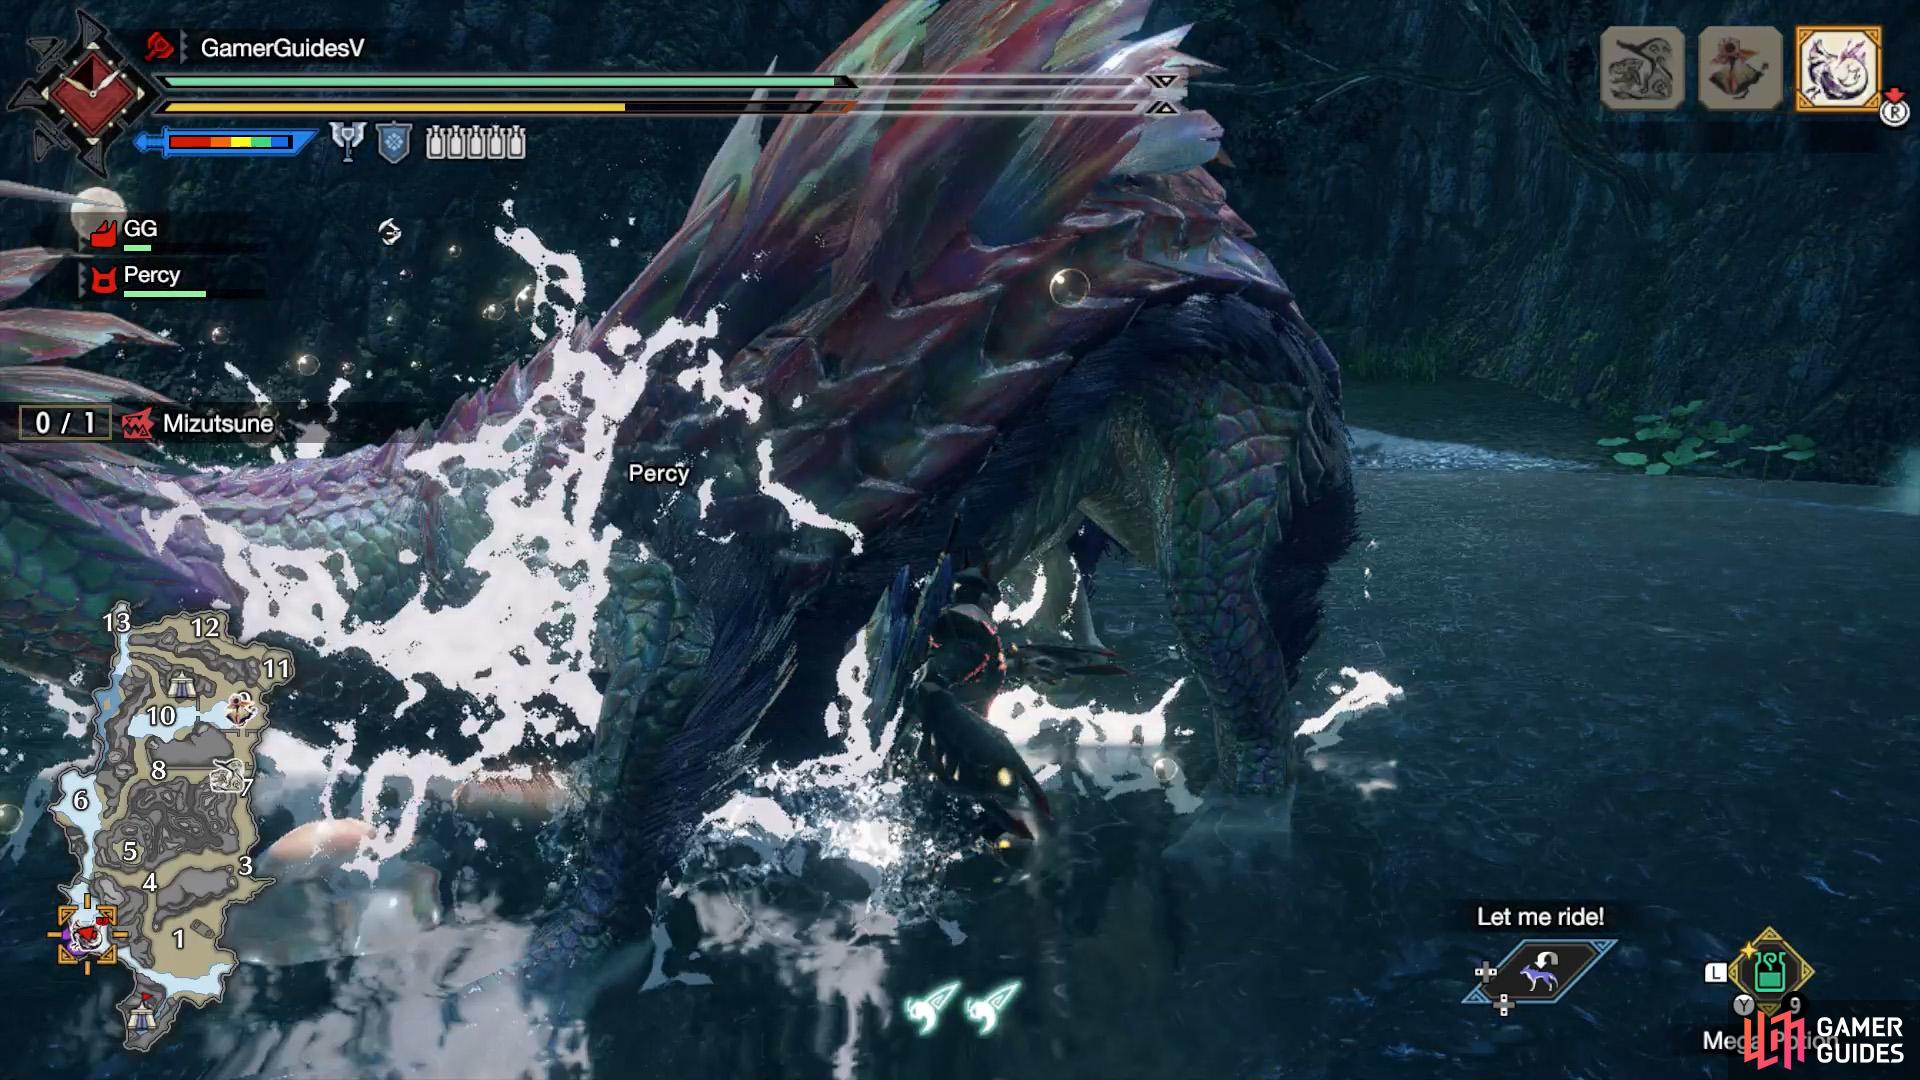
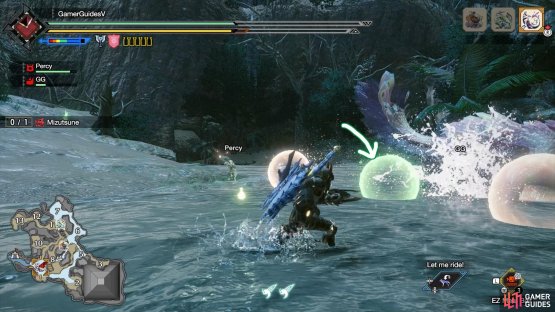
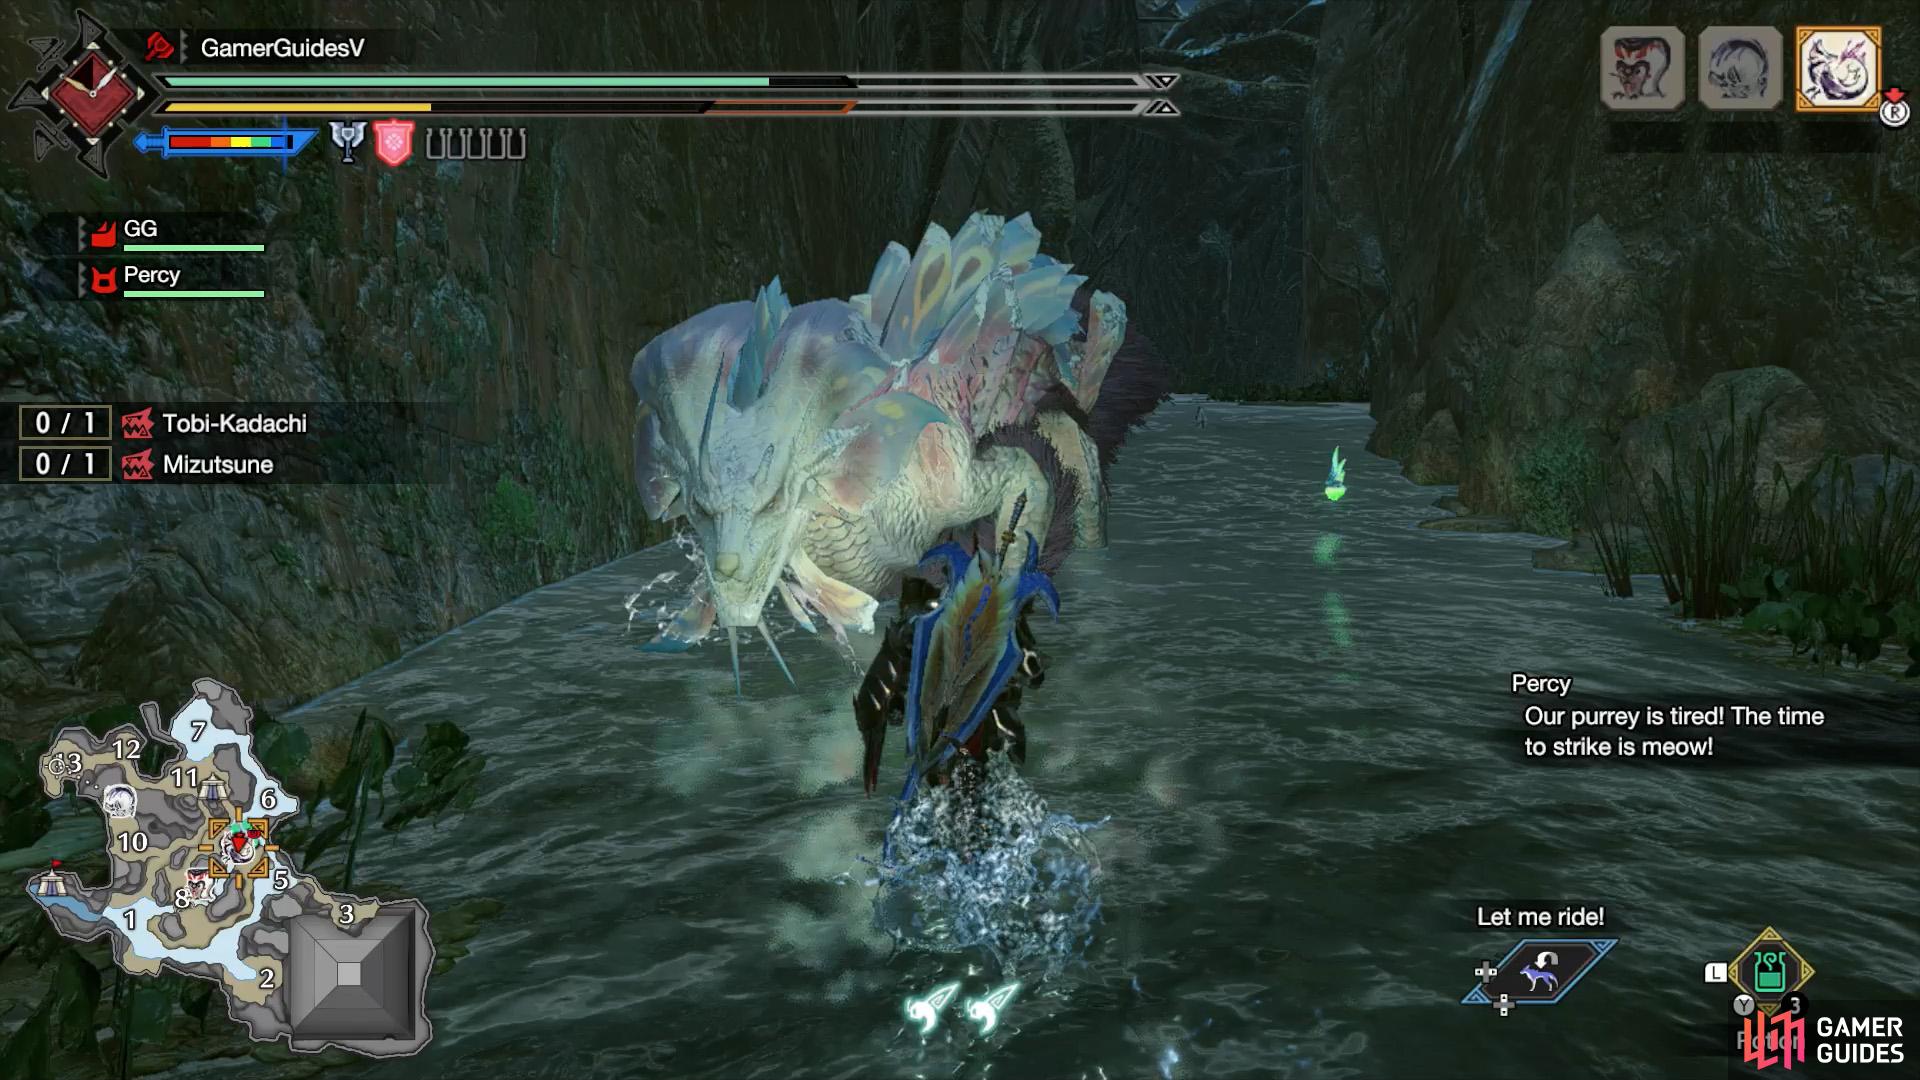
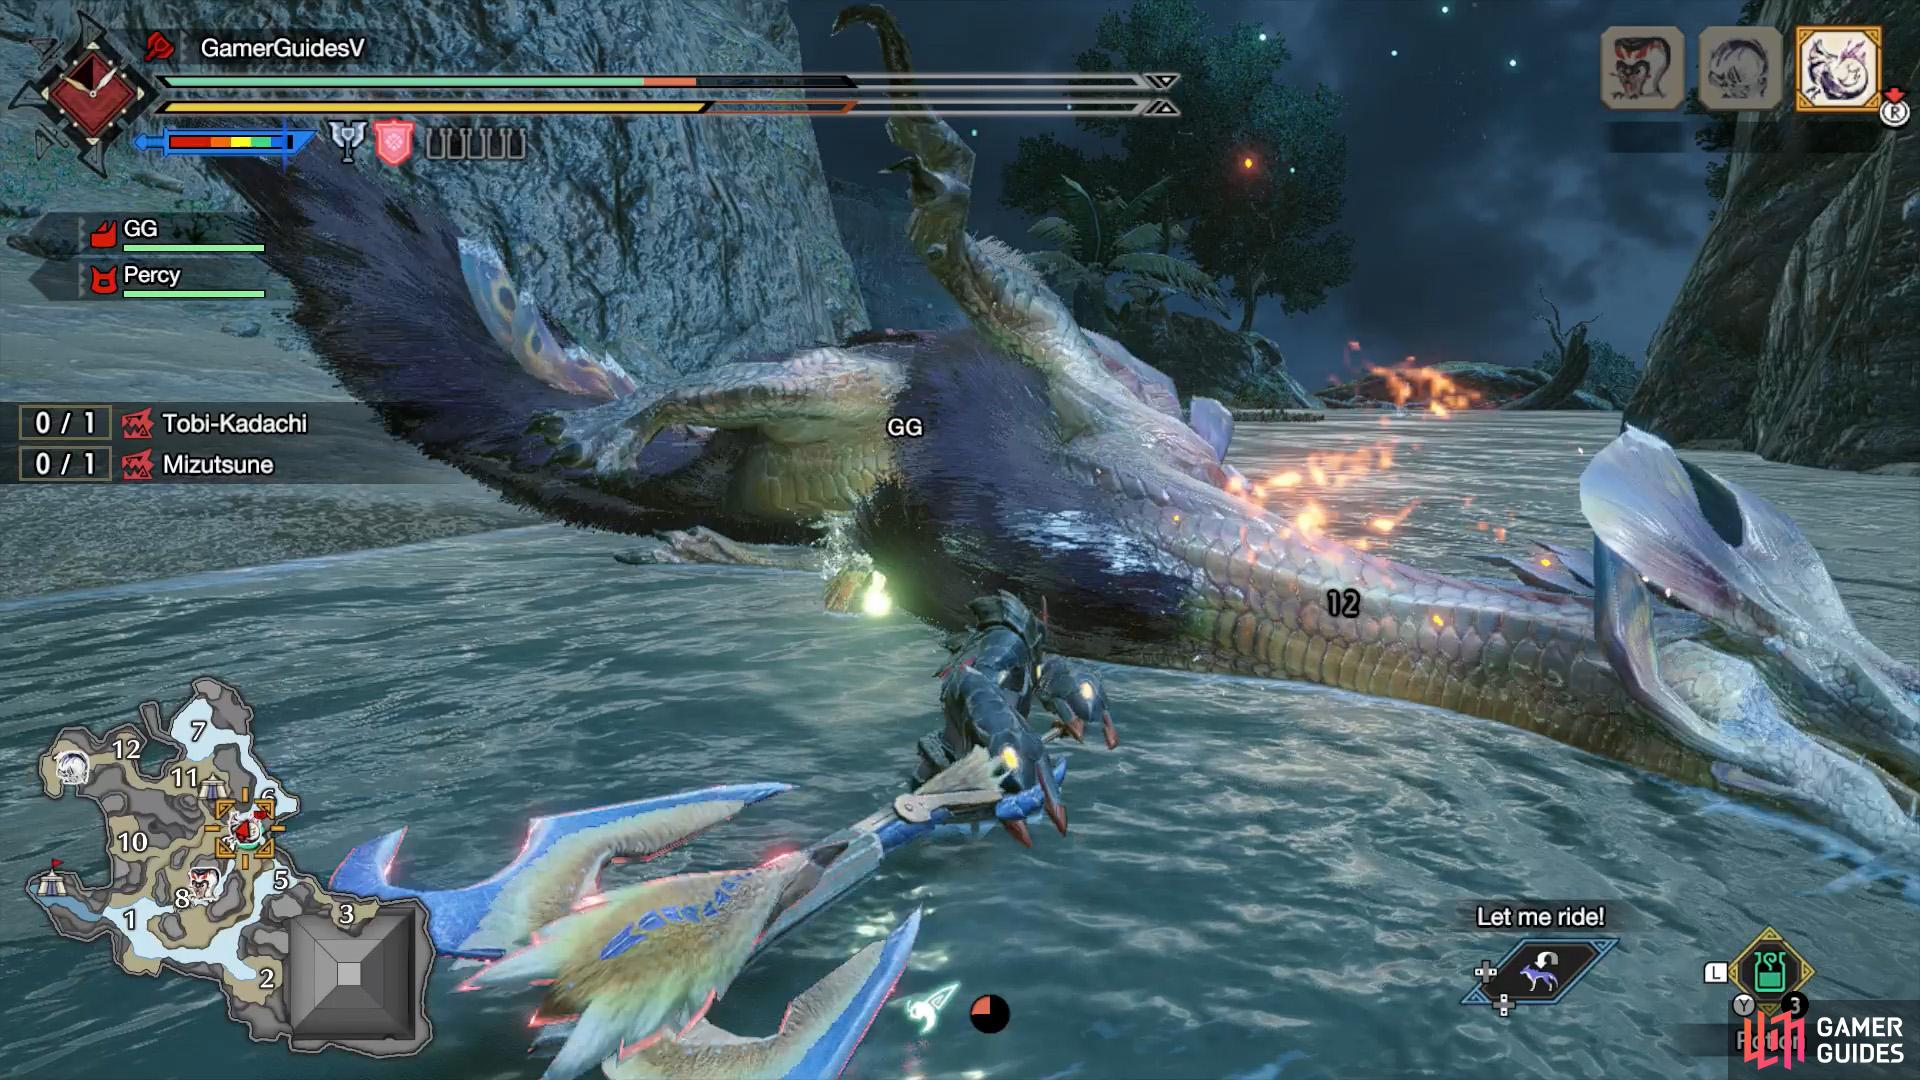
(1 of 2) Fighting Mizutsune at the Shrine Ruins.

Fighting Mizutsune at the Shrine Ruins. (left), Mizutsune’s profile in the Hunter’s Notes. (right)
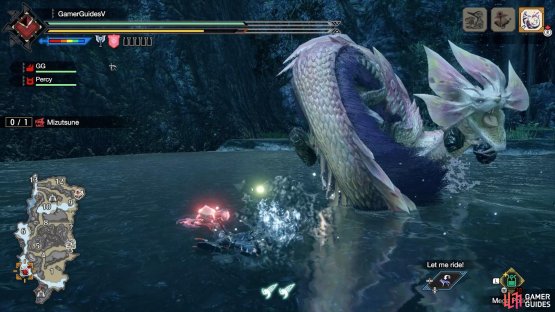
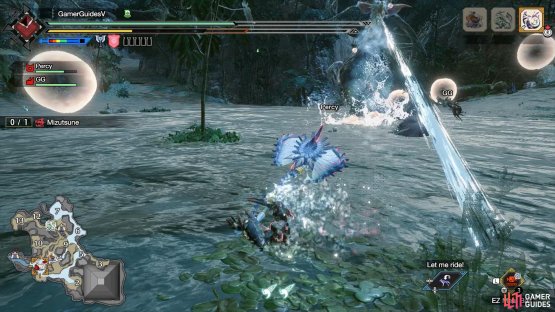
Low Rank Mizutsune is a slippery beast (sorry for the pun), while its High Rank version is notorious for carting hunters.
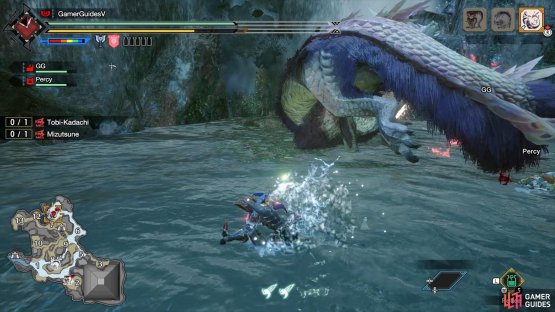
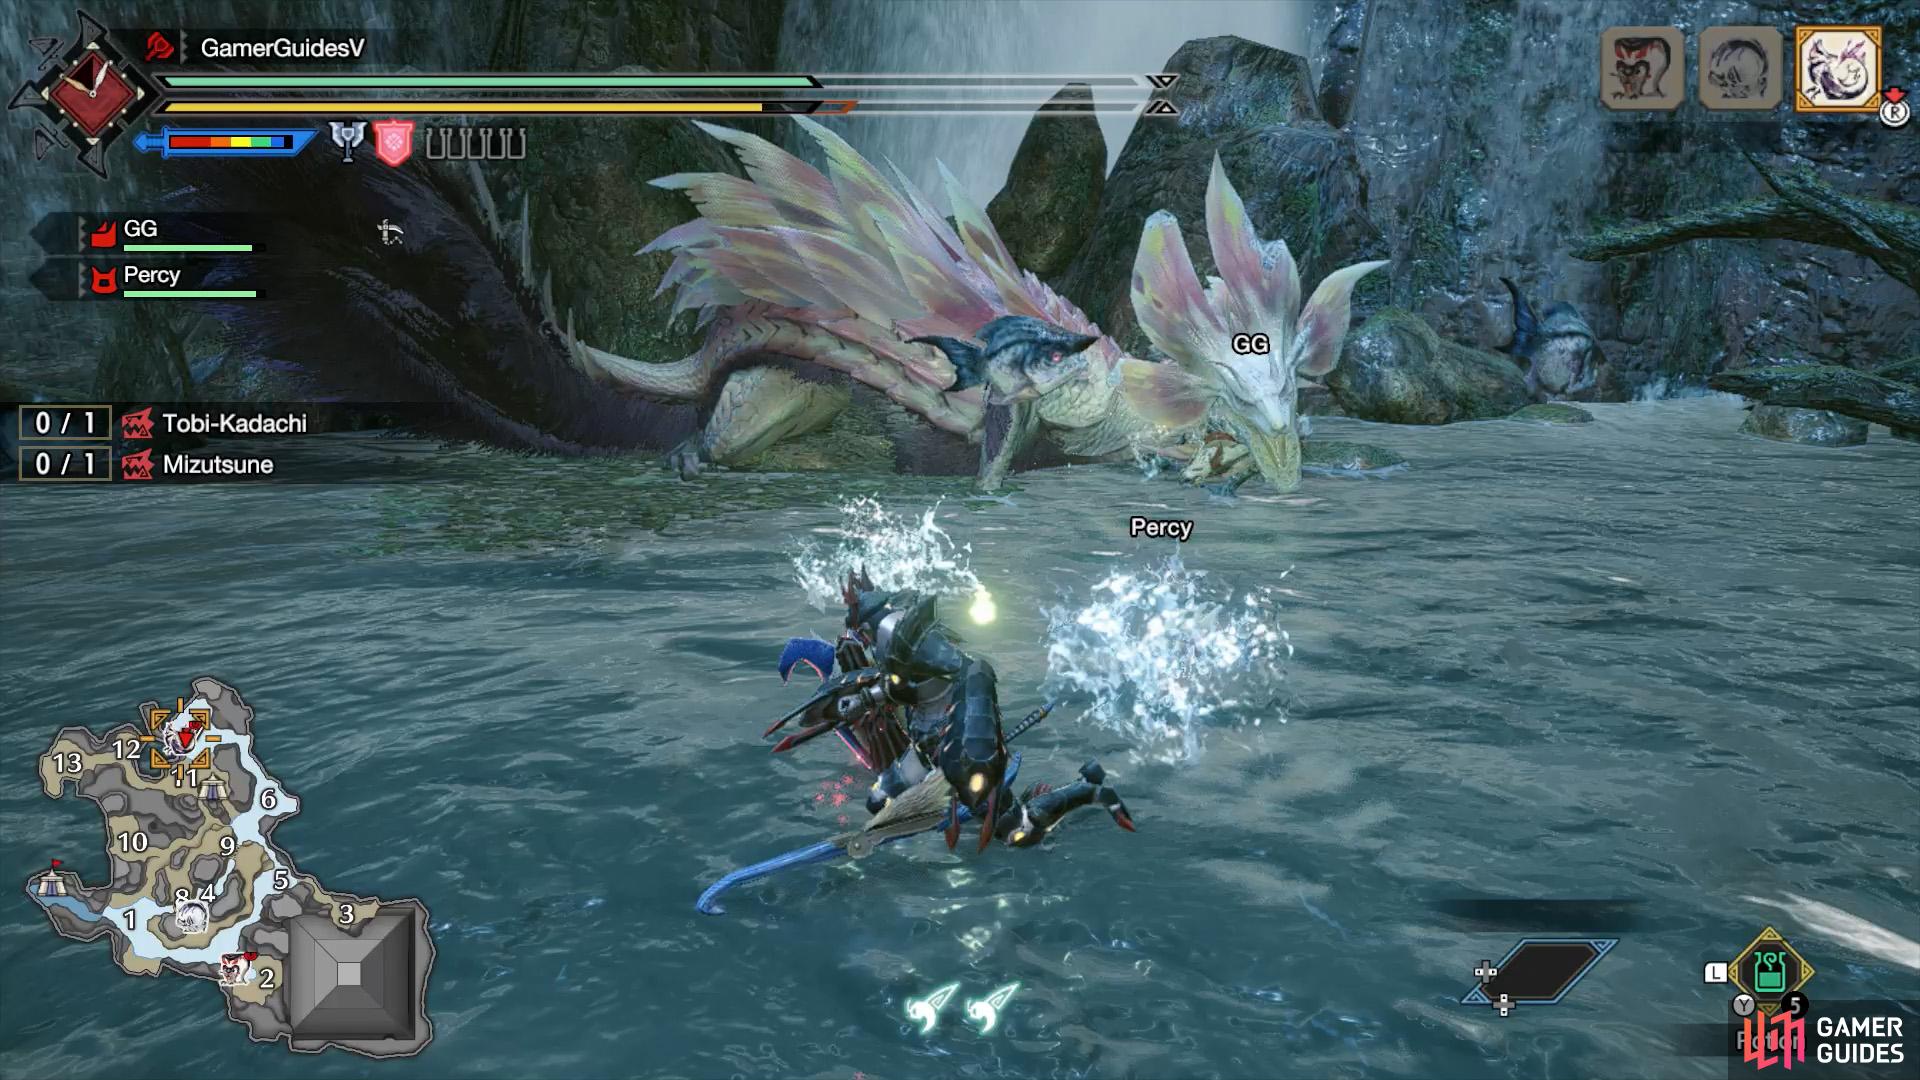
Mizutsune can create bubbles while it attacks, which can cause hunters to slip as they walk. It’s also extremely agile and can shoot high pressurized water from its mouth.
Weaknesses
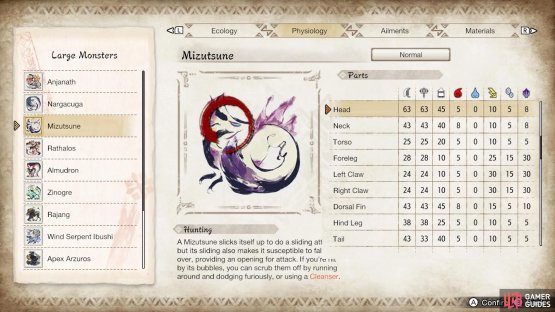
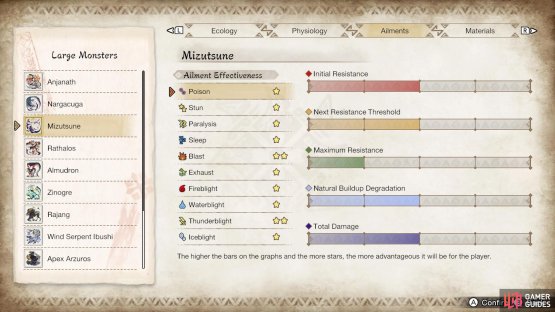
(1 of 2) Mizutsune’s parts/elemental susceptibility.

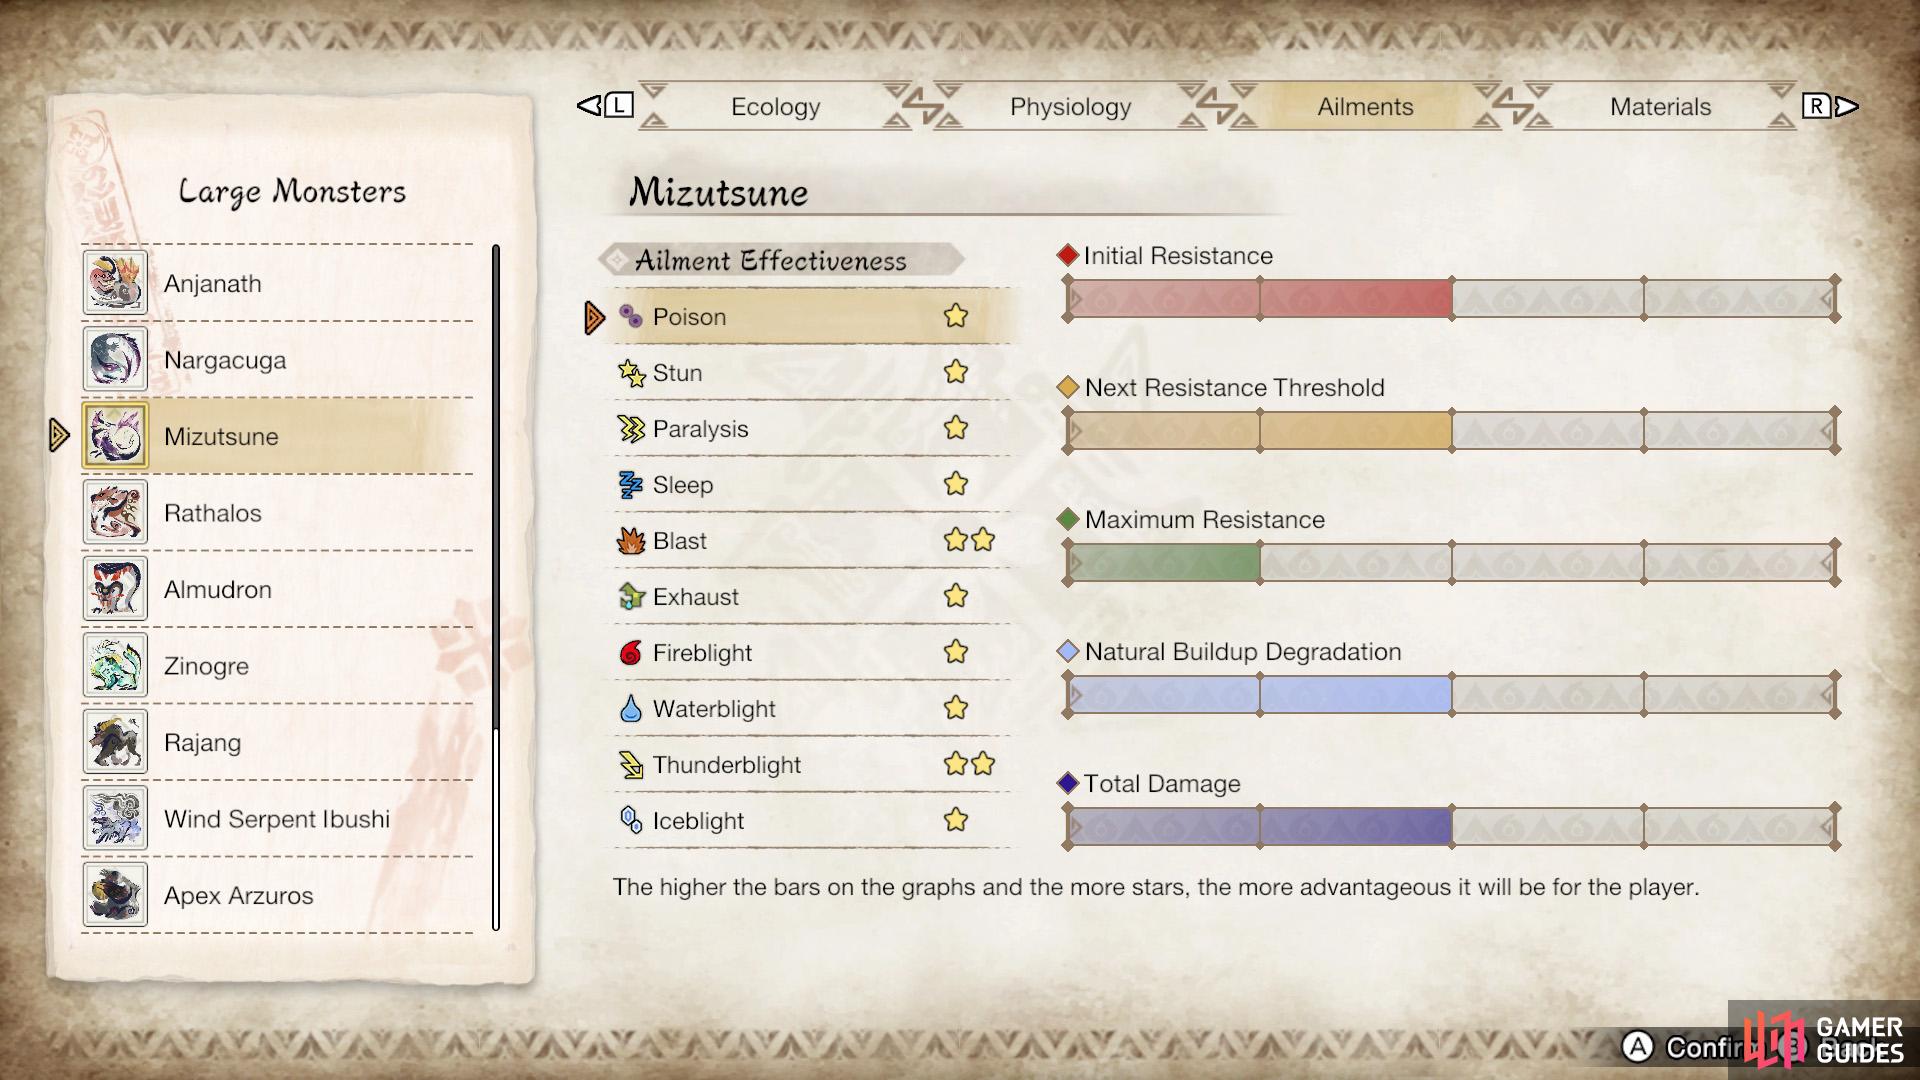
Mizutsune’s parts/elemental susceptibility. (left), Mizutsune’s ailment susceptibility. (right)
| Parts | Elements | Ailments |
|---|---|---|
| Head, Dorsal Fin | Thunder, Dragon | Blast, Thunderblight |
Attack Patterns
Bite

(1 of 2) Mizutsune may twist its neck while opening its mouth.

Mizutsune may twist its neck while opening its mouth. (left), If so, it’ll move forward while biting twice. (right)
There are two variations of this. If you’re close by, Mizutsune may turn its head and then snap its jaws in that direction.
Otherwise, Mizutsune will twist its neck, mouth wide open, while its body is straight. It’ll then move forward and try to bite its prey twice. Chomp, chomp!
Foreleg Pound
(1 of 2) Mizutsune gets up and raises its rear foreleg high up.


Mizutsune gets up and raises its rear foreleg high up. (left), It’ll then jump forward, slamming its foreleg down. (right)
Mizutsune looks sideways, while both of its forelegs are off the ground–and the foreleg behind it is raised high up. You probably know what’s coming next. Mizutsune will pounce forward, bringing its raised foreleg crashing down.
Tail Slam


(1 of 2) Mizutsune hisses while crouching.
Mizutsune hisses while crouching. (left), It’ll then jump diagonally forward and, after that, slam its tail down from the side. (right)
Mizutsune hisses while in a crouching position. Next, it’ll playfully pounce forward and to one side. Then it’ll twist its body over its shoulders, slamming its long tail out front. If you’re hit by this attack, your wirebugs will be disabled until you recover.
Tail Swipe
(1 of 2) Mizutsune faces its enemy and then lifts up its body.


Mizutsune faces its enemy and then lifts up its body. (left), It’ll then twist around and swing its tail upwards. (right)
Mizutsune hisses while turning to face its opponent. It’ll then lift its body up, twist around and swing its tail upwards, from its side. The tail motion may also send a few bubbles flying forward.
Dash

(1 of 2) Mizutsune brings its body up for a brief moment.
Mizutsune brings its body up for a brief moment. (left), It’ll then dive towards the ground and start dashing in a straight line. (right)
Mizutsune lifts its body up and then dives towards the ground. It’ll then charge in a straight line, leaving a small trail of bubbles.
When enraged, Mizutsune can perform a second dash right afterwards, creating twice the amount of bubbles. What joy!
However, if Mizustune is tired (indicated by blue fur), it will usually collapse after dashing. So be sure to follow it and unleash the pain.
Spinning Slam
(1 of 2) Mizutsune looks sideways, like it might shoulder bash you.
Mizutsune looks sideways, like it might shoulder bash you. (left), But it’s worse than that–it could spin forward, disabling your wirebugs if hit. (right)
Mizutsune looks sideways, while its body is on the ground and slightly leaning to the front. When you look at Mizutsune, it’s head is on your left.
Next, Mizutsune will lunge forward, while spinning counter-clockwise, causing bubbles to fly out. If you’re hit by this attack, the momentum will disable your wirebugs until you recover.
Tail Lash
(1 of 2) Mizutsune looks sideways, but it’s head is on your right.

Mizutsune looks sideways, but it’s head is on your right. (left), The monster will then spin on the spot and lash out its tail. (right)
This is a rarer version of the above. Mizutsune will look sideways, but this time, its head will be on your right instead.
Afterwards, Mizutsune will spin around on the spot, while lashing its tail out, sending bubbles flying forward. Be careful if you’re hugging Mizutsune, as you can be hit by its spinning body.
Rocket
(1 of 2) You’ll hear a distinct metalling sound; afterwards, Mizutsune leaps back.


You’ll hear a distinct metalling sound; afterwards, Mizutsune leaps back. (left), Next, it’ll whoosh into the air and spin around after it lands. (right)
There will be a metallic spring sound and Mizutsune will jump back and curl itself up. After it lands, Mizutsune will fly a fair distance forwards, accompanied by a “whoosh” sound. It’ll then spin around a few times as it lands.
Bubble Slide

(1 of 2) Mizutsune makes a very sinister pose with its forelegs raised up.


Mizutsune makes a very sinister pose with its forelegs raised up. (left), It’ll then slide forwards, creating a bubbly trail. (right)
Mizutsune stands up on its hind legs with its forelegs raised up. It’ll then fall down and slide forwards, creating a few bubbles. Note that the hitbox for this move is quite big and you can get hit even if you’re behind.
Bubble Spin

(1 of 2) Mizutsune makes an evil-looking pose with its claws pointed down.
Mizutsune makes an evil-looking pose with its claws pointed down. (left), It’ll then dive forward and spin around. (right)
Mizutsune stands up on its hind legs with the claws on its forelegs pointed down. It’ll then dive forward and spin around, creating multiple bubbles. Like the Bubble Slide, you can be hit even if you’re behind, so either block or try to stand away.
Note that Mizutsune can follow up this move with a rotating laser attack. So always make sure Mizutsune returns to an idle position, before relaxing.
Bubble Breath

(1 of 2) Mizutsune will crane its neck backwards while its mouth exudes yellow vapors.

Mizutsune will crane its neck backwards while its mouth exudes yellow vapors. (left), It’ll then breathe a few bubbles, pause and then breathe some more. (right)
Yellow vapors will come from Mizutsune’s mouth and it’ll crane its neck backwards. Next, it’ll shoot a few bubbles forward, pause for a short moment, and then shoot some more bubbles.
Big Bubble

(1 of 2) Yellow vapors emerge from Mizutsune’s mouth.
Yellow vapors emerge from Mizutsune’s mouth. (left), It may then jump backwards while shooting a really big bubble. (right)
Yellow vapors will come from Mizutsune’s mouth. It’ll then jump backwards and shoot one very large yellow bubble forward. This move can fail if Mizutsune is tired.
Big Bubble Pounce


(1 of 2) Mizutsune jumps straight up with yellow vapors coming from its mouth.

Mizutsune jumps straight up with yellow vapors coming from its mouth. (left), It’ll then shoot a big bubble forward, while leaping in the same direction. (right)
This move is similar to the above. Mizutsune will jump straight up, shoot a big bubble forwards and then leap in the bubble’s direction.
Water Burst
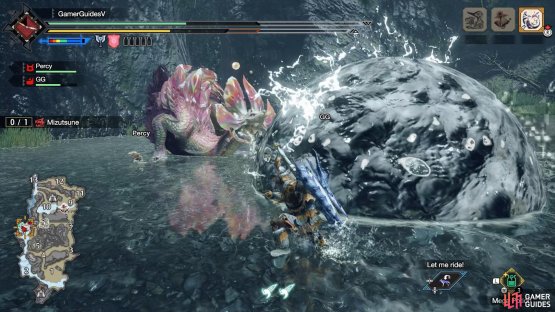
(1 of 2) Water appears from Mizutsune’s head.
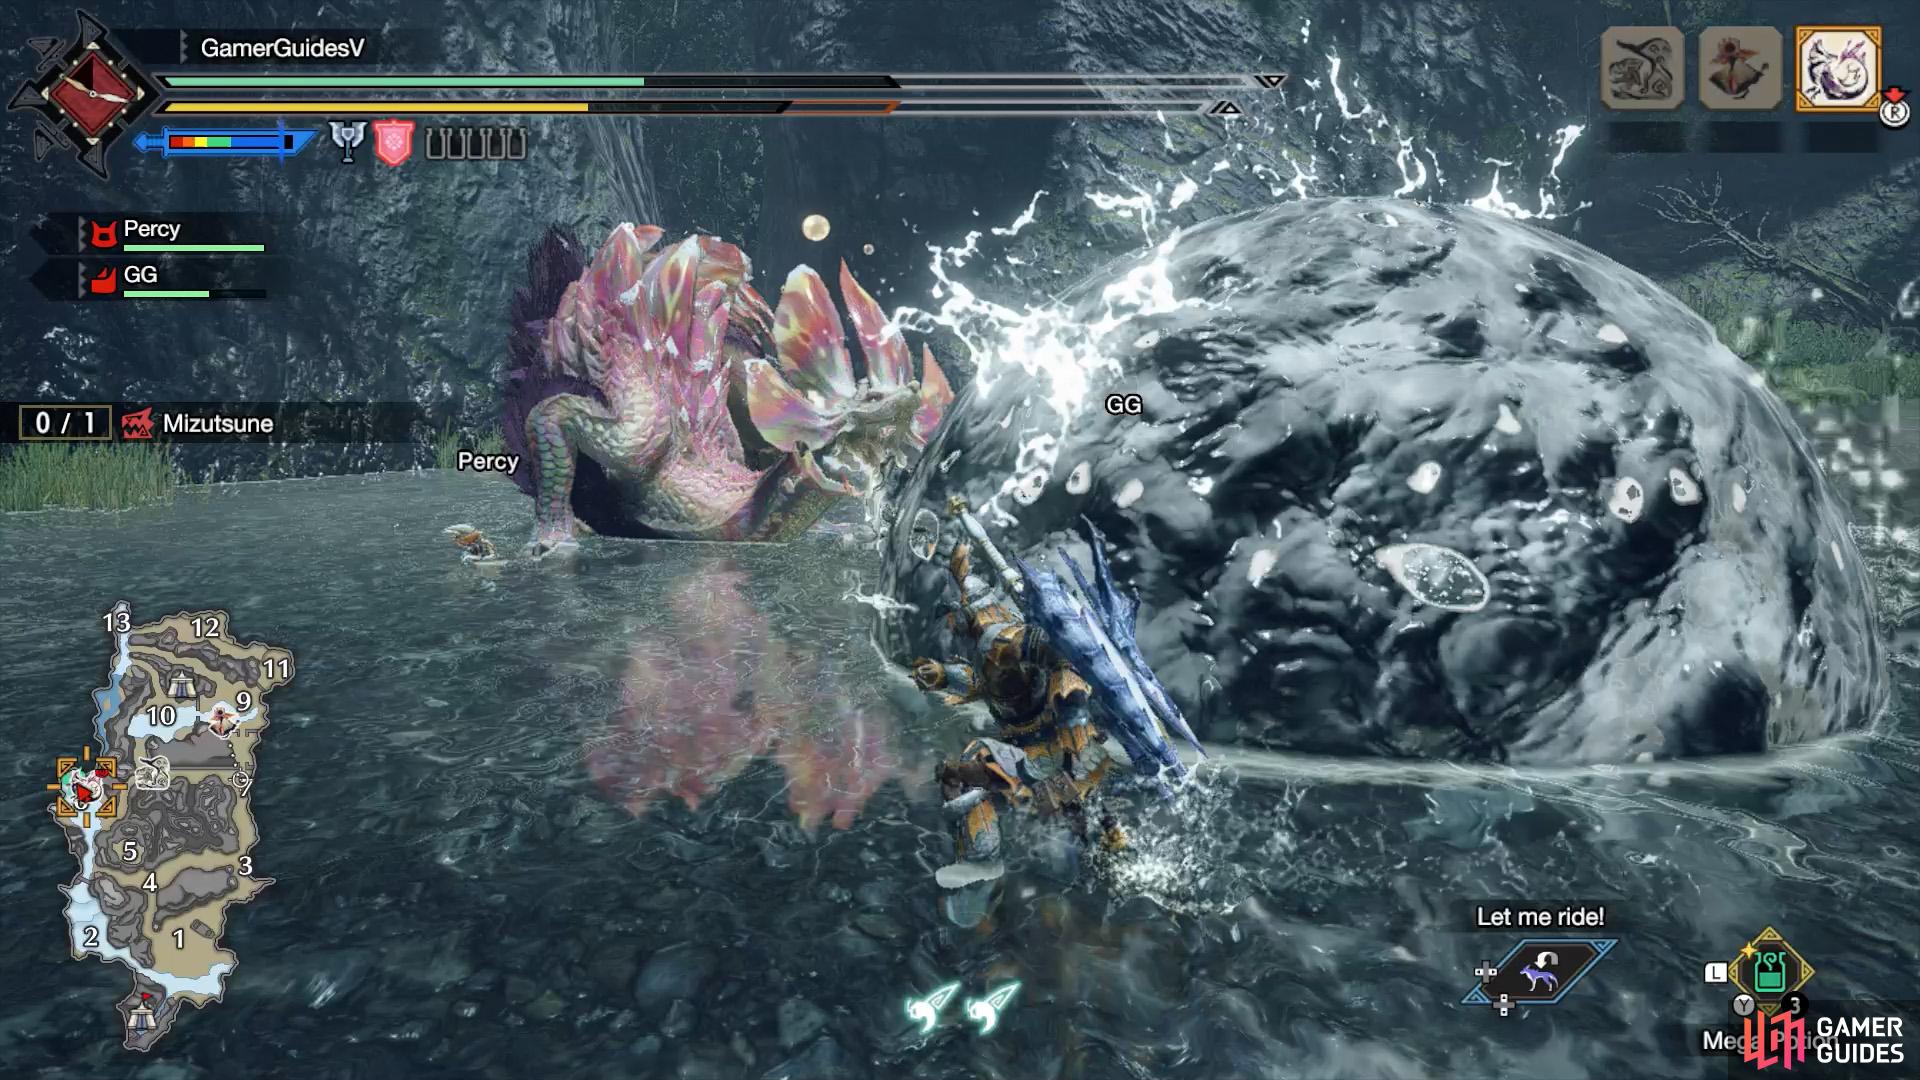
Water appears from Mizutsune’s head. (left), This means it’ll create a big water burst in front of itself. (right)
Mizutsune shuffles backwards, while water is spraying from its nostrils or mouth. It’ll then create a localized blast of water directly ahead, before jumping backwards.
Bubble Bath

(1 of 2) Mizutsune spins on the spot multiple times.
Mizutsune spins on the spot multiple times. (left), Afterwards, small yellow bubbles will appear on its body. (right)
When Mizutsune is enraged, it likes to spin around on the spot, covering itself with bubbles. After it stops, small yellow bubbles will appear around its body.
While Mizutsune is covered with bubbles, it’s mobility increases. However, if you keep hitting it, you’ll burst its bubble coating and stun it.
Downwards Water Laser


(1 of 2) After dashing, Mizutsune may shoot a water laser straight upwards.
After dashing, Mizutsune may shoot a water laser straight upwards. (left), After a short while, it’ll move the laser downwards, so it’s facing forwards from it. (right)
Mizutsune likes to use this move after performing a dash. Mizutsune will start shooting a water laser straight upwards. Next, it’ll bring its head downwards, which causes the laser to point forwards. The laser will also wobble around a bit.
When you see this move, get away from Mizutsune’s front, because the laser tracks your position for a while.
Cross Water Laser

(1 of 2) Mizutsune stands up and shoots a water laser straight down.

Mizutsune stands up and shoots a water laser straight down. (left), It’ll then sweep that laser upwards and sweep a second laser side to side. (right)
Mizutsune stands on its rear legs and looks sideways. It’ll shoot a water laser towards the floor and then raise its head to aim the laser upwards. This laser is pretty easy to avoid, so long as you’re not directly in front.
But soon afterwards, Mizutsune will shoot another water laser–this time, from right to left (if you’re facing Mizutsune), which can easily catch you off guard. If you’re close by, wiredash upwards to avoid the second laser.
Sliding Water Laser
(1 of 2) Mizutsune shakes its body while in a pouncing position, usually facing away from you.

Mizutsune shakes its body while in a pouncing position, usually facing away from you. (left), It’ll leap away and face you, while shooting a water laser diagonally upwards. (right)
This is a cool-looking move, although not one you want to be hit by.
While Mizutsune’s body is covered with bubbles, it may shake its body while in a pouncing position. It’ll then leap away from you and turn around to face you. As it does so, it’ll start shooting a water laser diagonally upwards, while sliding around the corner.

(1 of 2) Mizutsune will aim the laser forwards and then slide for a considerable distance.
Mizutsune will aim the laser forwards and then slide for a considerable distance. (left), Wiredash over the laser or go underneath Mizutsune if you’re close. (right)
After a short while, Mizutsune will aim the water laser into the ground, before stablizing it so it’s pointed forward. From here, the slippery beast will slide sideways across the floor while shooting the laser.
You can avoid the laser by wiredashing into the air and staying there. Or if Mizutsune is coming towards you and you can reach it in time, you can pass underneath Mizutsune’s arching body. Sneaky!
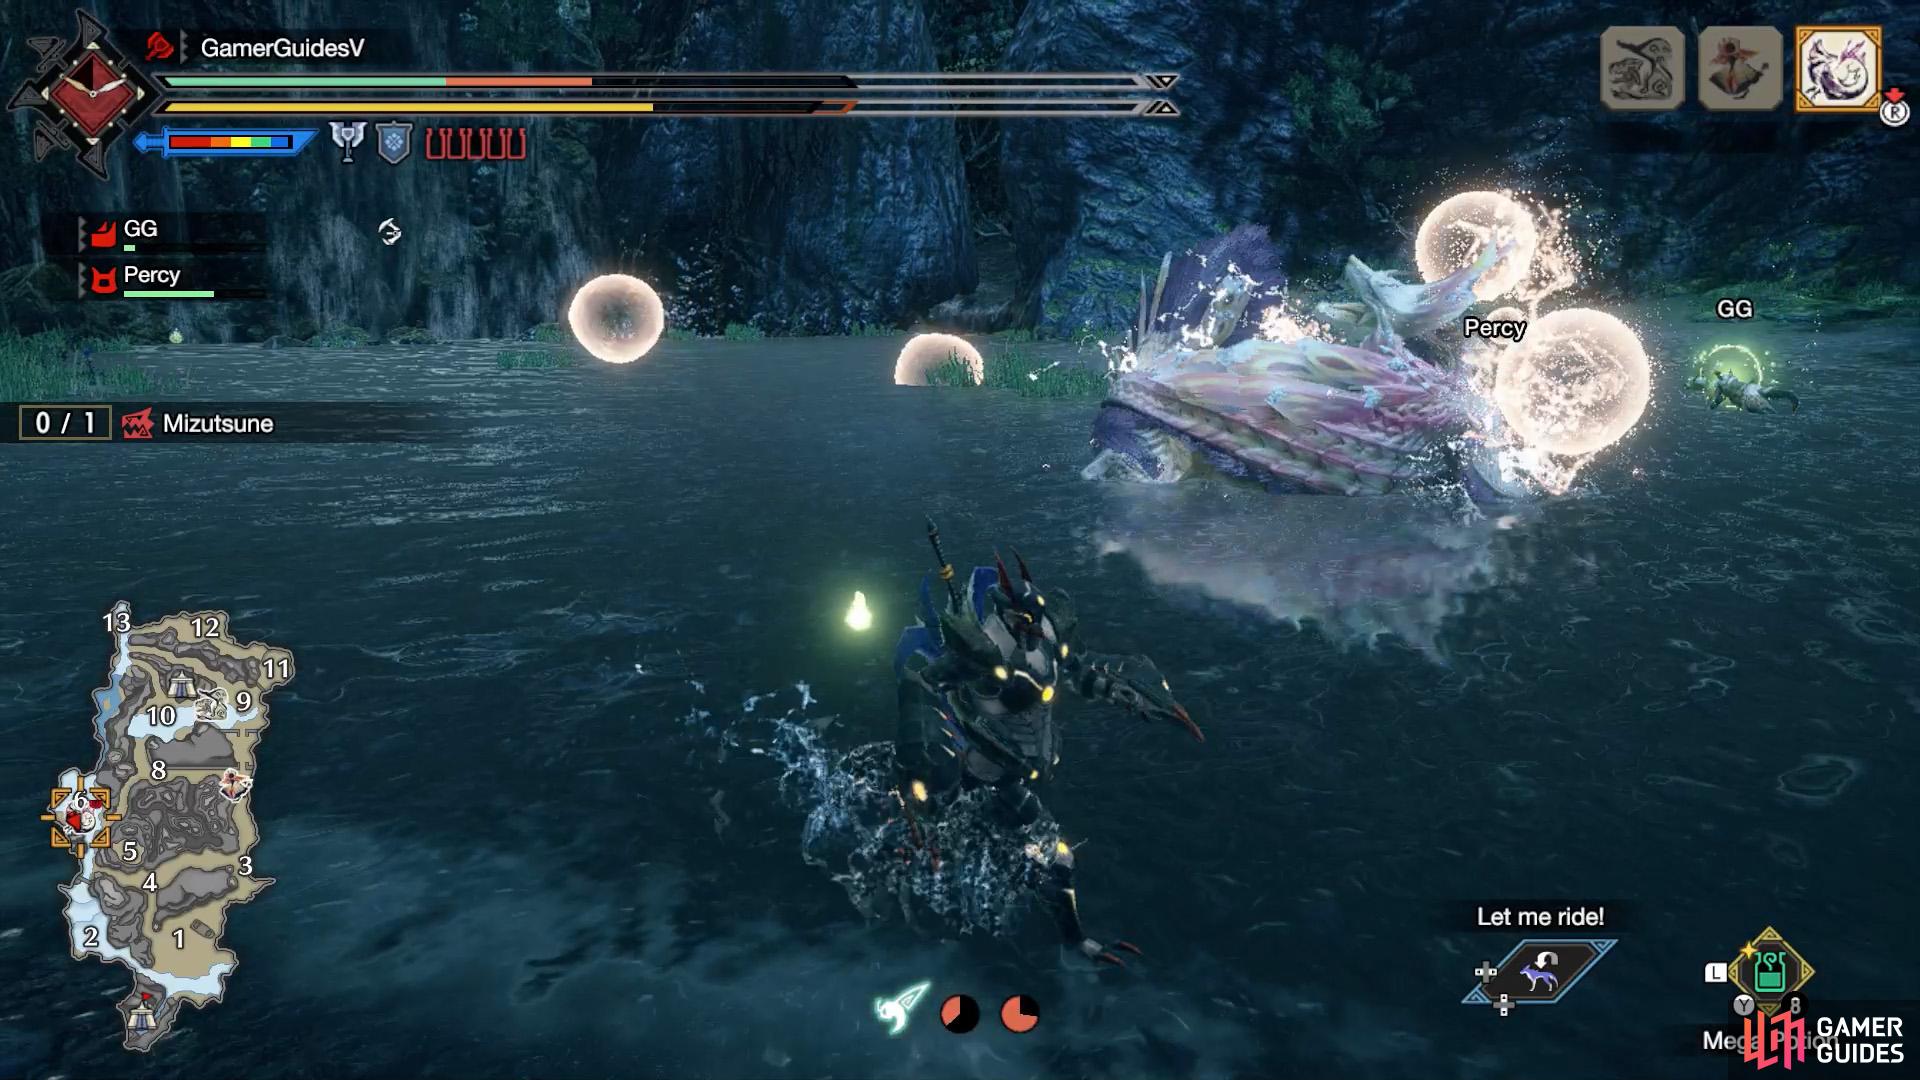
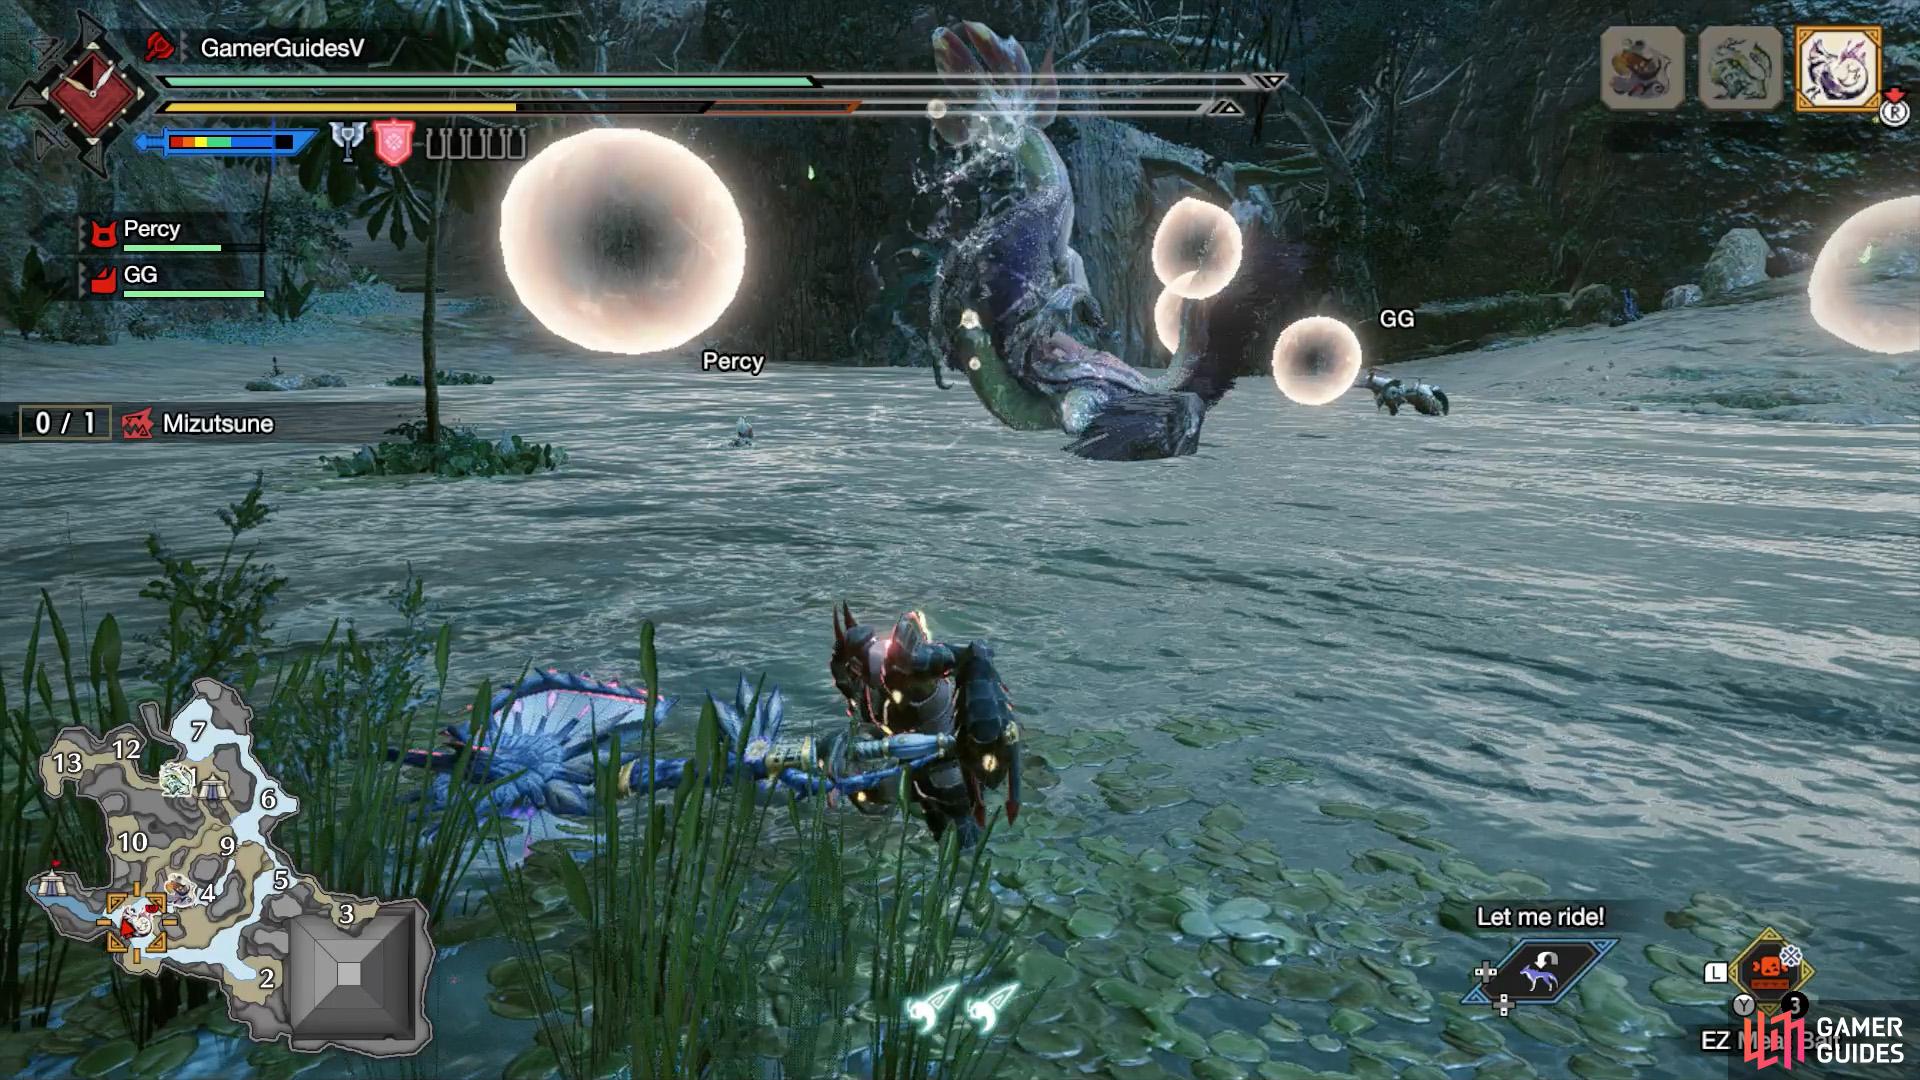
Rotating Laser
(1 of 2) Mizutsune twists its neck so it’s facing backwards.

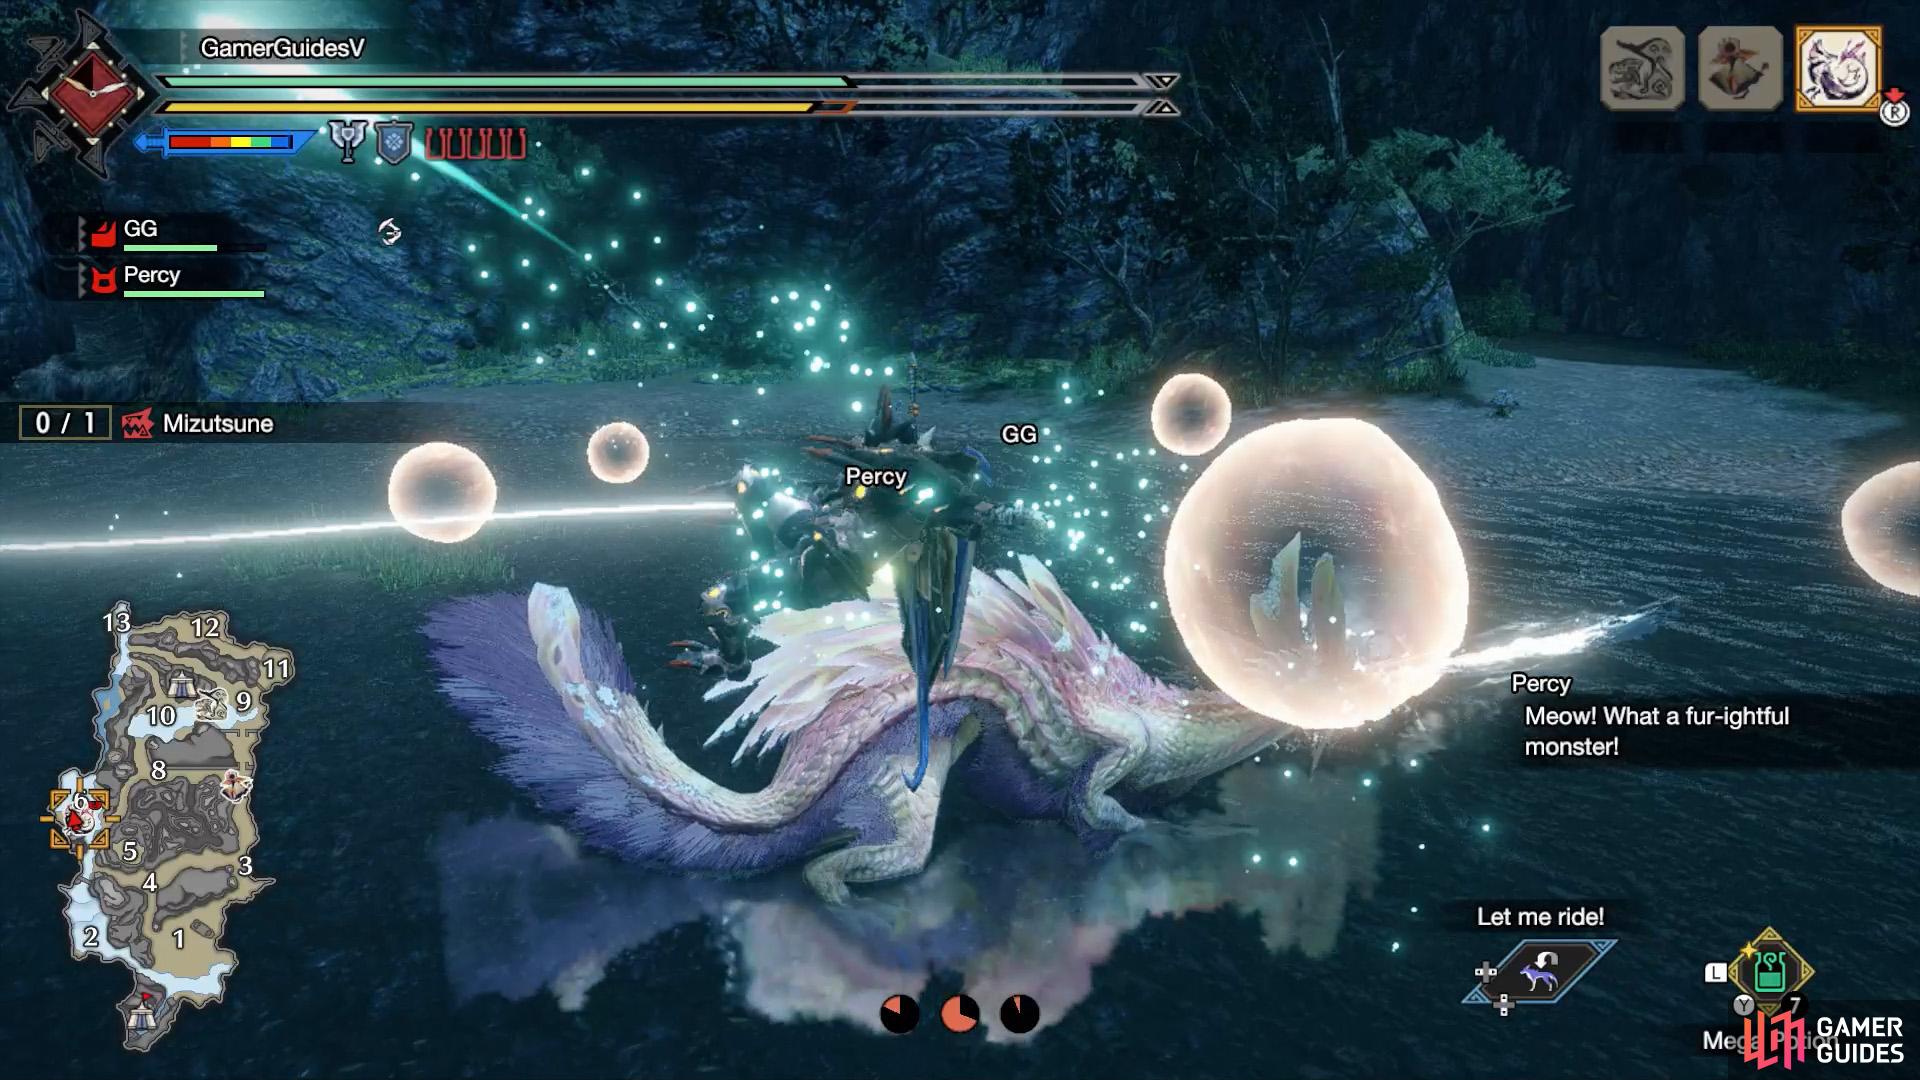
Mizutsune twists its neck so it’s facing backwards. (left), It’ll then shoot a rotating beam of water. (right)
This is the big one. Beware when Mizutsune twists its neck so it’s facing behind and you hear an audible warning. It can do this after jumping around or performing a Bubble Spin attack.
Mizustune will start shooting a water laser from the left side of its body (its perspective) and rotate clockwise (your right to your left), performing close to a full rotation.
This laser will be pointed slightly downwards, so if you’re level with Mizutsune, you can avoid the laser by keeping your distance. Otherwise, if you’re close by, wiredash upwards to avoid the laser. You can also block the laser with a shield etc.
When Mizutsune is enraged, it’ll typically perform a second rotation after the first one, so be extremely careful. If you’re wiredashing upwards, you may want to hang in the air with  to avoid the second laser.
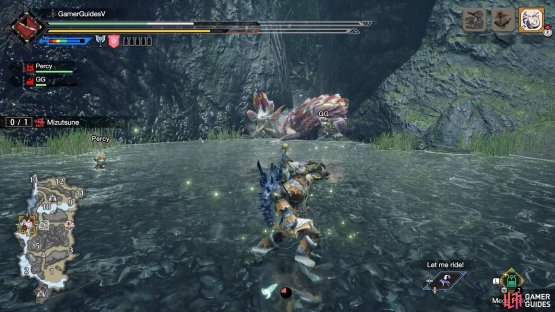
Strategy
As Mizutsune employs a lot of water-based attacks, Water Resistance is vital. There’s the Tetranadon armor, which isn’t too hard to farm. You can also get Water Resistance from talismans, decorations and yummy dango. Aim for at least 20 Water Resistance to protect yourself from waterblight.

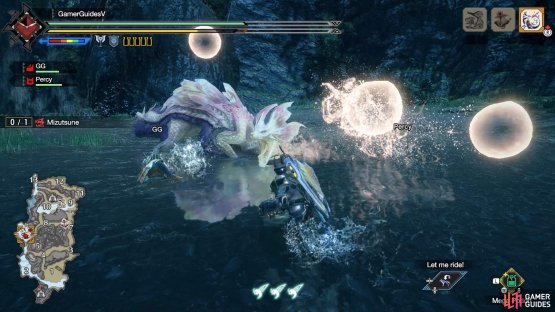
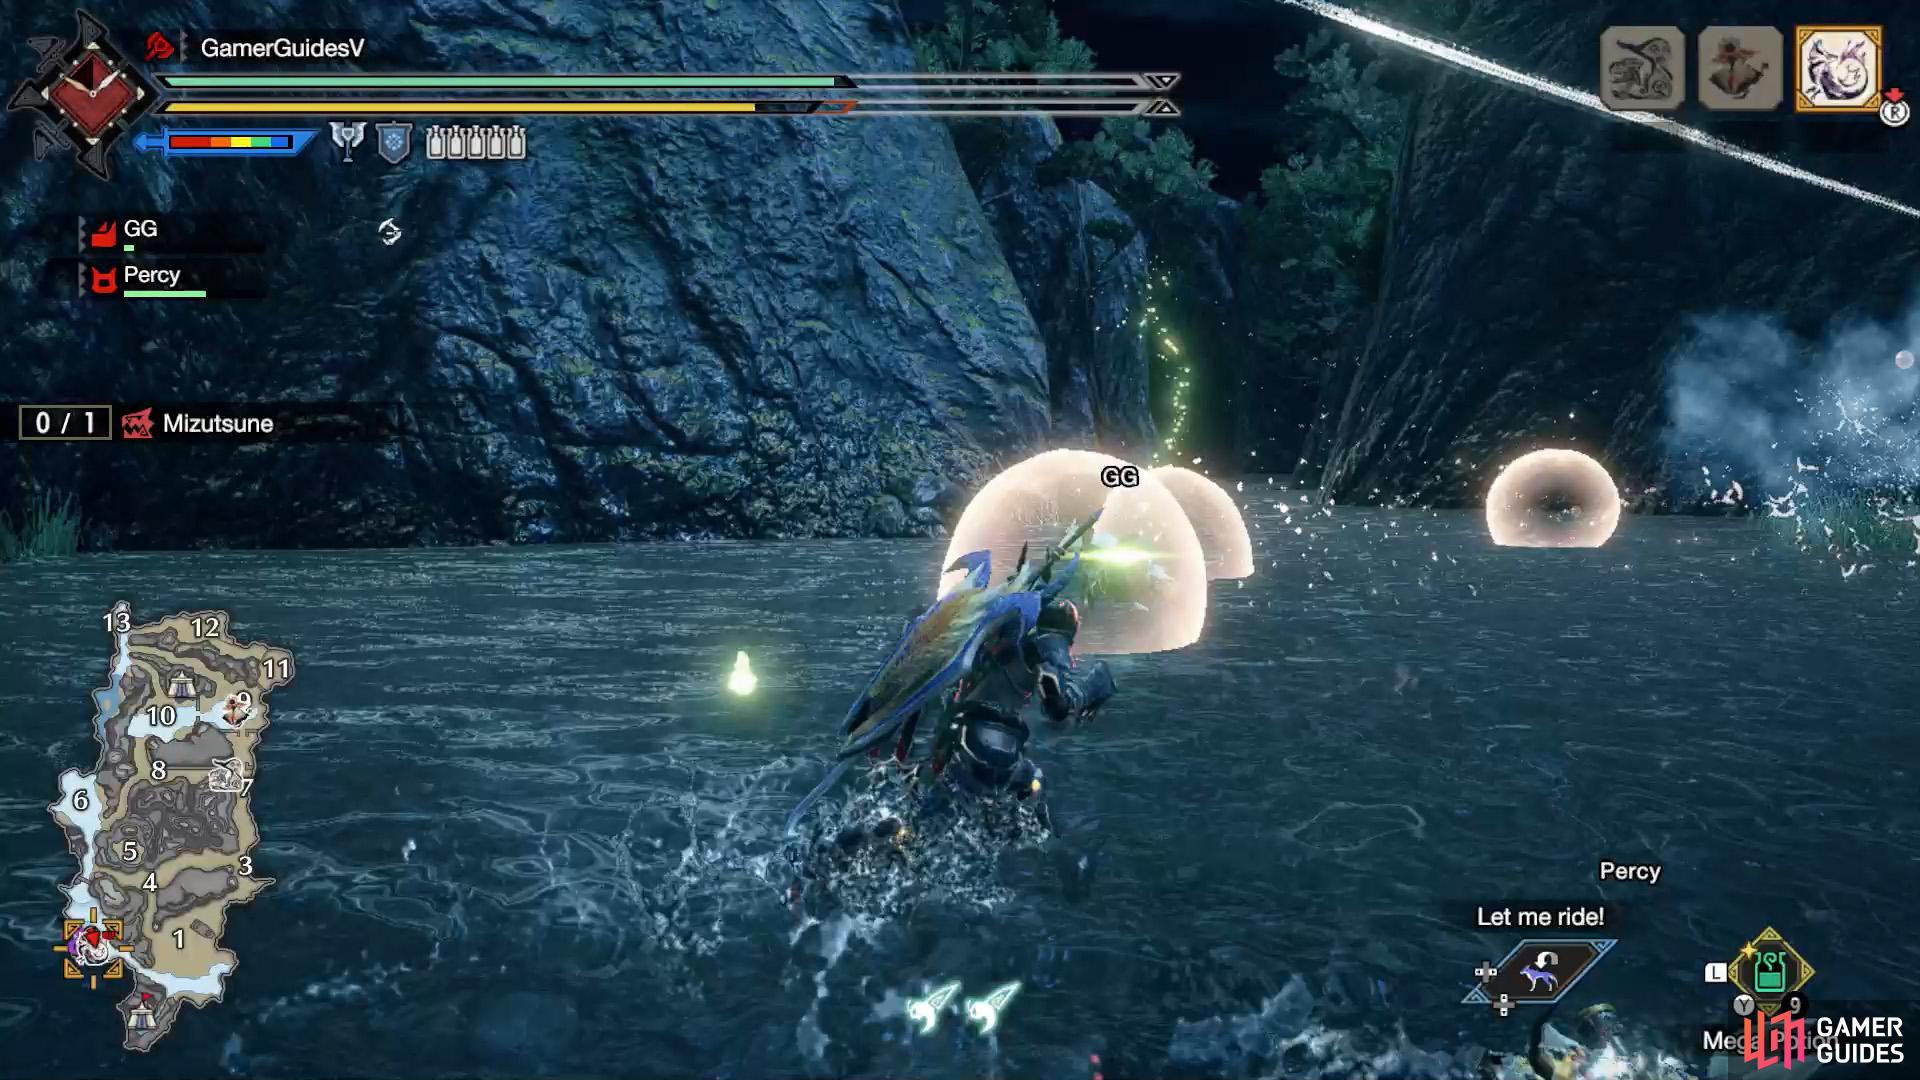
(1 of 2) Red bubbles are really obvious.
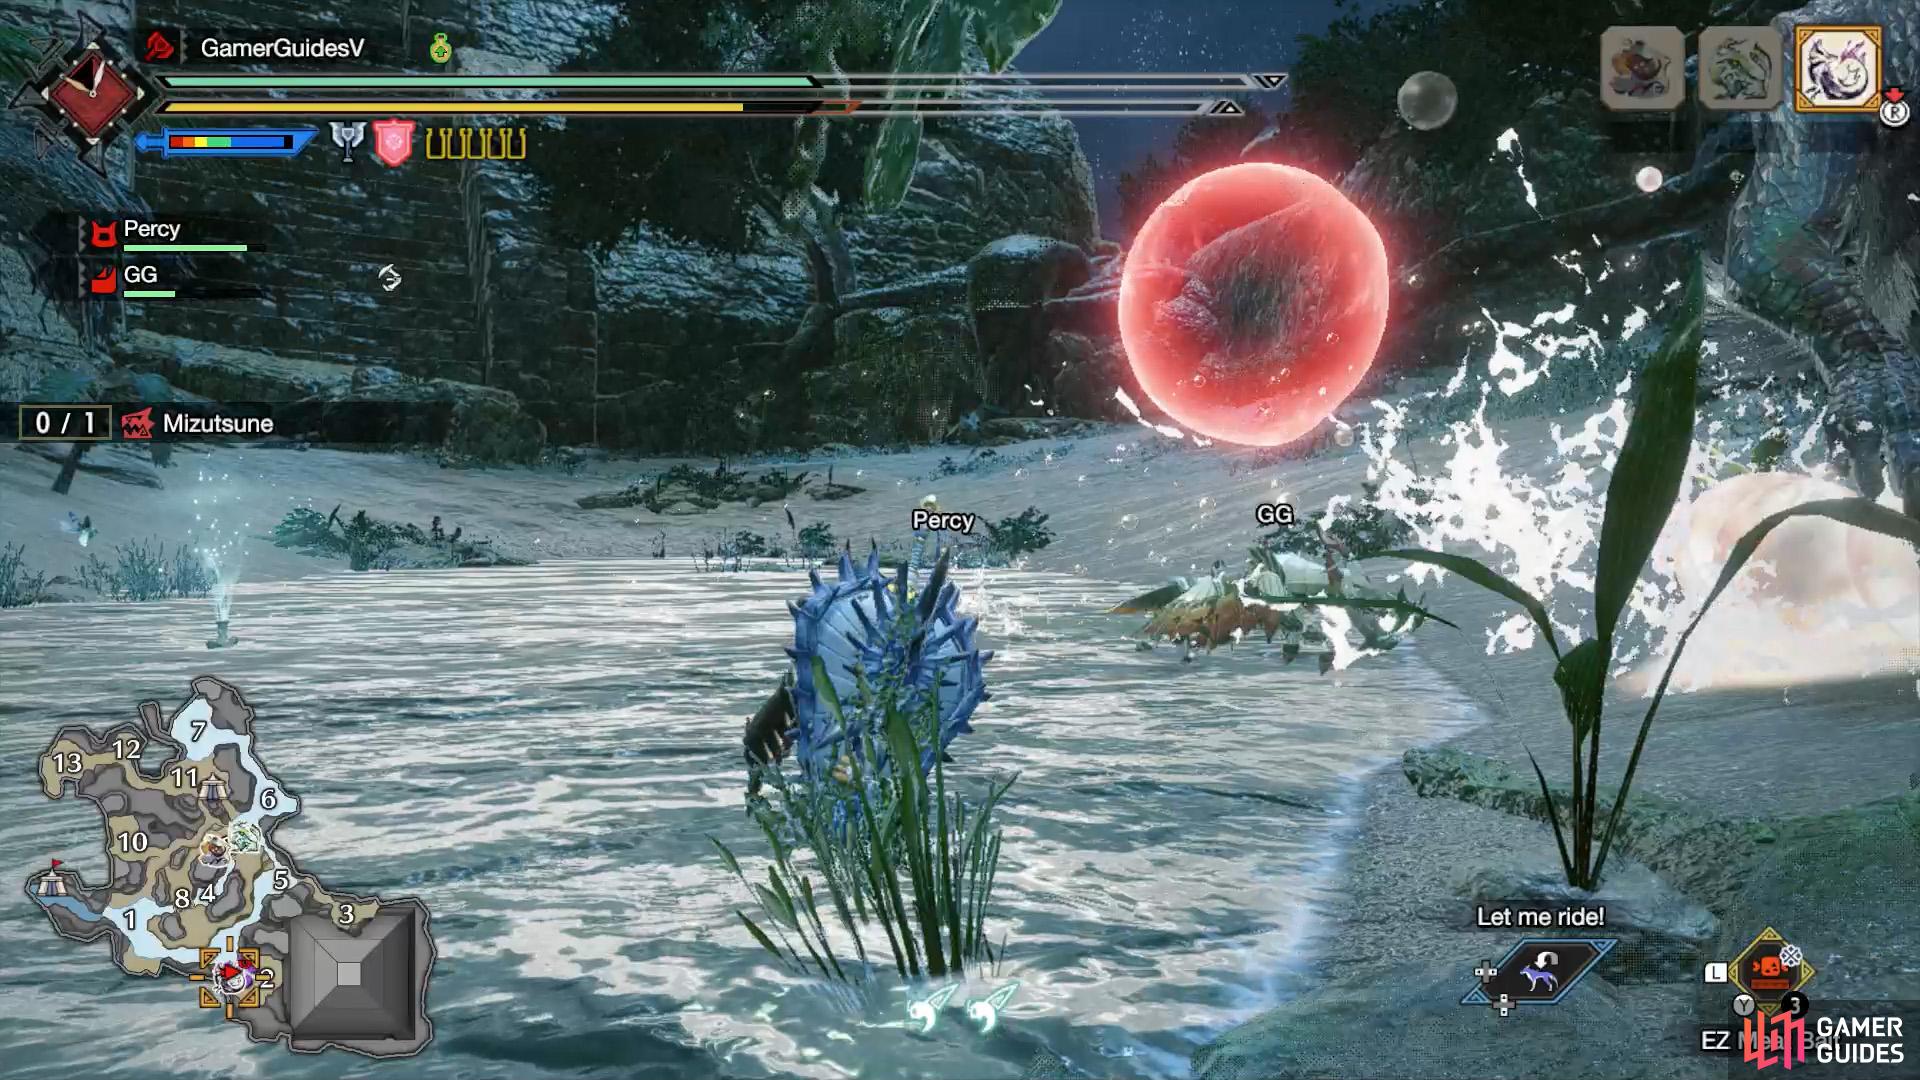

Red bubbles are really obvious. (left), Green bubbles are a bit more subtle. (right)
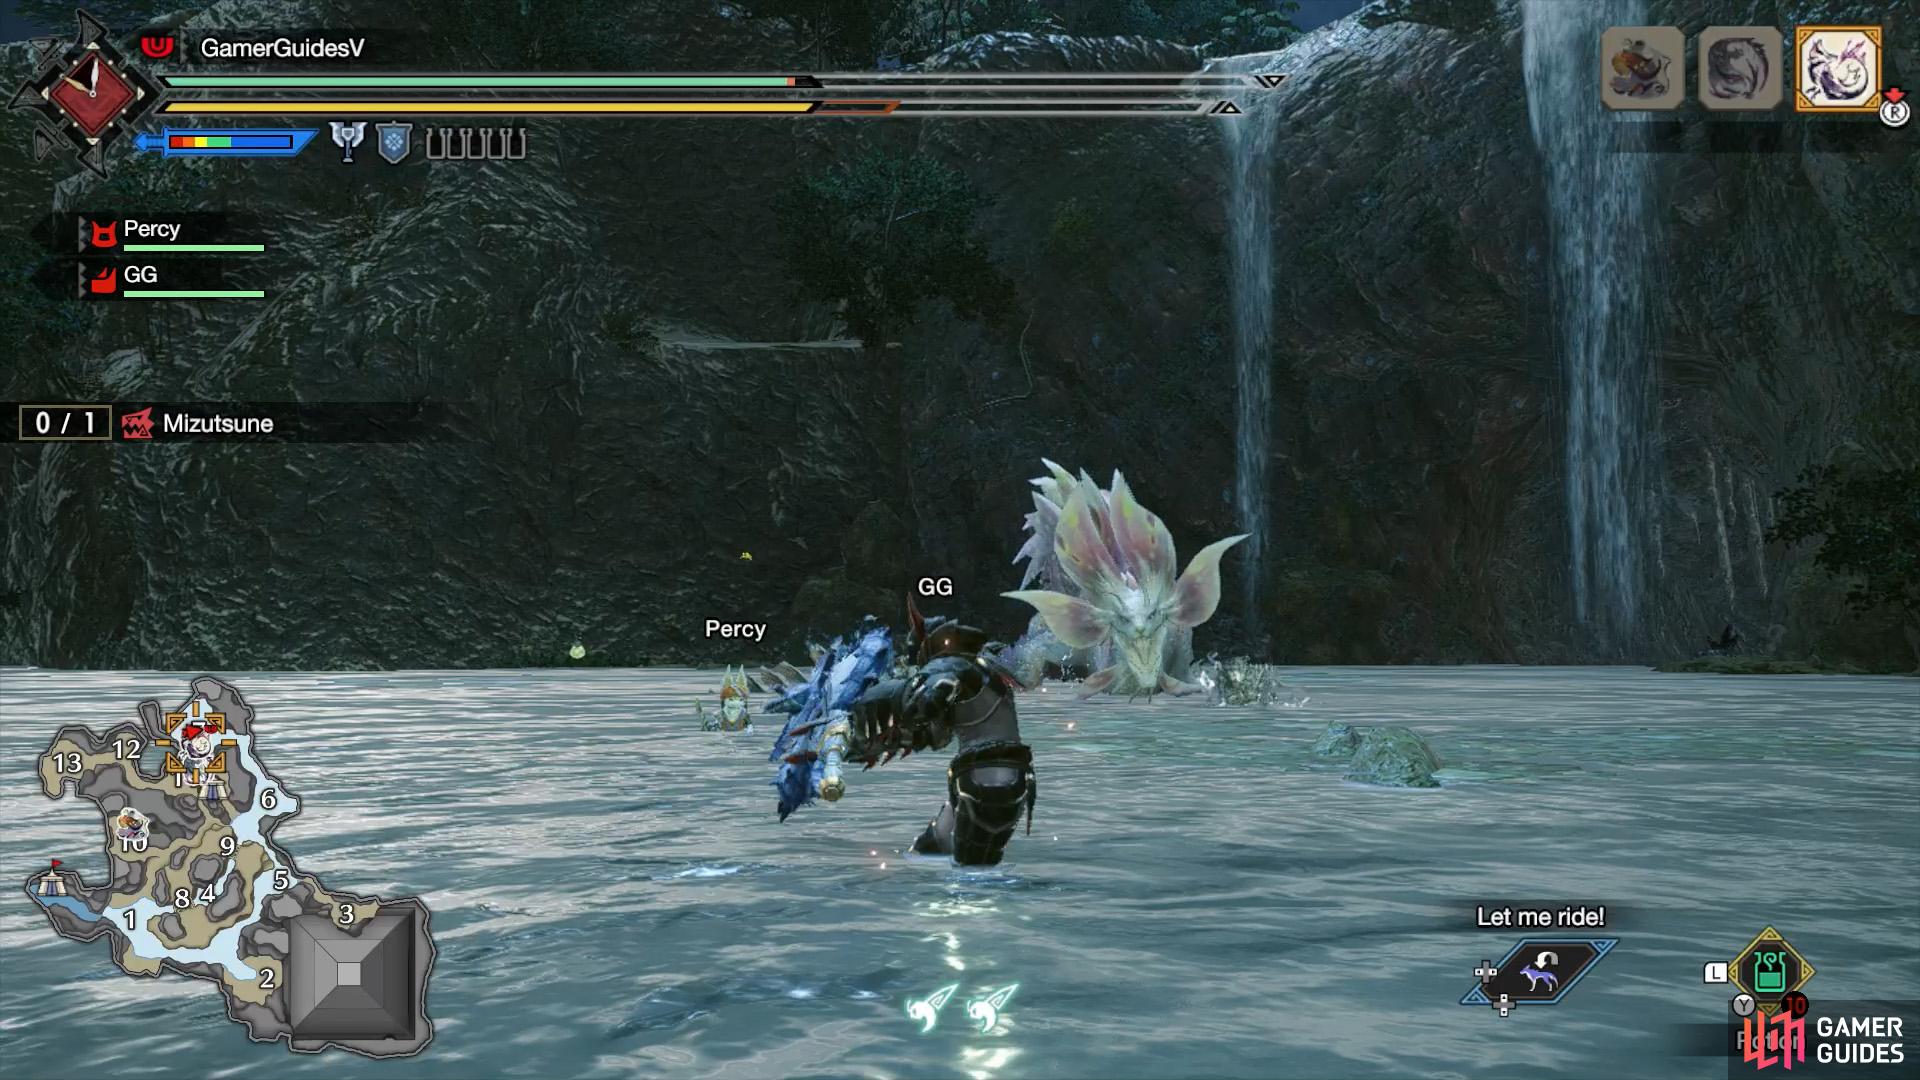
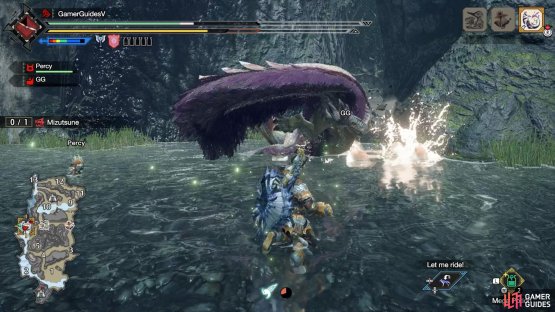
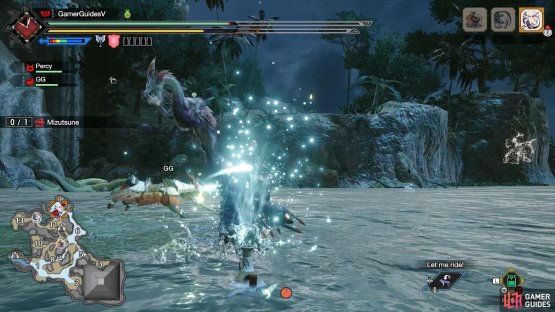
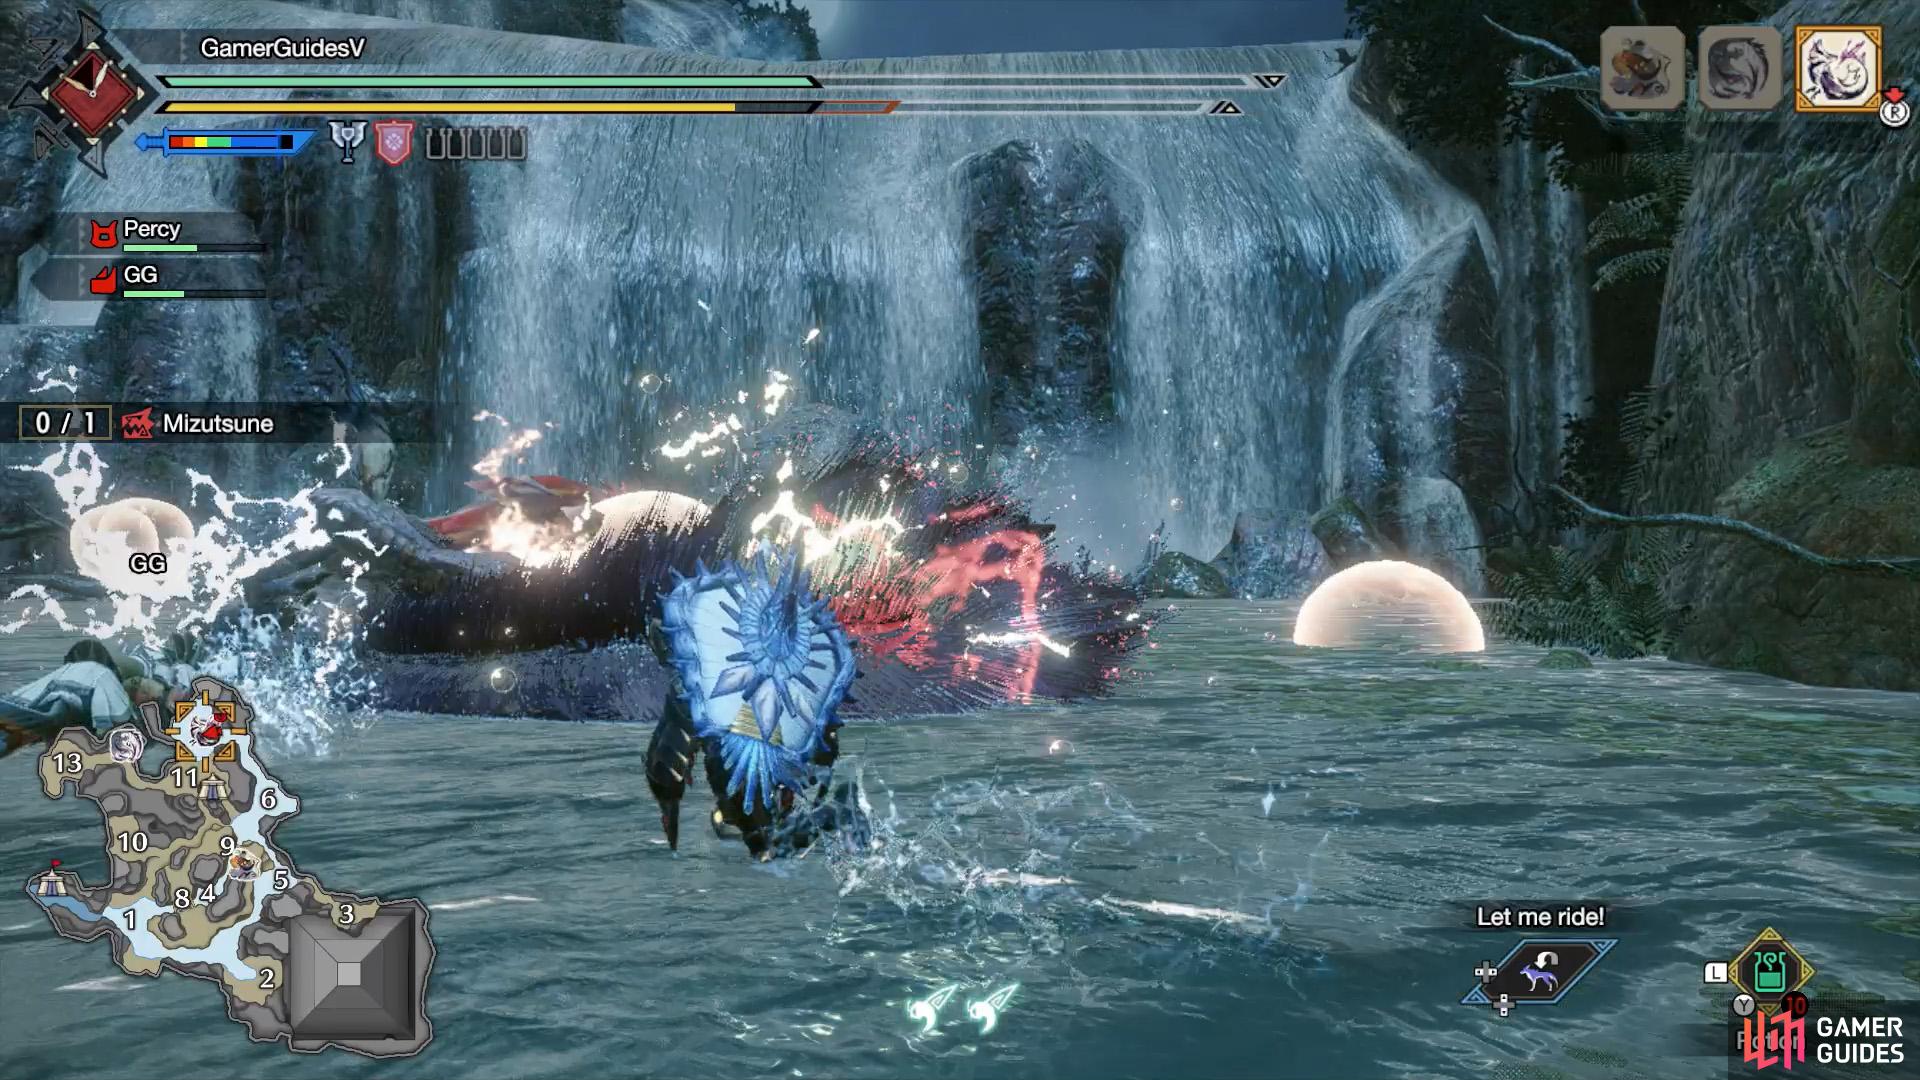
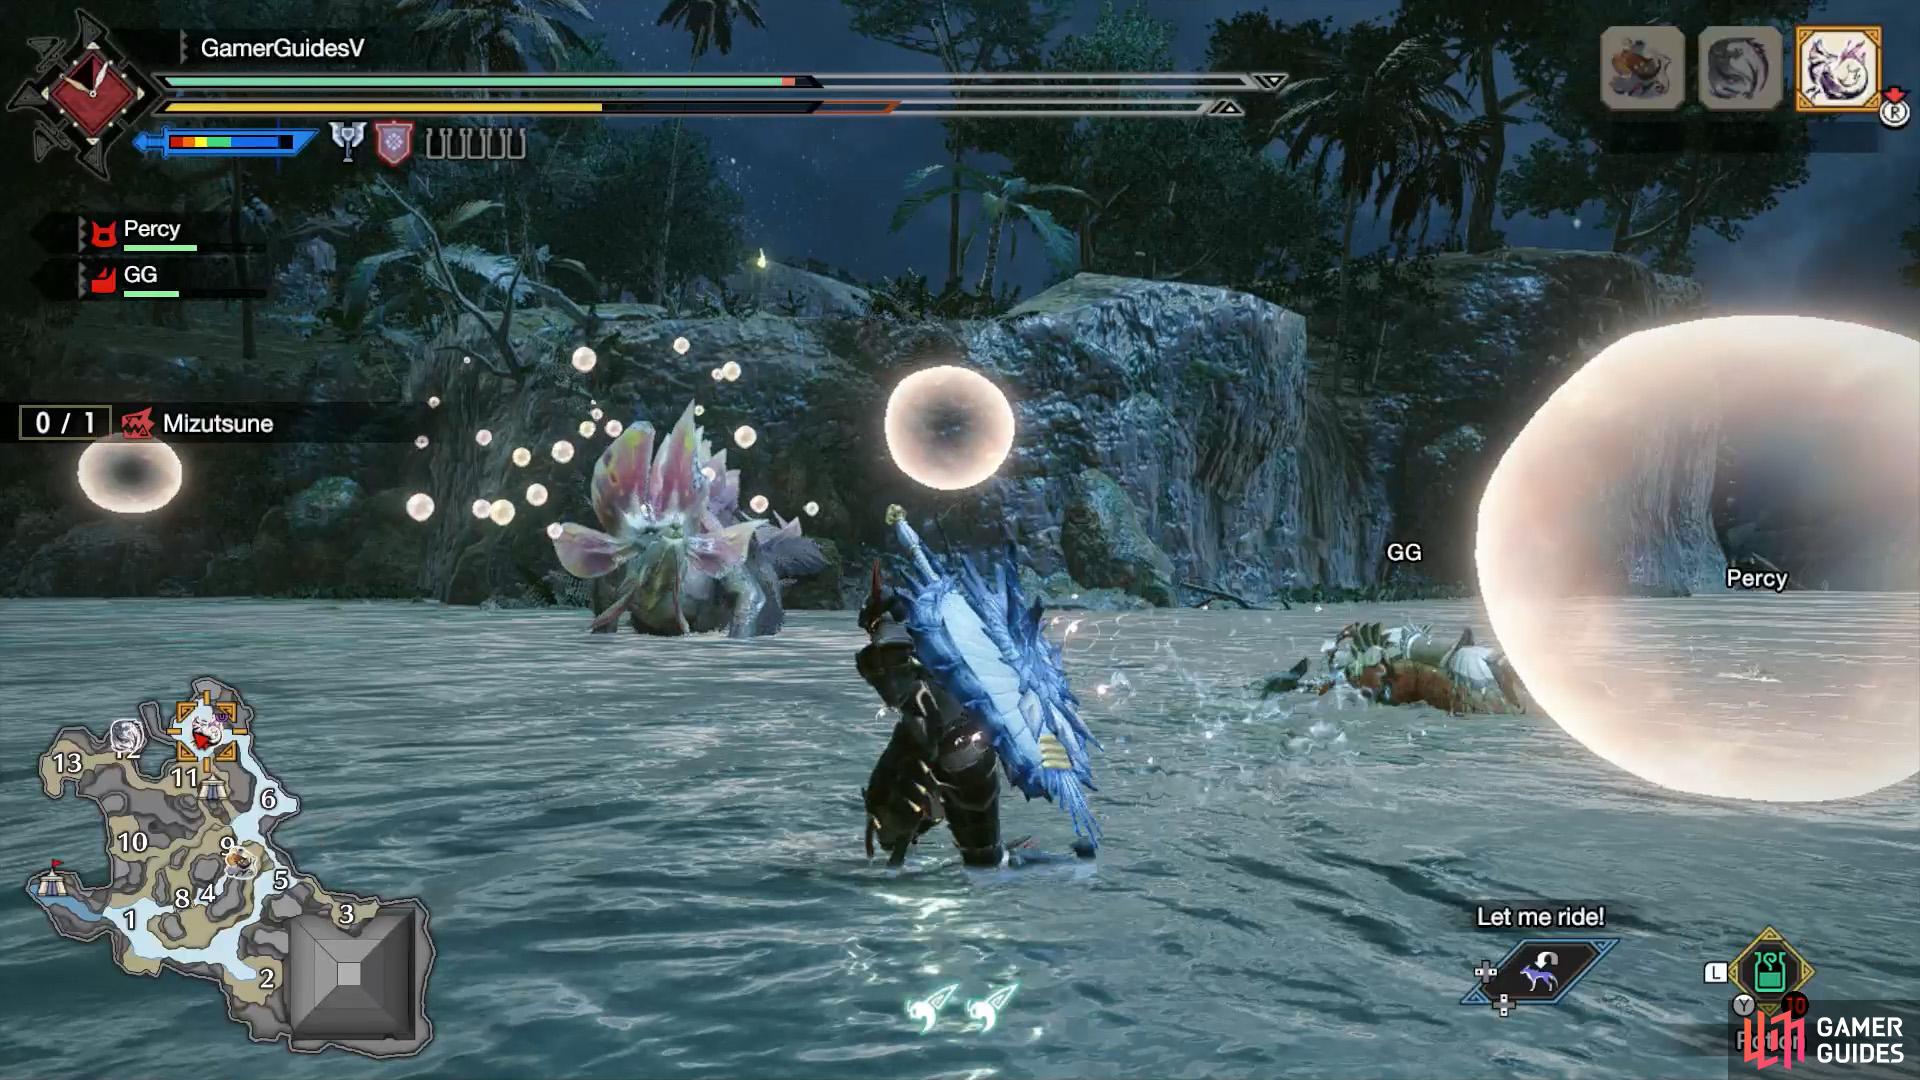
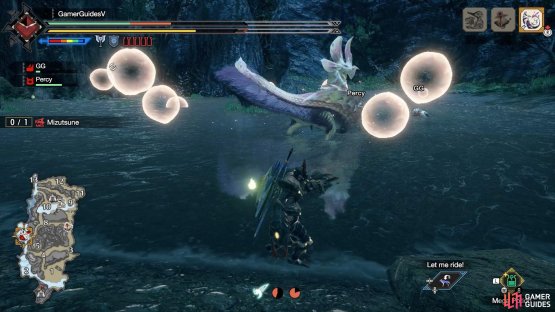
During the fight, Mizutsune will create lots of annoying bubbles. These come in three varities:
- Yellow: Inflicts a bit of damage; very common.
- Green: Heals a bit of HP.
- Red: Buffs your Attack.
No matter the color, if you burst 2 bubbles, you’ll be inflicted with bubbleblight, which causes you to slip as you move. This can be cured by running and rolling (although it can take a while), getting hit by a normal attack or using a Cleanser.
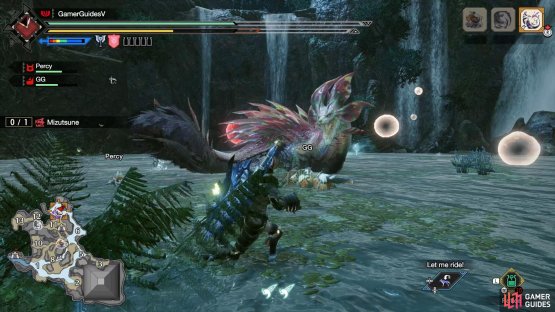
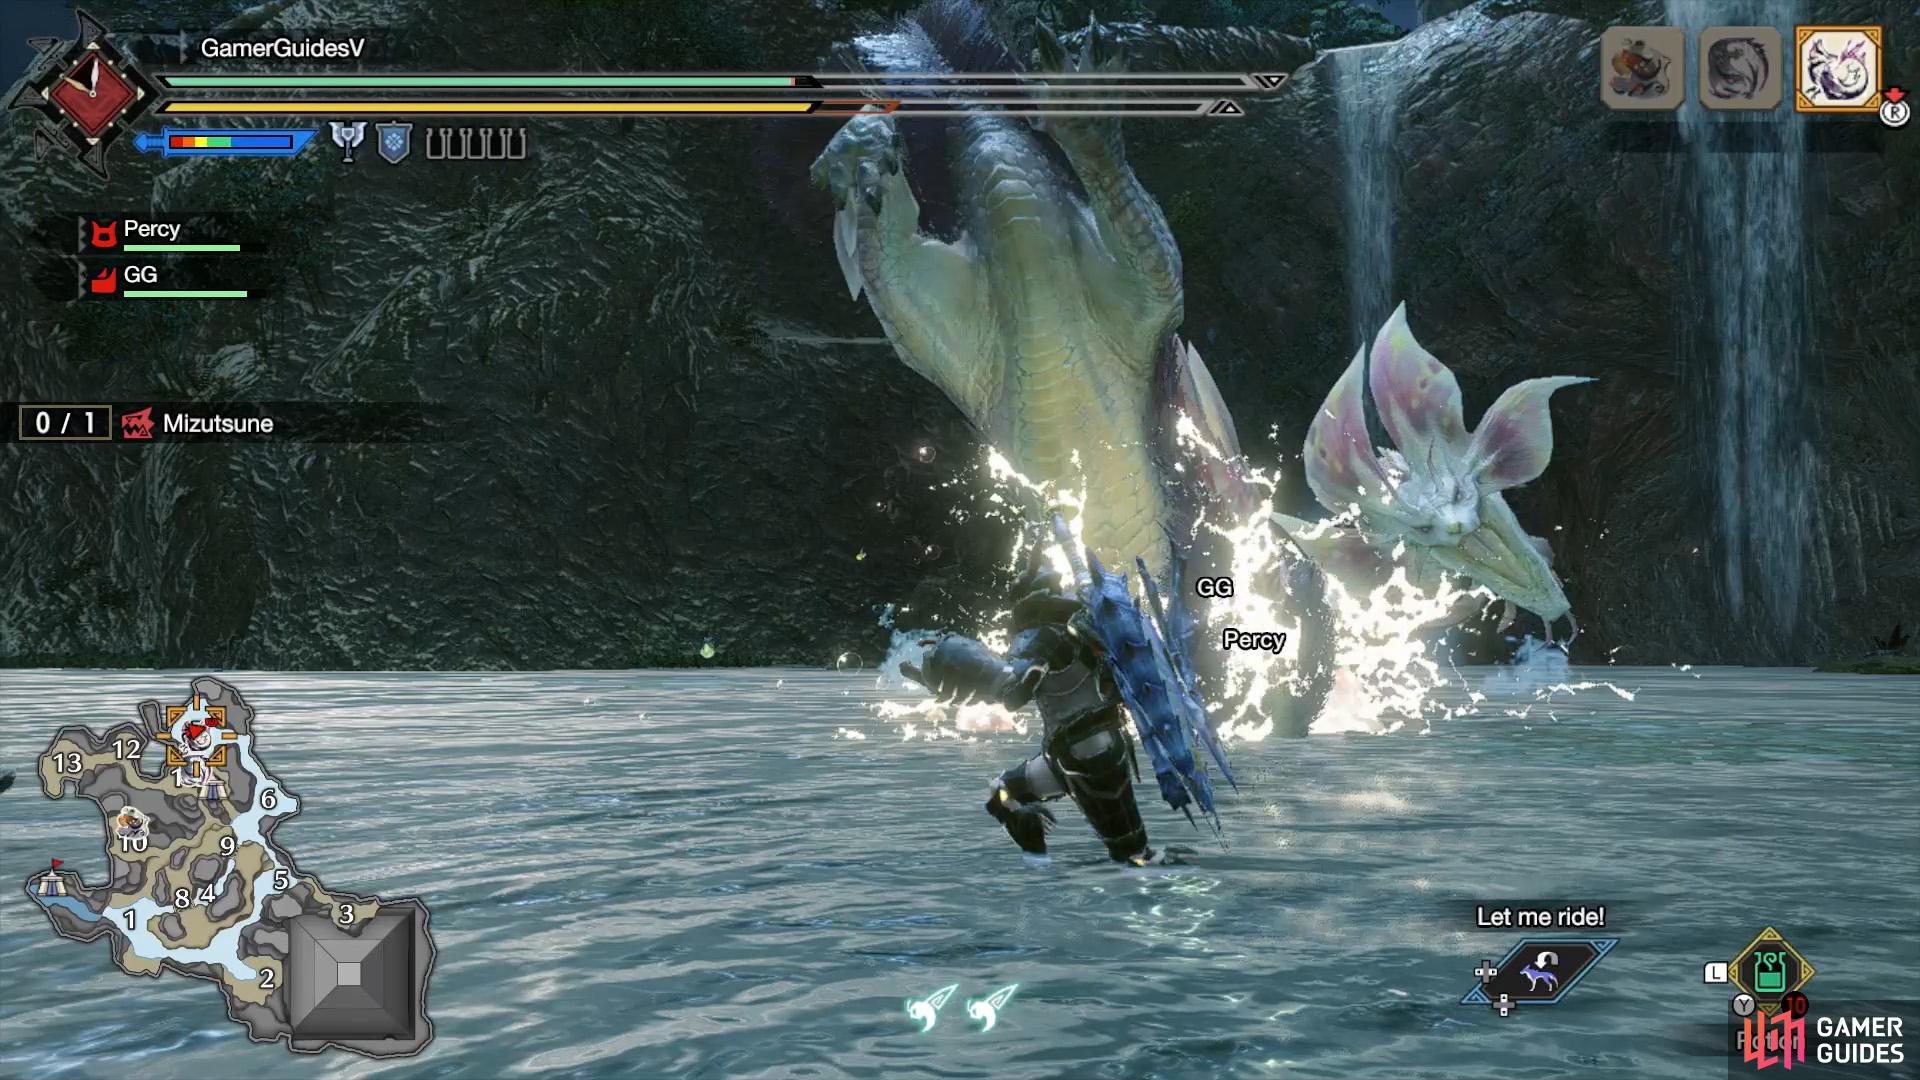
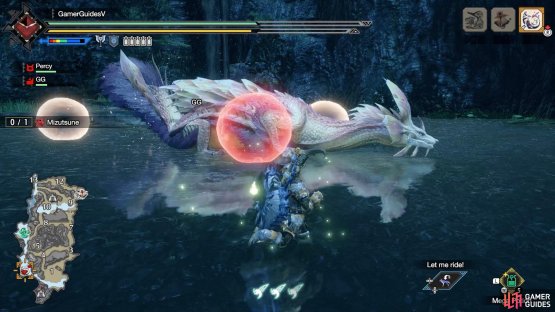
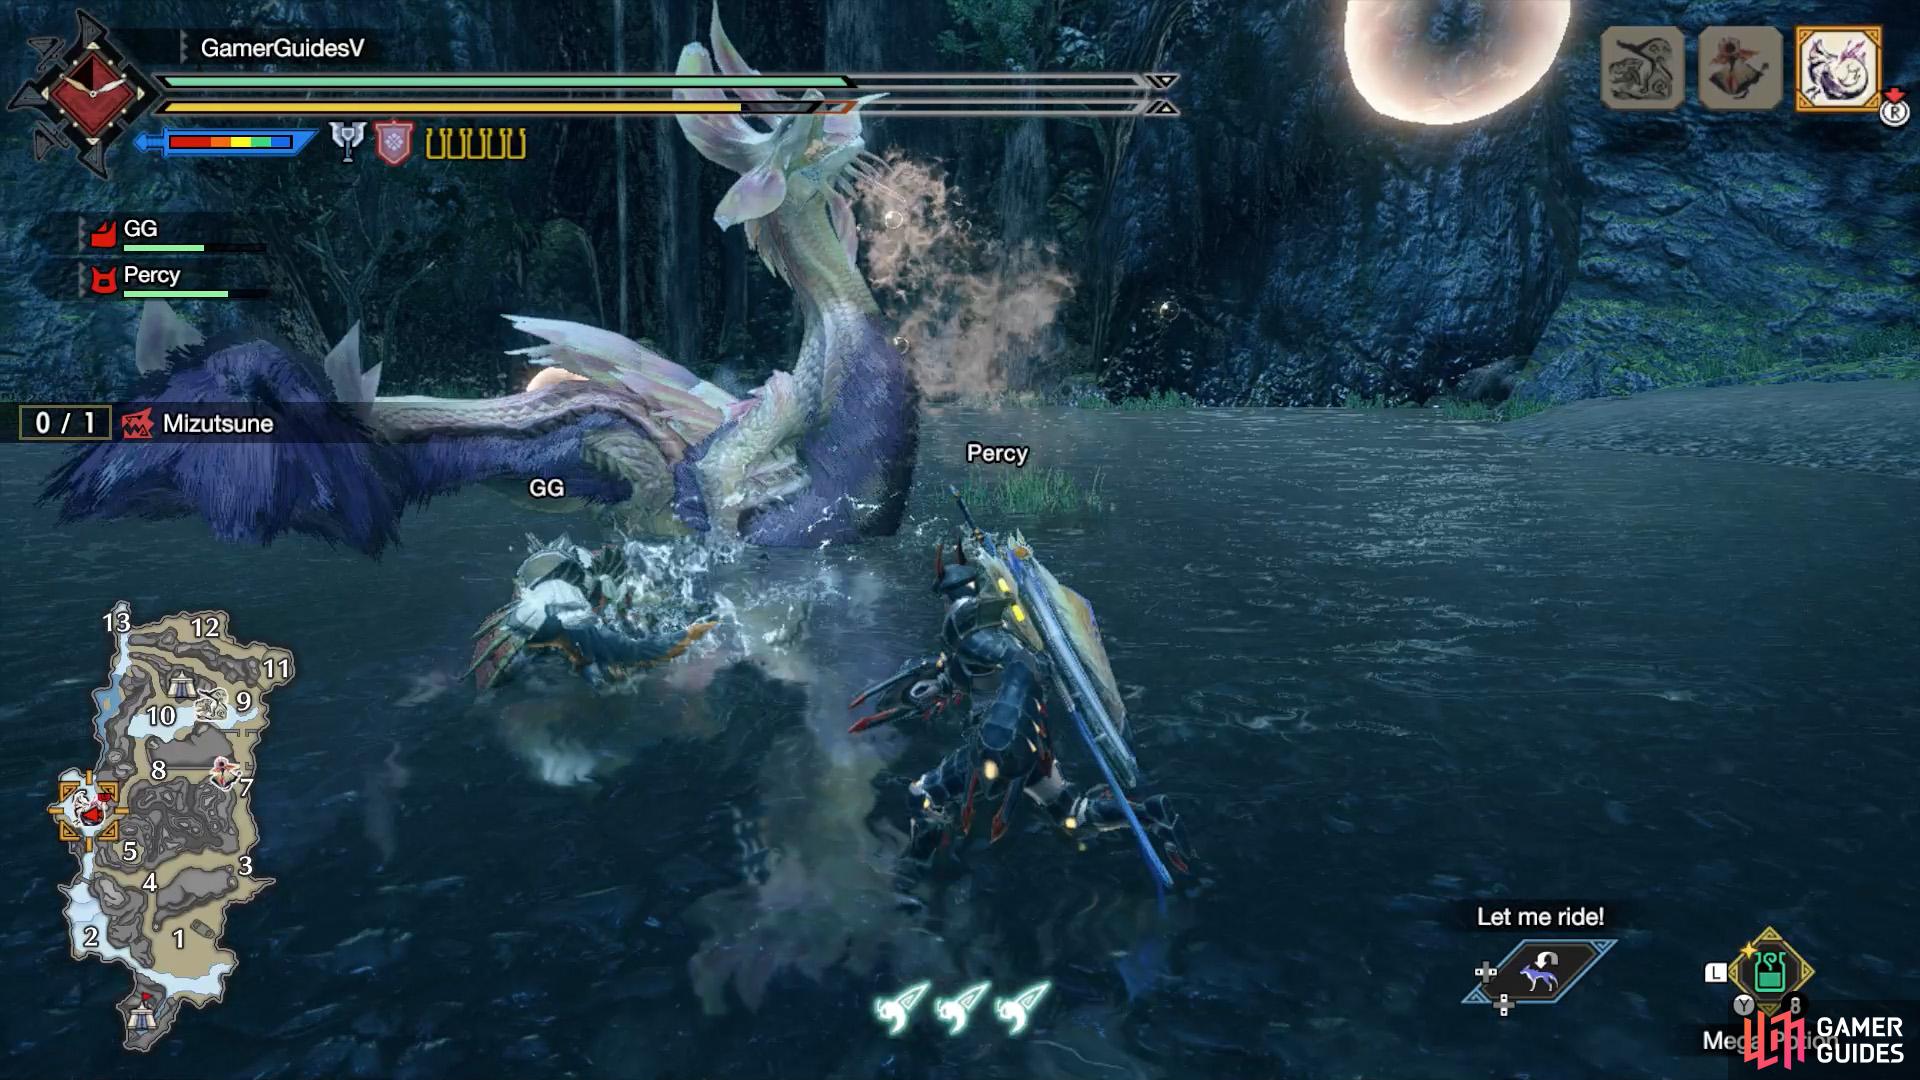
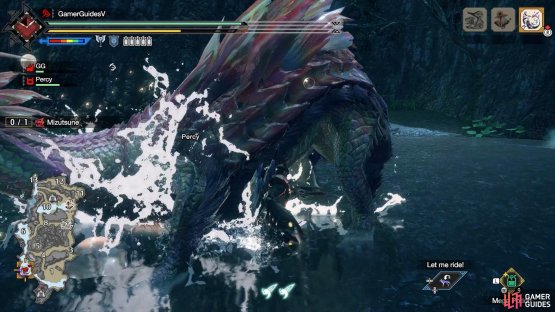
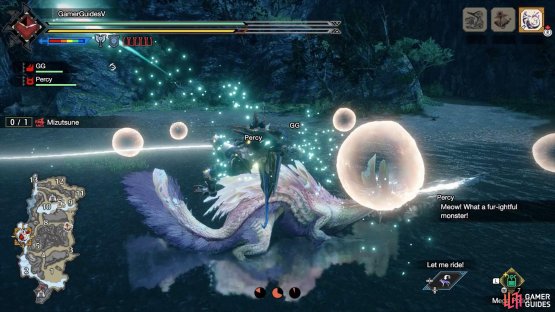
(1 of 2) That’s one scary-looking Mizutsune. Red fur means it’s enraged.


That’s one scary-looking Mizutsune. Red fur means it’s enraged. (left), If you deal enough damage to Mizutsune when it’s coated with bubbles, you can stun it. (right)
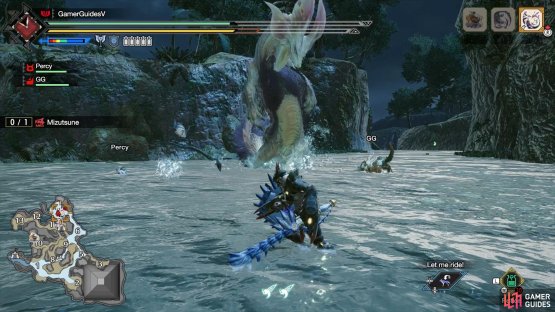
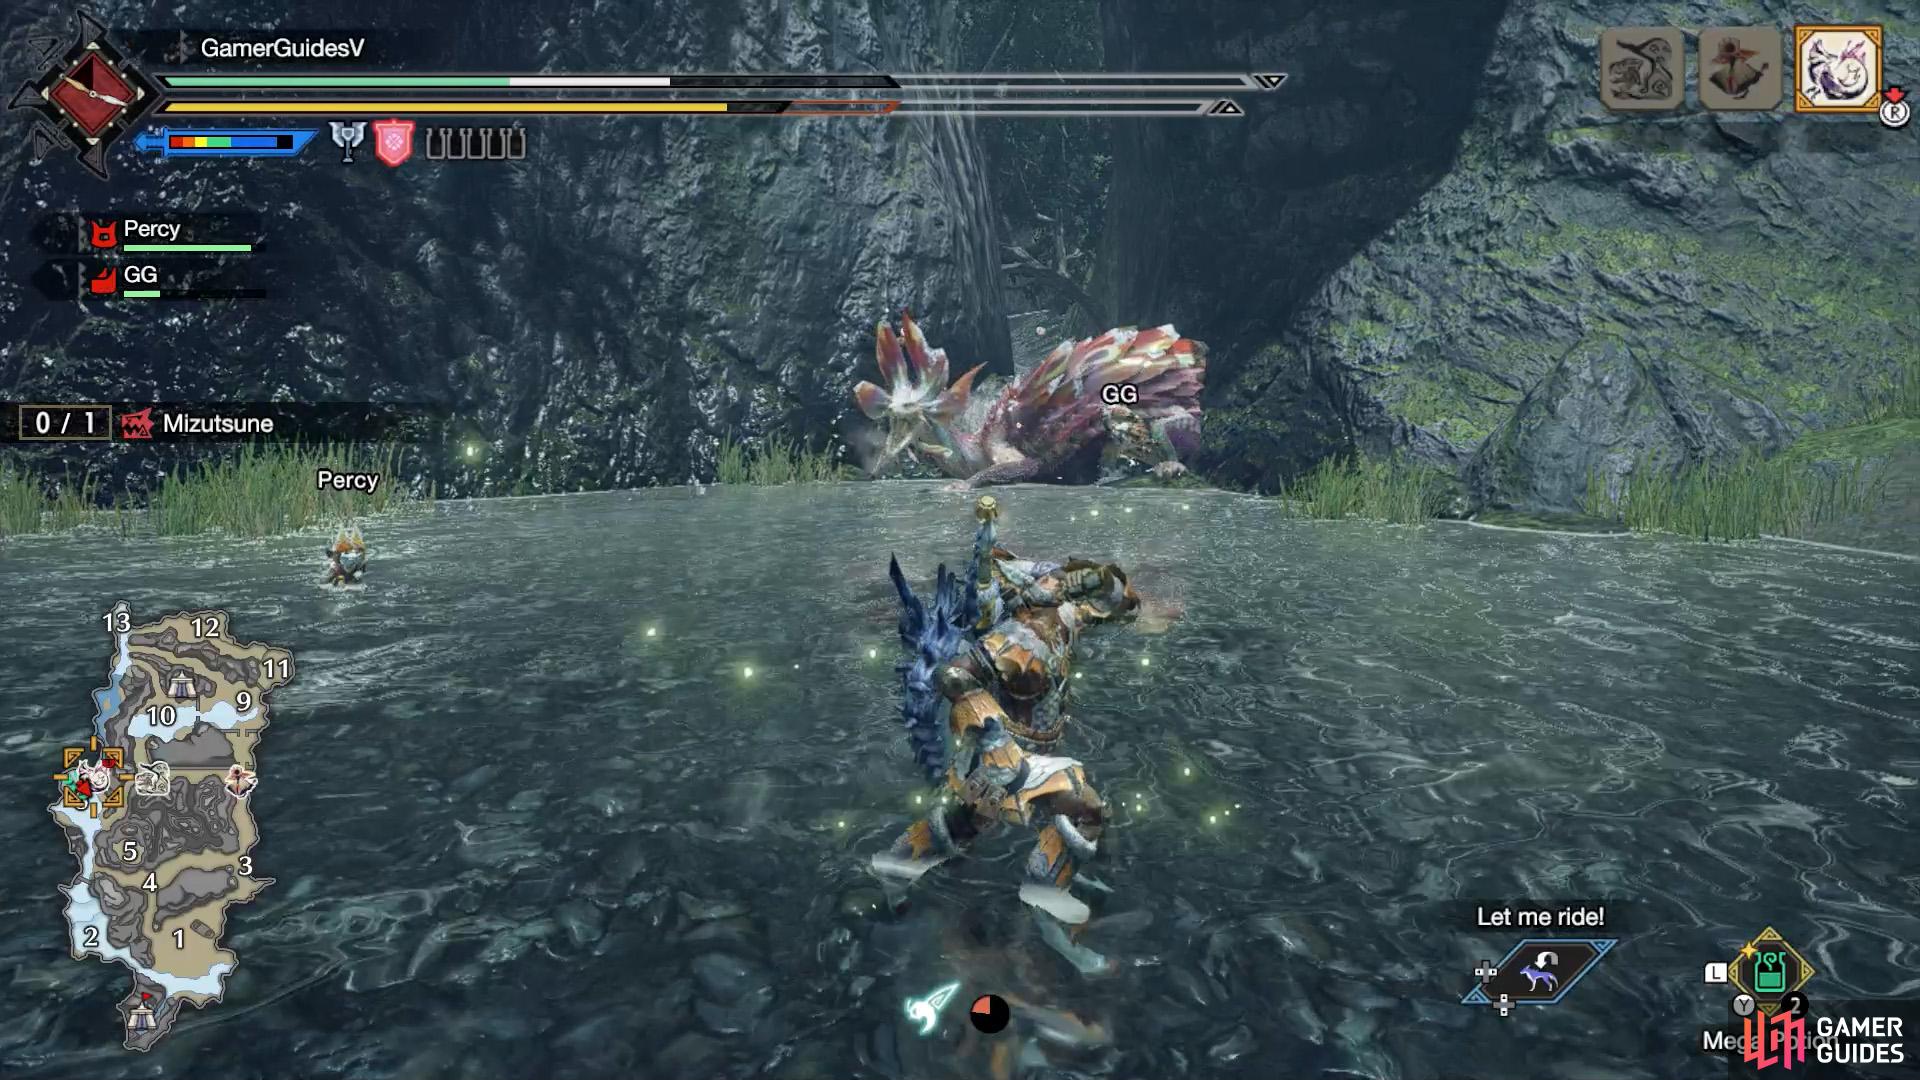
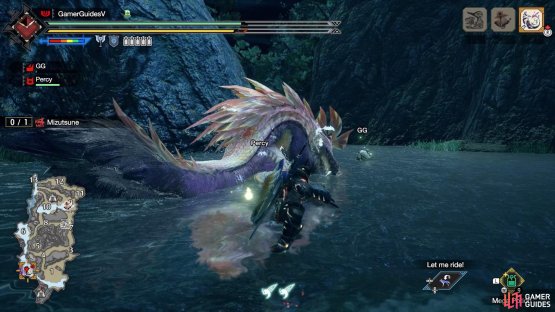
The other thing to watch out for is the color of Mizutsune’s fur. It will start as white with red hues. When Mizutsune becomes enraged, usually preceded by a roar, its fur will become a scary shade of red. Enraged Mizutsune will attack more aggressively.
In addition, enraged Mizutsune will coat its body will small bubbles, which lets it slide around, increasing its mobility. However, if you deal enough damage to Mizutsune, you’ll burst its bubble coating, knocking it backwards and stunning it for a good amount of time.


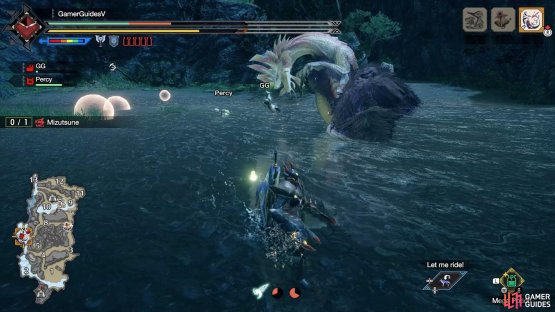
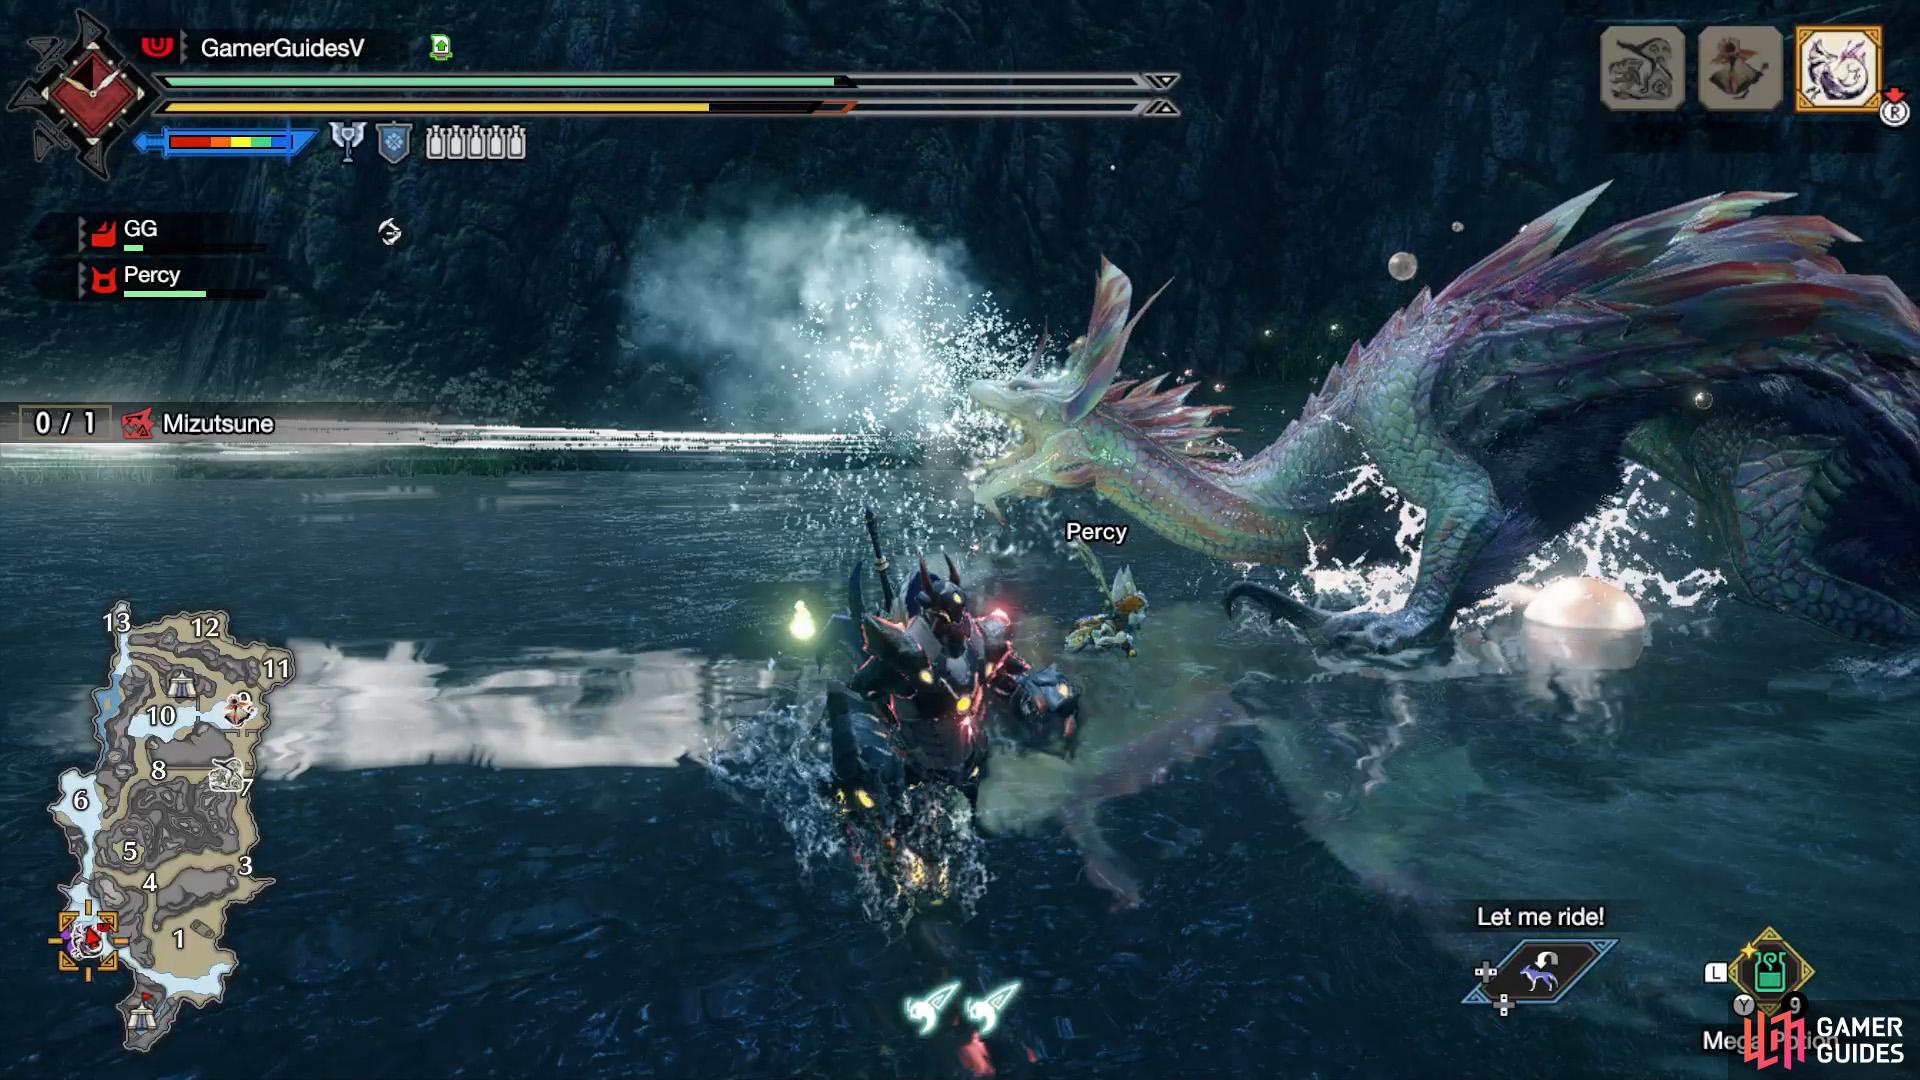
(1 of 2) Blue Mizutsune means it’s tired.
Blue Mizutsune means it’s tired. (left), When it’s tired, it’ll usually trip and stun itself after dashing. (right)
If you’re cautious, you can evade Mizutsune until its fur changes back to white. Finally, as you’re fighting, Mizutsune’s fur may become a blue shade, which indicates that it’s tired. This is a great chance to attack Mizutsune, because it’ll idle for long periods of time and some of its moves will fail.
Besides that, exercise caution at all times. Be especially wary of the Tail Slam and Spinning Slam attacks, which can knock you down and disable your wirebugs, preventing wirefall recovery. Mizutsune likes to use a powerful attack when you’re recovering, which can KO you if your health was already low.
In general, the safest place to be is by the side of Mizutsune–near its tail and hind legs. This lets you avoid a good portion of Mizutsune’s attacks. However, you can be hit by a dangerous Spinning Slam, so don’t be too greedy with your attacks and remember to move away after a while. Of course, since Mizutsune is very agile, you’ll need to frequently re-position yourself anyway.
Material Drops (Low Rank)
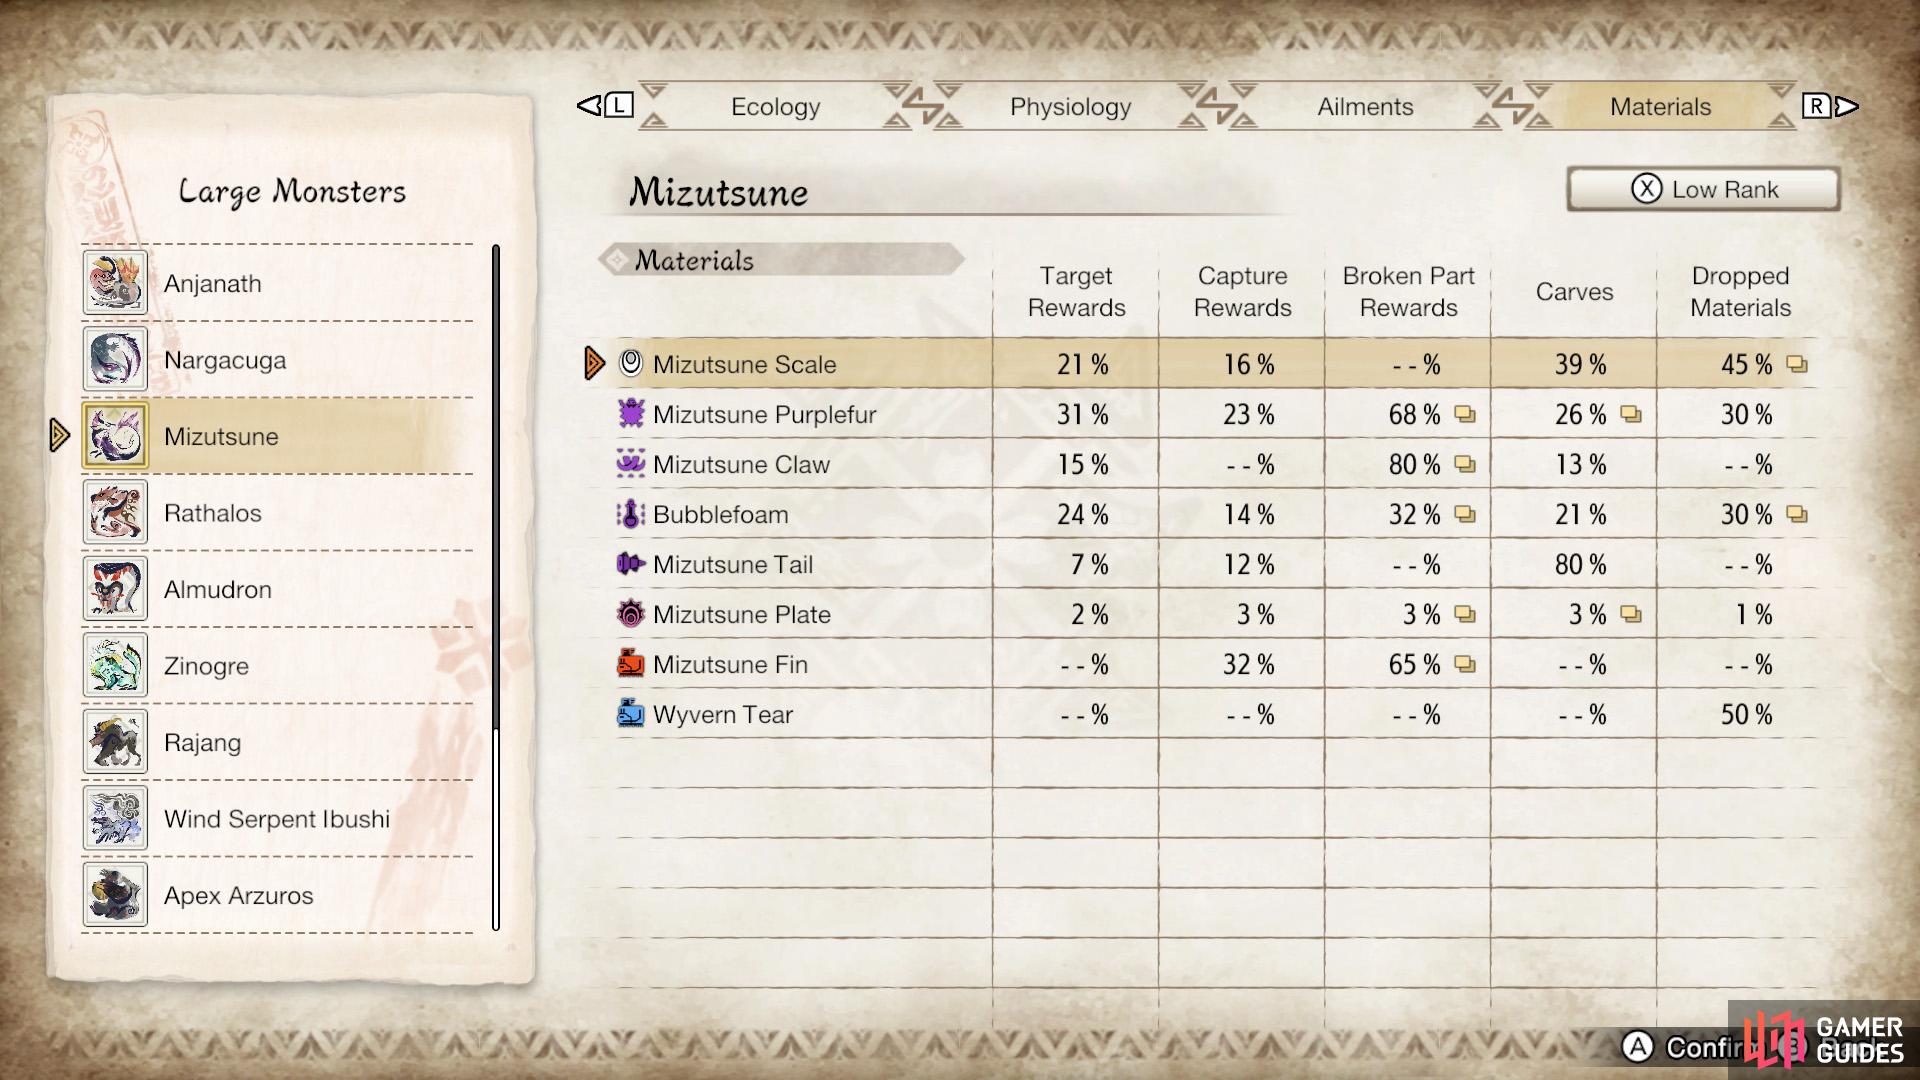
Mizutsune’s Low Rank drops.
Target Rewards
| Material | Drop Rate (%) |
|---|---|
| Mizutsune Scale | 21% |
| Mizutsune Purplefur | 31% |
| Mizutsune Claw | 15% |
| Bubblefoam | 24% |
| Mizutsune Tail | 7% |
| Mizutsune Plate | 2% |
Capture Rewards
| Material | Drop Rate (%) |
|---|---|
| Mizutsune Scale | 16% |
| Mizutsune Purplefur | 23% |
| Bubblefoam | 14% |
| Mizutsune Tail | 12% |
| Mizutsune Plate | 3% |
| Mizutsune Fin | 32% |
Broken Part Rewards
| Material | Drop Rate (%) |
|---|---|
| Mizutsune Purplefur | Dorsal Fin - 30%, Right/Left Claw - 20%, Tail - 68% |
| Mizutsune Claw | Left/Right Claw - 80% |
| Bubblefoam | Head - 32%, Tail - 30% |
| Mizutsune Plate | Head - 3%, Tail - 2% |
| Mizutsune Fin | Head - 65%, Dorsal Fin - 60% (x1), 10% (x2) |
Carves
| Material | Drop Rate (%) |
|---|---|
| Mizutsune Scale | Body - 39% |
| Mizutsune Purplefur | Body - 26%, Tail - 17% |
| Mizutsune Claw | Body - 13% |
| Bubblefoam | Body - 21% |
| Mizutsune Tail | Tail - 80% |
| Mizutsune Plate | Body - 1%, Tail - 3% |
Dropped Materials
| Material | Drop Rate (%) |
|---|---|
| Mizutsune Scale | 19%, 45% |
| Mizutsune Purplefur | 0%, 30% |
| Bubblefoam | 30%, 25% (x2) |
| Mizutsune Plate | 1%, 0% |
| Wyvern Tear | 50%, 0% |
Material Drops (High Rank)
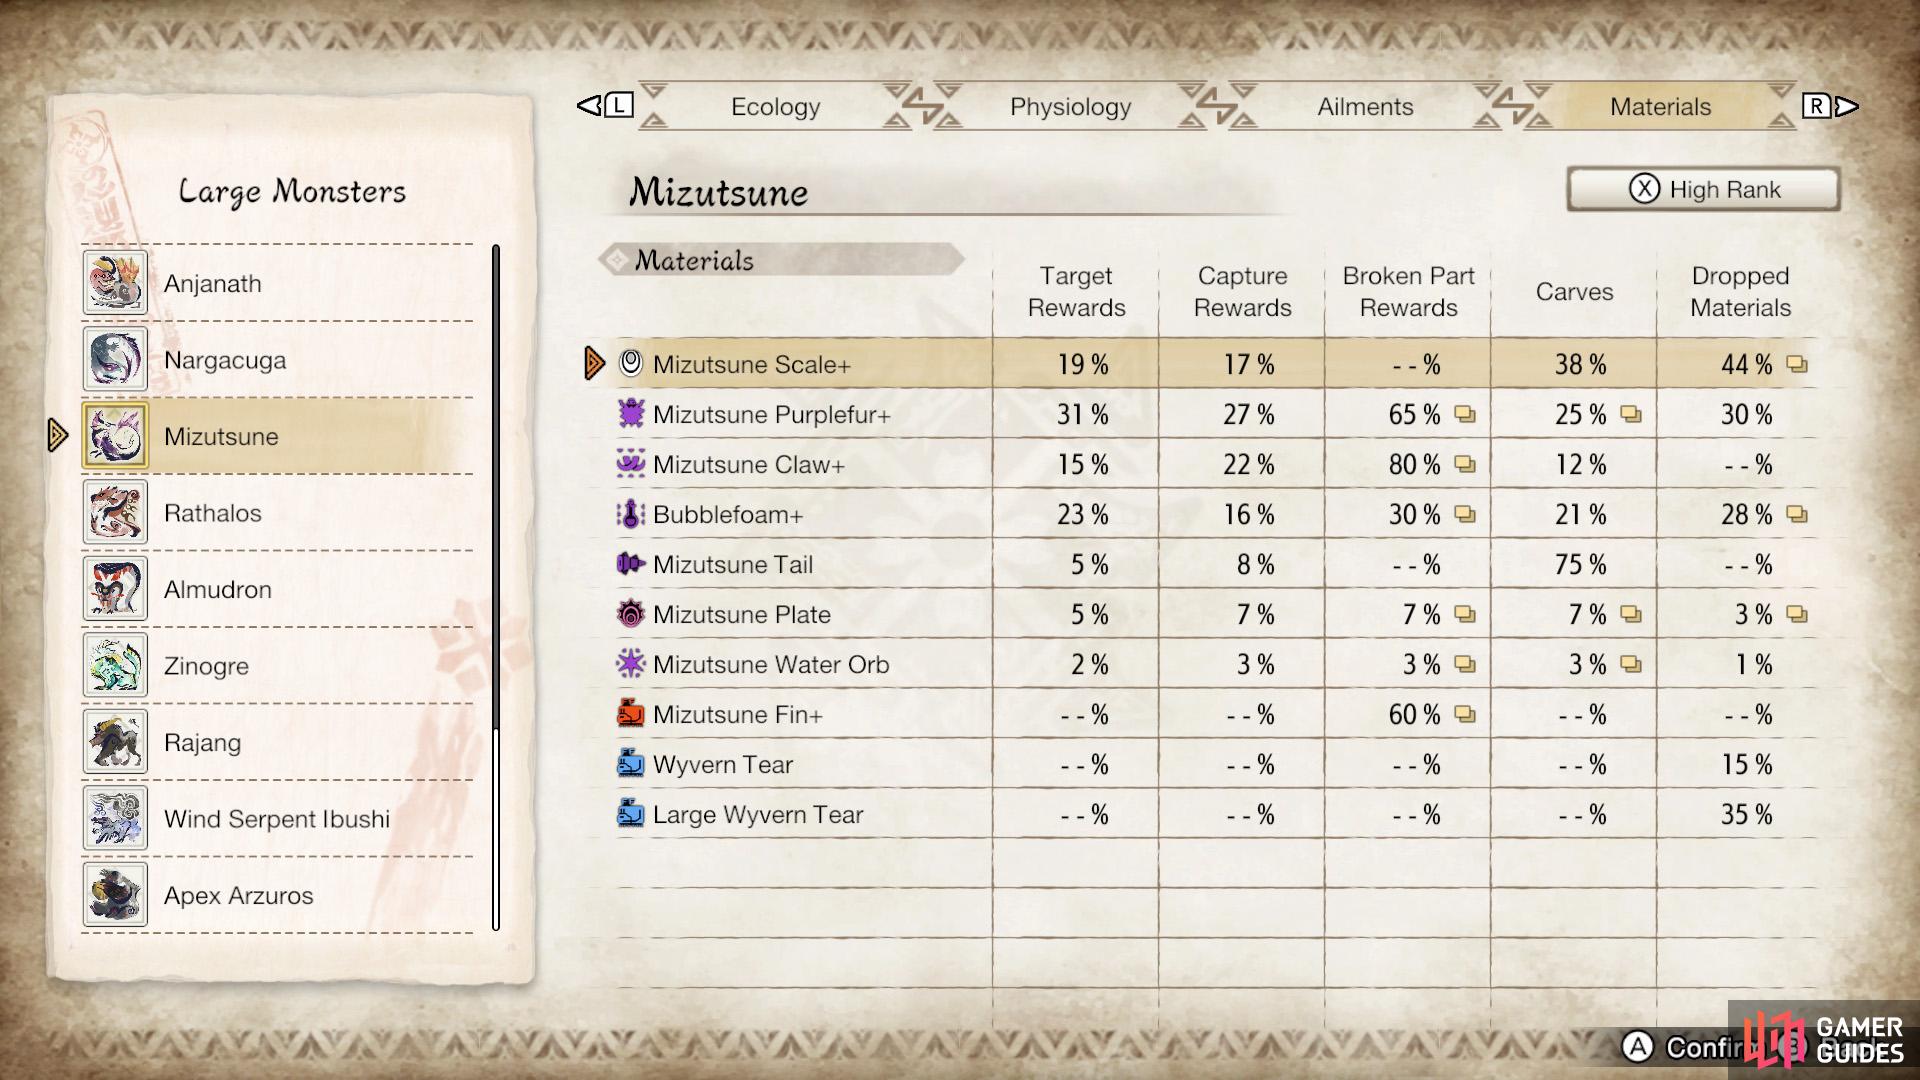
Mizutsune’s High Rank drops.
Target Rewards (HR)
| Material | Drop Rate (%) |
|---|---|
| Mizutsune Scale+ | 19% |
| Mizutsune Purplefur+ | 31% |
| Mizutsune Claw+ | 15% |
| Bubblefoam+ | 23% |
| Mizutsune Tail | 5% |
| Mizutsune Plate | 5% |
| Mizutsune Water Orb | 2% |
Capture Rewards (HR)
| Material | Drop Rate (%) |
|---|---|
| Mizutsune Scale+ | 17% |
| Mizutsune Purplefur+ | 27% |
| Mizutsune Claw+ | 22% |
| Bubblefoam+ | 16% |
| Mizutsune Tail | 8% |
| Mizutsune Plate | 7% |
| Mizutsune Water Orb | 3% |
Broken Part Rewards (HR)
| Material | Drop Rate (%) |
|---|---|
| Mizutsune Purplefur+ | Dorsal Fin - 30%, Right/Left Claw - 20%, Tail - 68% |
| Mizutsune Claw+ | Left/Right Claw - 80% |
| Bubblefoam+ | Head - 30%, Tail - 28% |
| Mizutsune Plate | Head - 7%, Tail - 5% |
| Mizutsune Water Orb | Head - 3%, Tail - 2% |
| Mizutsune Fin+ | Head - 65%, Dorsal Fin - 60% (x1), 10% (x2) |
Carves (HR)
| Material | Drop Rate (%) |
|---|---|
| Mizutsune Scale+ | Body - 38% |
| Mizutsune Purplefur+ | Body - 25%, Tail - 15% |
| Mizutsune Claw+ | Body - 12% |
| Bubblefoam+ | Body - 21% |
| Mizutsune Tail | Tail - 75% |
| Mizutsune Plate | Body - 3%, Tail - 7% |
| Mizutsune Water Orb | Body - 1%, Tail - 3% |
Dropped Materials (HR)
| Material | Drop Rate (%) |
|---|---|
| Mizutsune Scale+ | 18%, 44% |
| Mizutsune Purplefur+ | 0%, 30% |
| Bubblefoam+ | 28%, 25% (x2) |
| Mizutsune Plate | 3%, 1% |
| Mizutsune Water Orb | 1%, 0% |
| Wyvern Tear | 15%, 0% |
| Large Wyvern Tear | 35%, 0% |
No Comments