
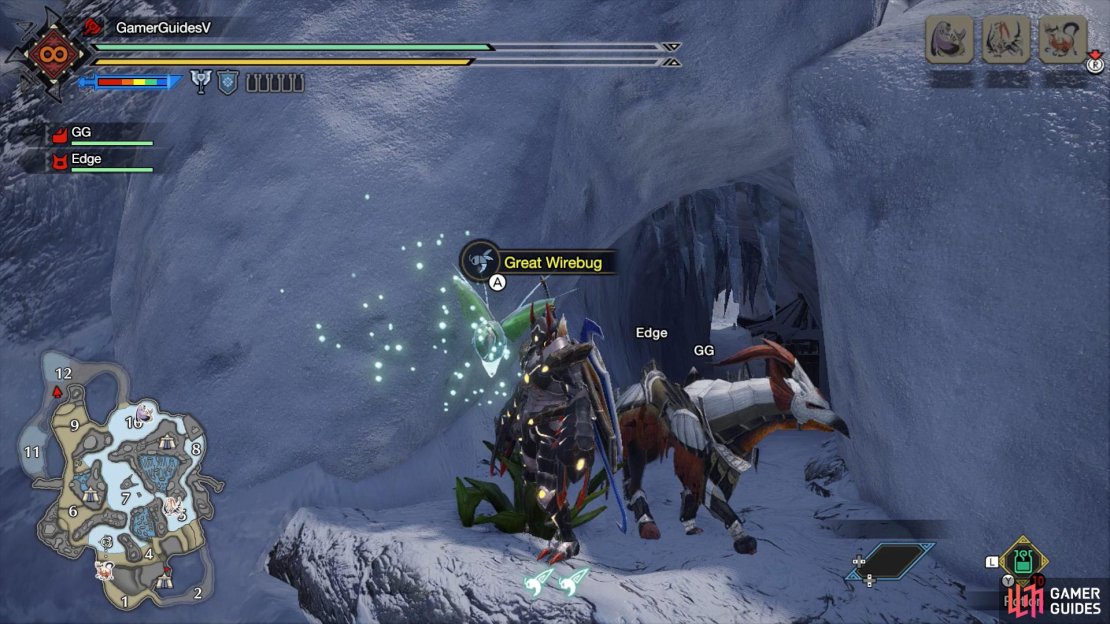
This page will help you find all the Great Wirebugs and Jewel Lilies in the Frost Islands.
What are Great Wirebugs/Jewel Lilies?
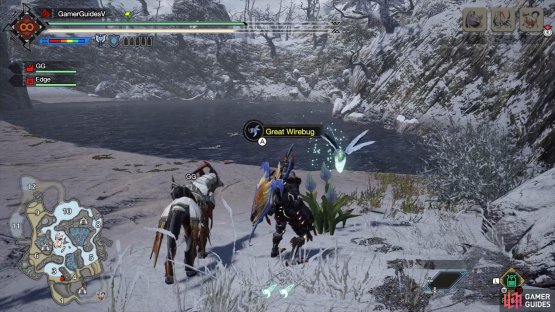
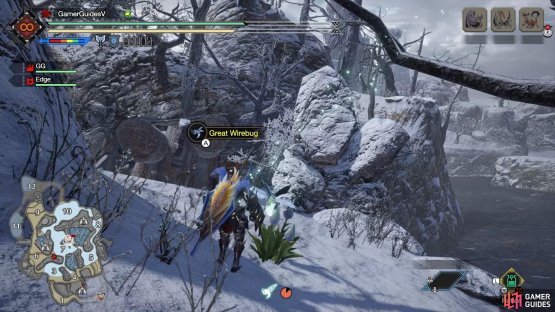
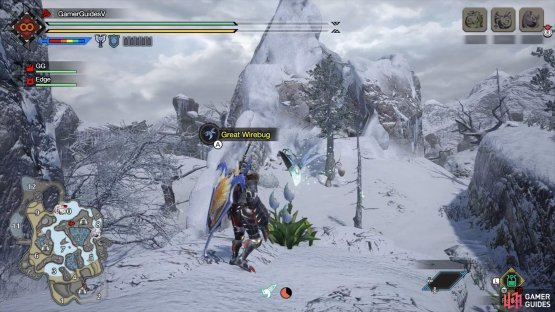
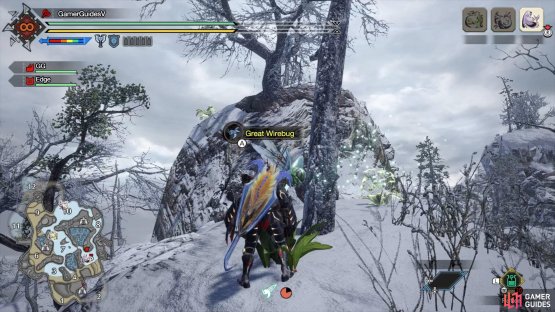
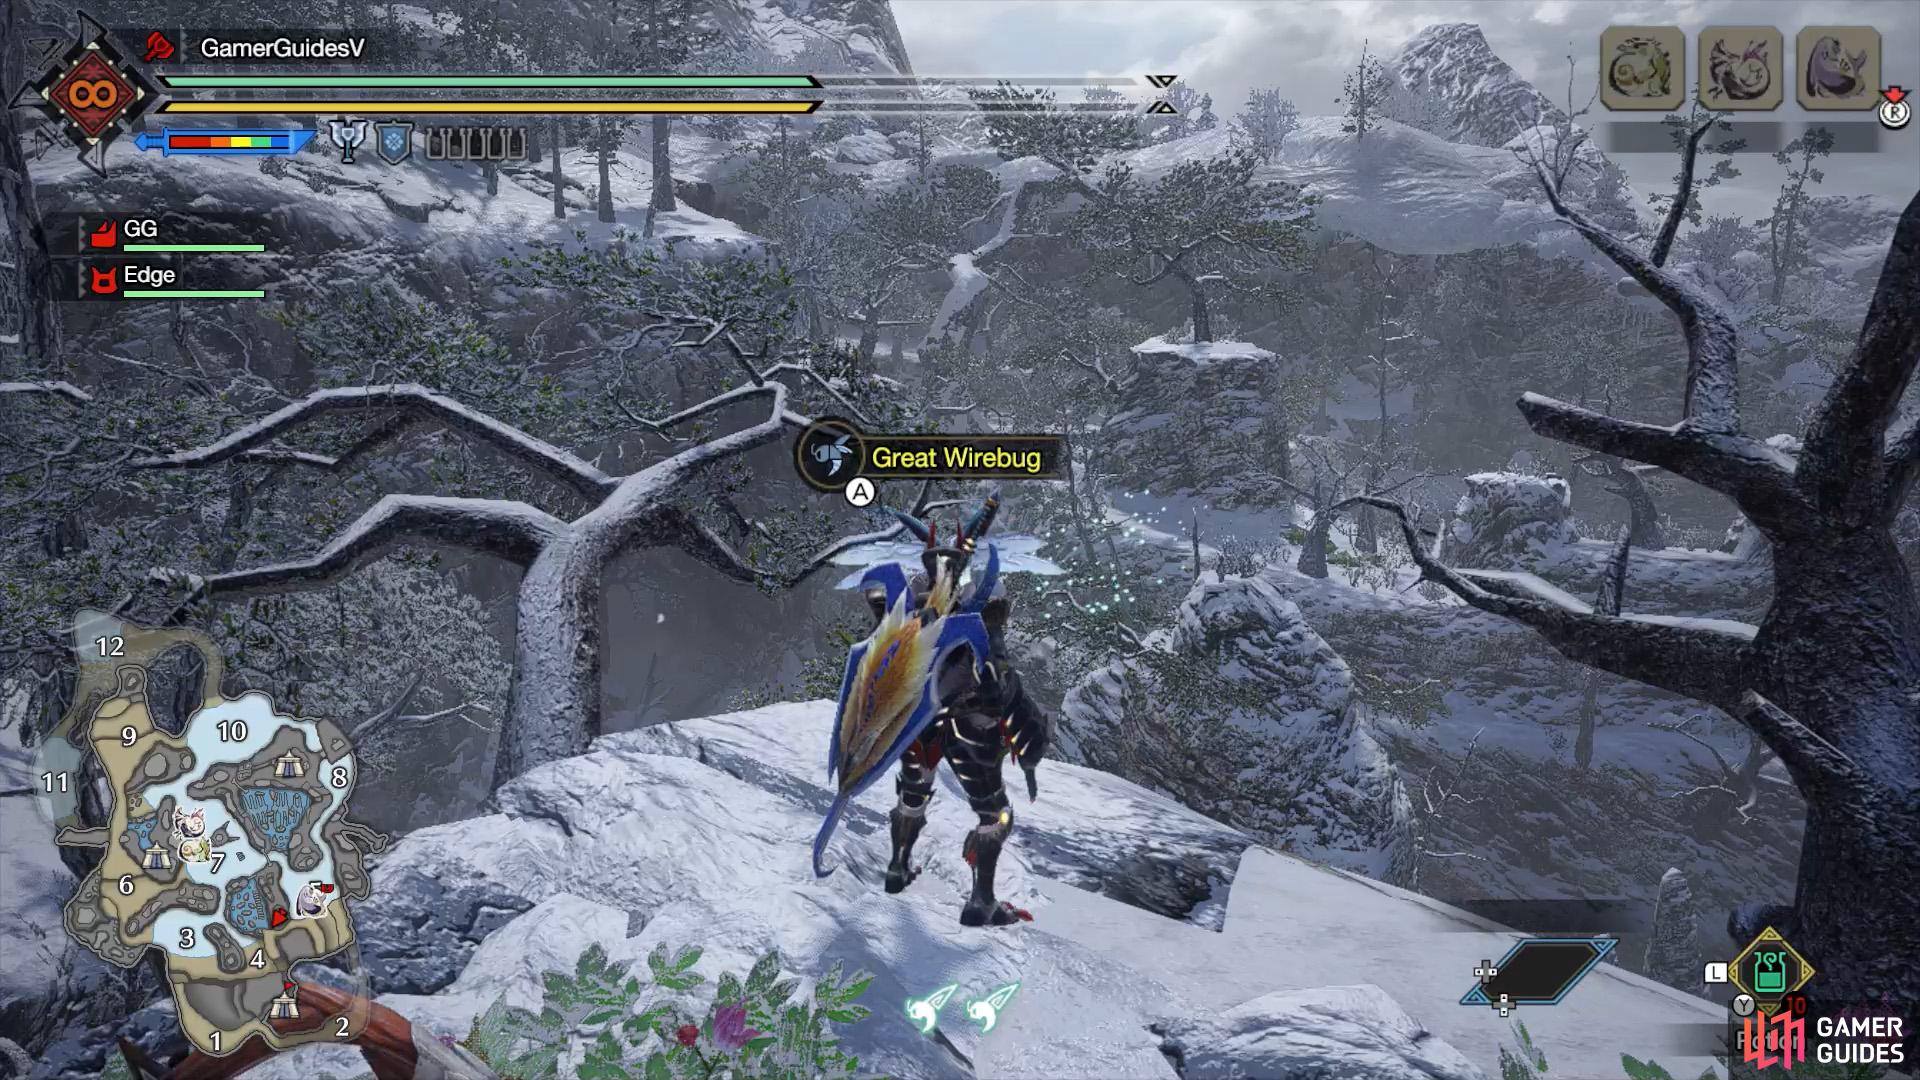
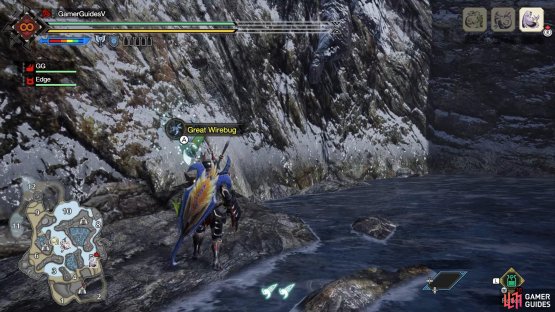
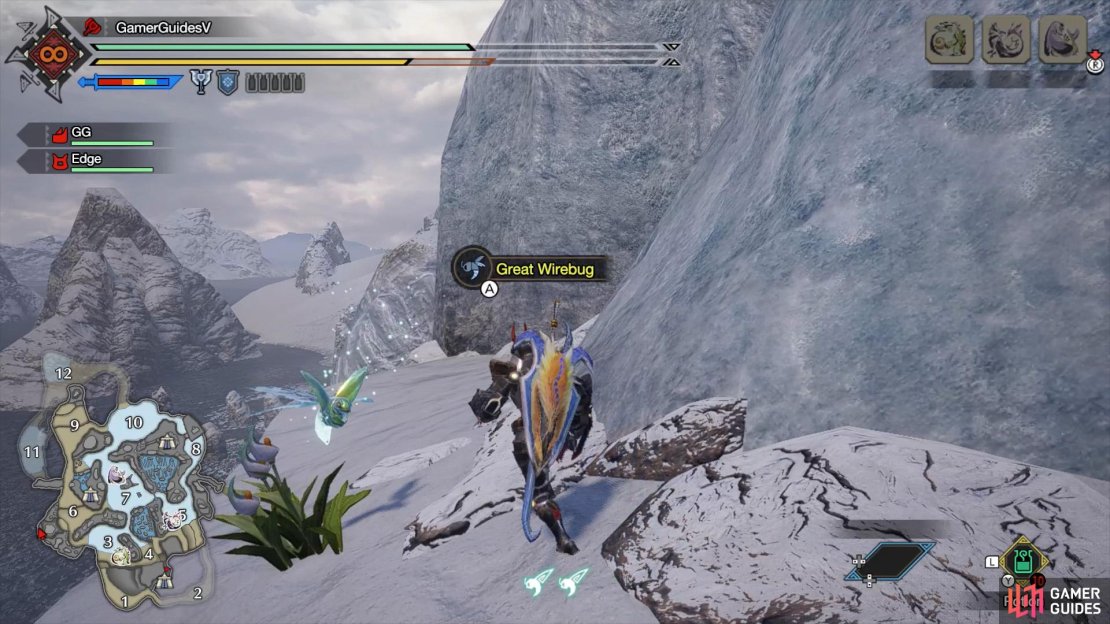
Great Wirebugs are bigger versions of wirebugs that can be used to create permanent shortcuts. To use them, you must find a suitable Jewel Lily spot, then place a Great Wirebug from your inventory. You can receive Great Wirebugs from Senior Hunter Hanenaga in Kamura Village. There are also a small number of Great Wirebugs that are already there on the map (usually in mid-air).
Overview
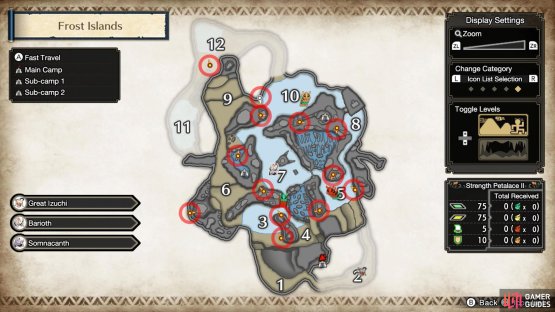
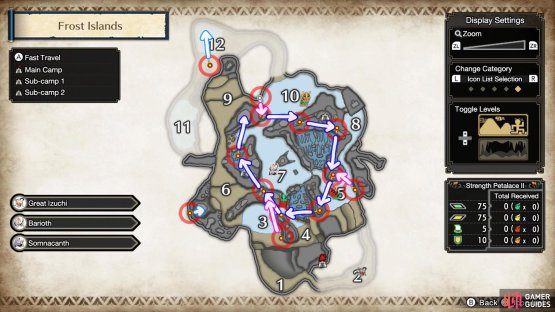
(1 of 2) All great wirebug spots in the Frost Islands.
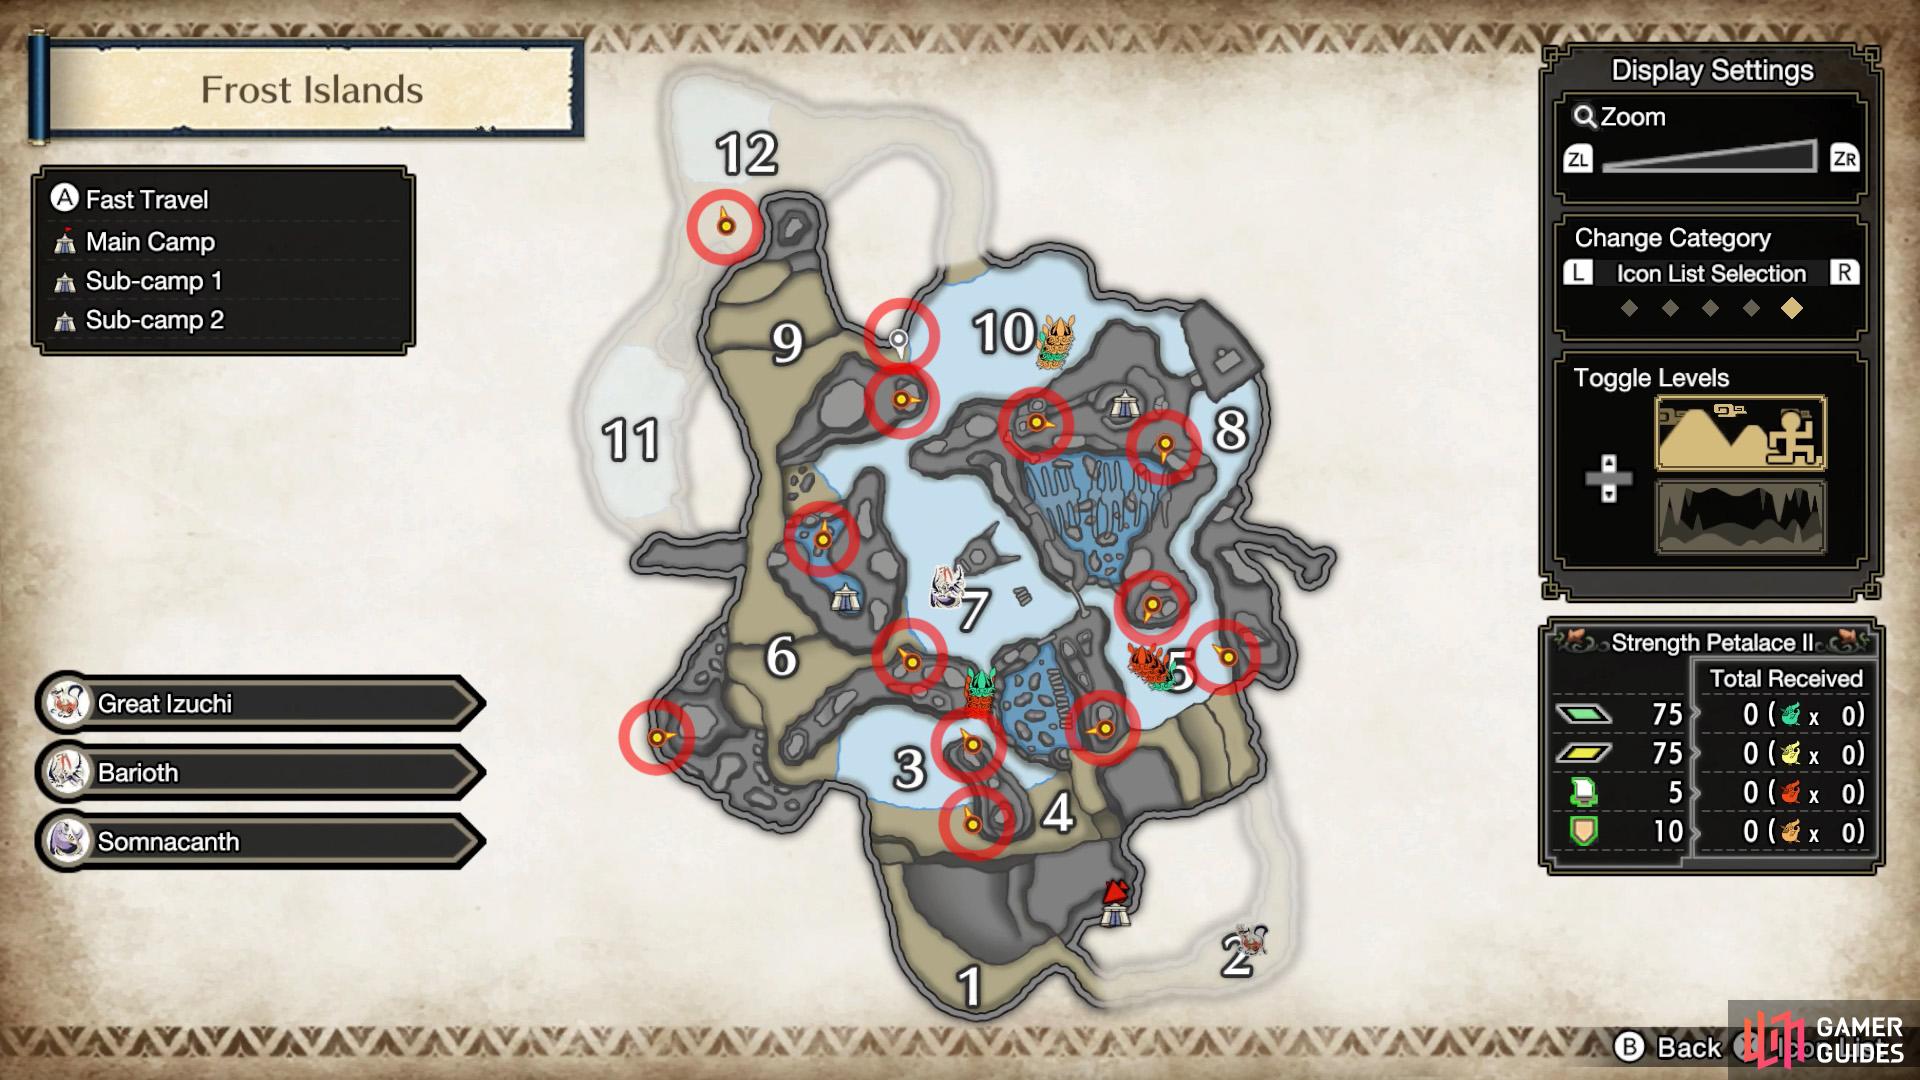
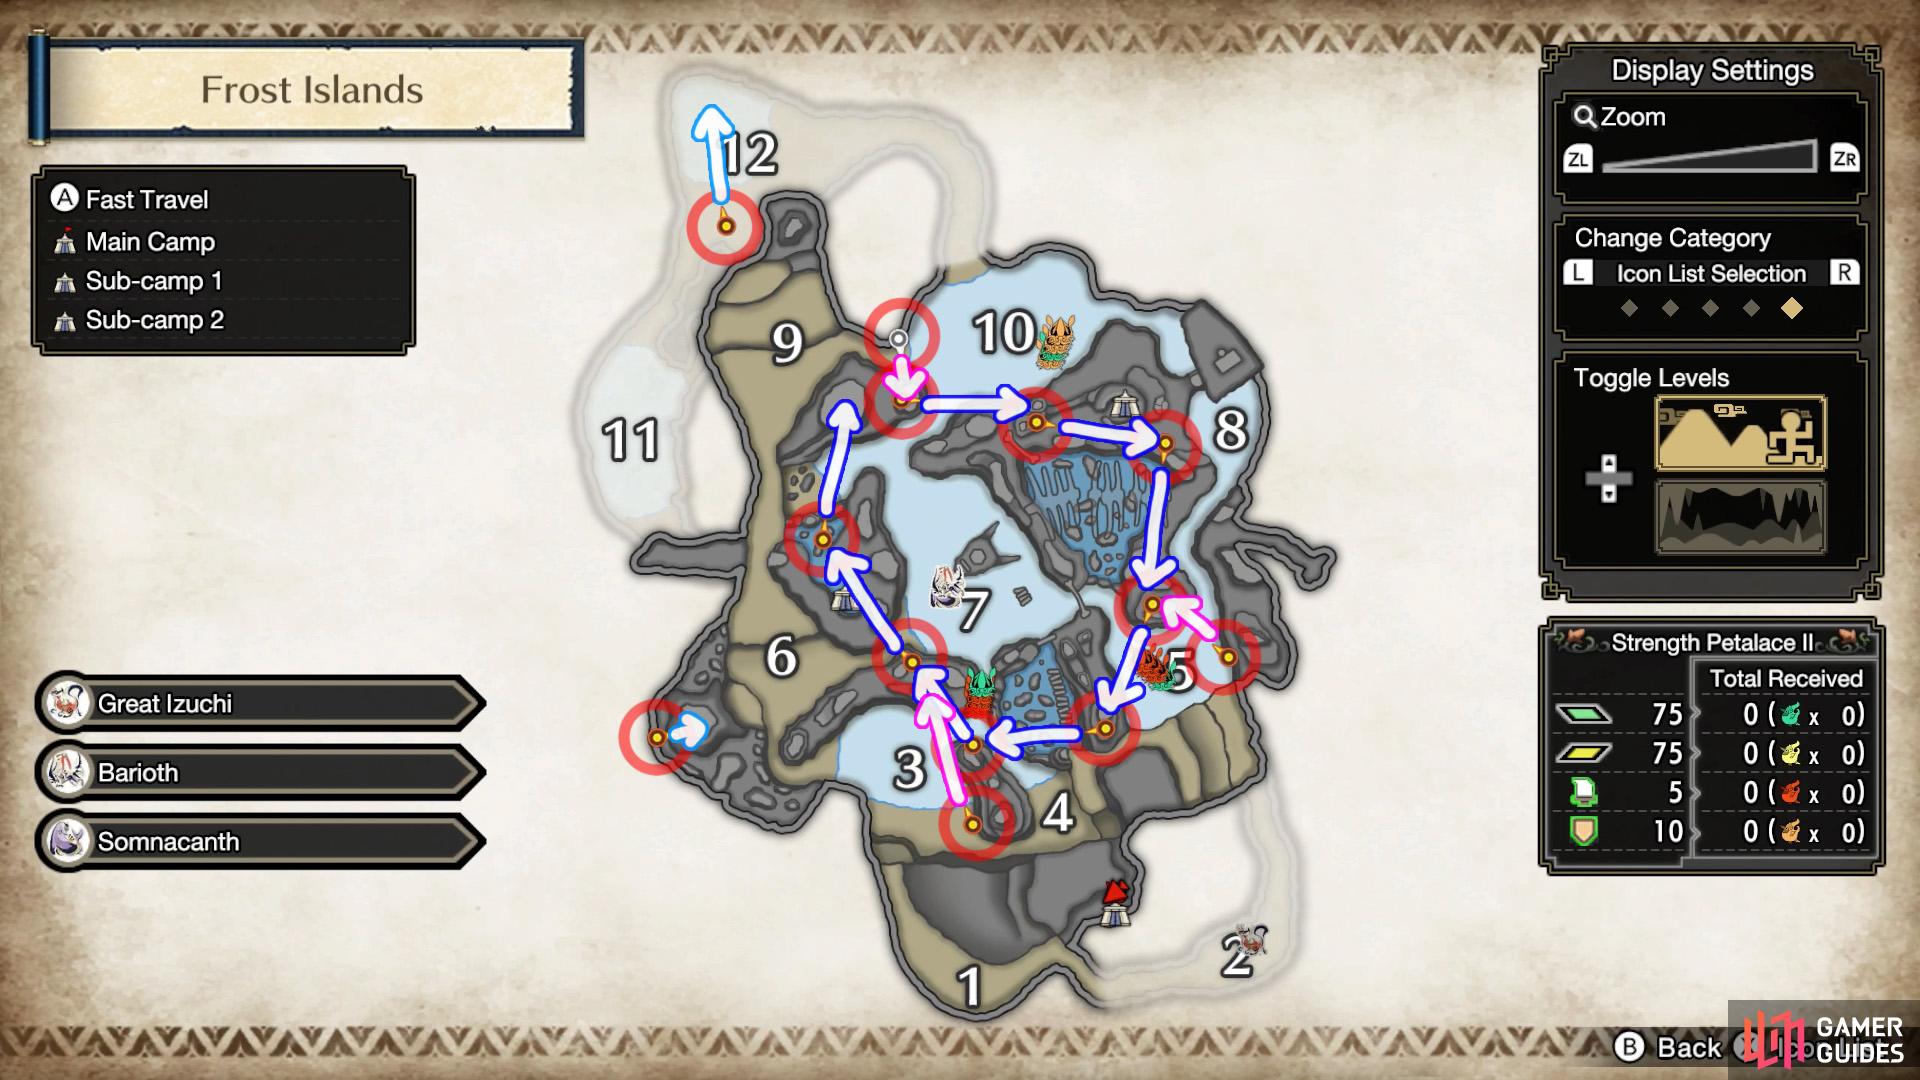
All great wirebug spots in the Frost Islands. (left), The routes for each great wirebug. (right)
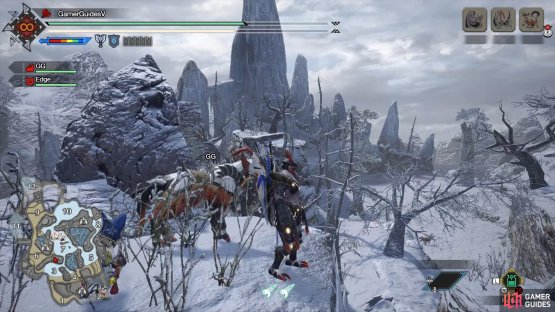
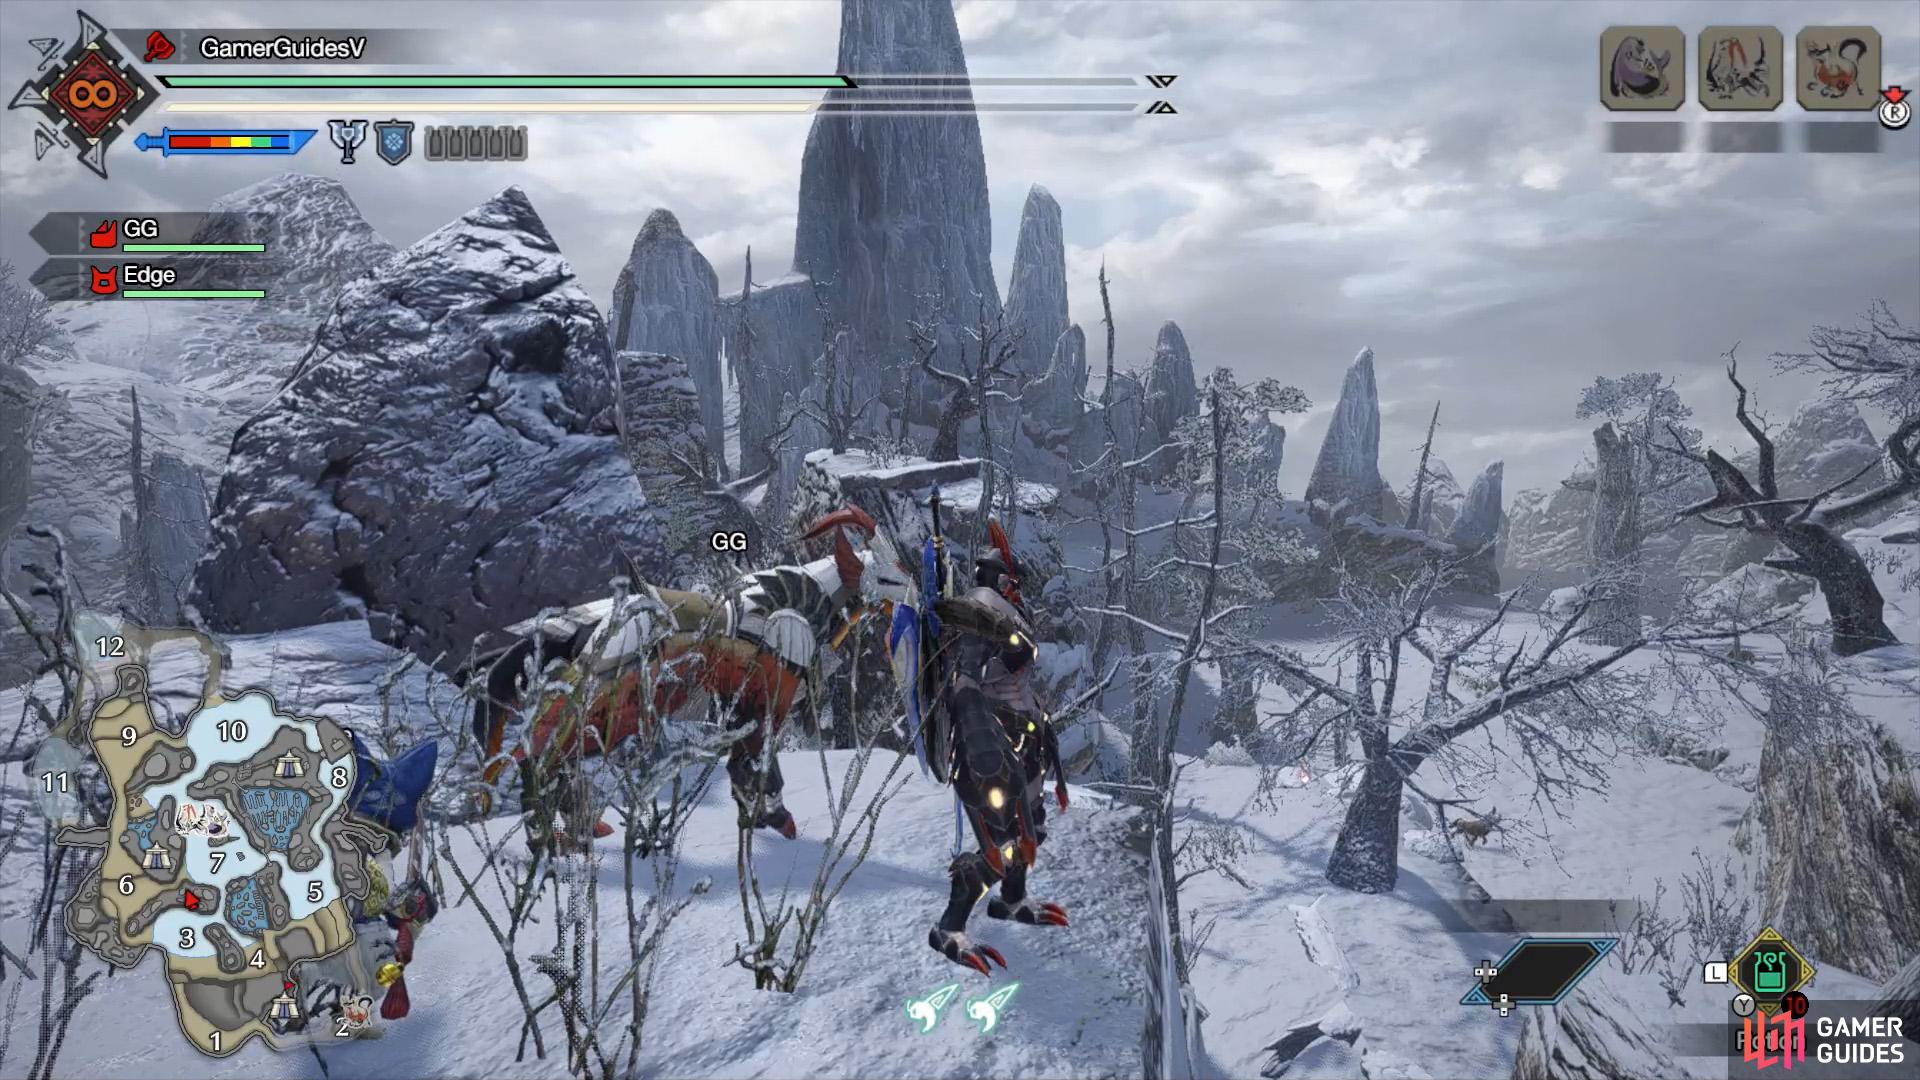
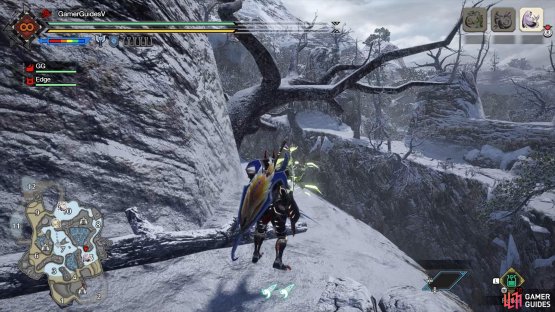
There are 13 places where you can use a great wirebug. Of these, 8 form a loop that lets you travel clock-wise around the center of the map; these are all located on highlands. Another 3 are positioned outside the loop and allow you to enter the loop from ground level. The remaining two are used to reach hidden places.
Area 3
(1 of 2) Start: On the shore, near south-east corner of Area 3.

Start: On the shore, near south-east corner of Area 3. (left), Destination: East side of highlands dividing areas 3 and 6. (right)
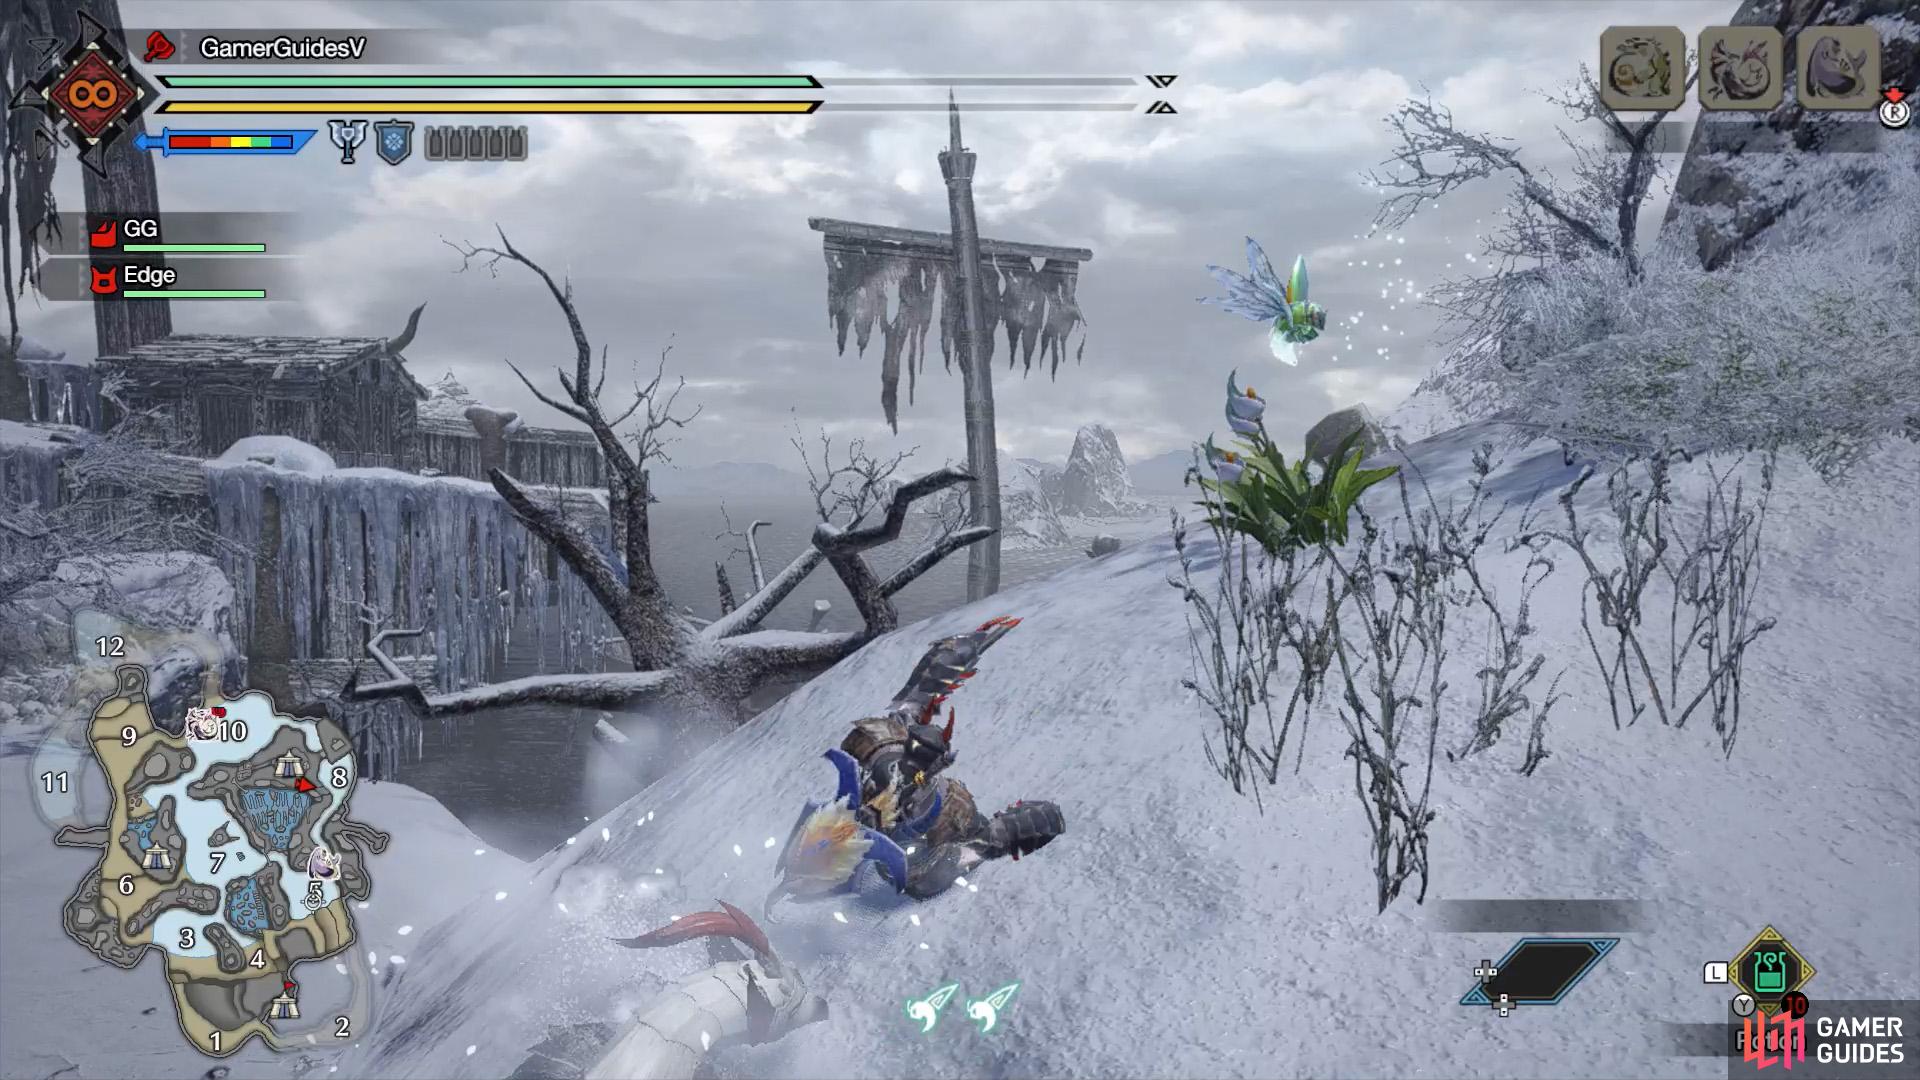
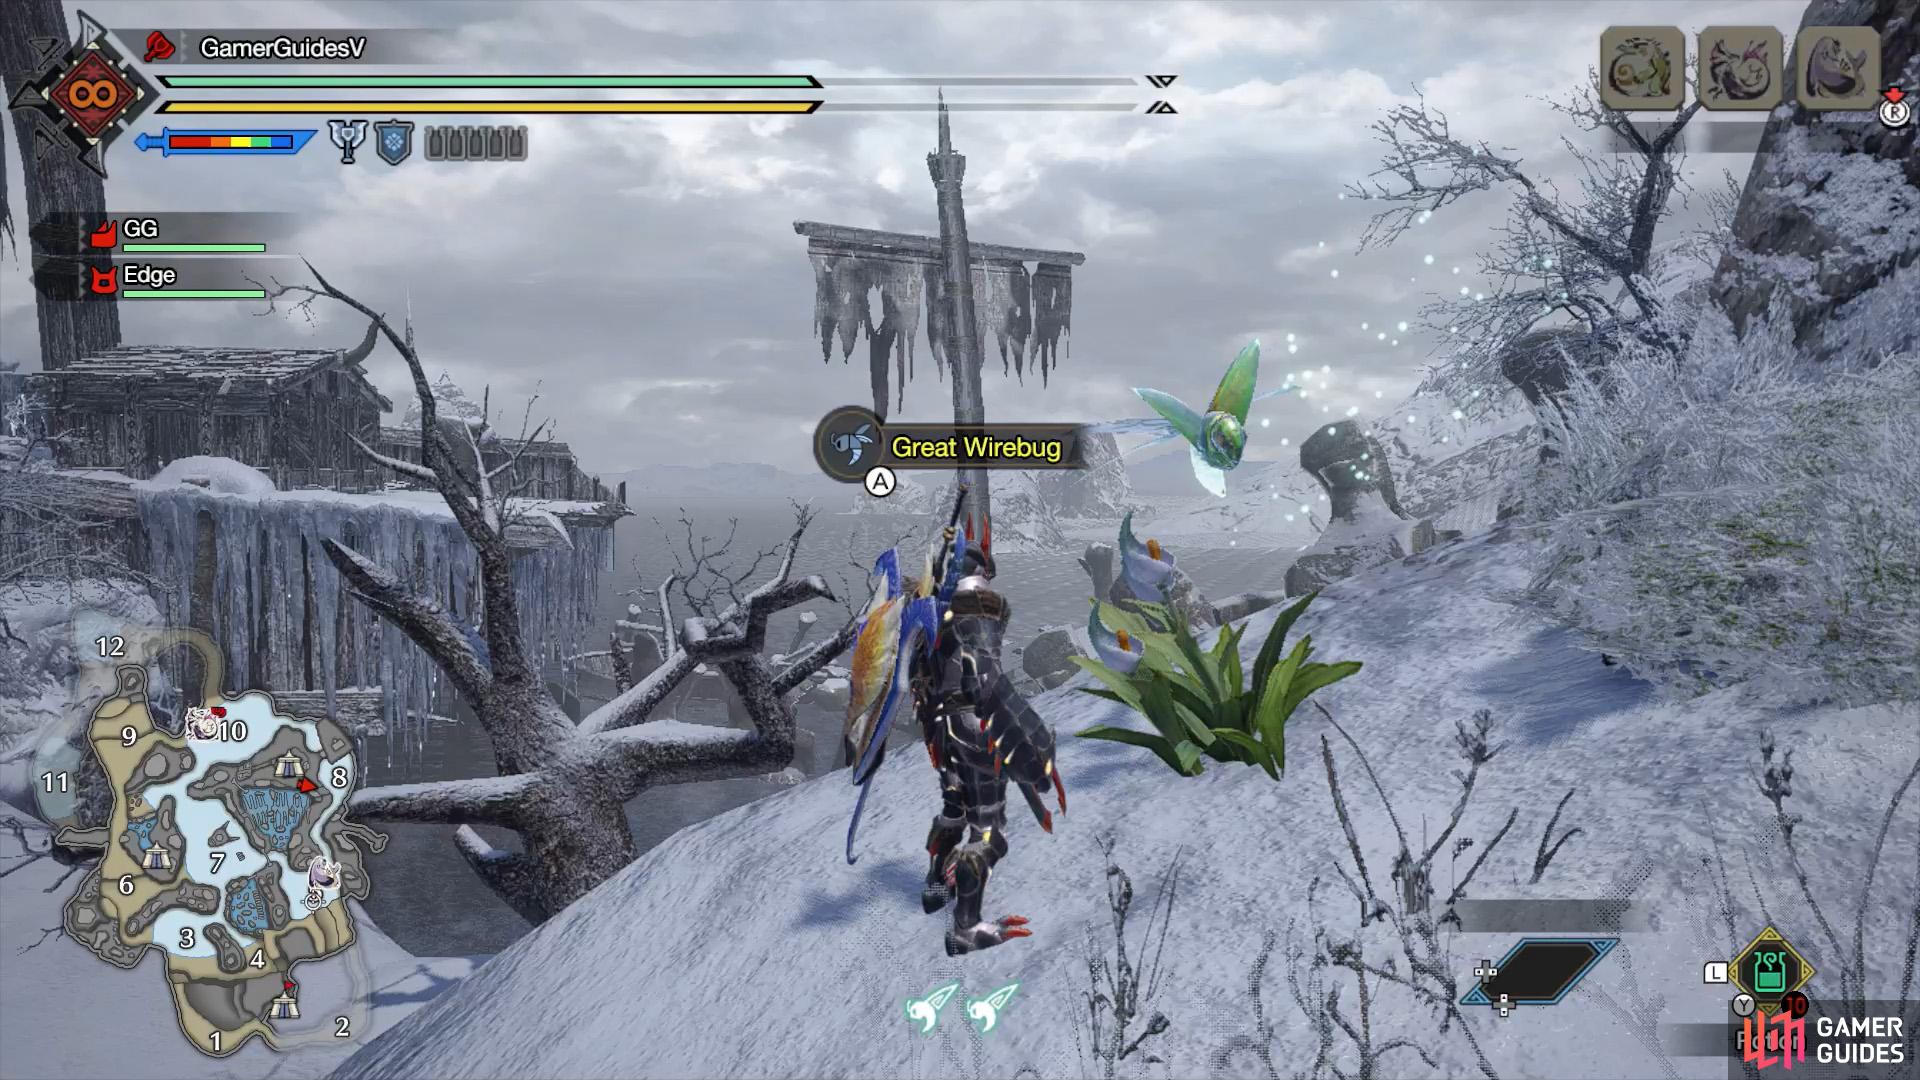
The first jewel lily is found near the south-east corner of Area 3, on the shore, near the passageway to Area 4. You can reach it by heading north-west from the main camp. This one will launch you to the highlands between areas 3 and 6, near another great wirebug that’s part of the central loop.
Area 3/6
(1 of 2) Start: East side of highlands dividing areas 3 and 6.

Start: East side of highlands dividing areas 3 and 6. (left), Destination: Enclosed space between areas 6 and 7, north of Sub-Camp 1. (right)
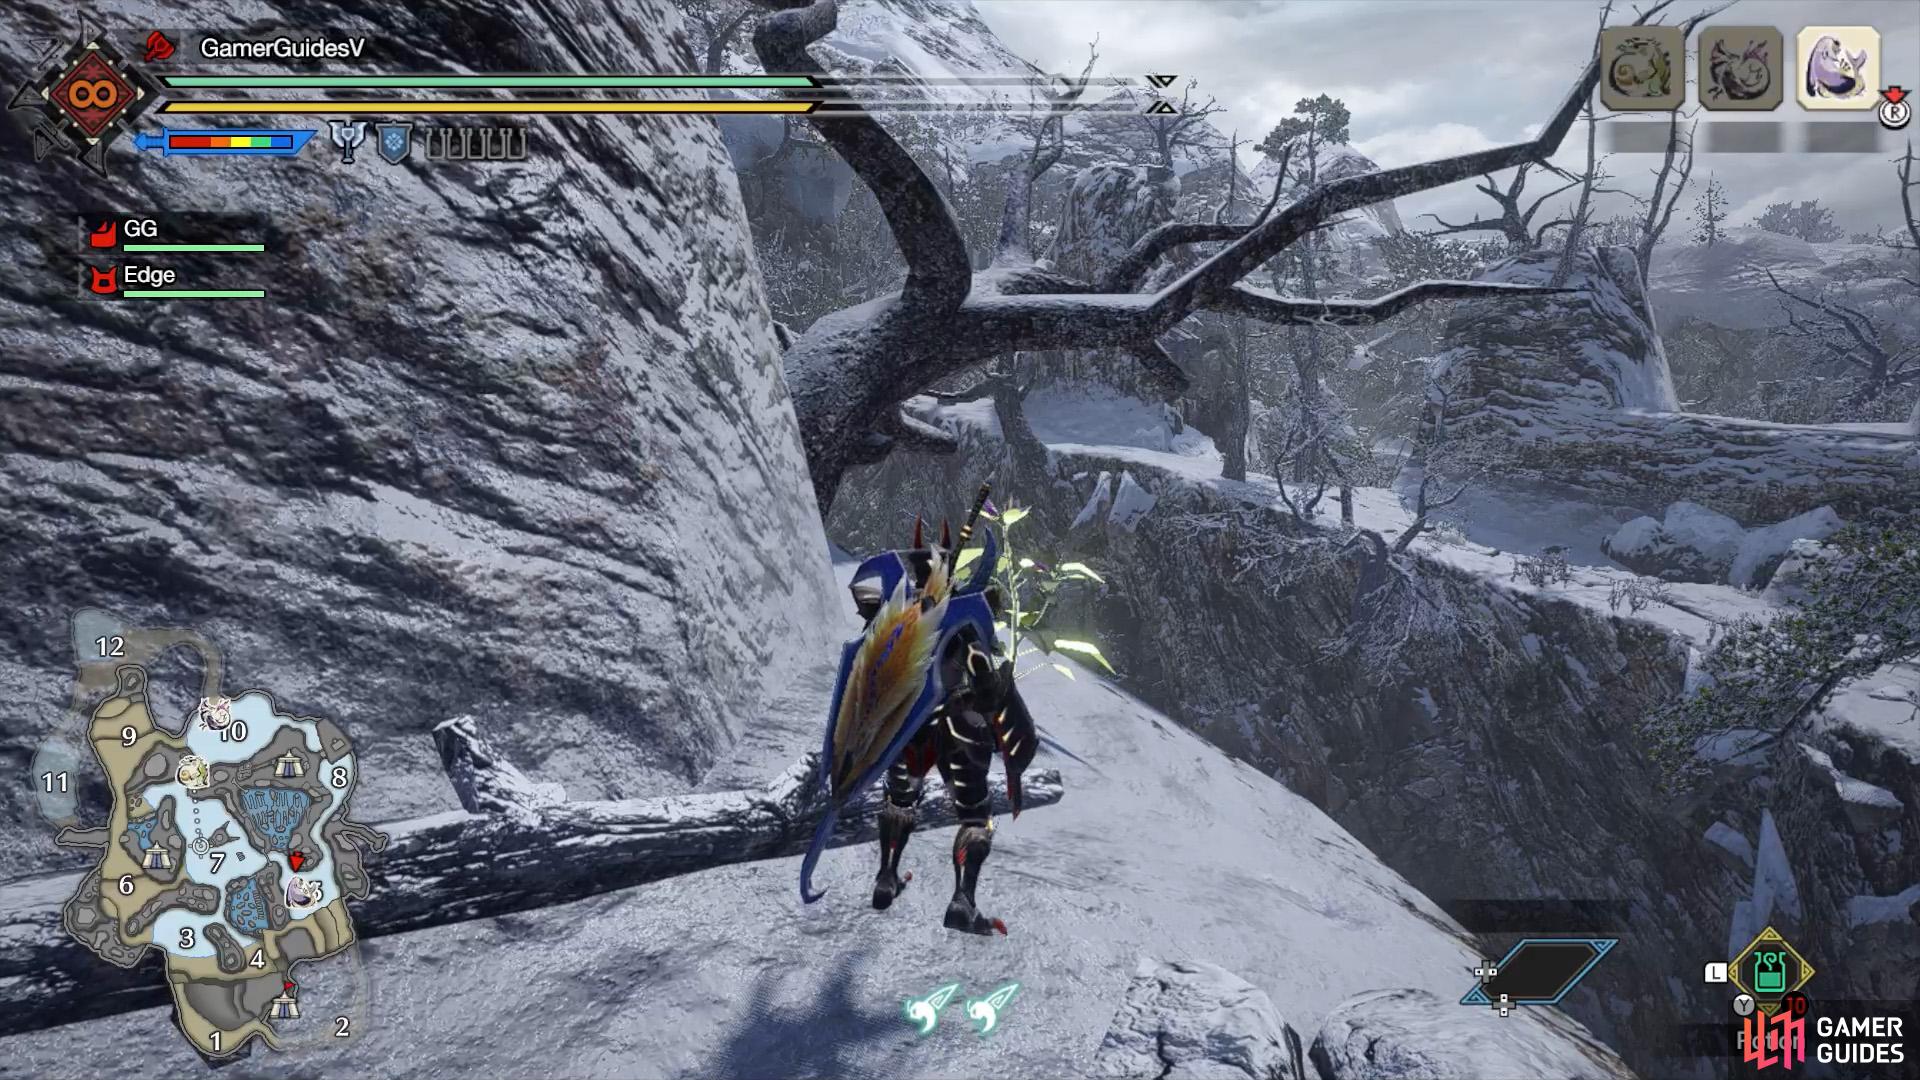
This jewel lily is atop the highlands dividing areas 3 and 6, near the Area 7 side. It’s north of the landing spot of the previous great wirebug. After landing, drop down and you should see it near the edge of the highlands, when facing Area 7. It’ll send you towards the enclosed space between areas 6 and 7, north of Sub-Camp 1.
Area 6/7

(1 of 2) Start: Destination: Enclosed space between areas 6 and 7, north of Sub-Camp 1.

Start: Destination: Enclosed space between areas 6 and 7, north of Sub-Camp 1. (left), Destination: Hill in center of the highlands dividing areas 7 and 9. (right)
Inside the enclosed space between areas 6 and 7, north of Sub-Camp 1, surrounded by rock pillars. It’s near the landing spot of the previous great wirebug. Using a great wirebug here will send you to the top of the highlands dividing areas 7 and 9.
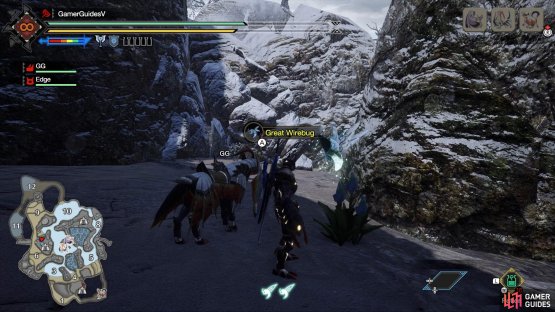
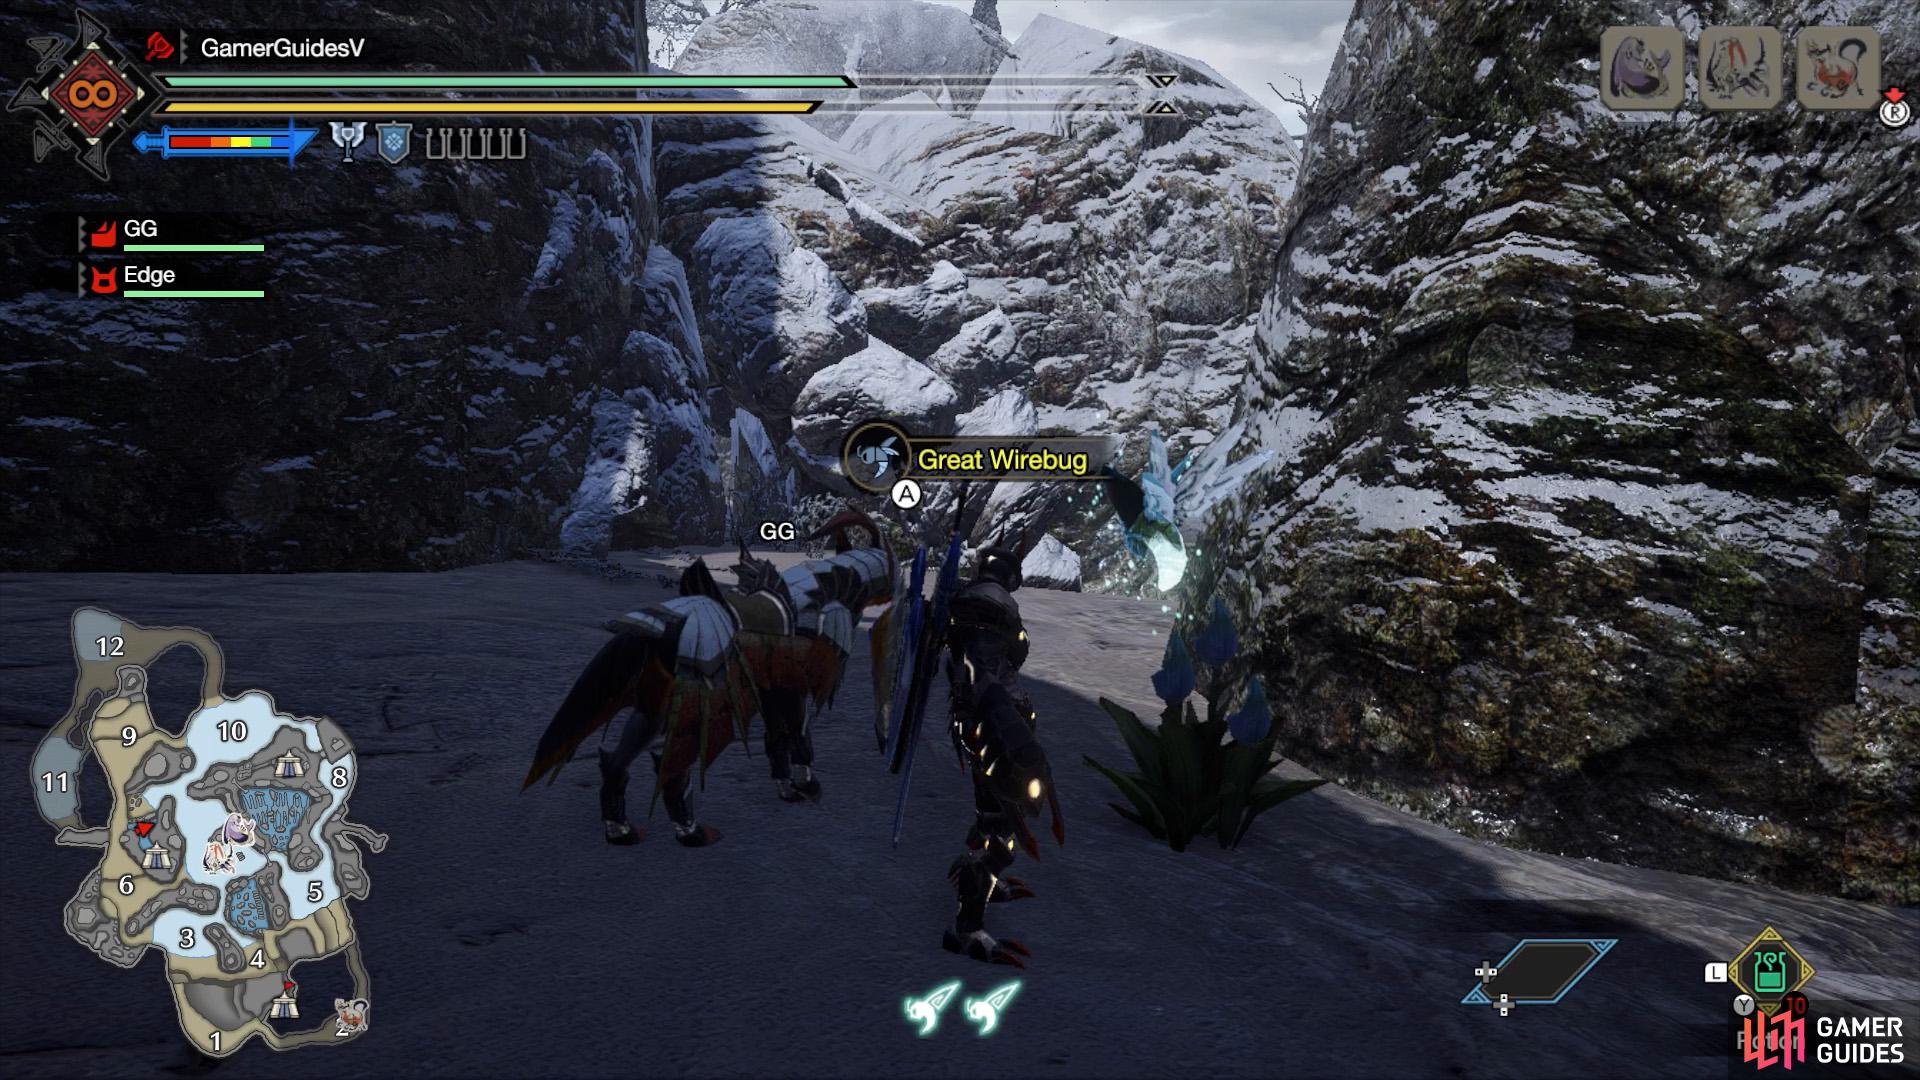
Area 7/9

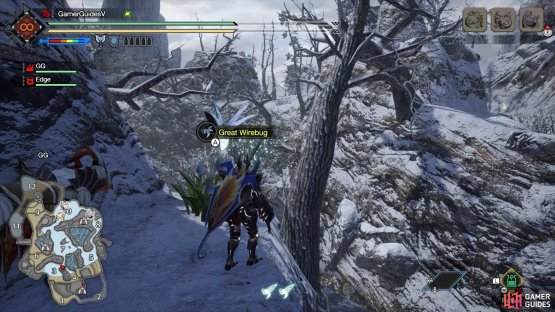
(1 of 2) Start: Narrow hill on east side of the highlands dividing areas 7 and 9

Start: Narrow hill on east side of the highlands dividing areas 7 and 9 (left), Destination: Highlands south from the Area 10 battleground and west from Sub-Camp 2. (right)
East side of the highlands dividing areas 7 and 9, atop a narrow hill. It’s located due east from the wide hill you arrive on after using the previous great wirebug. This one will launch you east, towards the highlands south from the Area 10 battleground and west from Sub-Camp 2.
Area 8/10
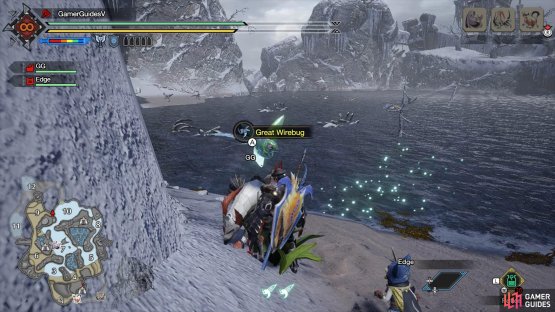
(1 of 2) Start: Highlands south from the Area 10 battleground and west from Sub-Camp 2.

Start: Highlands south from the Area 10 battleground and west from Sub-Camp 2. (left), Destination: Highlands west of Area 8 battleground. (right)
One jewel lily can be found on the highlands between areas 8 and 10, south from the Area 10 battleground and west from Sub-Camp 2. If you used the previous great wirebug, it’s nearby to the south. Using a great wirebug here will send you further east. You can also mid-air roll near the end of your flight to reach the Sub-Camp.

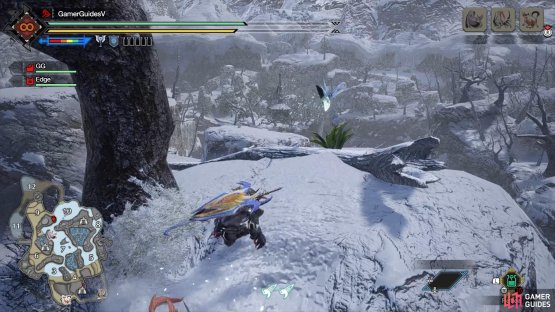
(1 of 2) Start: Highlands west of Area 8 battleground.
Start: Highlands west of Area 8 battleground. (left), Destination: Highlands above Area 5 battleground, near a felyne and melynx base. (right)
Another jewel lily is found on the same highlands, this time west from the Area 8 battleground. If you used the great wirebug above, you’ll land right next to it. This one will propel you south, towards a felyne and melynx base.
Area 5/8

(1 of 2) Start: Highlands above Area 5 battleground, near a felyne and melynx base. On a section of raised land.

Start: Highlands above Area 5 battleground, near a felyne and melynx base. On a section of raised land. (left), Destination: Northern highlands between areas 4 and 5. (right)
Near the south tip of the highlands above the Area 5 battleground, where a felynx and melynx base is. If you used the previous great wirebug, climb up the nearby wall and you’ll be right there. Using the great wirebug here will send you south-west, towards the northern highlands between areas 4 and 5.
Area 4/5

(1 of 2) Start: South tip of the northern highlands dividing areas 4 and 5.
Start: South tip of the northern highlands dividing areas 4 and 5. (left), Destination: Highlands dividing areas 3 and 4. (right)
The south tip of the northern highlands dividing areas 4 and 5–the one to the east of the enclosed shallow water section. If you landed here from the previous great wirebug, carefully drop down south. This one will fling you west towards the highlands dividing areas 3 and 4.
Area 3/4

(1 of 2) Start: North tip of the narrow highlands between areas 3 and 4.


Start: North tip of the narrow highlands between areas 3 and 4. (left), Destination: Eastern side of highlands between areas 3 and 6. (right)
The north tip of the narrow highlands sandwiched between areas 3 and 4. If you’ve come here from the previous great wirebug, very carefully fall down east because the space below is rather narrow. Using the great wirebug here will send you north-west, near the great wirebug spot between areas 3 and 6, completing the cycle.
Area 9/10
(1 of 2) Start: Halfway along the road connecting areas 9 and 10.


Start: Halfway along the road connecting areas 9 and 10. (left), Destination: Narrow hill on east side of highlands between areas 7 and 9. (right)
Outside of the central loop, there’s a jewel lily smack bang in the middle of the road connecting areas 9 and 10, near the northern boundary. This one will send you to the great wirebug spot between areas 7 and 9, allowing you to travel via the loop.
Area 5

(1 of 2) Start: East side of the Area 5 battleground.

Start: East side of the Area 5 battleground. (left), Destination: Top of the highlands between areas 5 and 8. (right)
Another jewel lily that exists beyond the central loop. This one’s positioned at the east side of the Area 5 battleground, near the base of the eastern highlands. You can use this to reach the great wirebug spot between areas 5 and 8, so you can travel via the loop.
Area 6
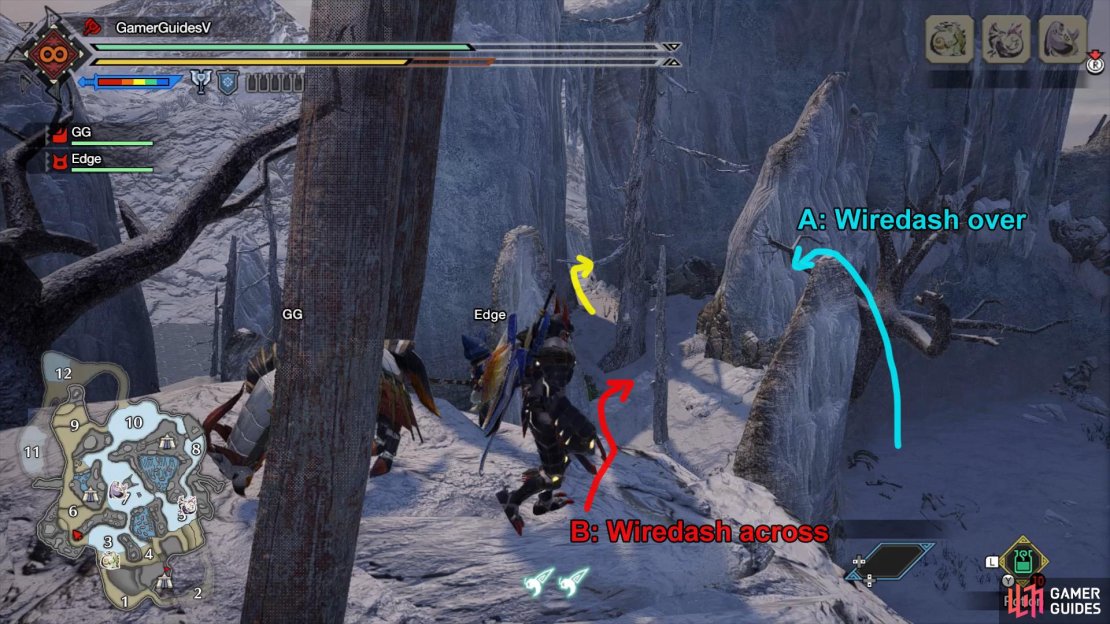
(1 of 3) Wiredash over the wall from atop the vine-covered wall. Or wiredash across from the highlands between areas 3 and 6.
Unrelated to the central loop, there’s a lonely jewel lily towards the far west of the highlands west from the Area 6 battleground. It’s located behind the tall mountain, through a passageway to its south.
To reach it, you can wiredash across from the elongated highlands between areas 3 and 6. Or you can climb up the vine-covered wall to the east of the tall mountain. Then skilfully wiredash over the south wall (by manually aiming upwards with  and
and  ).
).
Using a great wirebug here will shoot you all the way to the top of the peak, where a mining outcrop is. Due to the sheer height, you can’t reach this location otherwise.
Area 9

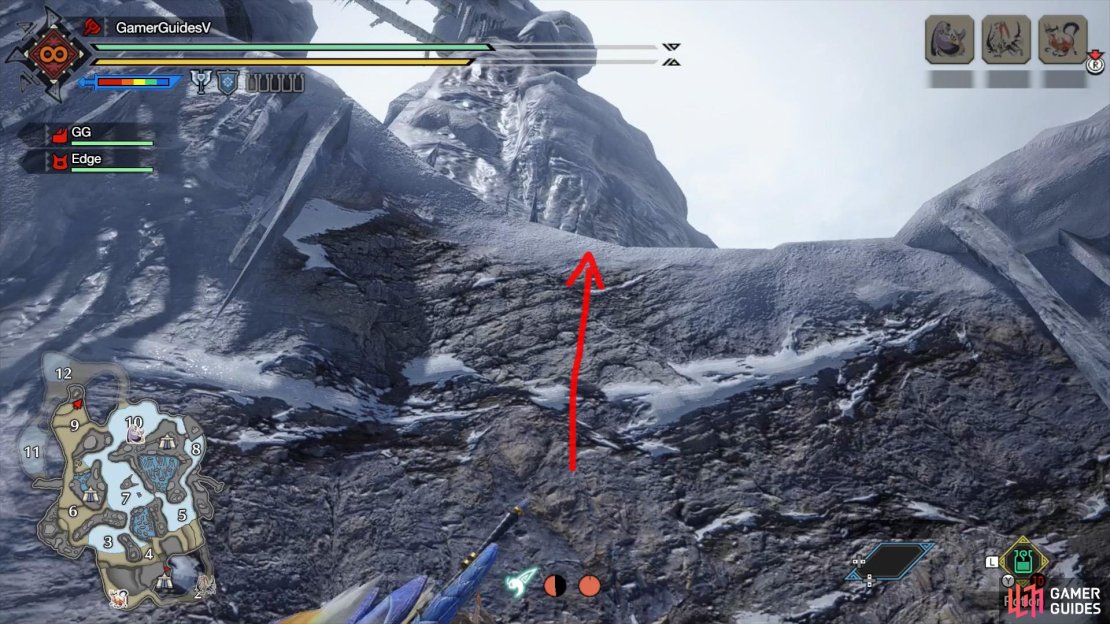
The final great wirebug is a doozy and not worth scouting out, unless you’re a completionist.
It’s found west of the (visible) highest point of the highlands at the north side of Area 9. As you enter Area 9, grab a third wirebug near the vine-covered wall. Climb up the vines, then turn right and climb up the rock wall. After that, face the cliff on your left and climb up that one.
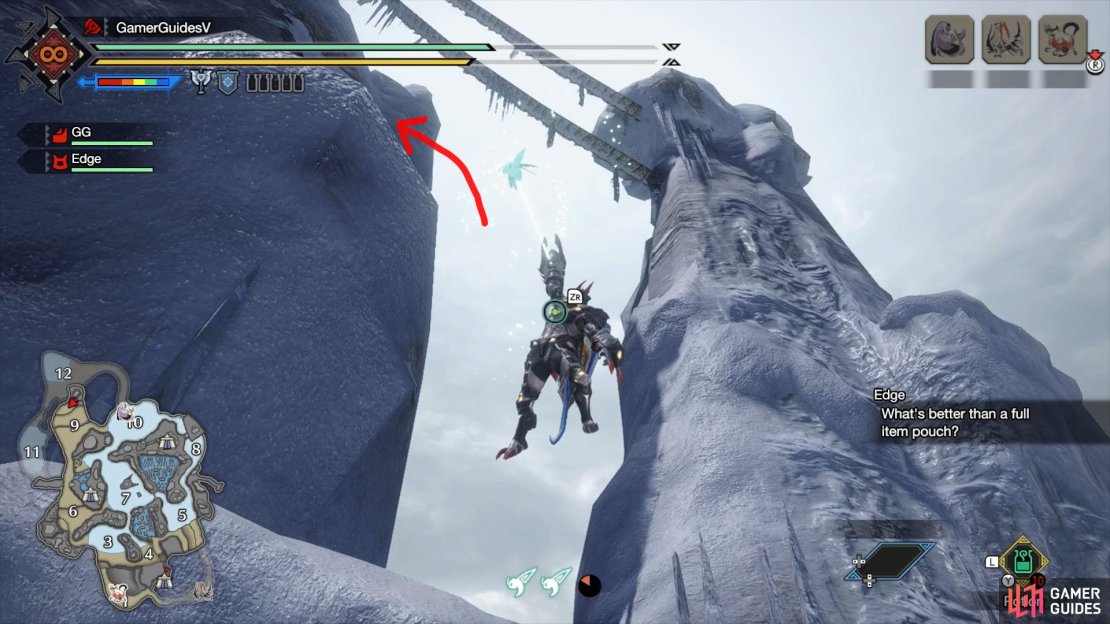
Now for the tricky part. Face left and look up. There’s a ledge high up, but the wall around here is too slippery to climb. Manually shoot a wirebug upwards with and and press  to hang in the air. Then repeat until you’ve climbed up.
It’s much easier to do this with three wirebugs, but if you’ve only got two, you can try mid-air rolling with  after the first wirebug to gain height. Then rapidly shoot another wirebug upwards after the roll, before stopping with . From here, you should be able to reach the ledge, just.
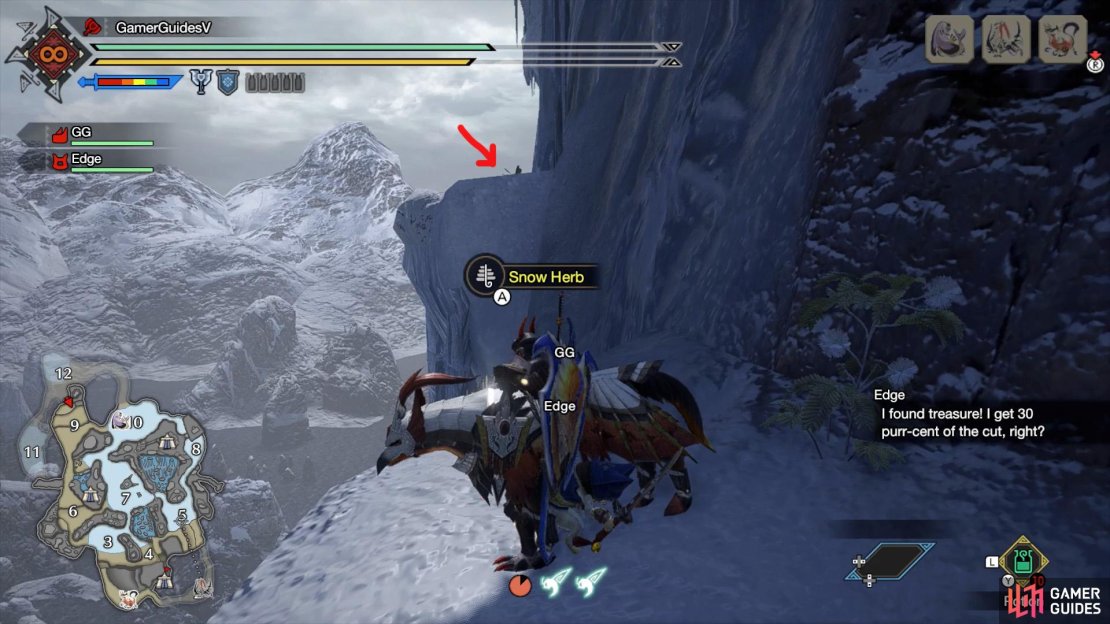
Once you’re on top, look ahead and there’s another ledge separated by a gap. Wait for your wirebugs to recover, then carefully wiredash across. You should only require one wirebug to get across. On the other side, go through the tunnel and the last jewel lily awaits. Don’t worry, you can’t fall down here.
Using a great wirebug here will fire you north, towards the northern part of Area 12, underground. In terms of traversal, it’s not worth the effort, when you can just go around from Area 10 or something. What you can do is use your wirebugs near the end of your flight to reach the ledge at the top of the shaft, before falling down. That said, it’s comparatively easier to just climb up from the bottom.
No Comments