
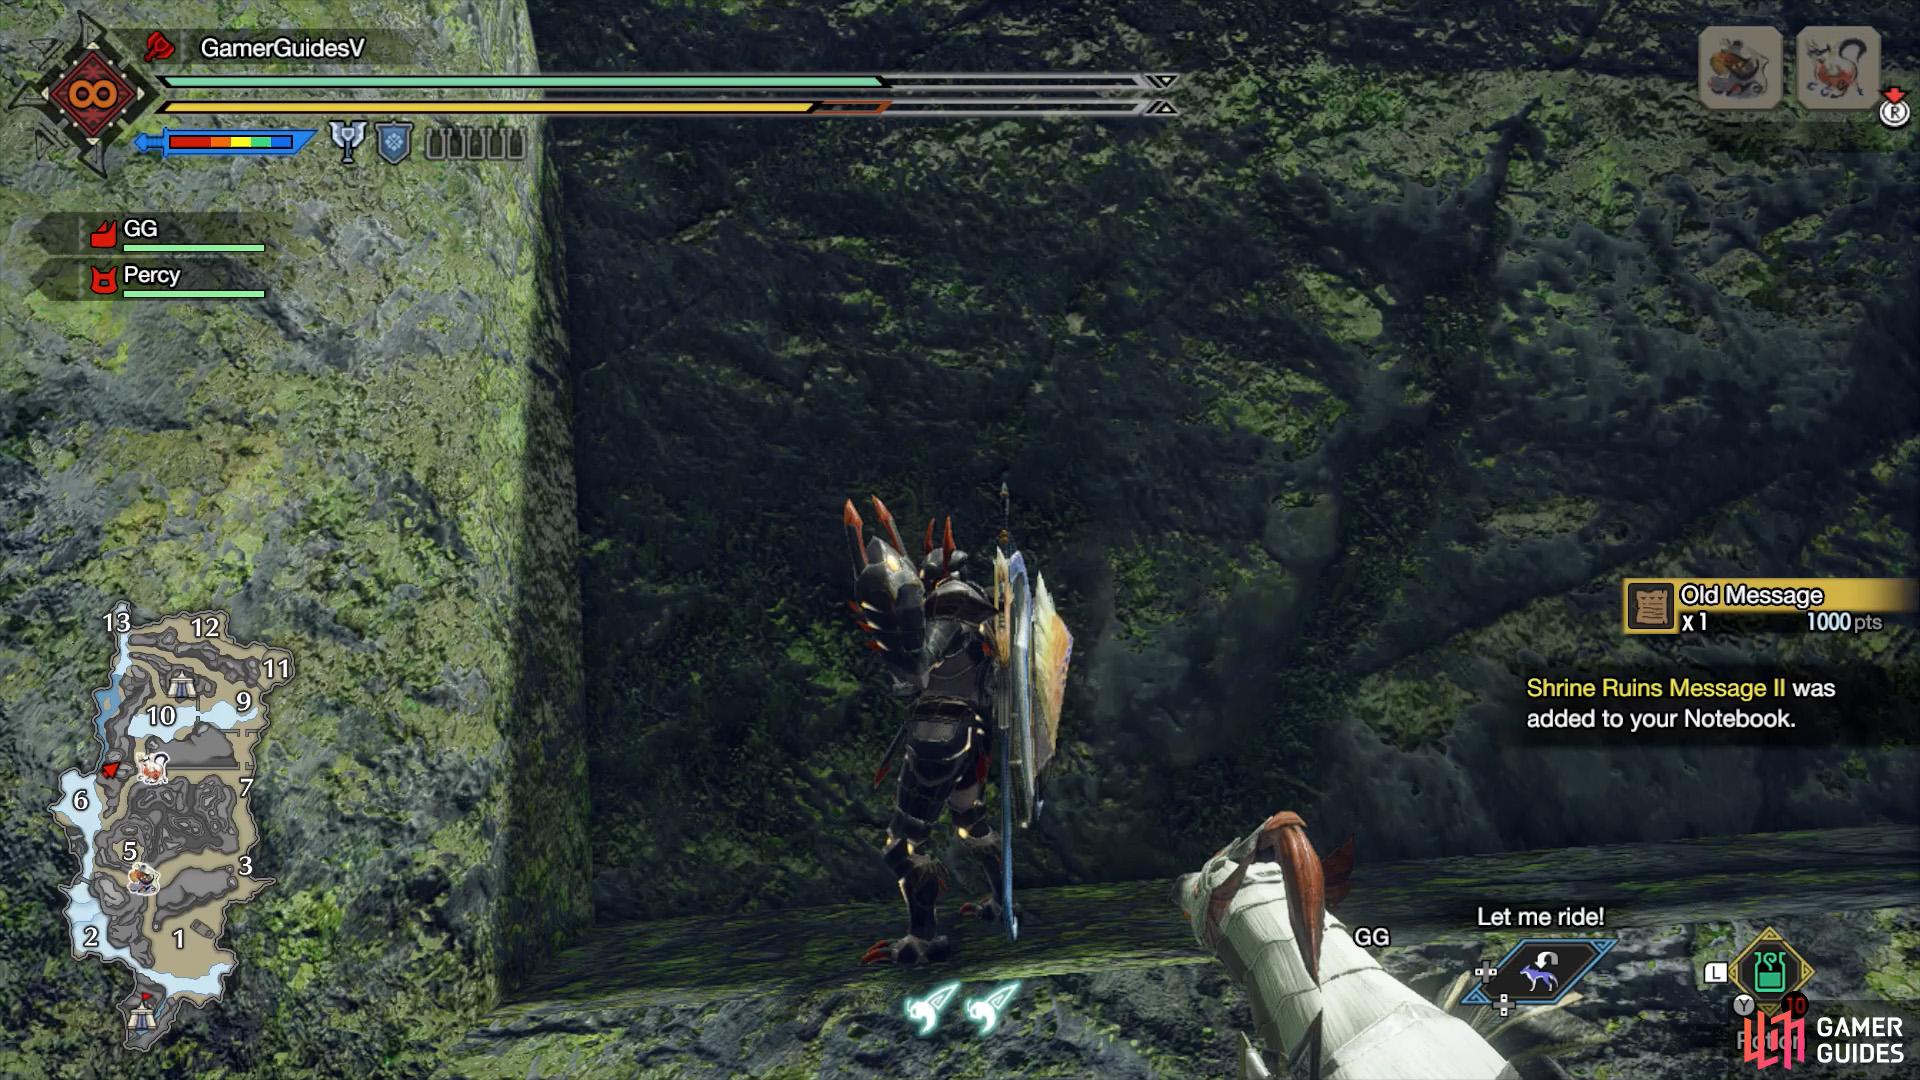
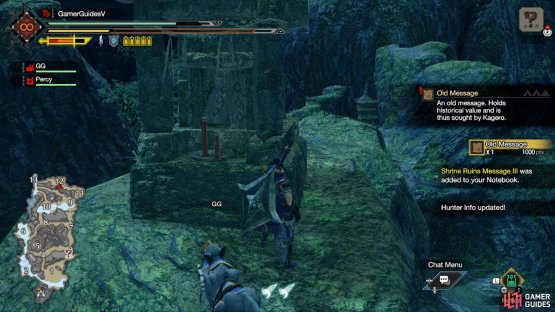
What are Relic Records?
These are artifacts left behind by previous inhabitants, placed in hard-to-find or reach locations of the map. Once you’ve found a record, it will be saved in your Hunter’s Notes, the Notebook section. After finding all 10 records of the same type, speak to Kagero the Merchant in Kamura Village to receive unique carvings for your room.
Relic Record I


(1 of 2) Your target is the highest mountain within the Shrine Ruins.
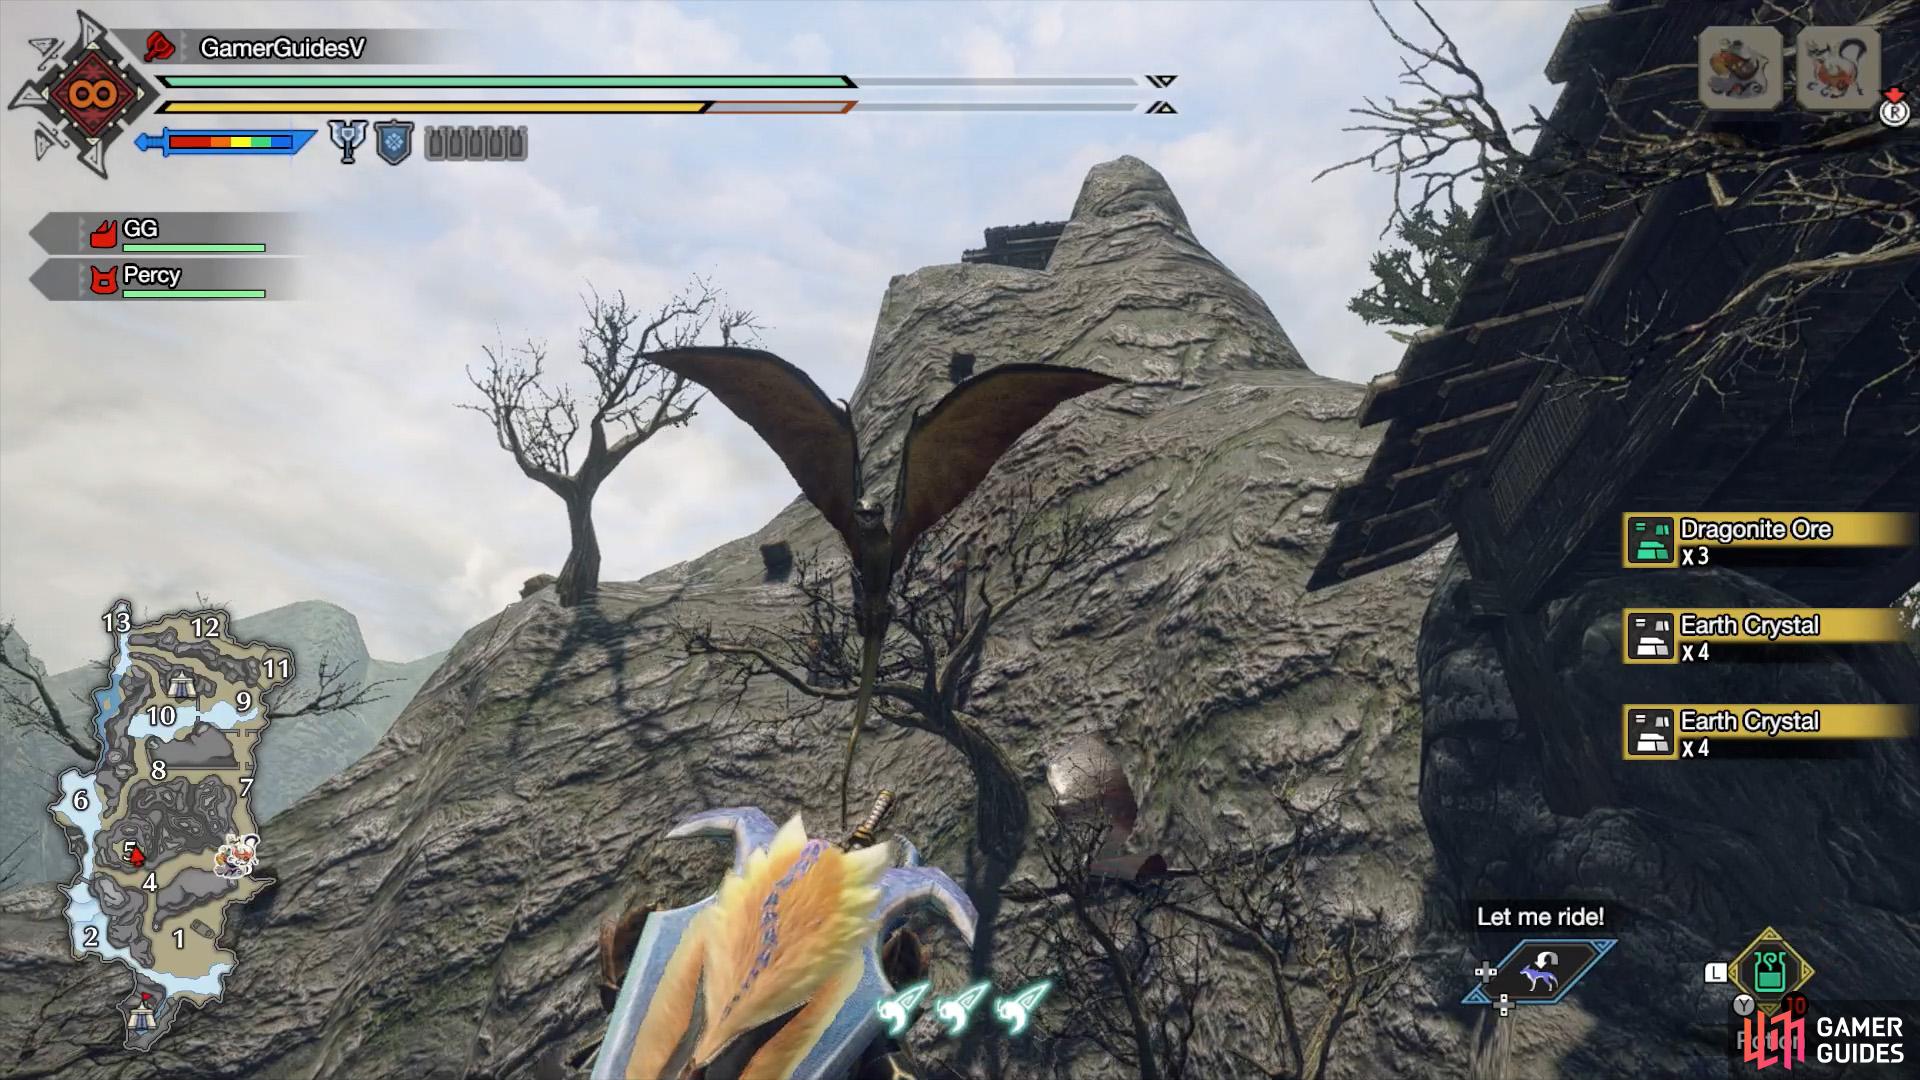

Your target is the highest mountain within the Shrine Ruins. (left), The relic is waiting in front of the shrine at the top. (right)
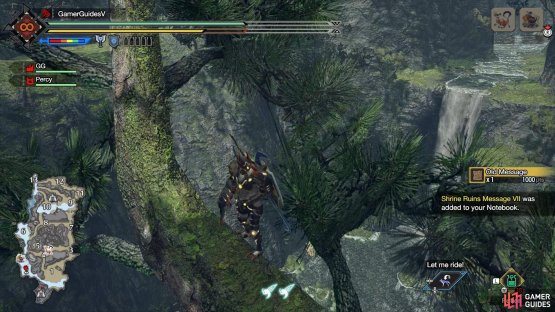
This is probably one of the easiest relics to find if you’re somewhat curious and determined. It’s next to a small shrine atop the highest mountain in Area 5.
Due to the way wirebugs work, you can climb any mountain (that’s not out of bounds) if you remember to hold  to hang in mid-air and regain stamina. That said, it’s a pretty dang tall mountain!
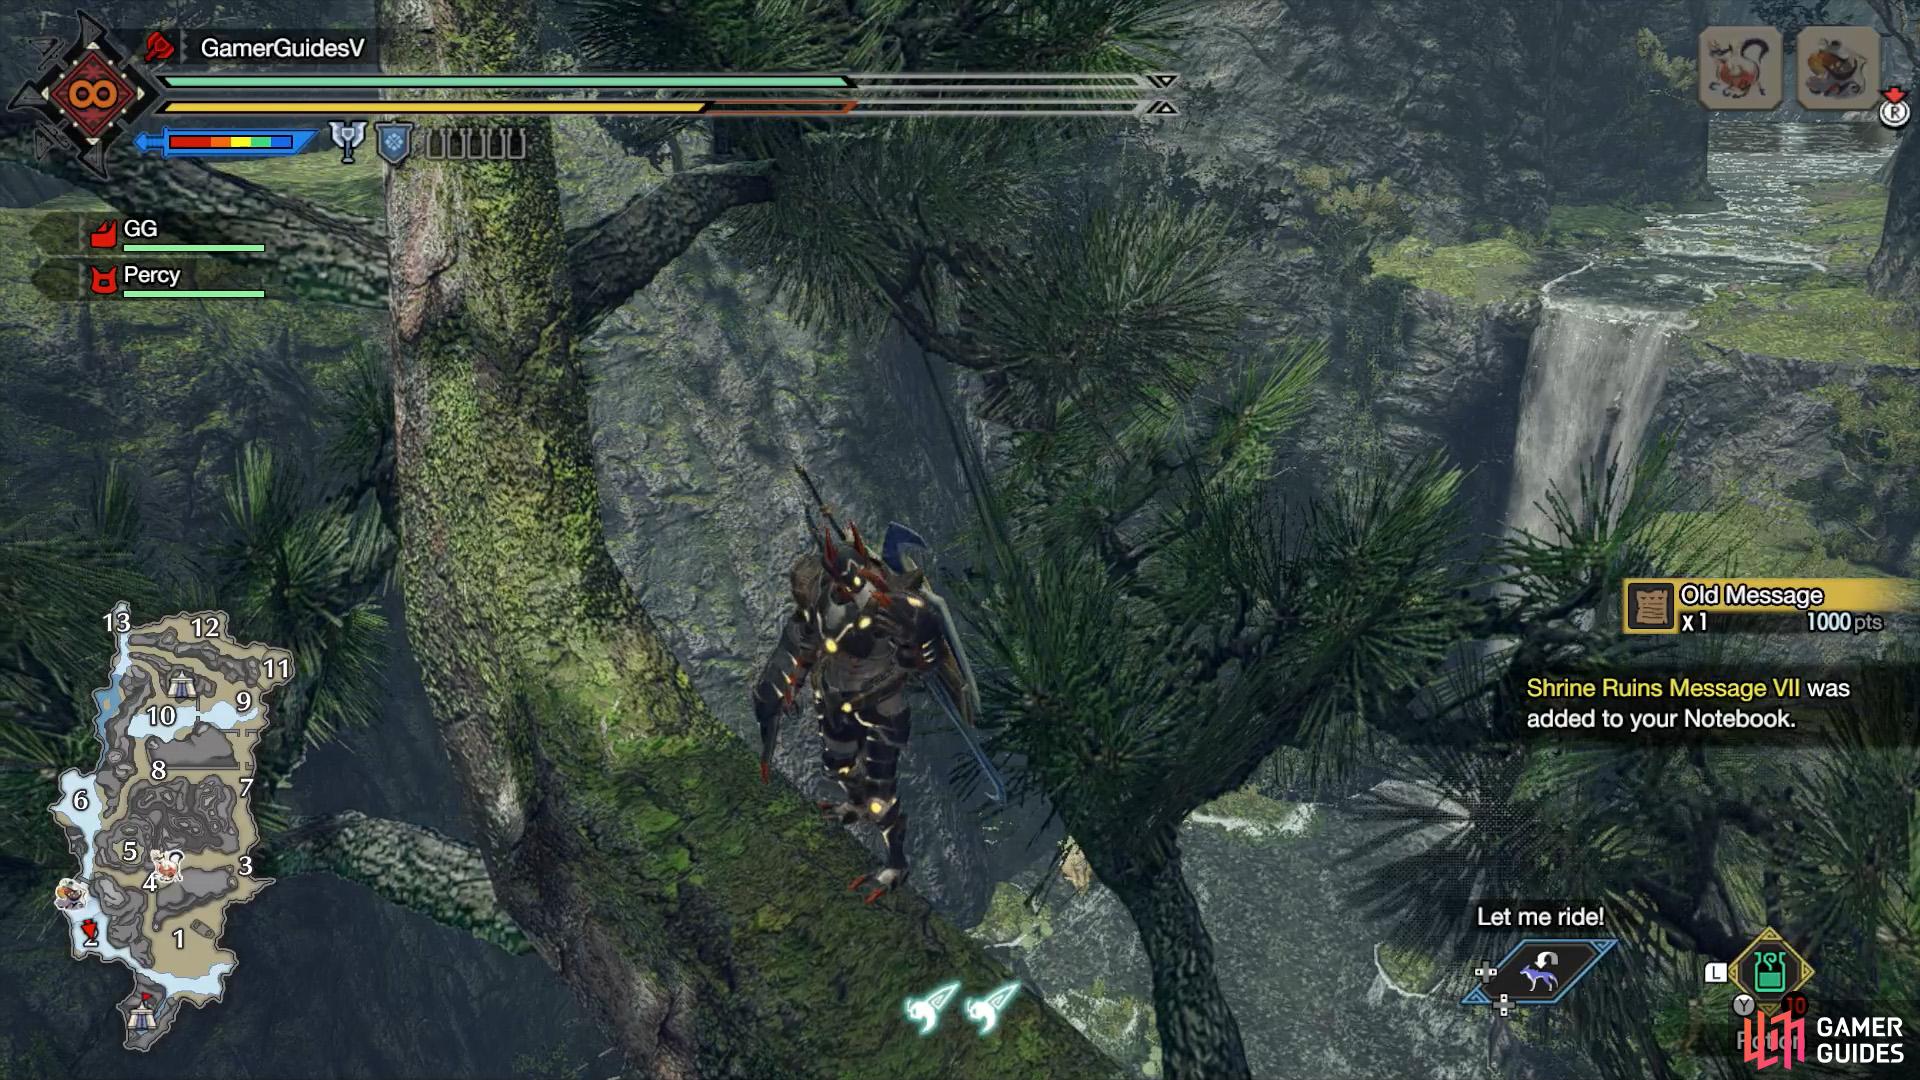
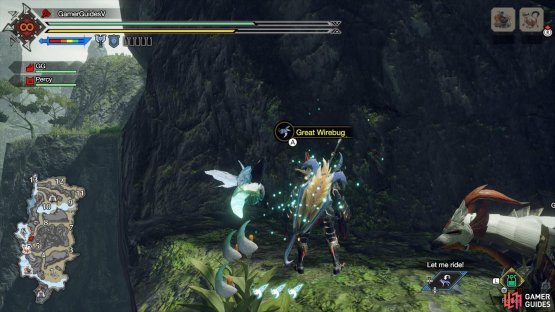
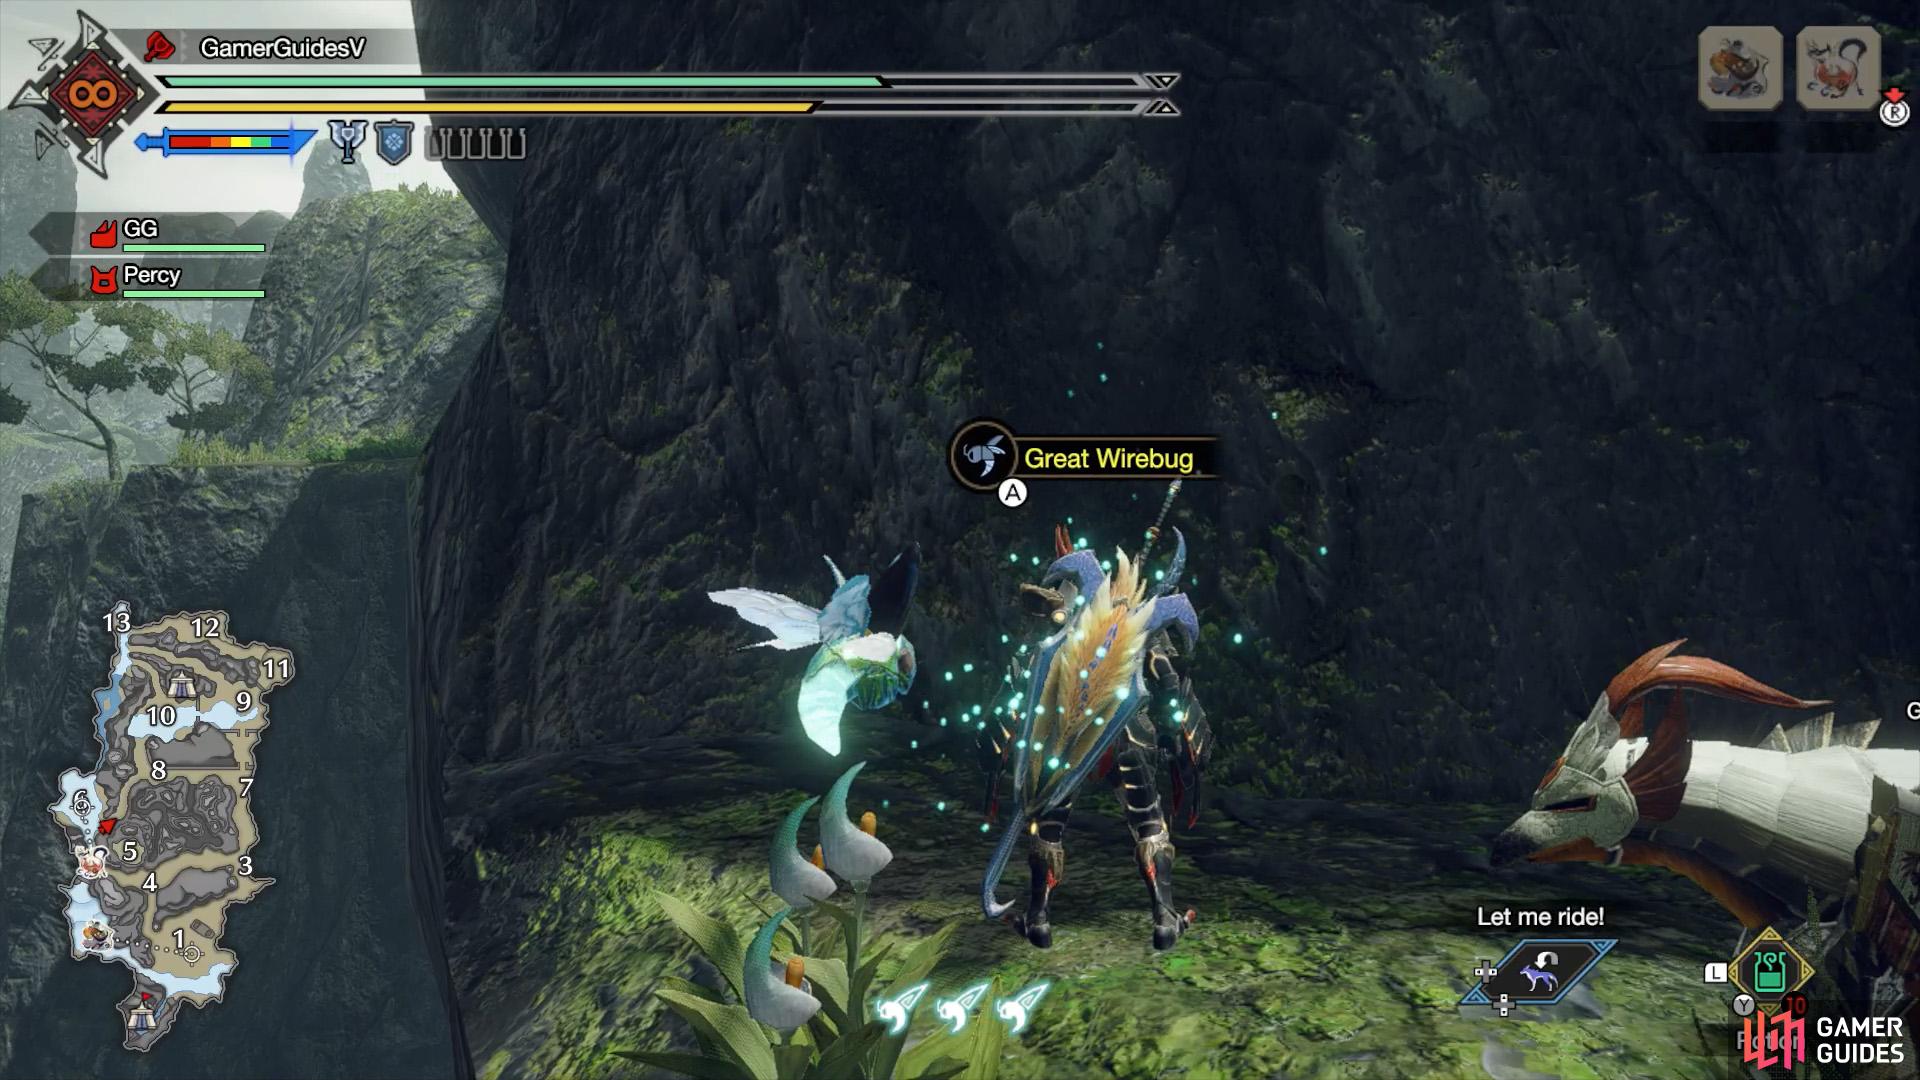
We suggest starting from Area 6. Head south until you’re parallel to Area 5 on the mini-map. As you approach the side road that leads to Area 4, look for two Golden Spiribugs near the top of a ledge. Use your wirebug to climb up. There will be a Great Wirebug nearby (or Jewel Lilies). Use the Great Wirebug to fly up.
Next, walk clockwise around the mountains. When the grass ends, wiredash across the gap to the ledge directly ahead. There’s another Great Wirebug here. Use this, then press at the top of your journey to use another Great Wirebug that’s positioned in mid-air.
You’ll reach the arena of Area 5. From here, grab a nearby wirebug, so you’ve got 3. Then use your wirebugs to climb up the rest of the mountain. After landing up here, if you continue clockwise, you can find many ledges that you can use as steps to catch your breath. The first few ledges are separated by gaps, so try not to fall down…
Relic Record II
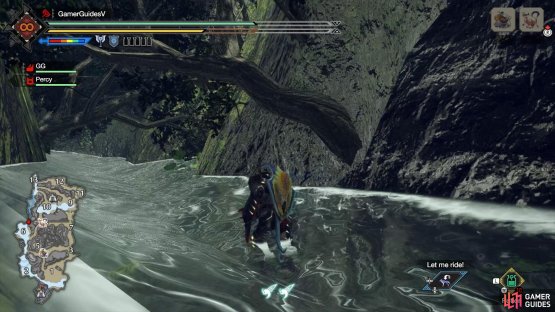

(1 of 2) Look for this tree branch near the stream’s entrance.

Look for this tree branch near the stream’s entrance. (left), Climb up the cliff and the relics’s in the corner of the ledge. (right)
Start from Area 6 and begin going through the narrow stream that leads to Area 13. Near the entrance of the stream, look for some tree branches poking out on the right. Use your wirebug to climb up the cliff just past the tree branches. The relic’s in the corner of the ledge.
Alternatively, go to the raised land between areas 6 and 8. Head north along the grass, while keeping to the west. Just before reaching the next cliff, you can drop down to a lower ledge.
Relic Record III
(1 of 2) The easiest way is to go up this vine-covered wall.

The easiest way is to go up this vine-covered wall. (left), You’ll find the relic near the front of the altar. (right)
Next to an altar atop a peak south of the Area 12 battleground. From the center of Area 12, look south-west. There should be a vine-covered wall with an Orange Spiribird on top. Climb up the wall, then turn left and use your wirebug to climb the mountains. You should arrive near the back of the shrine–the relic’s near the front.
Relic Record IV

(1 of 2) Use your wirebug to climb up the cliff near the wyvern nest.

Use your wirebug to climb up the cliff near the wyvern nest. (left), The relic is slumbering beyond the archway. (right)
This one is easy to reach, although at first glance, you might think the location is out of bounds. Head over to Area 11 in the north-eastern corner, where the wyvern nest is. Overlooking the nest is an archway surrounded by tree roots. Use your wirebug to climb up the cliff to the base of the archway.
Relic Record V
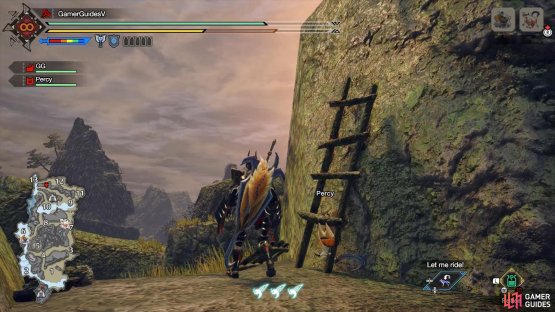
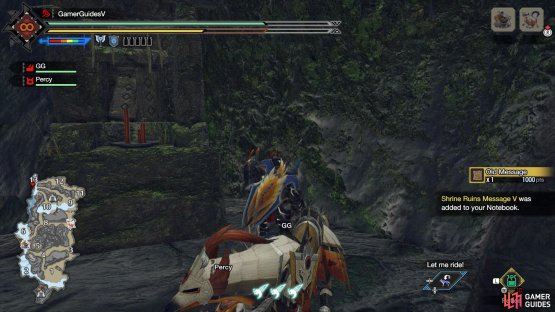
(1 of 2) Follow these broken ladders.

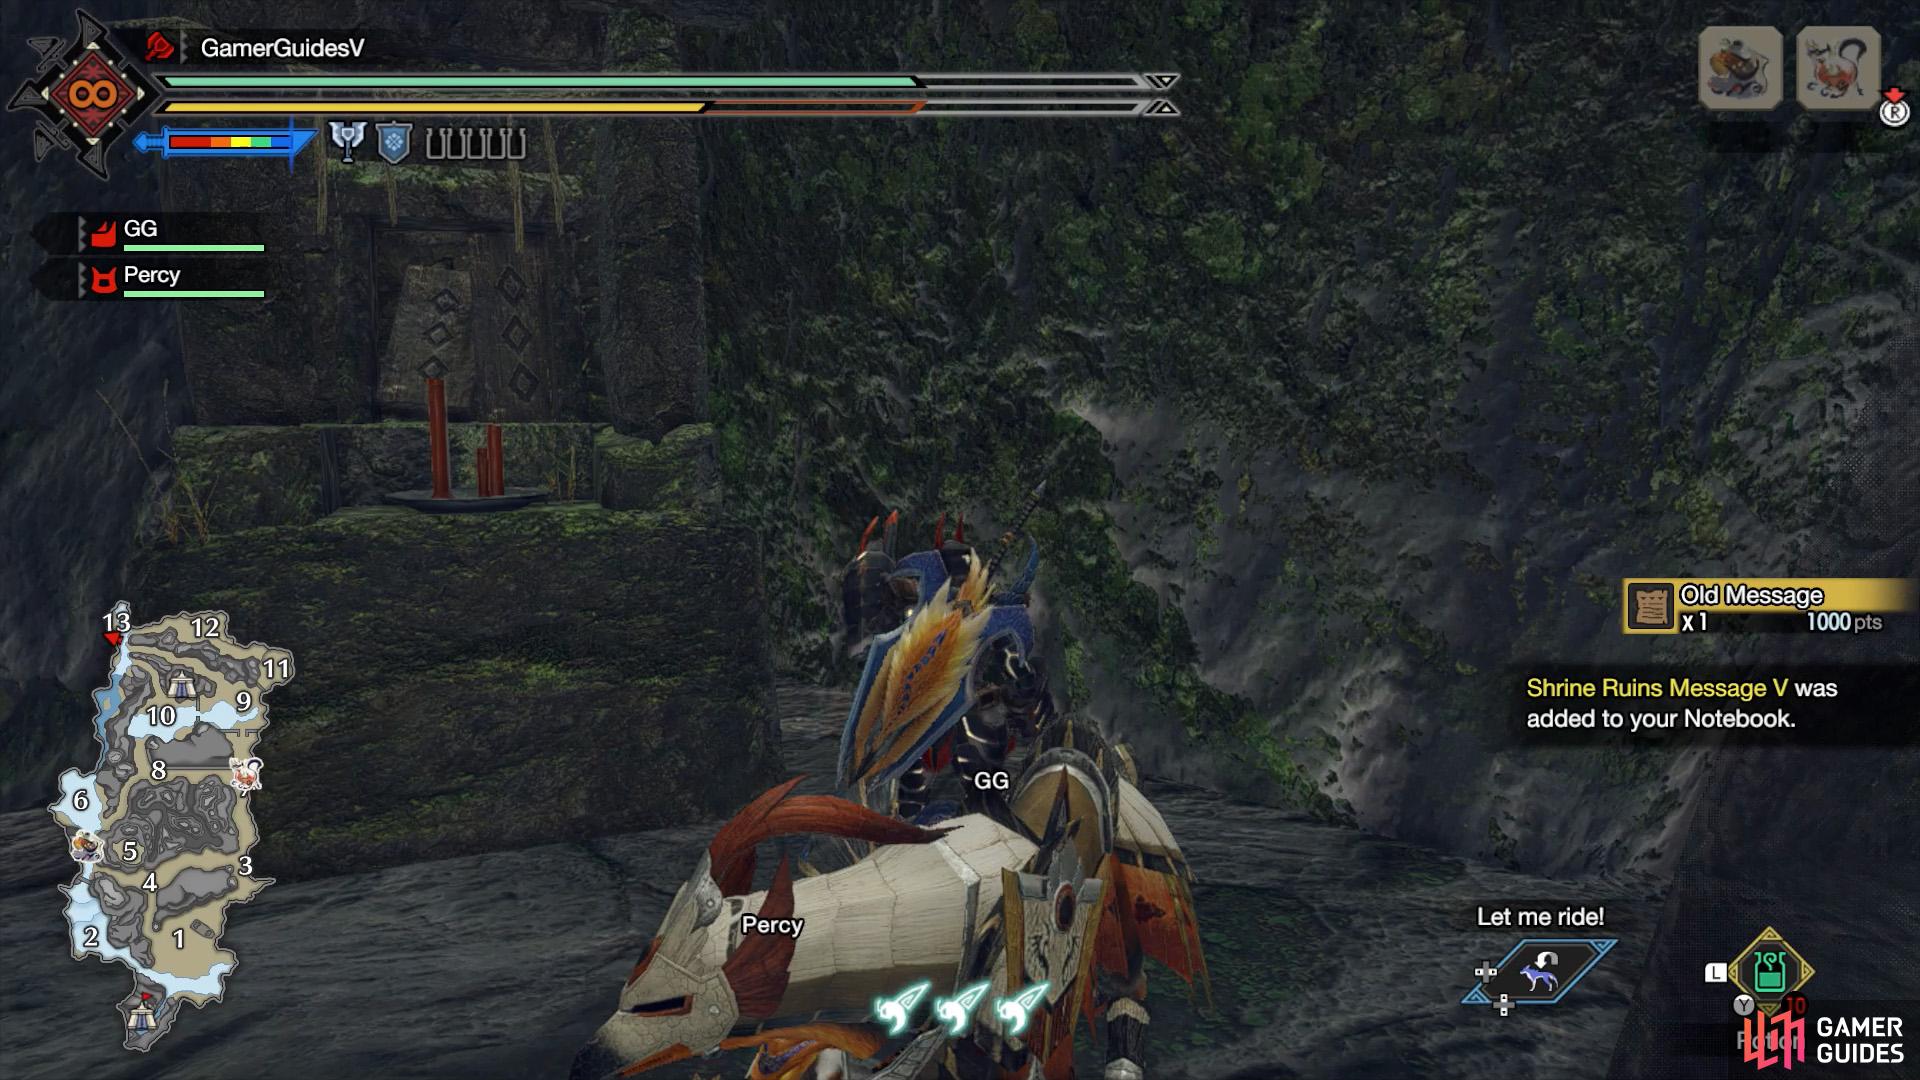
Follow these broken ladders. (left), Then go across the rickety bridge to another altar. (right)
This relic’s found in a pretty neat place. The easiest way to reach it is to head to Area 13, then start going along the road to Area 12. Use the nearby great wirebug on the right to climb up the highlands. Next, use your wirebug to climb up the cliffs with broken ladders. Then head forward, across the bridge. You’ll find it next to an altar.
If that’s too easy for you, you can also use your wirebug to climb up the tall pagoda in Area 13. Then leap across to the ledge with the altar. Once you’re at the top of the pagoda, there seem to be invisible walls stopping you from directly climbing the cliff, so you need to aim your wirebug upwards, away from the cliff.
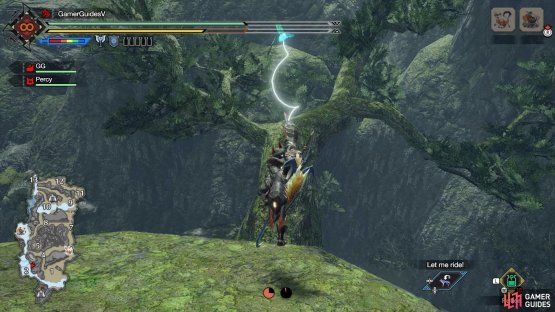
Relic Record VI
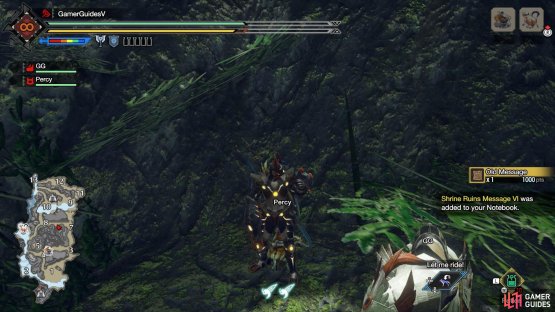
(1 of 2) Stop before the tall archway between areas 7 and 8.
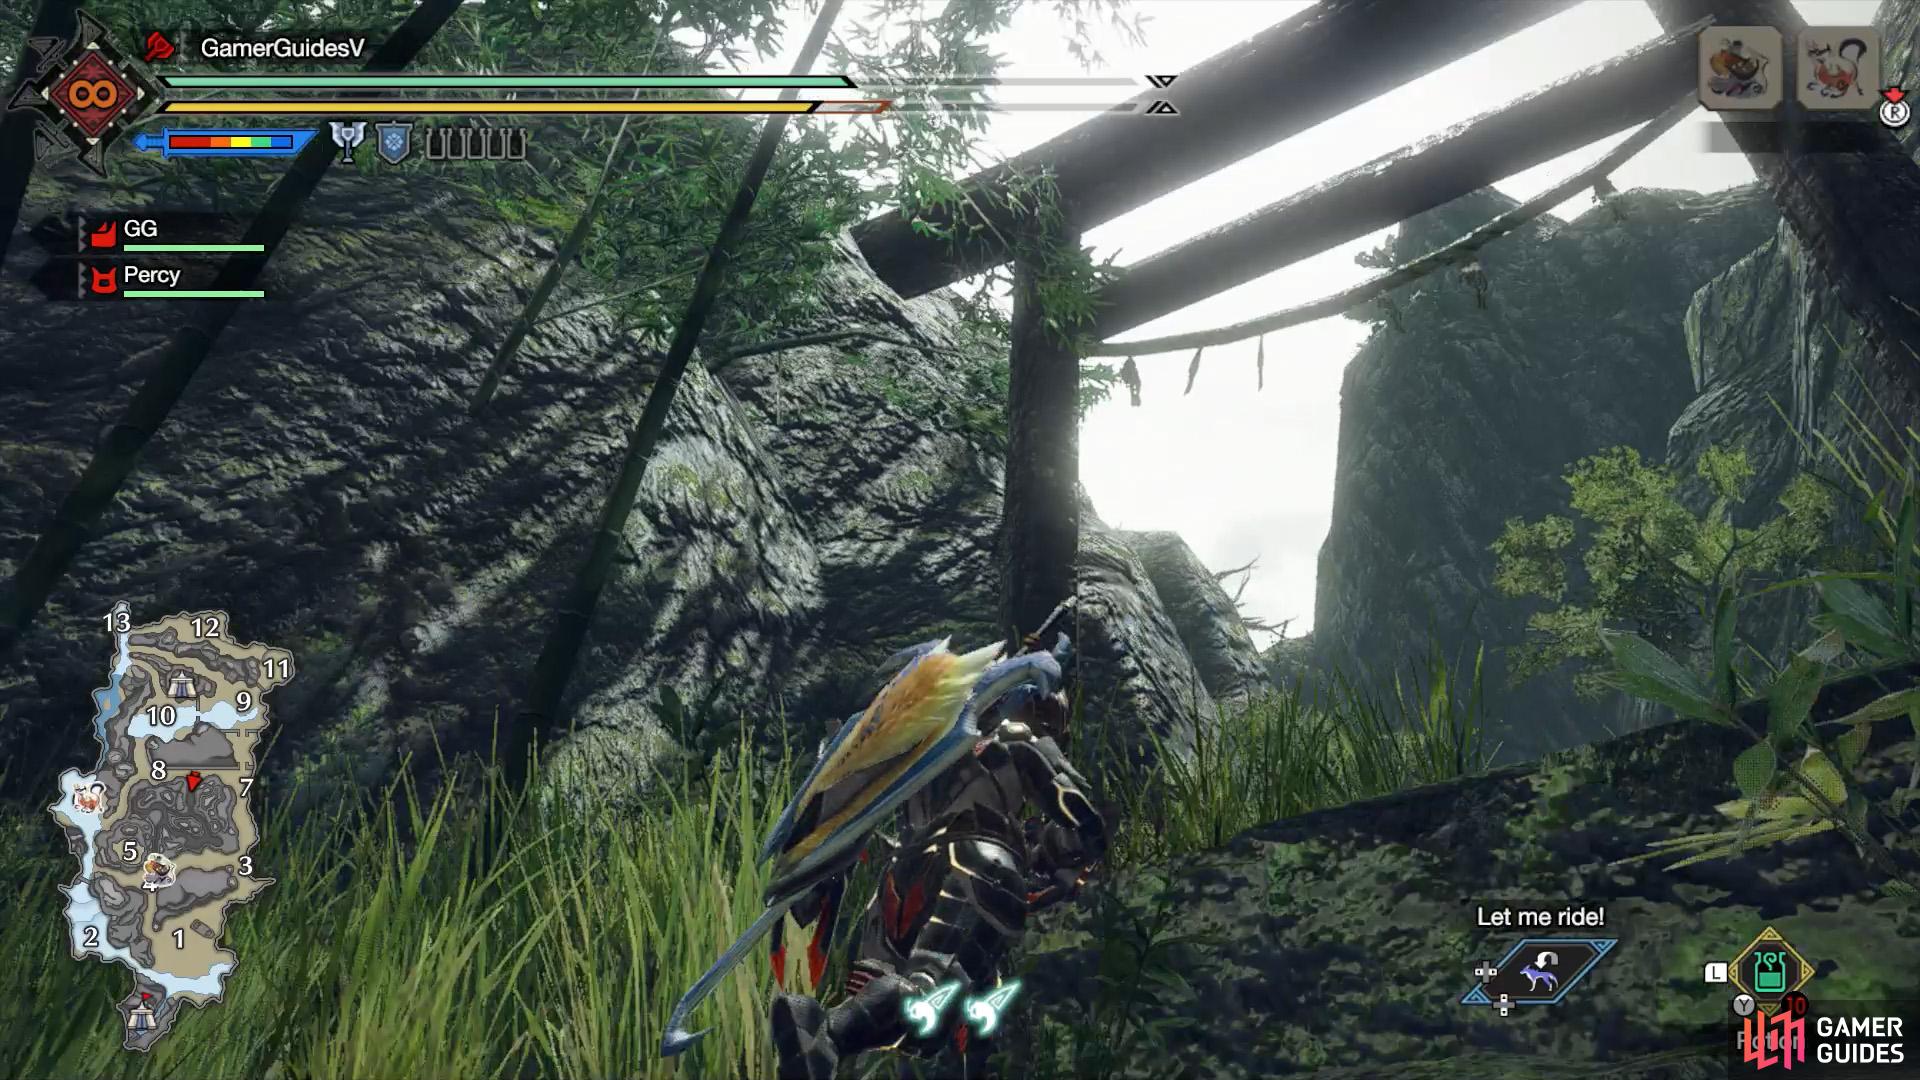
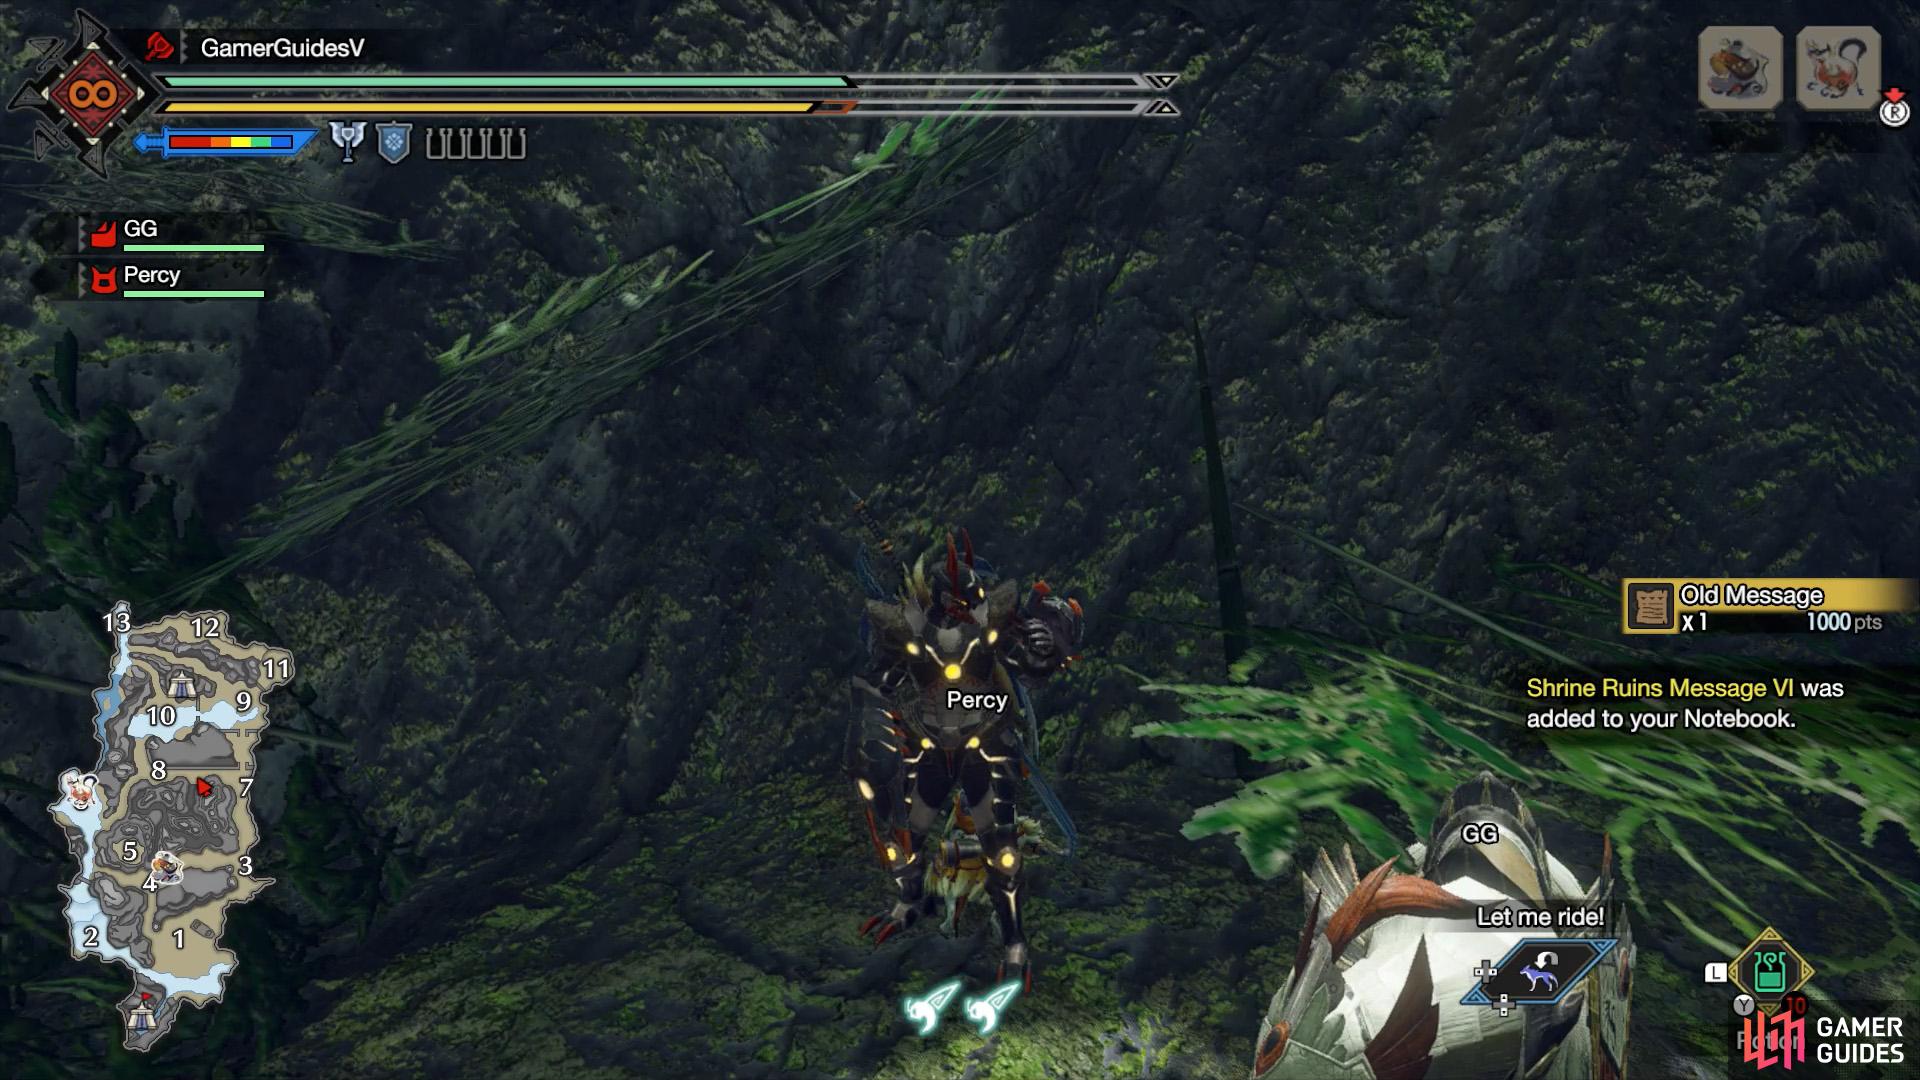
Stop before the tall archway between areas 7 and 8. (left), Use a wirebug to climb the cliff to the left and reach a ledge. (right)
Go to Area 7 and start heading west towards Area 8. Halfway along, there’s a mountain path on the left, with a tall archway in front. Climb up the cliff to the left of the archway and you’ll find this relic on a ledge halfway up.
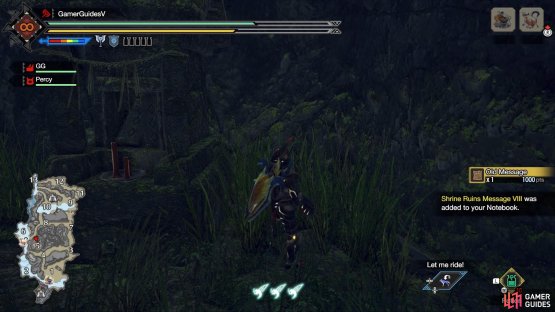
Relic Record VII
(1 of 2) Get yourself onto this tree overlooking Area 2.

Get yourself onto this tree overlooking Area 2. (left), Slowly walk across the right branch for this relic. (right)
A well-hidden and annoying to obtain relic. Go up the highlands between areas 1 and 2. Look for a large tree growing by the side of the highlands, arching over Area 2. Climb up the trunk, then walk across the right branch. It helps if you press  to crouch, then gently nudge in the direction you want to move.
Relic Record VIII
(1 of 2) From the second great wirebug, run left, sideways across the cliff.
From the second great wirebug, run left, sideways across the cliff. (left), The relic is inside a cave in the cliff face. (right)
Next to an altar in a cave halfway up the cliff between areas 5 and 6. There are a few ways to reach it.
Method 1, head south from the center of Area 6. When you’re near the side road that leads to Area 4, look for a ledge to the left with two Golden Spiribugs near the top. Climb up this ledge. Use the Great Wirebug here to launch yourself up a bit. Next, follow the grass around the mountain clockwise.
When the grass ends, there should be a ledge further ahead, across a gap. Use your wirebug to reach that ledge. There will be another Great Wirebug here, but don’t use it. Instead, shoot your wirebug towards the cliff and run left across the cliff. When you’re out of stamina, hold to hang in the air.
From here, you should see a cave inside the cliff nearby. Use your second wirebug to reach it. Or if you’re close enough, press to roll into the cave. This is the fun method.
Or you could just climb up from here.
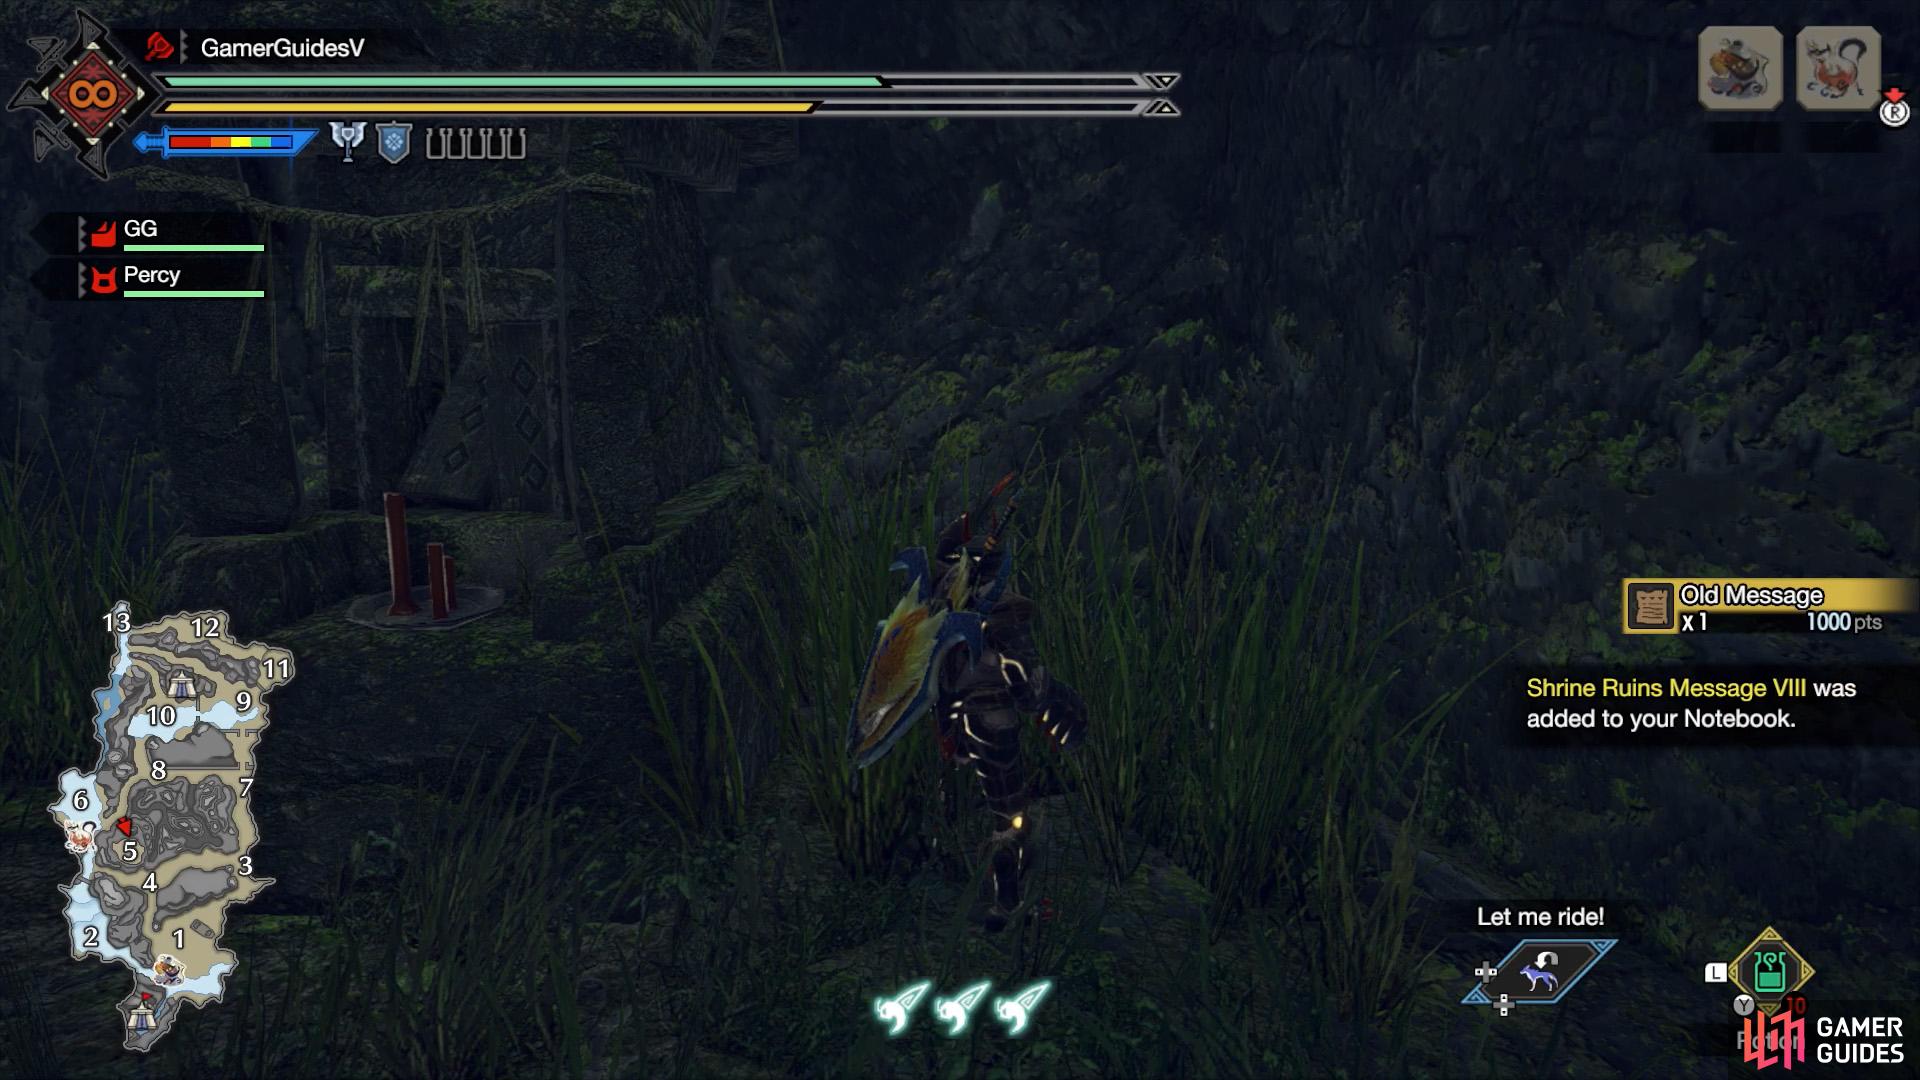
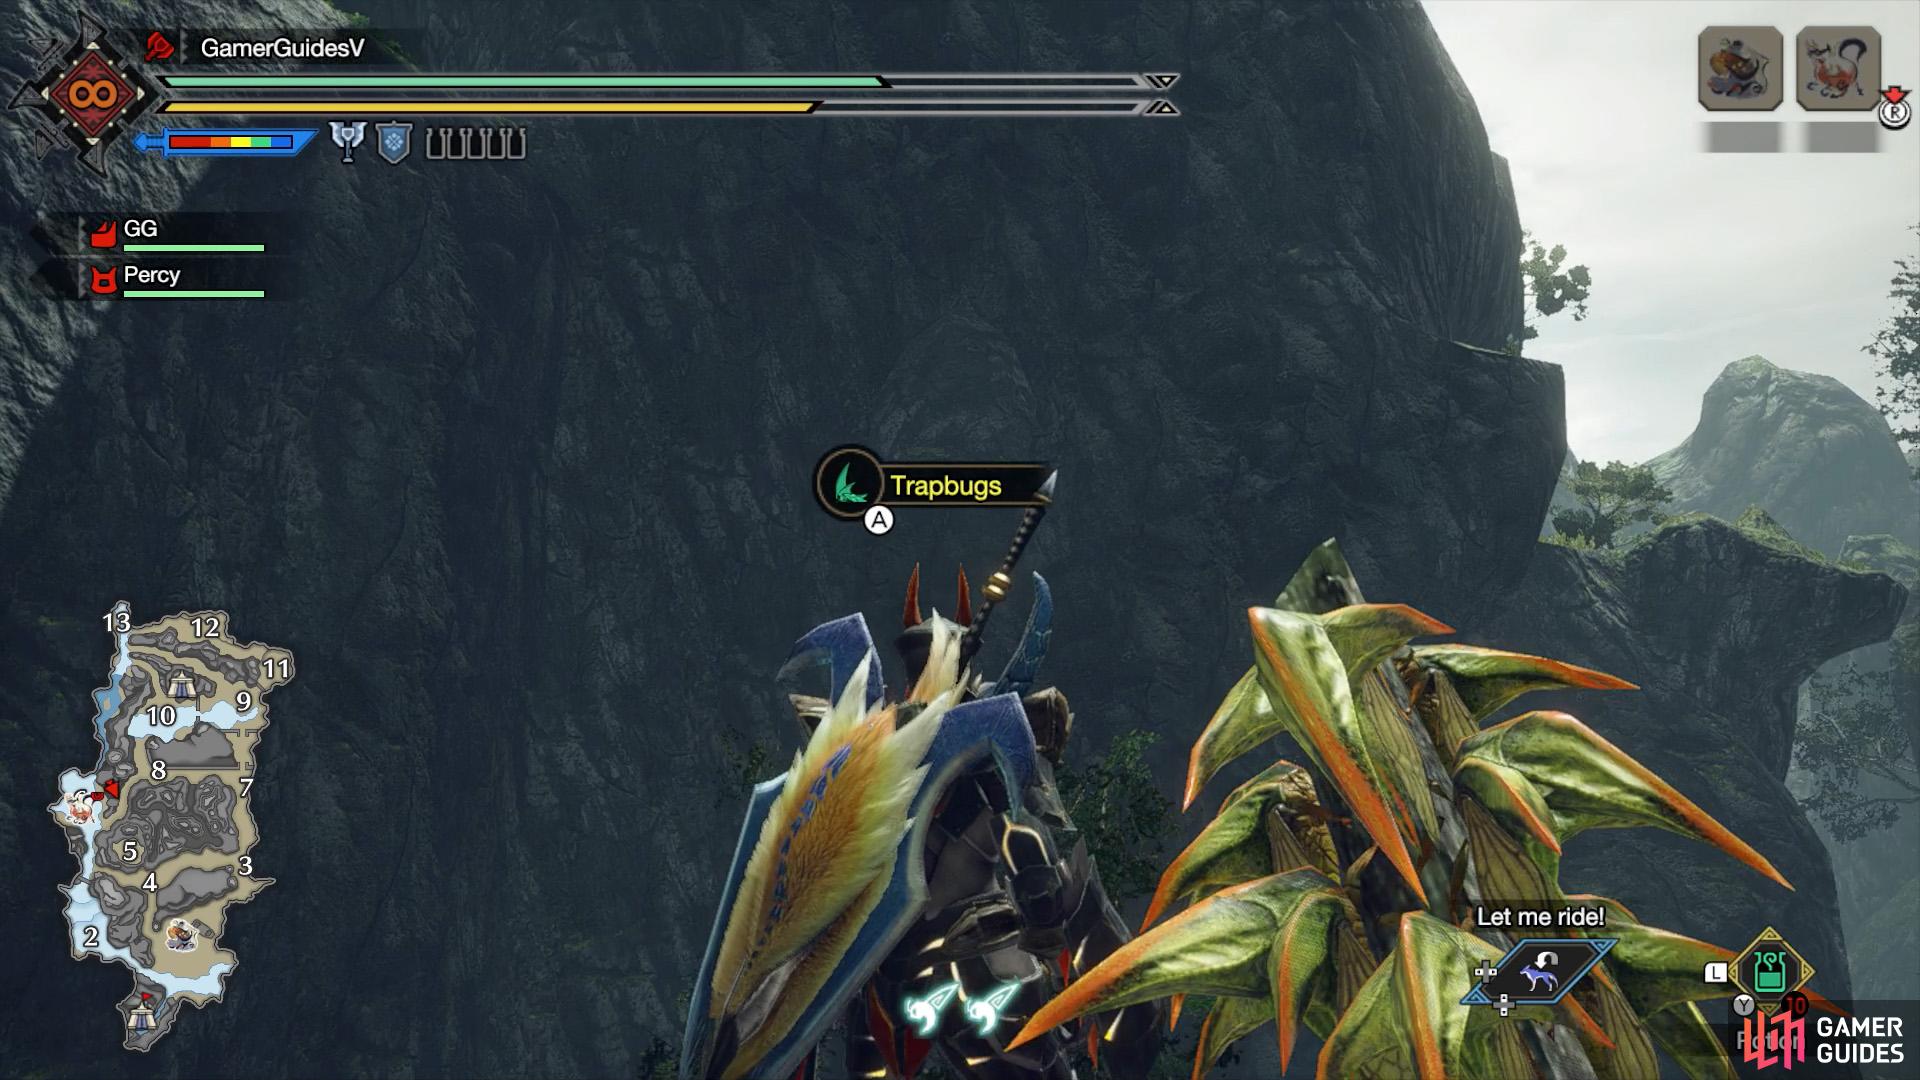
Method 2, head to the center of the raised ground in-between areas 6 and 8. Look for some trapbugs on the ground. Using your mini-map, face in the direction of Area 5. If you look up, you should see the cave halfway up the cliff. Run towards the cliff, then use your wirebug to climb up. Due to the sheer distance, you may need to hang in the air multiple times to regain stamina.
Relic Record IX

(1 of 2) Try as we might, we could barely see the relic.
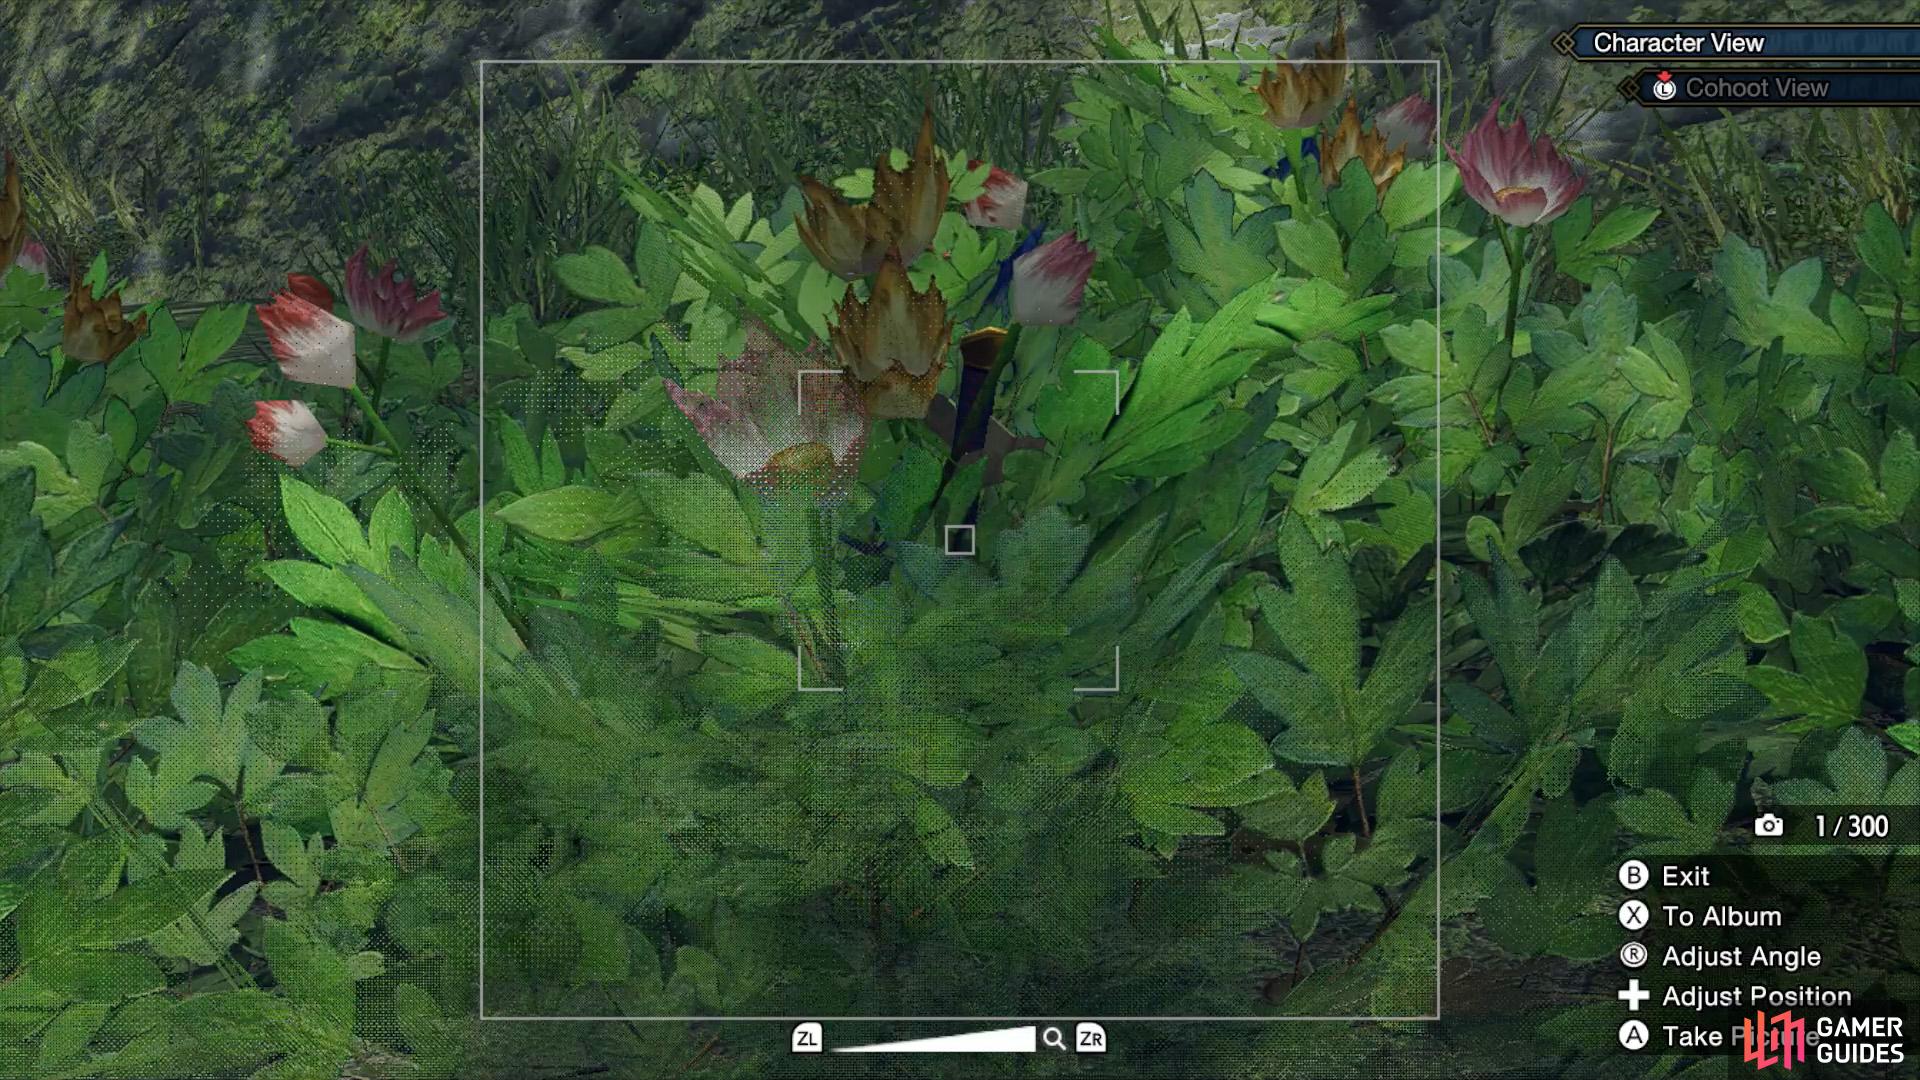
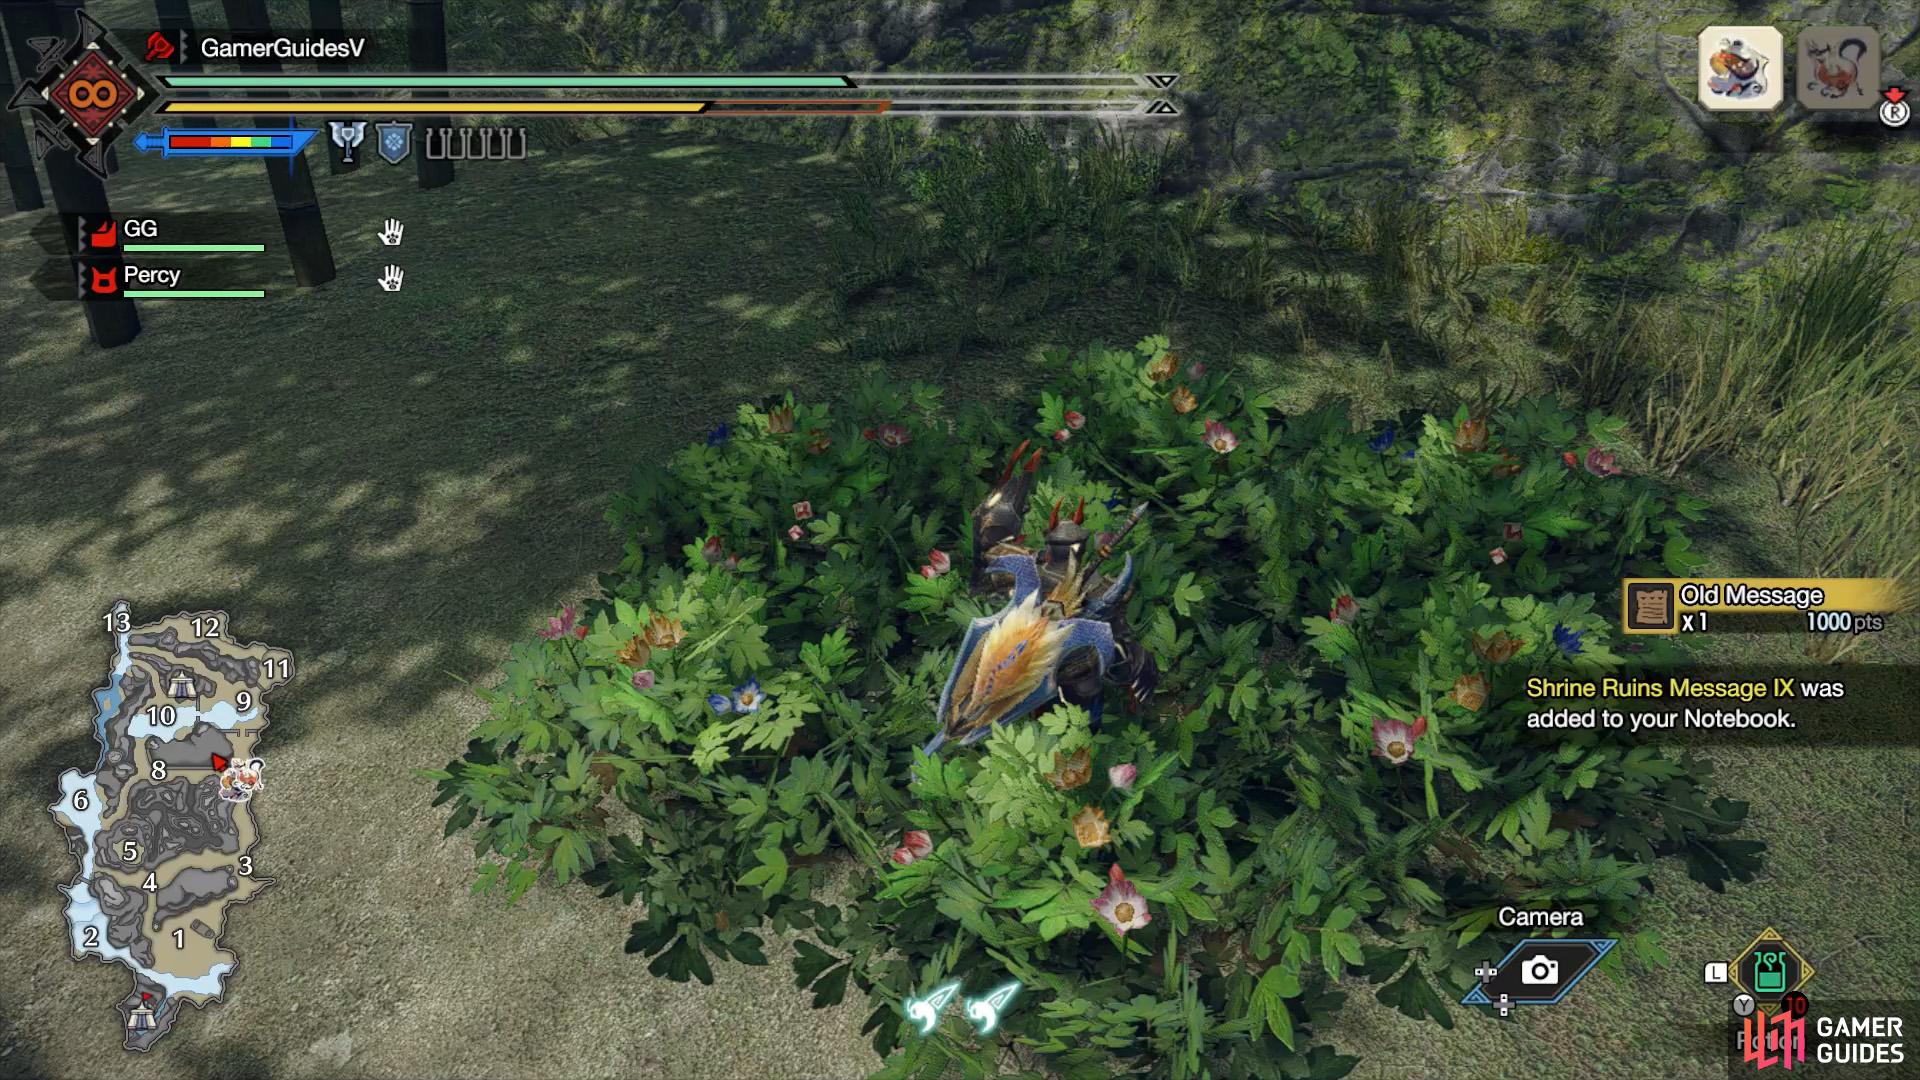
Try as we might, we could barely see the relic. (left), Whoever placed this relic here needs a (nice) slap. (right)
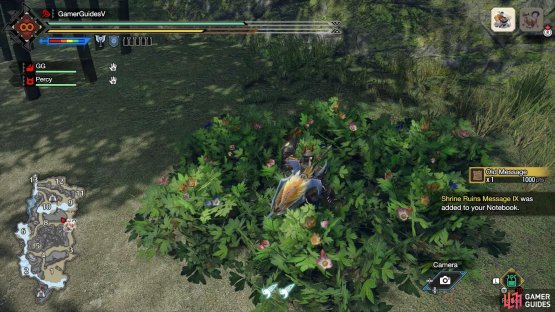
This is a very sneakily hidden relic. It’s in the middle of a flowery bush in Area 7, between the fence and the raised ground. It’s nigh impossible to see it, so look out for the “Relic Record” action prompt when you’re near it instead.
Relic Record X
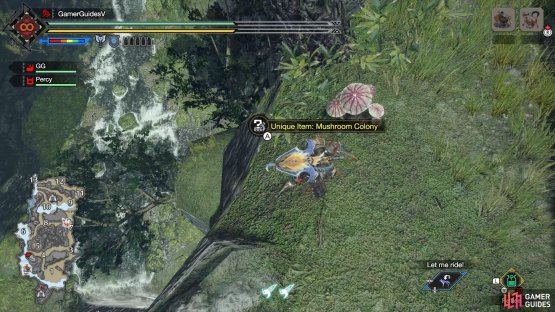

(1 of 2) Drop down near these mushrooms.
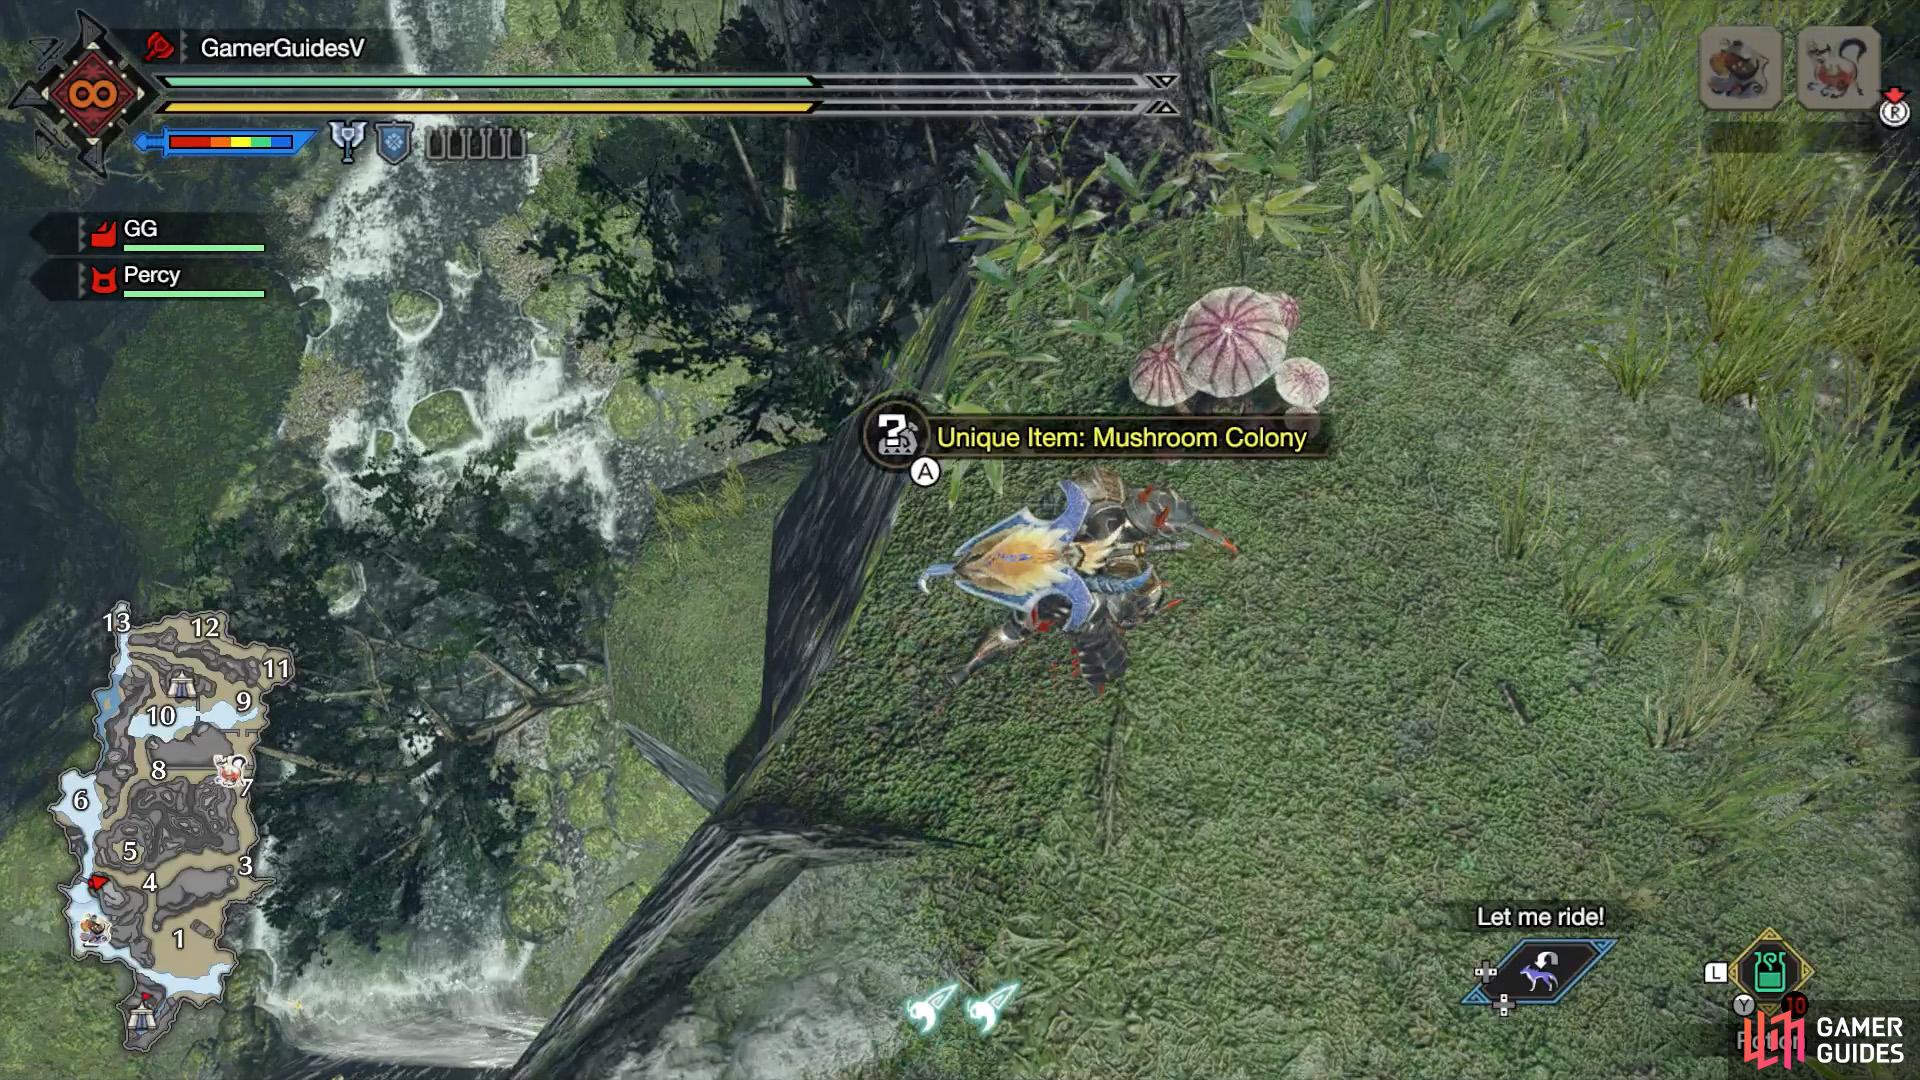
Drop down near these mushrooms. (left), The final relic is on a grassy ledge. (right)
The last relic is on a ledge halfway up a cliff near the intersection point of areas 2, 4 and 6. What you can do is climb up the highlands between areas 1 and 2. When you reach the highest part, with the abandoned building, go towards the west side and look for a Mushroom Colony. From here, walk up to the edge and drop down to the grassy ledge below.
Alternatively, head over to the shallow water halfway between areas 2 and 6, above the waterfall. While facing Area 2, go past the side road that leads to Area 4, face left and use your wirebug to climb up the cliff.
No Comments