
Somnacanth is a mermaid-like creature that’s new to Monster Hunter: Rise. It’s encountered in the Village Quest “Infernal Lacrimosa”, among others.
Overview


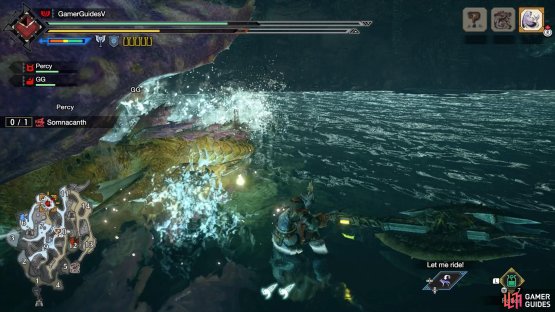
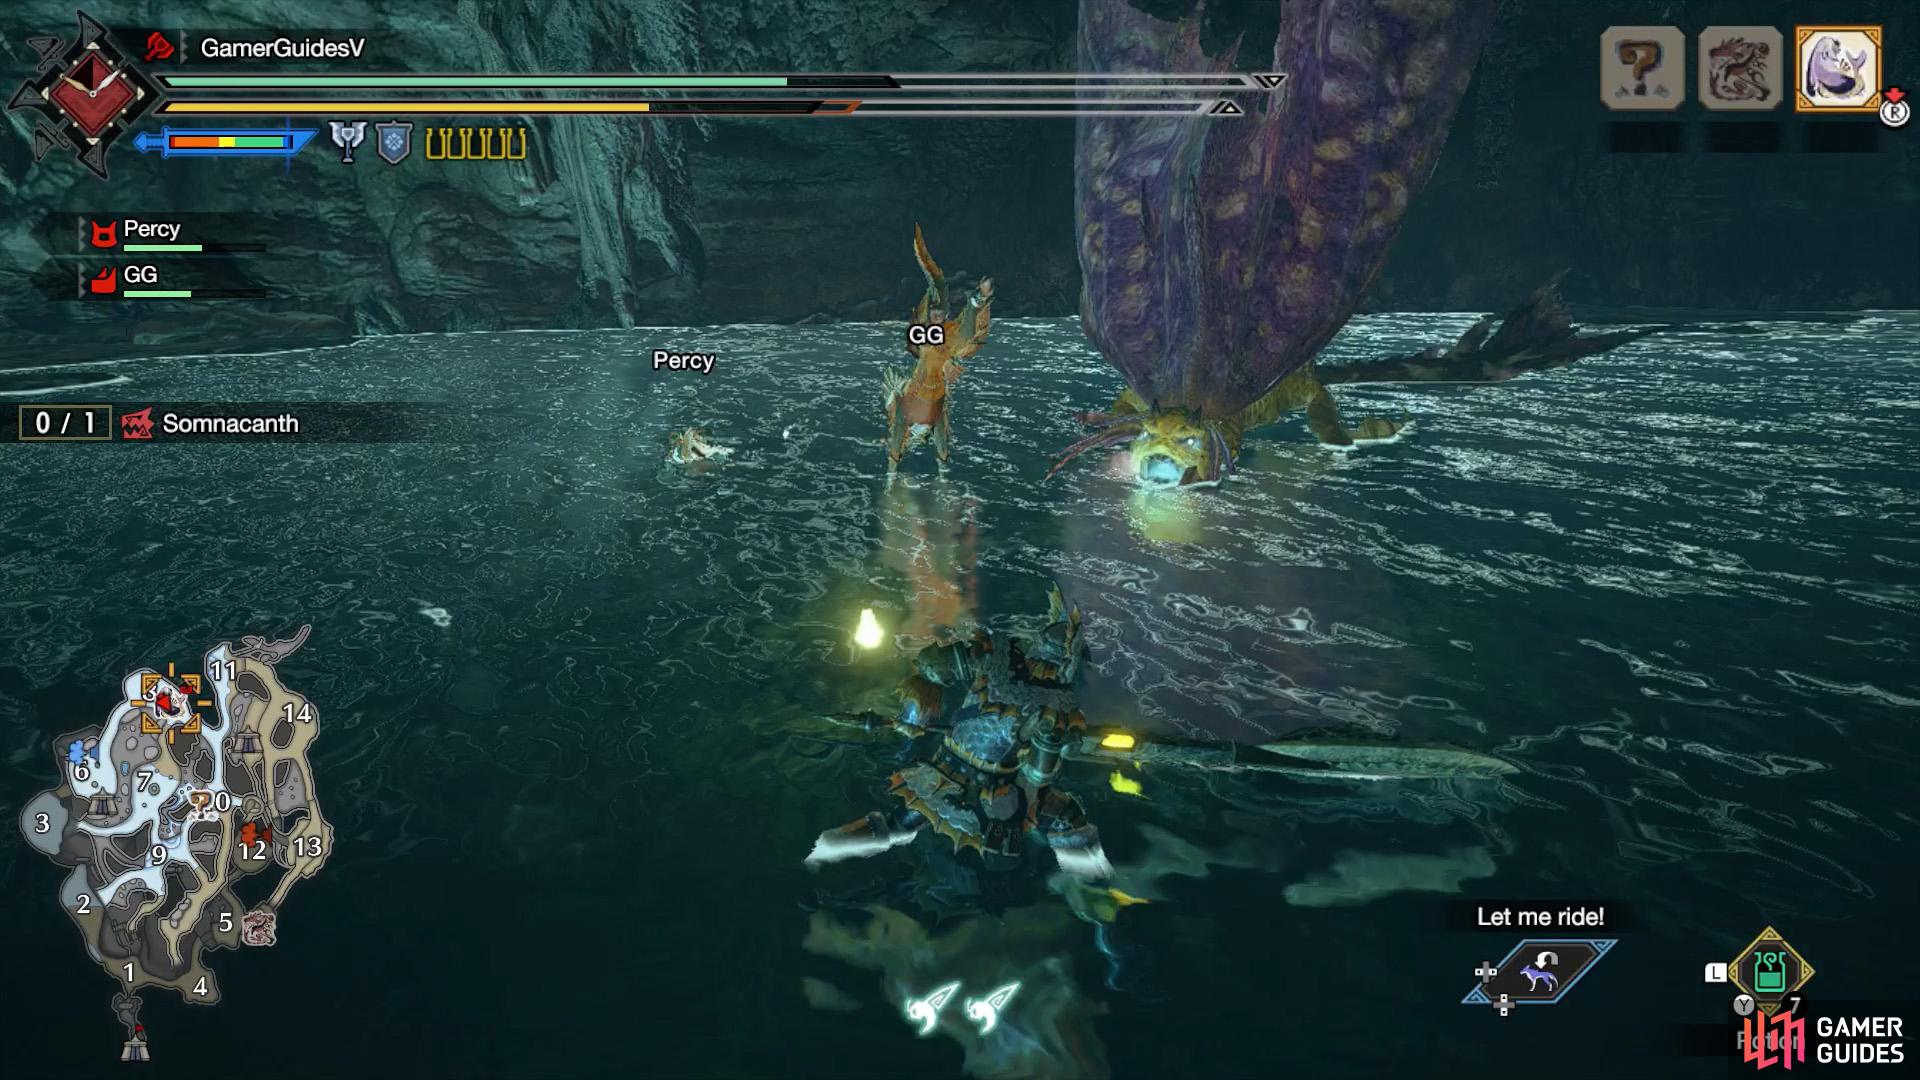
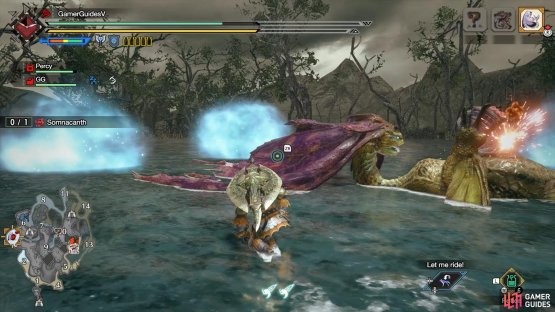
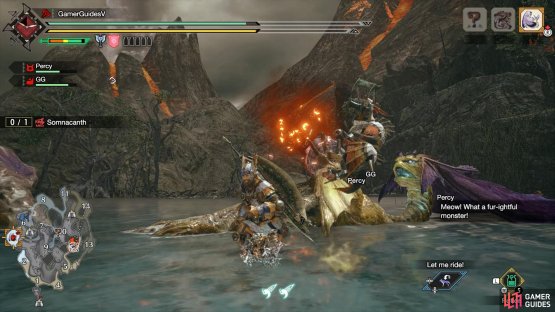
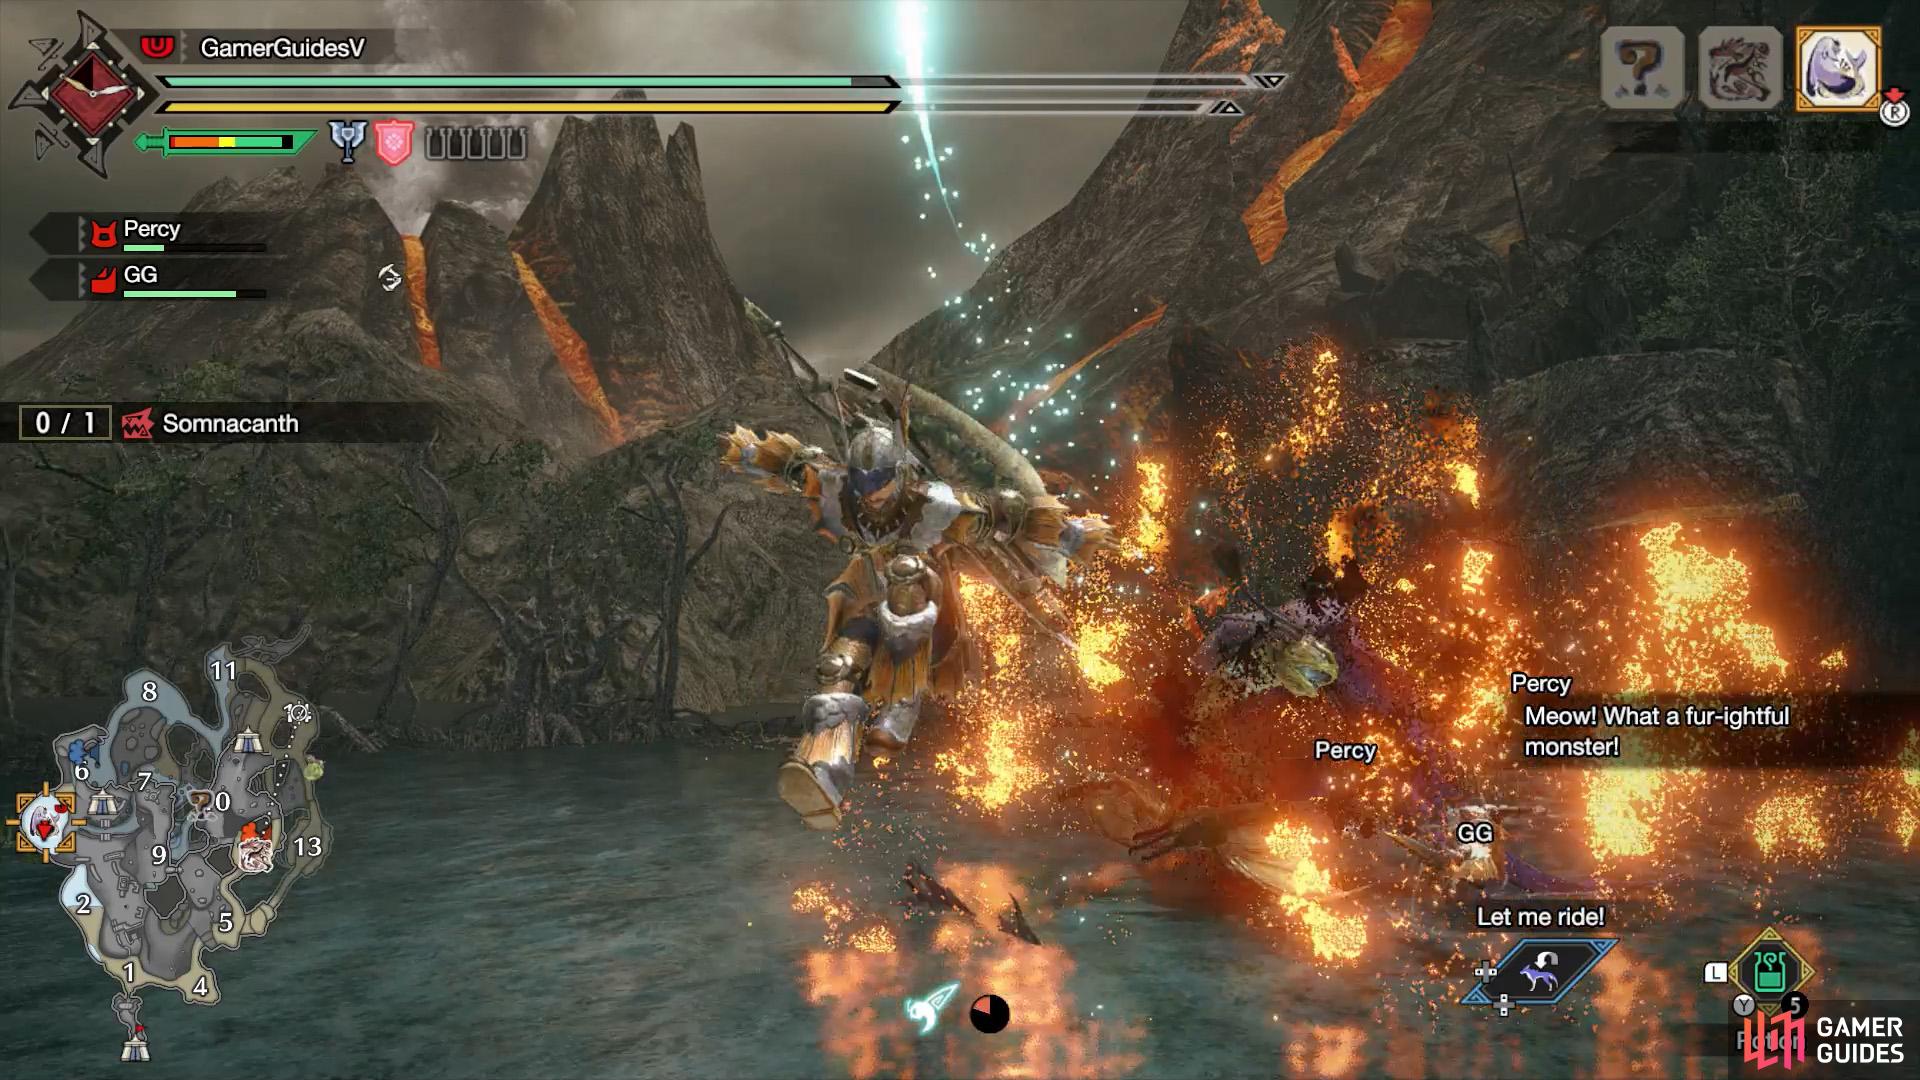
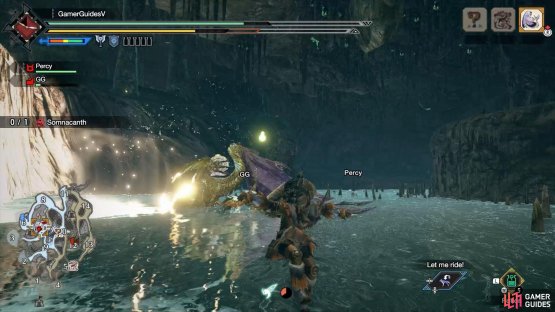
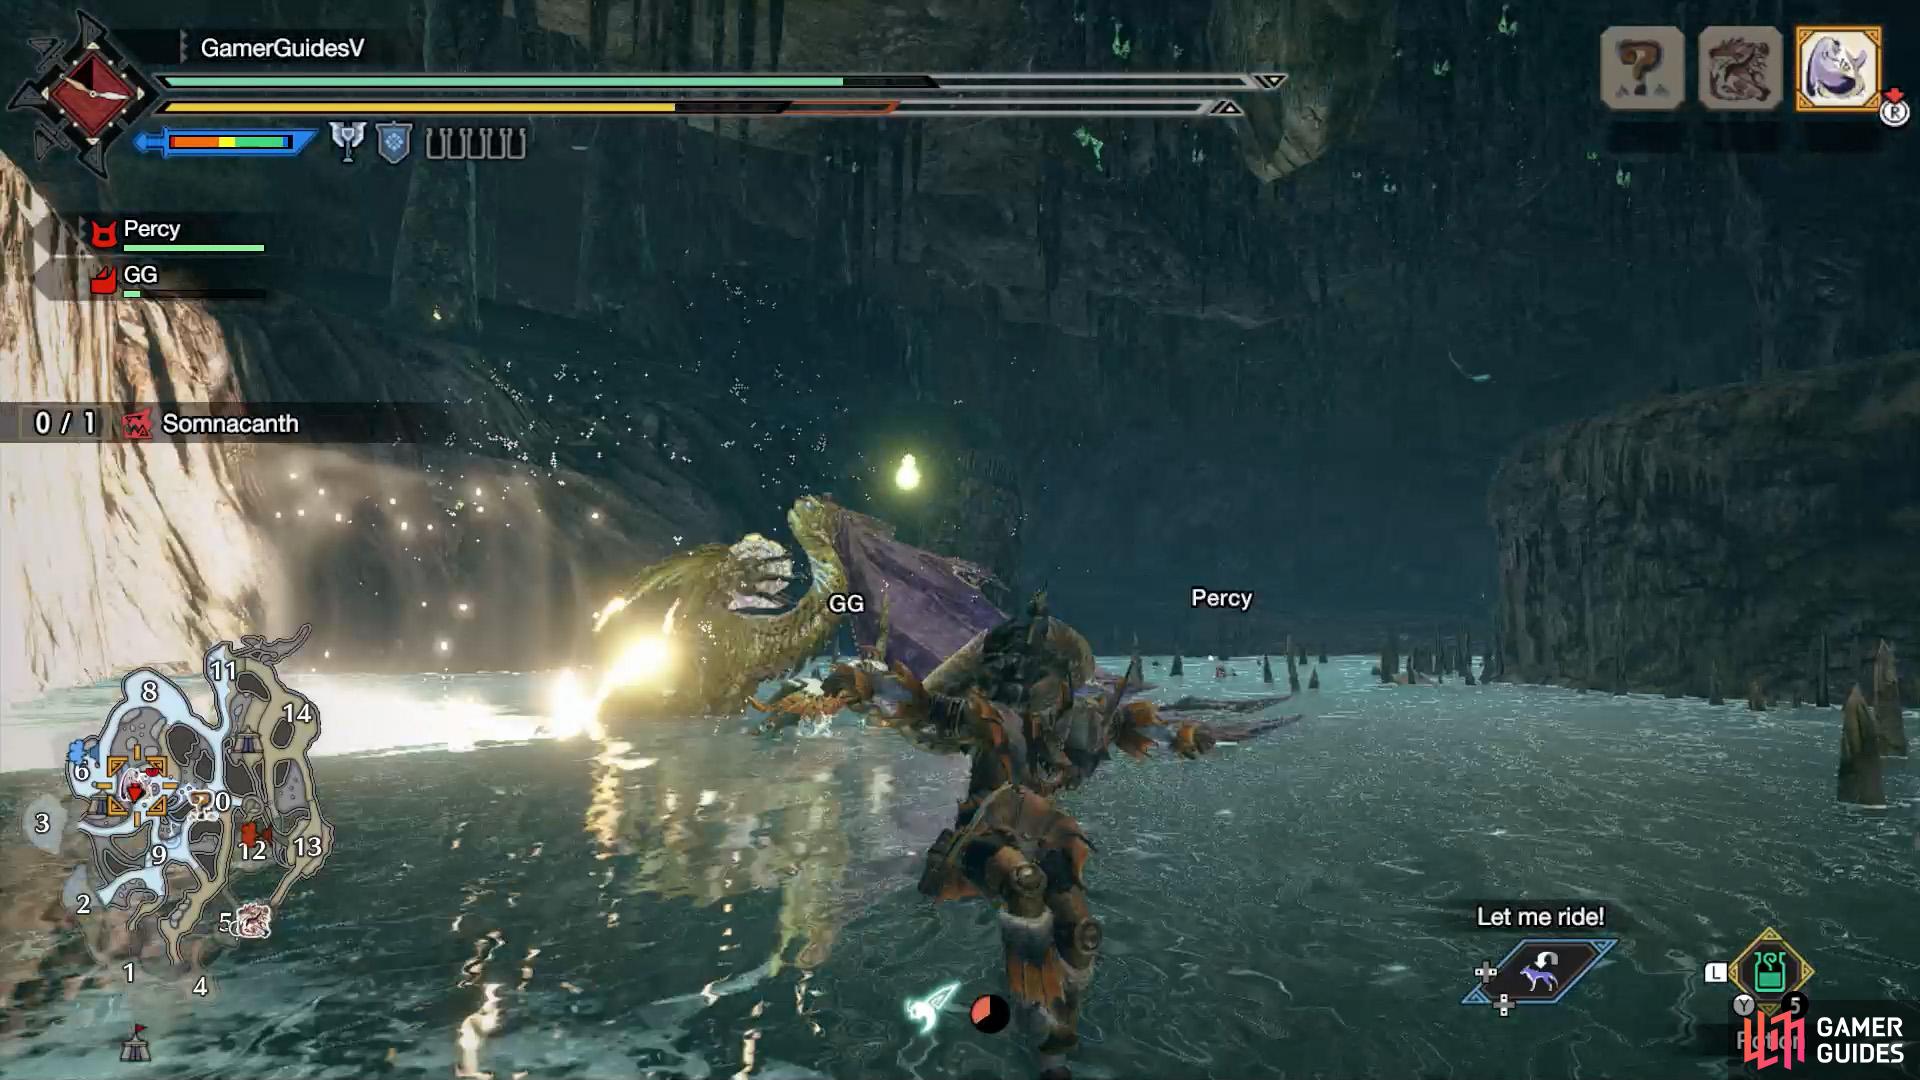
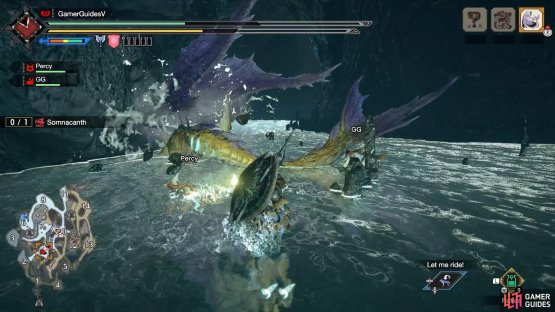
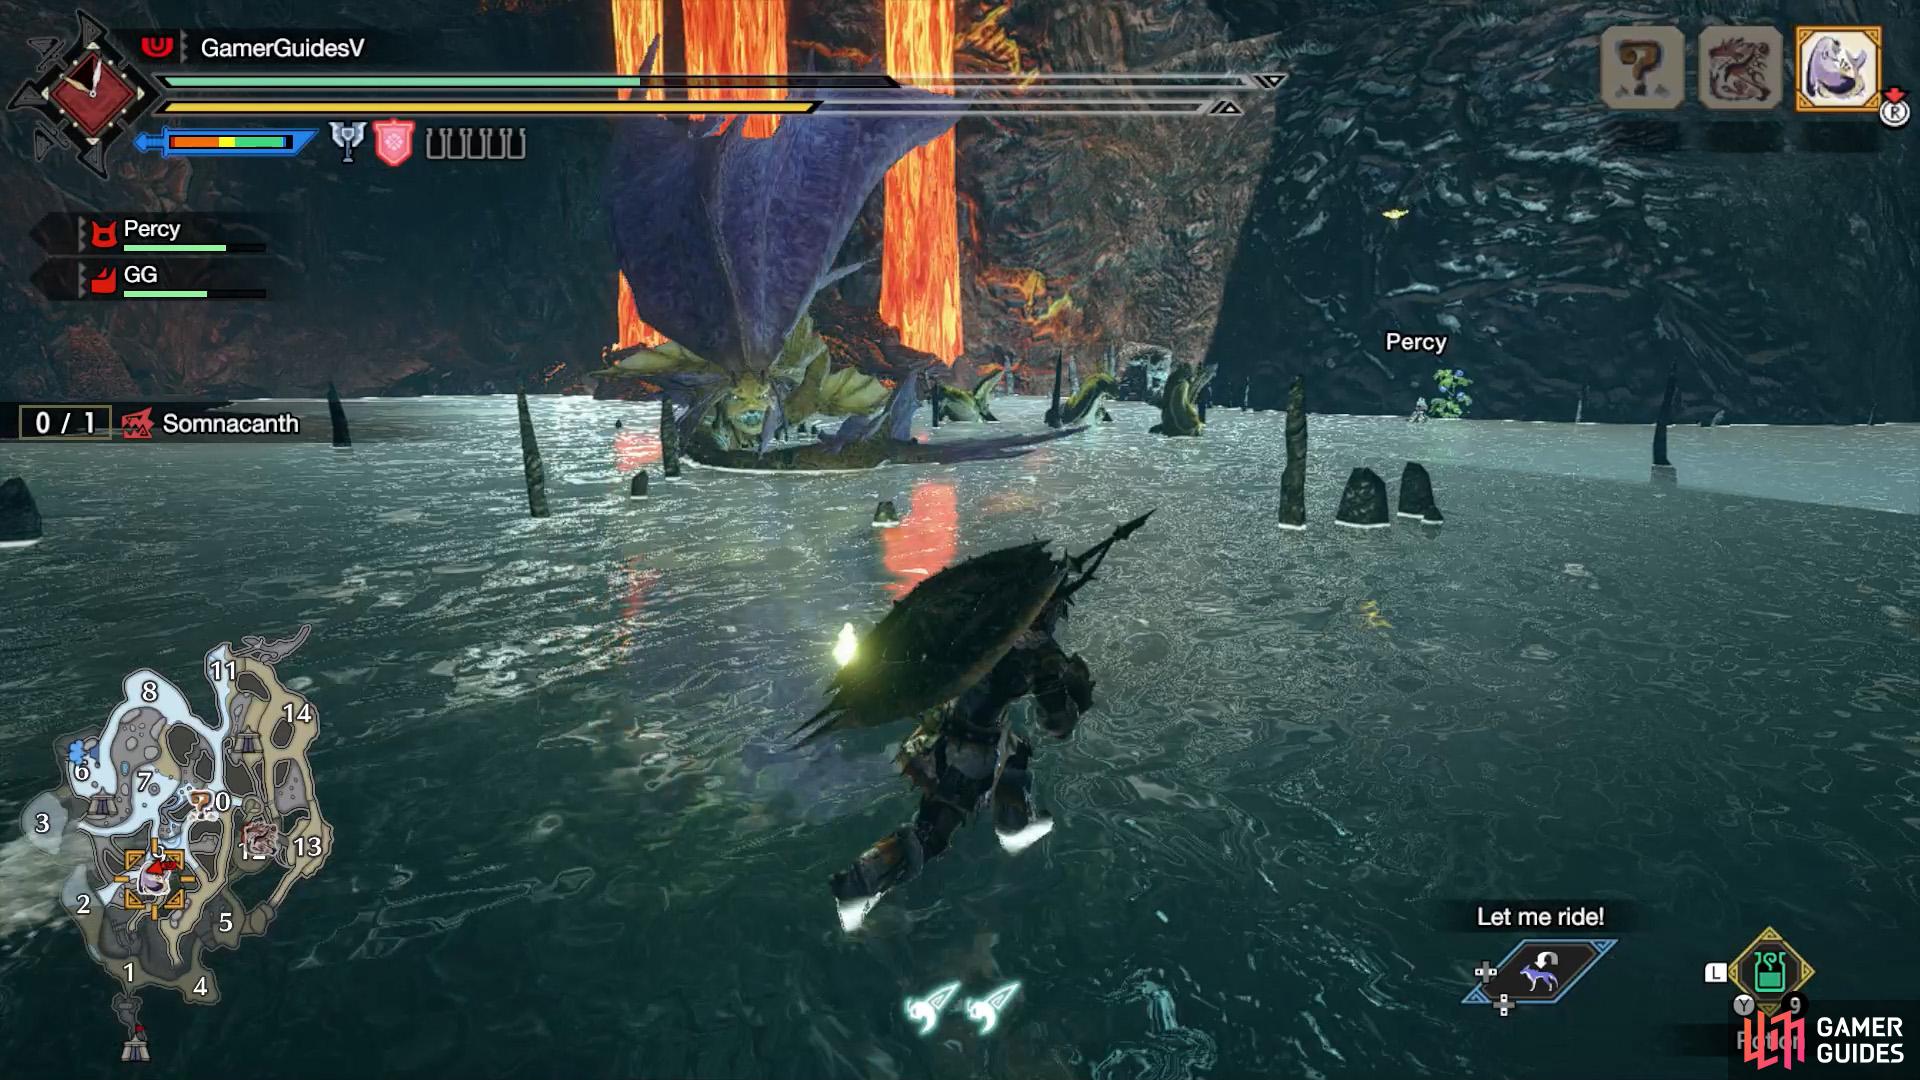
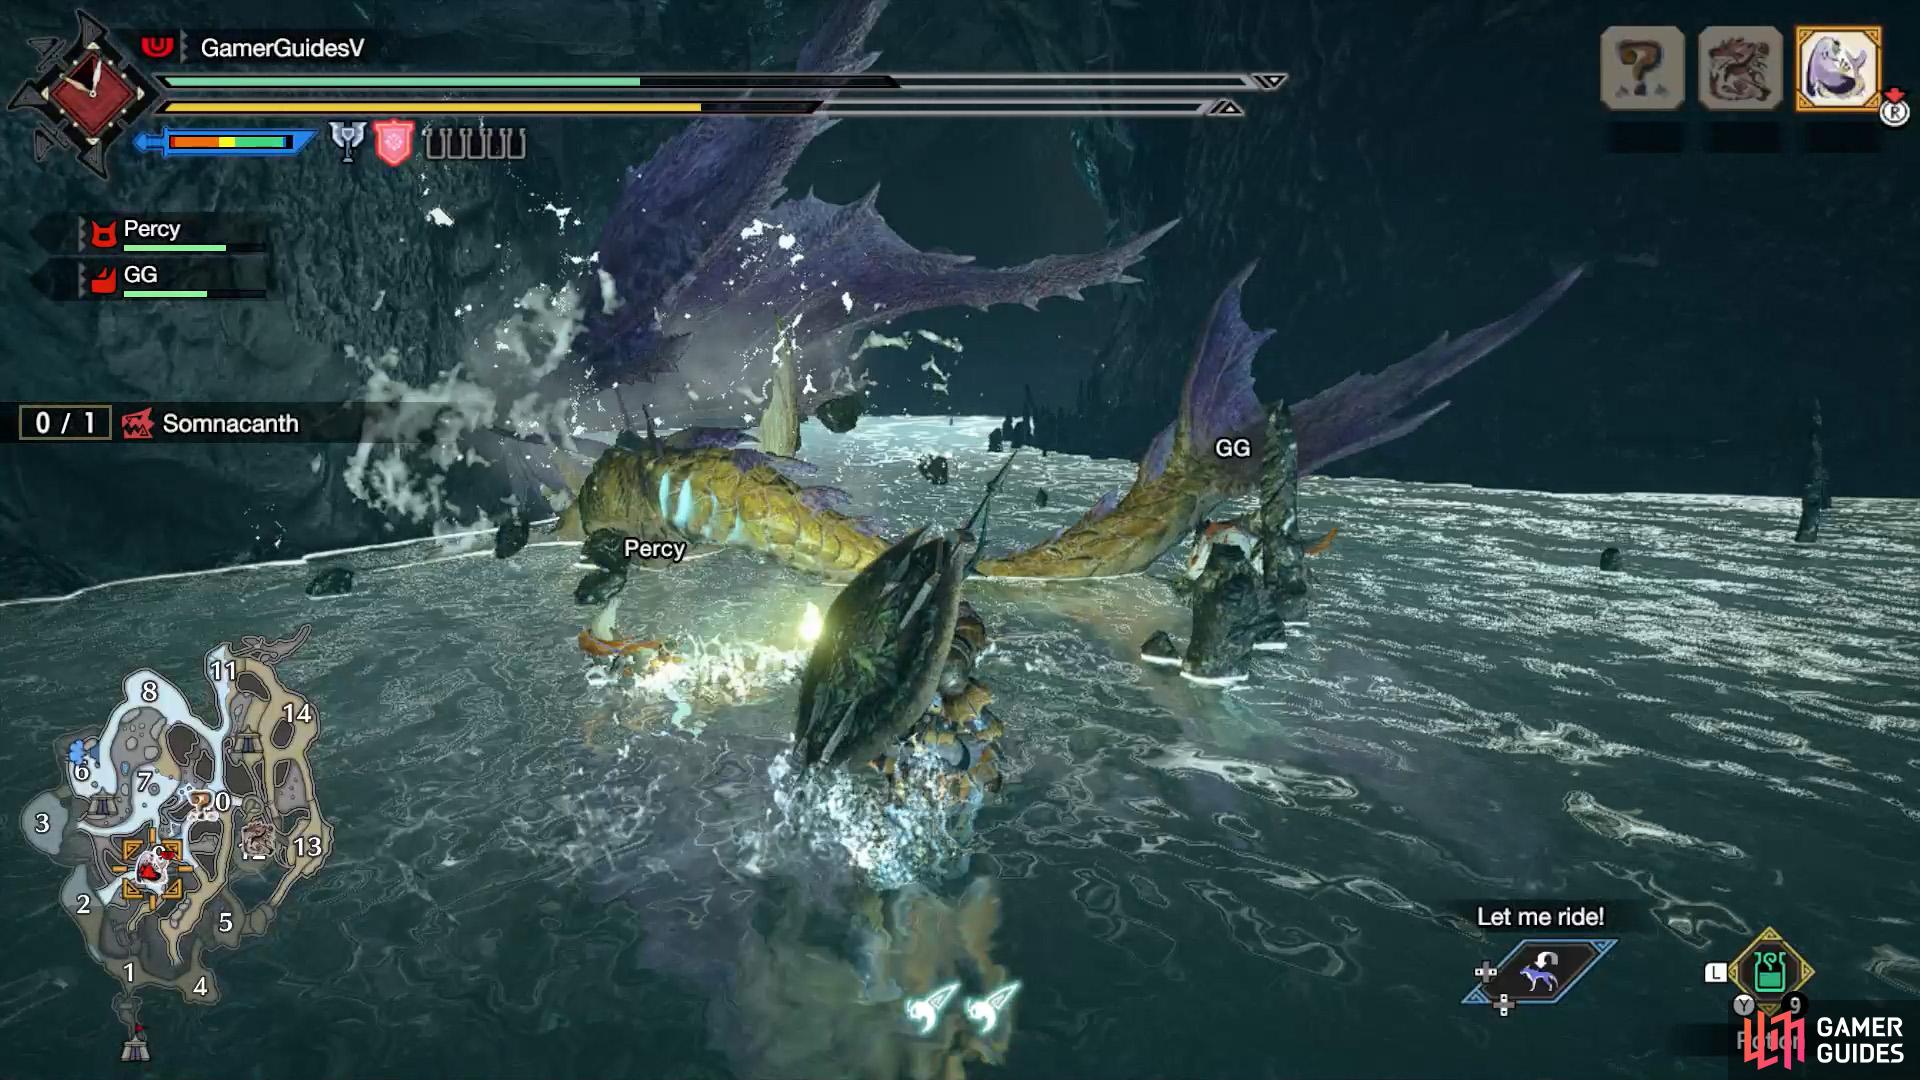
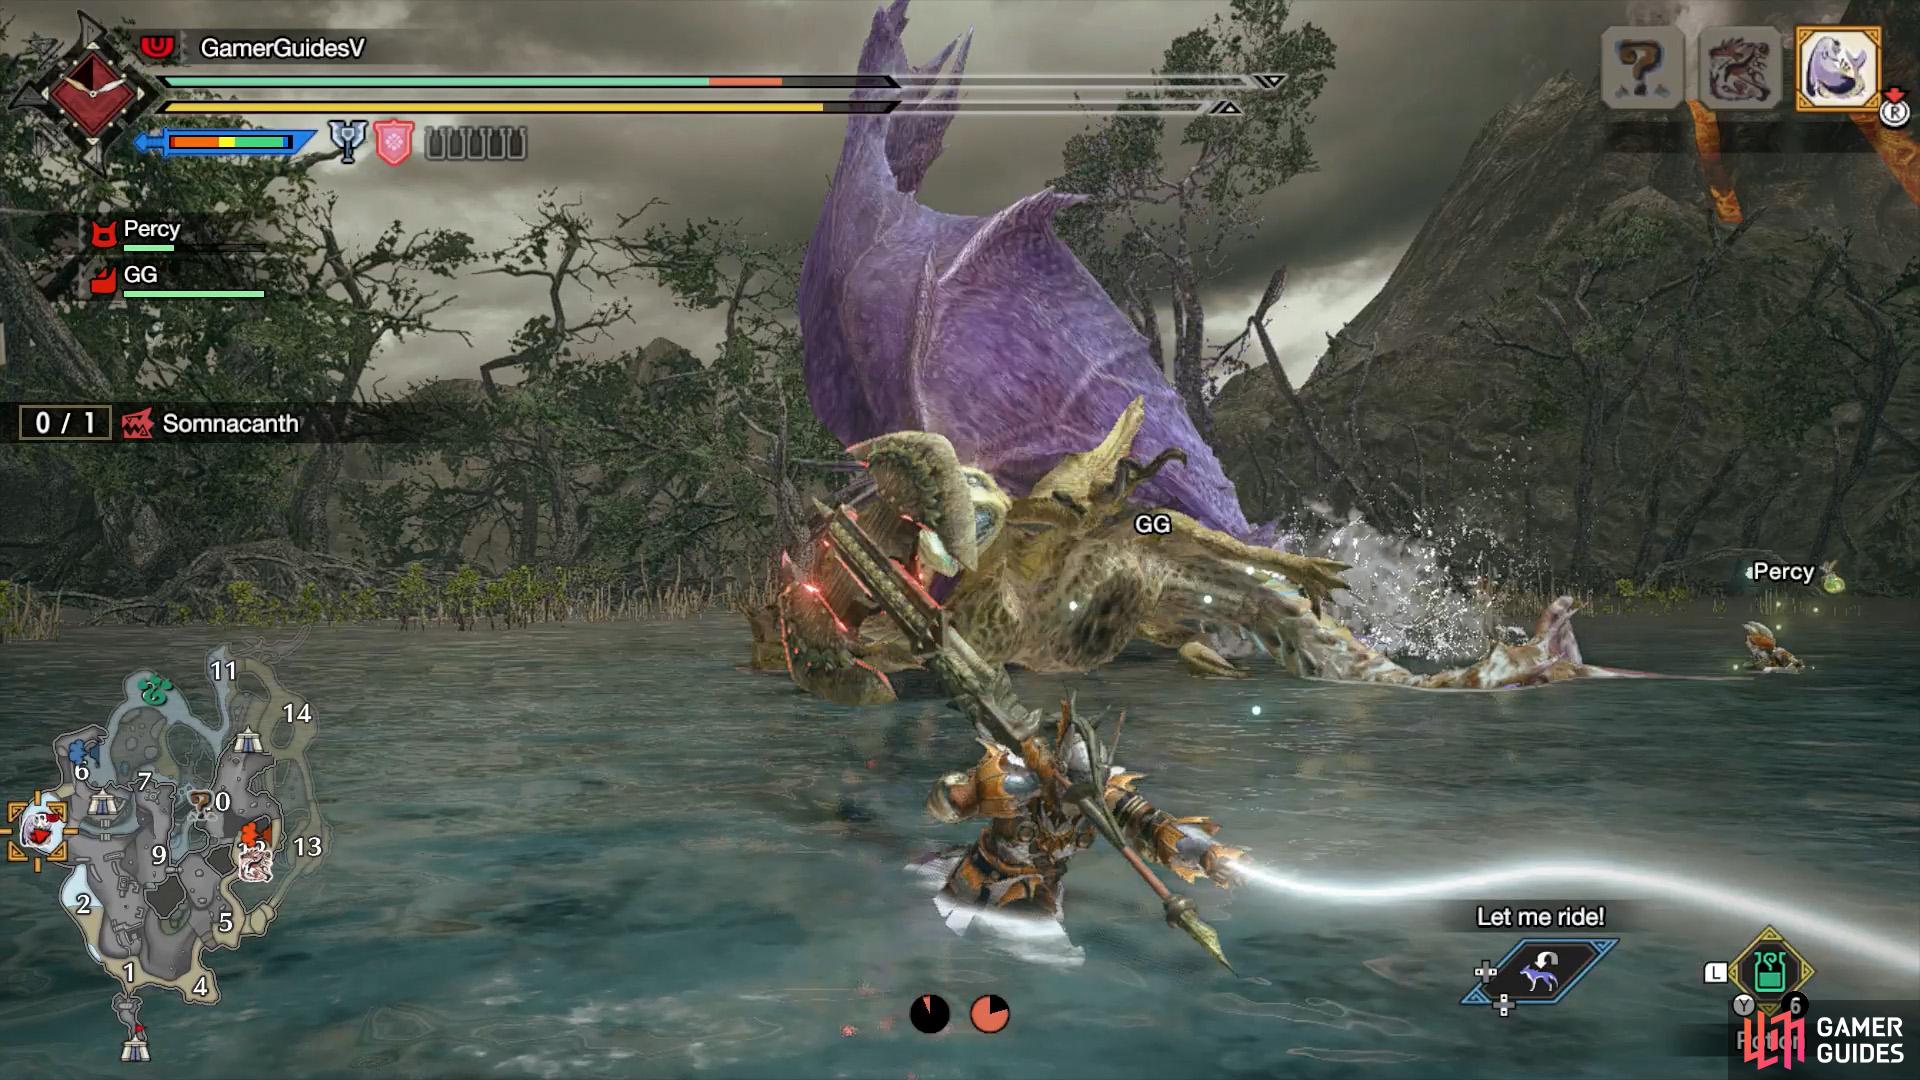
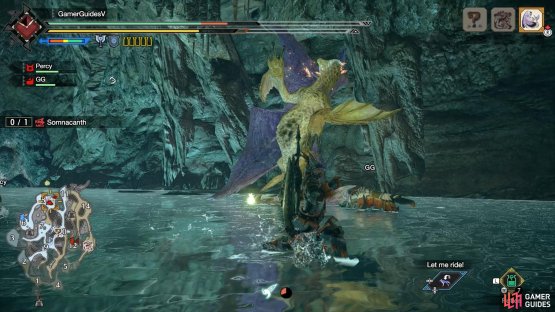
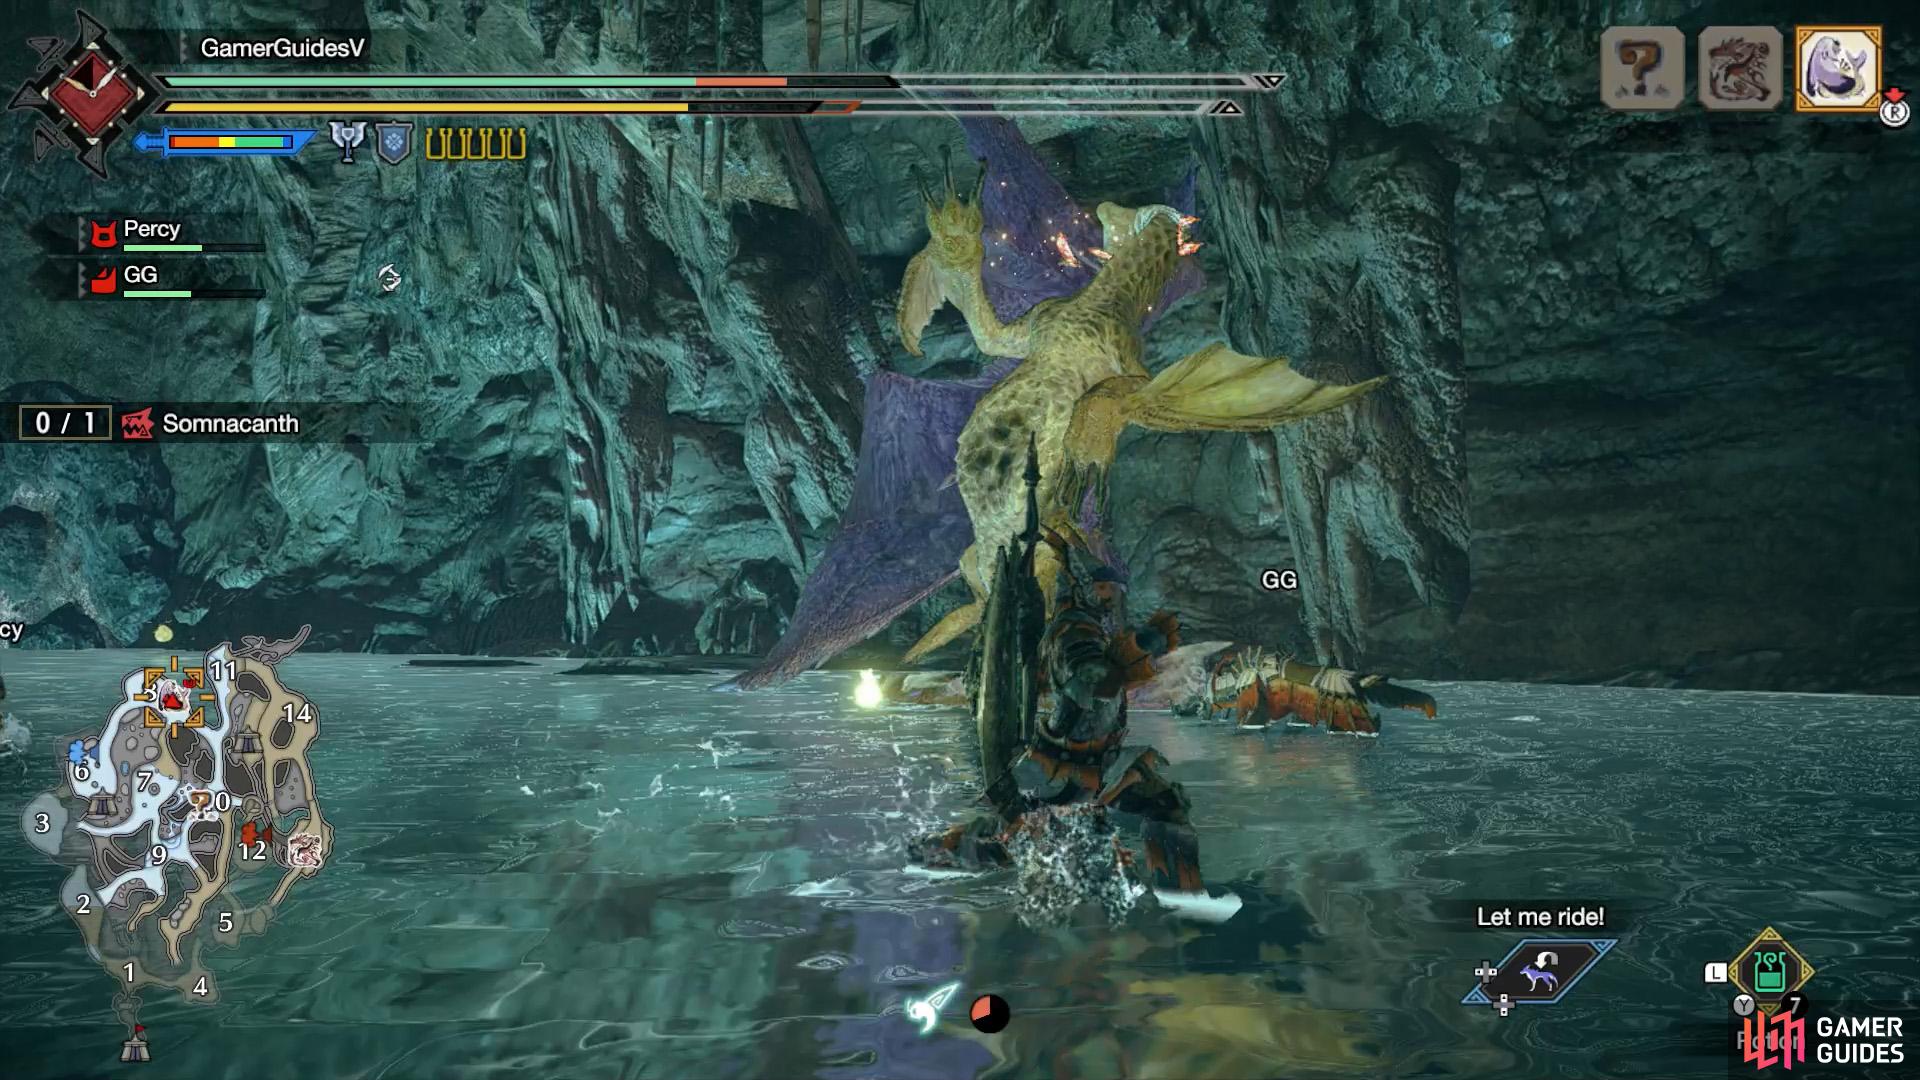
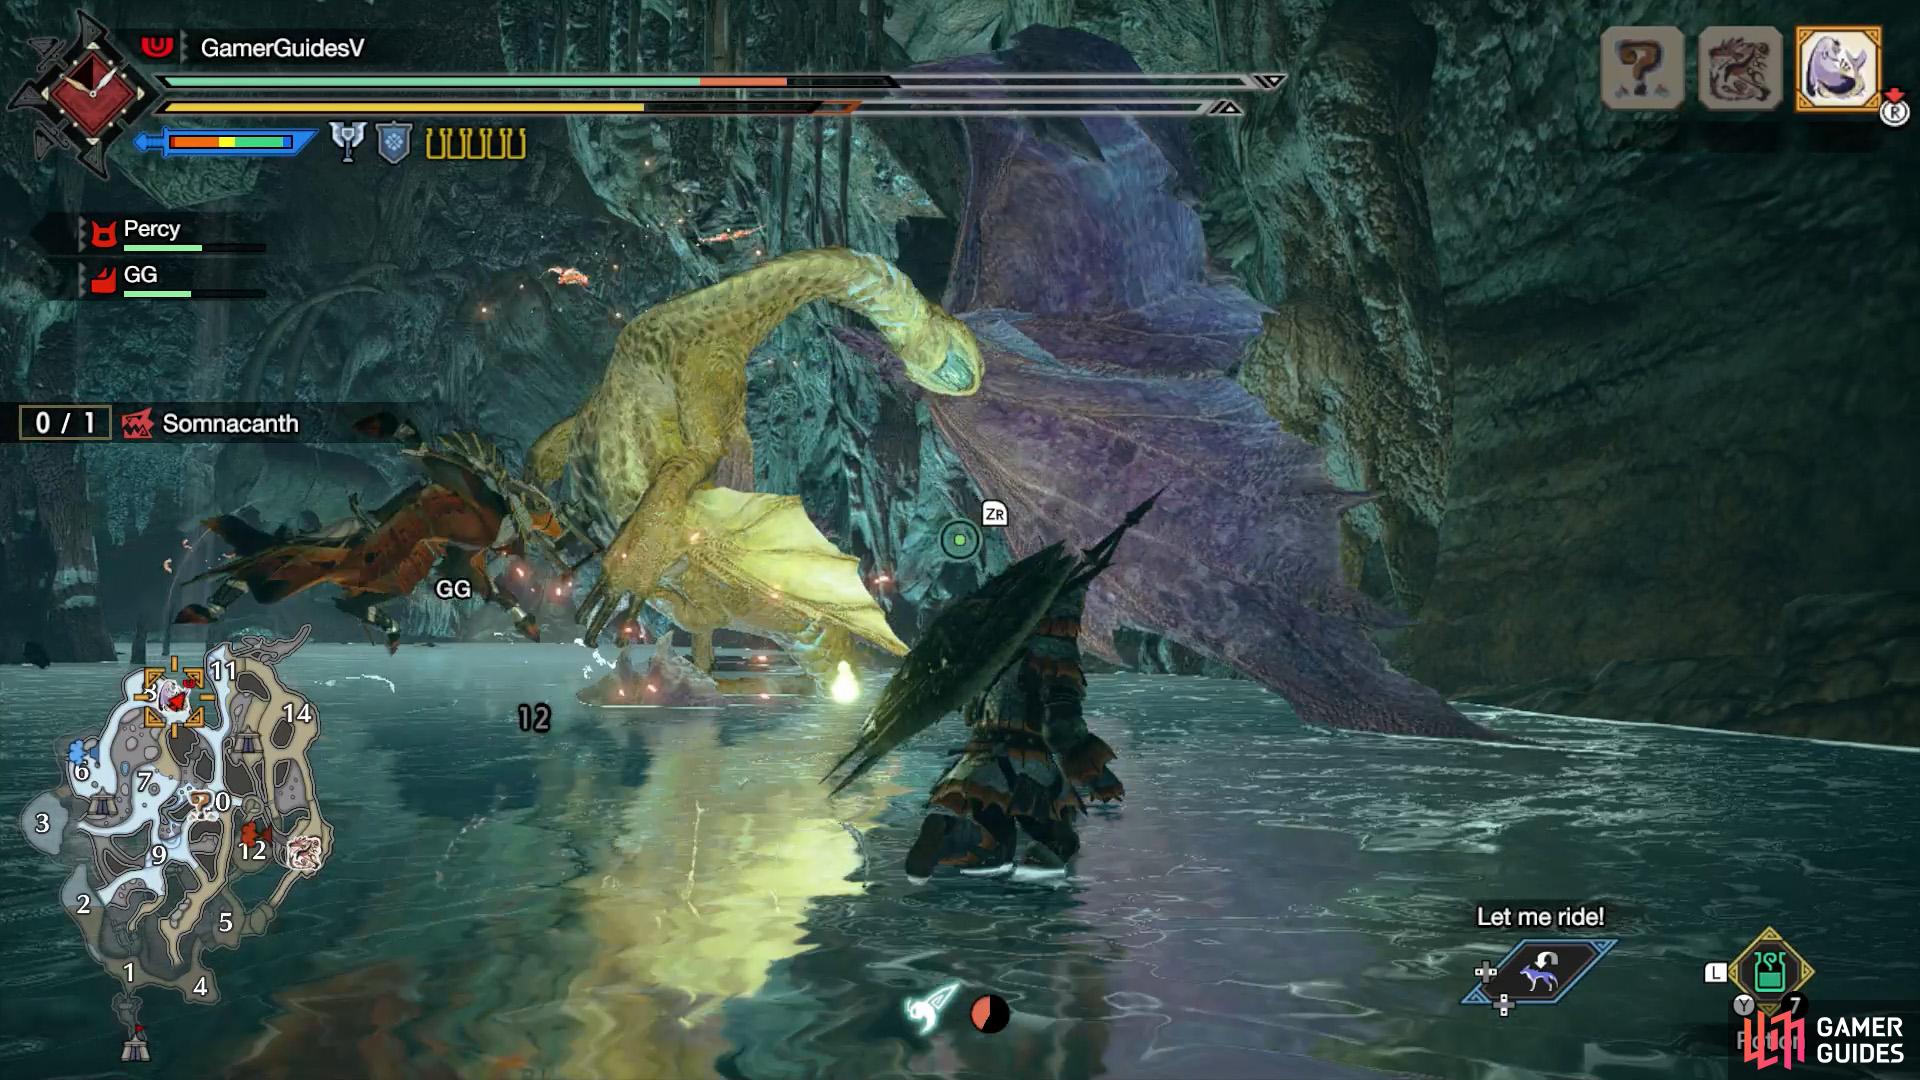
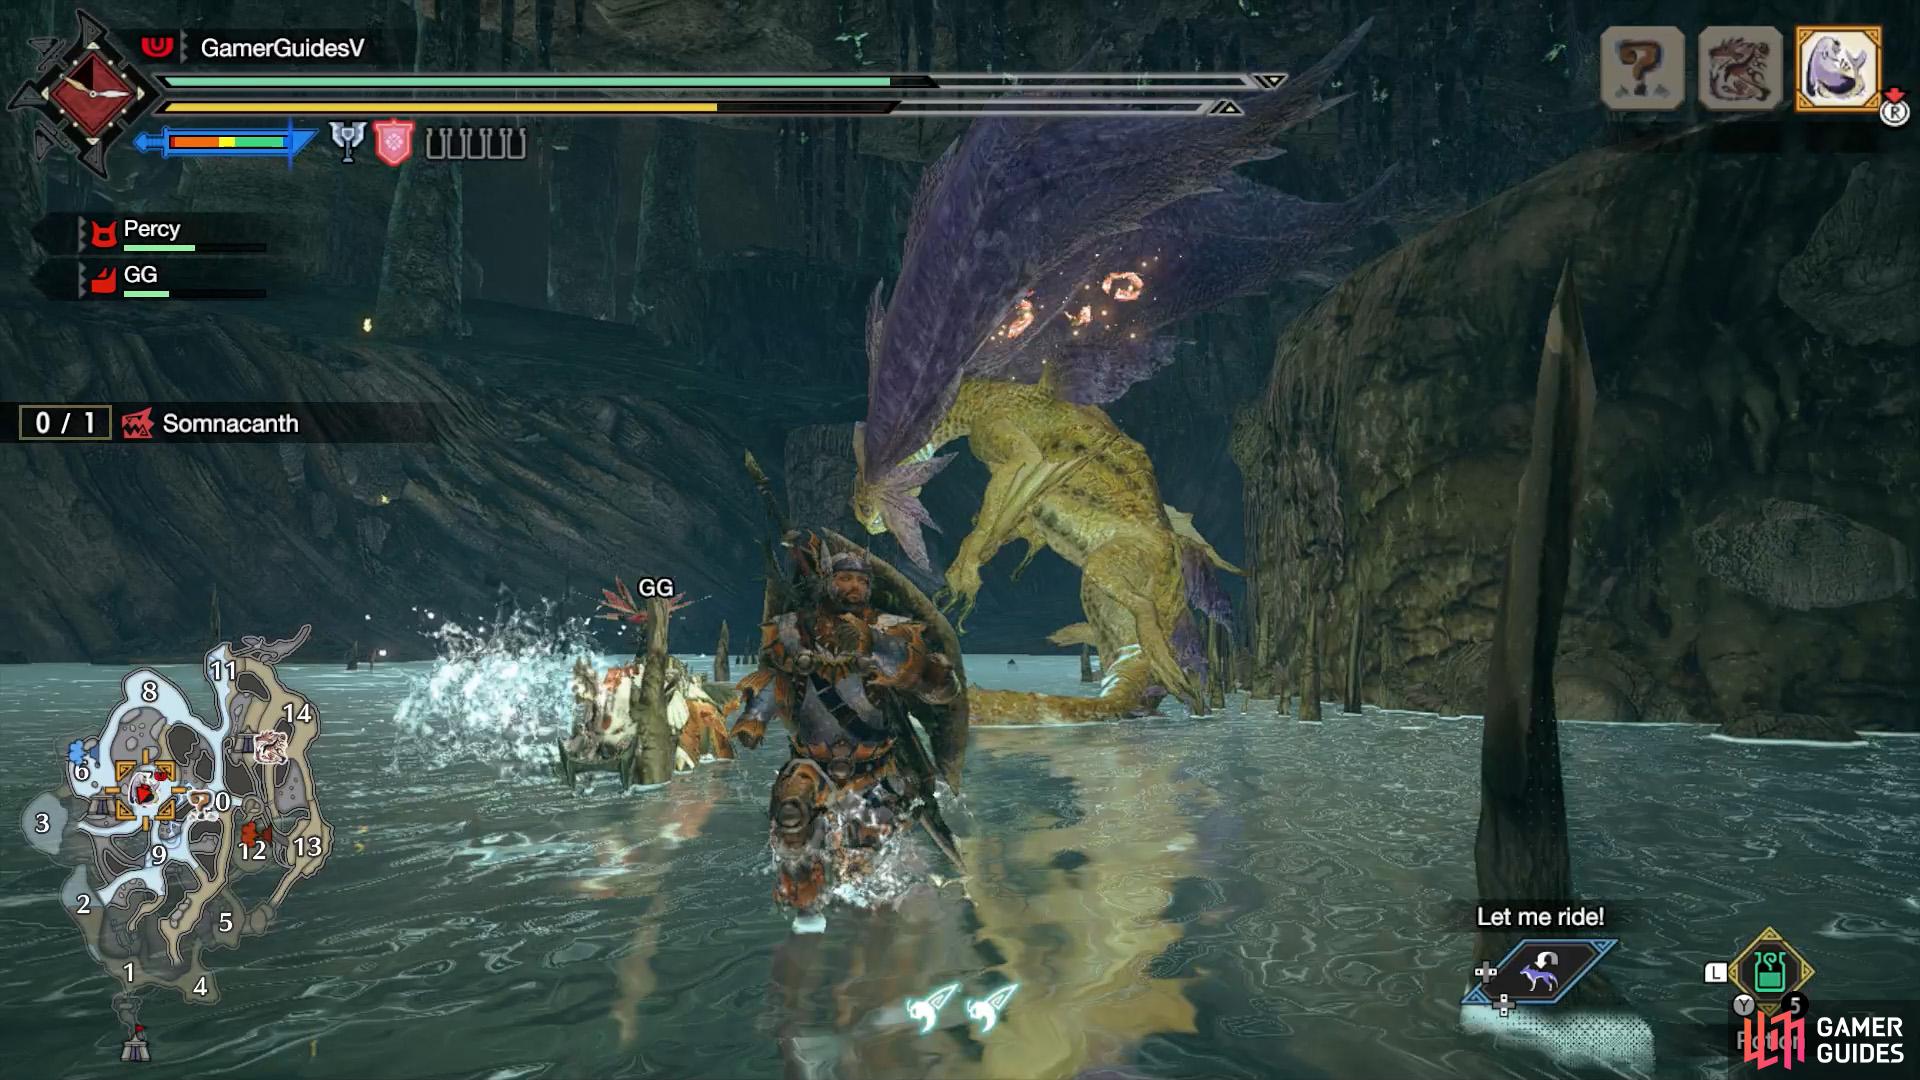
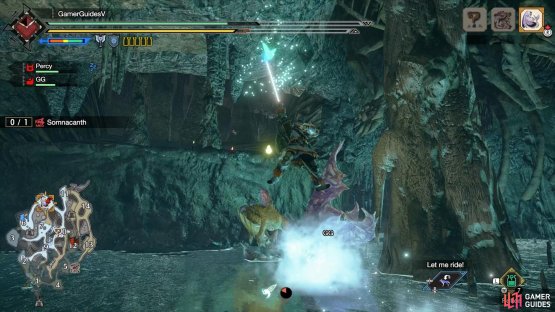
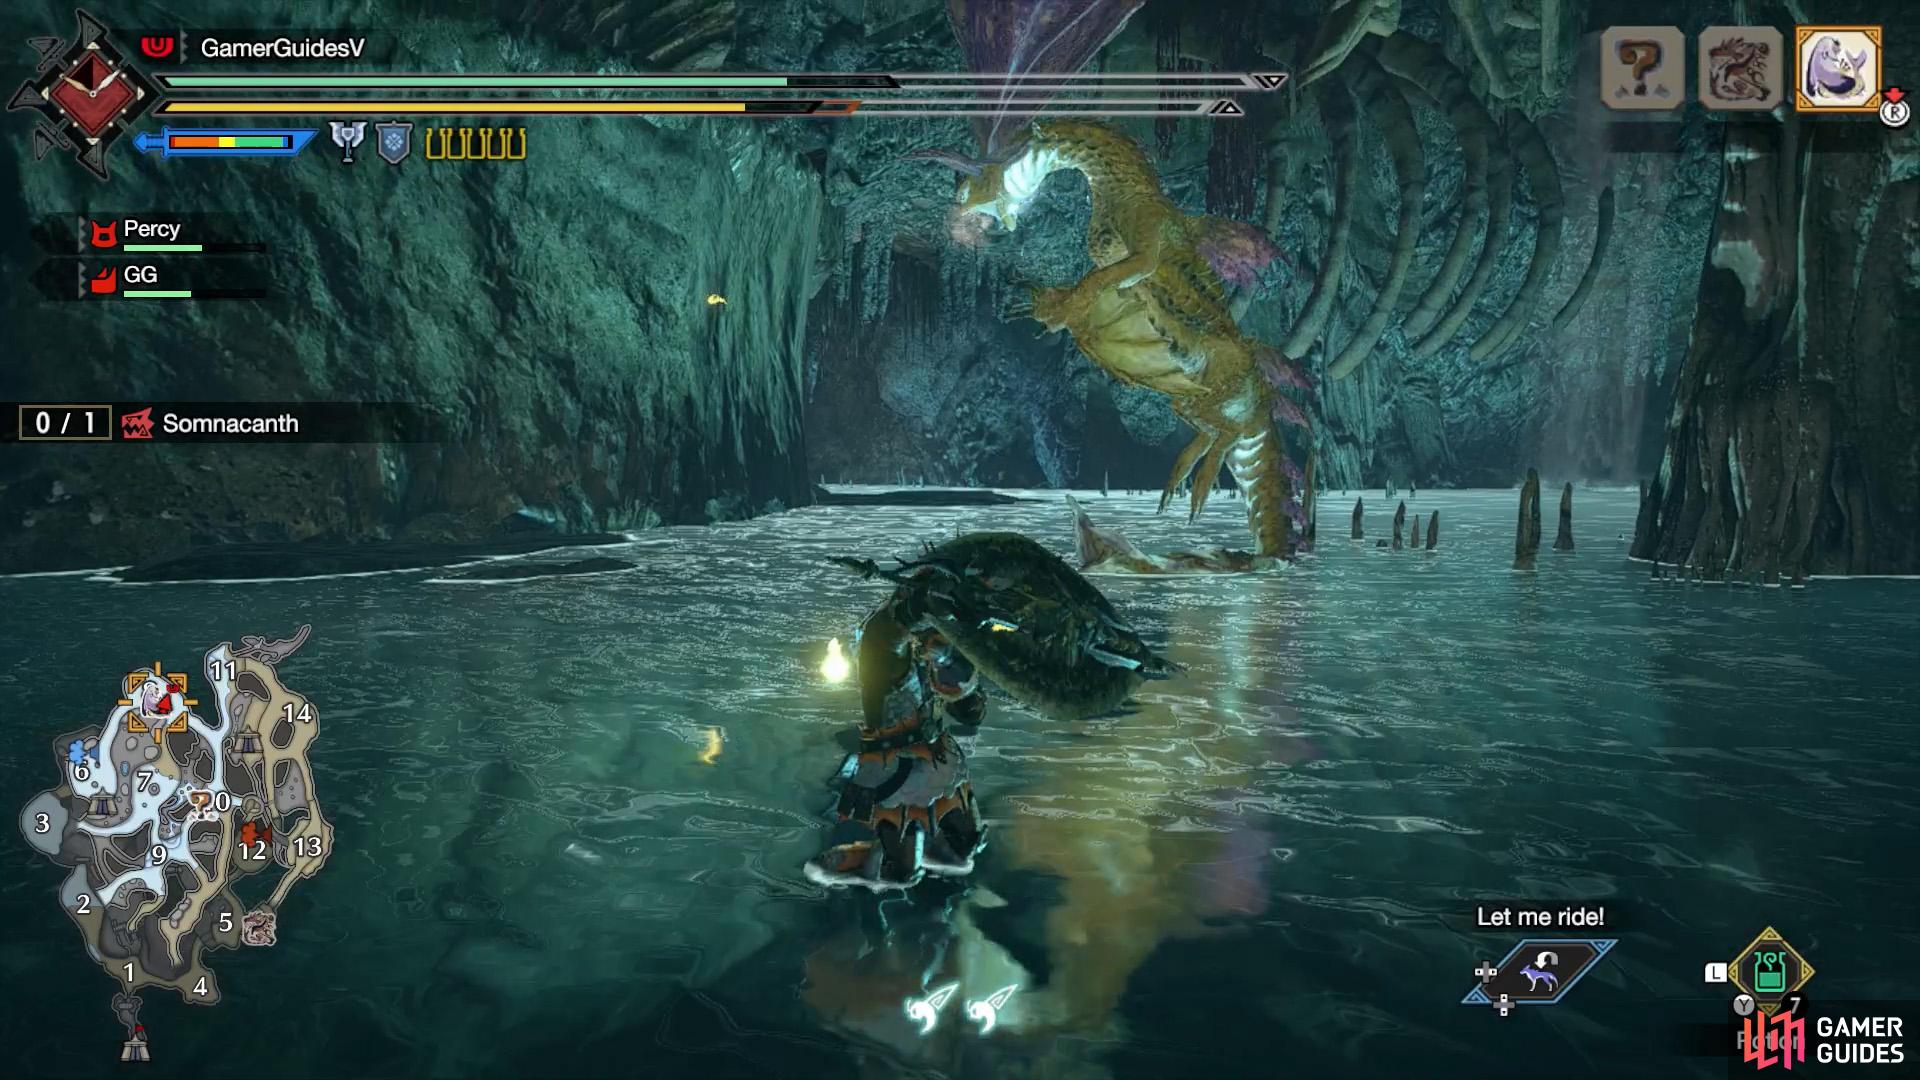
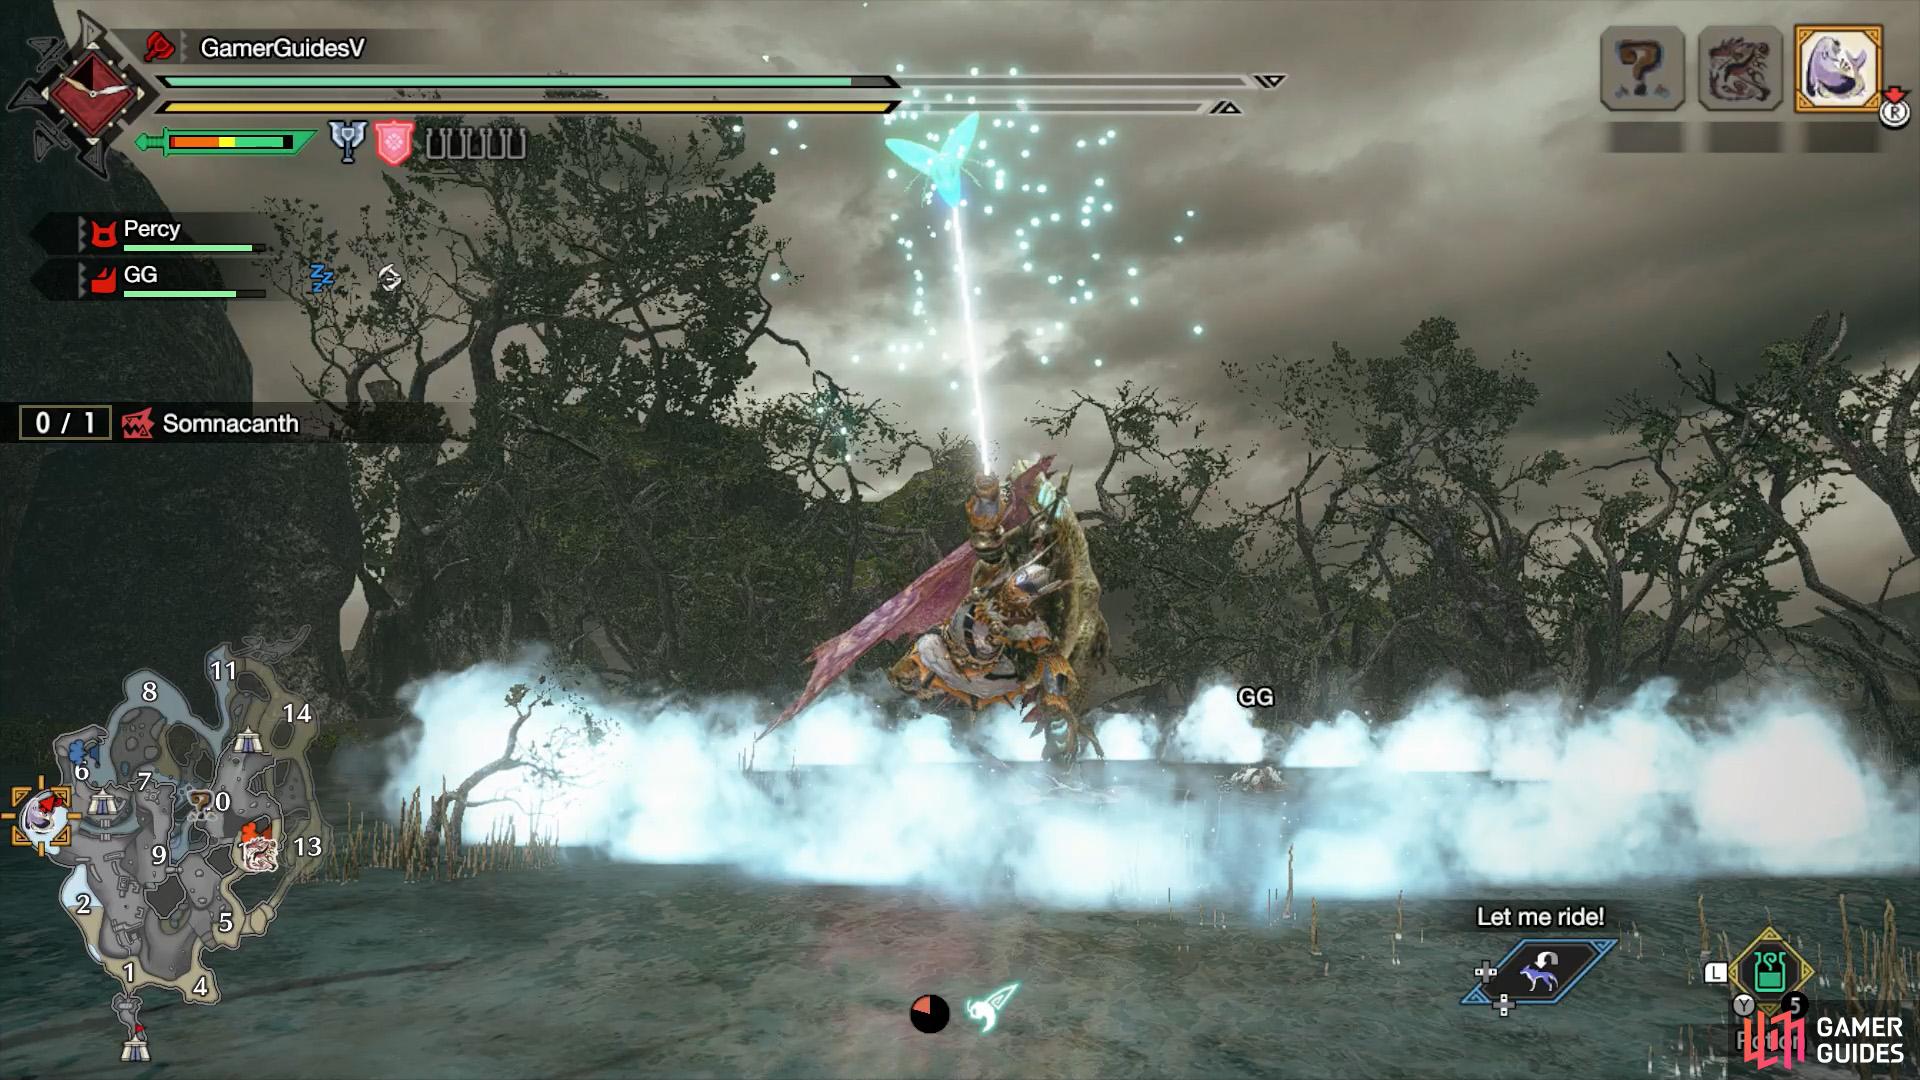
(1 of 2) Fighting Somnacanth at the Lava Caverns.
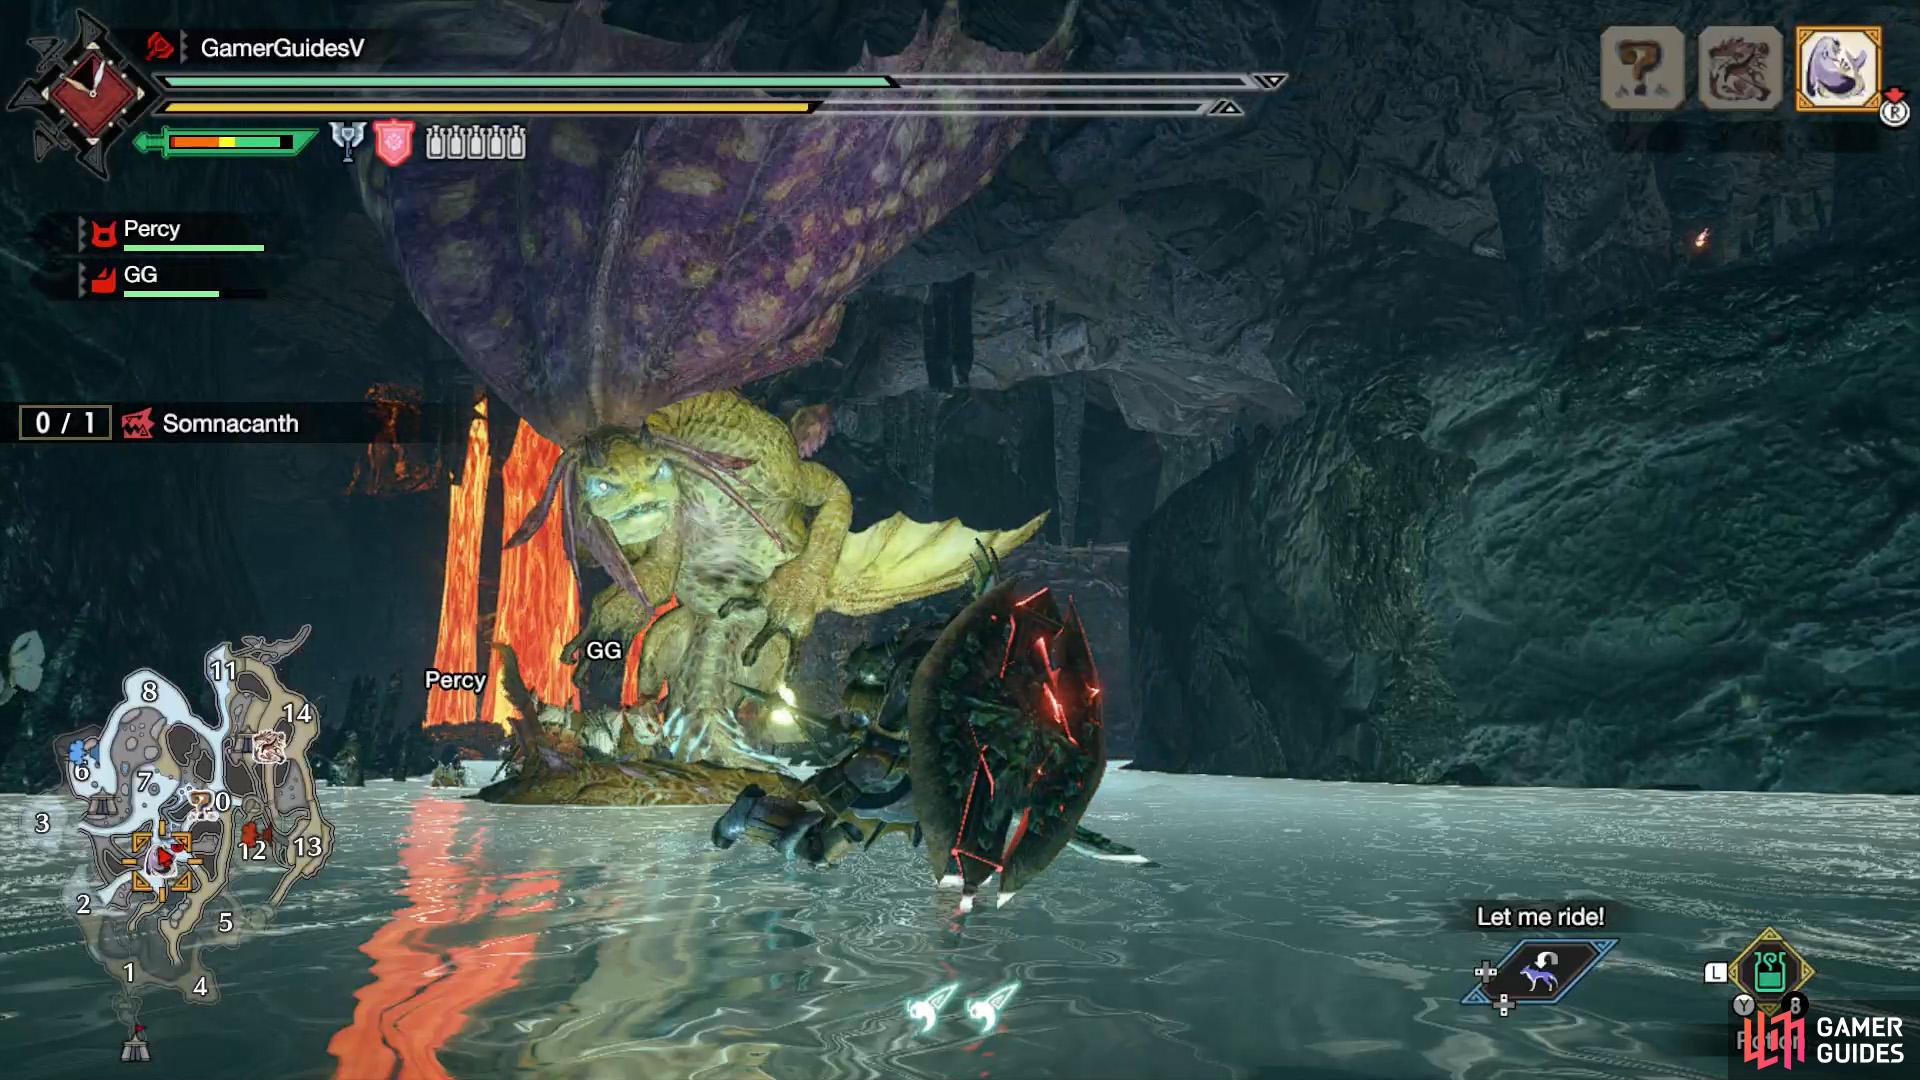
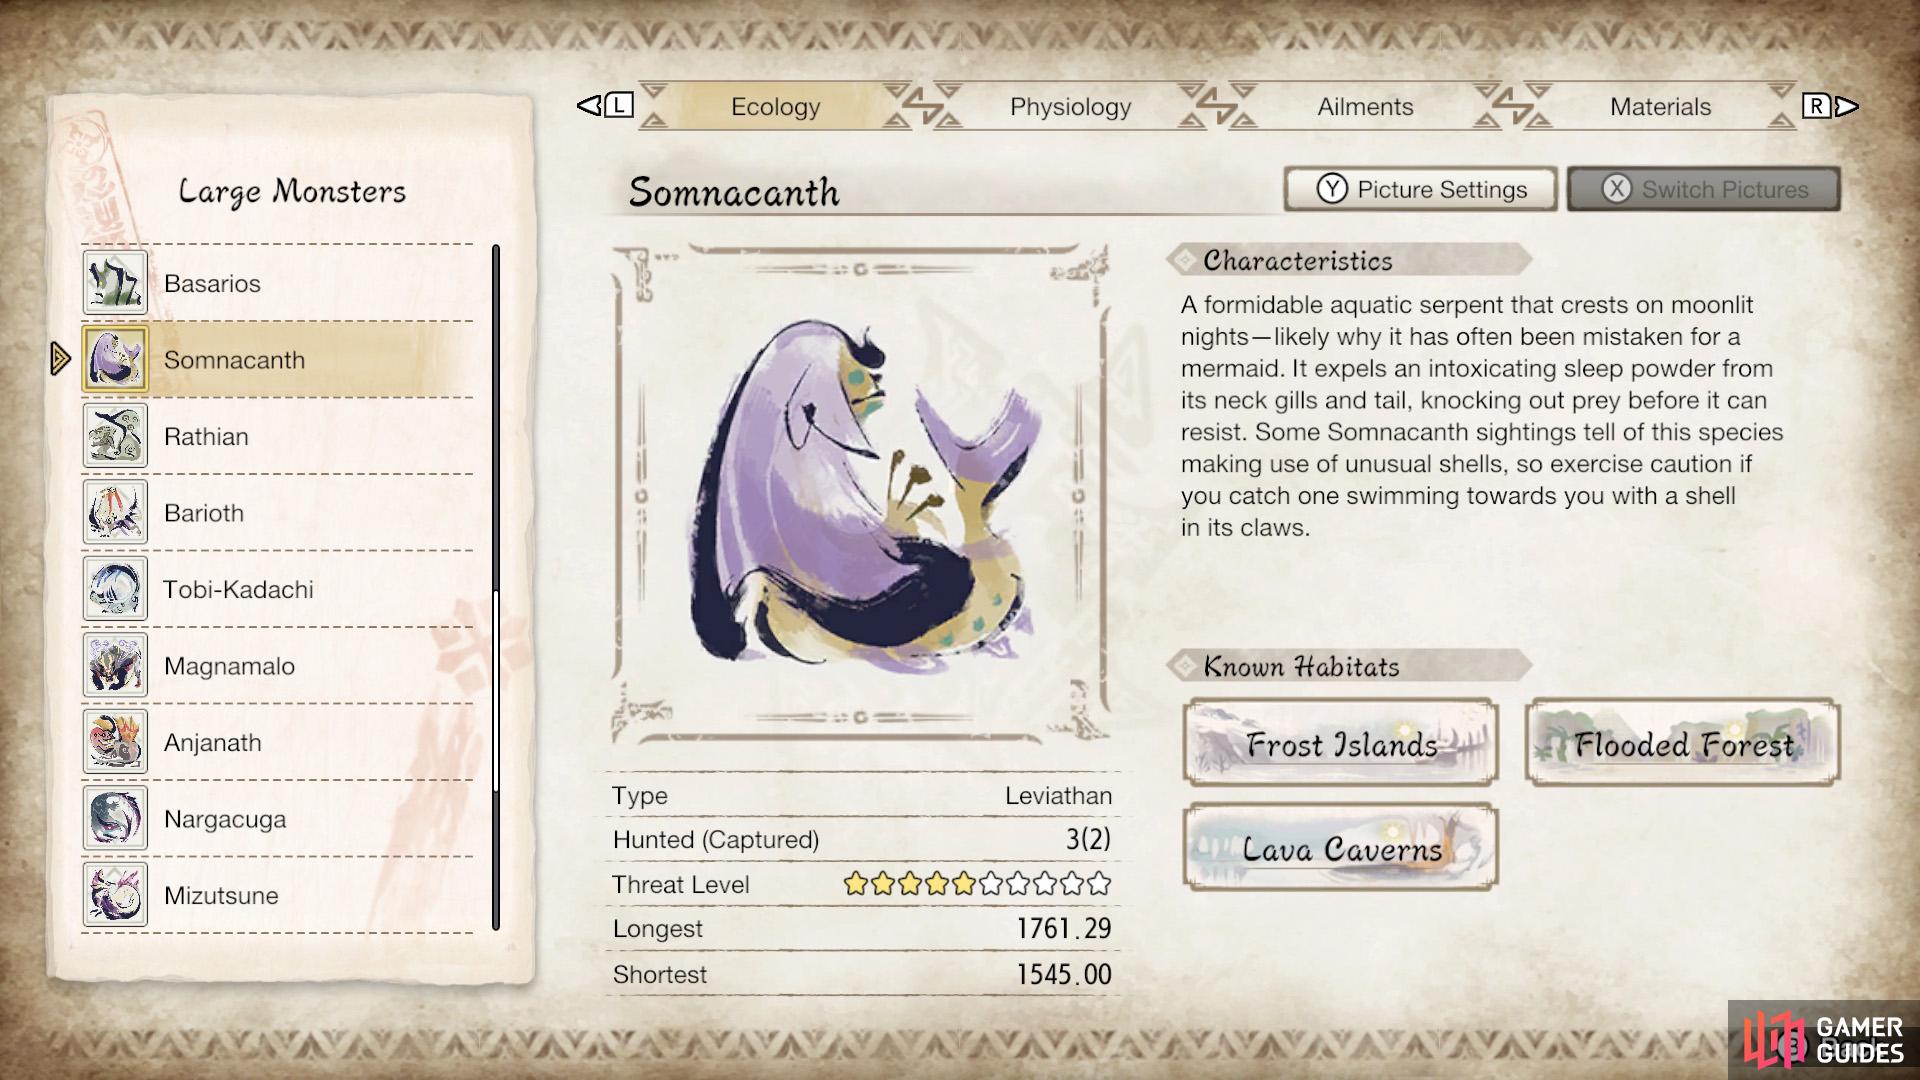
Fighting Somnacanth at the Lava Caverns. (left), Somnacanth’s profile in the Hunter’s Notes. (right)
Do you hate falling asleep for no reason? Then you probably don’t want to be around Somnacanth because it loves breathing out sleep-inducing gas. As if Khezu wasn’t enough of a nuisance!
When not sending you to la-la land, this sea monster also enjoys swimming around. Beware when it dives and resurfaces to show you a pretty shell–it can cause a pretty nasty bang.
Weaknesses


(1 of 2) Somnacanth’s parts/elemental susceptibility.
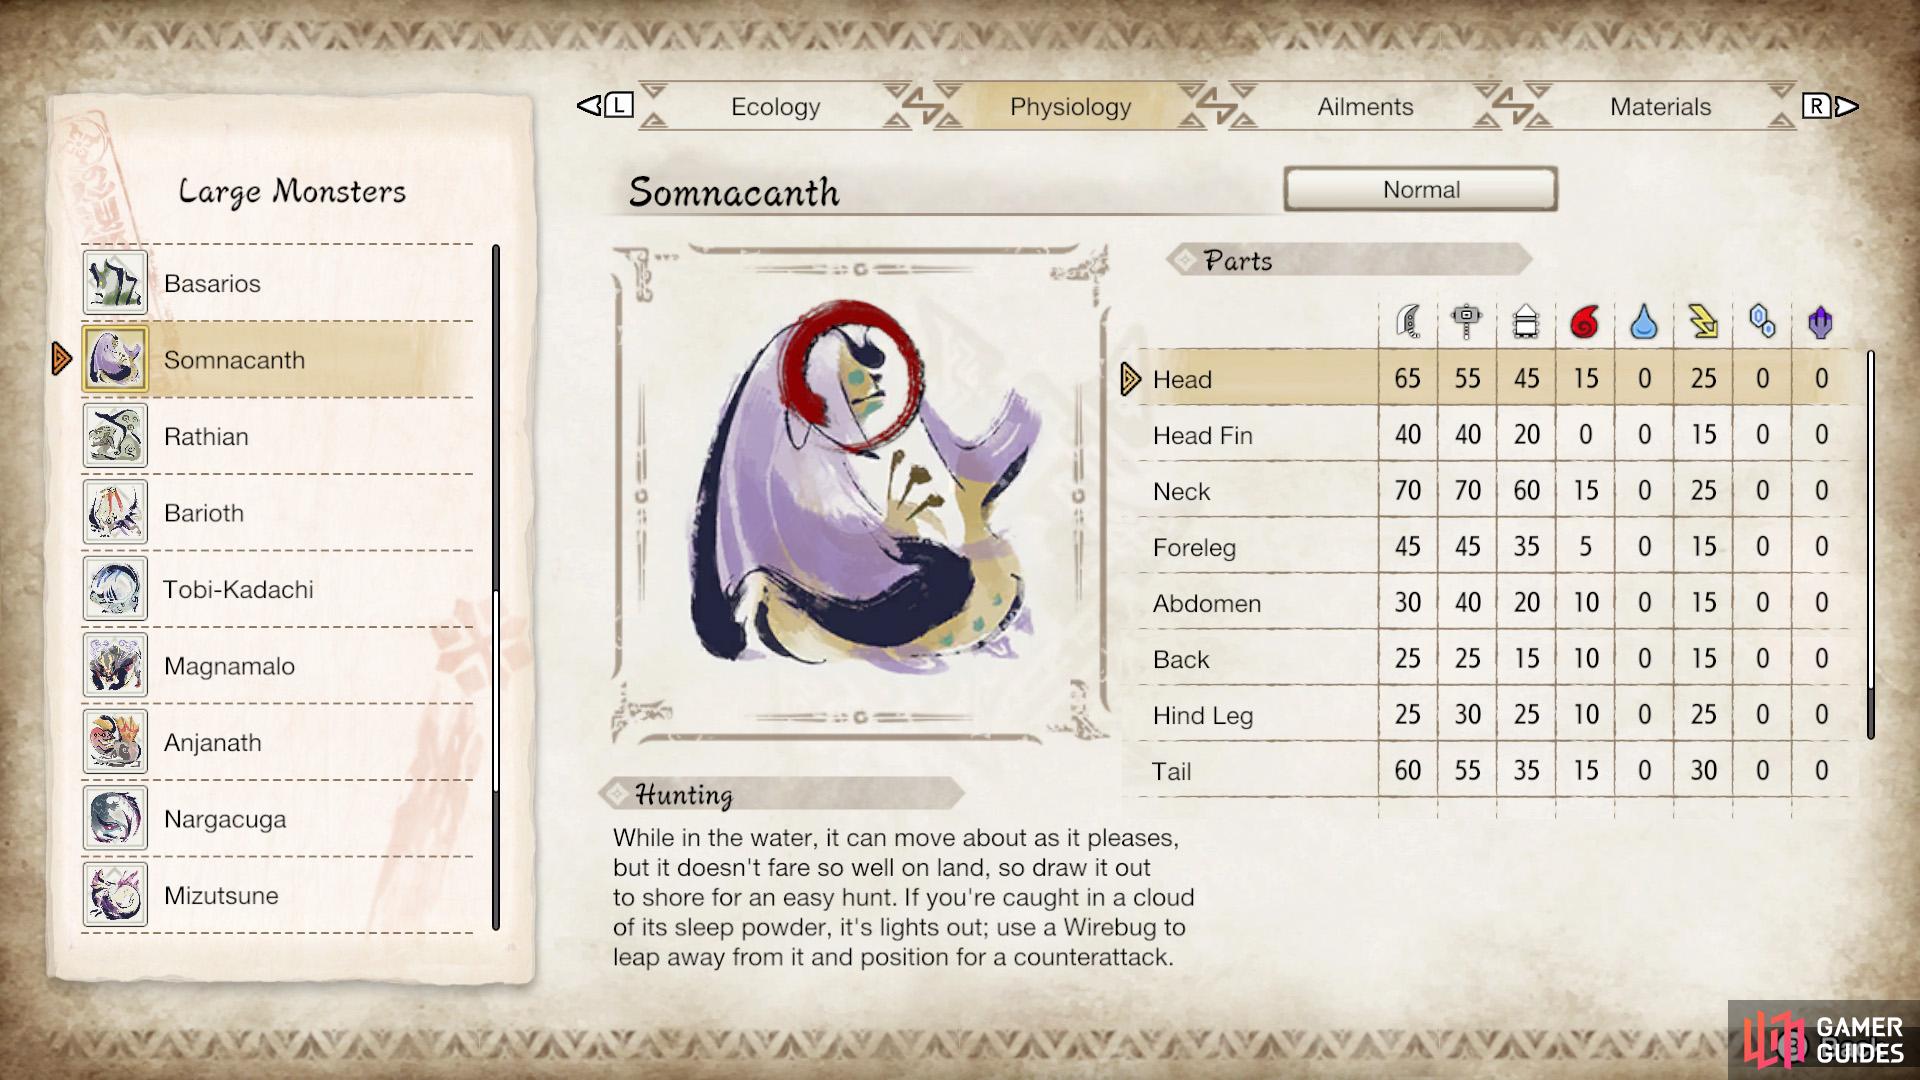
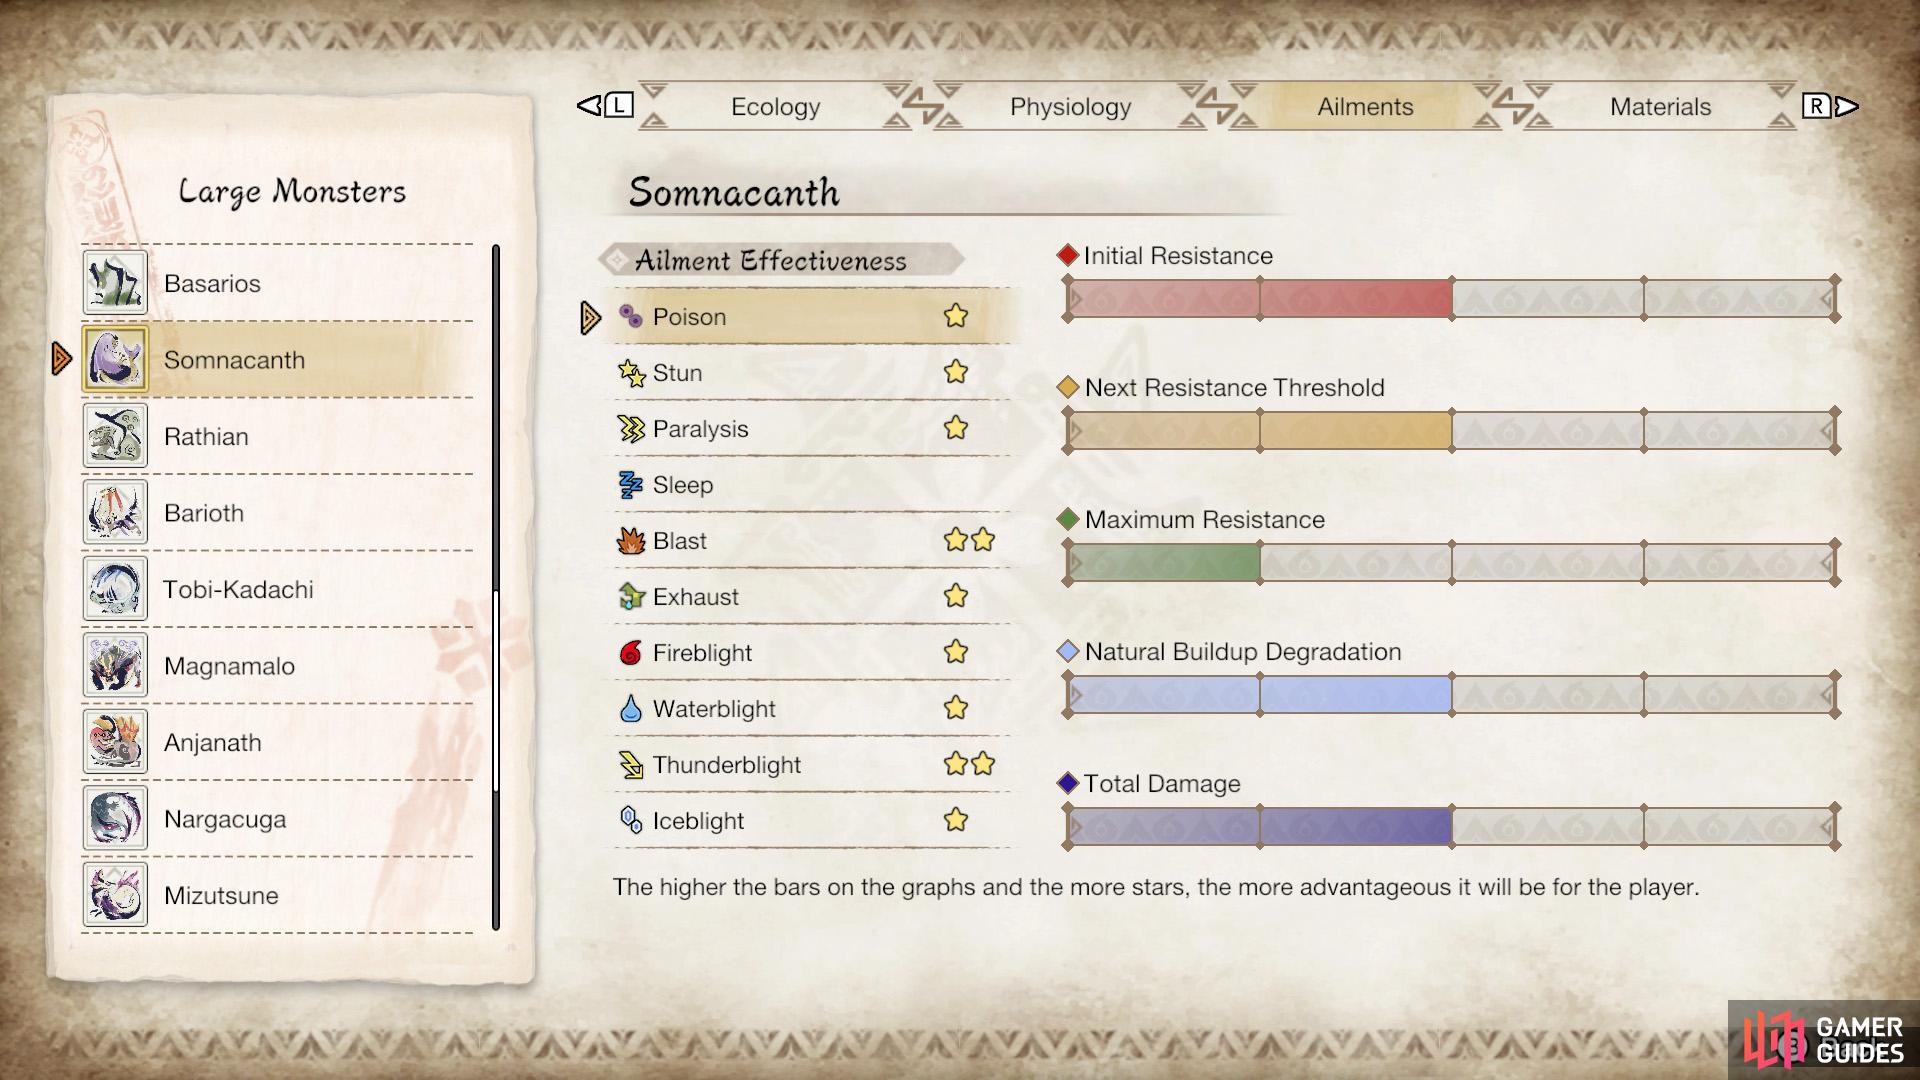
Somnacanth’s parts/elemental susceptibility. (left), Somnacanth’s ailment susceptibility. (right)
| Parts | Elements | Ailments |
|---|---|---|
| Neck, Head | Thunder | Blast, Thunderblight |
Attack Patterns
Double Swipe
While on all fours, Somnacanth makes a high-pitched cry and begins to lift one of its forelegs off the ground. It’ll then swipe with that foreleg, move slightly forward and swipe with its other foreleg.
Torpedo Dash

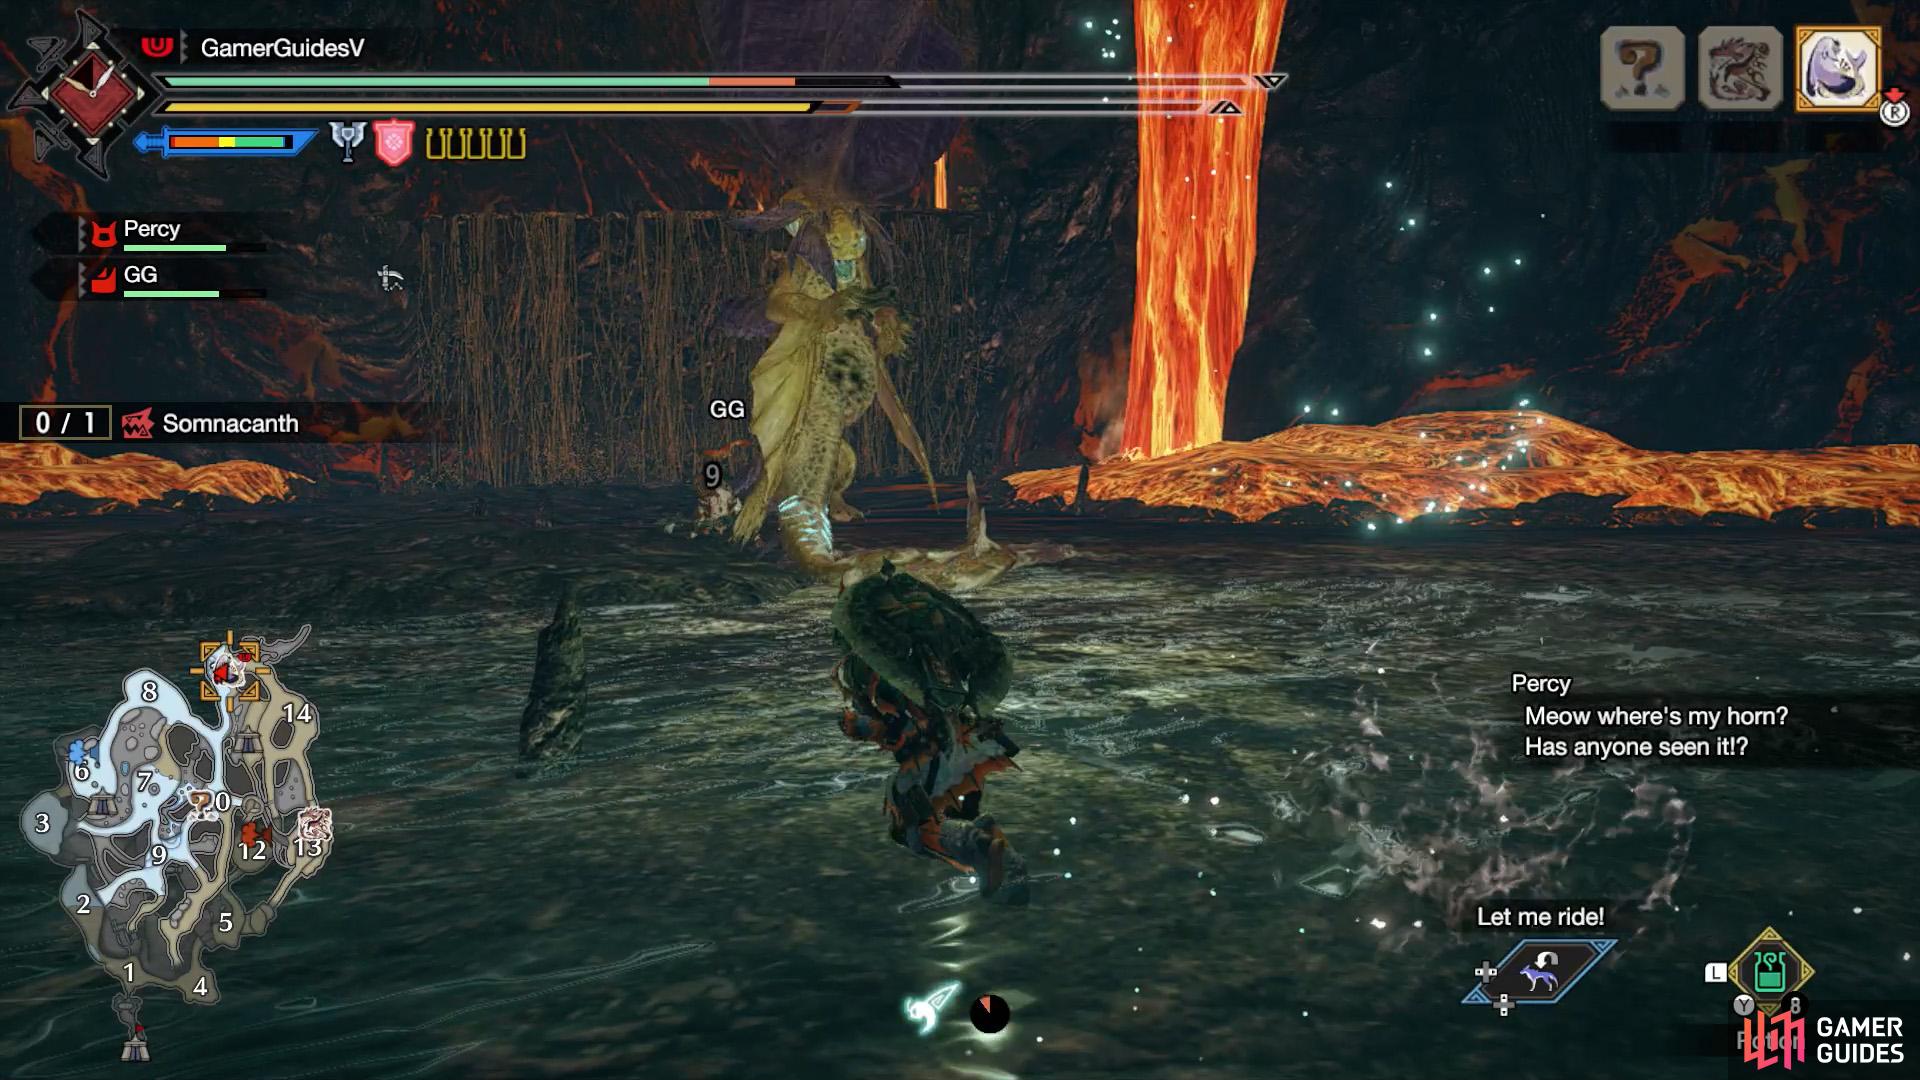
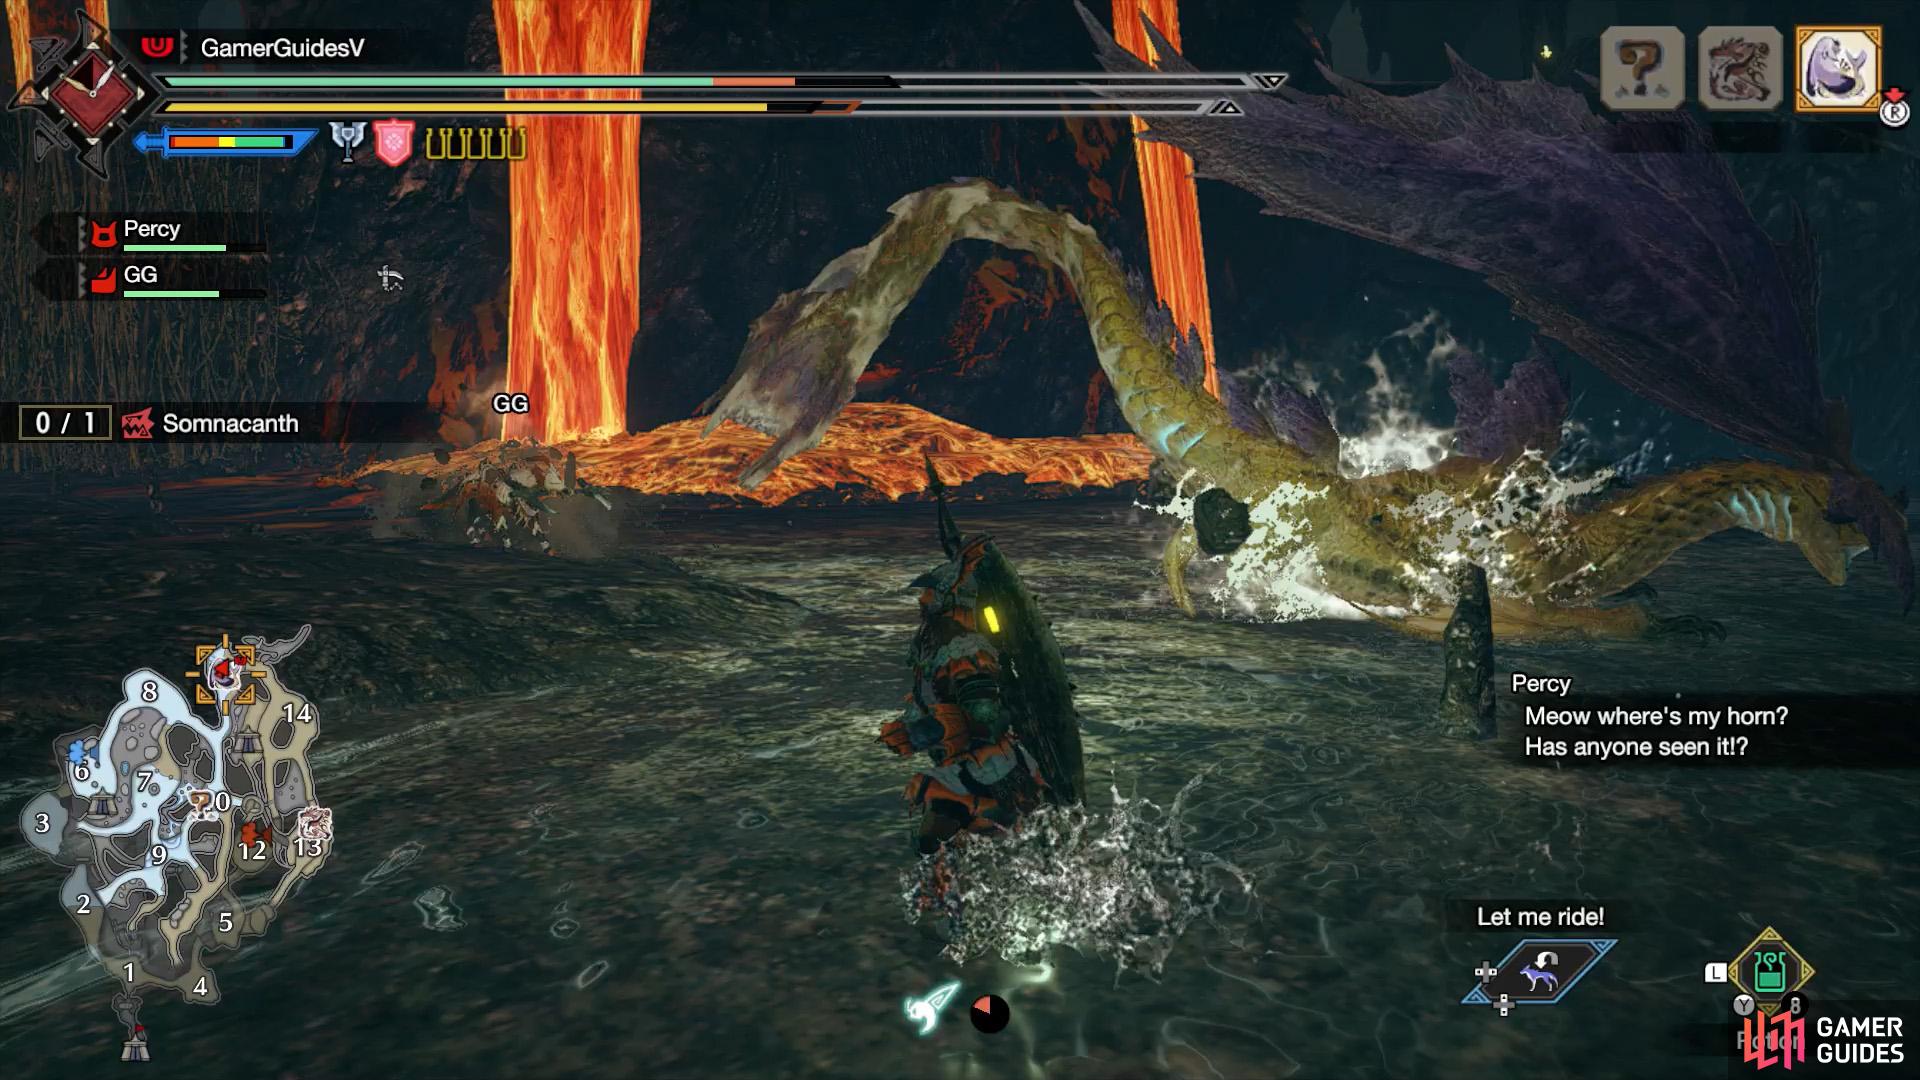
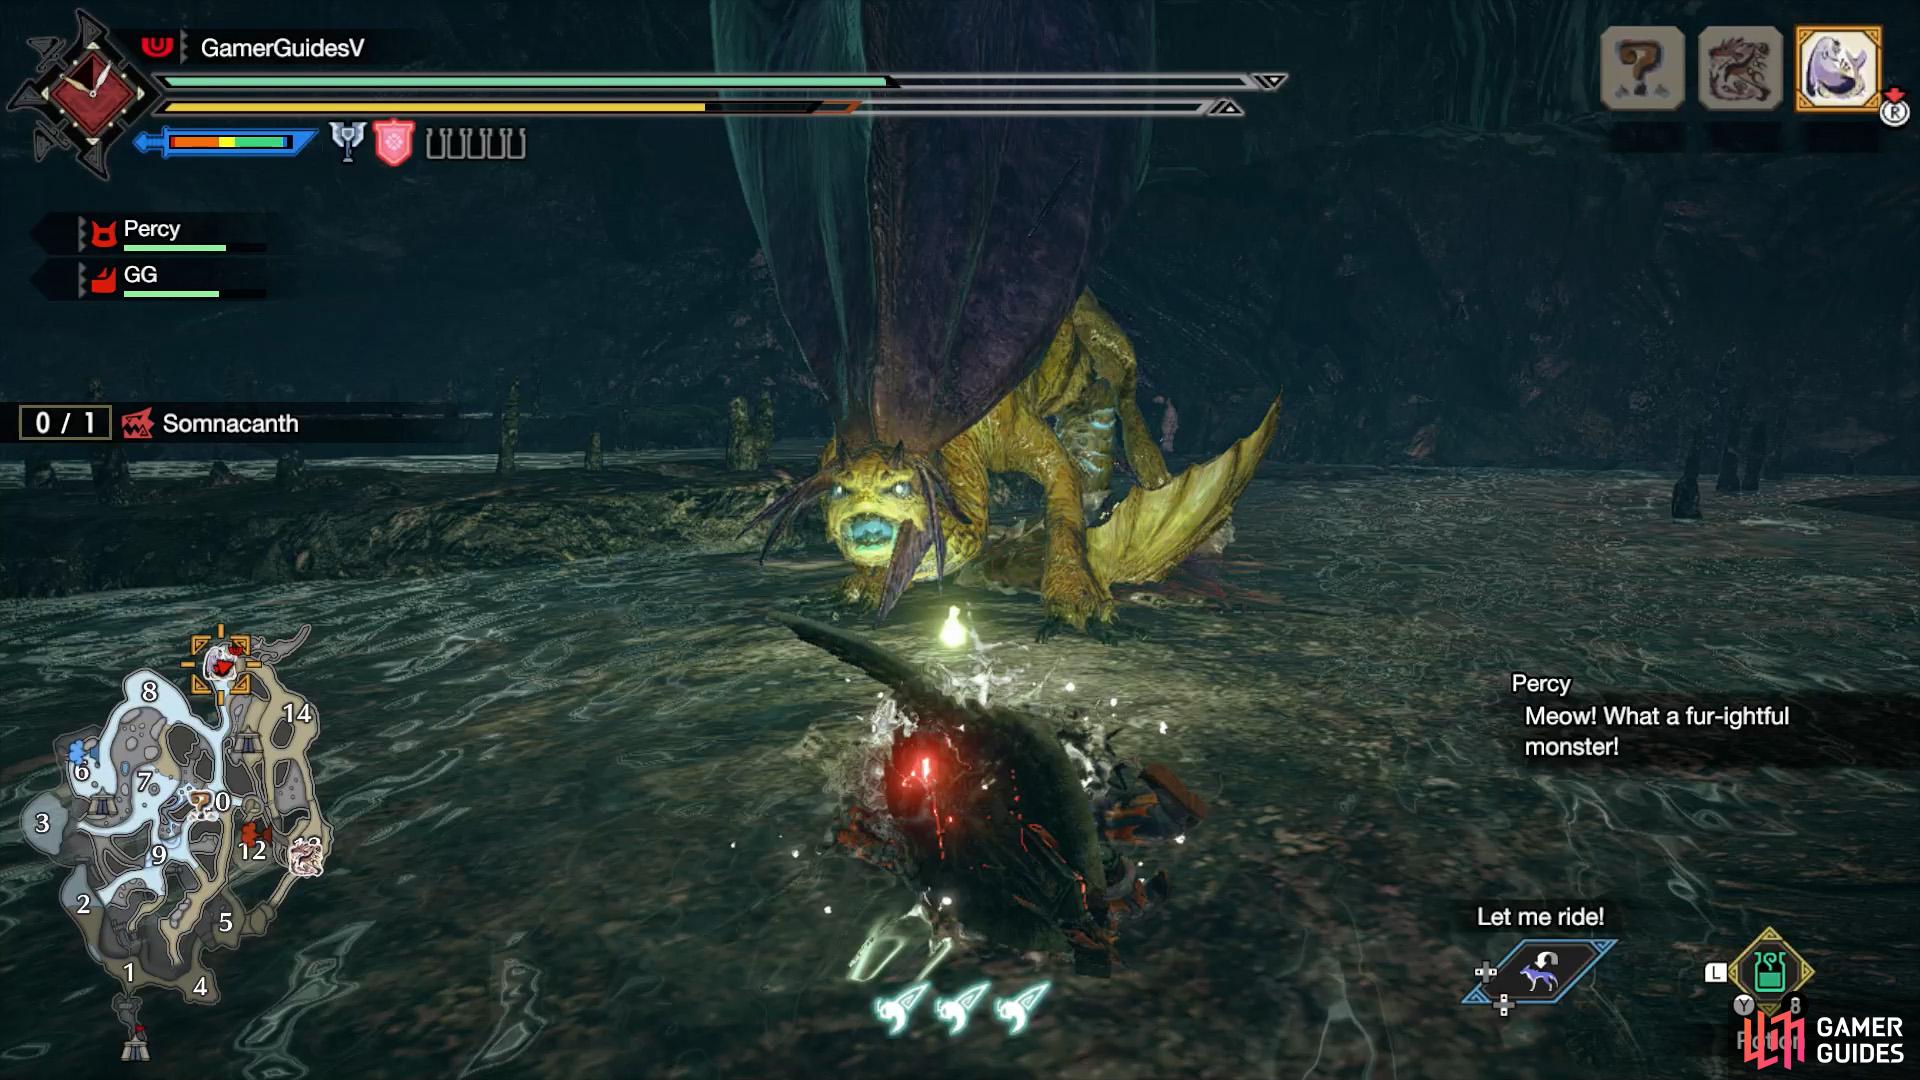
(1 of 2) Somnacanth crouches down while on all fours.
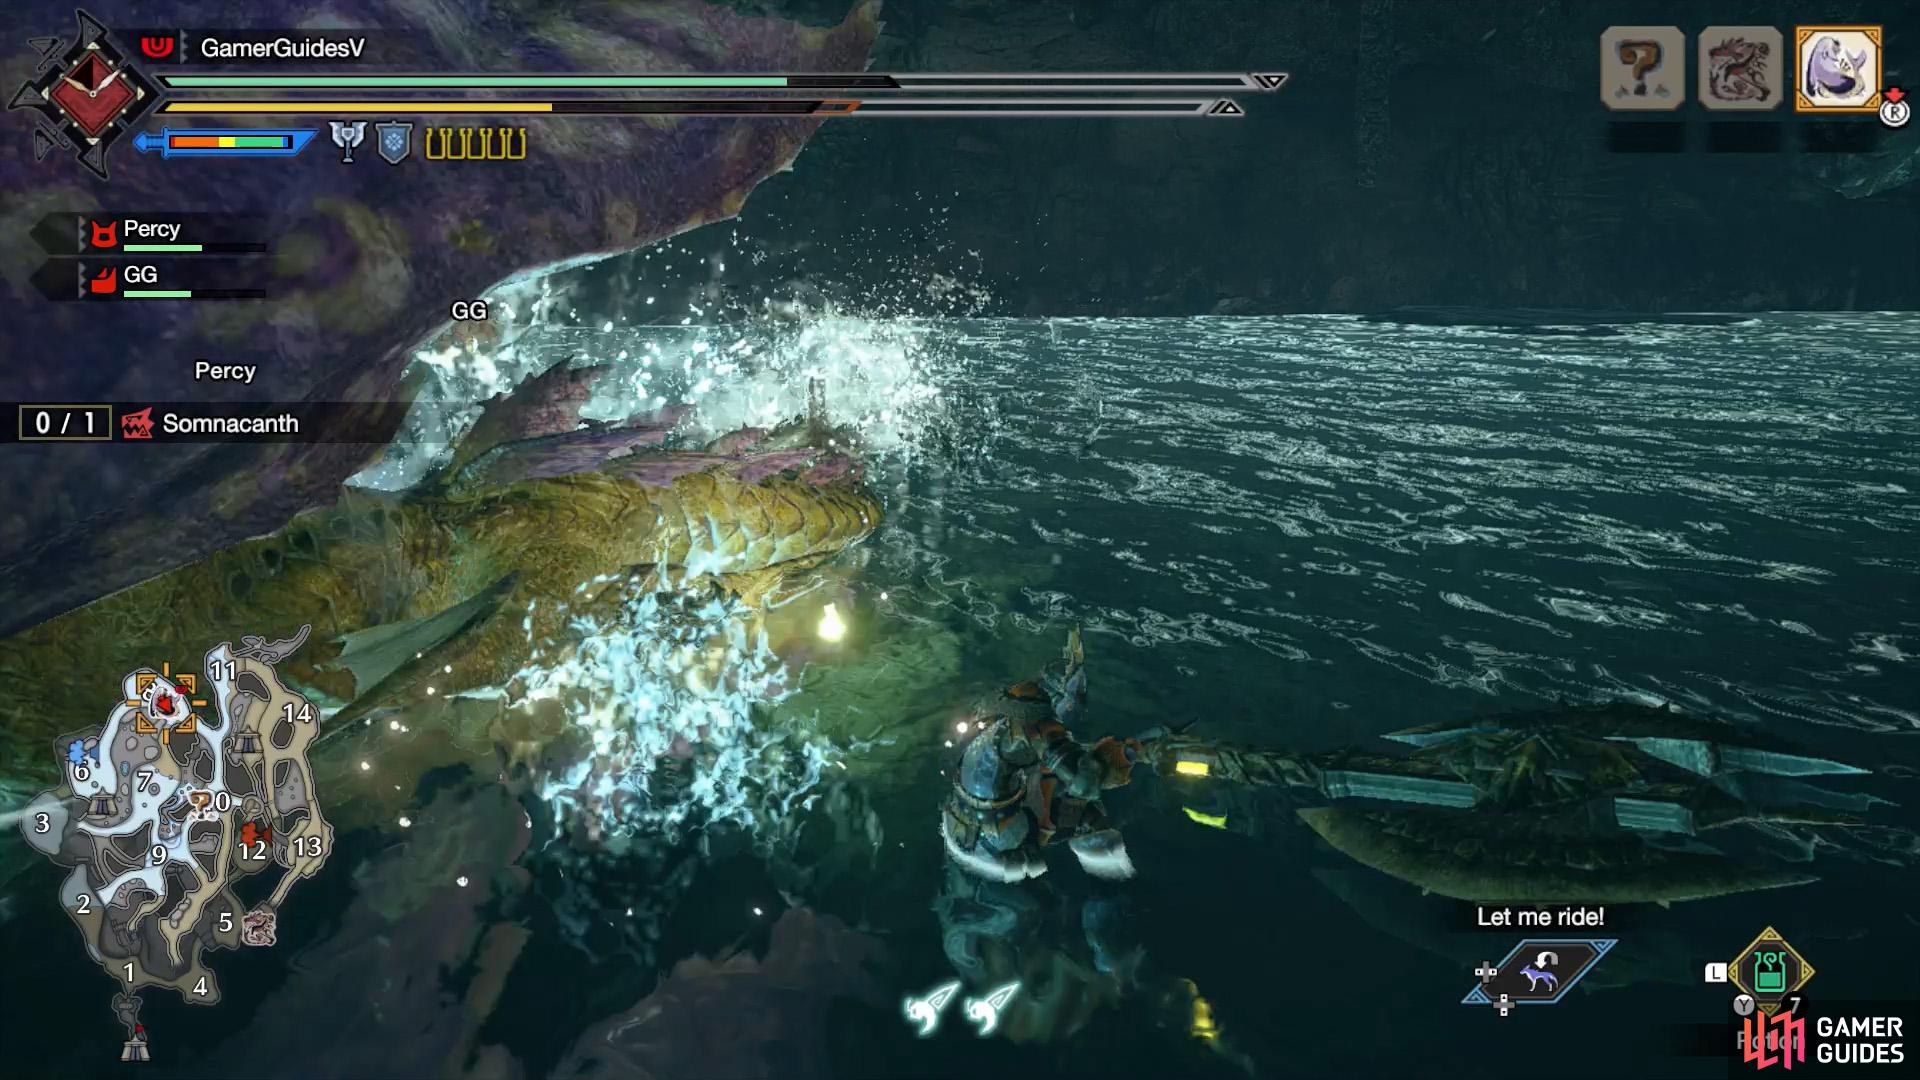
Somnacanth crouches down while on all fours. (left), That’s a sign it wants to pretend to be a torpedo. (right)
While on all fours, Somnacanth crouches down and makes a quiet growling sound. The beast will then shoot forward like a torpedo. Whoosh! Despite the name we’ve given it, it can use this move on land too.
Sleep Trap
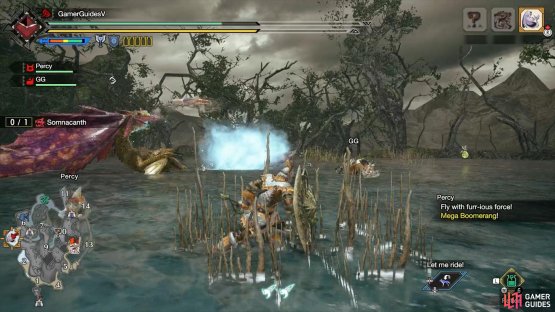
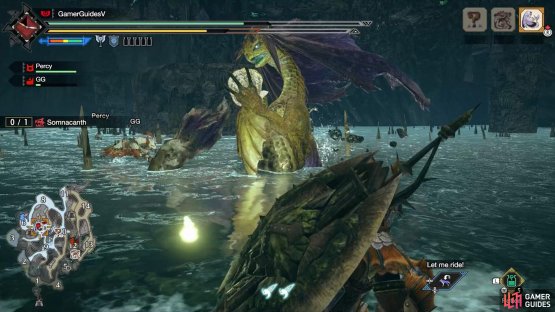
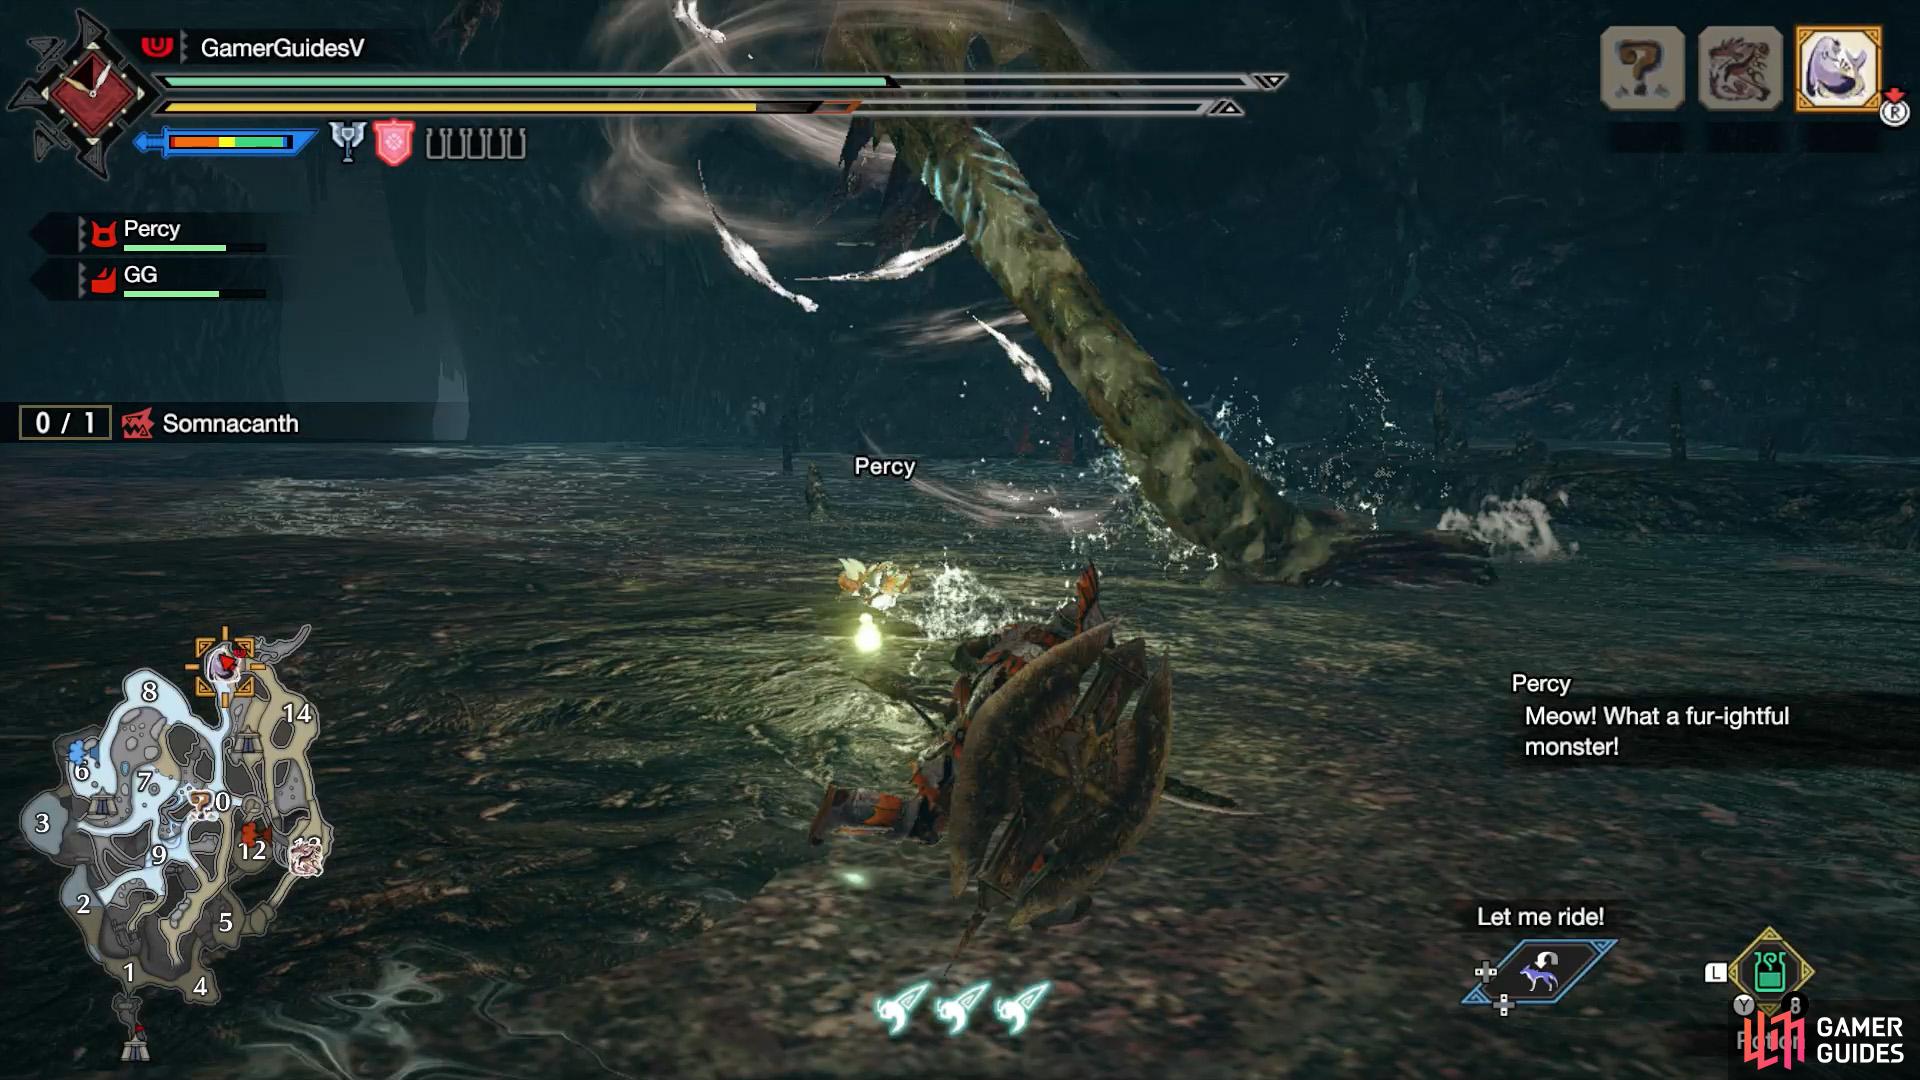
(1 of 2) The sea serpent swims backwards while leaving a trail of sleep gas.


The sea serpent swims backwards while leaving a trail of sleep gas. (left), It’ll swim to the center of the sleep gas and perform a Shell Bomb. (right)
Somnacanth swims backwards and makes an eerie, high-pitched cry. It’ll then start leaving behind a trail of sleep gas as it swims, while changing direction, in an attempt to surround you with sleep gas.
Afterwards, Somnacanth will move into the center of the sleep gas and use a Shell Bomb attack. Be sure to wiredash away at the earliest opportunity.
Shell Bomb

(1 of 2) If Somnacanth grabs a red-colored shell…

If Somnacanth grabs a red-colored shell… (left), It’ll cause a small explosion near it. (right)
While swimming backwards, Somnacanth twists around on the spot, resurfacing with a big clam shell in its hands. It’ll then lean backwards, so its underbelly is facing upwards and clap its hands together.
(1 of 2) A yellow shell is also bad news.

A yellow shell is also bad news. (left), This will cause a flash bang in front of Somnacanth, which can stun you for ages. (right)
If the shell was glowing yellow, it’ll produce a flash bomb effect in front of where Somnacanth was facing. Otherwise, if Somnacanth grabbed a glowing red shell, it’ll cause a localized explosion.
Body Slam


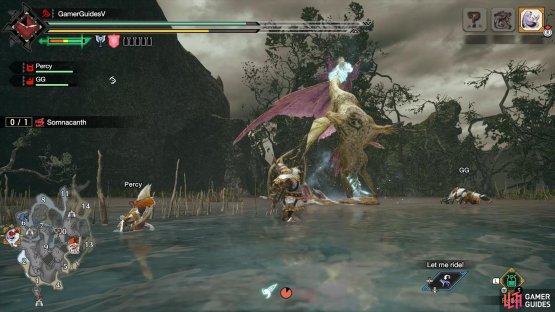
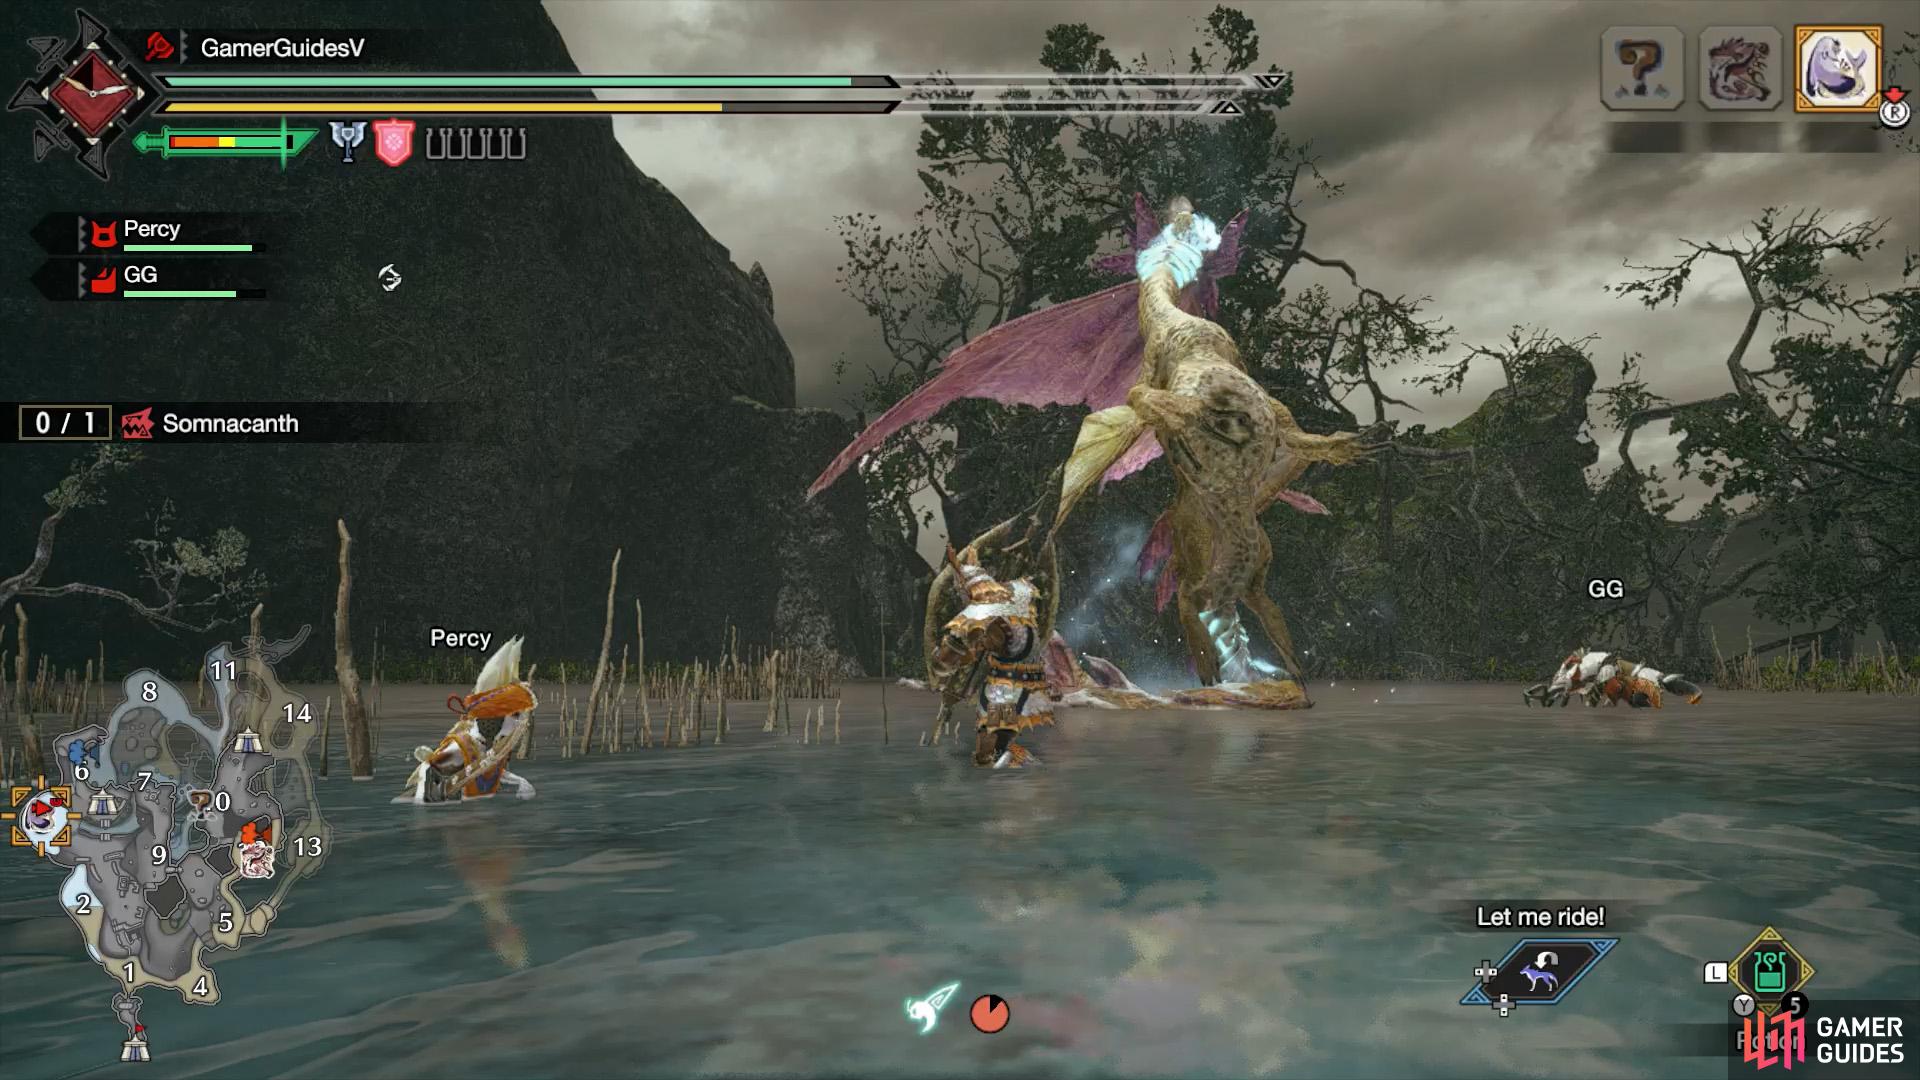
(1 of 2) Clap, clap, clap!
Clap, clap, clap! (left), This body slam didn’t deserve the applause… (right)
While pivoting on its tail, Somnacanth claps its hands three times. It’ll then stretch up, before quickly slamming its body forward.
Spinning Pounce

(1 of 2) Somnacanth crouches down like a pressed spring.
Somnacanth crouches down like a pressed spring. (left), It’ll then leap upwards and pounce forward. (right)
While pivoting on its tail, Somnacanth makes a warbling noise and crouches down, like a pressed spring. It’ll then twist its body and leap upwards into the air, before pouncing forward.
Foreleg Sweep

(1 of 2) Somnacanth stretches out sideways.

Somnacanth stretches out sideways. (left), It’ll then sweep its foreleg 180 degrees in front. (right)
While pivoting on its tail, Somnacanth makes a high-pitched cry and stretches out one of its forelegs to the side. It’ll then lean down in that direction and sweep its foreleg across the floor to the other side.
Head Sweep
(1 of 2) We reckon Somnacanth’s had too much of the “good” stuff.
We reckon Somnacanth’s had too much of the “good” stuff. (left), After using this move, it’ll lose its balance and flop forwards. (right)
While pivoting on its tail, Somnacanth flails its forelegs and head like it’s drunk or something. It’ll then sweep its head fin 360 degrees across the floor. Afterwards, Somnacanth will idle with its head fin out front–a great chance to attack it.
Mesmerizing Dance(?)


(1 of 2) Somnacanth touches the ground with its forelegs. Note that they’re stretched down.
Somnacanth touches the ground with its forelegs. Note that they’re stretched down. (left), Next, it’ll do a quick shuffle dance and then twirl in the air. (right)
While pivoting on its tail, Somnacanth makes a warbling sound and stretches its forelegs down, so they touch the ground. It’ll then straighten itself, before shuffling forward and then performing a twist in the air.
Flying Darts

(1 of 2) Somnacanth looks sideways.
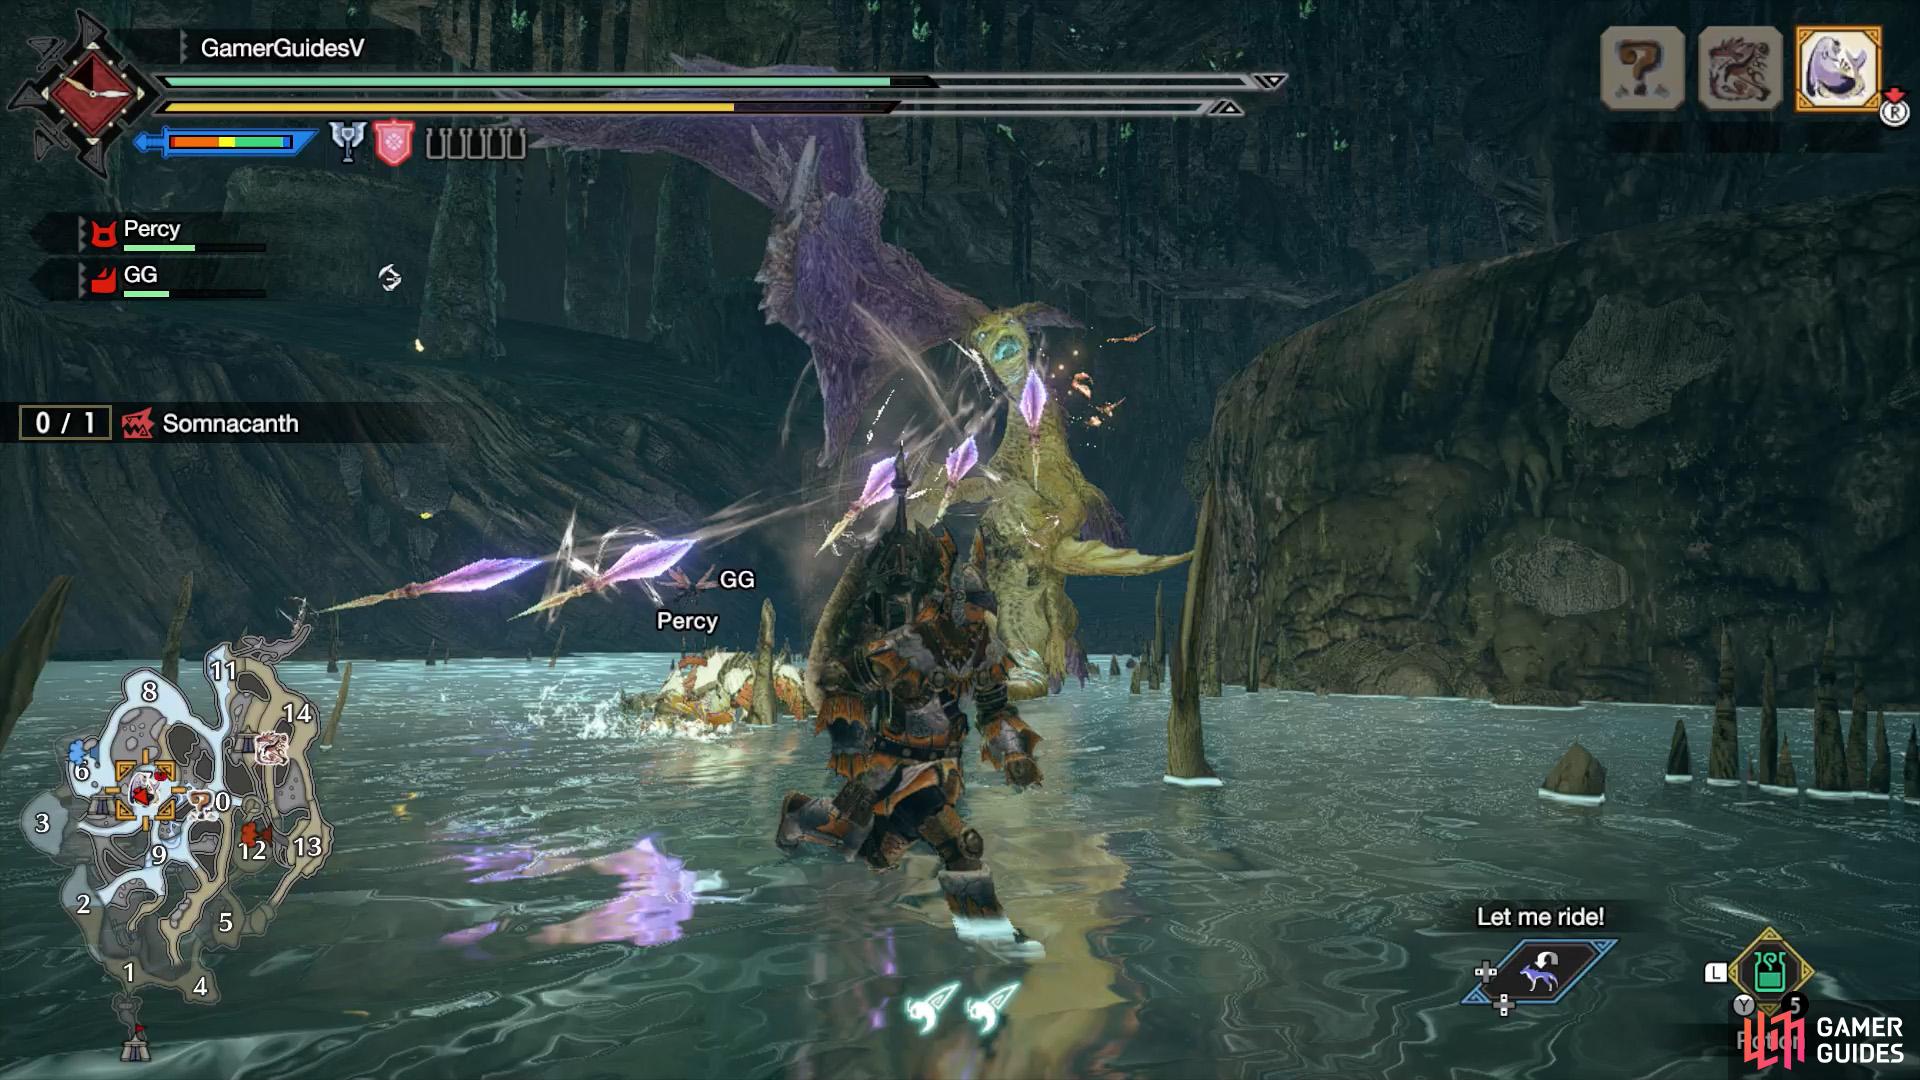
Somnacanth looks sideways. (left), It’ll then turn around and shoot a bunch of darts. (right)
While pivoting on its tail, Somnacanth makes a short high-pitched cry and looks sideways. It’ll then twist its neck and shoot several darts towards the other side. These darts will remain on the floor for a while.


(1 of 2) Immediately afterwards, Somnacanth will ready a sleep breath attack.
Immediately afterwards, Somnacanth will ready a sleep breath attack. (left), This can be evaded by moving to the side. (right)
Afterwards, Somnacanth will follow up with a sleep breath attack, which is aimed forwards. Once you’ve seen the flying darts, it’s a good idea to move towards Somnacanth’s sides or behind and then unleash a barrage of attacks.
Sweeping Sleep Breath

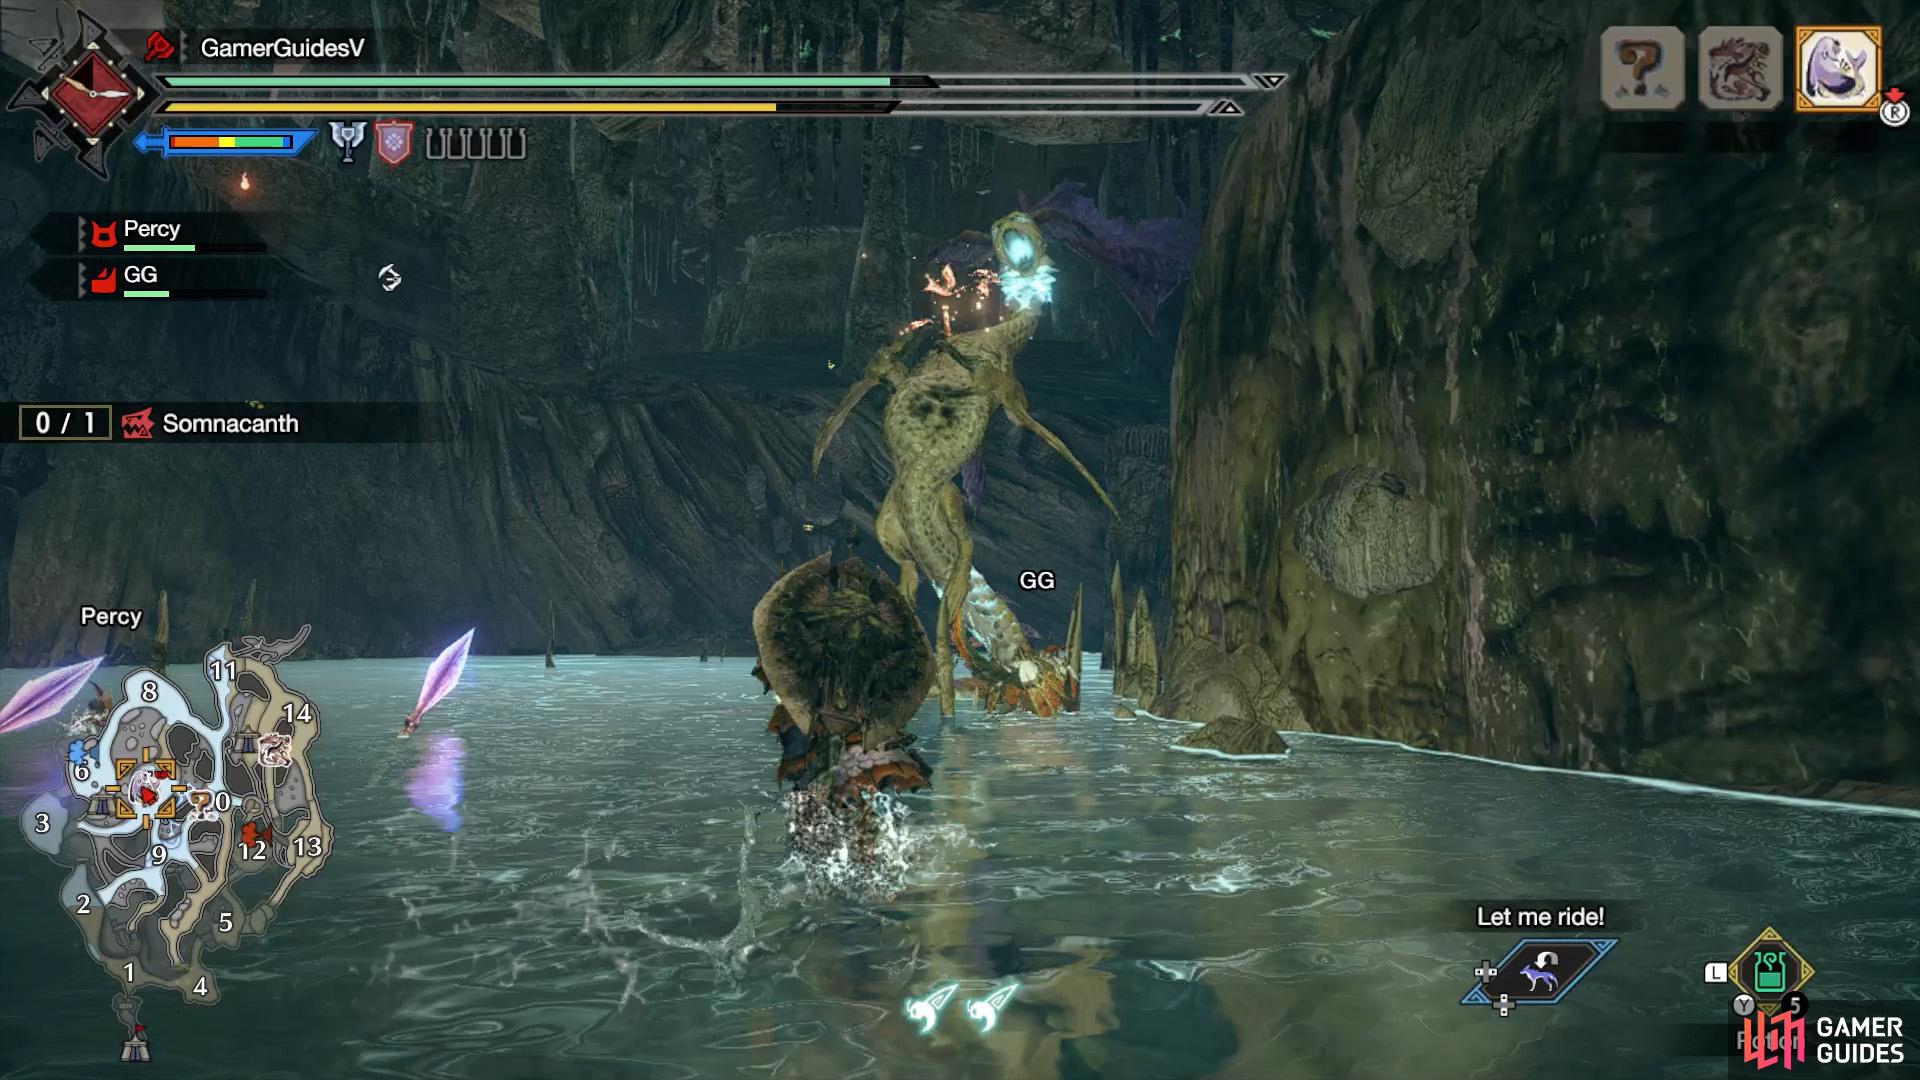
(1 of 2) Somnacanth looks sideways and begins inhaling.

Somnacanth looks sideways and begins inhaling. (left), Wiredash up to avoid the sleep breath. (right)
While pivoting on its tail, Somnacanth will face sideways and make a sound like it’s inhaling ice. It’ll then position its head near the ground and begin blasting sleep gas forward, before sweeping it to the other side. You’d better wiredash up!
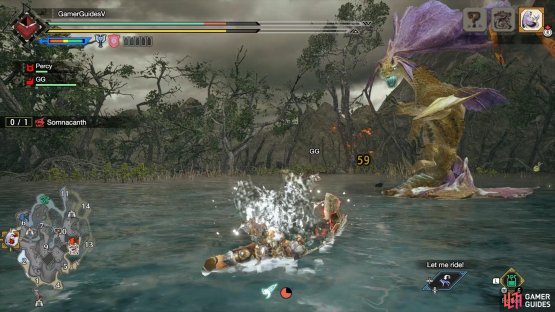
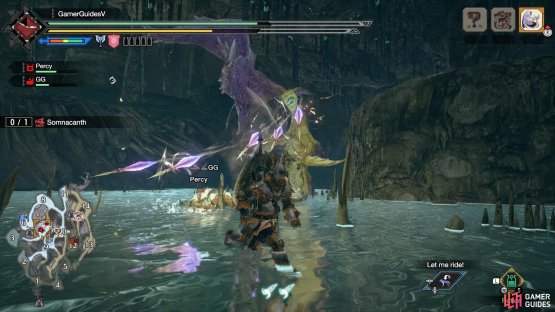
Sleep Wave

(1 of 2) Somnacanth rocks its head side to side.
Somnacanth rocks its head side to side. (left), After a while, it’ll lean down and produce a wave of sleep gas that spreads outwards. (right)
Somnacanth likes to use this move after it’s enraged (when its head fin turned reddish). It will wave its neck side to side while pivoting on its tail and white gas will appear near its mouth.
After a while, Somnacanth will lean down, shake and then create a small sleep gas explosion, which produces a wave of sleep gas that spreads from Somnacanth’s position. You can avoid the gas by wiredashing up.
Strategy
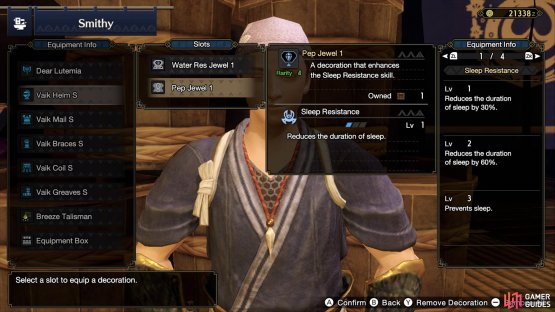
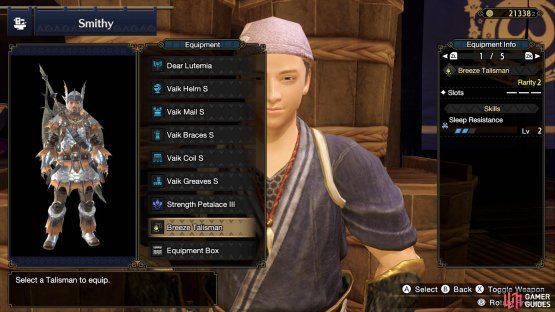
(1 of 2) Pep Jewel 1 confers Sleep Resistance Level 1.
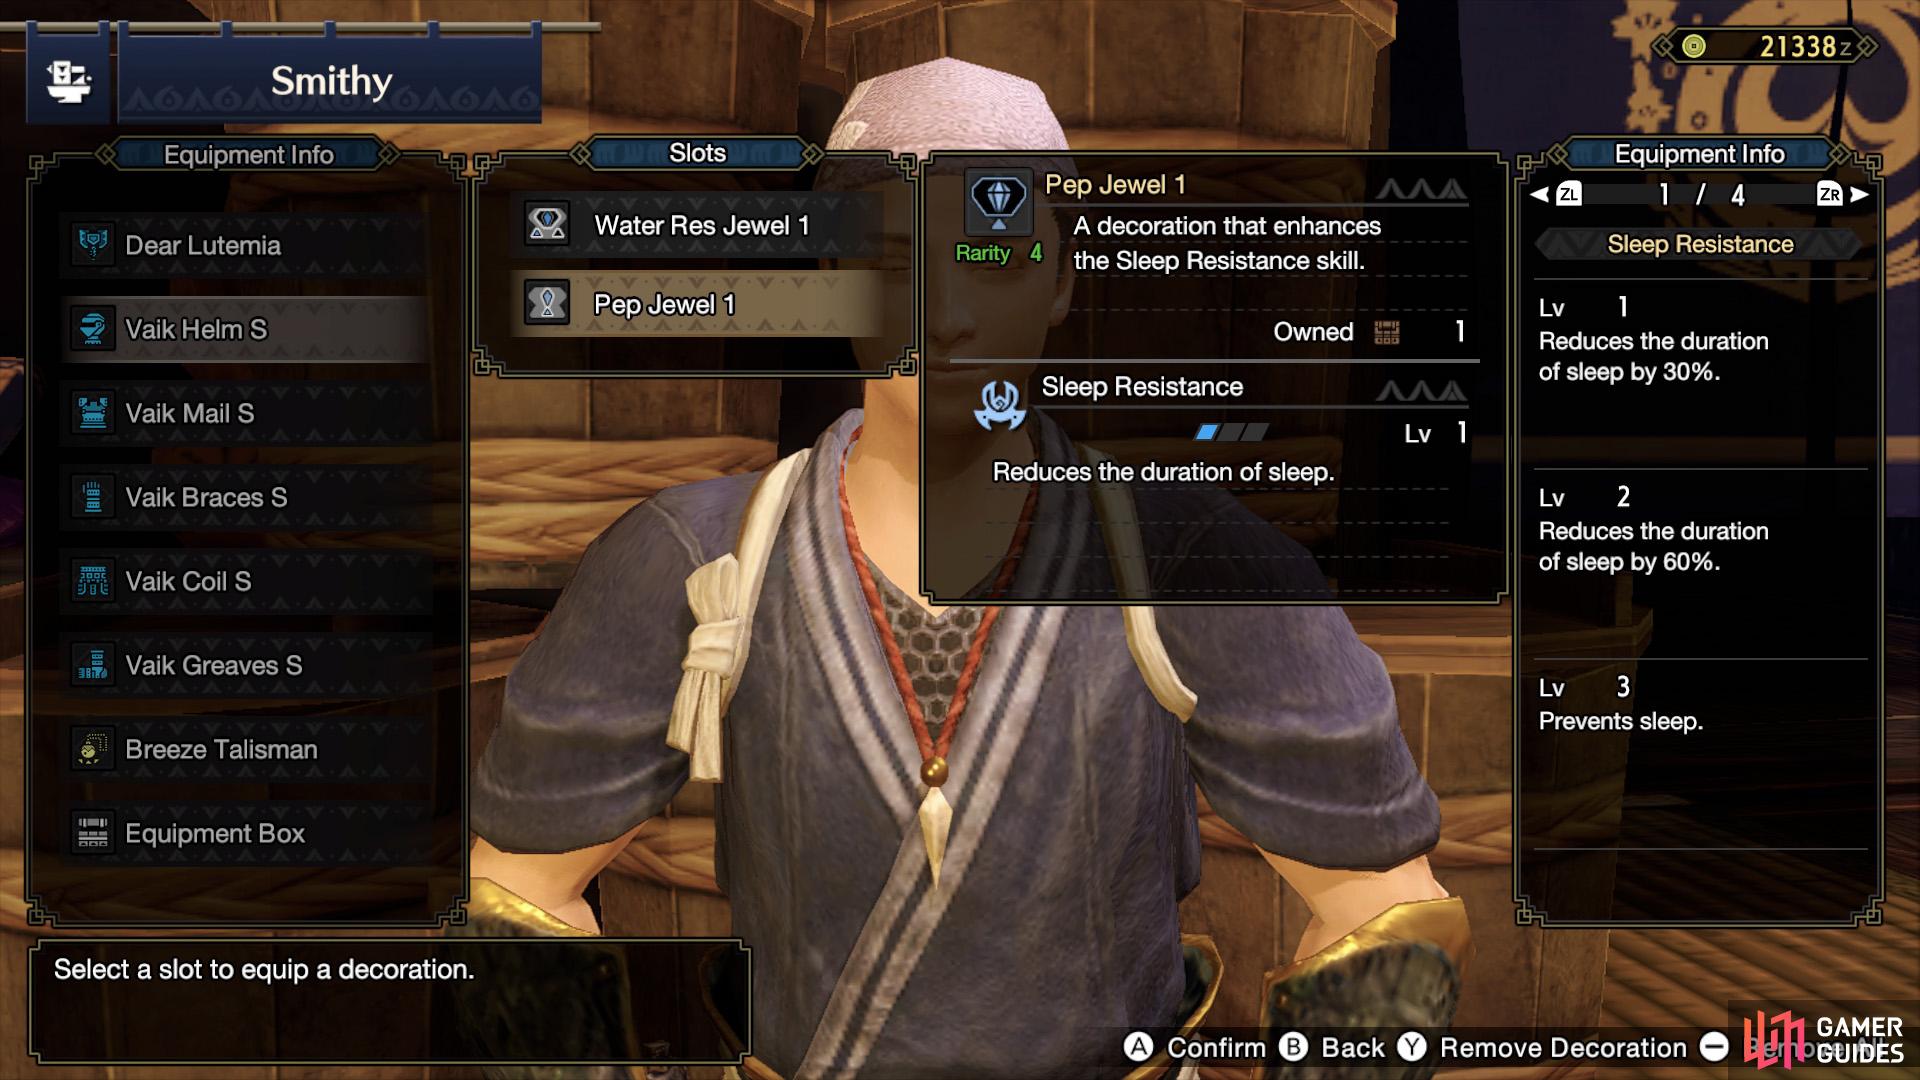
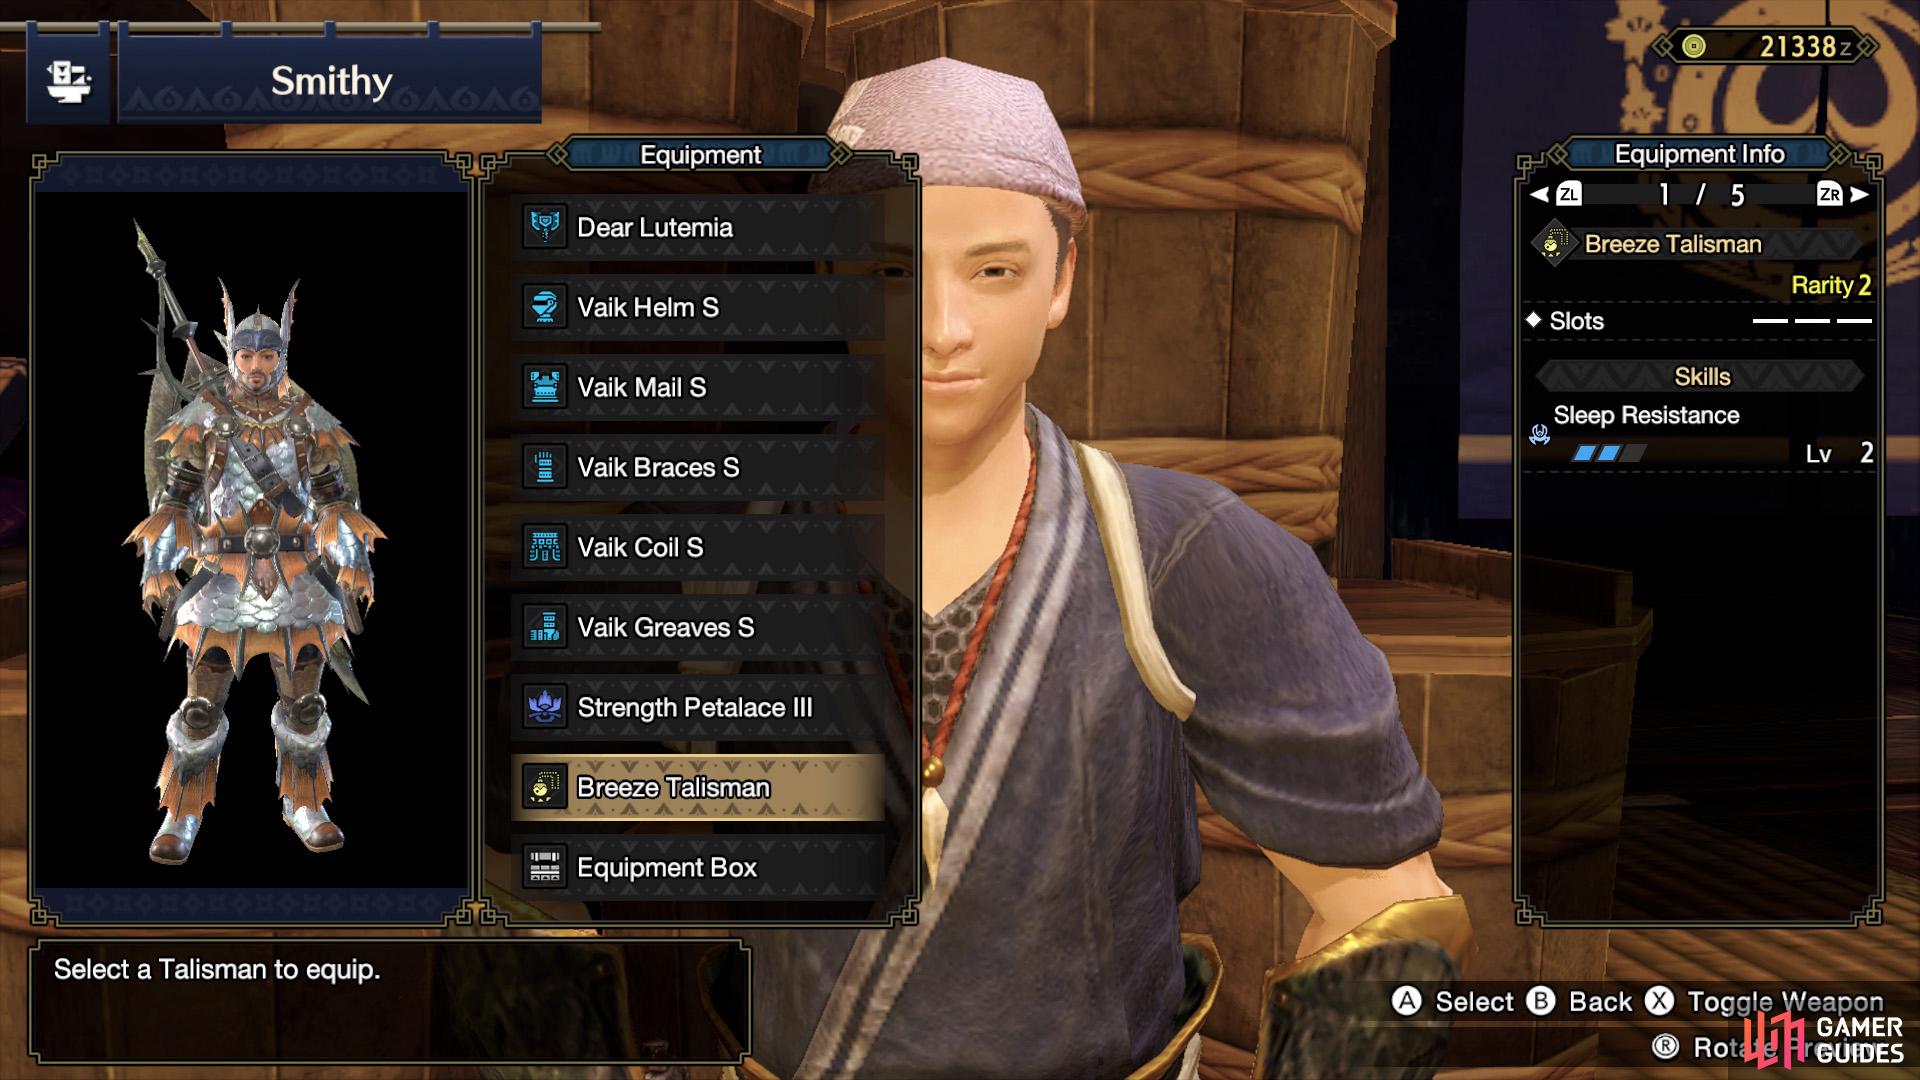
Pep Jewel 1 confers Sleep Resistance Level 1. (left), We were also lucky to craft a Talisman with Sleep Resistance Level 2. (right)
There are two things you’ll want in this fight: Water resistance and something to handle sleep. For the former, you can farm the Tetranadon or Valk armor; also, remember to eat a Water res dango. To deal with sleep, you should bring a bunch of Energy Drinks and/or you could invest in Sleep resistance.
The Makluva armor provides Sleep resistance Level 2 (or 3 for the High Rank version) and has OK Water resistance. Later, you can craft a talisman with Sleep resistance (mininum of Level 1) and, after reaching High Rank, you can craft a Pep Jewel 1 (Level 1 Sleep resistance).
As for the fight itself, it’s not terribly complicated. Obviously, if you don’t have sleep immunity, you should be cautious of the sleeping gas attacks. Two of them are telegraphed well in advance, but the sweeping breath can be subtle. Meanwhile, so long as you don’t panic and rush, you get plenty of time to escape the sleep trap.
To make the fight slightly easier though, you can try to lure Somnacanth onto land. For example, by picking up a Stinkmink from somewhere and then leading it to an area that’s faraway from water. This will prevent the monster from using its Sleep Trap and Shell Bomb attacks, which ought to reduce your stress levels.
Material Drops (Low Rank)
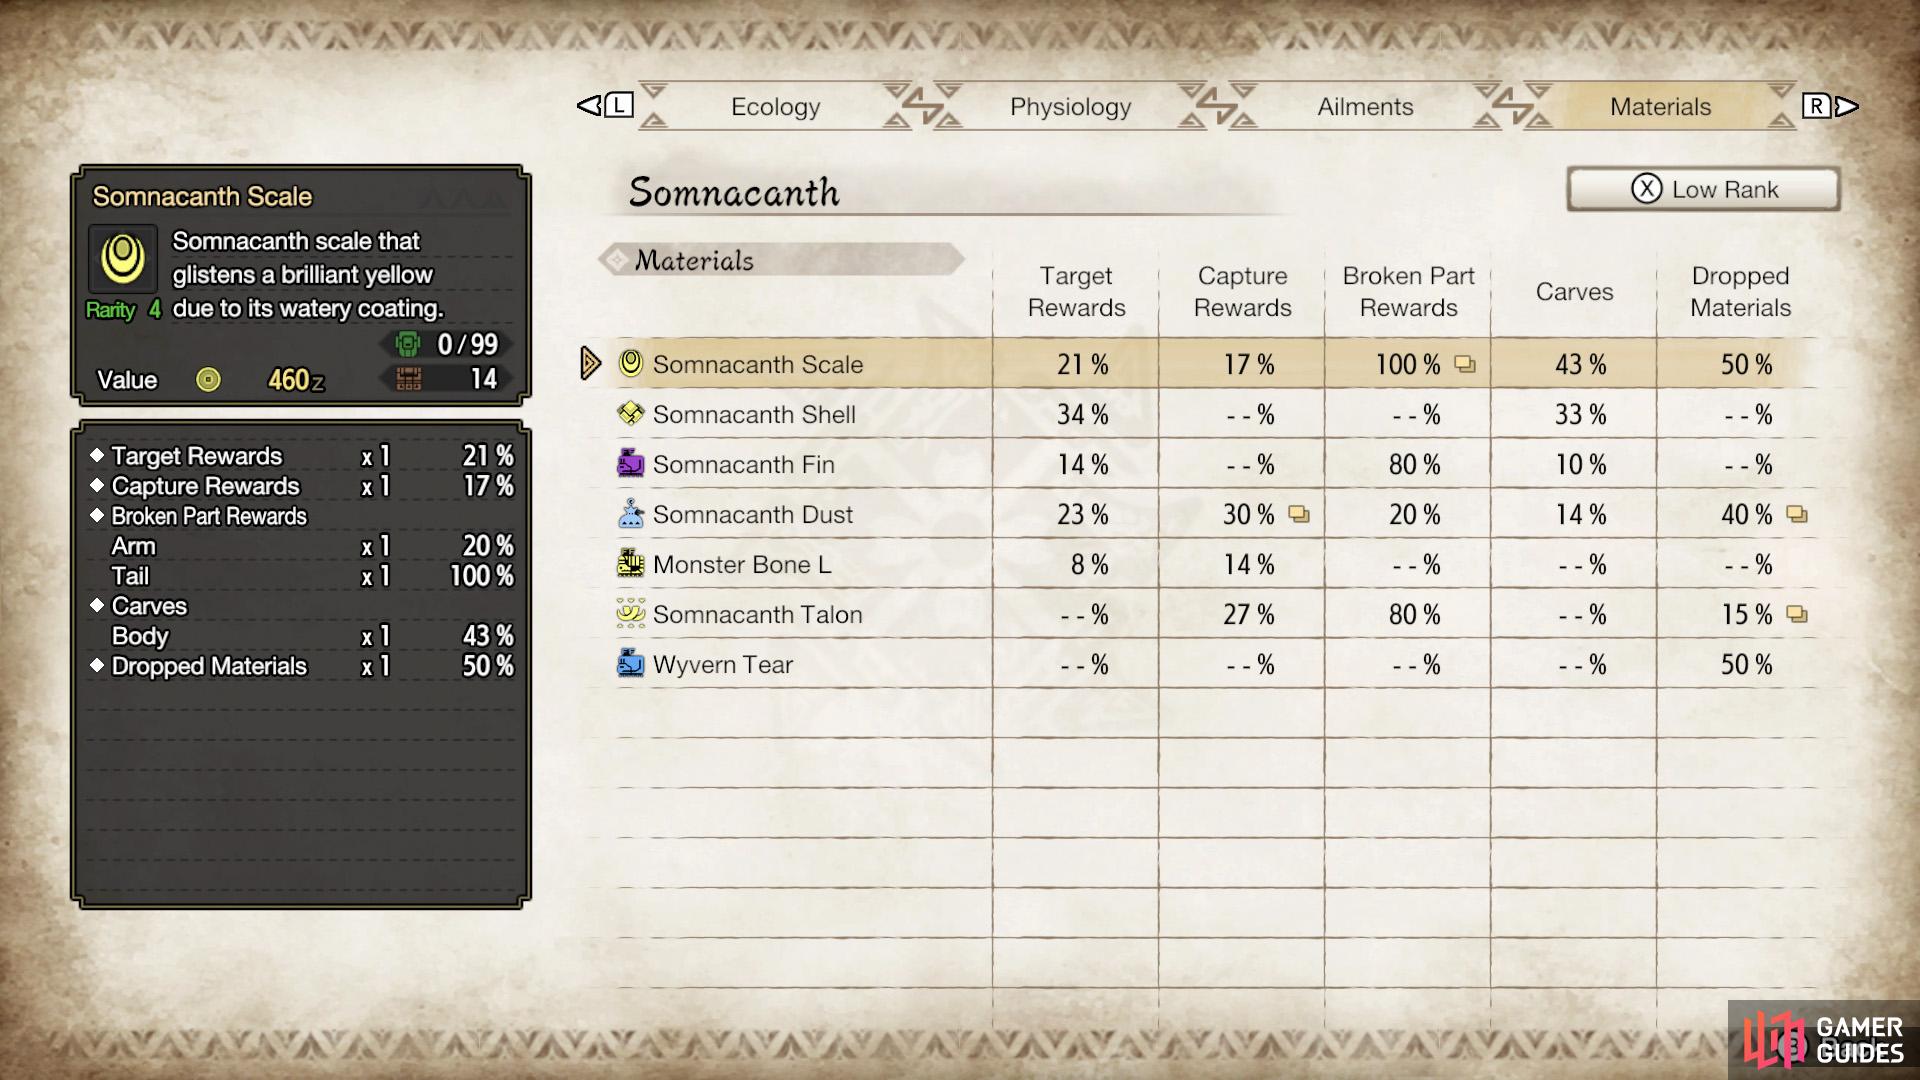
Somnacanth’s Low Rank drops.
Target Rewards
| Material | Drop Rate (%) |
|---|---|
| Somnacanth Scale | 21% |
| Somnacanth Shell | 34% |
| Somnacanth Fin | 14% |
| Somnacanth Dust | 23% |
| Monster Bone L | 8% |
Capture Rewards
| Material | Drop Rate (%) |
|---|---|
| Somnacanth Scale | 17% |
| Somnacanth Dust | 30% (x1), 12% (x1) |
| Monster Bone L | 14% |
| Somnacanth Talon | 27% |
Broken Part Rewards
| Material | Drop Rate (%) |
|---|---|
| Somnacanth Scale | Arm - 20%, Tail - 100% |
| Somnacanth Fin | Head Fin - 80% |
| Somnacanth Dust | Head Fin - 20% |
| Somnacanth Talon | Arm - 80% (x2) |
Carves
| Material | Drop Rate (%) |
|---|---|
| Somnacanth Scale | 43% |
| Somnacanth Shell | 33% |
| Somnacanth Fin | 10% |
| Somnacanth Dust | 14% |
Dropped Materials
| Material | Drop Rate (%) |
|---|---|
| Somnacanth Scale | 0%, 50% |
| Somnacanth Dust | 40%, 35% (x2) |
| Somnacanth Talon | 10%, 15% |
| Wyvern Tear | 50%, 0% |
Material Drops (High Rank)
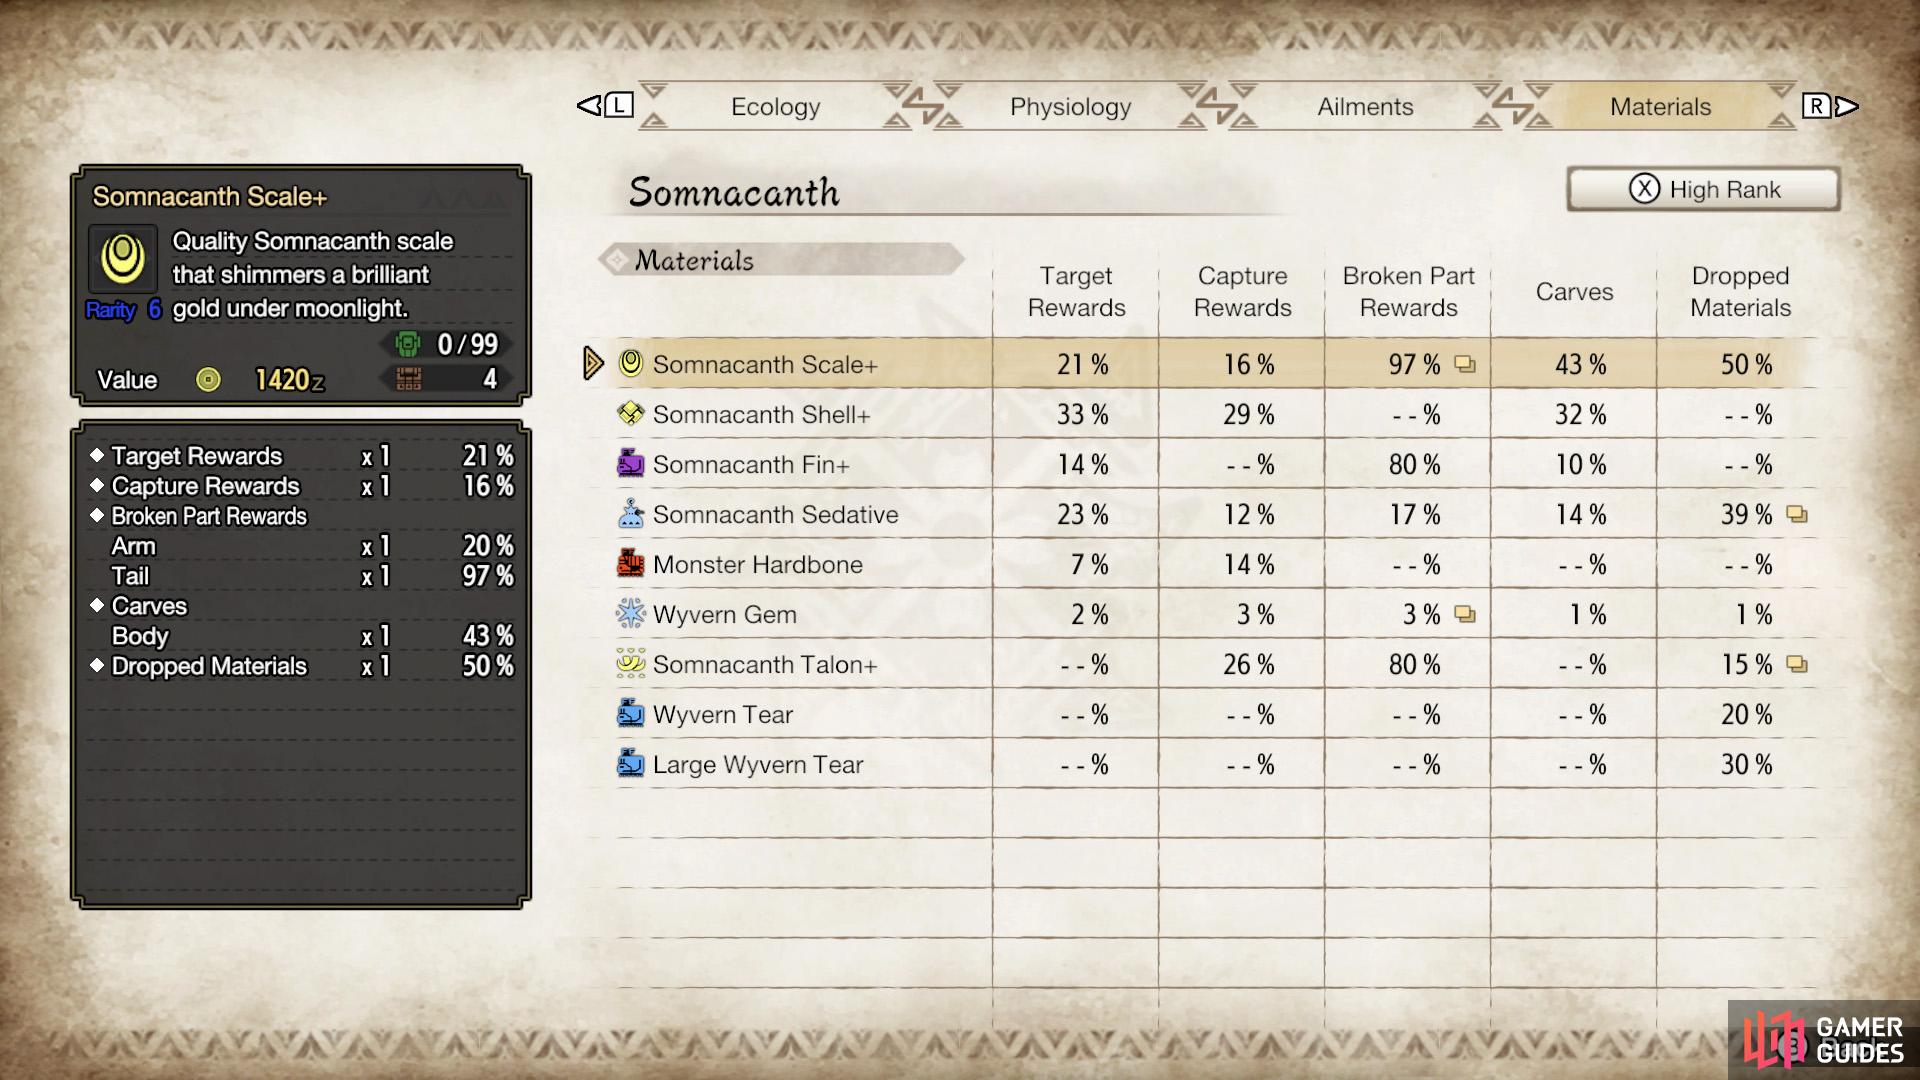
Somnacanth’s High Rank drops.
Target Rewards (HR)
| Material | Drop Rate (%) |
|---|---|
| Somnacanth Scale+ | 21% |
| Somnacanth Shell+ | 33% |
| Somnacanth Fin+ | 14% |
| Somnacanth Sedative | 23% |
| Monster Hardbone | 7% |
| Wyvern Gem | 2% |
Capture Rewards (HR)
| Material | Drop Rate (%) |
|---|---|
| Somnacanth Scale+ | 16% |
| Somnacanth Shell+ | 29% |
| Somnacanth Sedative | 12% |
| Monster Hardbone | 14% |
| Wyvern Gem | 3% |
| Somnacanth Talon+ | 26% |
Broken Part Rewards (HR)
| Material | Drop Rate (%) |
|---|---|
| Somnacanth Scale+ | Arm - 20%, Tail - 97% |
| Somnacanth Fin+ | Head Fin - 80% |
| Somnacanth Sedative | Head Fin - 17% |
| Wyvern Gem | Head Fin - 3%, Tail - 3% |
| Somnacanth Talon+ | Arm - 80% (x2) |
Carves (HR)
| Material | Drop Rate (%) |
|---|---|
| Somnacanth Scale+ | 43% |
| Somnacanth Shell+ | 32% |
| Somnacanth Fin+ | 10% |
| Somnacanth Sedative | 14% |
| Wyvern Gem | 1% |
Dropped Materials (HR)
| Material | Drop Rate (%) |
|---|---|
| Somnacanth Scale+ | 0%, 50% |
| Somnacanth Sedative | 39%, 35% (x2) |
| Wyvern Gem | 1%, 0% |
| Somnacanth Talon+ | 10%, 15% |
| Wyvern Tear | 20%, 0% |
| Large Wyvern Tear | 30%, 0% |
No Comments