
This is the first Urgent Quest you’ll receive, unlocked after completing two unique 1-star Village Quests. As the name suggests, your task is to slay (or capture) a Great Izuchi.


(1 of 2) Urgent Quests don’t have a time limit, but you do need to complete them to unlock harder quests.

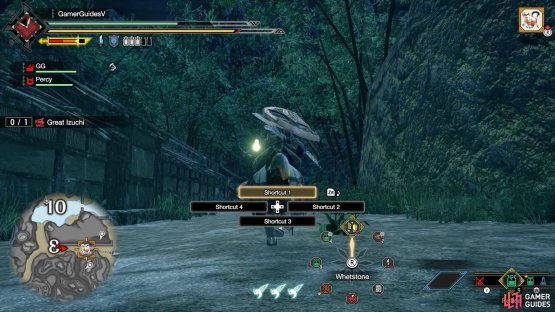
Urgent Quests don’t have a time limit, but you do need to complete them to unlock harder quests. (left), The Great Izuchi hunts in a pack. (right)
| Reward | Locale | Time Limit |
|---|---|---|
| 900z | Shrine Ruins | 50 minutes |
The Great Izuchi is the first Large Monster you should encounter in Rise. For those completely new to Monster Hunter, hunting Large Monsters is essentially the main meat of the game.
However, despite all the tutorials and training opportunities, nothing will quite prepare you for the experience. Unlike the weakling Small Monsters dotted around, Large Monsters move fast, hit hard, have varied attacks and take aaaaages to defeat.
Still, there’s no need to be intimidated, if you keep your wits and follow our advice.
Preparing for the Hunt
Before you even depart for the quest, make sure you’re 100% ready for the fight. As they often say, “preparation is half the battle”.
-
Check that your item pouch has all the essentials. To begin with, you’ll want Potions and Mega Potions to restore health, plus items to replenish stamina, like Rations and Well-done Steak. You will get some recovery items for free during the hunt, but not a lot.
-
Next, see if you can upgrade or improve your weapons and armor. If you can afford the resources, the “Ore” weapons and the Chainmail armor are decent upgrades to your base equipment. Iron Ore and Earth Crystals for these equipment can be farmed from mining outcrops in Shrine Ruins.
-
All properly geared up? Before leaving, go and visit the canteen on the way to the Gathering Hub entrance and order some delicious Bunny Dango. On top of potentially getting some useful bonuses, eating a meal will boost your maximum Health and Stamina.
Early Stages of the Hunt

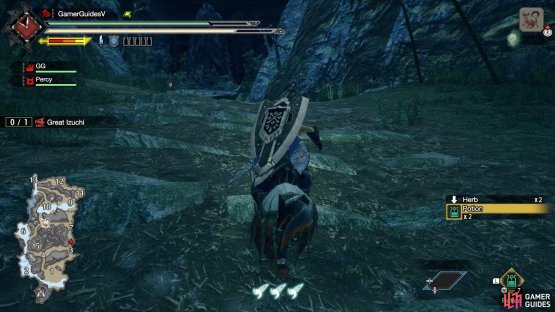
(1 of 2) Remember to collect your freebies!

Remember to collect your freebies! (left), Along the way, feel free to grab any Endemic Life, Herbs or anything that seems useful. (right)
Once you think you’re good to go, accept the quest from Hinoa and depart with the ZR button. You’ll arrive at the base camp, but it’s night time, instead of day. There shouldn’t be a huge difference, although if it’s very hard to see, you may need to fiddle with the brightness/contrast of your display.
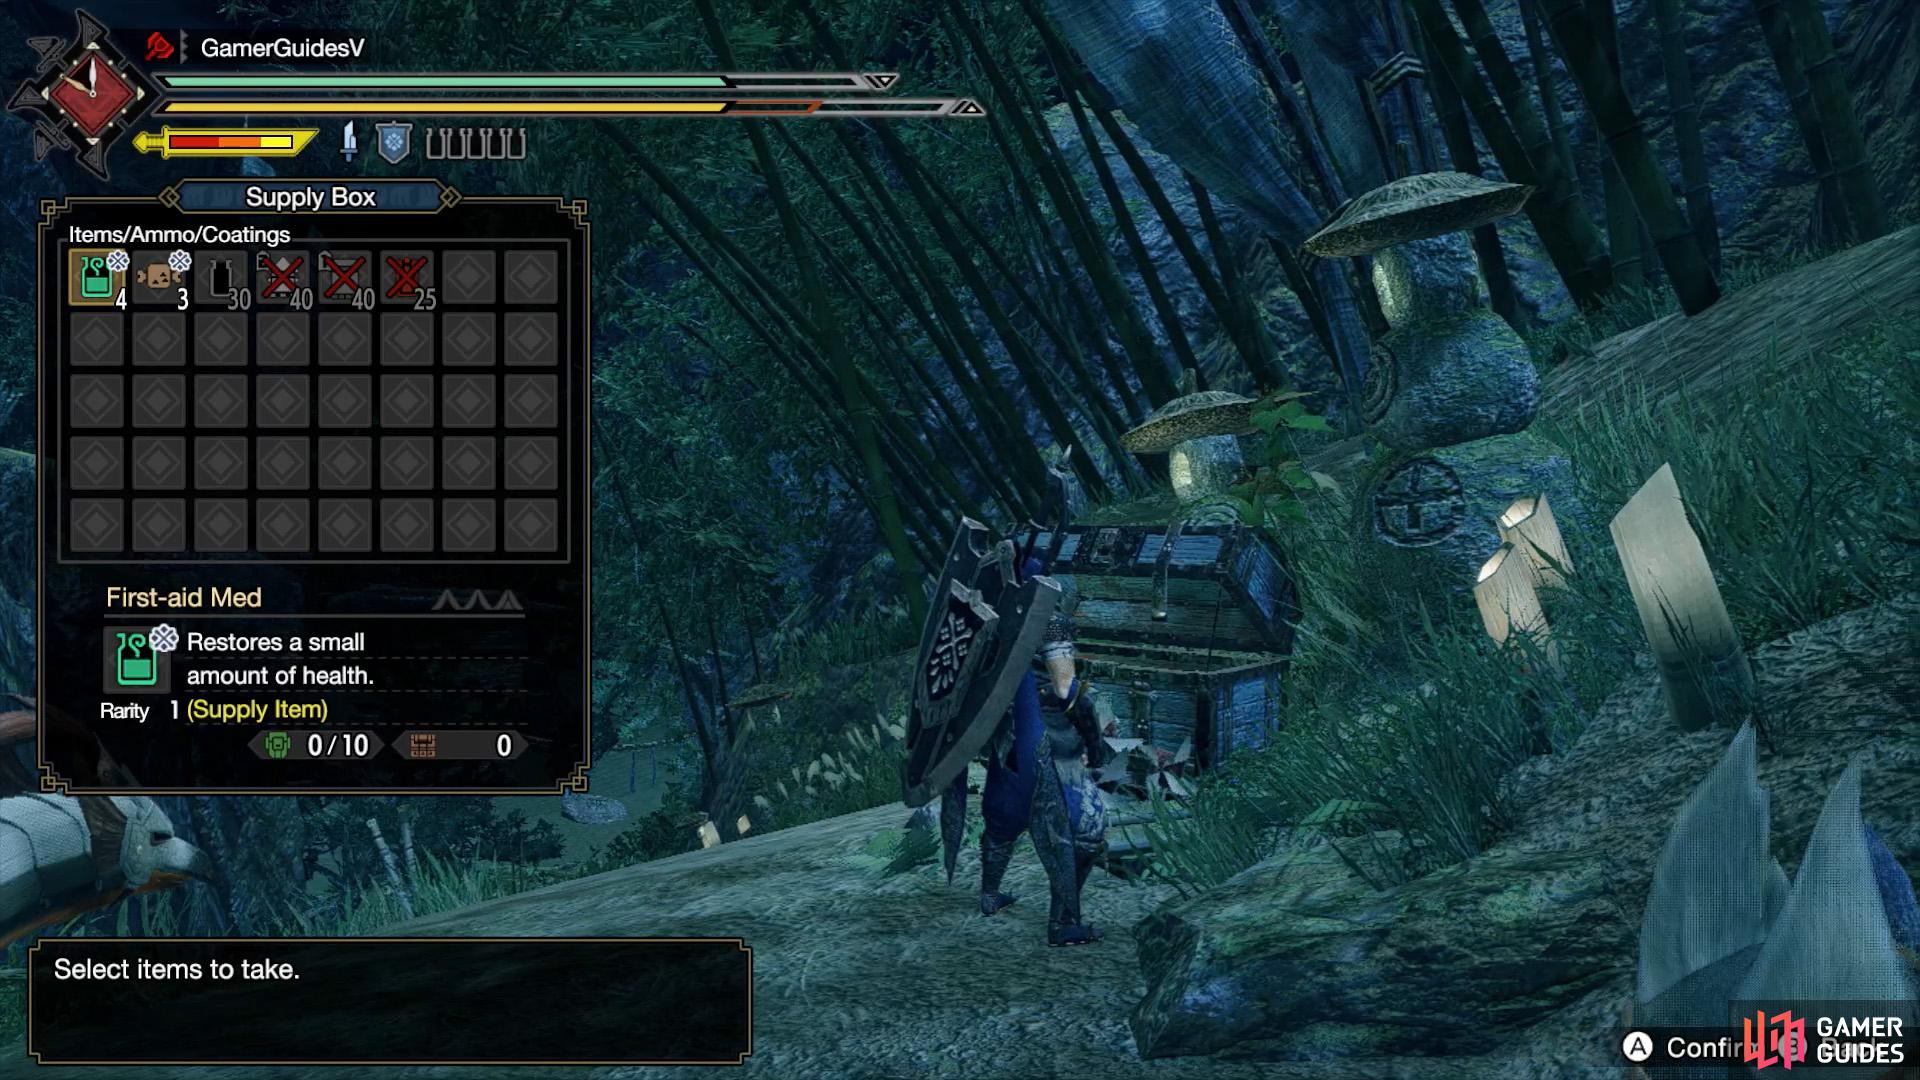
First things first, go over to your supply box and grab the First Aid Meds and EZ Rations. You’ll probably want to eat one or two rations to up your stamina. If you haven’t tried it yet, use the Radial Menu to access the rations. Hold the L button and move the right stick diagonally right up to quick-select the rations.
The Great Izuchi usually starts in Area 8, although it can also start from Area 4 (near the starting zone) or, rarely, Area 9. If the Great Izuchi is in Area 8, it will slowly travel clock-wise, so your best bet is to intercept it by heading from Area 7 towards Area 8. You’ll need to cut through Areas 1 and 3 (and maybe 4).
Strategy
Unless you’re an expert, your main priority is slaying the Great Izuchi using any means possible. If you’re an expert or return to repeat this quest (which is likely), you may want to focus on breaking the Great Izuchi’s tail and/or capturing it when it’s weak. So you can better farm the materials for the weapon and armor.
Novices are advised to only poke the Great Izuchi when it looks safe and rolling out of the way after a few hits, before it has a chance to use another attack. Good opportunities to whale on the monster are after attacks like the tail slam or triple tail spin, where it’s stuck there doing nothing for a while.
If you get hit, monitor your health. Once your health gets below or near half, use your wirebug to find a safe place to top up with a Potion etc. Likewise if your weapon durability drops, use the whetstone in your item pouch. A quick way to access the Whetstone is by holding L to bring up the Radial Menu and pressing Up on the right stick.
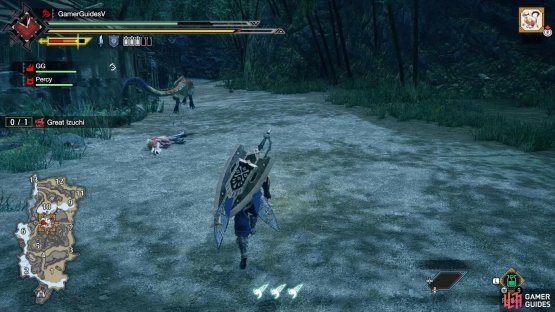
(1 of 2) Don’t chase on foot–ride your trusty palamute!


Don’t chase on foot–ride your trusty palamute! (left), While riding, you can drink potions and sharpen your weapons etc. (right)
Once the Great Izuchi has taken a beating, it will likely escape to a different area. In general, it’ll flee in a clock-wise direction, although it may travel elsewhere. Fortunately, you can always see its position on your mini-map. Hold the A button to ride your palamute and give chase. While riding the palamute, replenish your health/stamina if needed and sharpen your weapon with your whetstone.
Keep up the good fight and the Great Izuchi should fall before long. Once it’s dead, press the A button while next to it to carve materials from it. Keep carving until the option is no longer available. You’ve got a whole minute before returning to the village, so feel free to relax in the meantime.
No Comments