
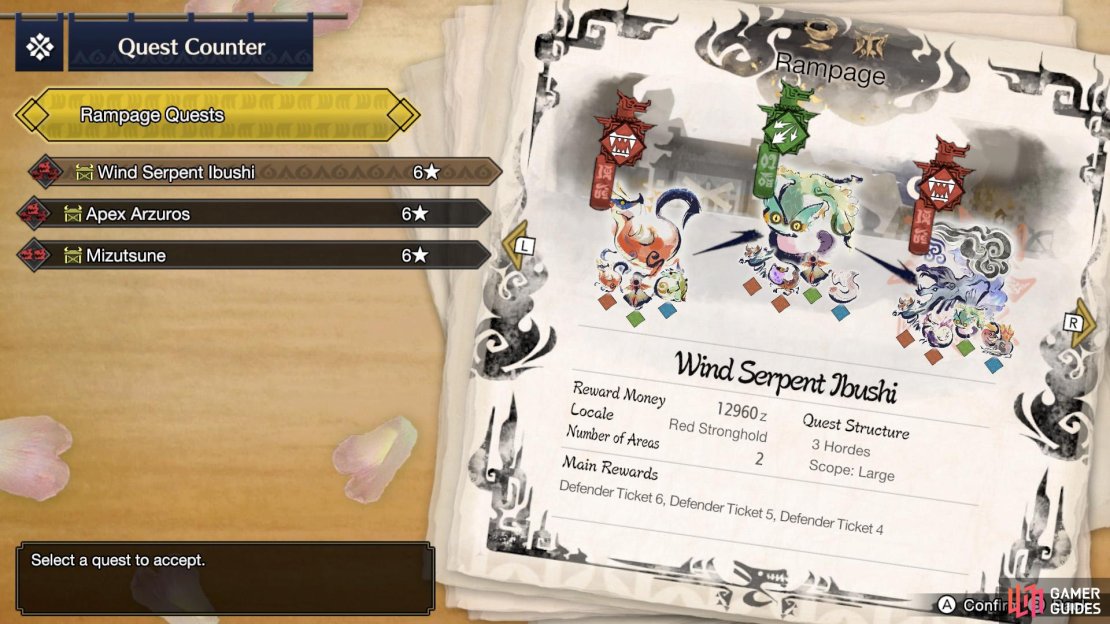
How to complete Serpent God of Wind
In this page, we’ll guide you through the Hub Urgent Quest “Serpent God of Wind”. This quest is unlocked after completing 3 unique 6-star key quests in the Gathering Hub. Similar to “The Blue Apex” quest, this is a Rampage Quest.
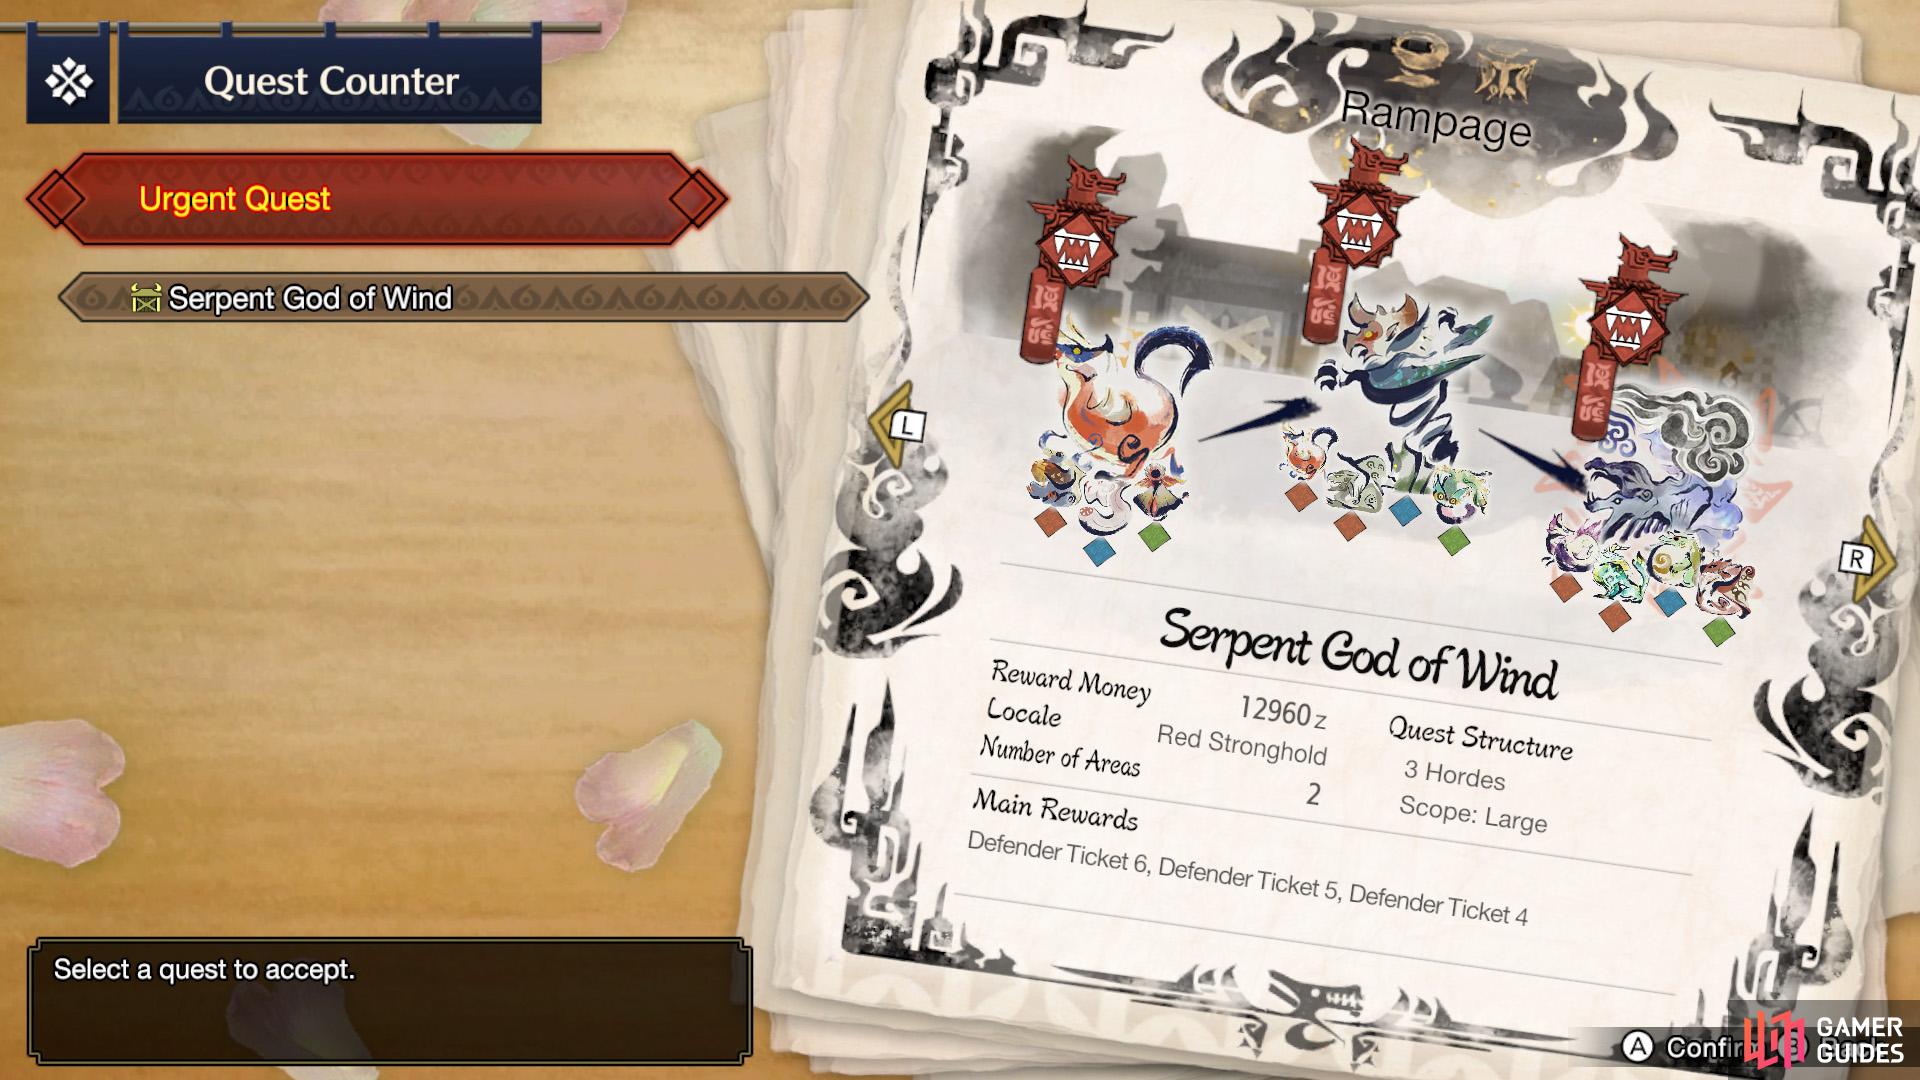
Serpent God of Wind is unlocked after finishing three 6-star Hub Quests.
| Reward | Locale | Number of Areas |
|---|---|---|
| 12,960z | Red Stronghold | 2 |
| Number of Hordes | Scope | Main Rewards |
|---|---|---|
| 3 | Large | Defender Ticket 4, 5 and 6 |
Preparations
Before starting this quest, be sure to bring the best High Rank gear you’ve got. If you struggled in the previous Urgent Quest, that could be a sign you’re falling behind with your gear. This is vitally important if you’re doing this quest solo, but less so in multiplayer–although you don’t want to be dead weight for your team mates either.
Speaking of, we strongly recommend tackling this quest in multiplayer. While it is possible to do this quest solo, it will be difficult as you need to multi-task and some tasks are nigh impossible on your own. However, this will require friends nearby or an online subscription, which not everyone has.
Also, double check your item pouch so you’ve got plenty of Mega Potions and, if you’re worried, maybe even some of the more high end potions. You will be supplied with four stacks of First-aid Med+, but they won’t last that long. Lastly, if you want to defeat Ibushi, craft some (Mega) Demondrugs too.
Arriving at the Stronghold
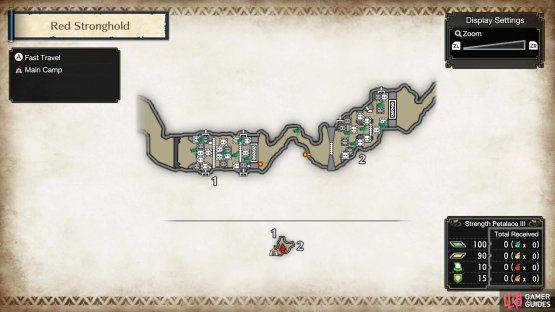

(1 of 2) If you’re attempting this as a non-urgent quest, remember to check the map to learn the layout.
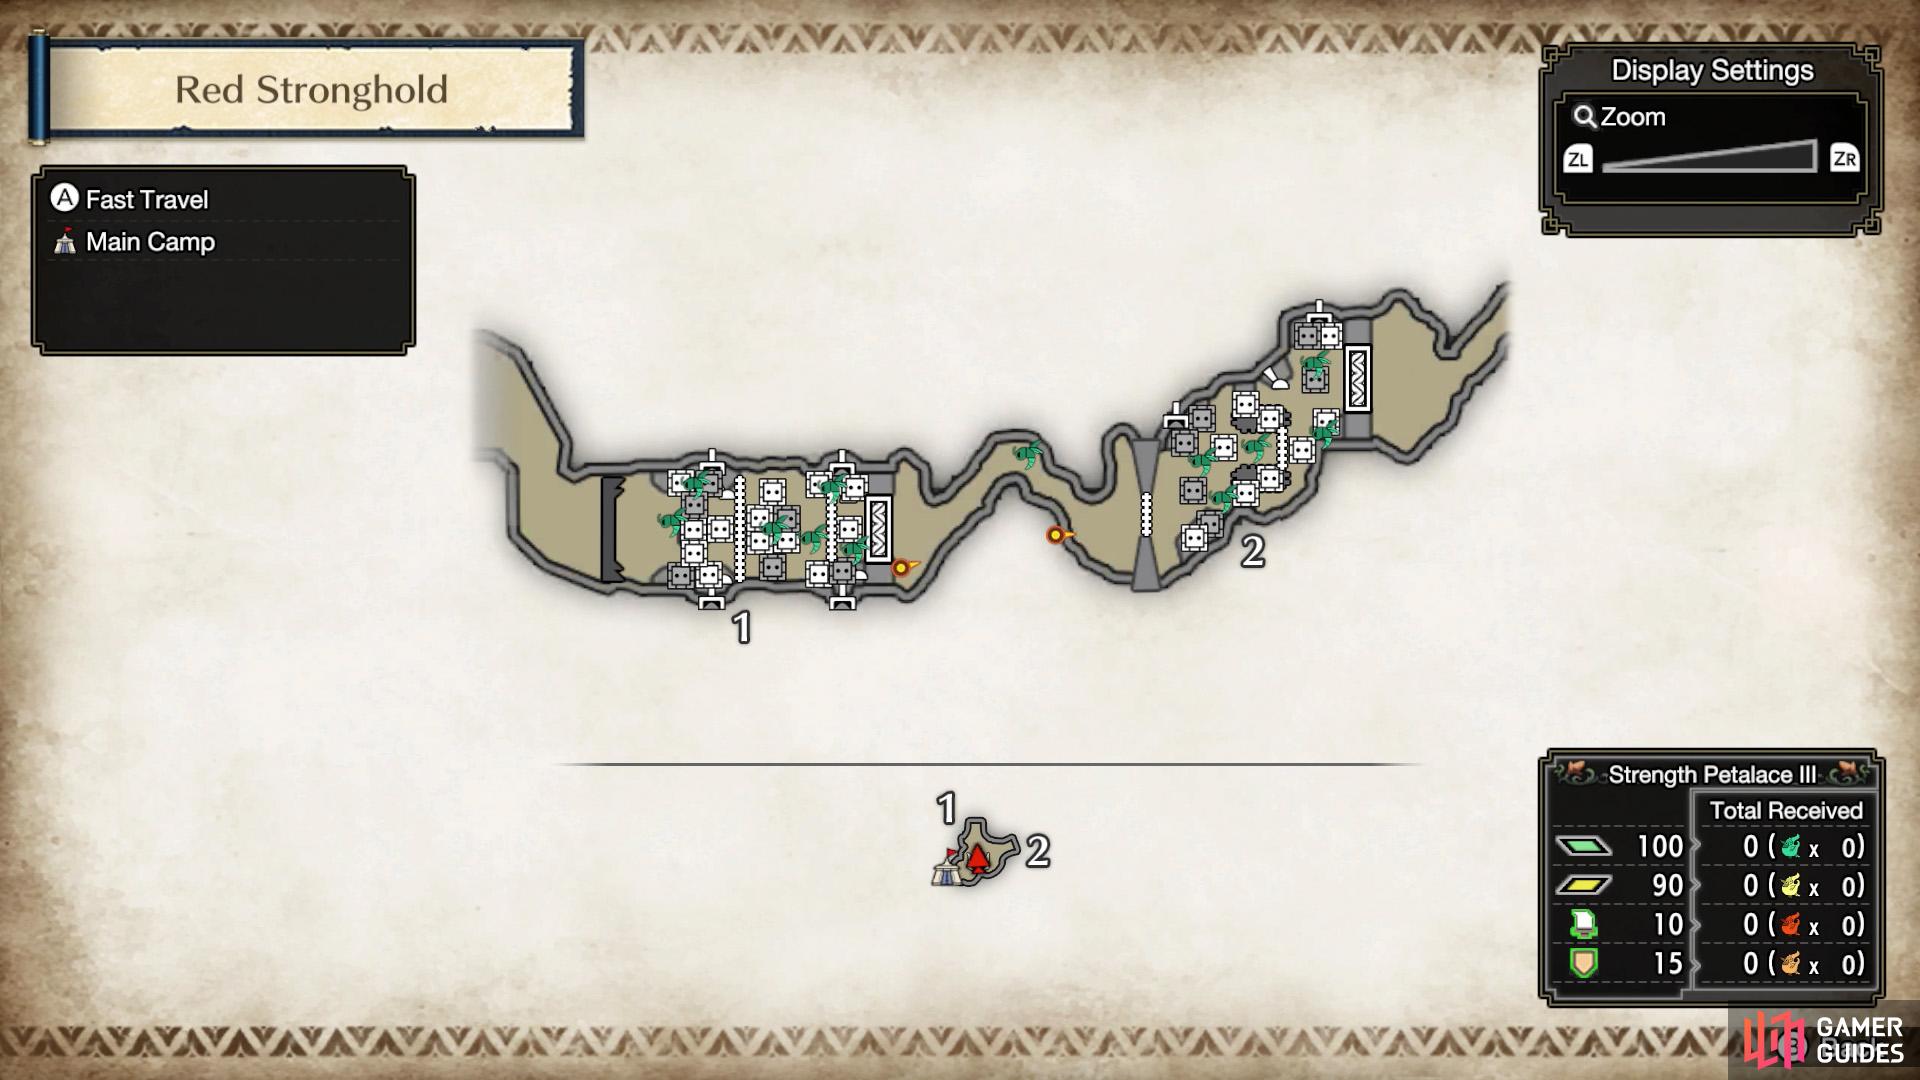
If you’re attempting this as a non-urgent quest, remember to check the map to learn the layout. (left), Then go around installing automatic weapons as normal. (right)
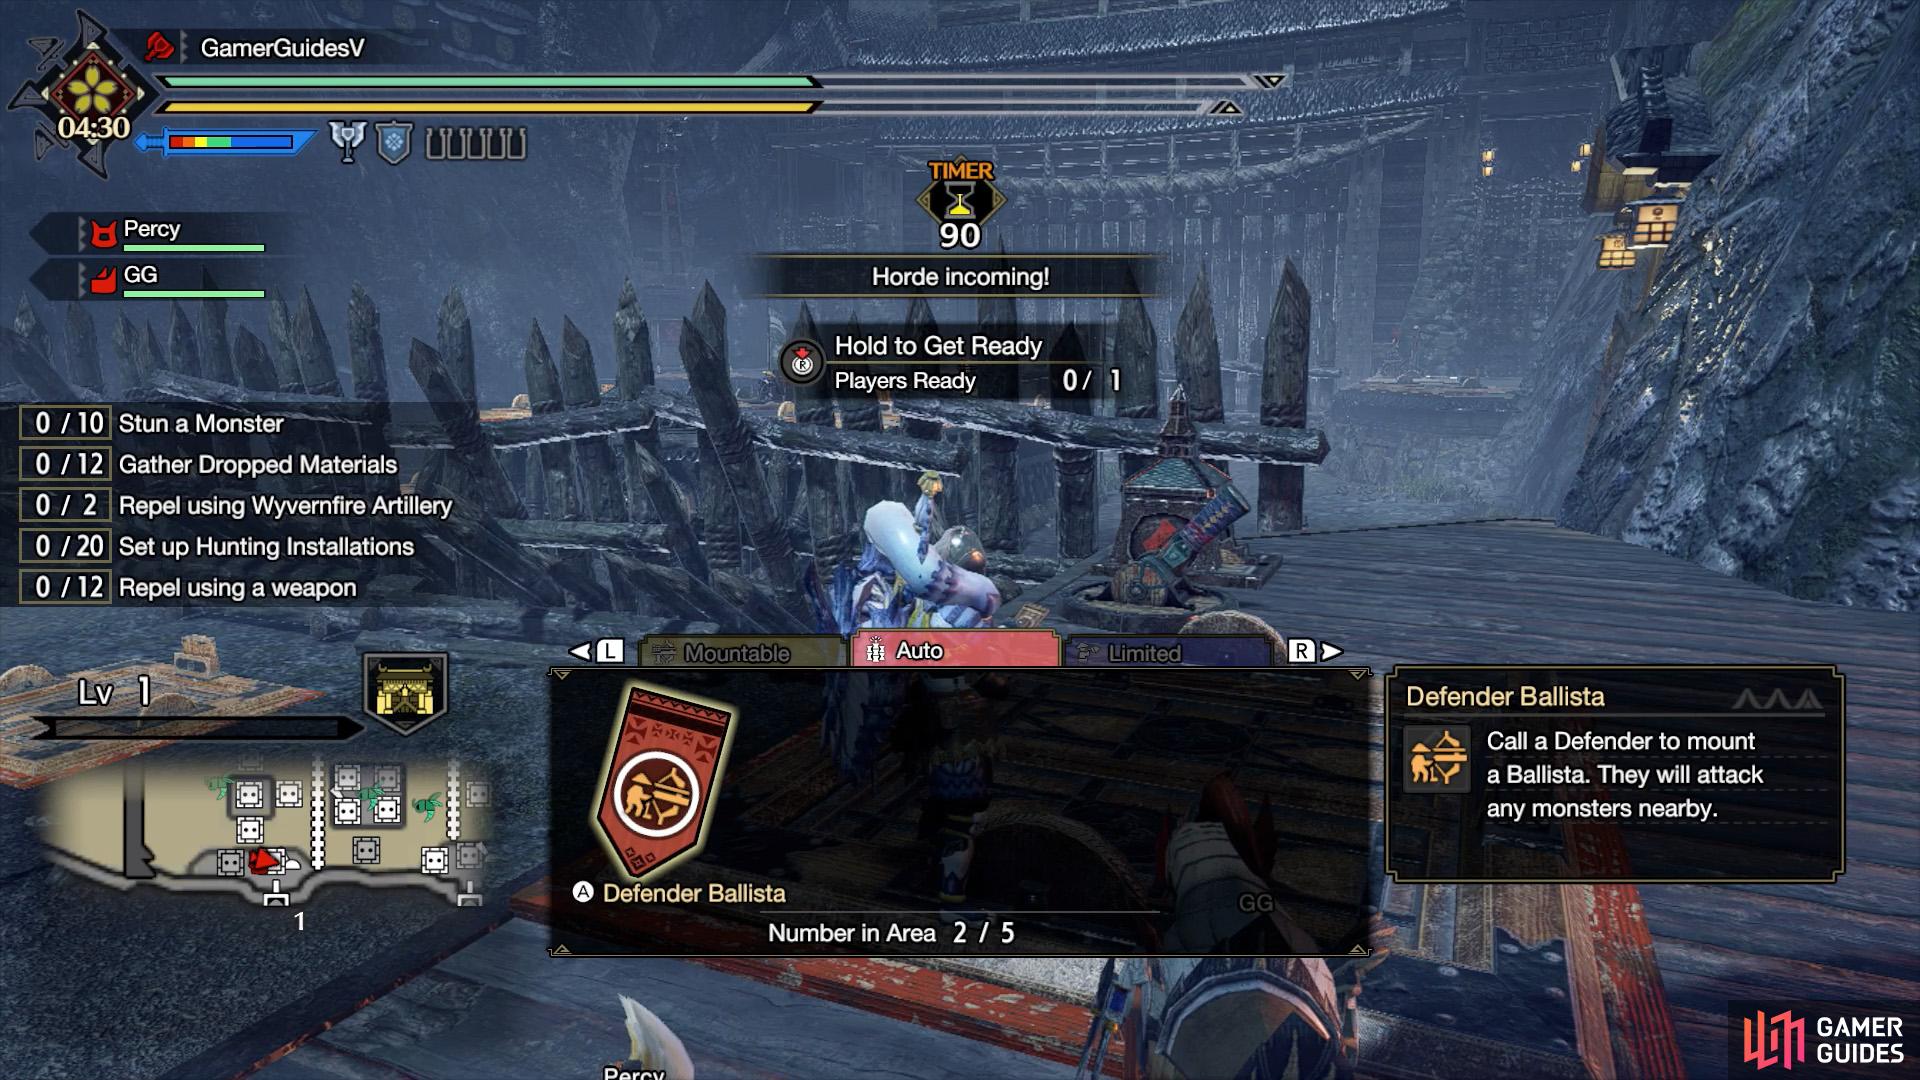
When you begin the quest, grab the supplies from the supply box and check the map to familiarize yourself with the layout. If you’re attempting the Urgent Quest for the first time, the layout is always the same. But if you retry this quest as a standard Rampage Quest, the layout can be different.
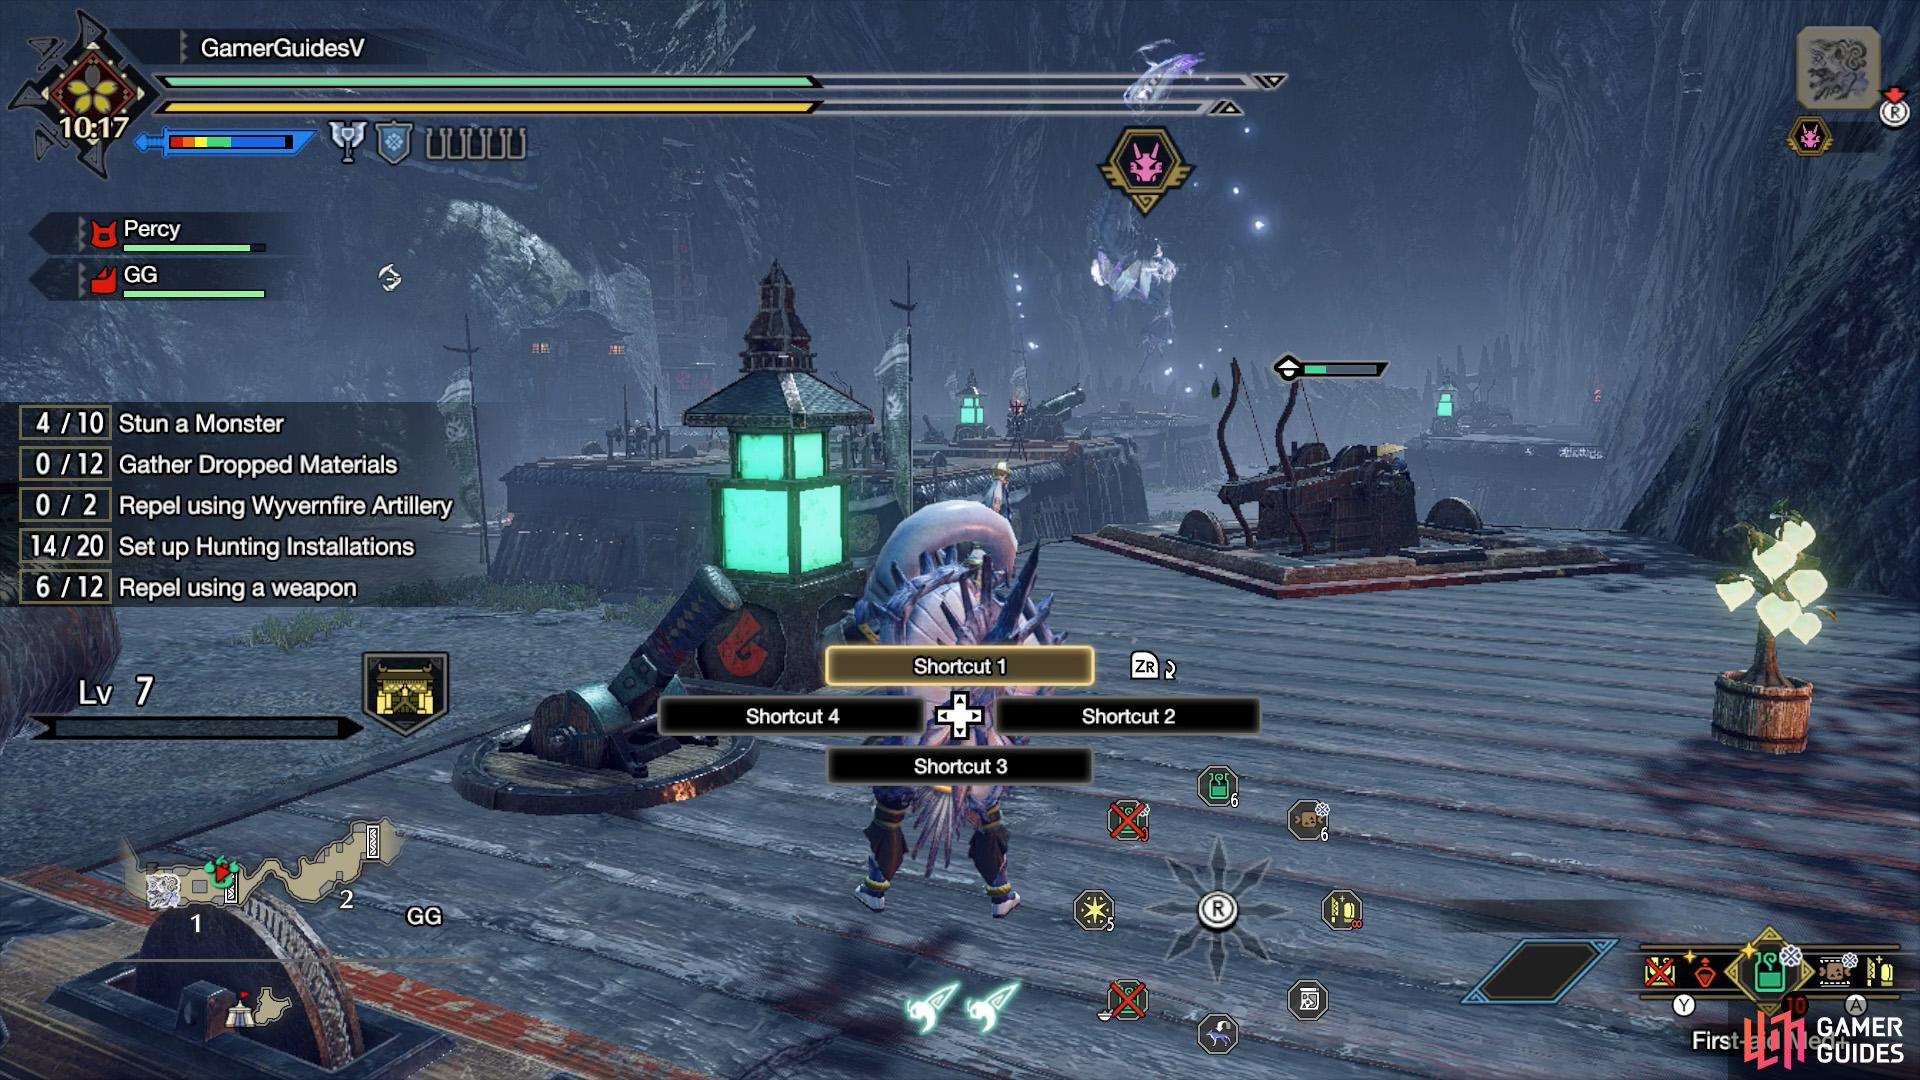
After checking the map, head over to Area 1 and set up automatic ballistae like usual. You can place these near the entrance to begin with, then slowly move them further in as the monsters break through. If there’s space nearby, you could place an extra bamboo bomb as well. Or leave/create space to call in a village defender later on.
First Wave


(1 of 2) Level up your stronghold to unlock the Dragonator.
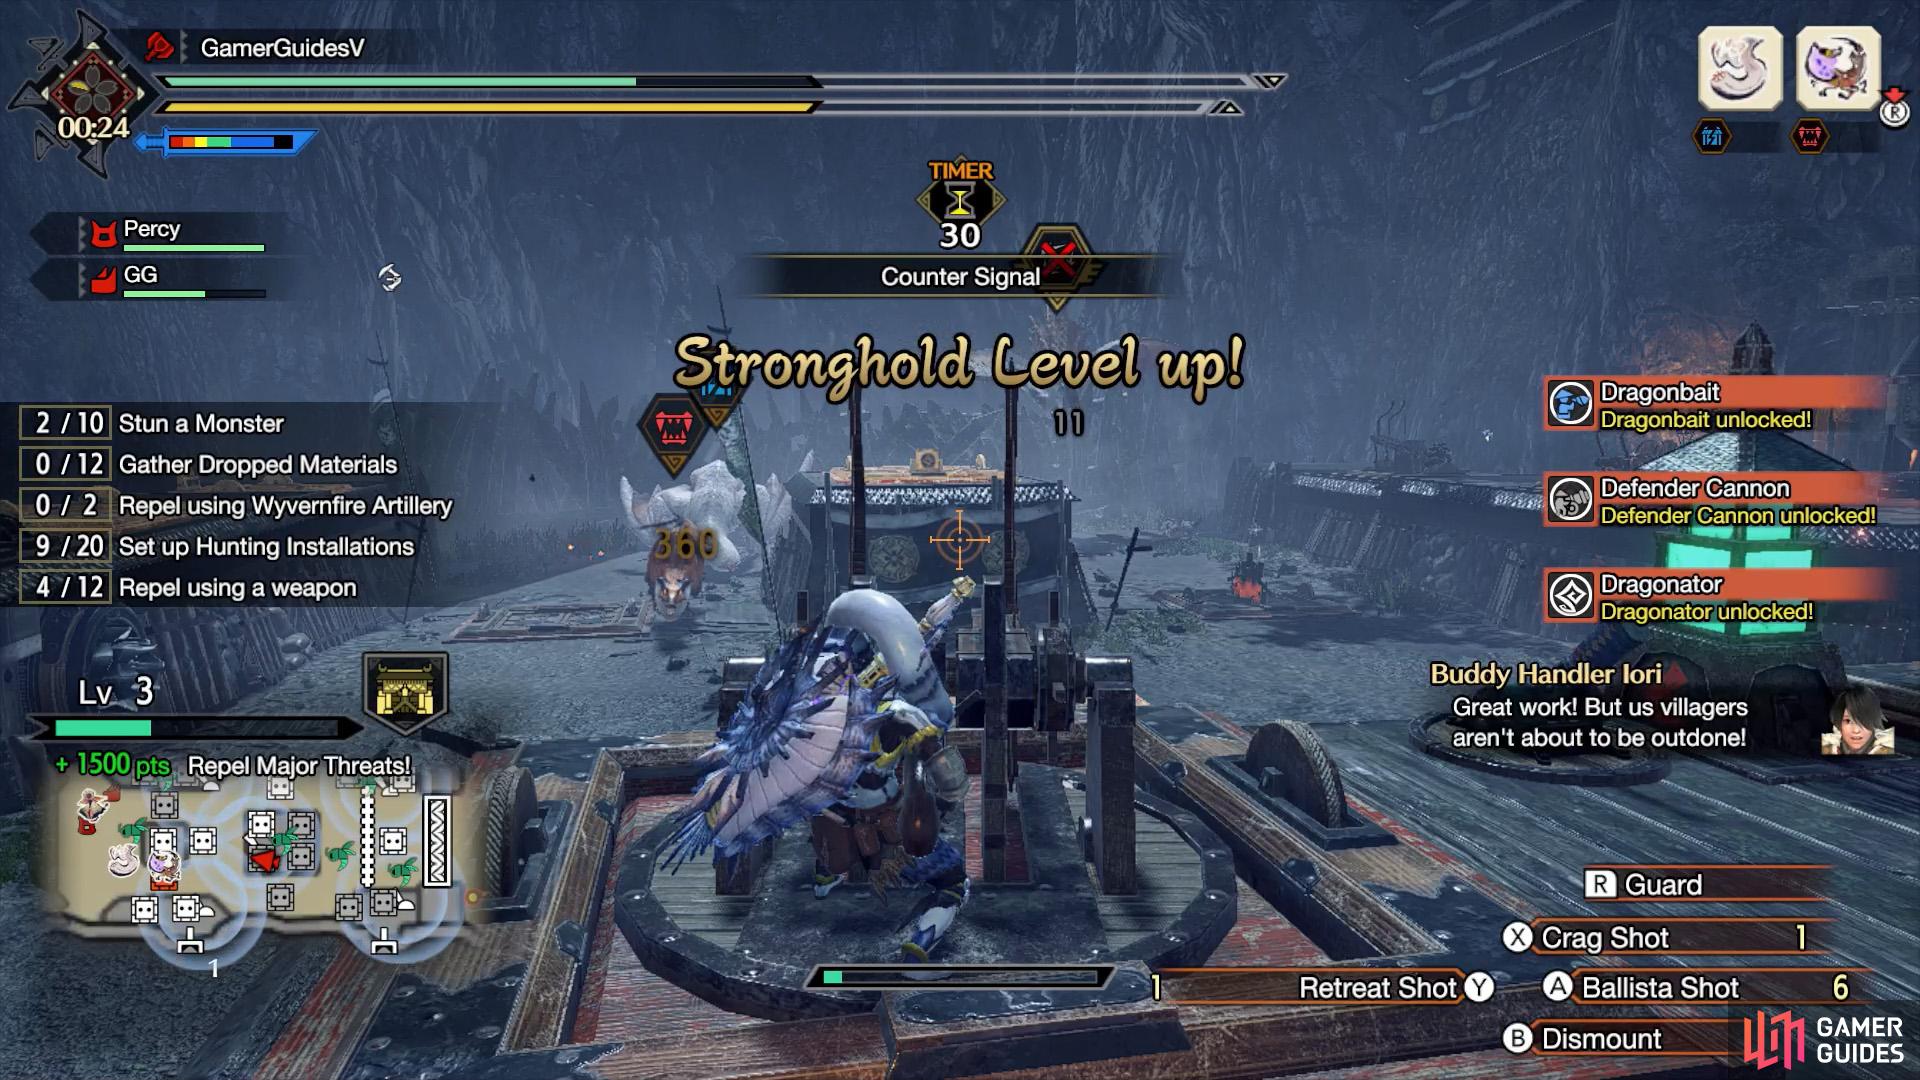
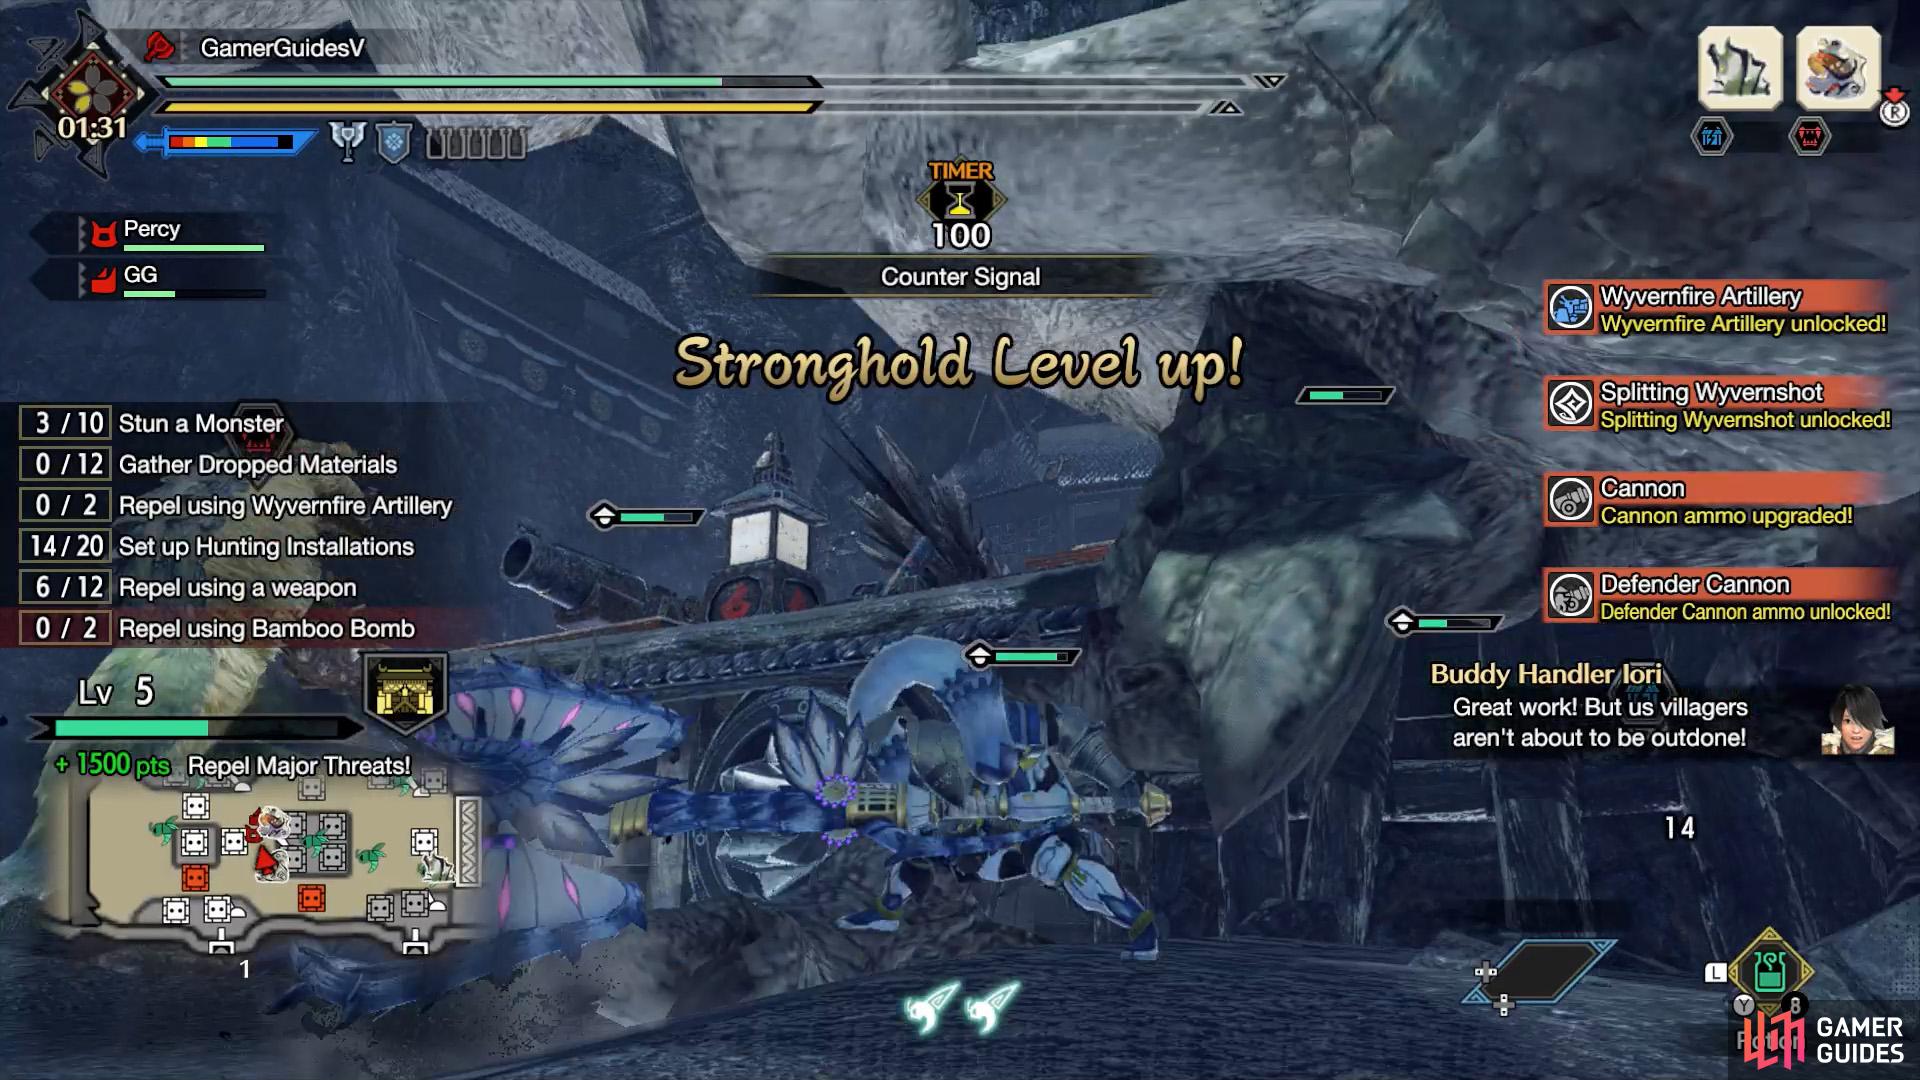
Level up your stronghold to unlock the Dragonator. (left), As well as the Splitting Wyvernshot. You’ll need them to stop Ibushi. (right)
Although your main target is Ibushi, the fight preceding him is just as important. Your primary goal is to limit the damage to the final gate in Area 2 as much as possible, while leveling up your stronghold so it’s at least Level 5 to unlock the Splitting Wyvernshot. In certain layouts, where the Dragonator is near the final gate, you can get by with Level 3.
Everyone likely has their own way of handling hordes–it doesn’t matter too much how you go about it, as long as it works. So if you’re the type to whack monsters with your weapons, go ahead. Or if you prefer to blast monsters using a ballista or cannon, do that. But once you hear the Counter Signal, switch to your weapons to maximize your damage.
(1 of 2) Iori and Buddies are only available in this wave.
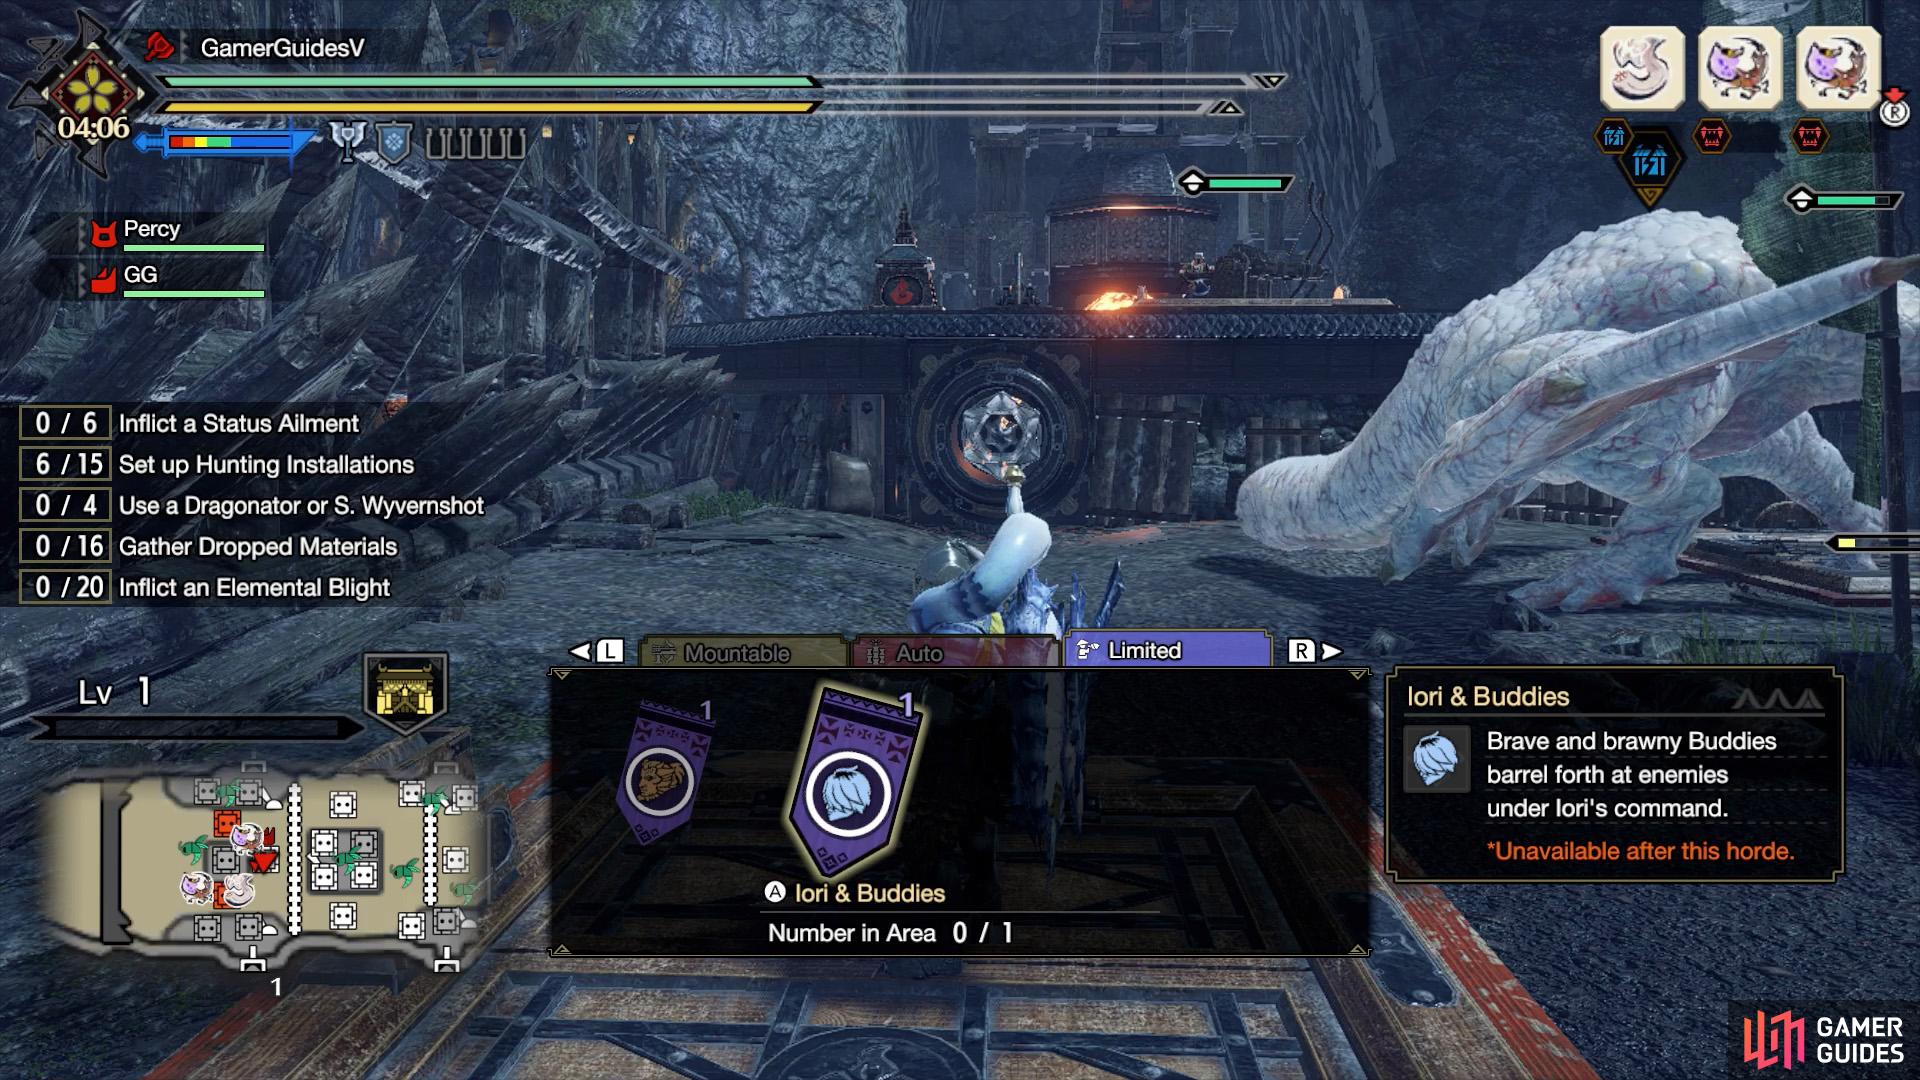

Iori and Buddies are only available in this wave. (left), Call on their help to delay the horde from advancing. (right)
Early on, Iori and Buddies will be unlocked as a Village Defender. He’s only good for the first wave, so call him before the wave ends. If you’re confident about protecting the last gate in this area, you could call him in straight away to get some quick kills and gain experience for your stronghold. Or you can save him for protecting the gate.
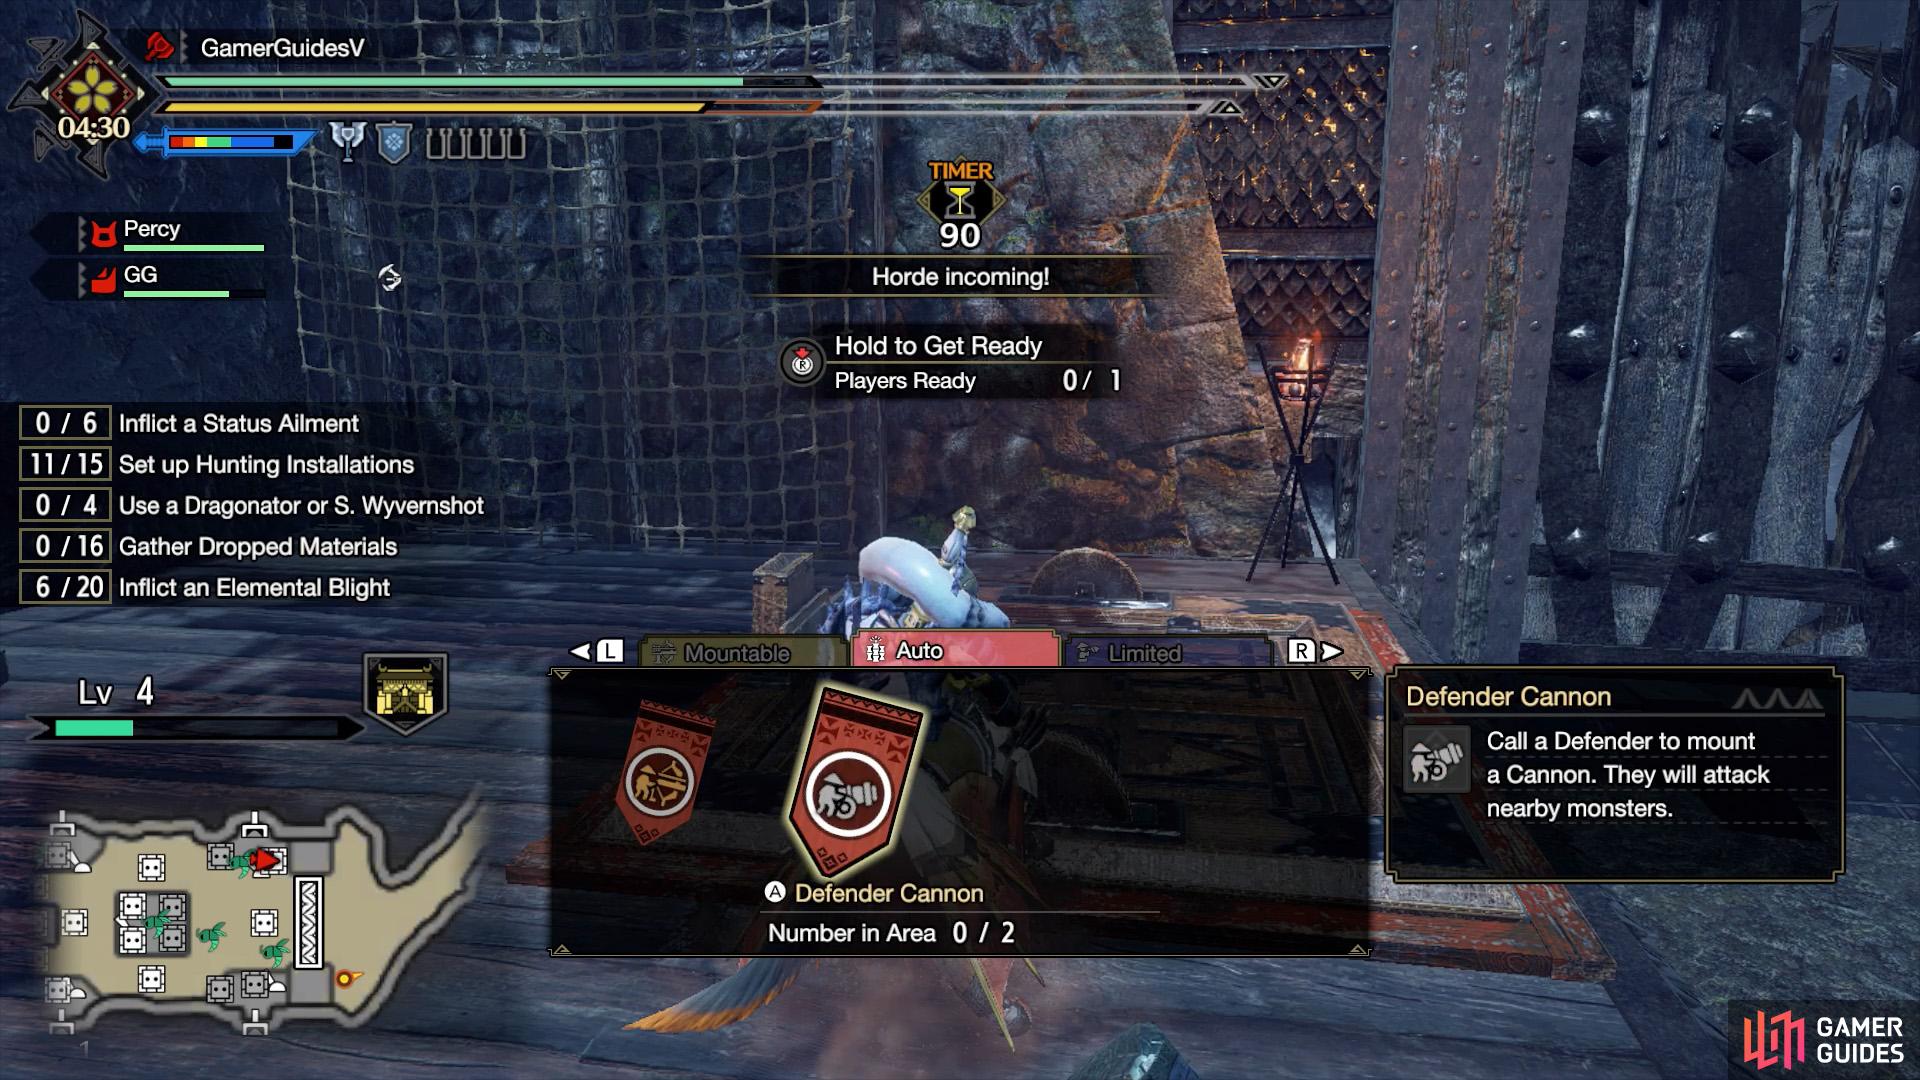
If your stronghold reaches Level 3, you can (and should) use the dragonator to repel the gate-attackers. When the first wave ends, you can use the power kilns during the down time between waves to repower the dragonator. Otherwise, place a manual ballista or cannon near the gate and blast the gate-crashers from there.
Second Wave


(1 of 2) If you used the dragonators, you’ve got time before the second wave to re-activate them by fueling the power kilns.
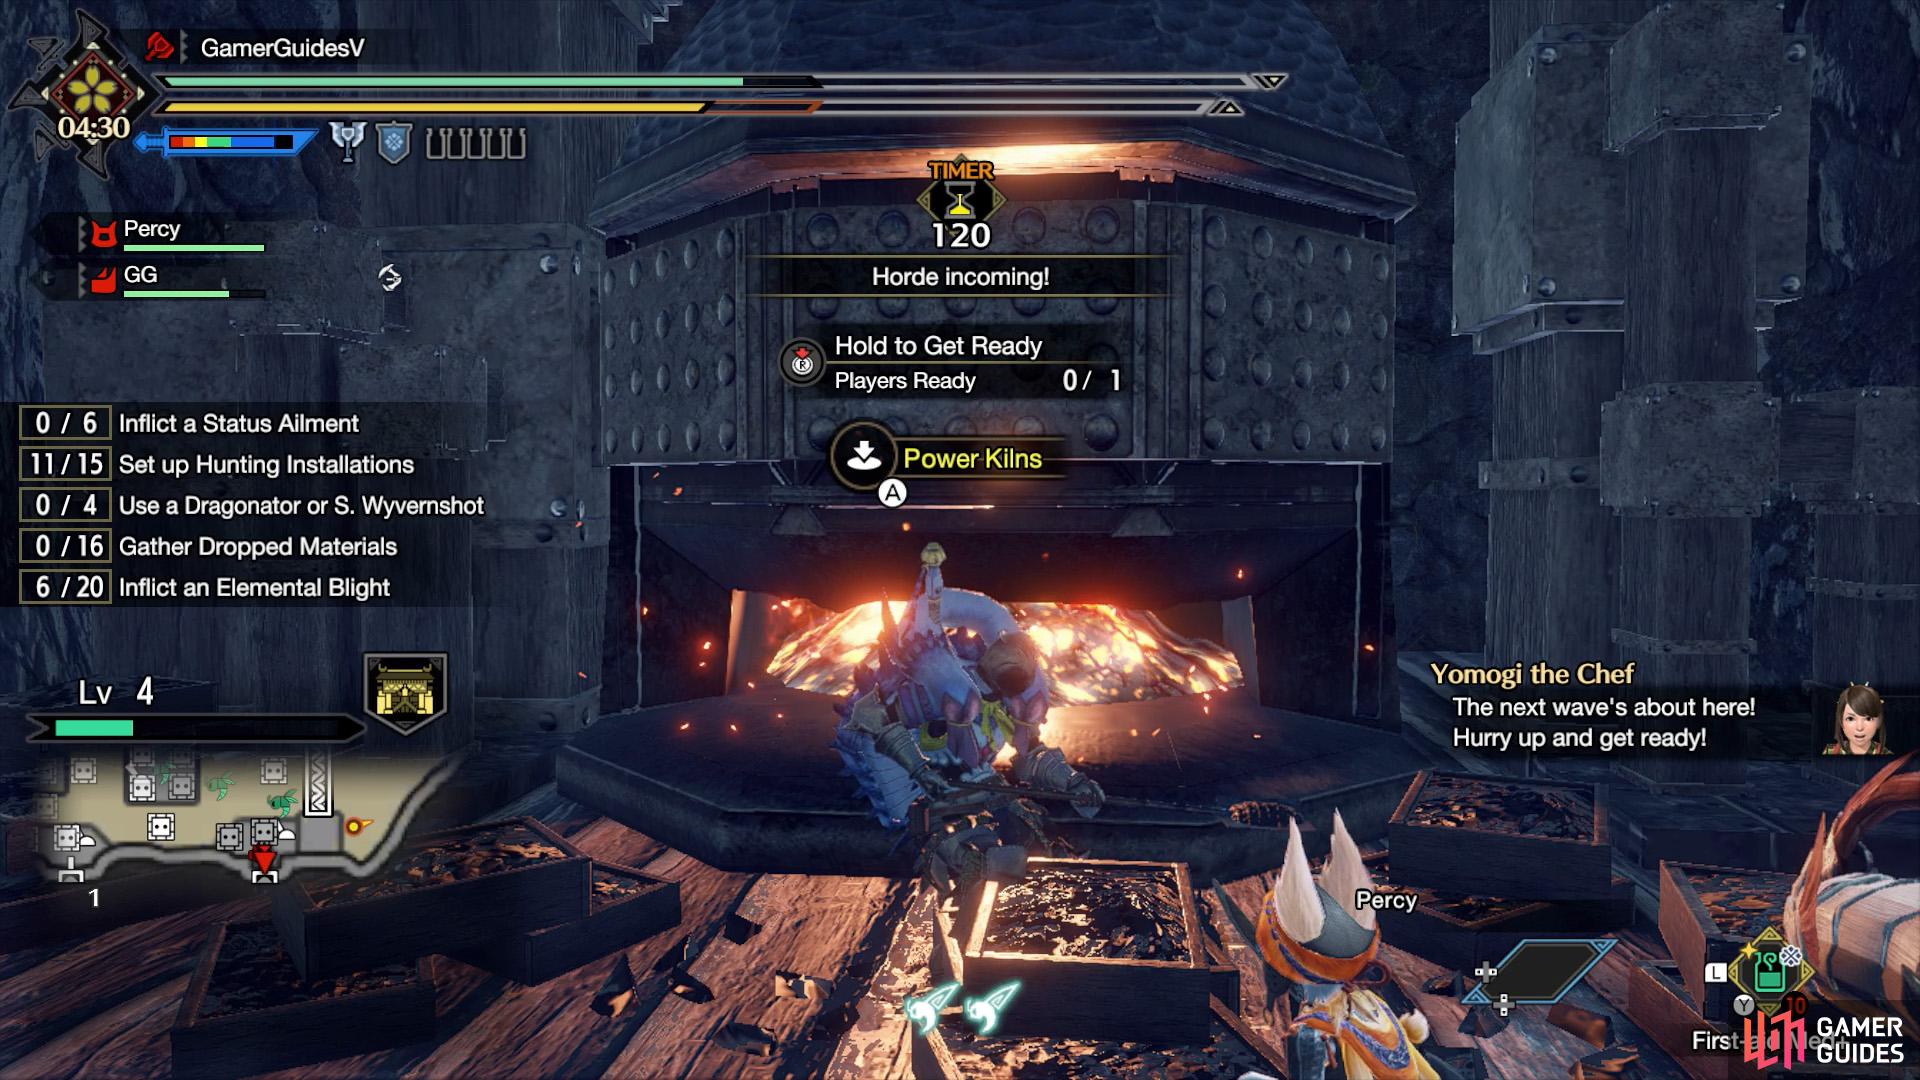
If you used the dragonators, you’ve got time before the second wave to re-activate them by fueling the power kilns. (left), Also, re-position automatic weapons and install new ones if you need to. (right)
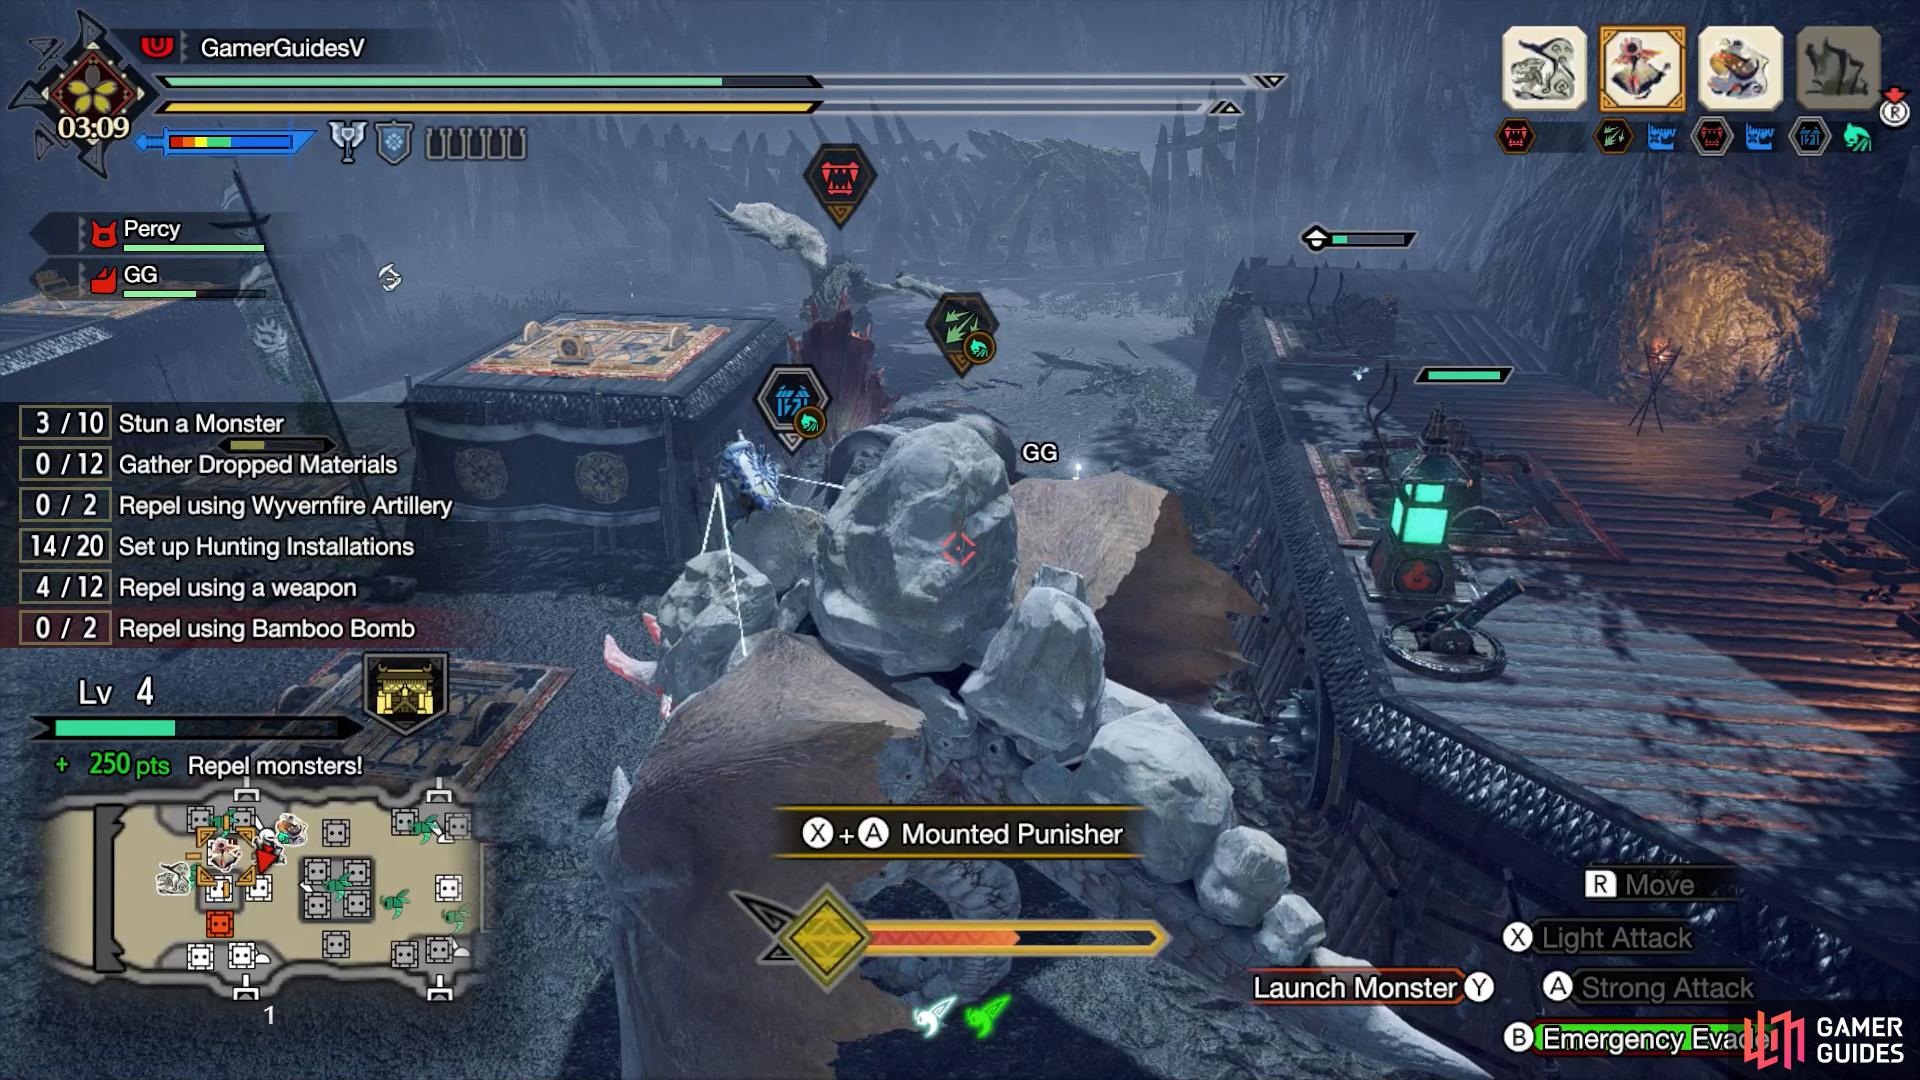
Hopefully, you managed to prevent the first wave from breaching the first area. If they broke the last gate in the first area and started attacking the second area, you can still scrape a victory. However, you really don’t want the monsters to cause major damage to the final gate before the third wave with Ibushi arrives.
Between the first and second waves, reposition any automatic ballistae/cannons as necessary. Also grab any horde materials on the floor, especially if you’ve got a mission to do so. If you used any dragonators during the first wave, now’s the time to use the power kilns to get them working again.


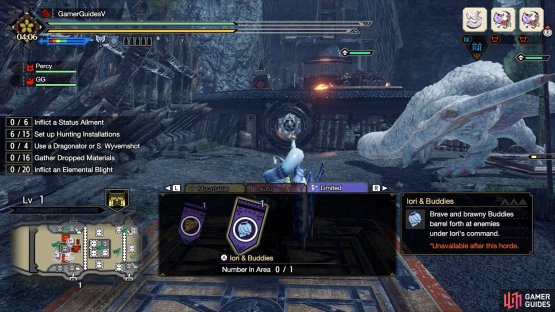
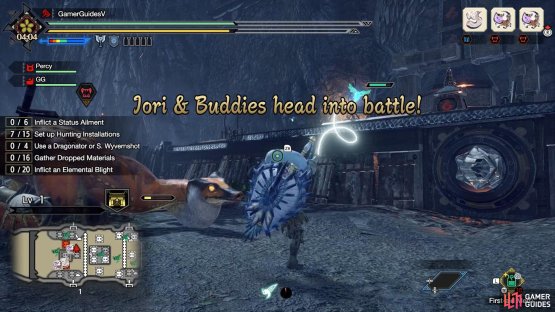
(1 of 2) Master Utsushi will only help during the second wave.
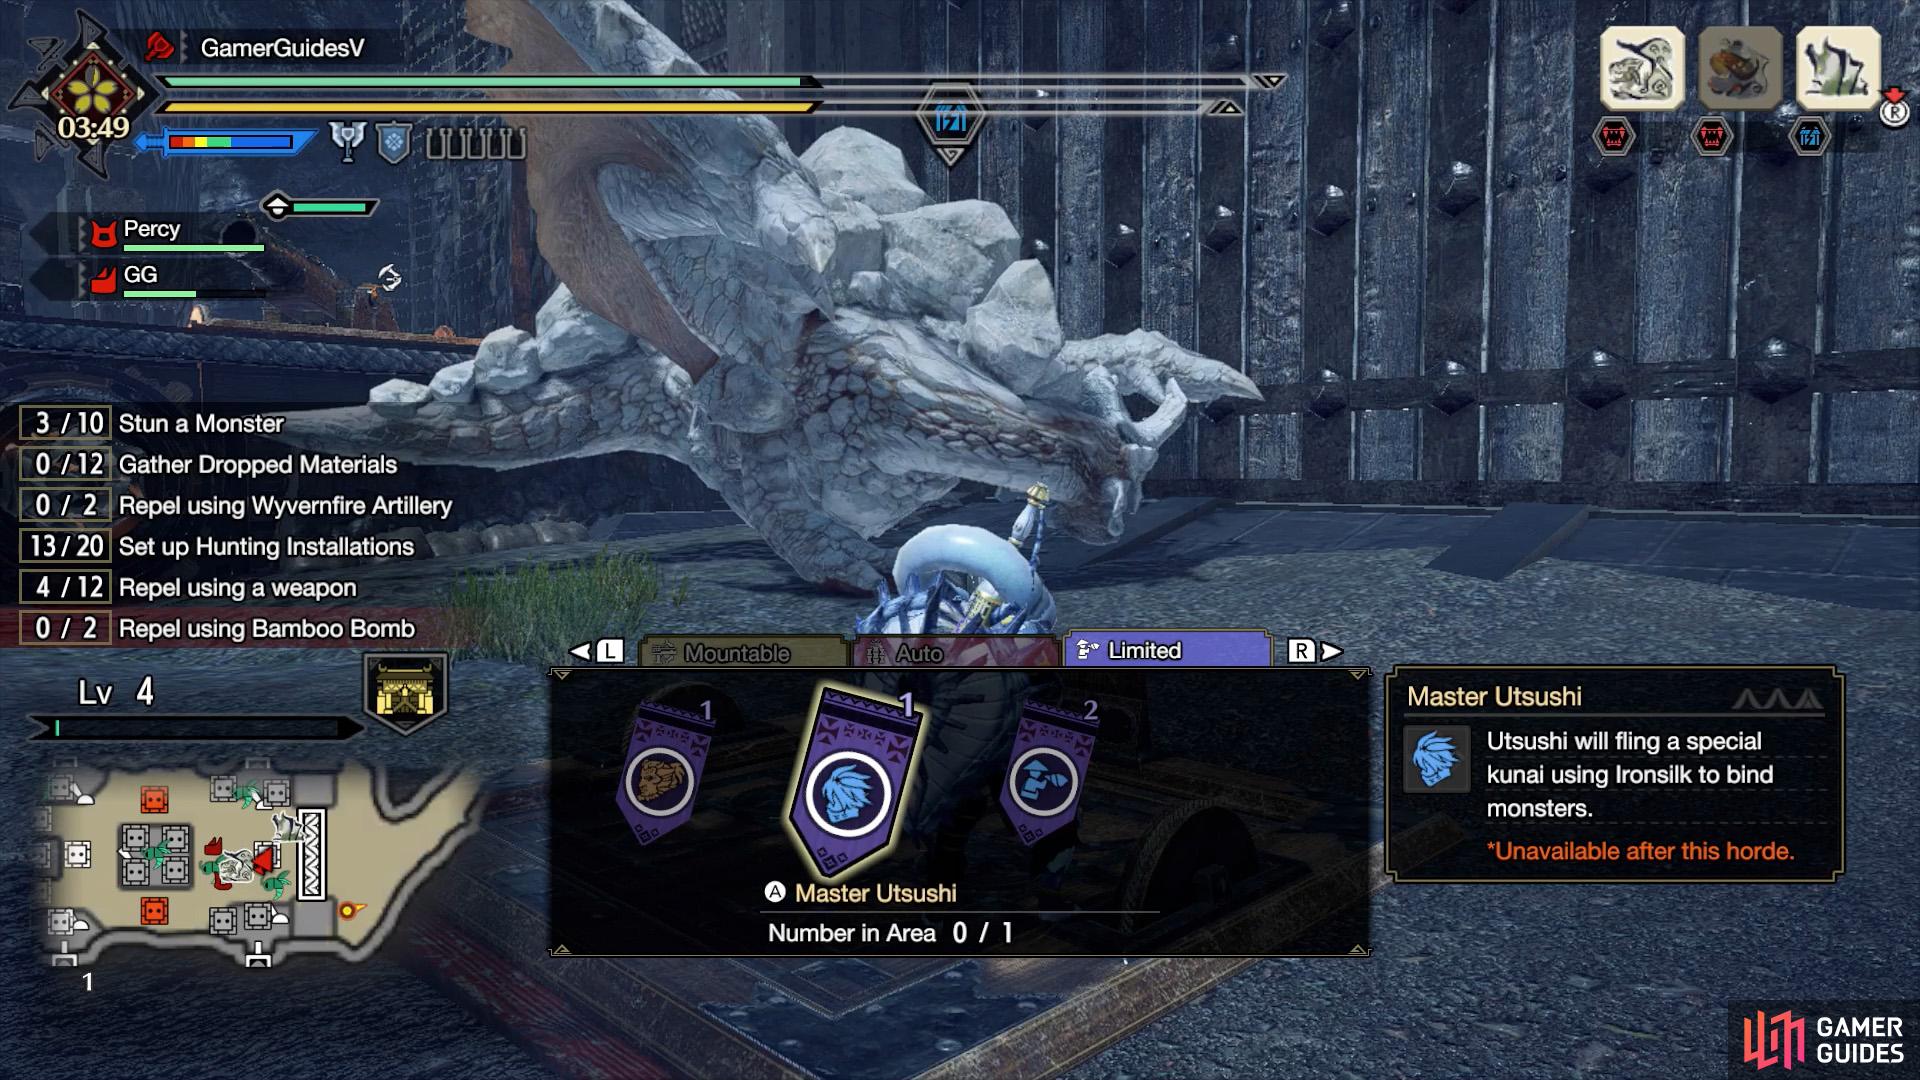
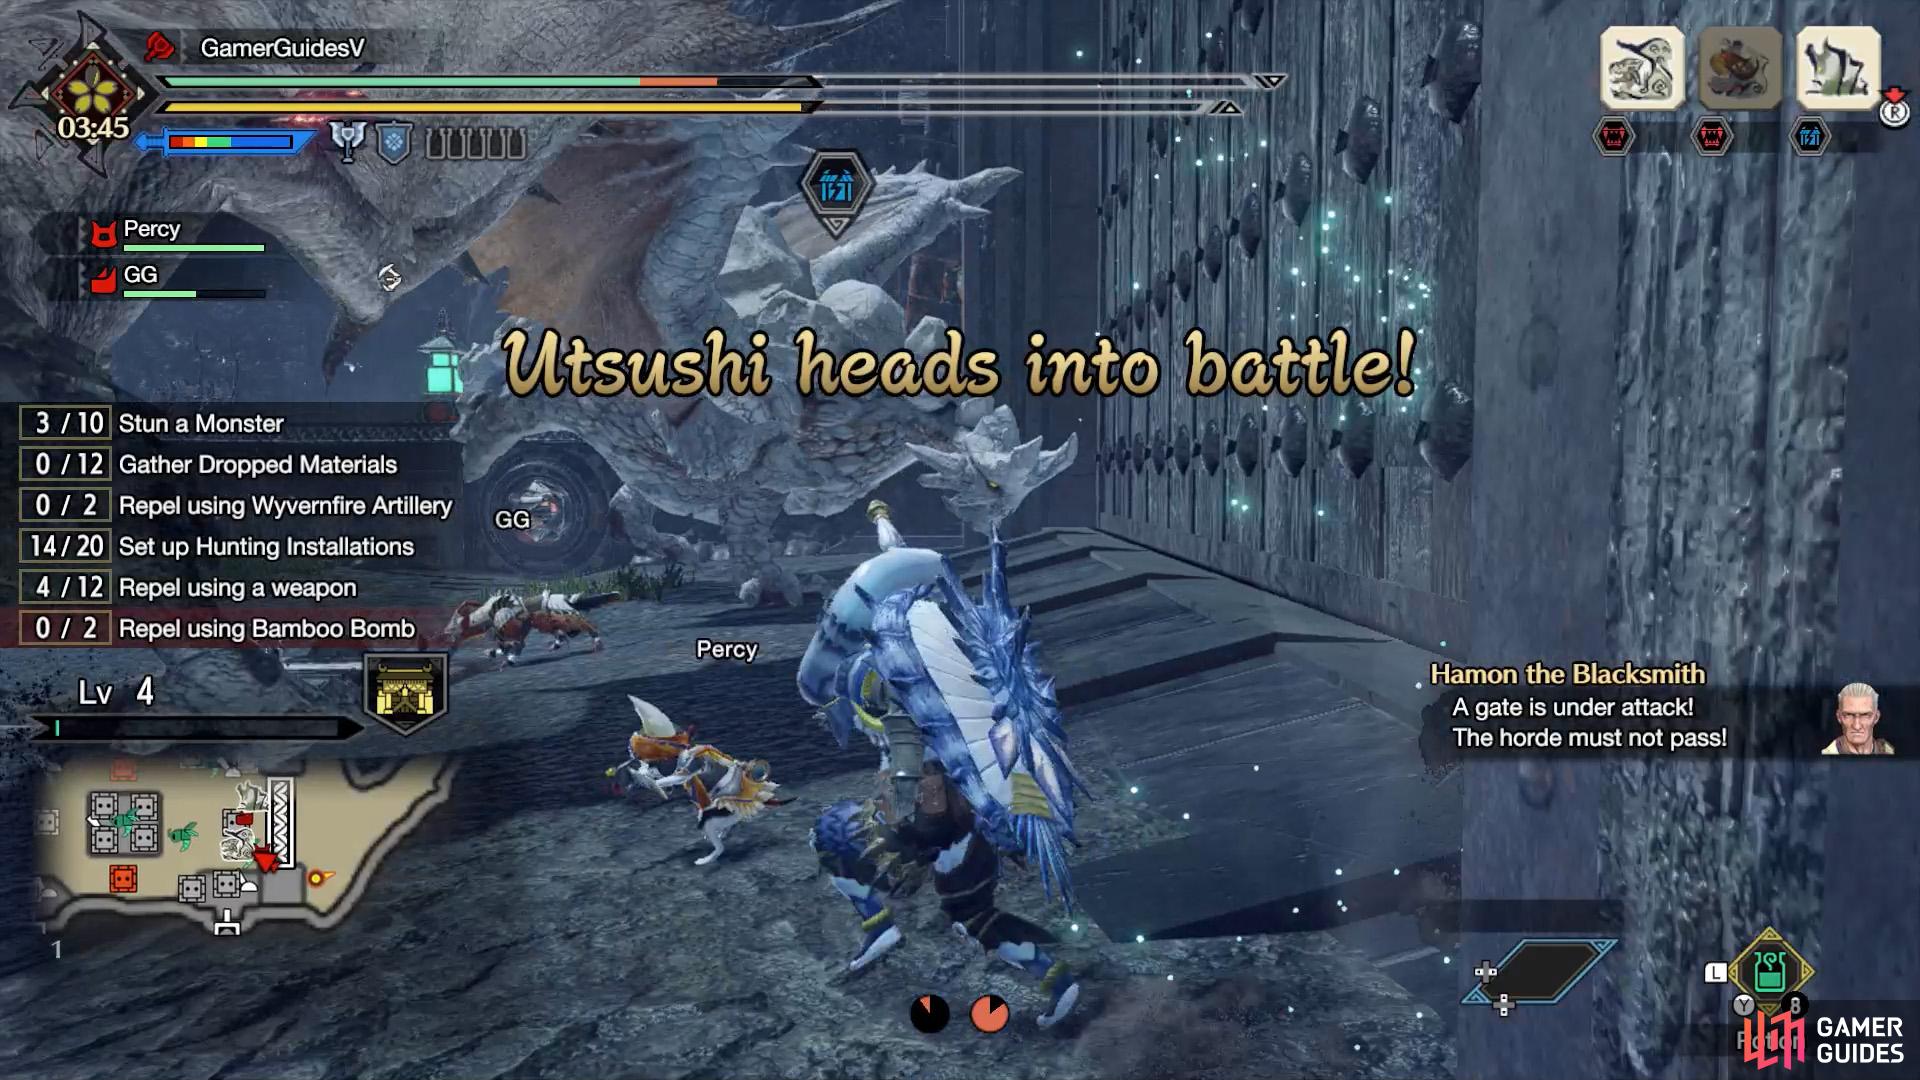
Master Utsushi will only help during the second wave. (left), He’ll bind monsters, so you can Wyvern Ride them. (right)
When the second wave arrives, do your best to fend them off again. After a while, Master Utsushi will be unlocked as a Village Defender. Like Iori, he’s only available during this wave, so use him or weep. In fact, he’s the trump card for smashing the second wave and quickly boosting your stronghold level.
After using Utsushi, his wire attack will cause nearby monsters to be in a mountable state for Wyvern Riding. We suggest using him near the last gate of the area, especially when there are multiple gate-attackers. When you Wyvern Ride a monster, prioritize defeating the gate-attackers and the boss if it’s appeared.

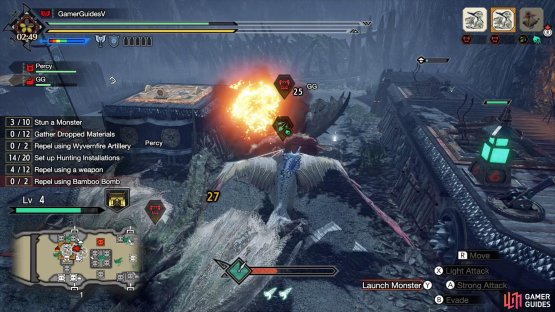
(1 of 2) When you unlock the Mounted Punisher, launch your monster into another one instead.

When you unlock the Mounted Punisher, launch your monster into another one instead. (left), You can then ride the other monster and keep doing this as long as there are monsters around. (right)
Also, when you unlock the Mounted Punisher, unless there are barely any monsters around, don’t use it and instead launch your monster into another. This will allow you to Wyvern Ride the other monster–and you can repeat this lots of times, if there are many monsters around (which is likely).
Third Wave
This is it, the final wave! At this point, it’s OK if the second area has been breached, so long as the final gate hasn’t taken much damage. If you’re still in the first area, well done! To save time, you may wish to head over to Area 2 if you haven’t done so already and set up automatic and manual ballistae/cannons over there (they’re separate from Area 1).

(1 of 2) Ibushi will appear around the 10 minute mark.
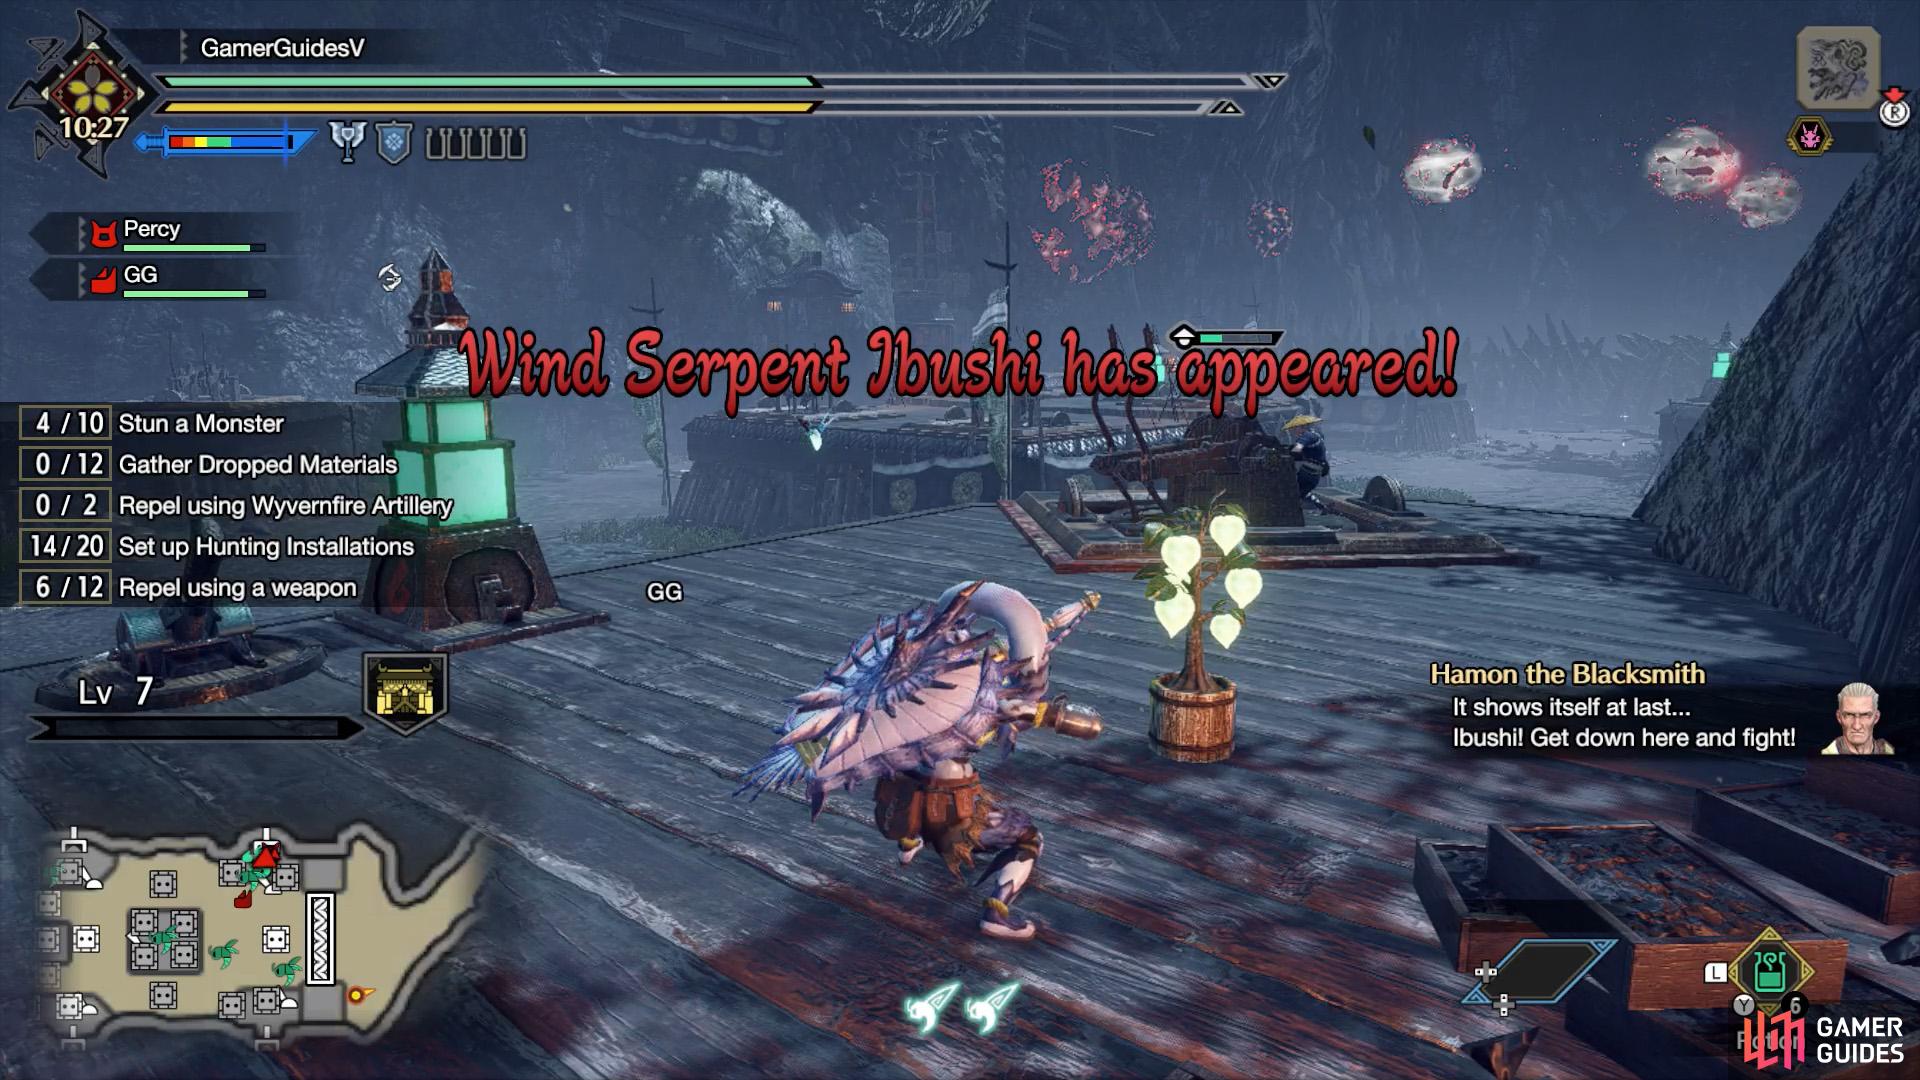
Ibushi will appear around the 10 minute mark. (left), It’ll descend near the entrance of the area and make its way to the gate at the end. (right)
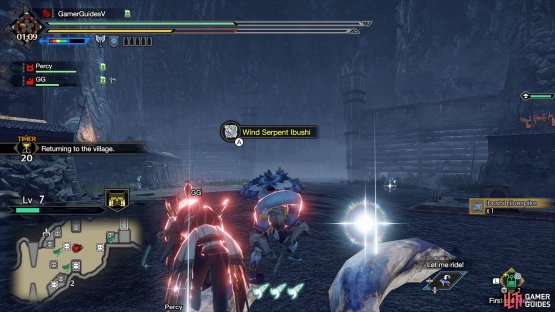
Around the 10 minute mark, Wind Serpent Ibushi will enter the stage. All other monsters will pull back. Ibushi will drop down near the entrance of the current area and fly around the installations towards the last gate in the area.
If there are any dragonators near the front, you can use them to deal a bit of damage. Likewise, you can use the dragonator near the last gate of Area 1 (but not the one in Area 2!). However, you’ll need to be fast. When Ibushi reaches the last gate in Area 1, it will one-shot the gate and move on to Area 2. Quickly follow it.
Before facing Ibushi, if you’re planning to defeat it (you might as well try), sip a (Mega) Demondrug to bolster your Attack. You’ve only got 10 minutes, so every little helps. If Ibushi is focused on the gate, you can jump on a ballista/cannon to distract it. Or summon Elder Fugen from the Village Defenders.


(1 of 2) Ibushi will lift itself off the ground and become surrounded with floating boulders.
Ibushi will lift itself off the ground and become surrounded with floating boulders. (left), Get on a dragonator or splitting wyvernshot quickly! (right)
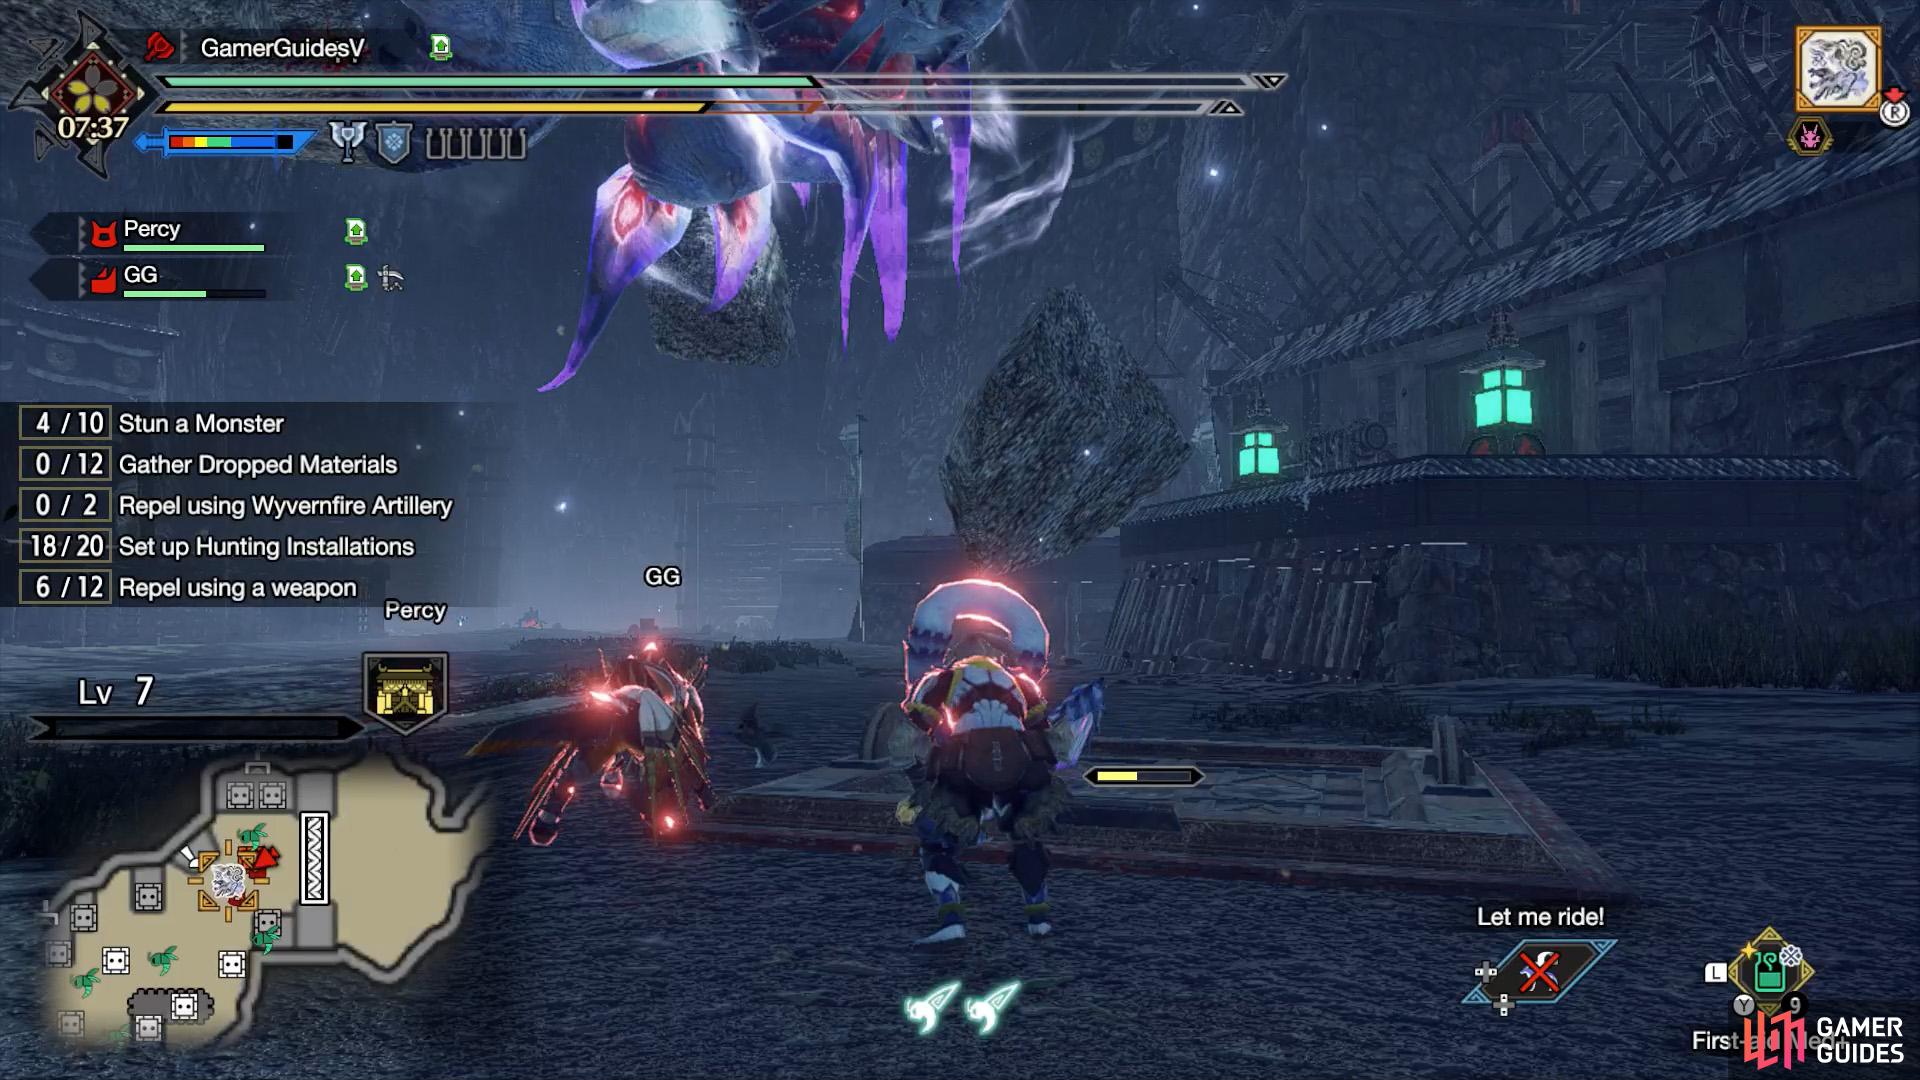
Your aim is to damage Ibushi as much as possible. After a while, Ibushi will ready its ultimate attack against the final gate, hovering high into the air and surrounding itself with floating boulders. Immediately head to the last dragonator or splitting wyvernshot in the area and use it on Ibushi. If you dealt enough damage prior, Ibushi will be stunned.
Otherwise, if Ibushi uses this attack a total of 2 or 3 times (depends on how much damage the final gate sustained beforehand), the final gate will fall and you’ll fail the quest. If playing multiplayer, somebody should use the power kilns to recharge the last dragonator/wyvernshot, while the others distract/damage the beast.

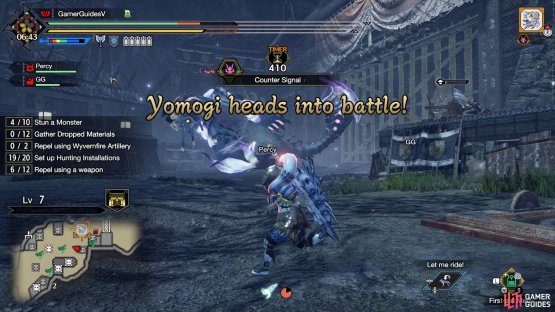
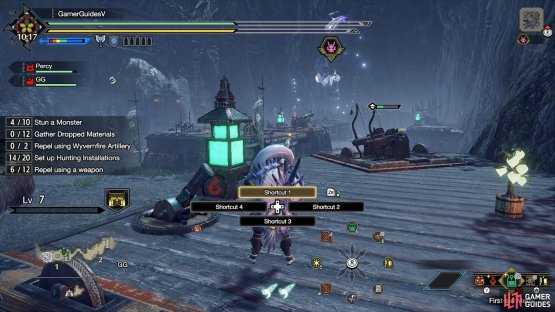
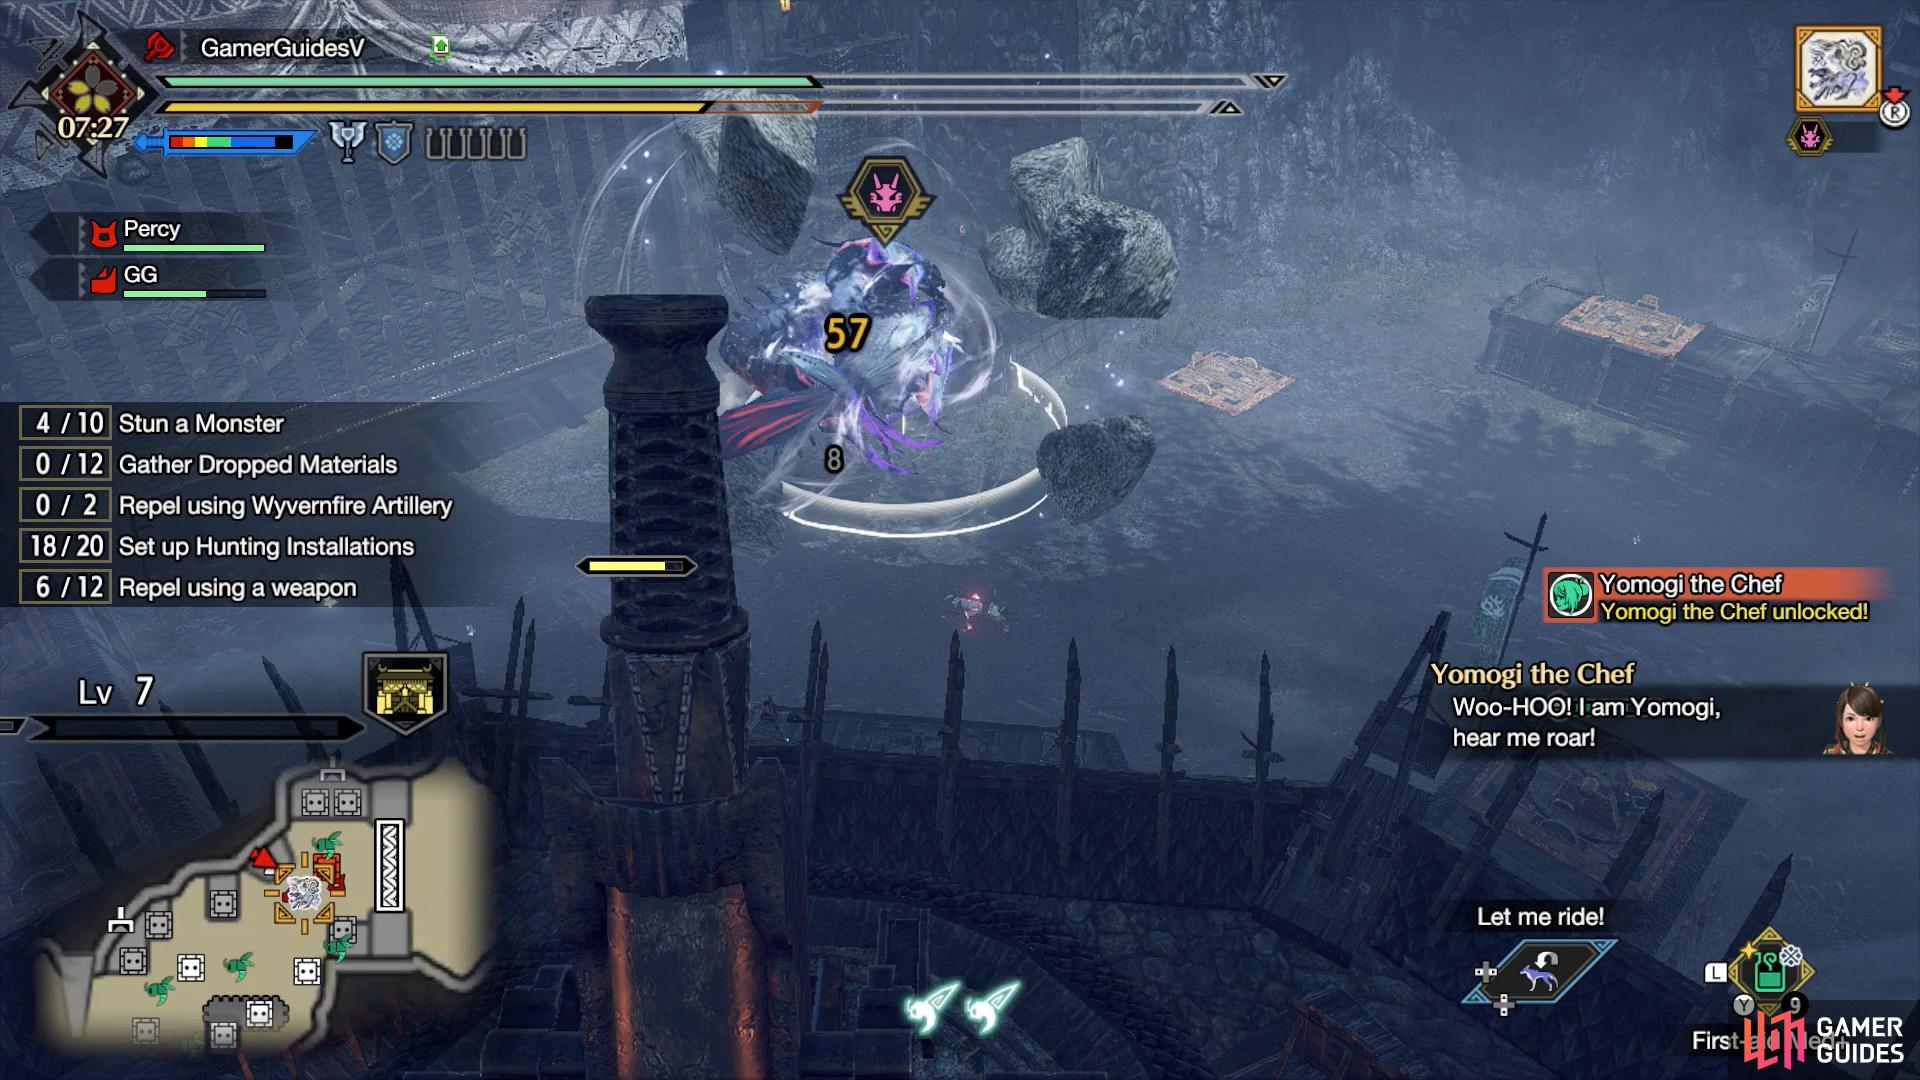
(1 of 2) Yomogi will lend her services during the final wave.
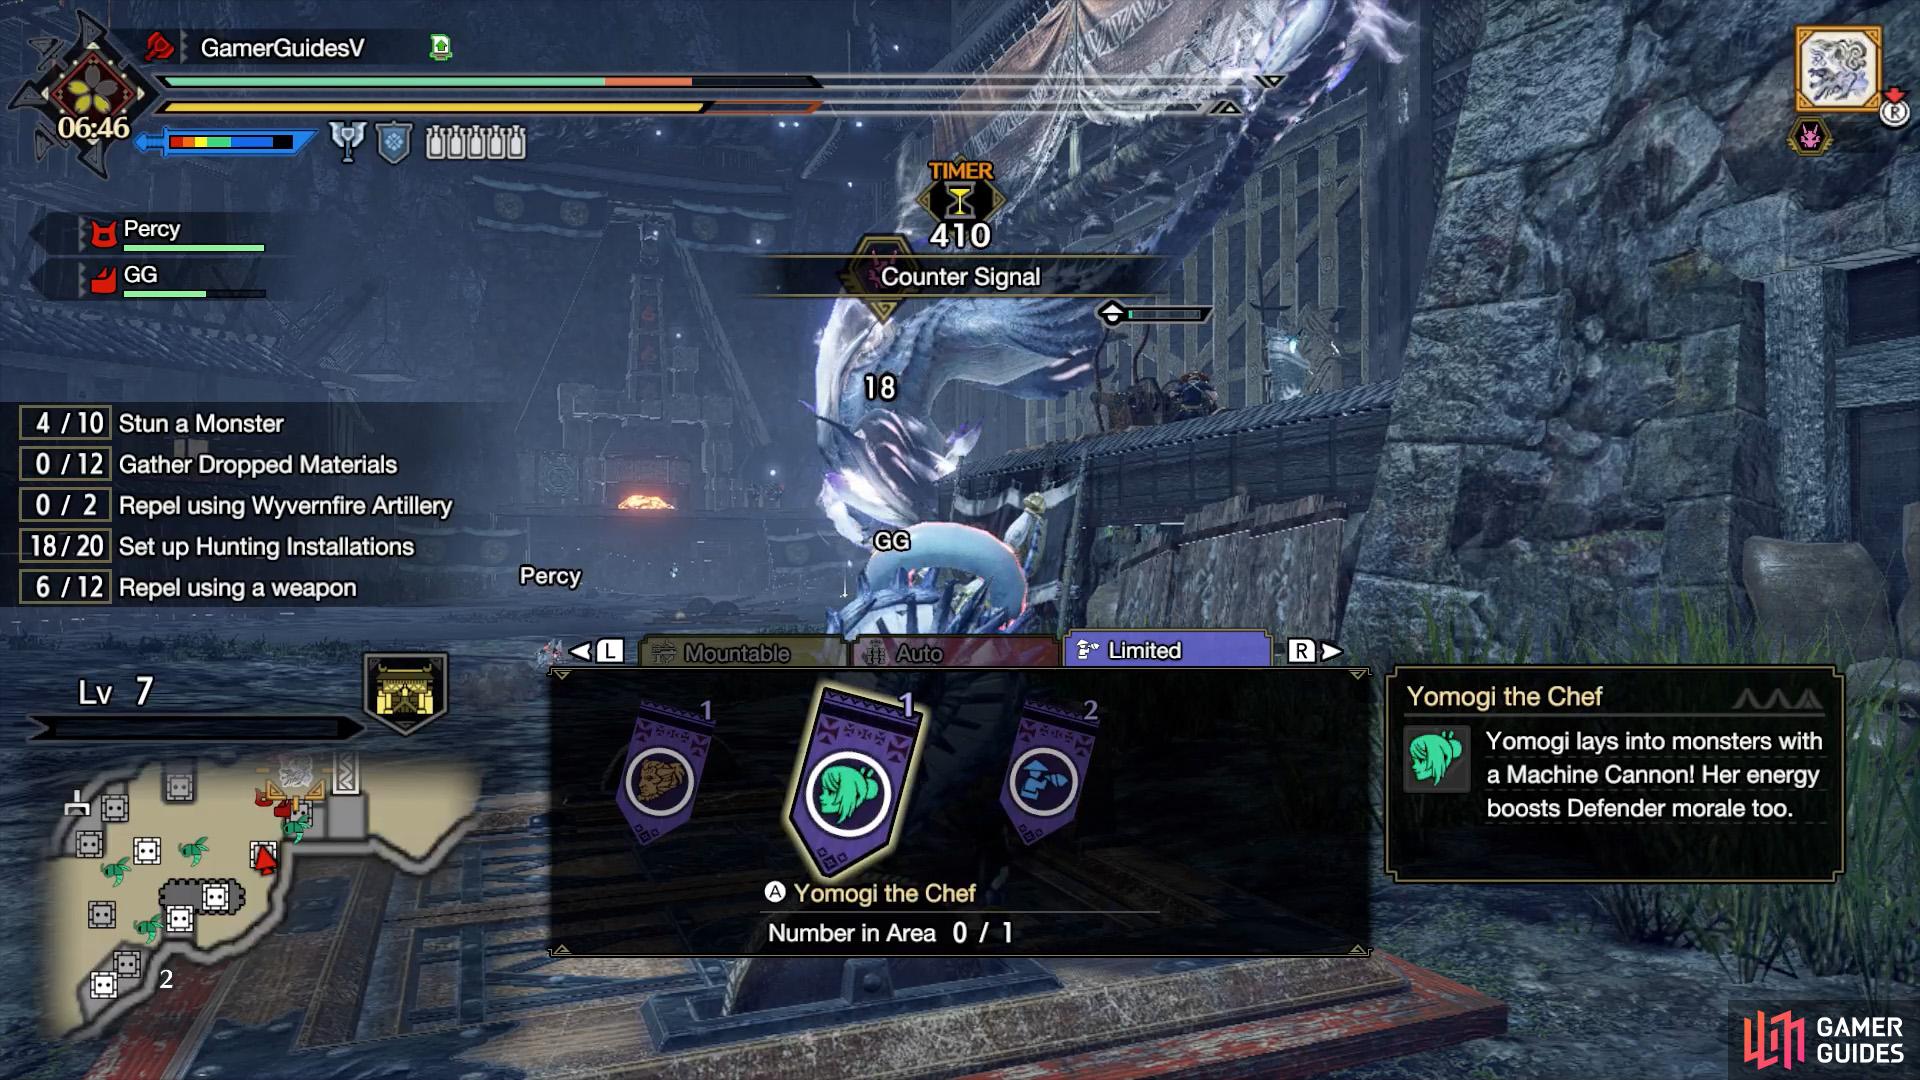
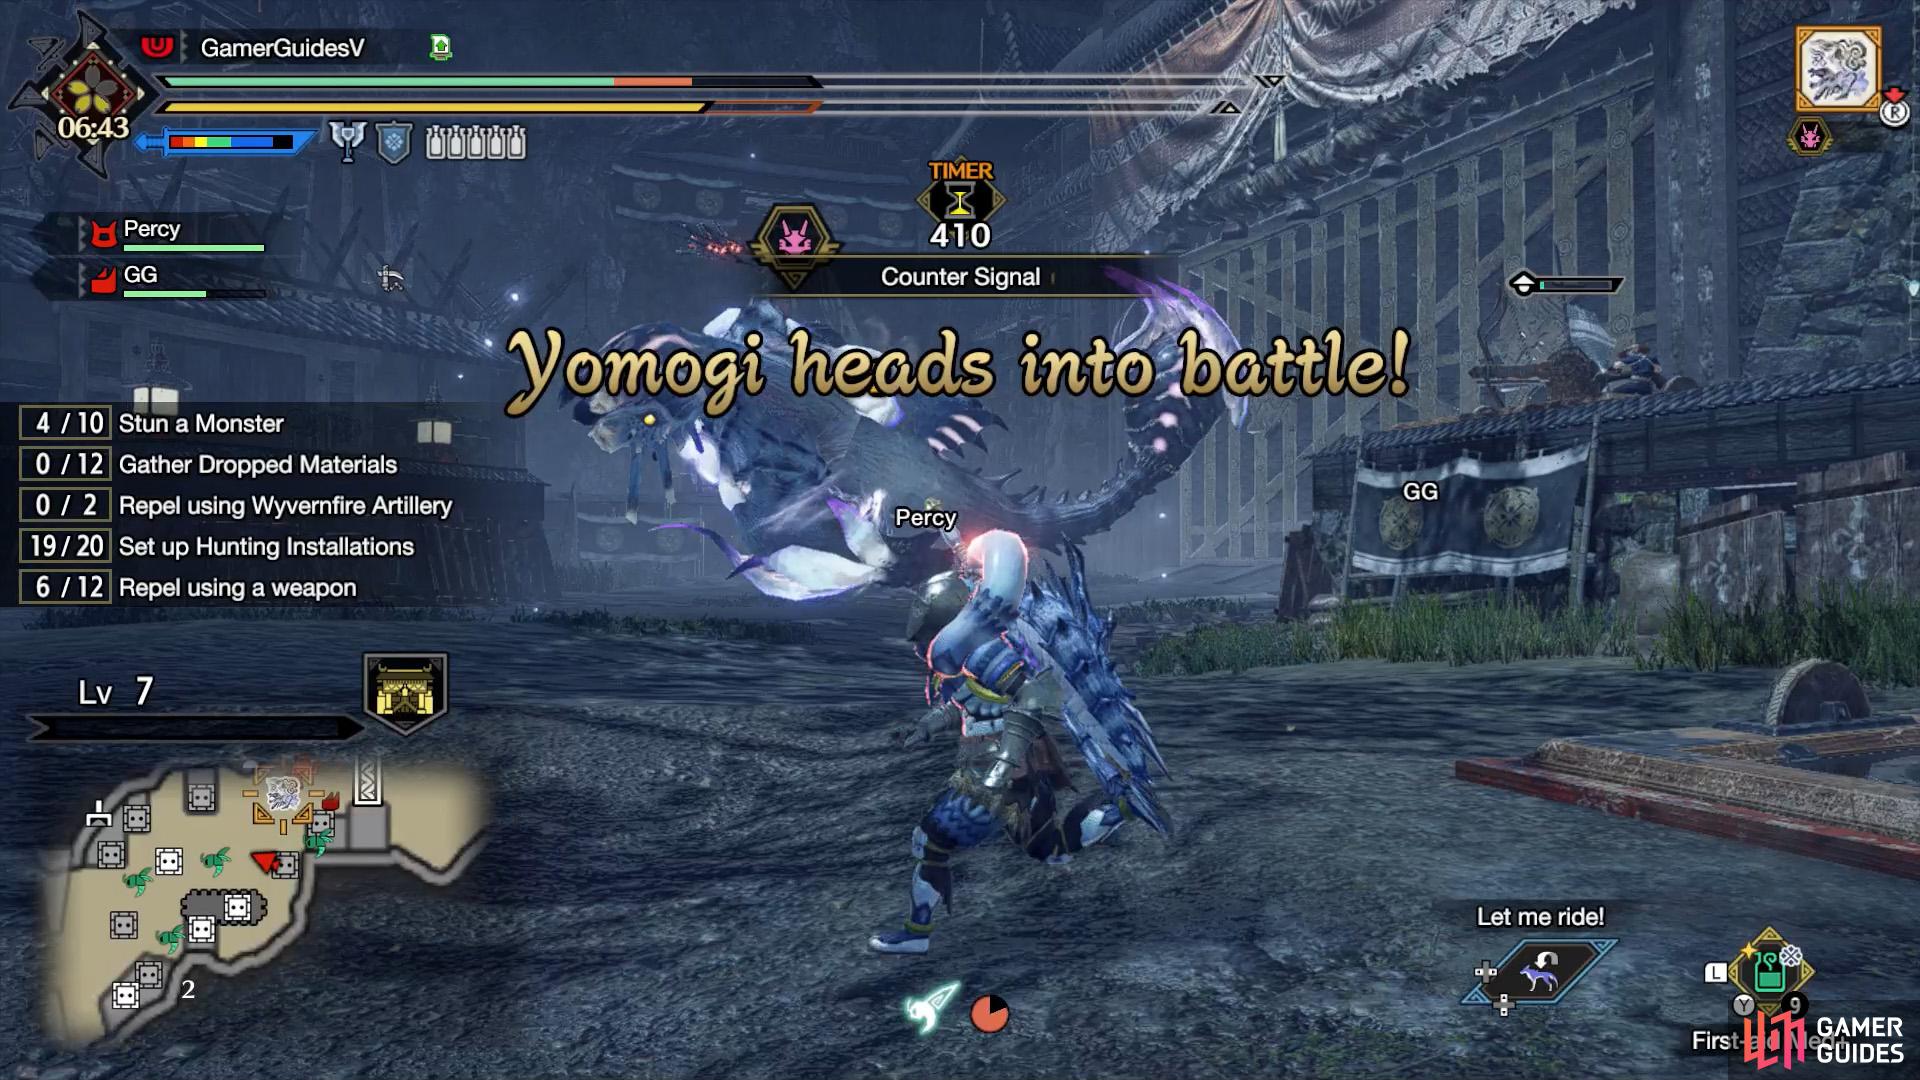
Yomogi will lend her services during the final wave. (left), Remember to call her in for some extra oomph. (right)
Meanwhile, if you’re doing this quest solo, er, good luck. At some point, Yomogi the Chef will be unlocked as a Village Defender. So be sure to call her in as well. Otherwise, do your best to hurt Ibushi. Since it’s so big, hitting it should be a cinch. Also, most of its attacks can be dodged by rolling or have obvious tells.
Eventually, Ibushi will attempt its flying boulder attack again. You should’ve had plenty of time to recharge the dragonator/wvyernshot in multiplayer. If playing solo, get on a ballista/cannon, ideally the Machine Cannon unlocked at Level 6. Then try and shoot down as many boulders as possible. It won’t stop the attack, but it’ll weaken it.
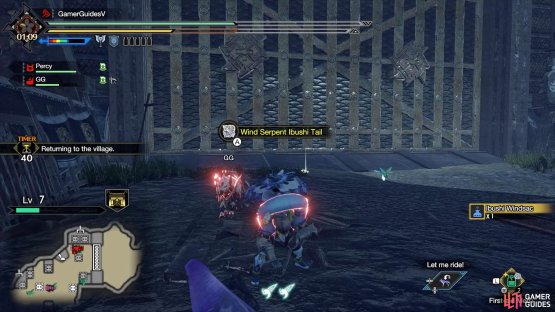
(1 of 2) After the fight, don’t forget to carve from Ibushi’s body parts.


After the fight, don’t forget to carve from Ibushi’s body parts. (left), Plus its tail. These are all marked on the mini-map. (right)
Finally, if you defeat or outlast Ibushi, you’ll get 1 minute to grab any materials from the floor. While you can’t “kill” Ibushi, it’ll leave behind some body parts that you can carve and you can also carve from its tail. All of these are marked on the mini-map, for your convenience.
How to Fight Ibushi Again
Did you enjoy the Ibushi fight?
Want to do it again?
While the “Serpent God of Wind” quest will disappear from your own quest list, if you can play online, you can check the Quest Board to the right of Minoto and Respond to a Join Request. The “Serpent God of Wind” quest can be found on the second page of the 6-star Hub Quests.
No online? Well, a regular 6-star Rampage Quest featuring Ibushi will be added. However, as you may know, the Rampage Quests that are available are random. So you won’t always see Ibushi’s quest. The rampage list refreshes after finishing any quest or spending enough time in an Expedition Quest.
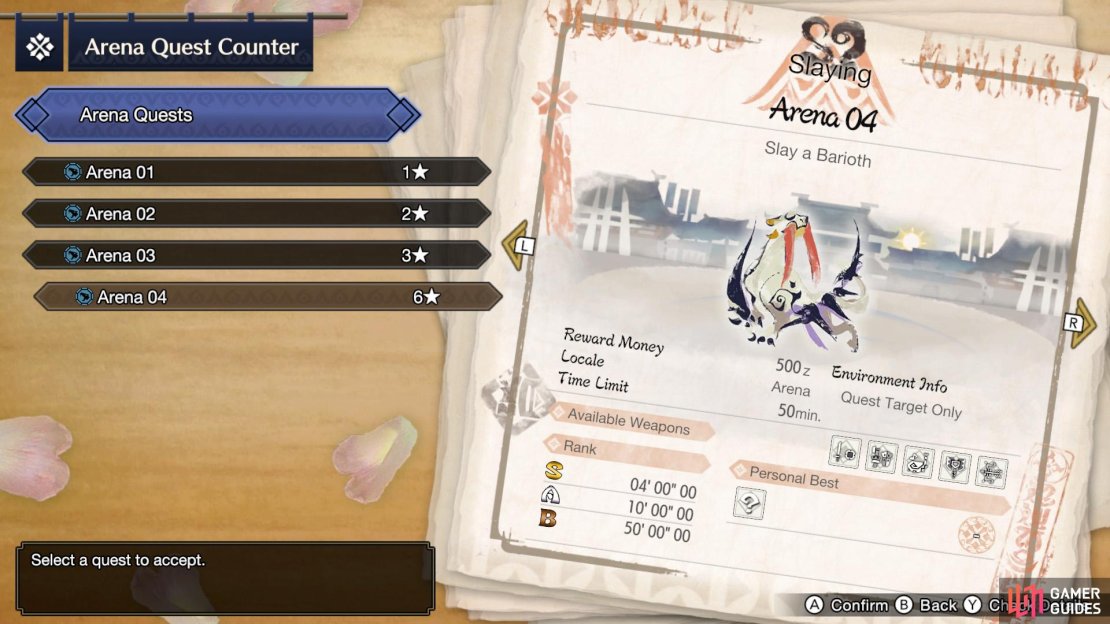
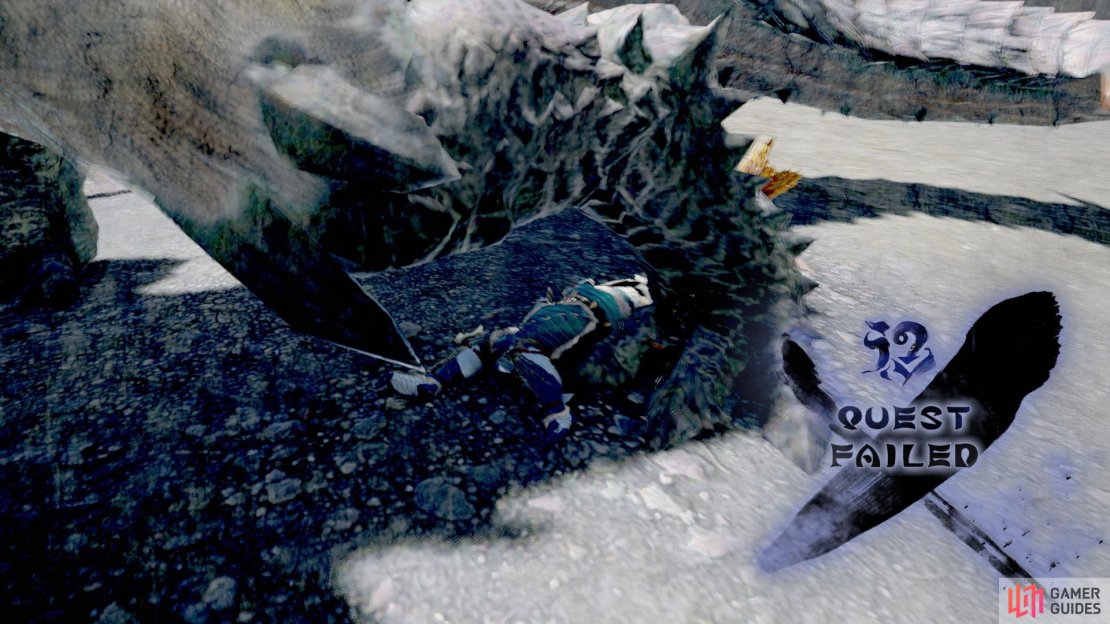
(1 of 3) Step 1: Accept the hardest Arena Quest.
If you don’t want to wait long, you can abuse the same trick to quickly craft Talismans or advance the Meowcenaries. Which is by accepting an Arena Quest from Master Utsushi in the Gathering Hub, then allowing yourself to be defeated by the monster. The 6-star Barrioth quest is really good for this.
Sadly, at the time of writing, you can only fight Ibushi in Rampage Quests. So you will need to slog through two or three waves of monsters before spending another measly 10 minutes fighting him.
No Comments