
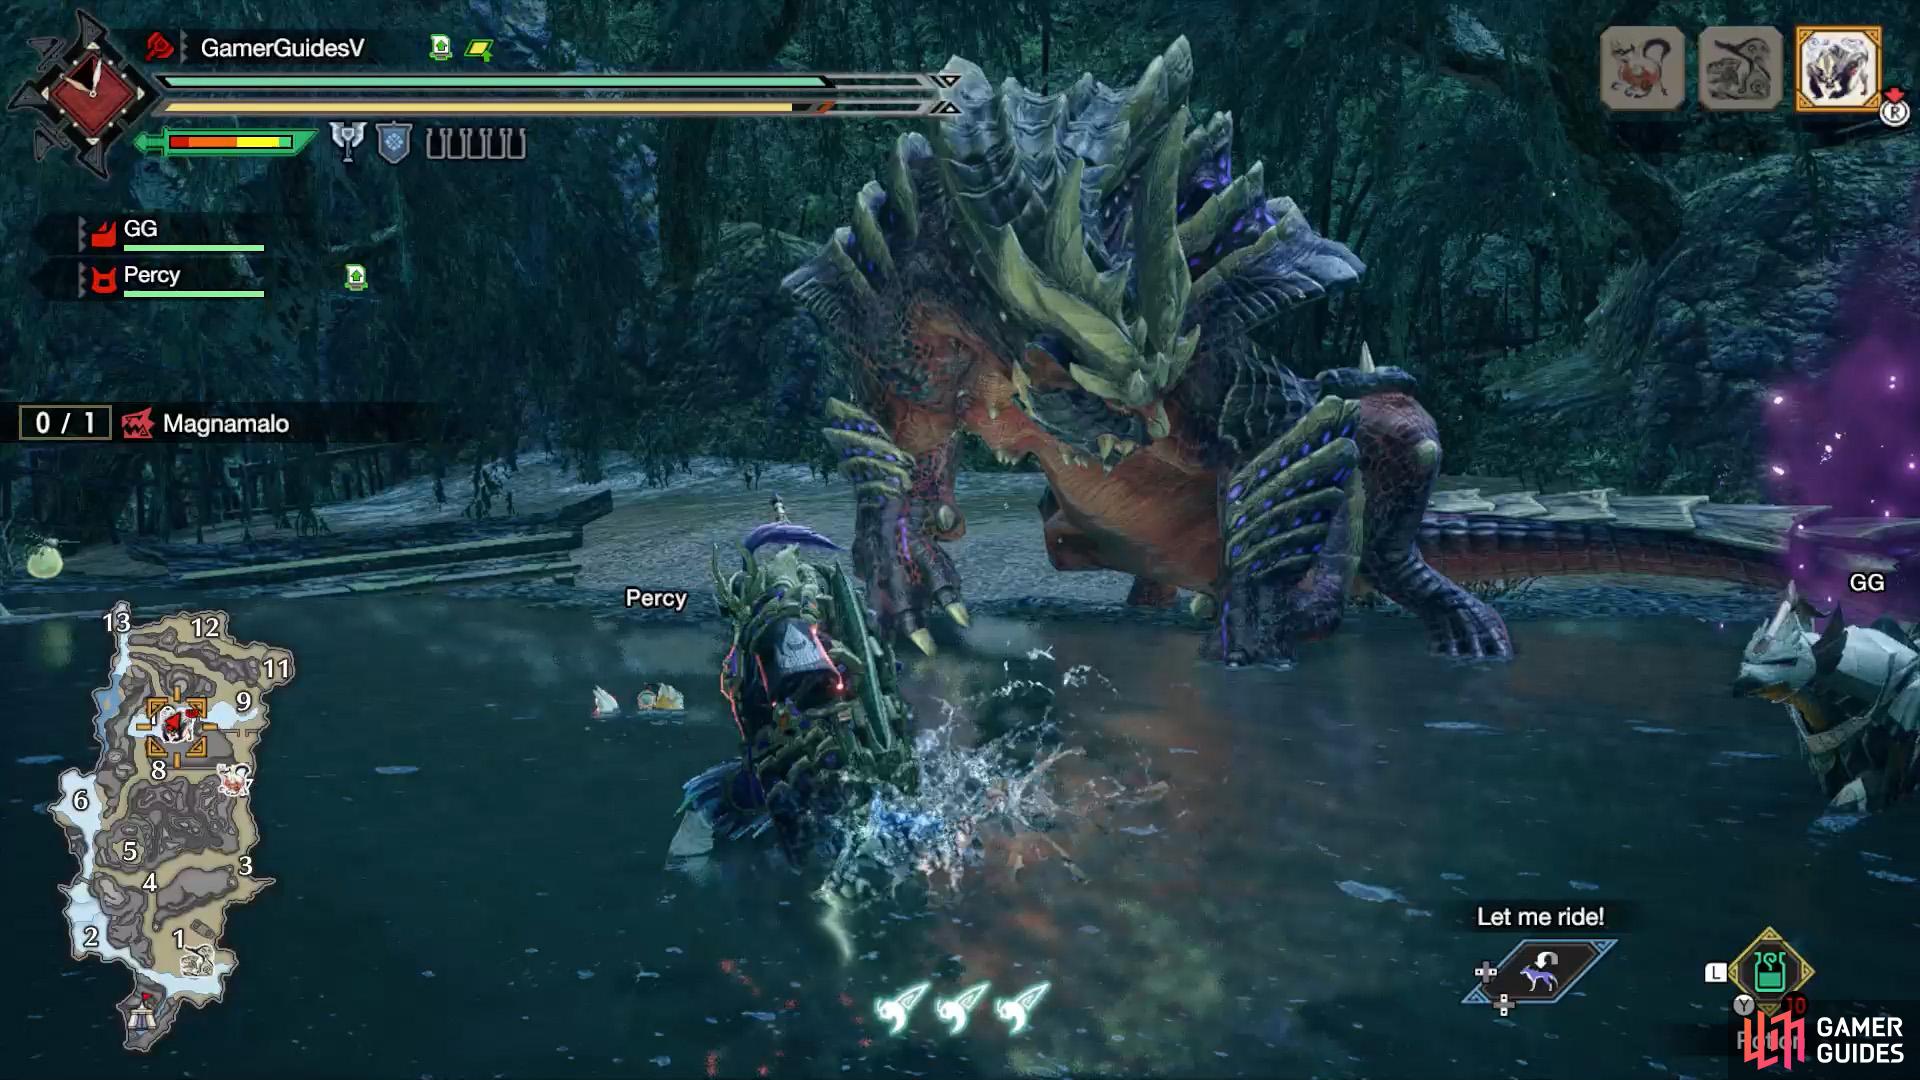
Magnamalo is the flagship monster of Monster Hunter Rise. It’s a devastatingly powerful beast that feeds off the Rampage–responsible for almost destroying Kamura Village 50 years ago. It’s encountered in the Urgent Quest, “Comeuppance”.
| Quick Jump |
|---|
| Material Drops (Low Rank) |
Overview

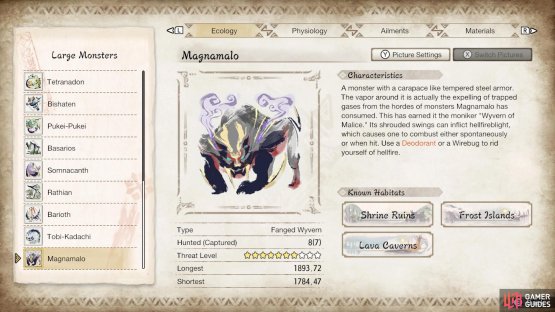
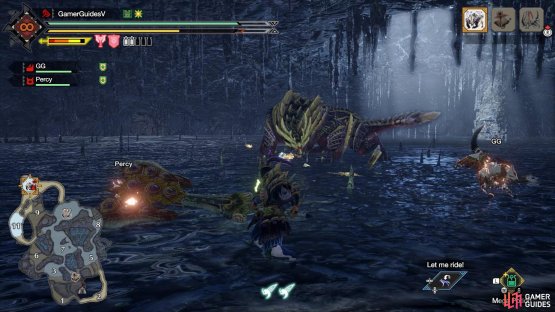
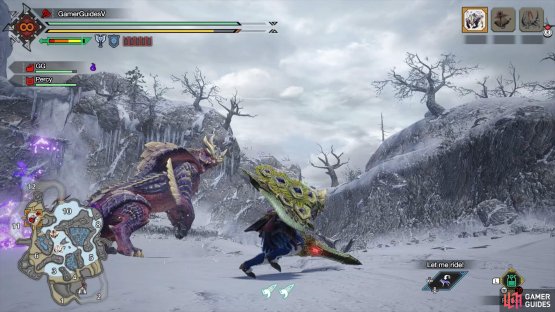
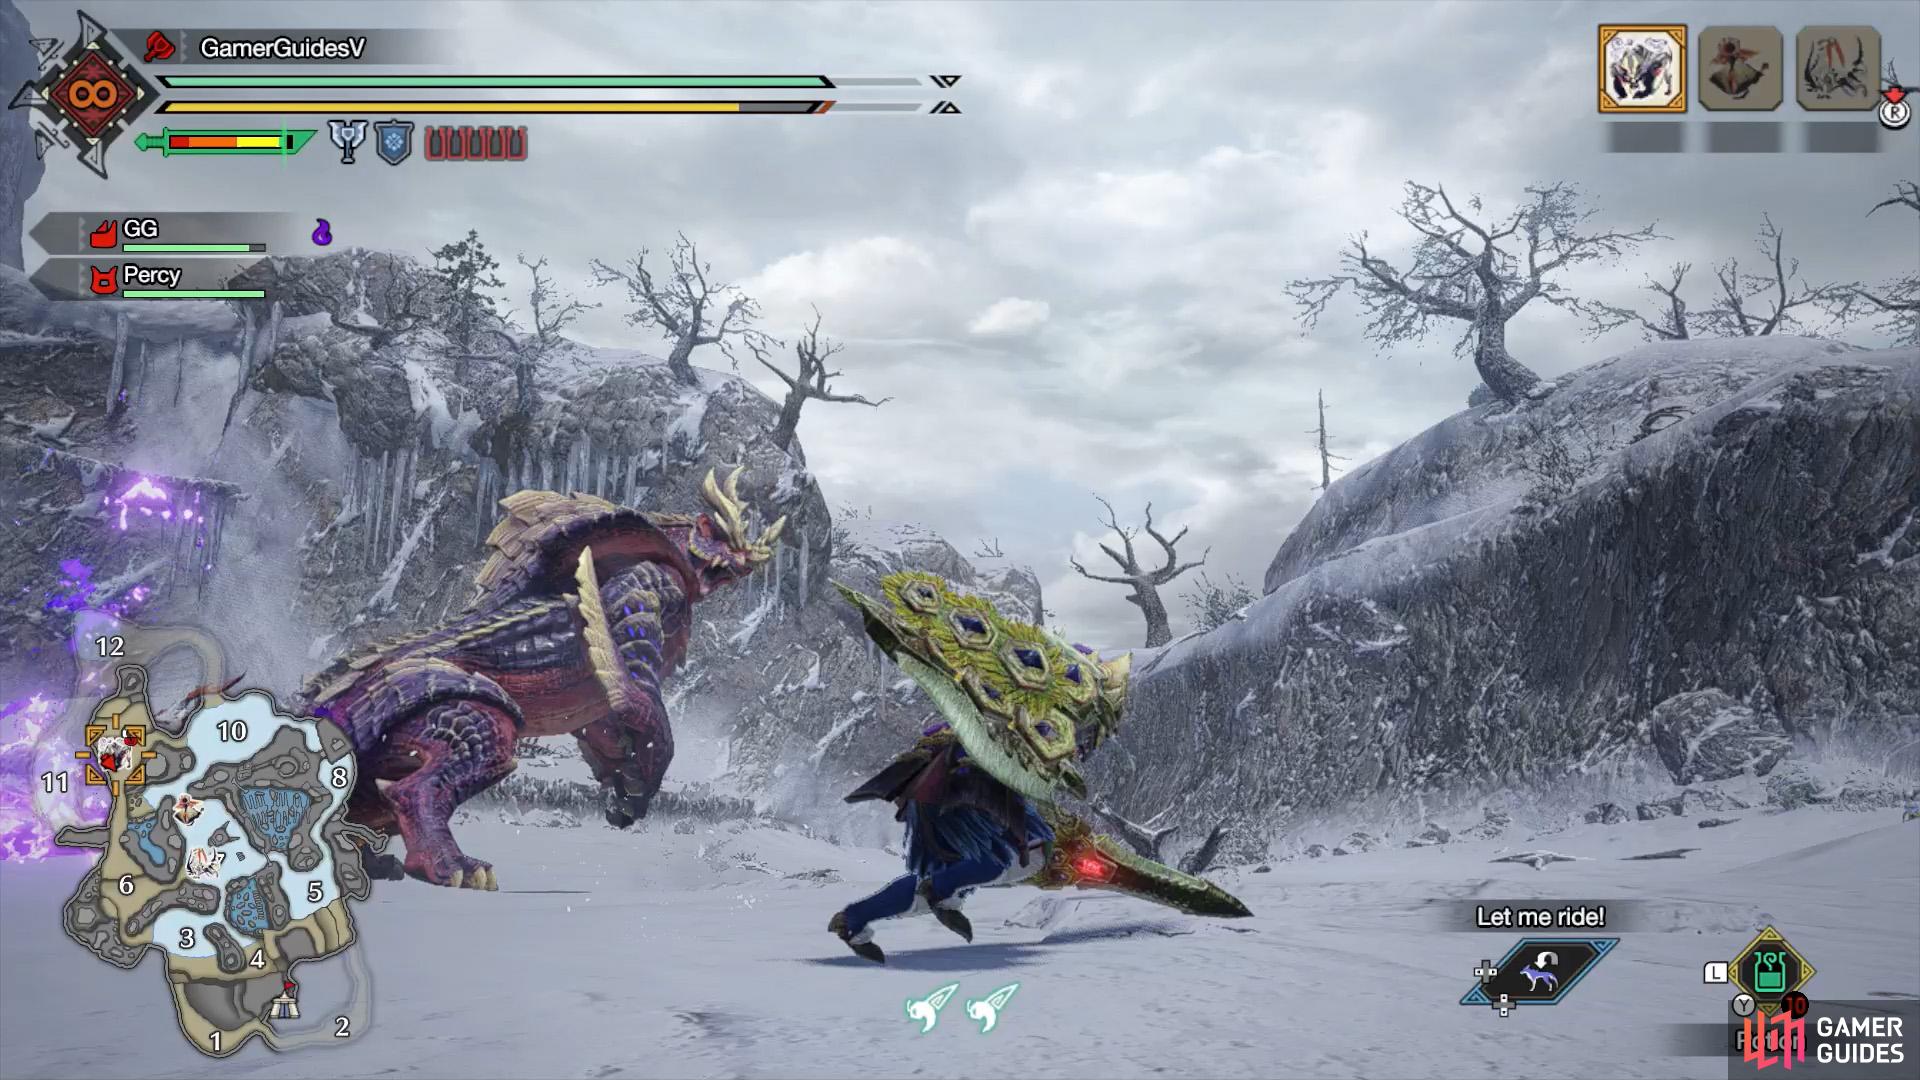
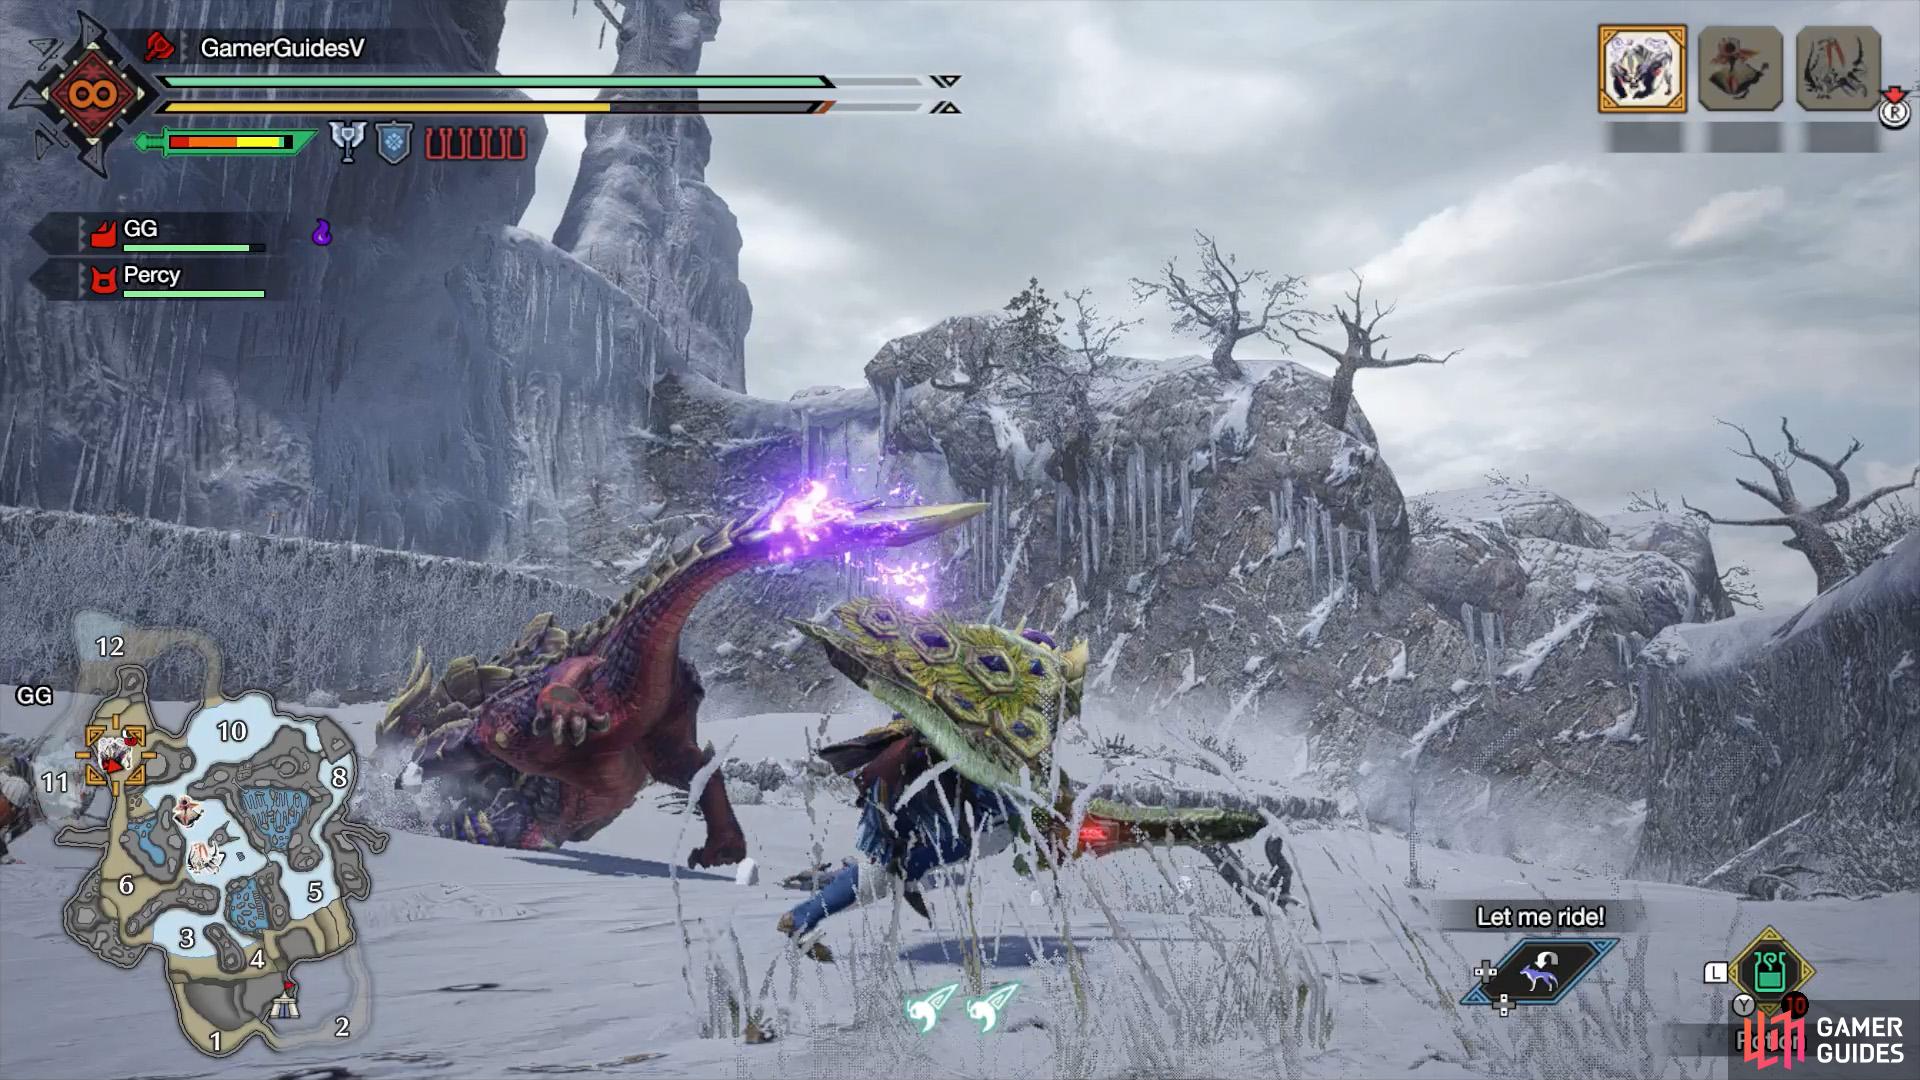
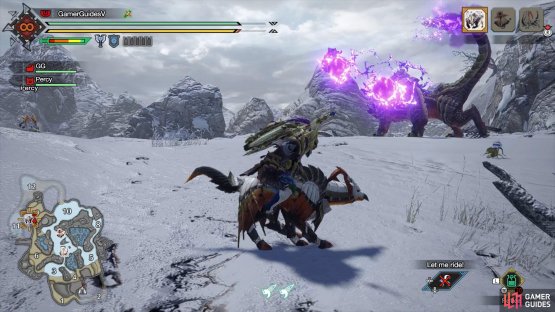
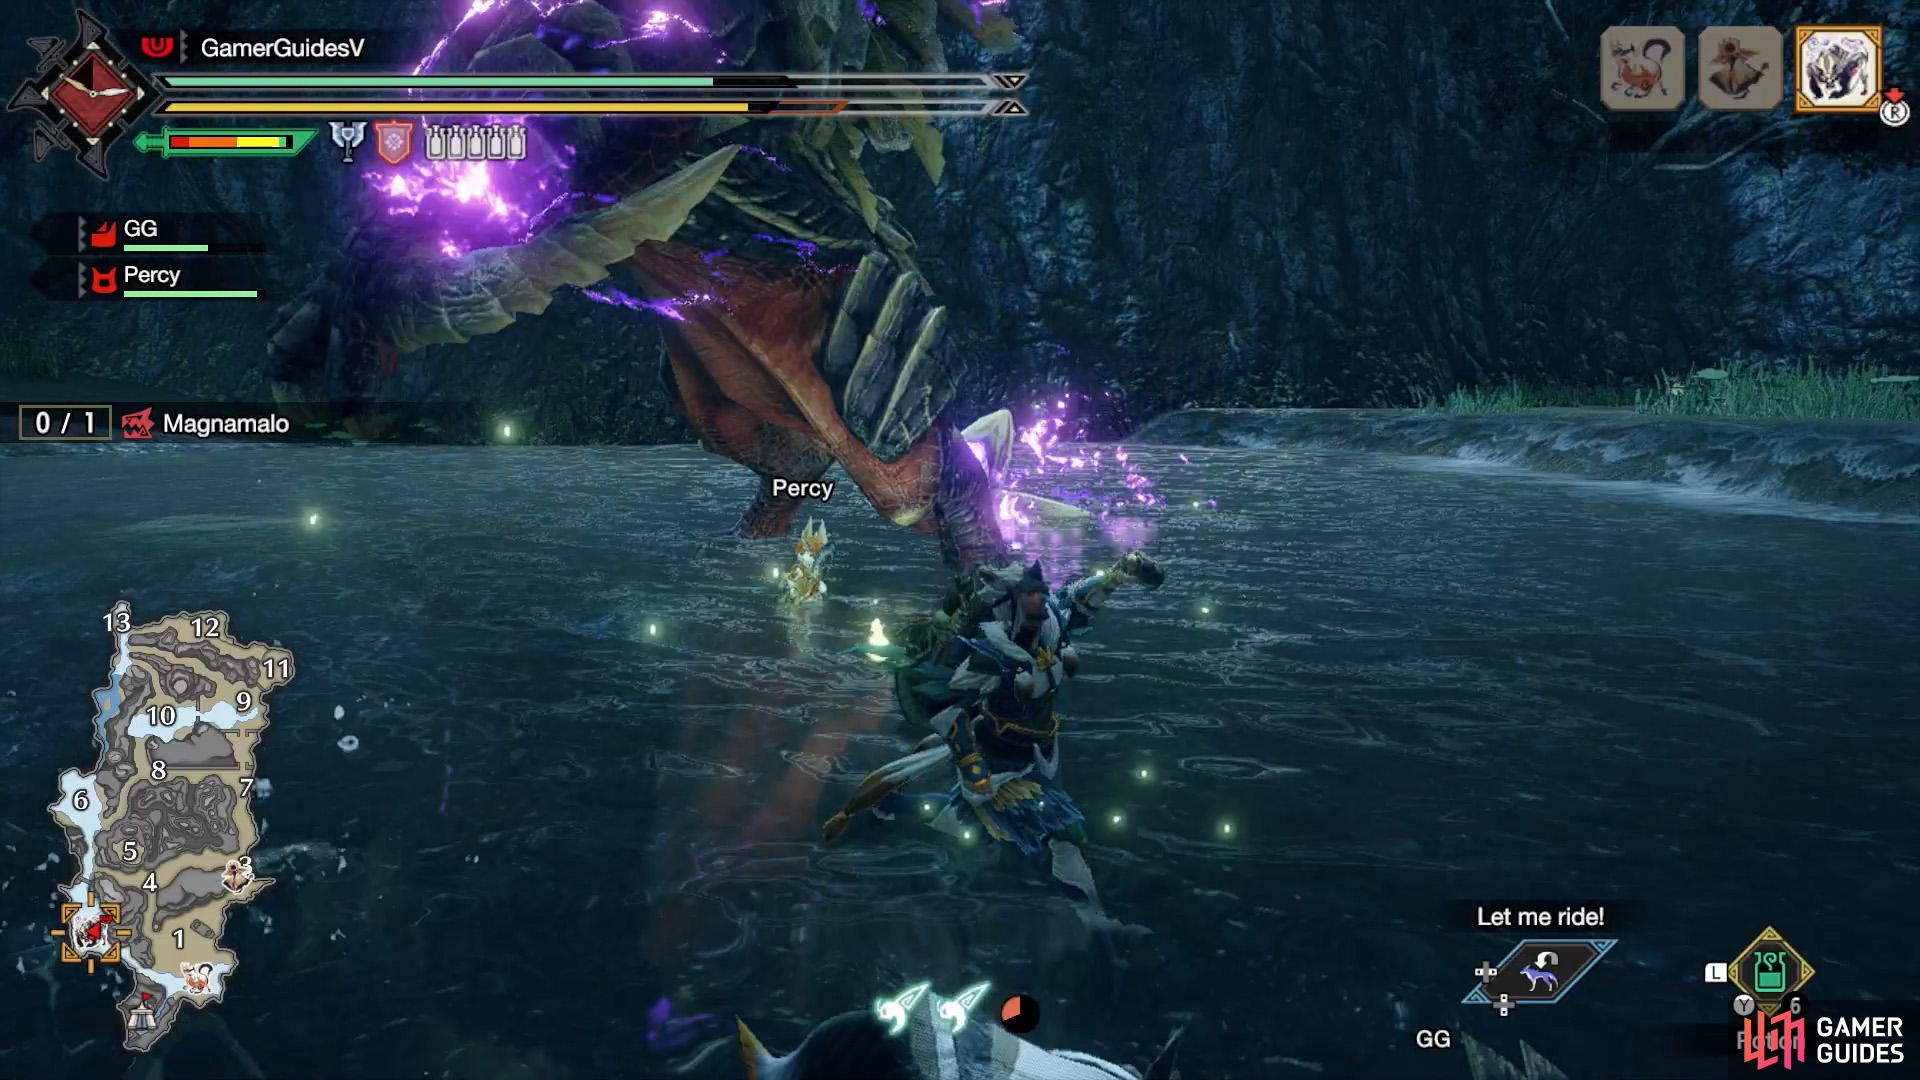
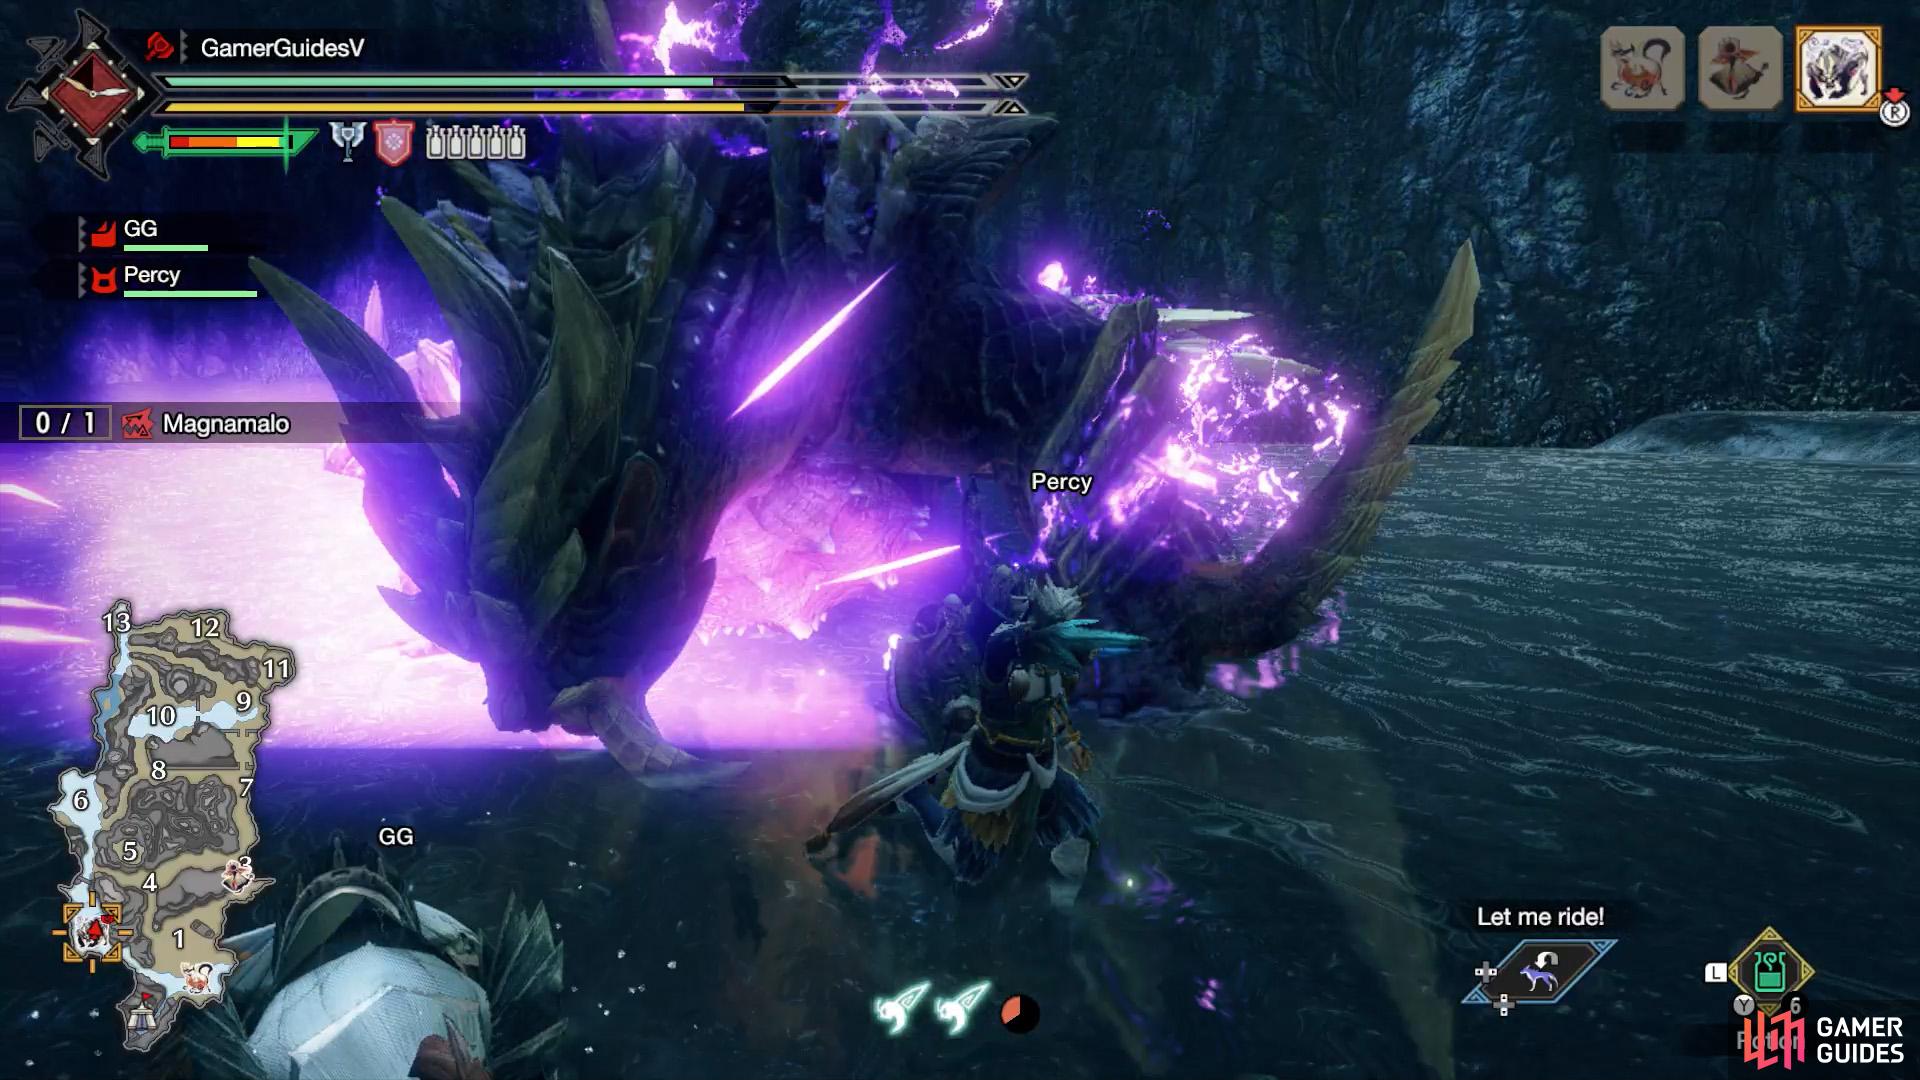
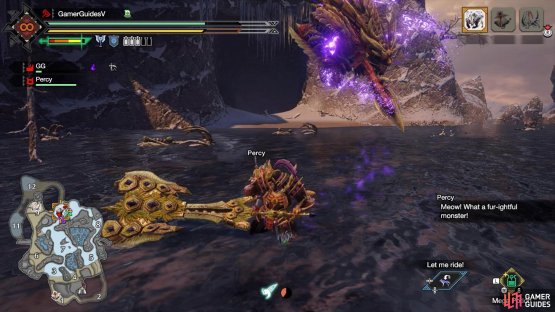
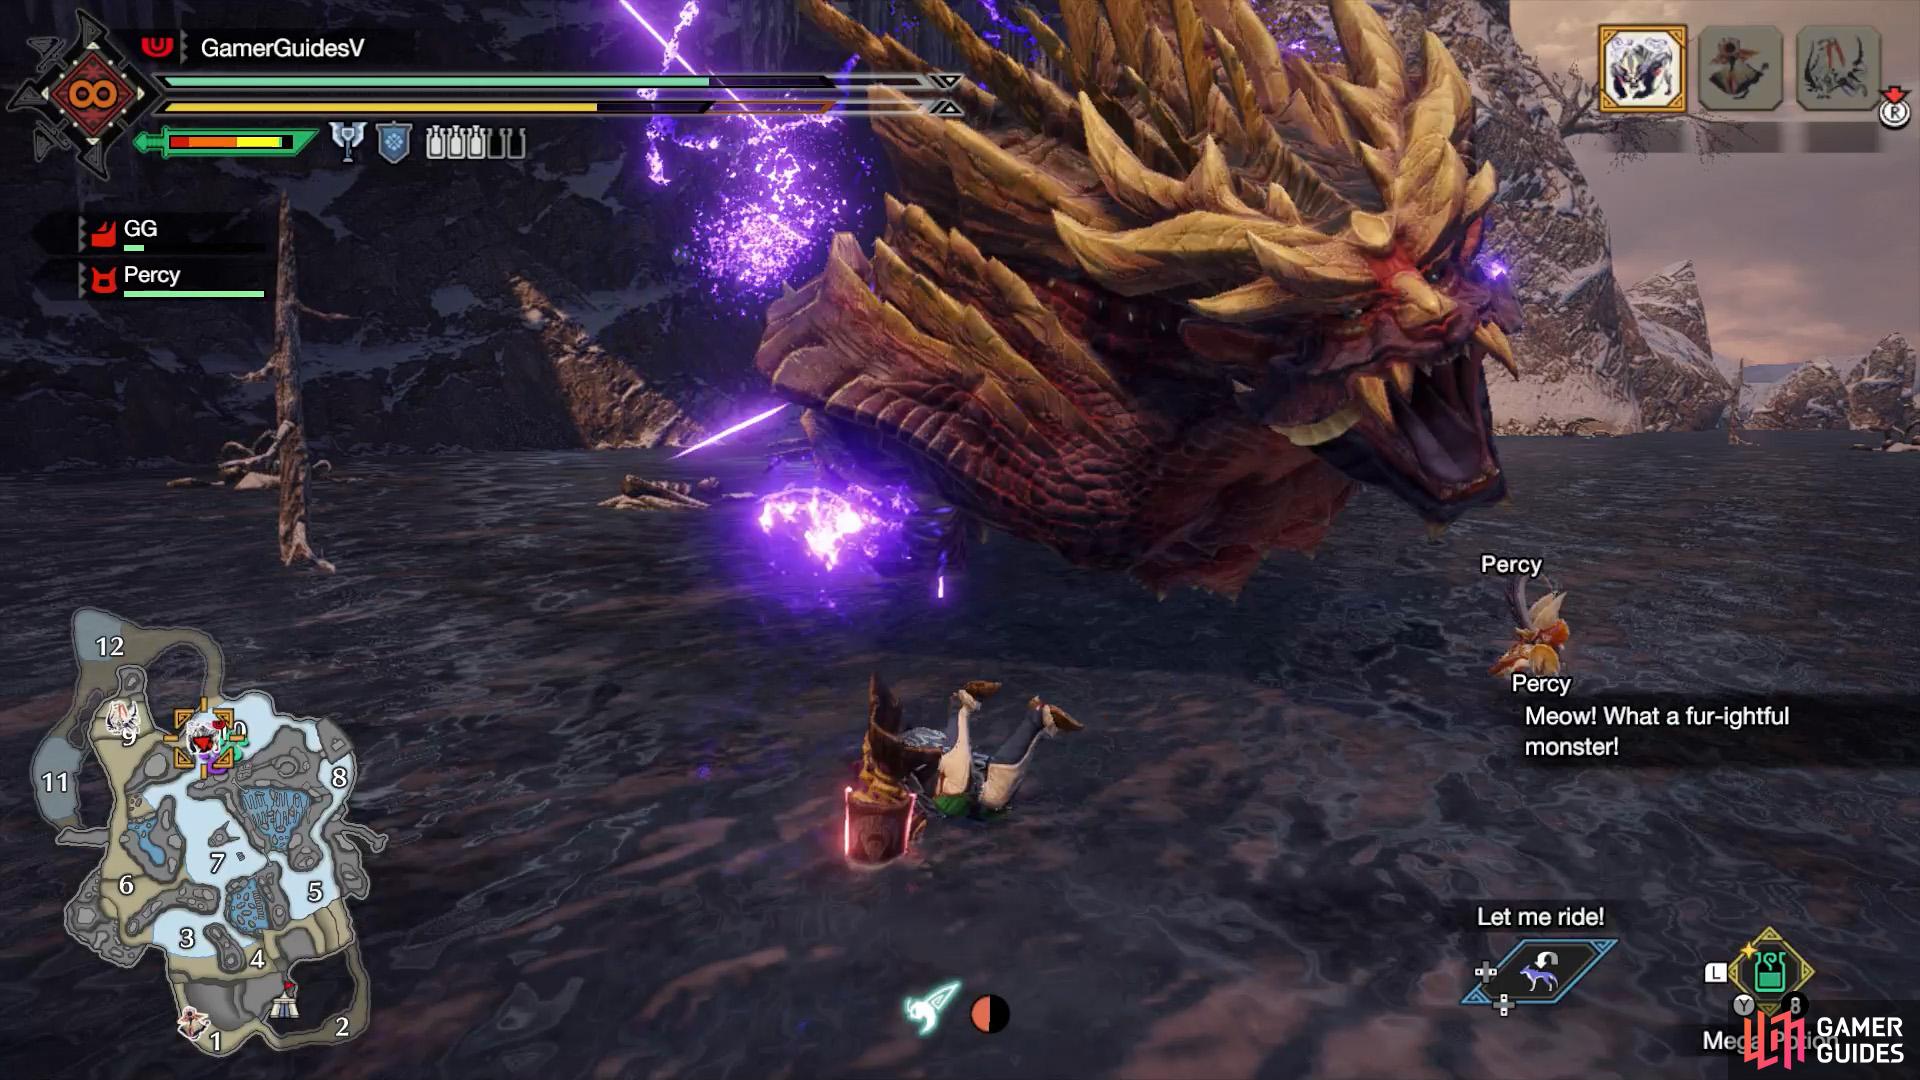
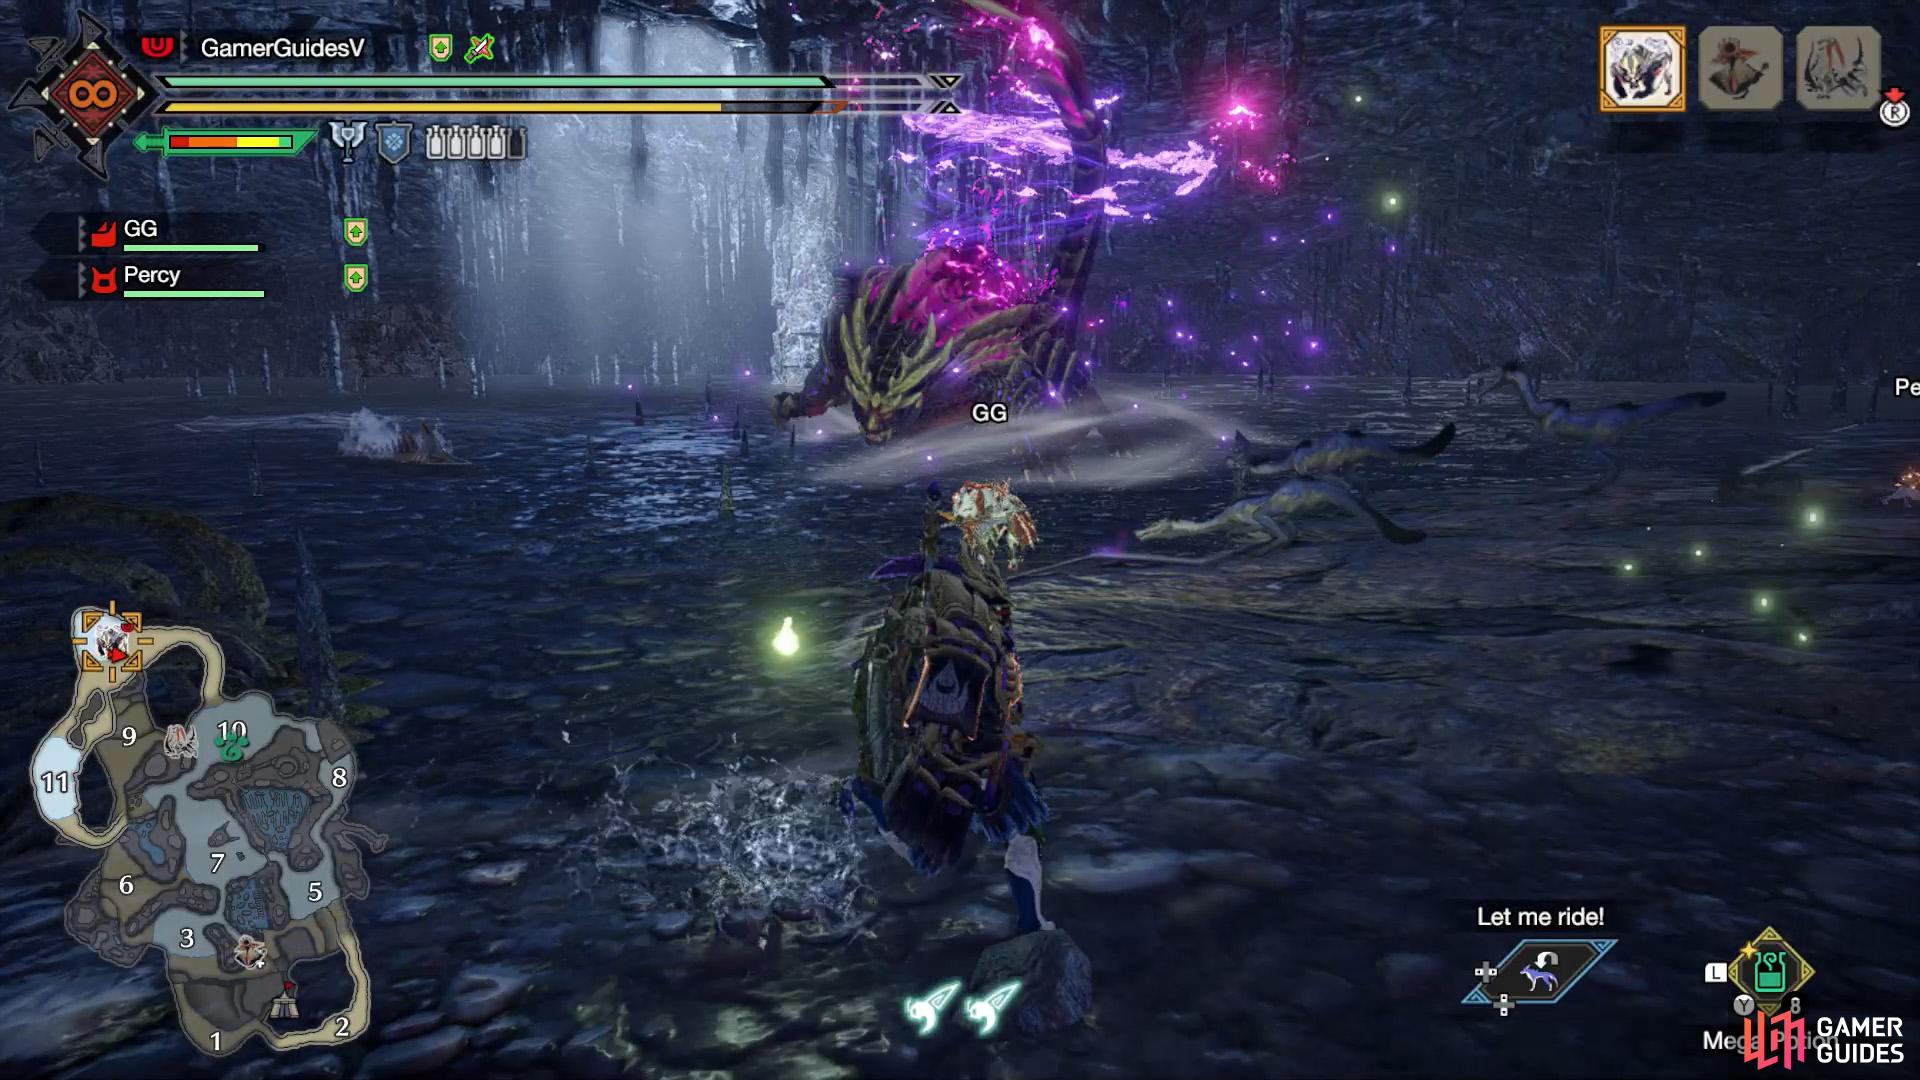
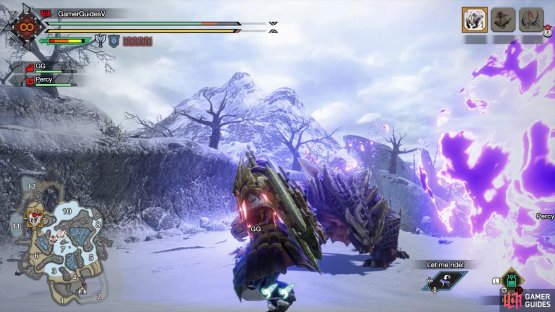
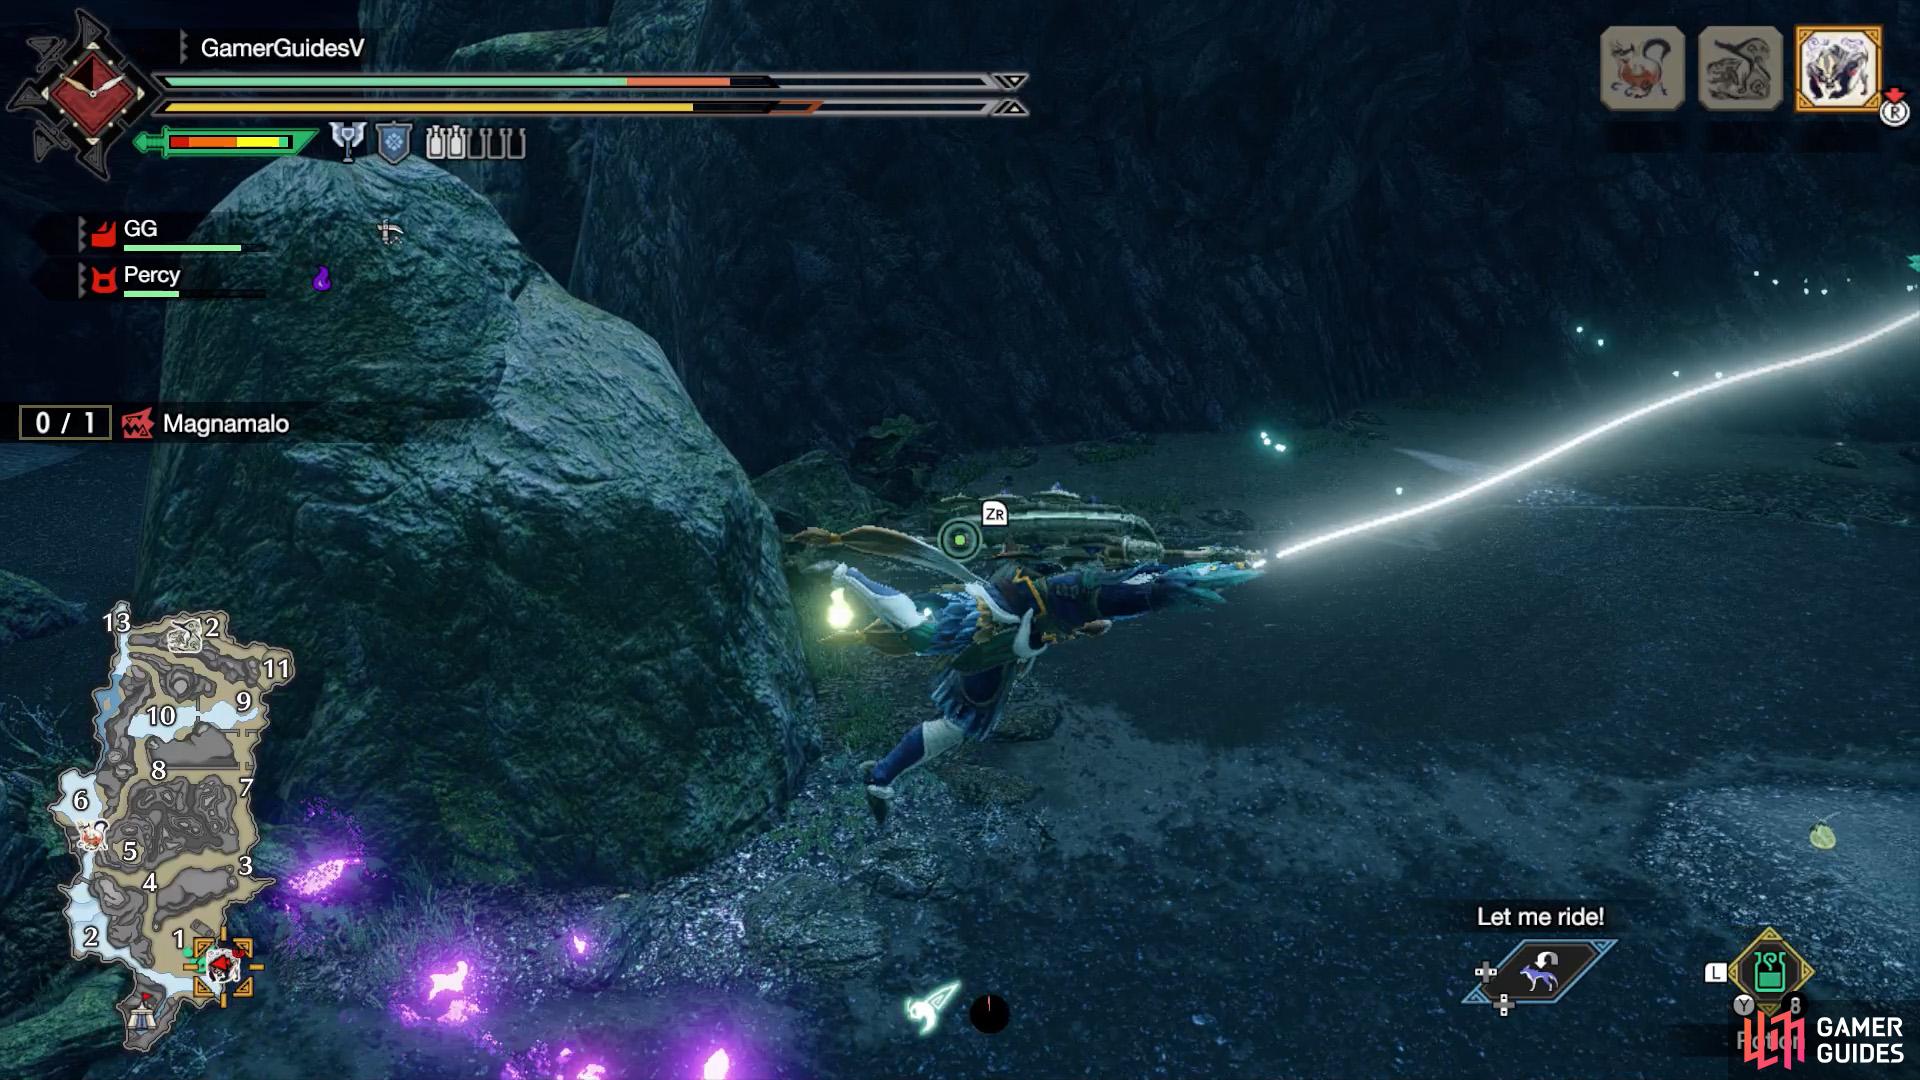
(1 of 2) Fighting Magnamalo at the Frost Islands.


Fighting Magnamalo at the Frost Islands. (left), Magnamalo’s profile in the Hunter’s Notes. (right)
Essentially, Magnamalo is the “final boss” of Monster Hunter Rise’s story, although far stronger monsters await after it. Novice hunters will need to use everything they’ve learned so far to bring an end to its terror.
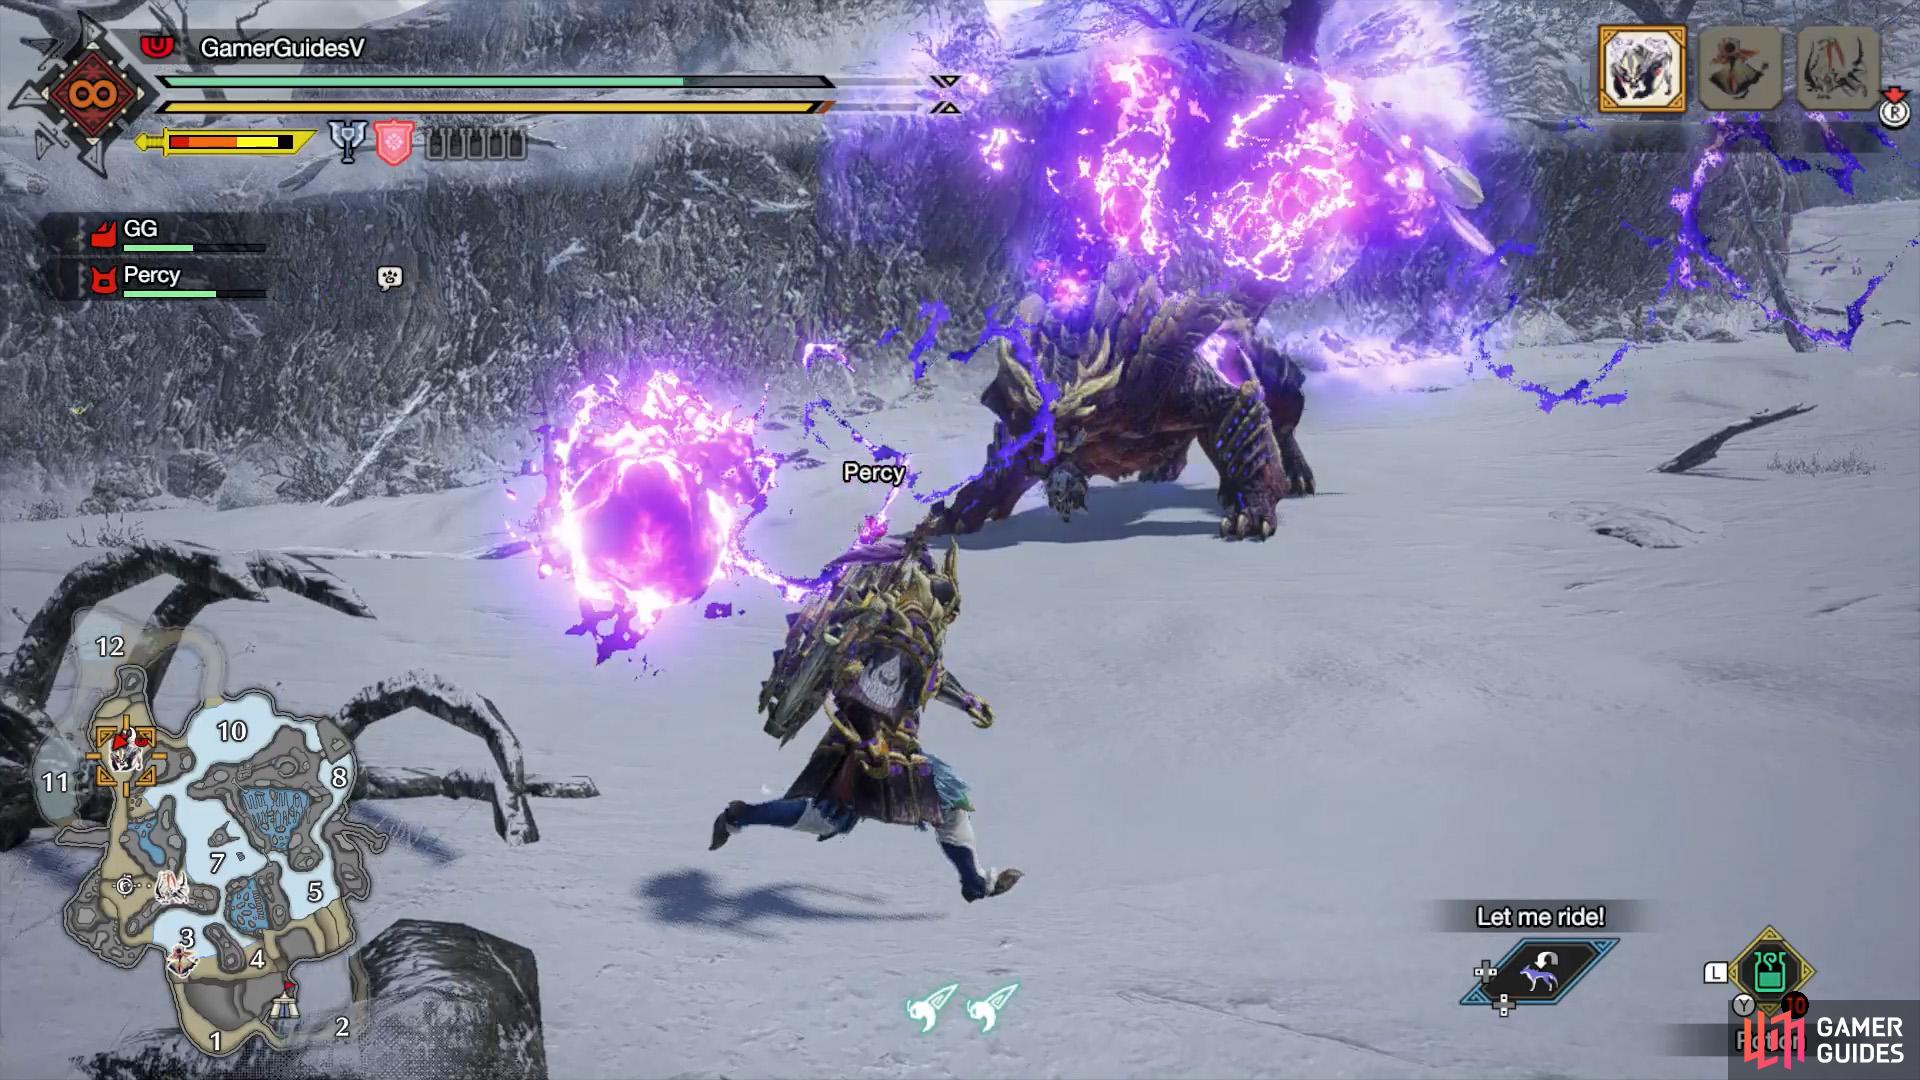
Magnamalo can expel a special type of gas, which it can ignite to create eerie, purple flames. If you come into contact with the purple fire–known as hellfire–you may become inflicted with hellfireblight. This will cause you to explode after a set amount of time or after taking damage.
Hellfireblight can be cured by using a Deodorant or wiredashing (the latter is usually easier).
Weaknesses
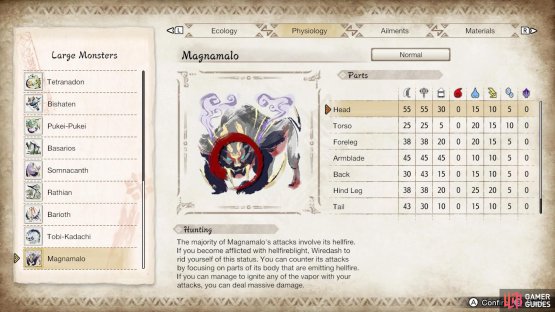

(1 of 2) Magnamalo’s parts and elemental susceptibility.
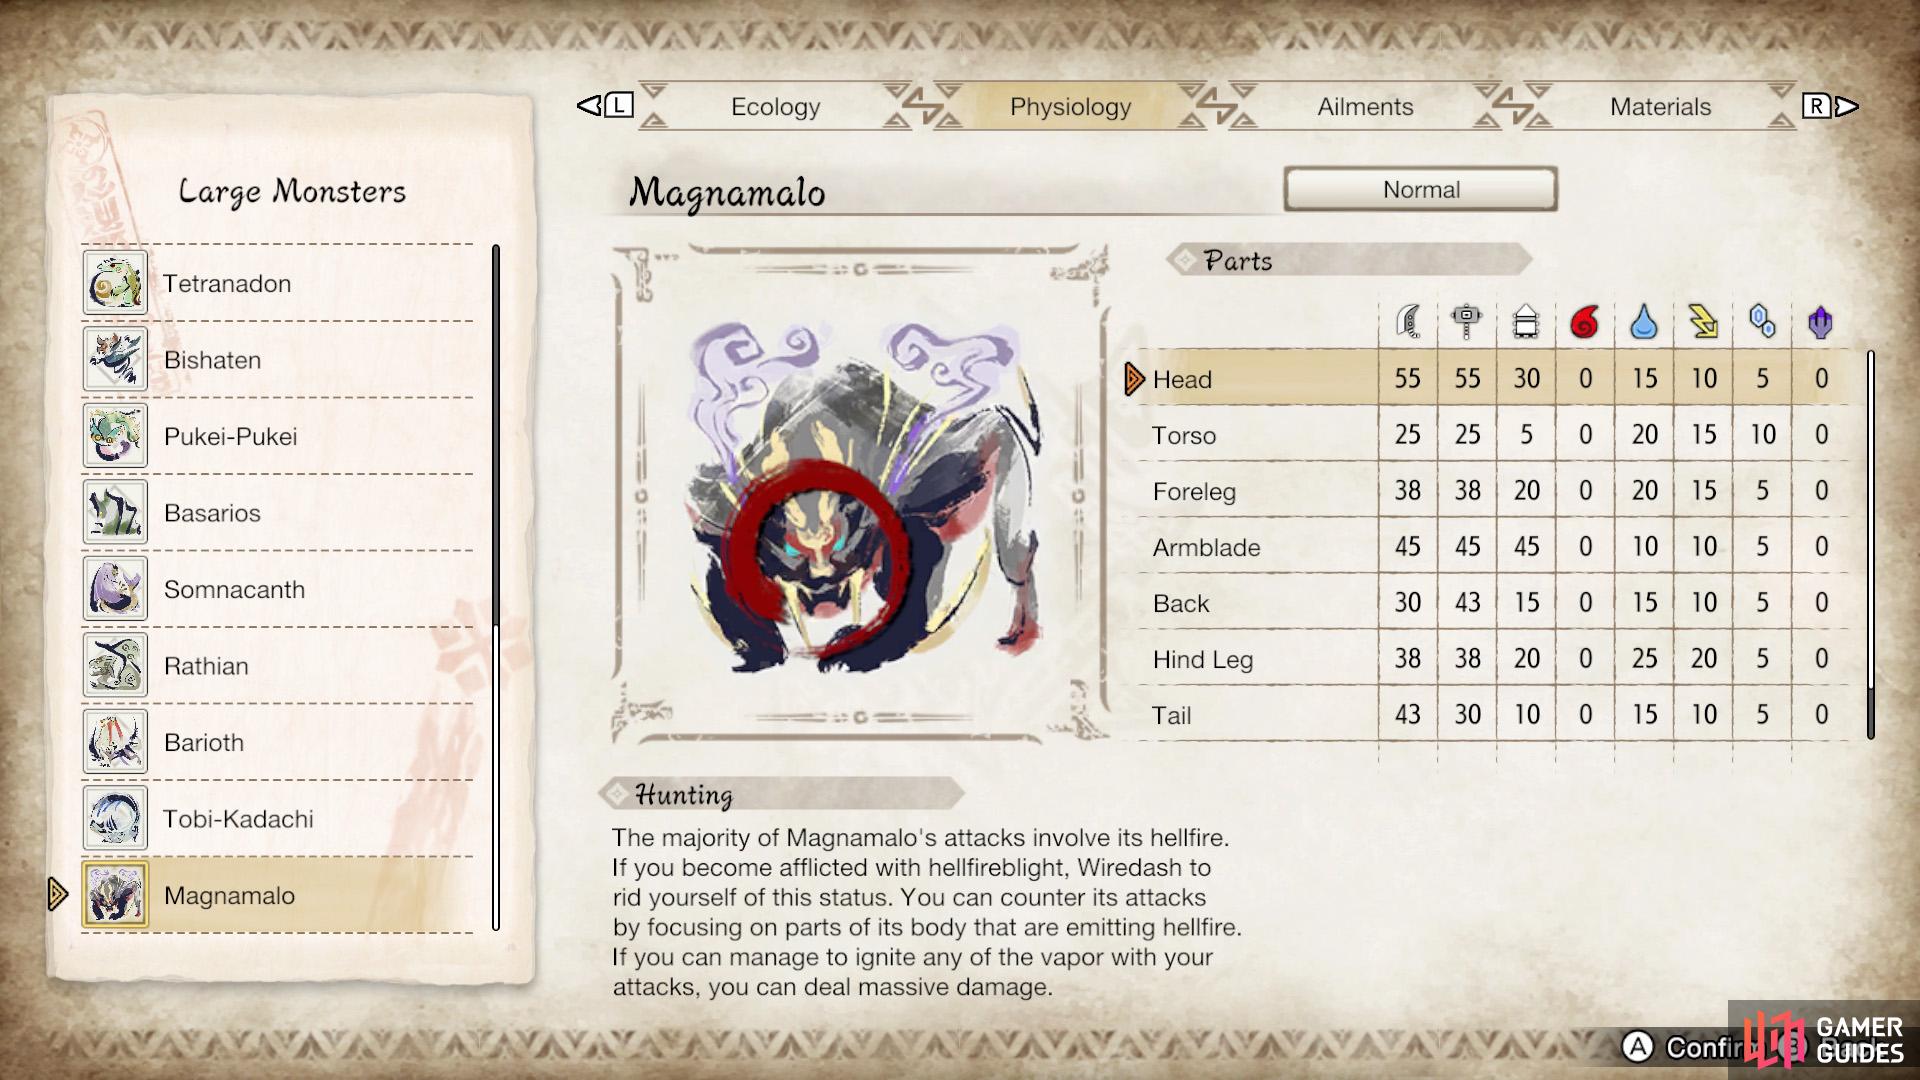
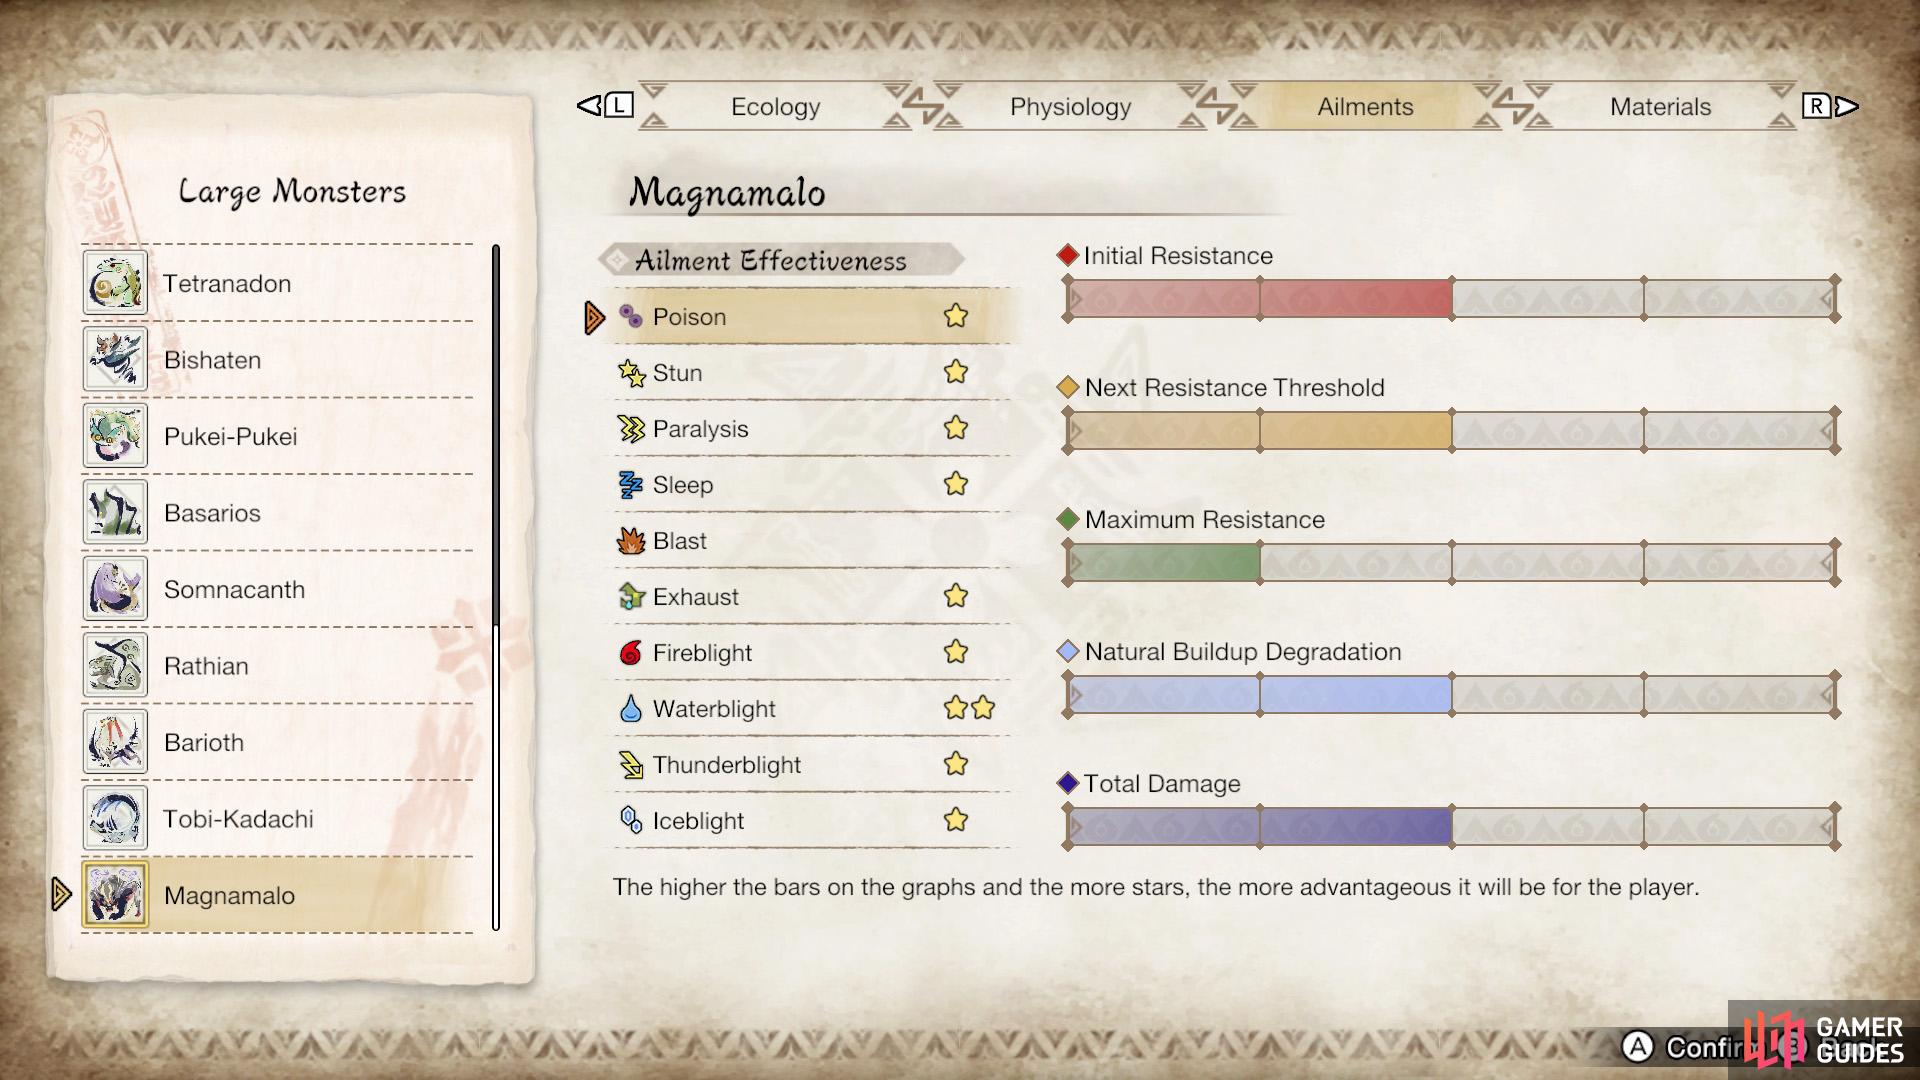
Magnamalo’s parts and elemental susceptibility. (left), Magnamalo’s ailment susceptibility. (right)
| Parts | Elements | Ailments |
|---|---|---|
| Head and Armblade | Water | Waterblight |
Attack Patterns
Bite
A simple attack where Magnamalo raises its head up, then lurches forward to bite you. Sometimes, it’ll follow up with a Tail Slam. So prepare to dodge a second time, just in case.
Tail Slam
Magnamalo pivots on its forearms, slamming its tail forwards. The tail will become stuck in the ground for a few moments. Before the attack, Magnamalo will quickly whip its tail in the air.
Big Tail Slam
(1 of 2) Keep an eye out for this intimidating pose.

Keep an eye out for this intimidating pose. (left), Magnamalo will leap up and slam the ground like a pro wrestler. (right)
There is a more dangerous version where Magnamalo growls while shaking and looking downwards. It’ll then jump and twist in the air, before crashing down, while swinging its tail forward. If you’re too close, you can be hurt by Magnamalo’s body.
Tail Spin
This is a fast attack, where Magnamalo does a low growl and moves its tail towards its face. It’ll then jump and do a 360 degree spin in the air, while swinging its tail.
Tail Whip
Magnamalo bangs its tail on the floor. Then it does a backwards somersault, swinging its tail upward.
Double Tail Swipe

(1 of 2) Magnamalo stands up and then turns its body.
Magnamalo stands up and then turns its body. (left), From afar, it almost looks like Magnamalo is enjoying itself. (right)
Magnamalo will briefly stand on its hind legs, then it’ll turn its body sideways and sweep its tail near the floor. It will then do the same thing again. You can also be hit by Magnamalo’s body when it’s turning, but it’s safe if you’re underneath. If you’re watching from afar, it looks like one of those buckaroo games.
Tail Thrust
(1 of 2) You’ll probably be familiar with the warning signs before long.

You’ll probably be familiar with the warning signs before long. (left), After using the move, Magnamalo will be wide open. (right)
Watch out when Magnamalo is crouching with its tail pointed forward, shaped like a trident. It’ll lunge forward and thrust its tail forwards. Afterwards, it’ll idle for a moment. Even if you’re faraway, this move has deceptively long range. So try to roll or move to the side.
If Magnamalo’s tail is charged with hellfire, the tail thrust will also spread some dust forwards. After the thrust, Magnamalo will twirl its tail to ignite the dust.
Tail Fireballs

(1 of 2) It can launch fireballs while slowly walking.

It can launch fireballs while slowly walking. (left), Or from a fixed position. (right)
Magnamalo twirls its tail around, while shooting balls of hellfire forwards. It can do this move while stationary or slowly walking on all fours.
Arm Pound

(1 of 2) Magnamalo will raise one arm, with its other forearm off the ground.
Magnamalo will raise one arm, with its other forearm off the ground. (left), If its forearms have hellfire, the impact will cause a small explosion. (right)
Magnamalo will raise one of its forearms, before slamming it down. If its forearms have hellfire, it will also raise its other forearm and do the same–and both arm pounds will trigger small hellfire explosions. Note that both forearms will be off the ground at the start of this move.
Arm Sweep

(1 of 2) The tell for this is Magnamalo raising one arm with its other arm on the ground.

The tell for this is Magnamalo raising one arm with its other arm on the ground. (left), The enhanced version will cause many small explosions. (right)
Magnamalo will raise one of its arms, punch the ground and then make a sweeping action in front of it. If Magnamalo’s forearms have hellfire, small explosions will follow its arm movement. Unlike the arm pound, Magnamalo’s other forearm will be touching the ground still.
Double Arm Sweep

(1 of 2) Keep your distance when you see an arm sweep.

Keep your distance when you see an arm sweep. (left), If you’re too close, the second arm sweep might catch you off guard. (right)
This is similar to the previous move. Magnamalo will sweep its forearm in front without punching the ground and then it’ll do the same thing with its other arm. During the second arm sweep, Magnamalo will move forward a sizable distance.
If you’re hit by this move, it’ll temporarily disable your wirebugs until you’re back on your feet. This means you cannot use wirefall to recover.
Sliding Tackle
A fast attack where Magnamalo throws its entire body forward, sliding across the floor. It can do this while stationary or after briefly running to build up momentum. If it’s stationary, it’ll briefly growl while looking up before leaping. Otherwise, if it’s running, it should be far away enough that you’ve got time to react.
Sometimes, Magnamalo can run after a sliding tackle, then quickly follow-up with another move. It’s even possible for a sliding tackle into a sliding tackle.
Rolling Feint
(1 of 2) Whoa, ref, we barely even touched him!


Whoa, ref, we barely even touched him! (left), Look, he even tried to shoulder bash us! (right)
Don’t lower your guard when Magnamalo falls on its side for no apparent reason. If it rolls, get ready to roll yourself! Afterwards, it may follow-up with a shoulder bash or sideways charge.
Shoulder Bash
Magnamalo may push its shoulder out, quickly pull back, then rush in that direction.
Sideways Charge
Pay attention when Magnamalo is looking at you while face sideways. Almost like it’s waiting for a chance to attack… Wait, that’s exactly what it’s doing! It may open its mouth wide and growl, then charge in the direction it’s looking.
Rocket

(1 of 2) Magnamalo rocket incoming!

Magnamalo rocket incoming! (left), Besides dodging the rocket, you should pre-emptively dodge the follow-up attack. (right)
Magnamalo can use this move when its forearms have hellfire. It will bounce backwards and then use a burst of hellfire to propel itself a long distance forward. After it lands, it’ll usually follow up with a tail thrust or tail slam.
Dive Bomb
Magnamalo can use this move when its forearms have hellfire. It will crouch down and point its tail forwards, similar to the lunging tail thrust. Except the tail is shaped like a lance (with no prongs). Next, it’ll twist upwards into the air, then come crashing down forwards. It can use this move while stationary or after running to gain momentum.
Tail Blast
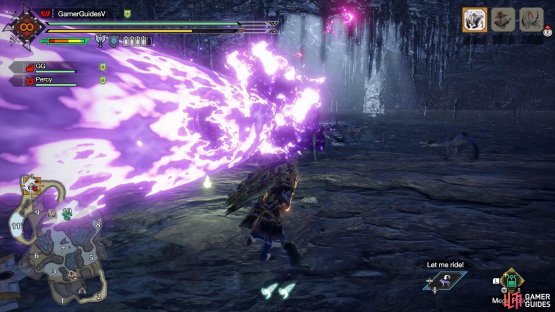
(1 of 2) Magnamalo spins its tail like a dynamo.

Magnamalo spins its tail like a dynamo. (left), Then launches a blast of hellfire forward. (right)
This is a pretty cool move Magnamalo can use when its tail has hellfire. It will steps backwards and wind up its tail, while a whirlwind of hellfire gathers near the tail. It’ll then launch a blast of hellfire forwards.
Shaking Dust

(1 of 2) If you’re close to the dust, run towards Magnamalo instead.

If you’re close to the dust, run towards Magnamalo instead. (left), You’ll be safe from the explosions. (right)
Magnamalo will stand up on its hind legs and shake its body, spreading out hellfire dust around it. After a while, it’ll detonate the dust. If you’re near Magnamalo, it’s actually safer to move closer, rather than run away. After using this move, the hellfire on Magnamalo’s body may change places or turn red.
Sideways Dust
(1 of 2) Magnamalo moves sideways, leaving a trail of hellfire dust.


Magnamalo moves sideways, leaving a trail of hellfire dust. (left), Which it’ll detonate faster than you can say “Magnamalo”. (right)
Magnamalo does a sideways hop while launching a cloud of hellfire dust away from it. It’ll then quickly detonate the dust with its tail.
Blowing Dust

(1 of 2) What are you about to do, Magnamalo?

What are you about to do, Magnamalo? (left), Oh, a fireworks show? Nice! (right)
For this one, Magnamalo will step back and make a quiet whooshing sound. It’ll then do a spin in the air, while using its tail to blow hellfire dust forwards. After landing, it’ll twirl its tail around to detonate the dust. If the dust is coming towards you, move through it rather than away.
Rising Dust
This is a move Magnamalo can use when its mouth has hellfire. It will raise its body and briefly duck down. Then it’ll stand on its rear legs and push hellfire dust forwards. The dust will detonate soon afterwards.
Bite and Toss

(1 of 2) If you’re tossed into the air by Magnamalo…

If you’re tossed into the air by Magnamalo… (left), …Press ZL and B to avoid the hellfire explosion below! (right)
This is another of Magnamolo’s moves when its mouth has hellfire. It will leap at you with its teeth and fling you high into the air. Unless you want to be dinner, immediately use wirefall to get away. Otherwise, you’ll be stuck in a painful hellfire explosion below.
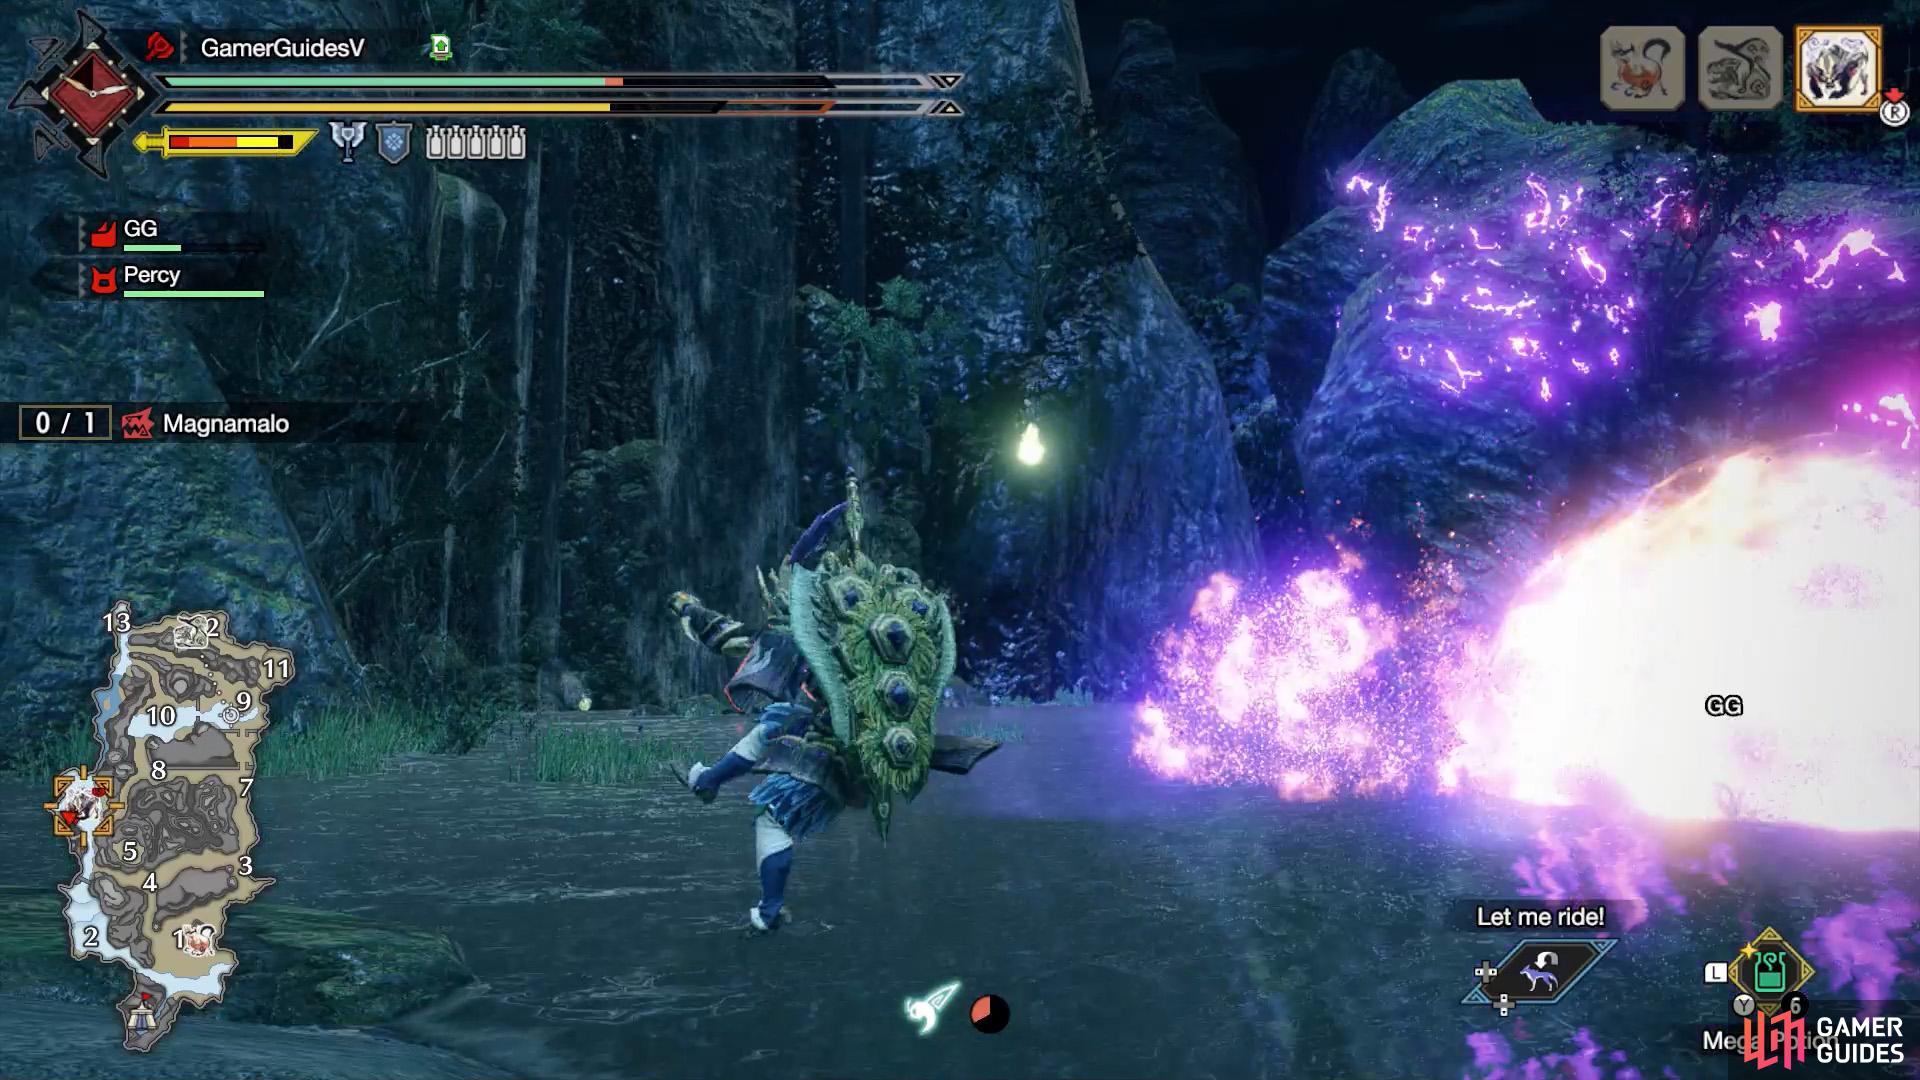
Explosion
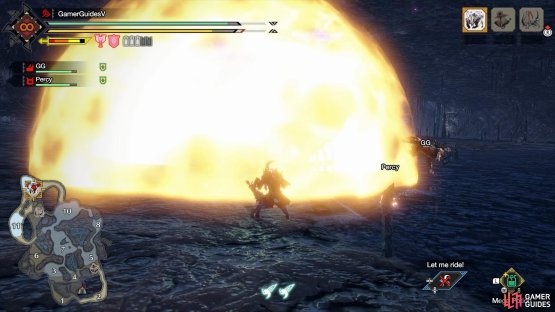
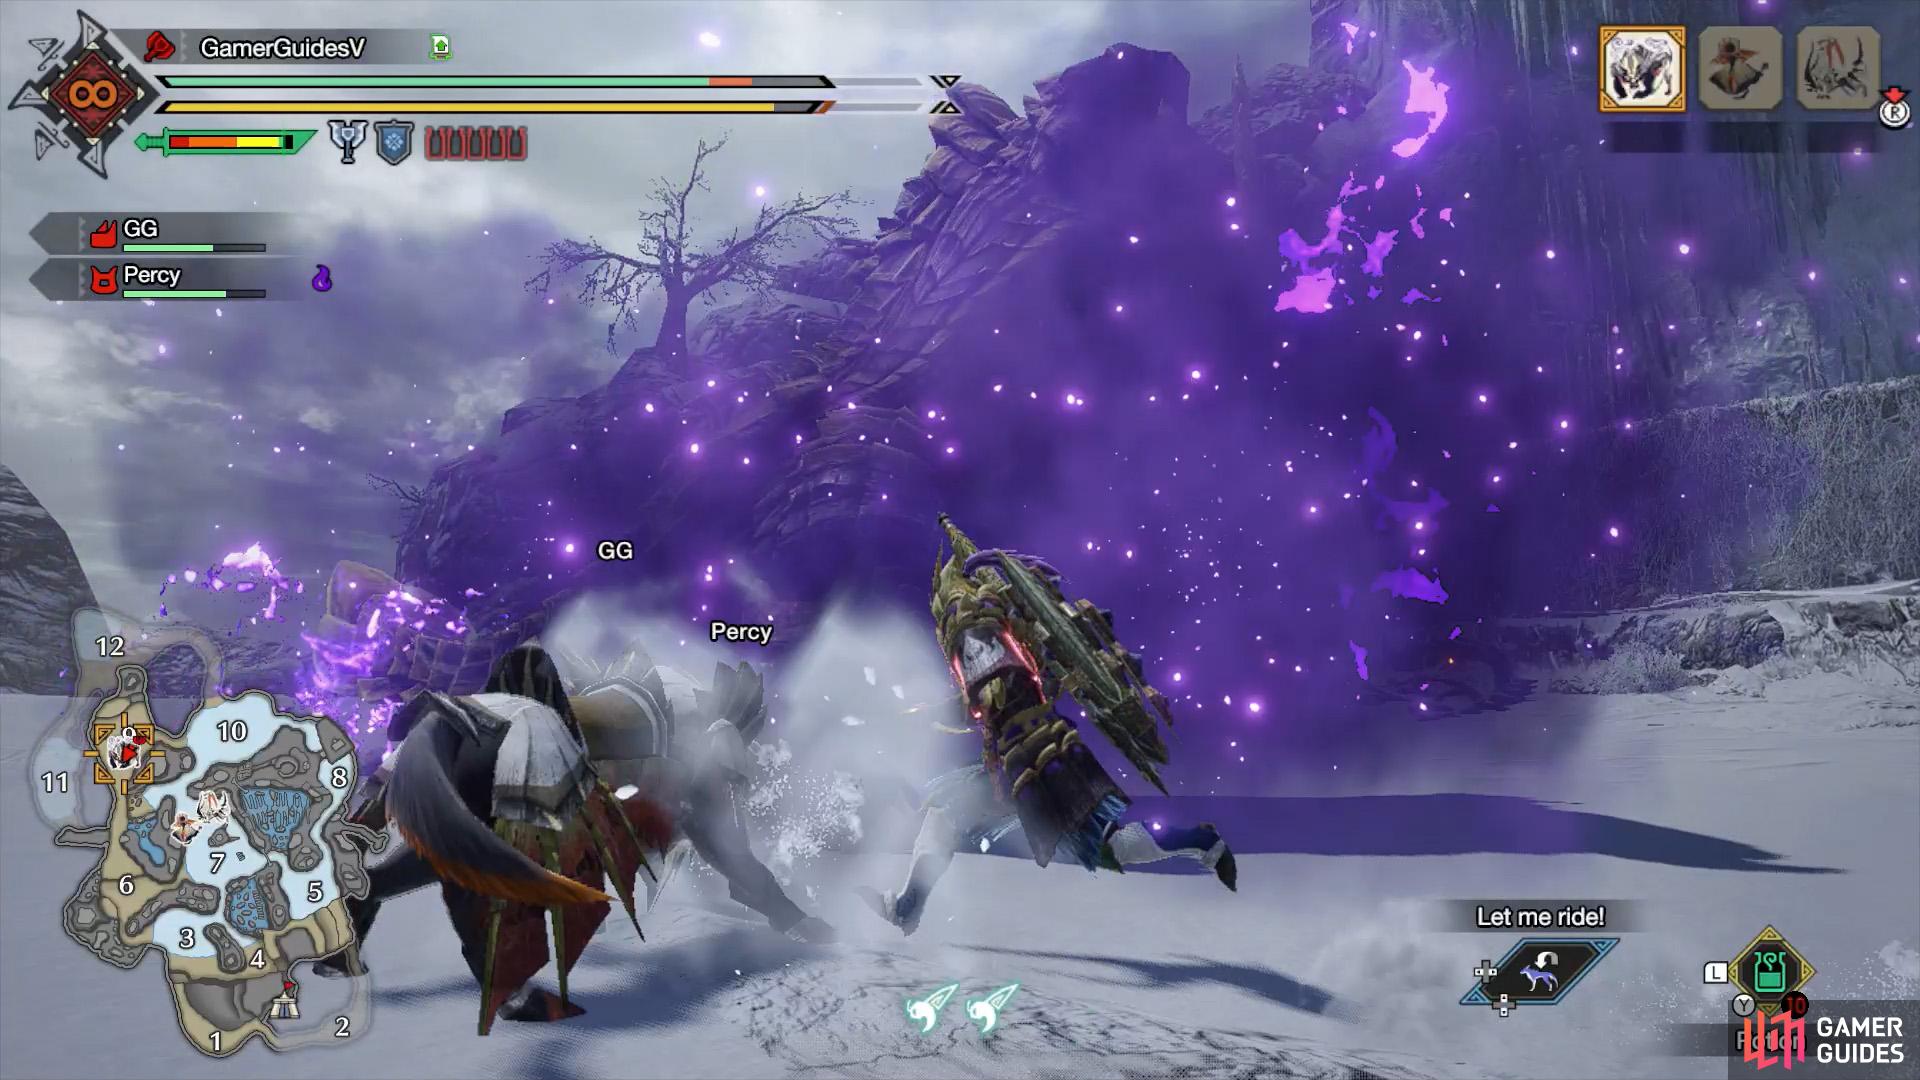
(1 of 2) Beware the shockwave, followed by growing flames.

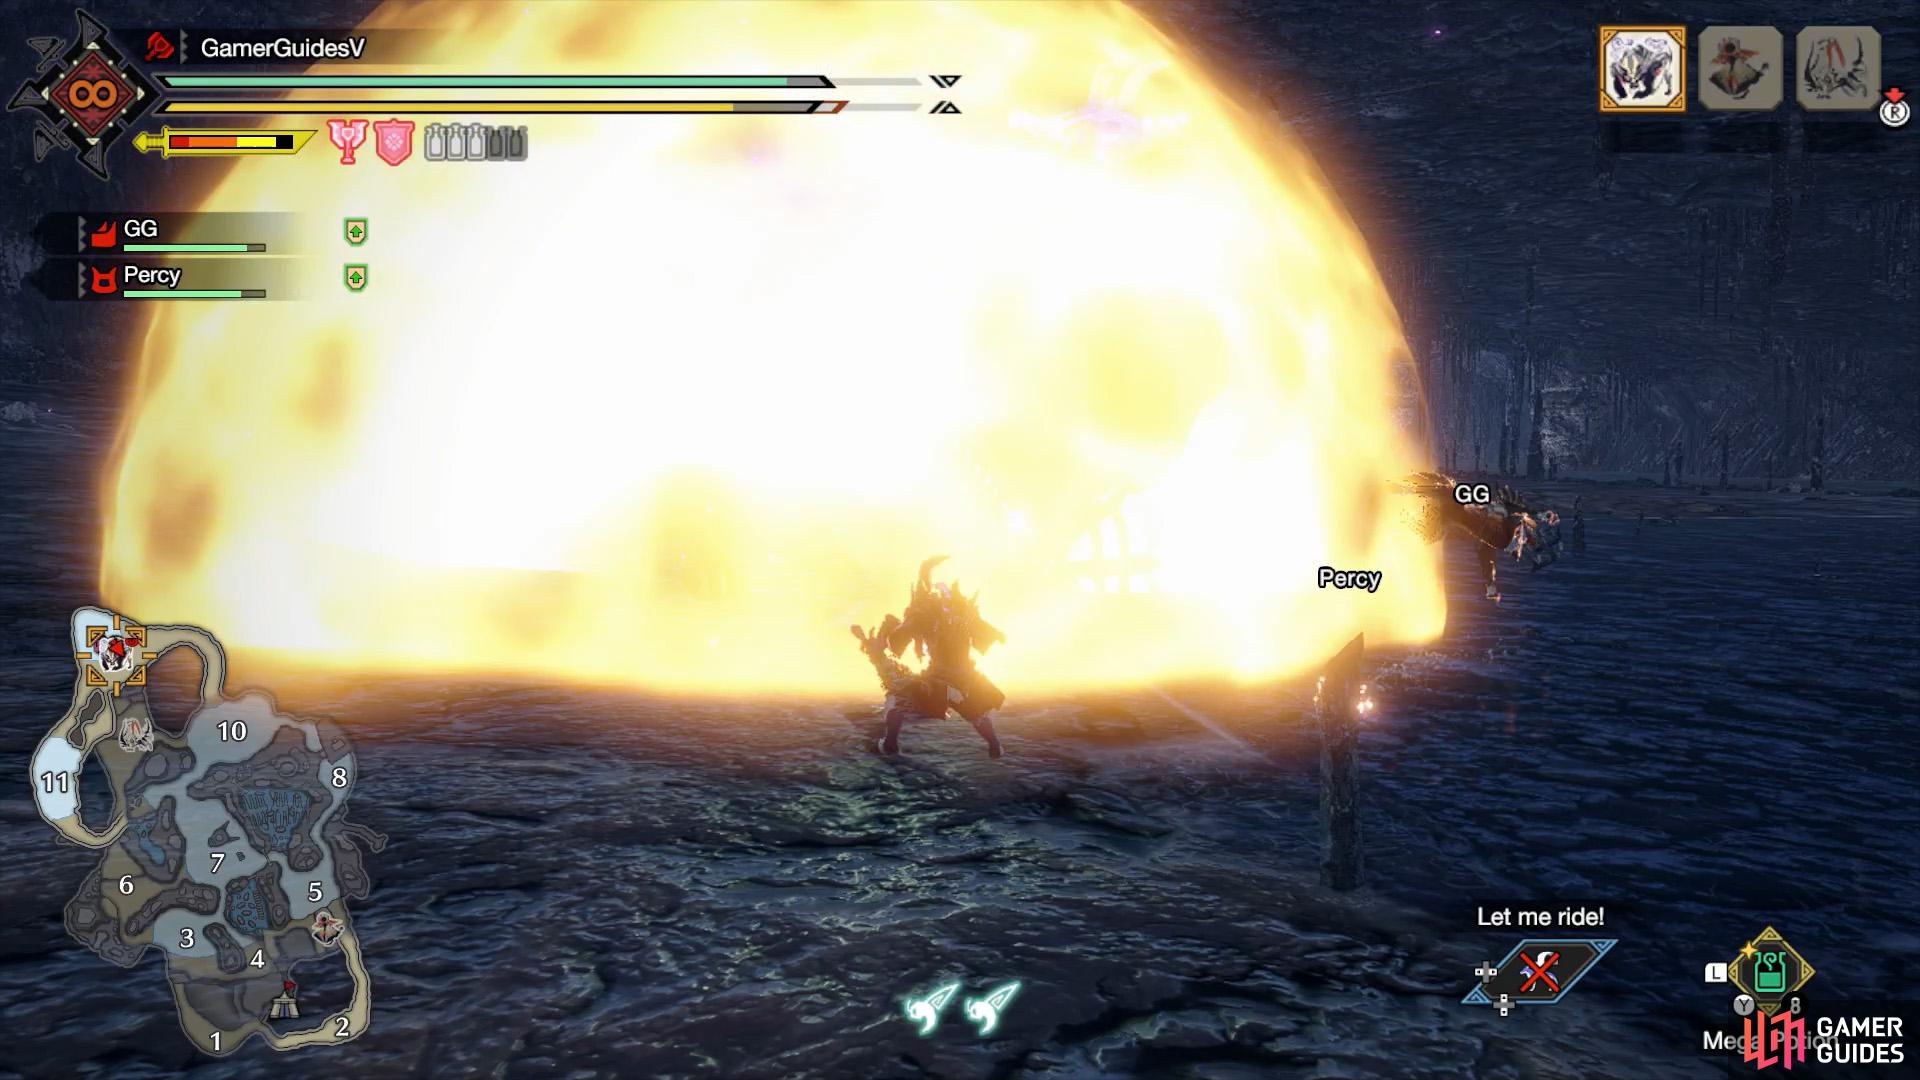
Beware the shockwave, followed by growing flames. (left), It means an explosion is imminent! (right)
Stay clear when Magnamalo is stationary and creates a shockwave of air. Purple flames may appear from Magnamalo’s back; soon afterwards, an explosion will hit the nearby area. Similar to Shaking Dust, the hellfire on Magnamalo’s body may shift after the explosion.
Hellfire Divebomb


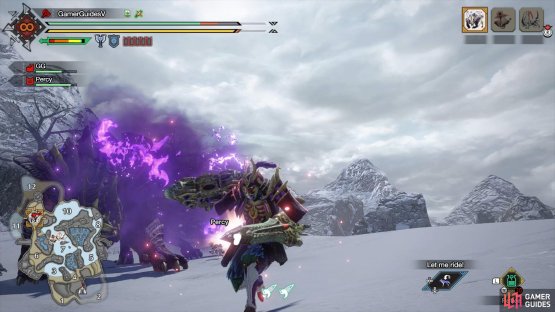
(1 of 2) You’ll get fair warning for this move, so be sure to disengage ASAP.

You’ll get fair warning for this move, so be sure to disengage ASAP. (left), Magnamalo will dash round, then finish with an explosive divebomb. (right)
This is Magnamalo’s strongest move that it can use it when it has red hellfire. It’ll somersault backwards and there’ll be an audible warning. It’ll then violently roar and cloak itself in hellfire. Next, it’ll dash twice, then leap high into the air. Finally, it’ll come crashing down, causing a big explosion.
After using this move, the Magnamalo’s hellfire will revert to purple and may shift. Also, if you’re hit by the final explosion, the impact may stun Magnamalo. Of course, it’s a bad idea to get hit. But, in Low Rank anyway, you should survive (when at full health). Afterwards, you can make up for your mistake by whaling on Magnamalo.
Strategy
There’s no denying it: Magnamalo is a tough nut to crack. Unless you’re confident, try to keep your distance at first to observe Magnamalo and get a feel for its moves. You’ve got 50 minutes, which is more than enough time to deal with this beast. However, those 50 minutes will be meaningless if you’re reckless and end up carting three times.
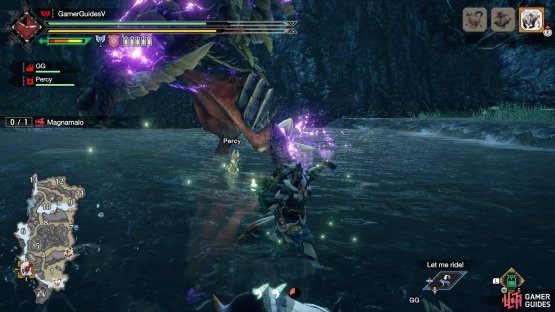
While you’re fighting, pay attention to where the hellfire is located on Magnamalo’s body. It can be on its mouth, forearms, mane and tail–even multiple places at once.
Depending on where the hellfire is, some of Magnamalo’s attacks will be enhanced. Also, definitely be on high alert if Magnamalo has red hellfire–this means it can use its ultimate move at any time.

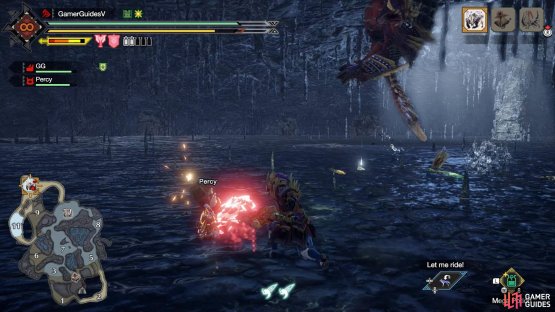
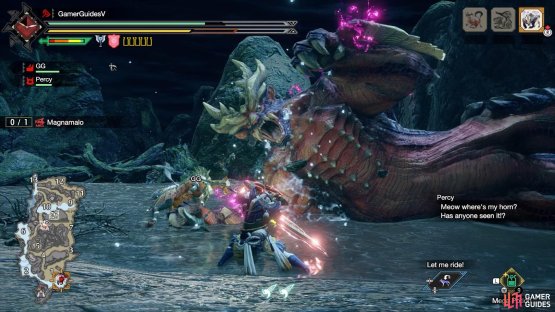
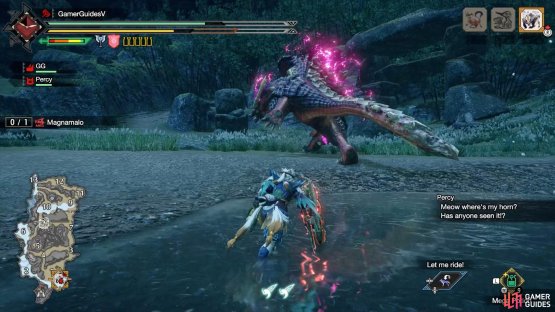
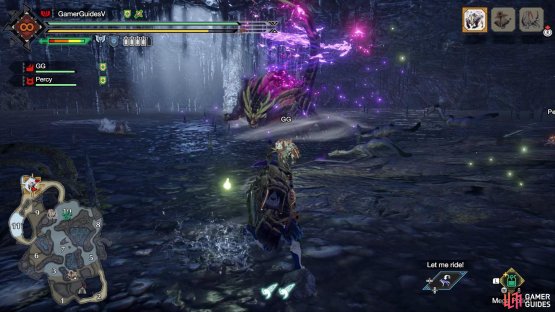
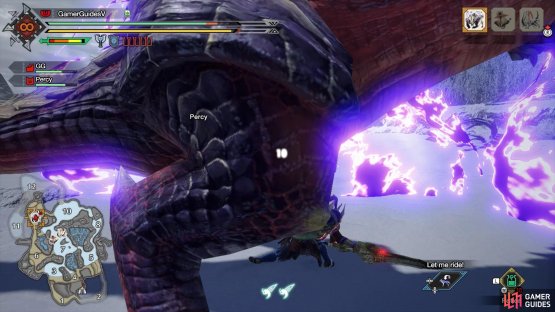
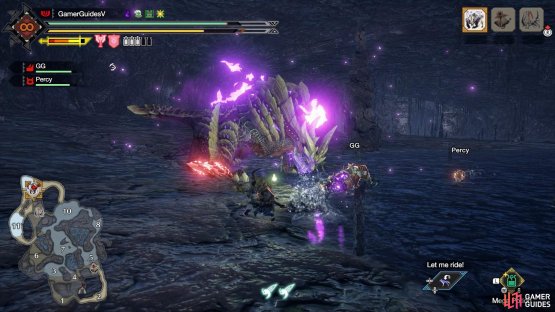
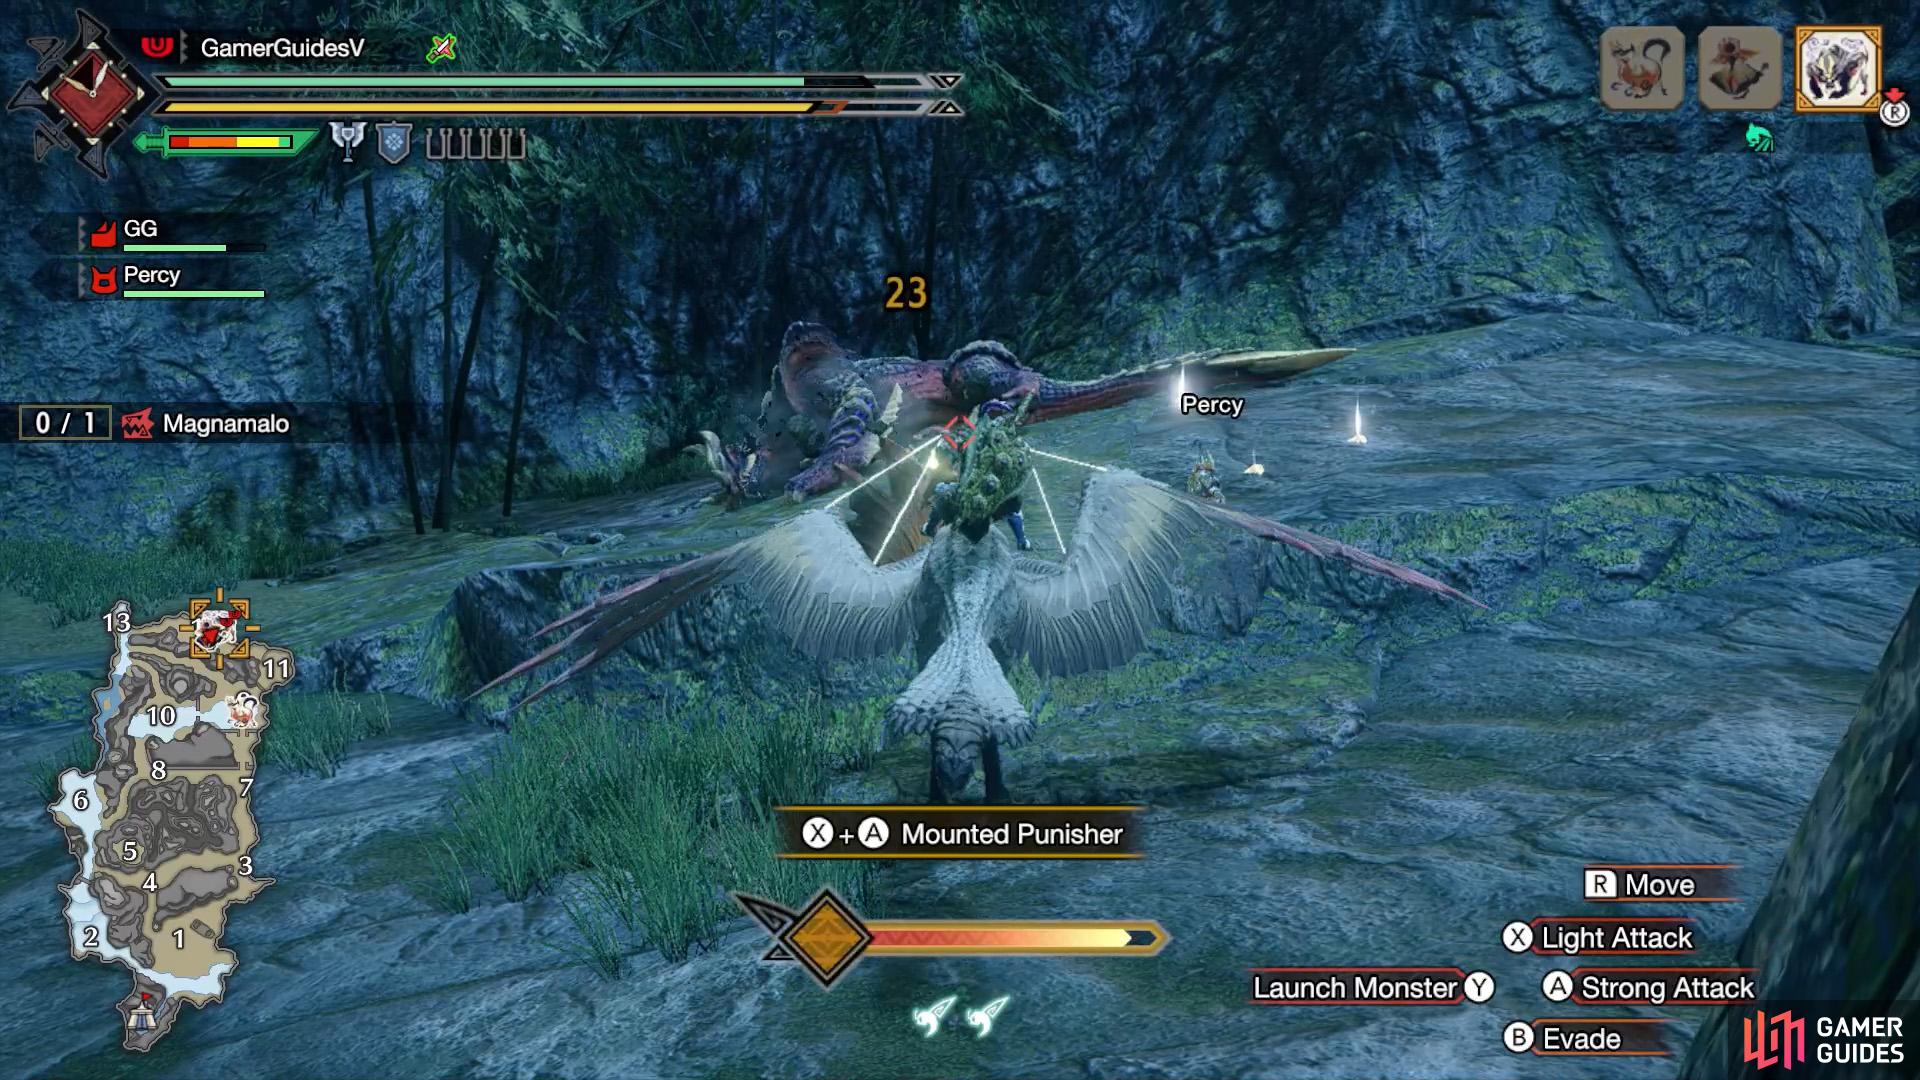
(1 of 2) Keep hitting the areas with hellfire…
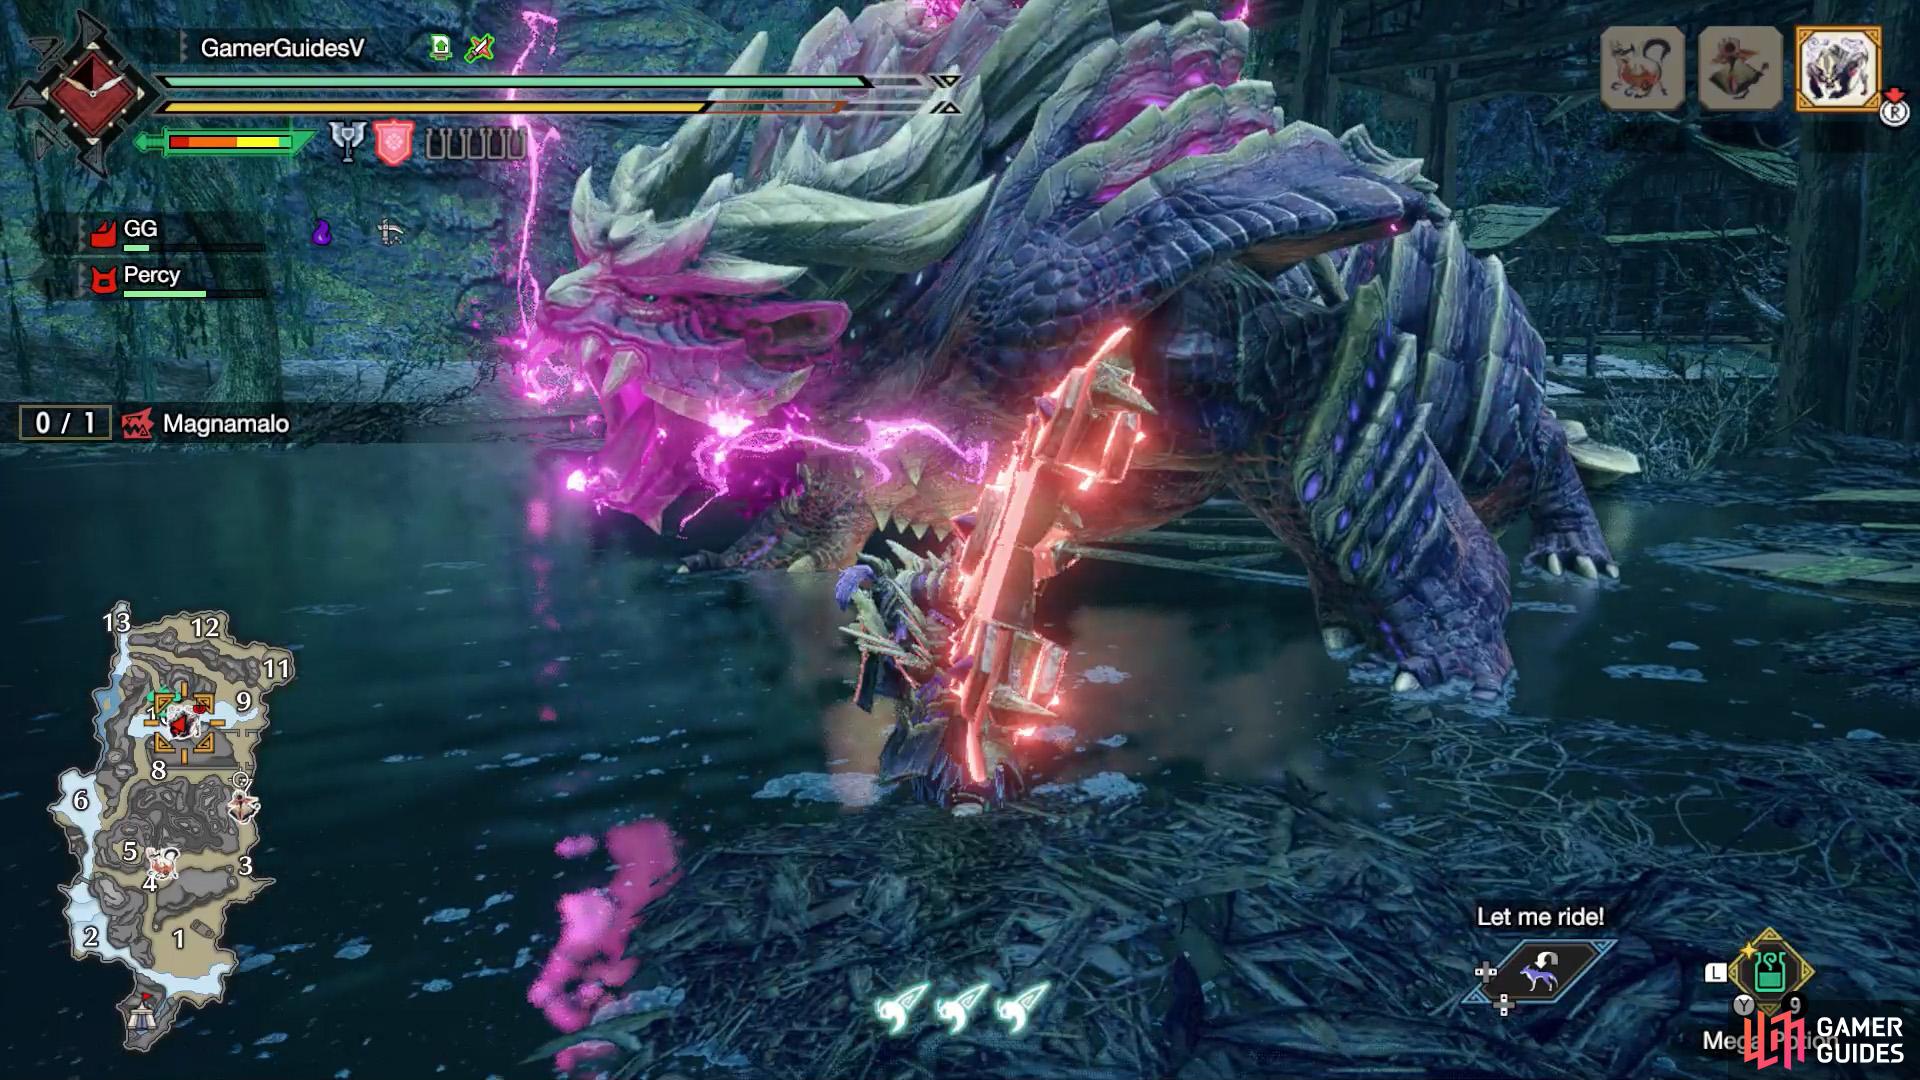
Keep hitting the areas with hellfire… (left), …and you may stun Magnamalo! (right)
Note that the hellfire on Magnamolo’s body can change places or color when Magnamalo roars or uses its Shaking Dust or Explosion moves. When it’s tired, some of the hellfire may disappear from its body naturally.
Looking at the hellfire is all well and good, but you can use the hellfire to your advantage. Similar to how the hellfireblight ailment works, if you keep hitting the hellfire on Magnamalo’s body, it will explode and stun Magnamalo. Exploding the hellfire will also make it disappear and prevent Magnamalo from using some of its powered up moves.
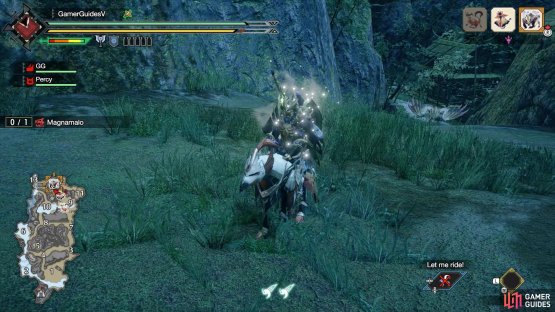

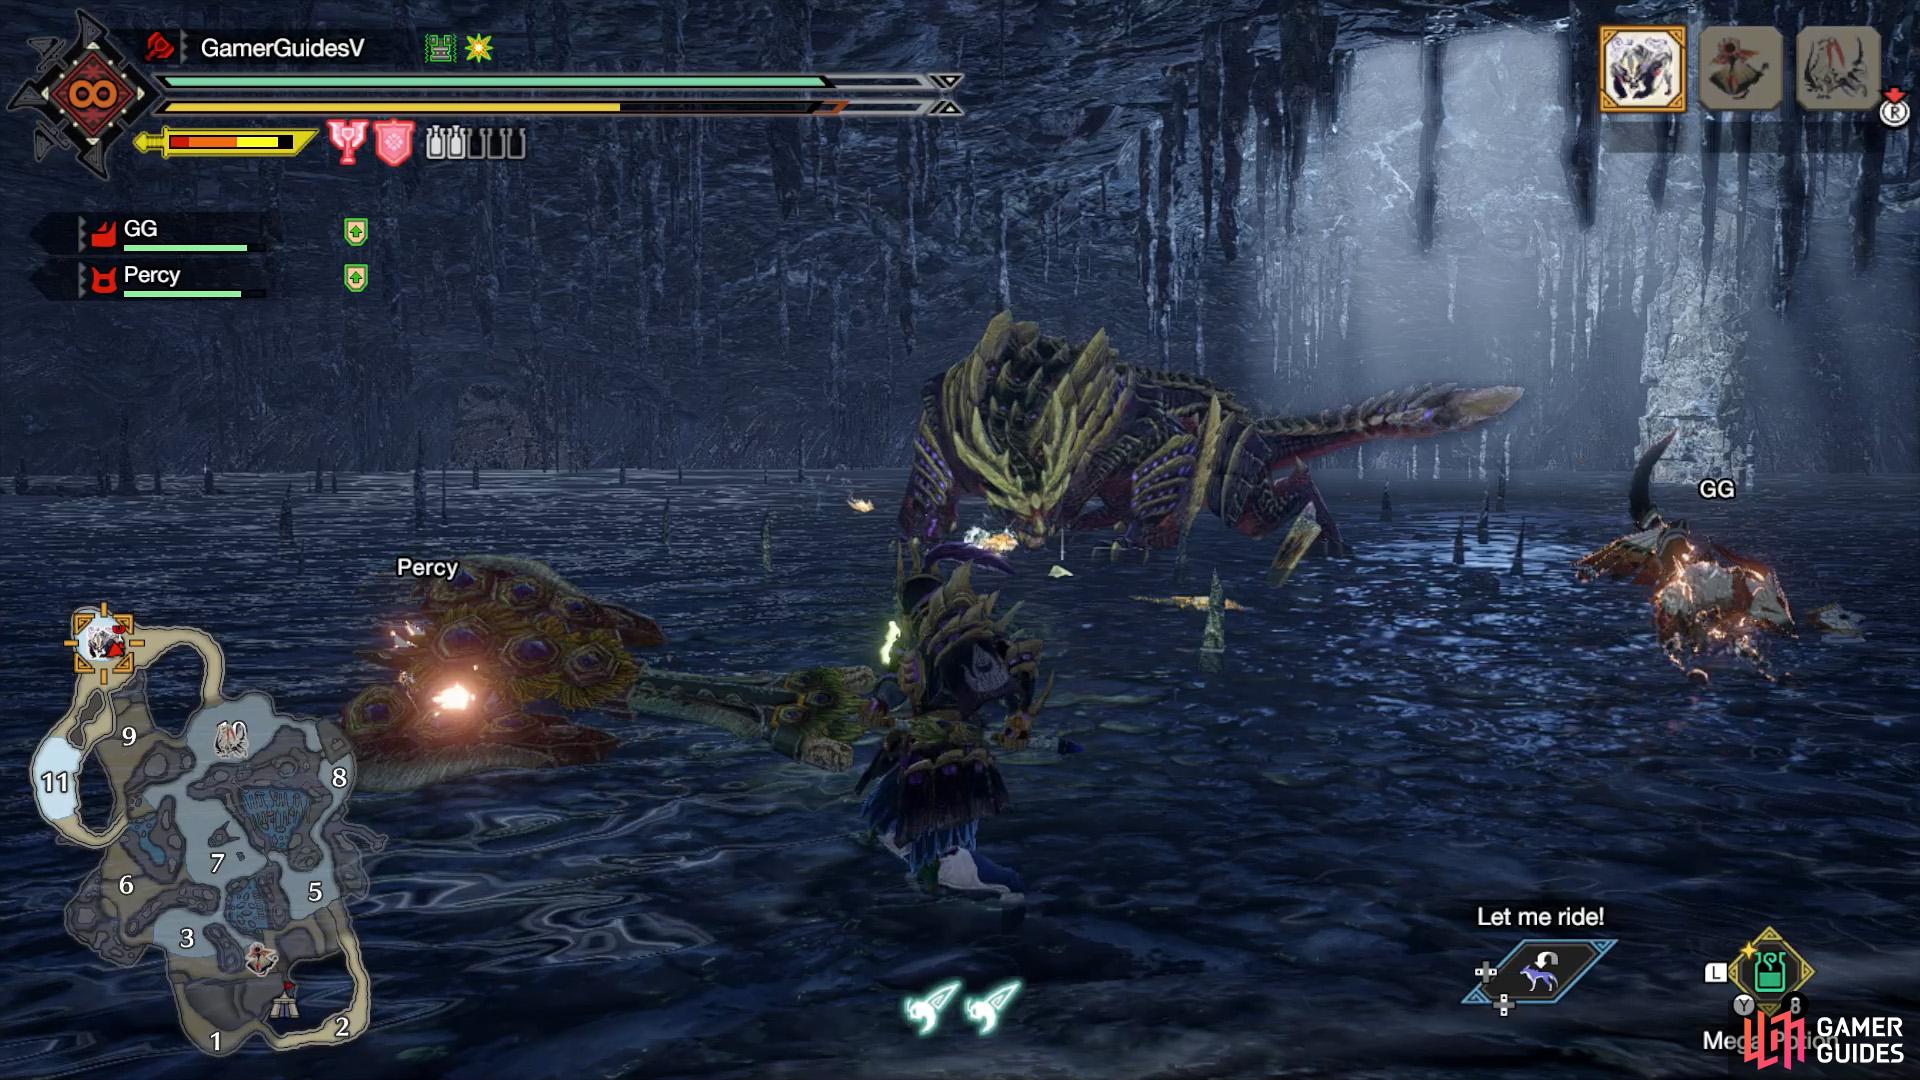
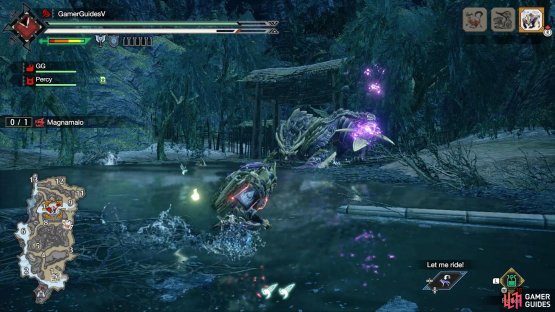
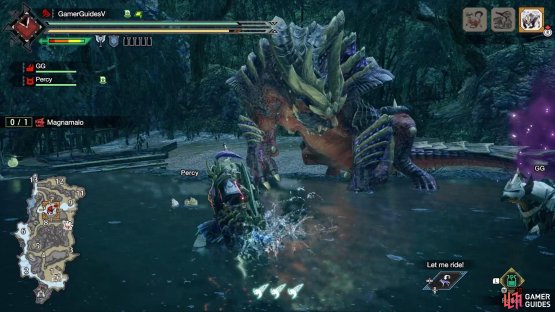
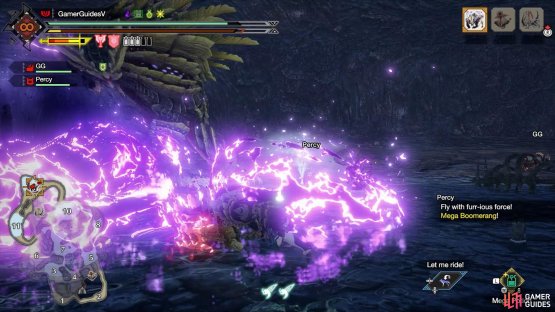
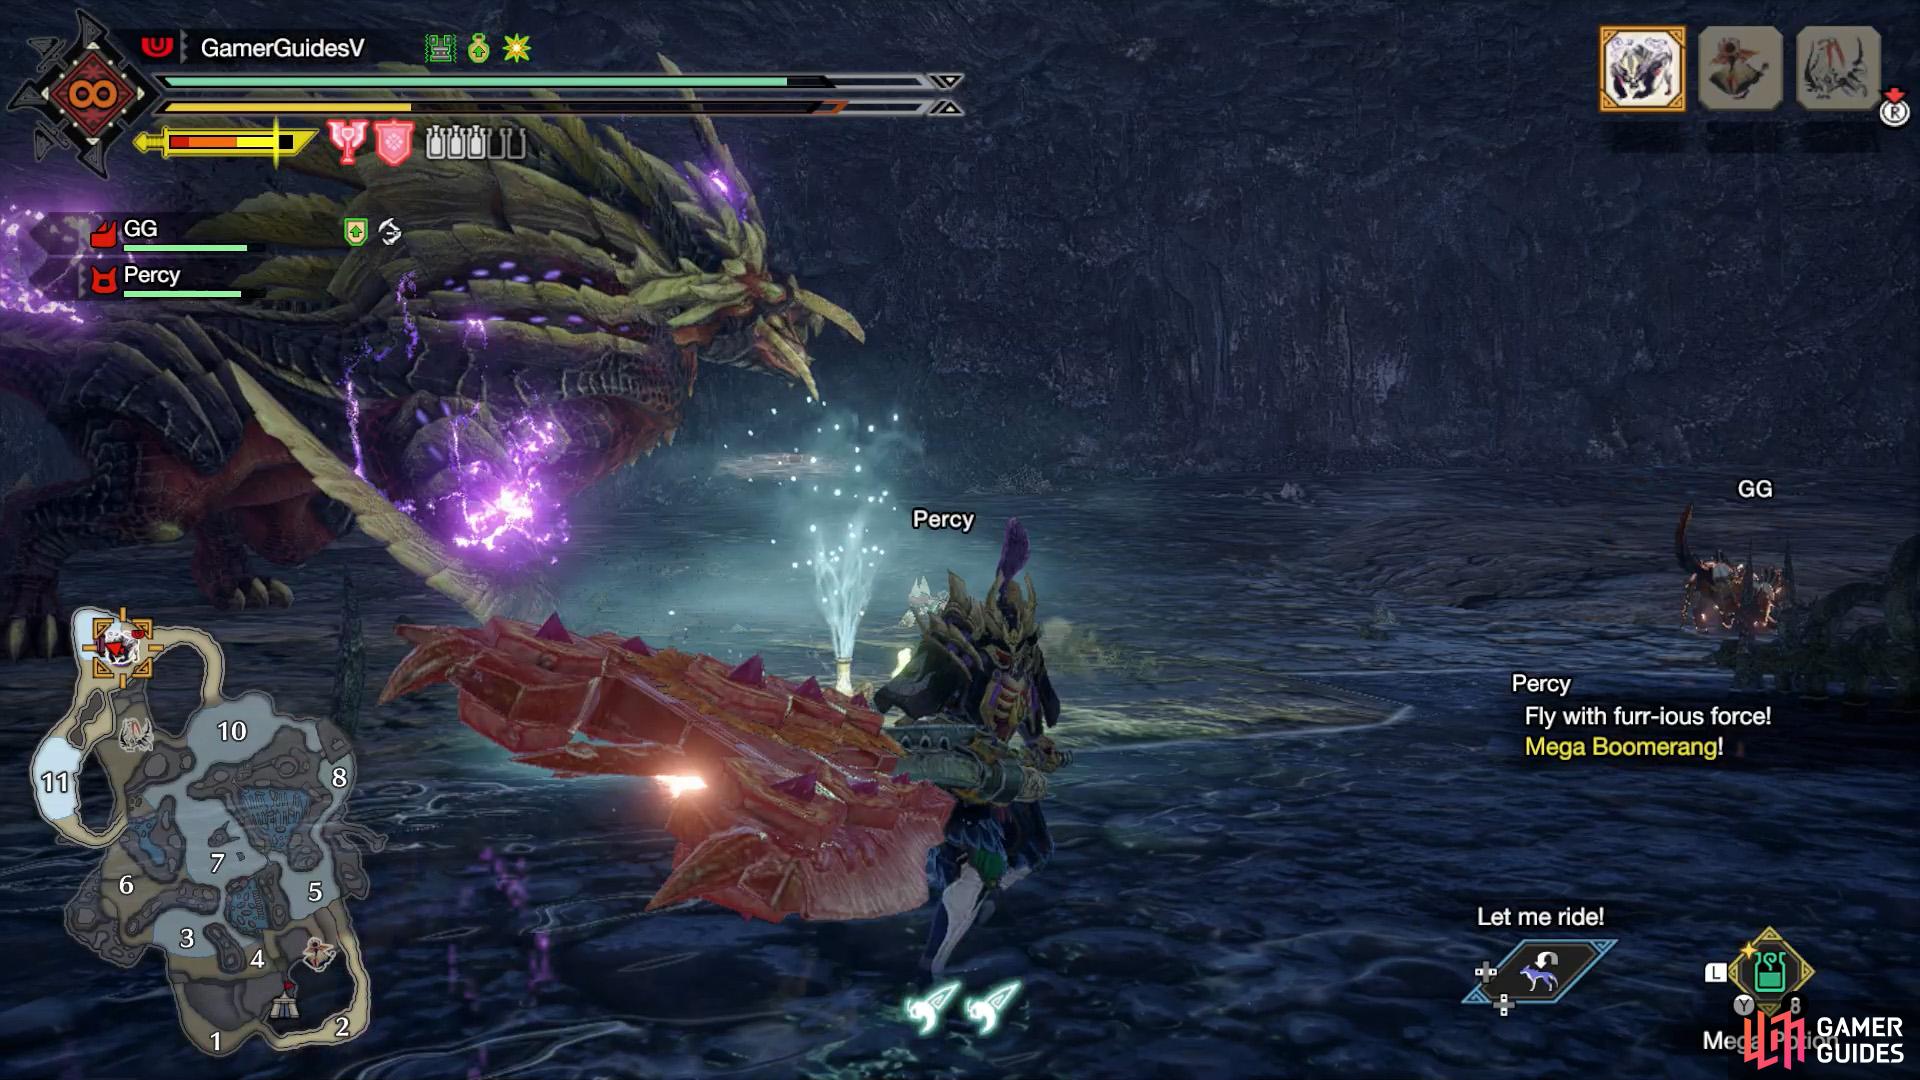
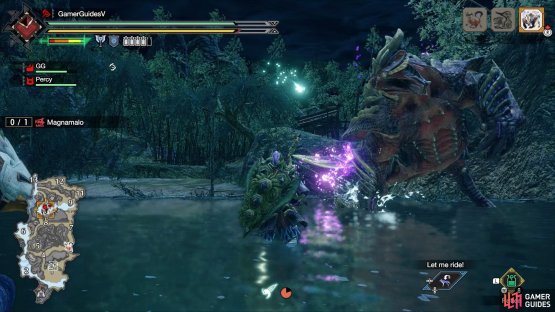
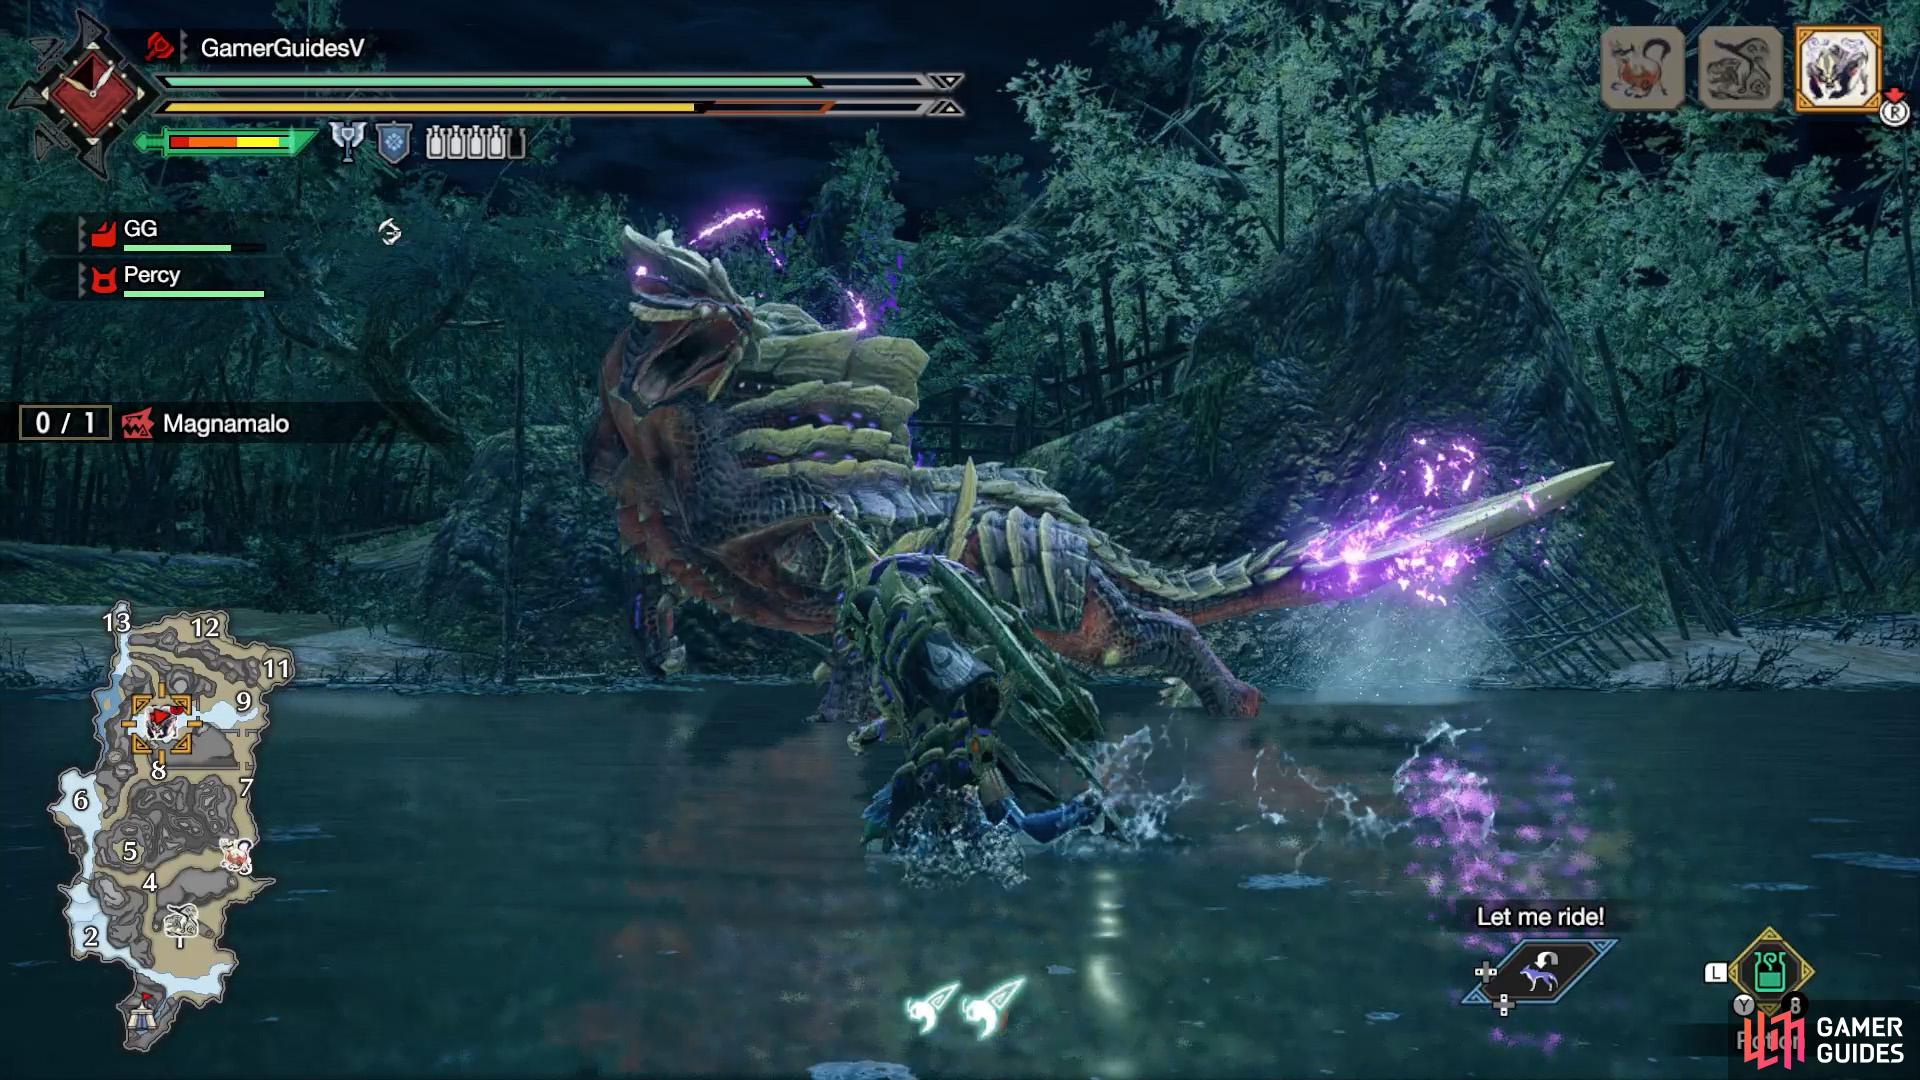
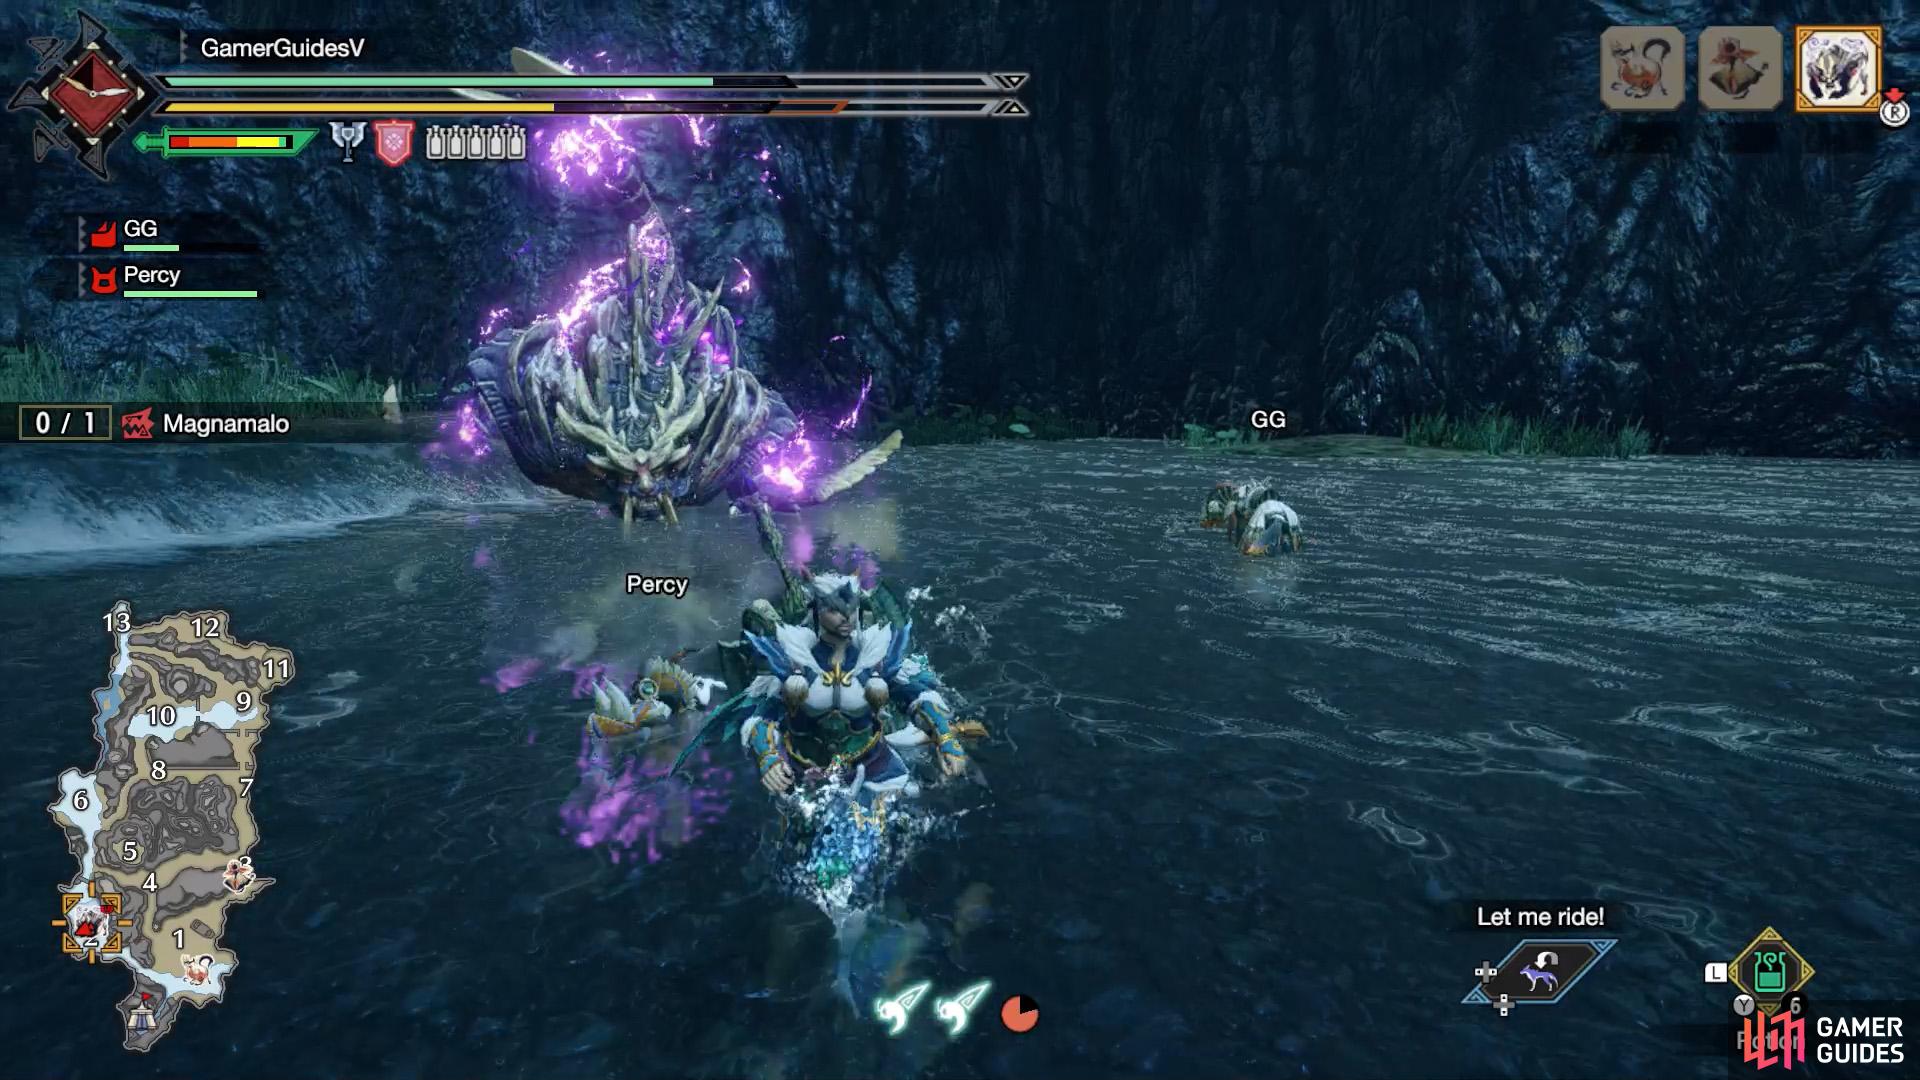
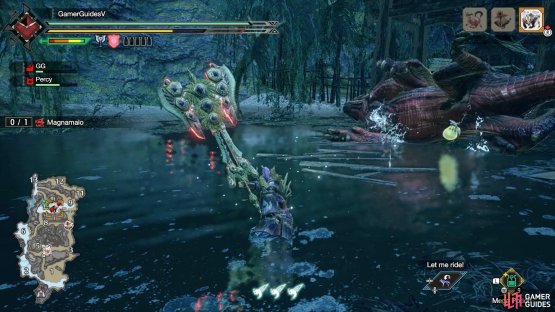
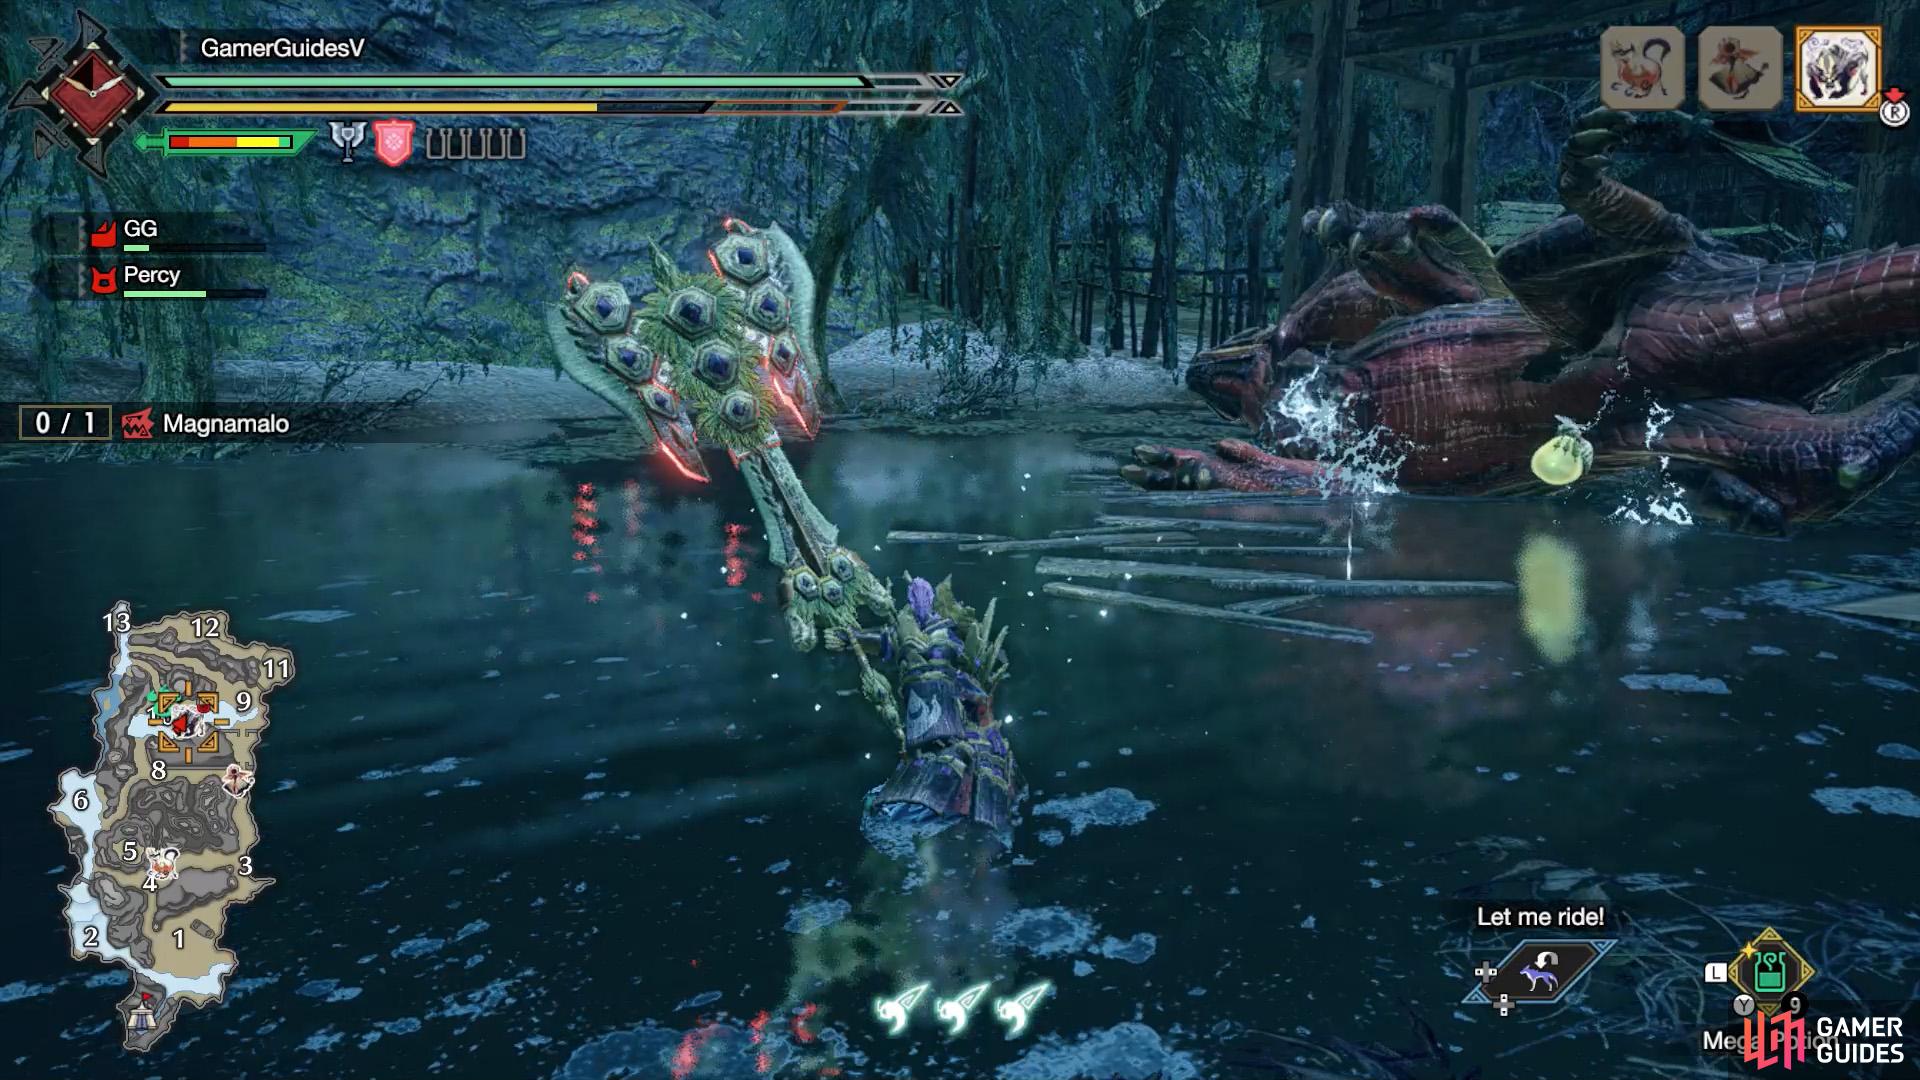
(1 of 2) Other monsters too far away? Use a stinkmink to drag them all the way to Magnamalo.

Other monsters too far away? Use a stinkmink to drag them all the way to Magnamalo. (left), After the turf way between the two monsters, you can wyvern ride to your heart’s content. (right)
Besides that, this is a good time as any to take advantage of Wyvern Riding. There will always be two large monsters on the map–we’ve seen the Great Izuchi, Aknosom and even Rathian. Since they’re not target monsters, it’s really easy to Wyvern Ride them. If they’re near Magamalo, you can ride them to Magnamalo and deal some easy damage.
If the other monsters are far away, grab a Stinkmink (listed as Hunting Helpers on your map) and use it while near a large monster. Once they’ve caught your scent, jump on your Palamute and lead the monster to Magnamalo. The stink lasts for ages, so there should be no problems. Then let the two monsters fight and Wyvern Ride the stunned monster. If Magnamalo gets stunned, launch Magnamalo into the other monster, so you can ride it.
Material Drops (Low Rank)
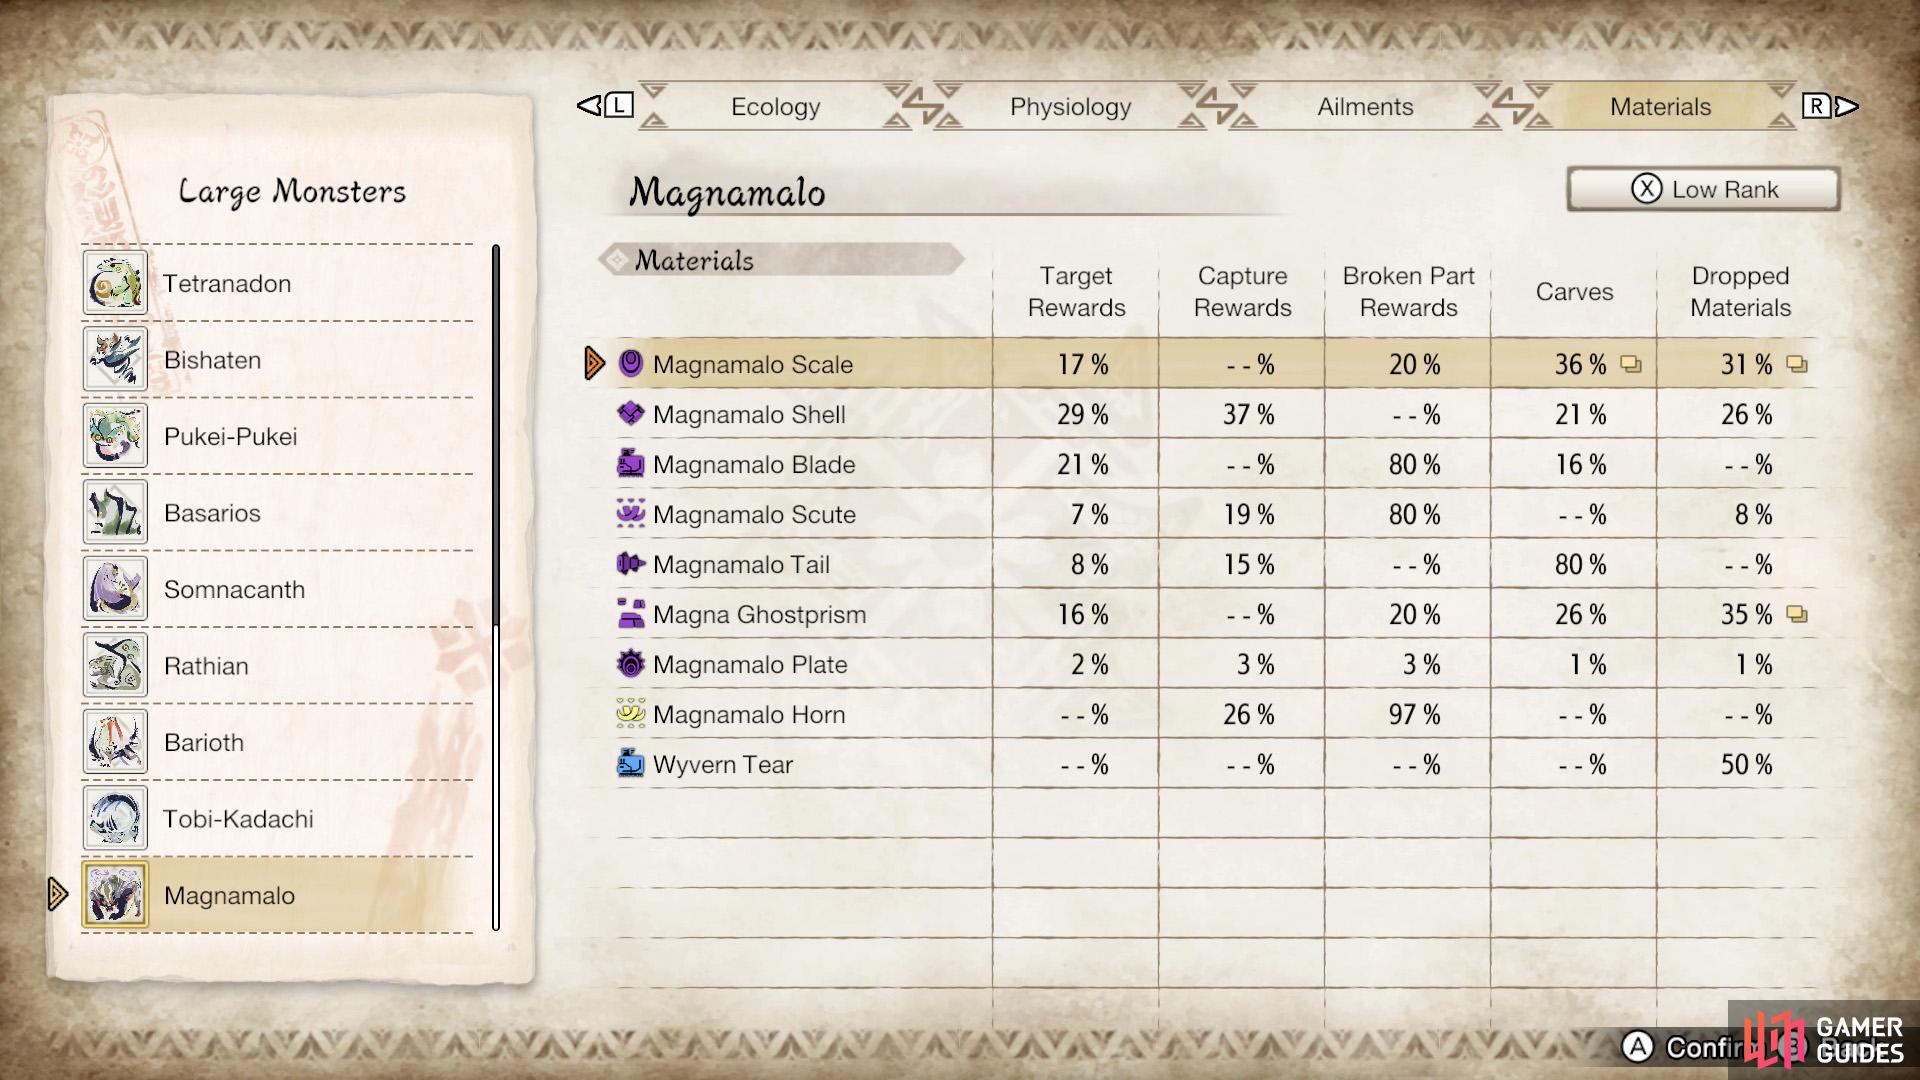
Drop list for Low Rank Magnamalo.
Target Rewards
| Material | Drop Rate (%) |
|---|---|
| Magnamalo Scale | 17 |
| Magnamalo Shell | 29 |
| Magnamalo Blade | 21 |
| Magnamalo Scute | 7 |
| Magnamalo Tail | 8 |
| Magnamalo Ghostprism | 16 |
| Magnamalo Plate | 2 |
Capture Rewards
| Material | Drop Rate (%) |
|---|---|
| Magnamalo Shell | 37 |
| Magnamalo Scute | 19 |
| Magnamalo Tail | 15 |
| Magnamalo Plate | 3 |
| Magnamalo Horn | 26 |
Broken Part Rewards
| Material | Drop Rate (%) |
|---|---|
| Magnamalo Scale | 20 (Armblade) |
| Magnamalo Blade | 80 (Armblade) |
| Magnamalo Scute | 80 (Back) |
| Magnamalo Ghostprism | 20 (Back) |
| Magnamalo Plate | 3 (Head) |
| Magnamalo Horn | 97 (Head) |
Carves
| Material | Drop Rate (%) |
|---|---|
| Magnamalo Scale | 36 (Body), 20 (Tail) |
| Magnamalo Shell | 21 (Body) |
| Magnamalo Blade | 16 (Body) |
| Magnamalo Tail | 80 (Tail) |
| Magnamalo Ghostprism | 26 (Body) |
| Magnamalo Plate | 1 (Body) |
Dropped Materials
| Material | Drop Rate (%) |
|---|---|
| Magnamalo Scale | 19, 31 |
| Magnamalo Shell | 0, 26 |
| Magnamalo Scute | 0, 8 |
| Magnamalo Ghostprism | 30, 35 |
| Magnamalo Plate | 1, 0 |
| Wyvern Tear | 50, 0 |
Material Drops (High Rank)
Coming Soon!
No Comments