
How to complete The Rampage Approaches
This page will guide you through The Rampage Approaches Hub Quest, where you must defend the Red Stronghold from hordes of monsters.
This Urgent Quest is unlocked after completing three unique 2-star Hub Quests. Upon completion of this quest, you can continue accepting Hub Quests; until then, you’ll be locked out from Hub Quests.
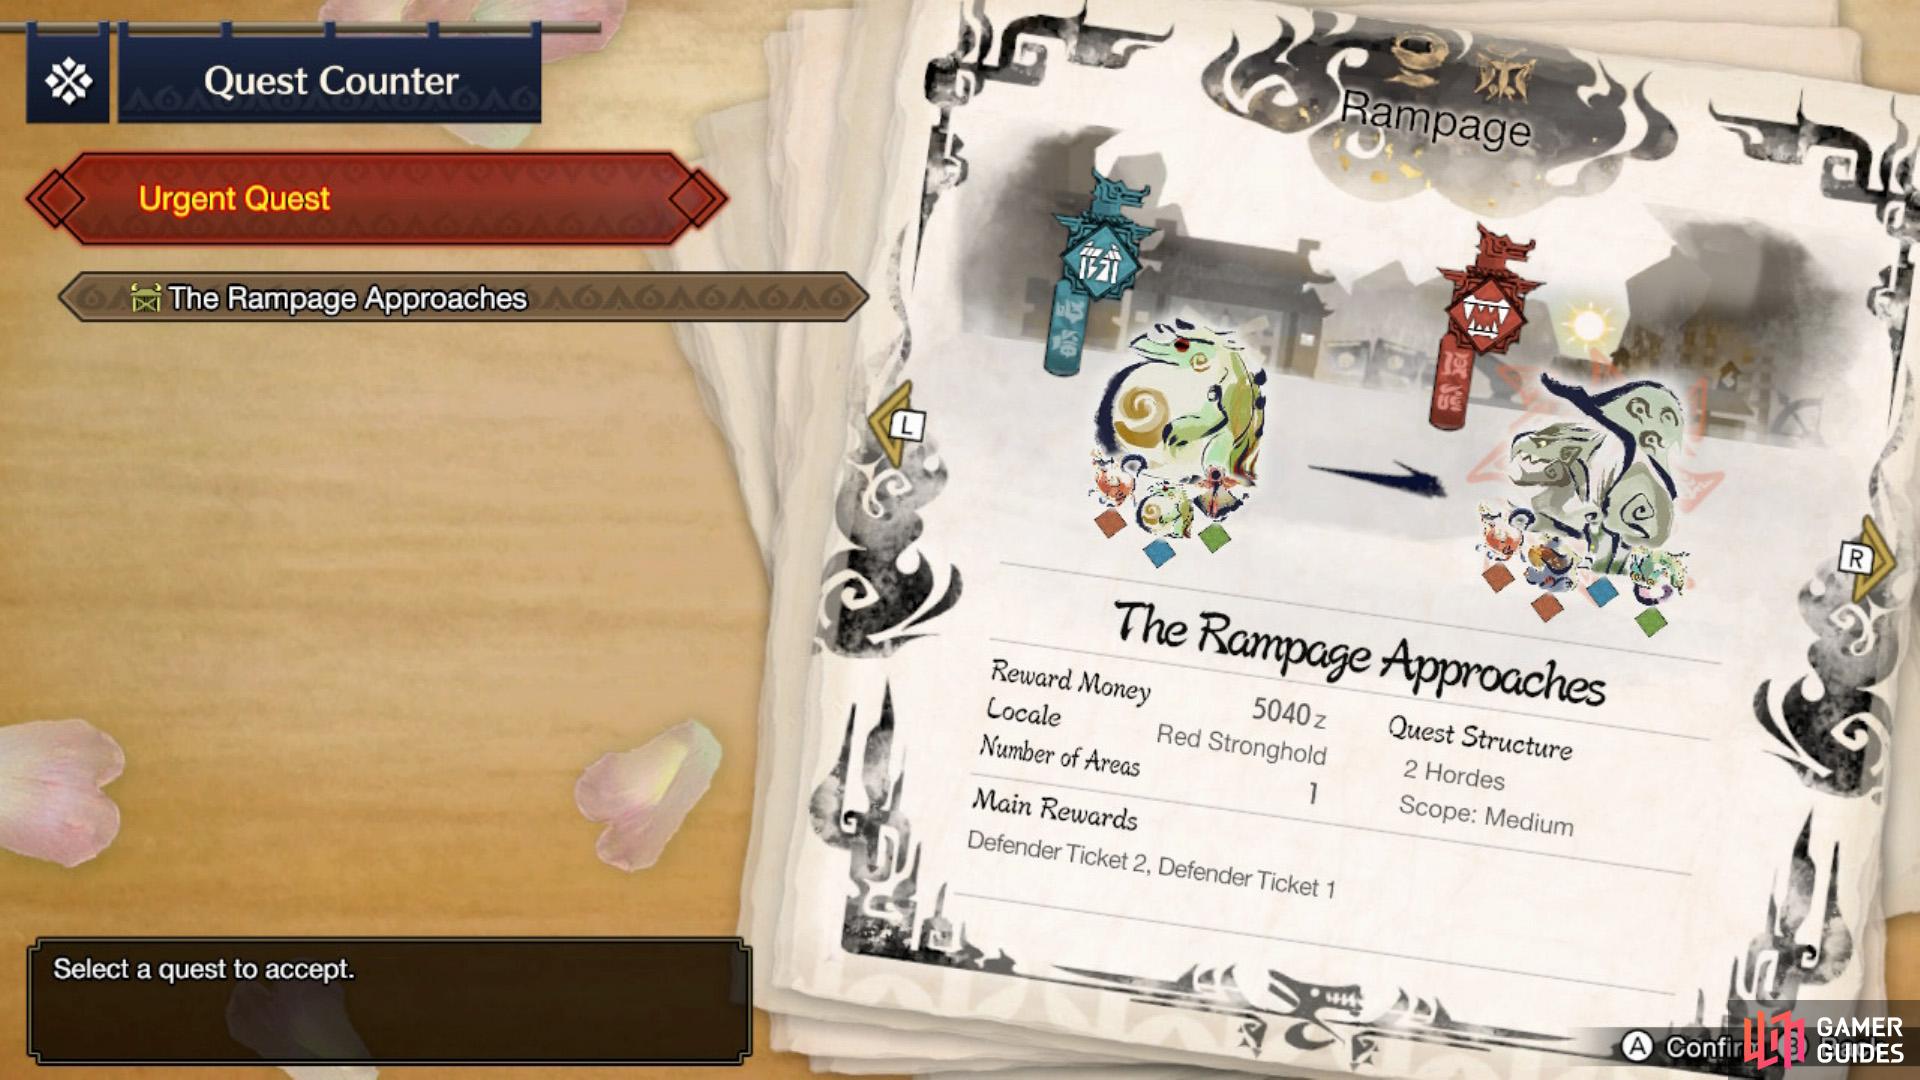
The Rampage Approaches is unlocked after completing three 2-star Hub Quests.
| Reward | Locale | Number of Areas |
|---|---|---|
| 5040z | Red Stronghold | 1 |
| Number of Hordes | Scope | Main Rewards |
|---|---|---|
| 2 | Medium | Defender Ticket 1 and 2 |
Preparing for the Rampage
As always, bring your best gear and plenty of potions. You’ll be fighting a large variety of monsters, but the main one will be Rathian. So try to get some Fire Resistance on you, just in case. Also, a friendly reminder to eat some Dango before heading out, for the useful HP and Stamina boost.
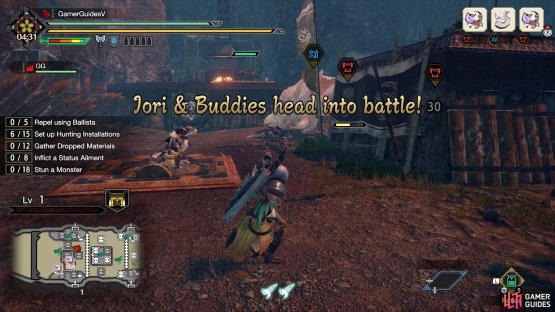
If this is your first Rampage Quest, there’s quite a lot to learn. Essentially, it’s a tower defense mode, where you must protect the gate at the end of the area from waves of monsters. Prior to this, perhaps the most monsters you’ve fought at once was three–but you’ll encounter way, way more than that! Luckily, all the monsters have vastly reduced HP.


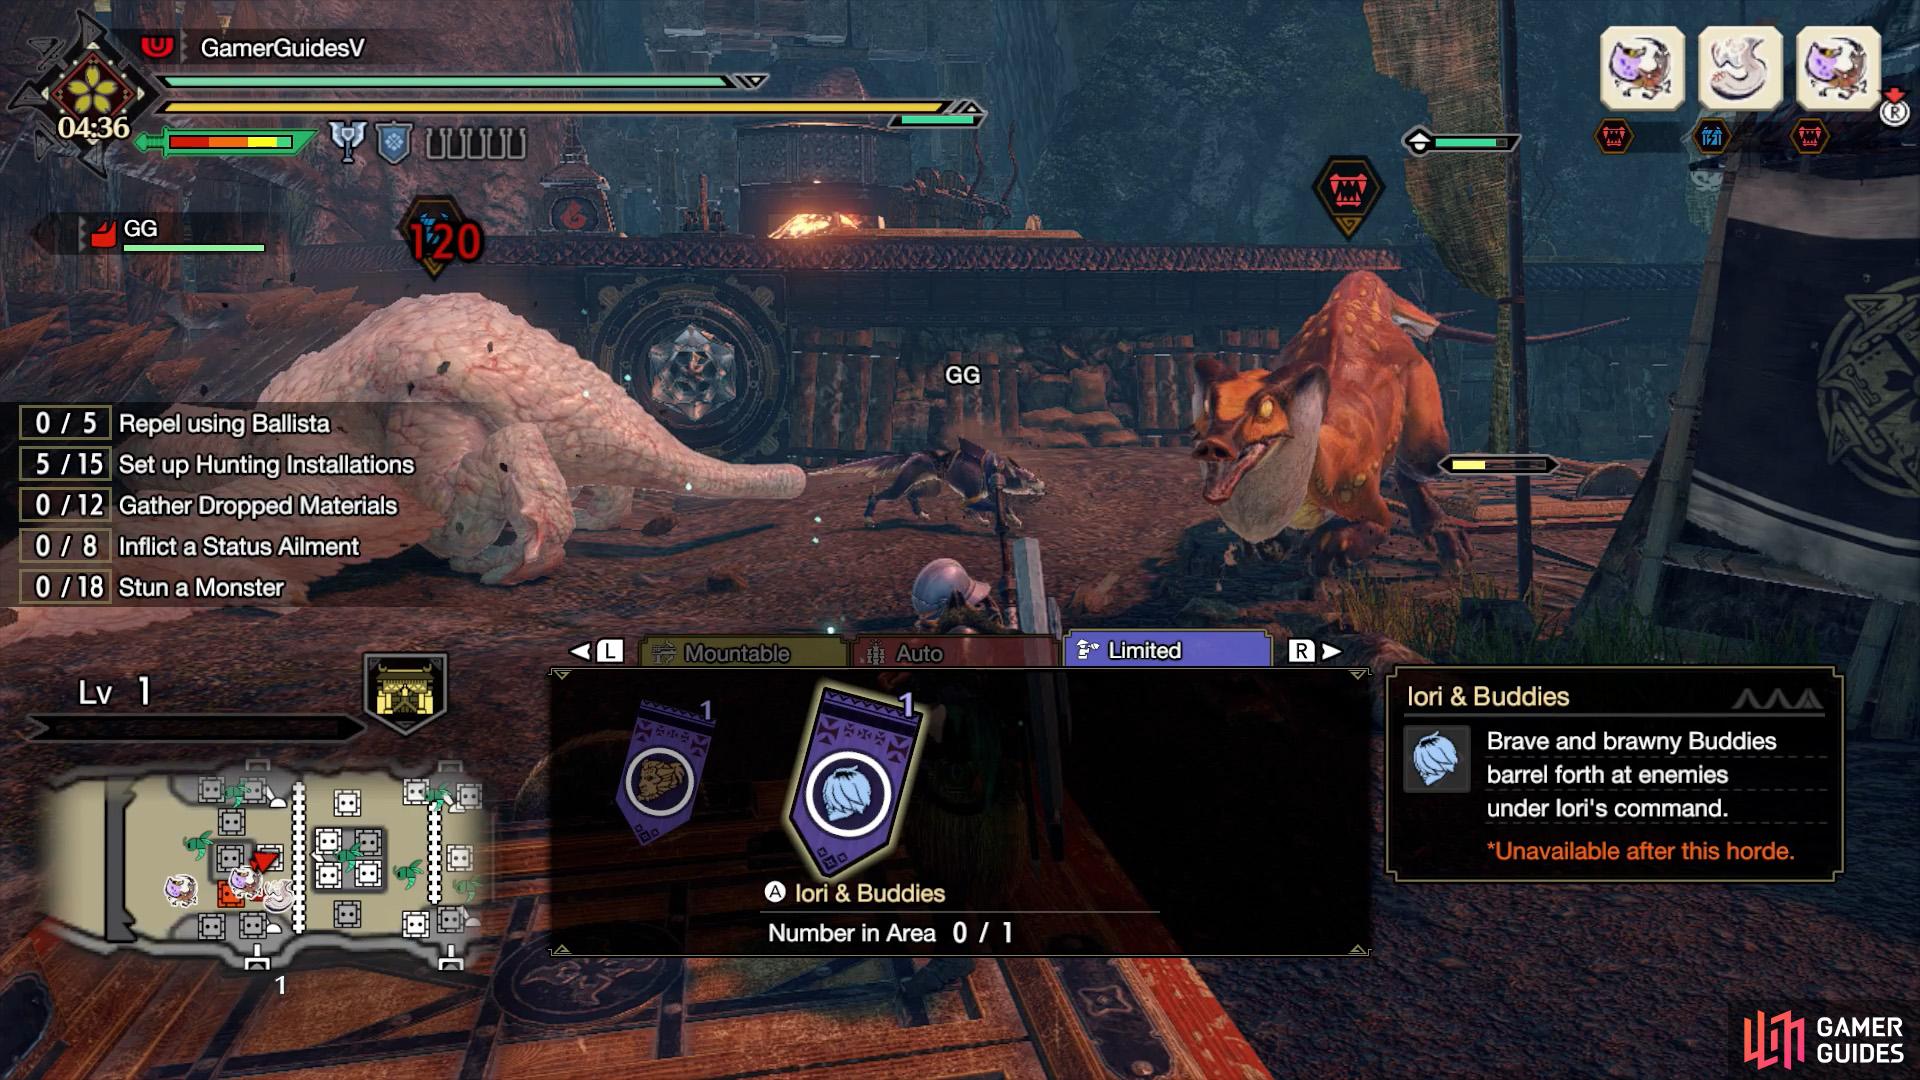
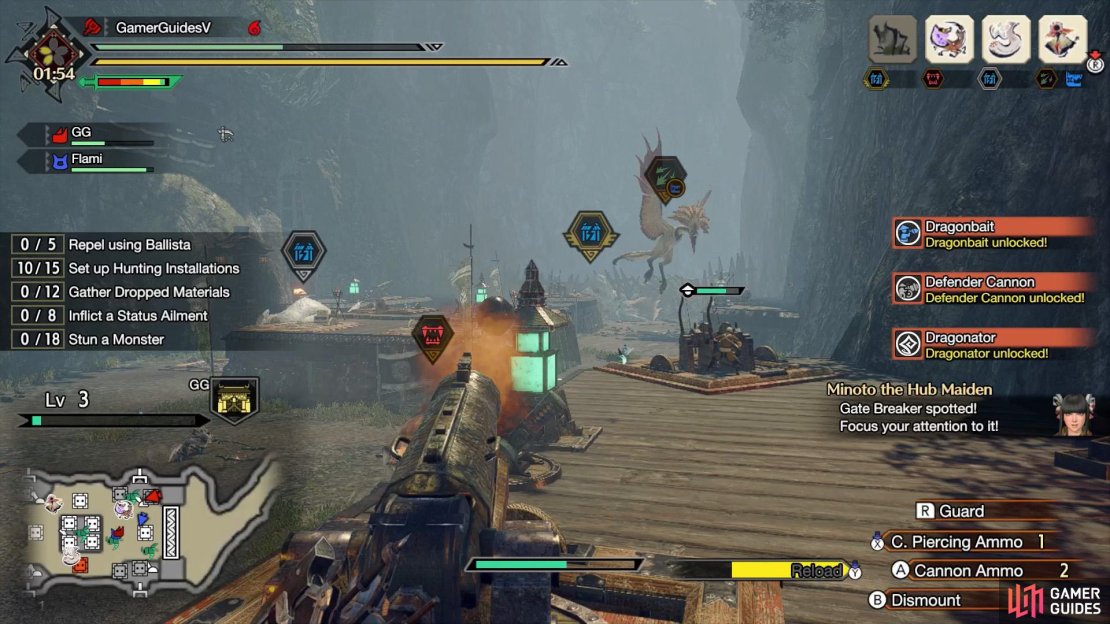
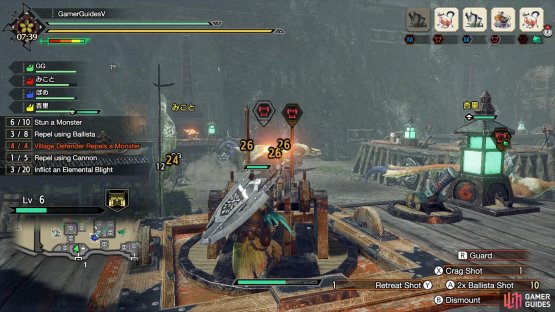
(1 of 2) You can ride Mountable installations and shoot monsters from afar.
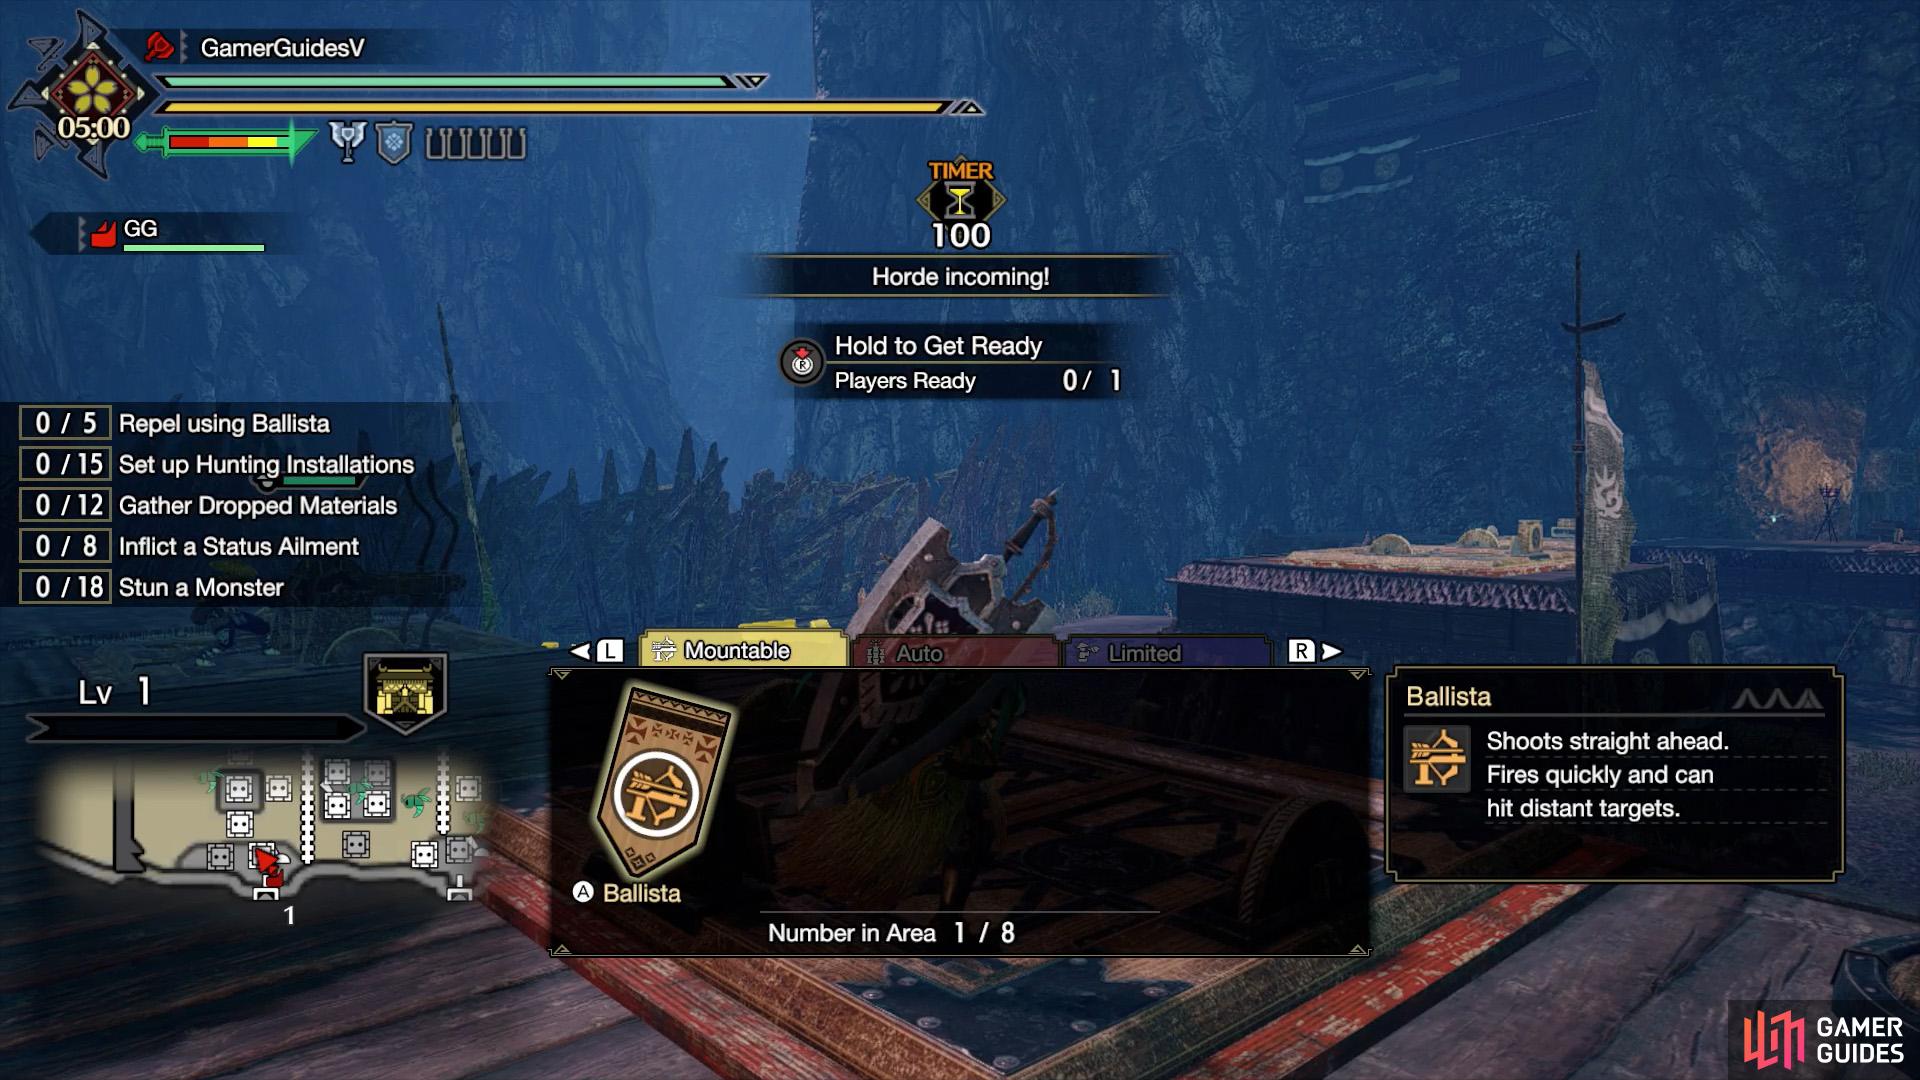
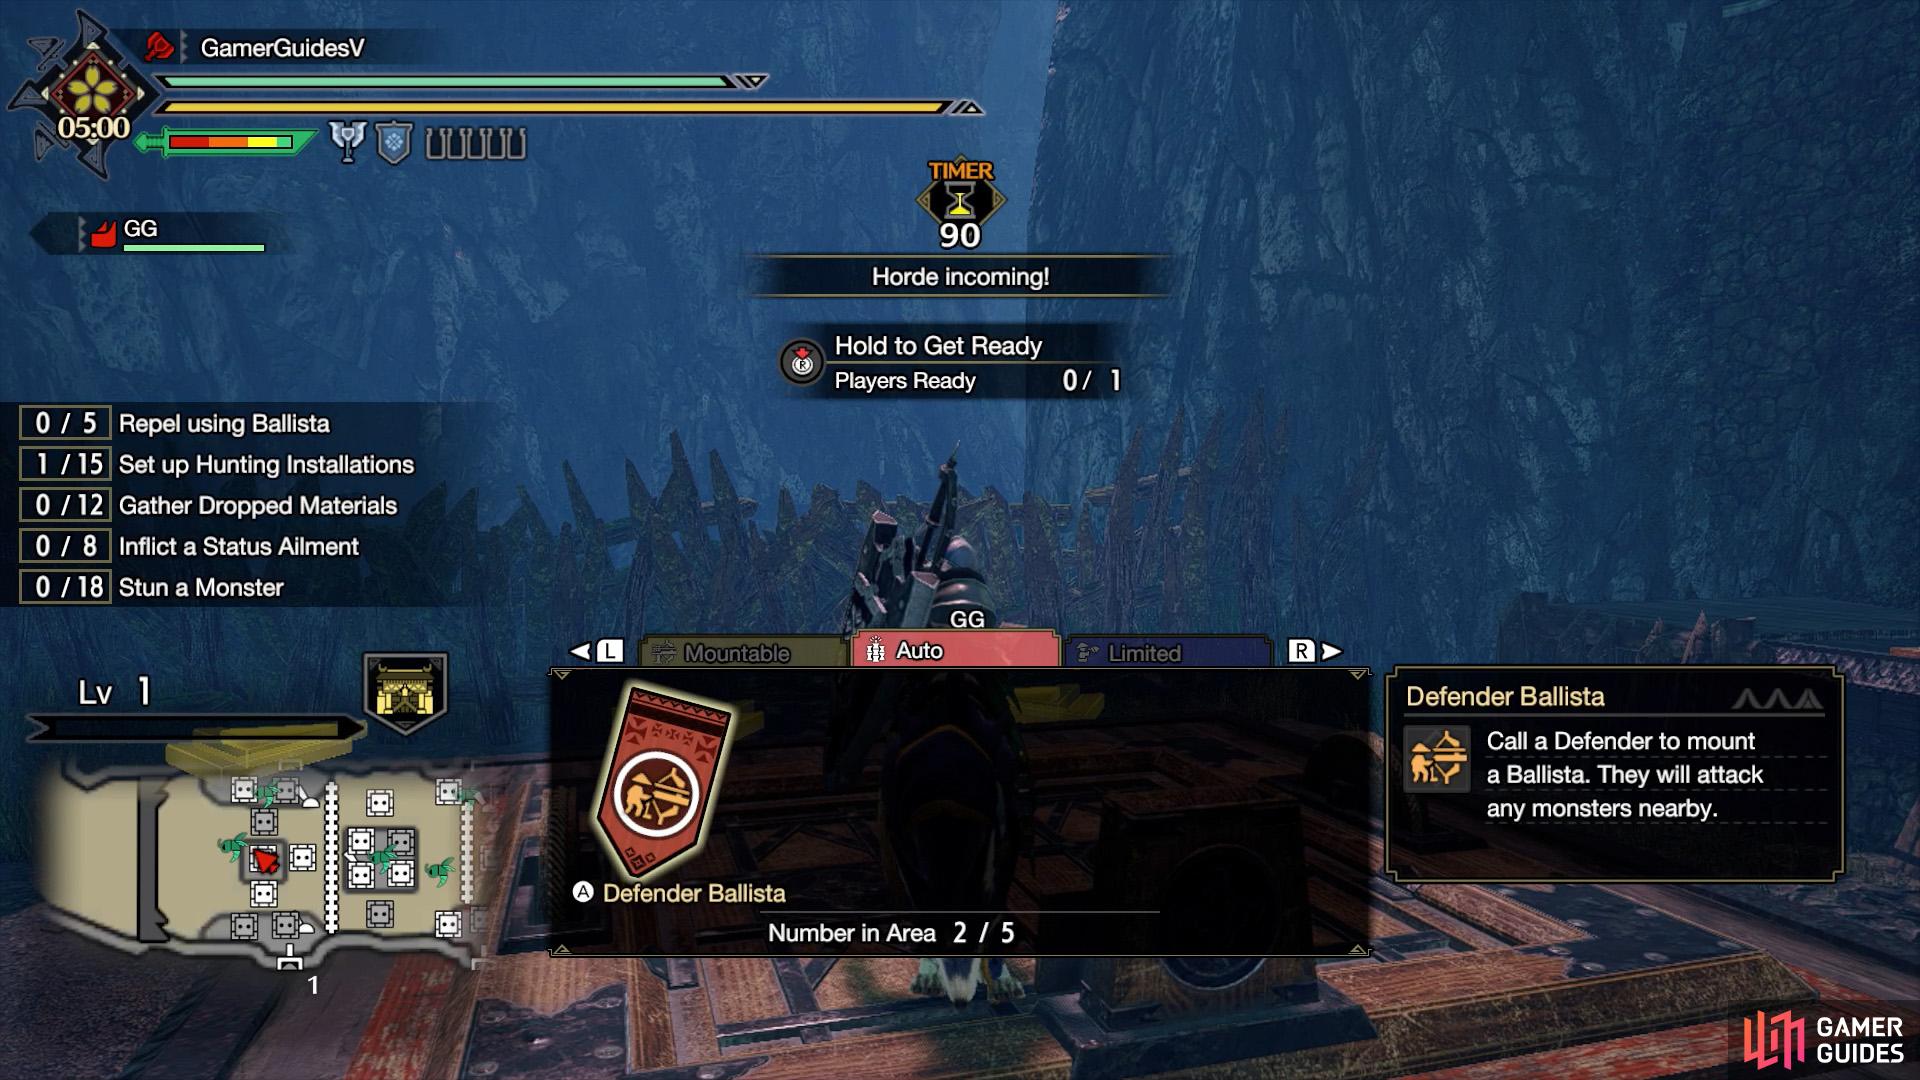
You can ride Mountable installations and shoot monsters from afar. (left), Auto installations will automatically attack monsters. (right)
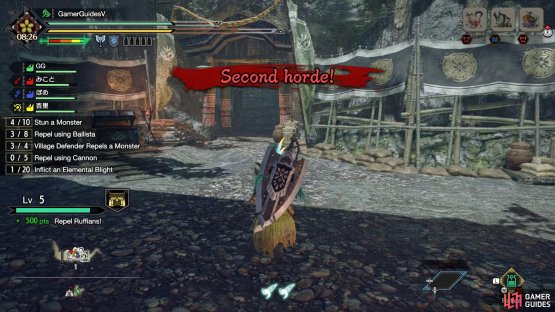
When you begin this quest as a host or if things are really quiet, you’ll start with the Preparation phase. You’ll get a limited amount of time to study the layout and prepare your defenses before the first wave arrives. Then you’ll get a similar break between the first and second waves.
During the Preparation phase, you can place installations by pressing  near the square-shaped trap doors on the floor. You can select from three installation categories:
- Mountable: These are installations you can ride and operate yourself (eg. Ballista). They’re useless unless you’re using them.
- Auto: These are installations that function by themselves (eg. Defender Ballista). They don’t pack the same punch as manual ones, but they will work without your input so they’re nice for chip damage.
- Limited: These are village defenders (like Elder Fugen) and other contraptions that can only be installed once and then disappear after they’re used. The timing of when to use them is important.
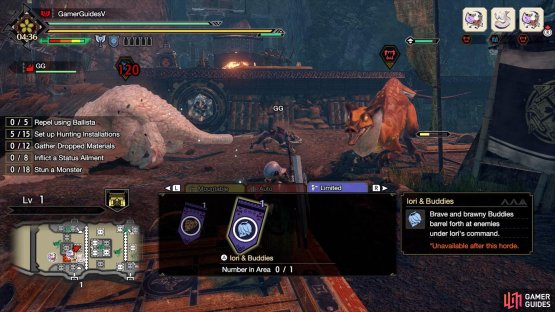
(1 of 2) Even people from the village will come to help you!

Even people from the village will come to help you! (left), However, some of them will only help during the current wave. Lazy buggers! (right)
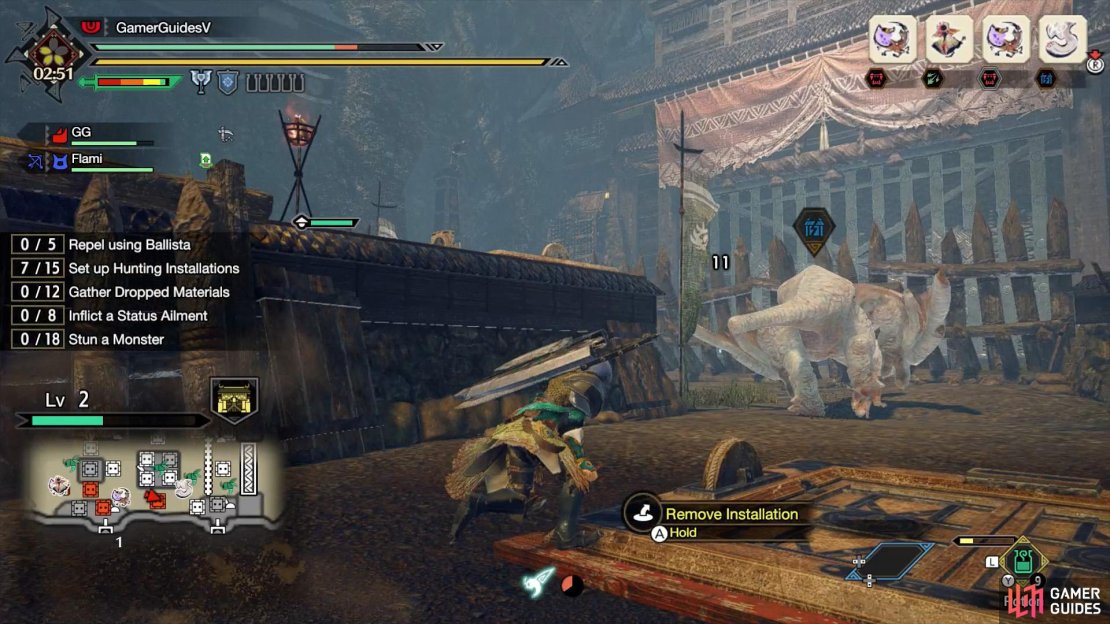
Besides the village defenders, all installations have HP, indicated by a bar above them. If their HP depletes, they will be destroyed and be removed from the map. However, they’ll automatically return after a set amount of time.
Likewise, all installations have a limit of how many you can have in one area. If you try to build an installation regardless, the oldest installation will automatically disappear. You can also hold to manually remove an installation (as long as it’s not destroyed).
In general, you should place a bunch of manual and automatic installations near the hot spots. This will be the entrance at the beginning, but eventually the monsters will likely start spreading further into the area. As for the limited installations, use them like they’re trump cards. But note that some Village Defenders only help in the wave they appear in.

(1 of 3) Stalkers try to harrass hunters and automatic installations.
Now, onto the monsters. They will appear in waves, which are further divided into groups. Each monster is also given a category, as shown by the symbol above it.
- Stalker: Shown by a red, jaw symbol. These fiendish monsters attack hunters and installations.
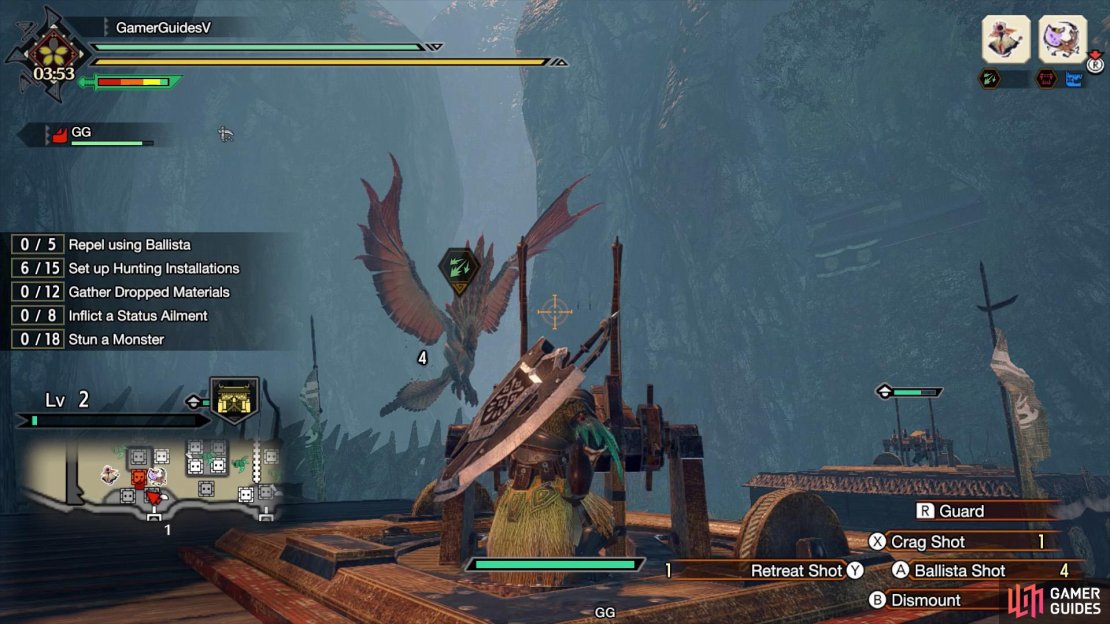
- Targeter: Shown by a green split fireball symbol. These annoying monsters attack from faraway, often from the air.
- Gate Crasher: Shown by a blue, cracked gate symbol. These one-minded monsters will devote all their efforts to breaking down gates.
Since your goal is to defend the final gate, your first priority should be stopping the Gate Crashers. These monsters have lots of HP and can tear down the gate if left unchecked. To quickly deal with them, use nearby installations (now’s a great time to use the Limited ones) or Wyvern Ride other monsters.
That said, you’ll also want some people to focus on the Stalkers and Targeters too, or things can get extremely chaotic. Luckily these have lower HP in comparison, so you can choose to fight them on foot. For the flying monsters, you’ll have to shoot them down with a Ballista or Cannon.
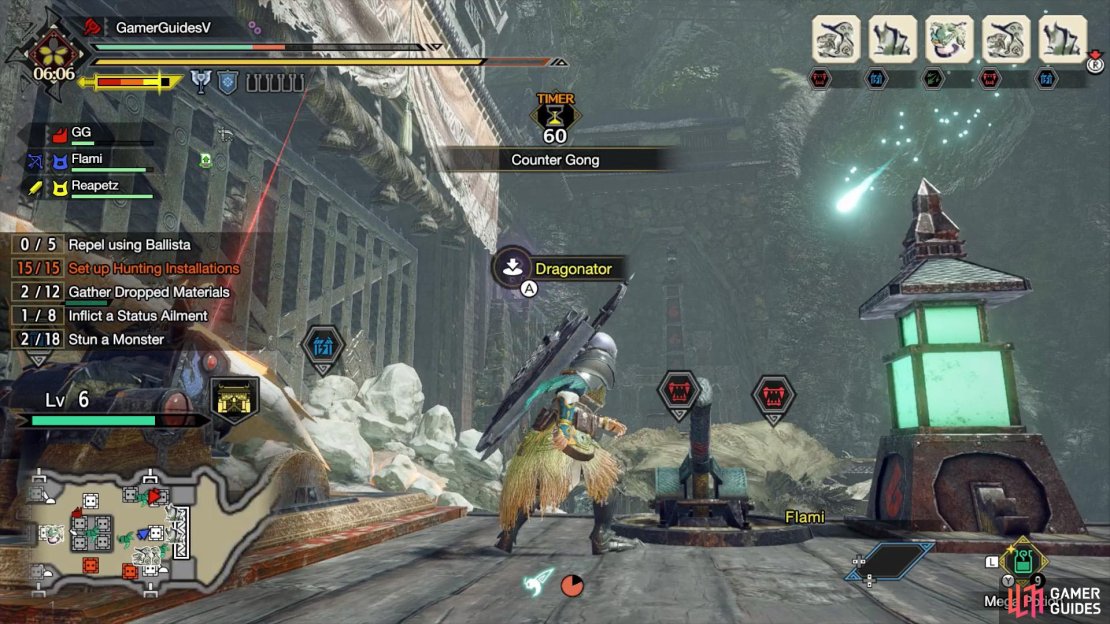
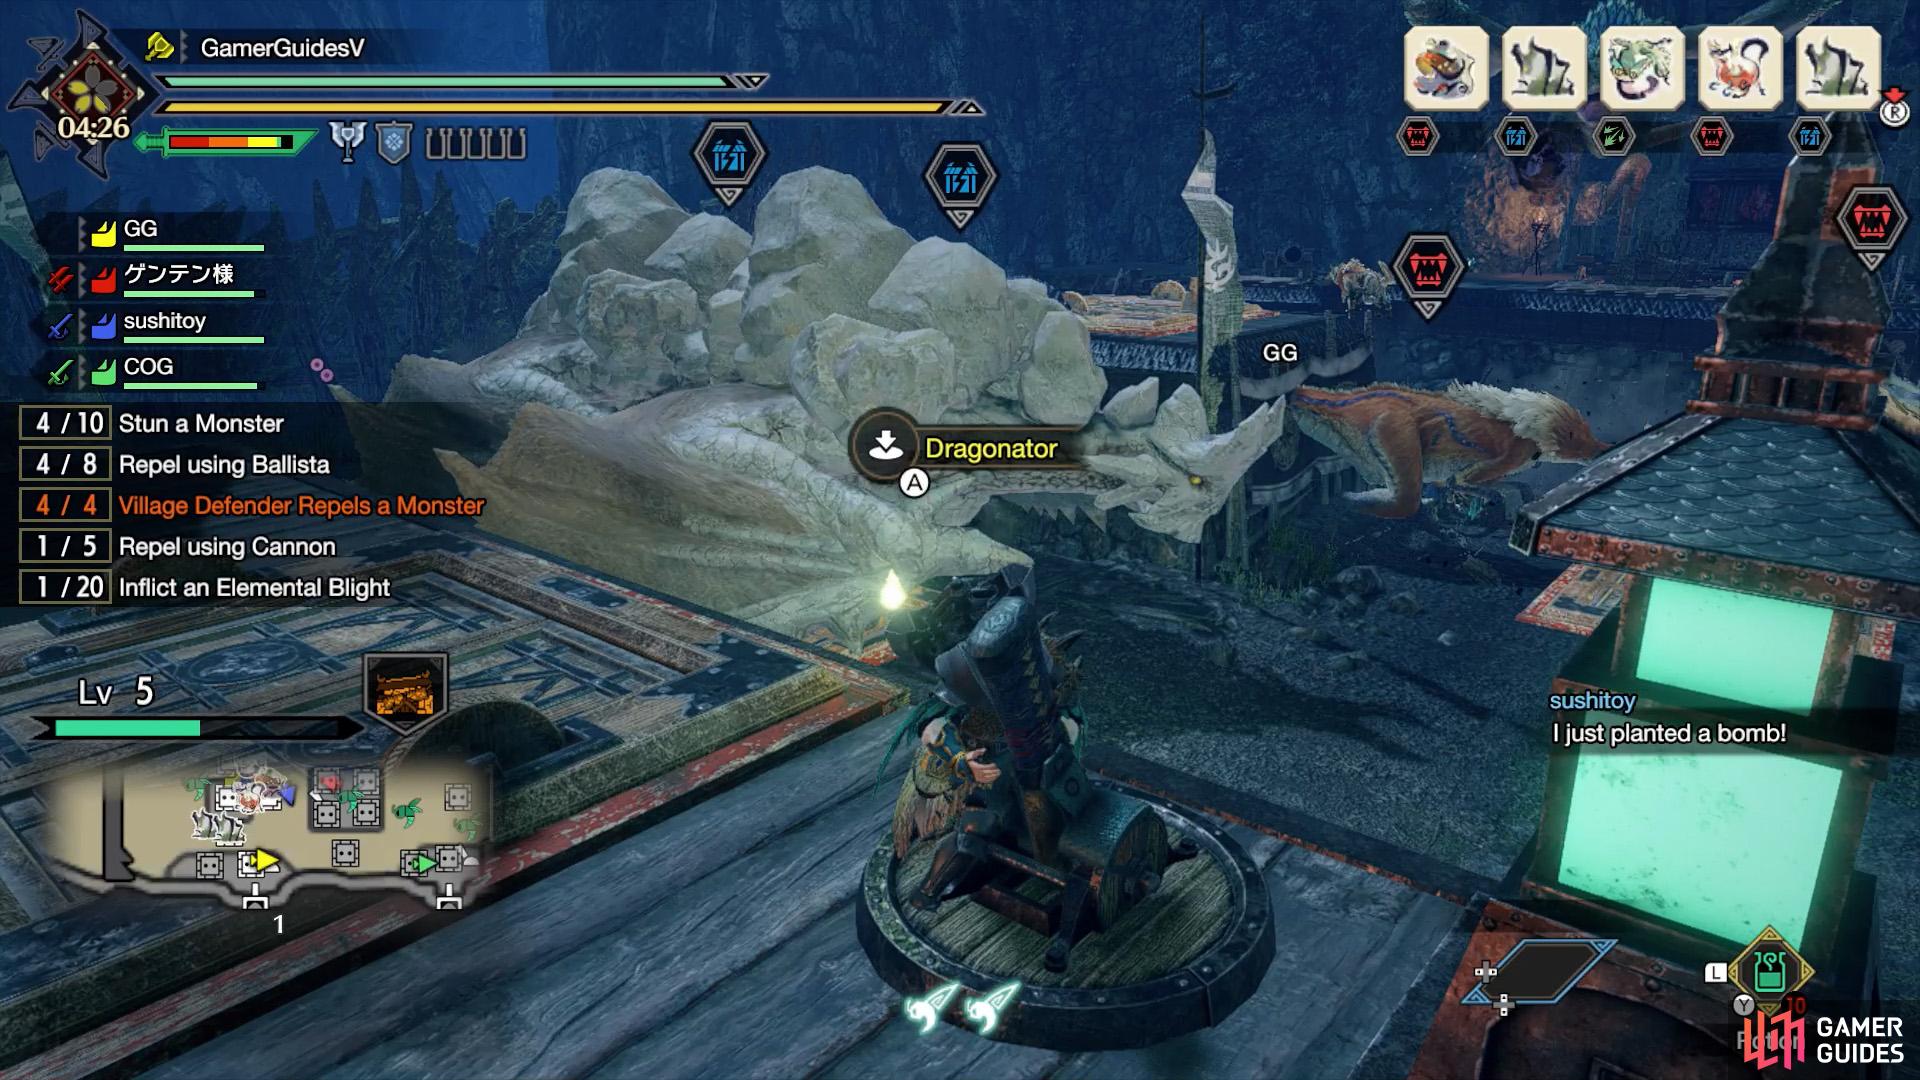
(1 of 3) The Dragonators unlock at Stronghold Level 3.
As you repel monsters and complete missions, your Stronghold will Level Up. This will unlock new and better installations. The main one to keep your eyes on is the Dragonator, which is a fixed installation, usually near the sides. It’s indicated by a “lever” icon on the map and flagged by green lanterns.
The Dragonator is a powerful drill-like weapon that can be activated by pulling the lever between the green lanterns. It will cause massive damage to monsters in front. However, there is a huge cooldown between uses. Note that the Dragonator near the front and the one near the back (at the final gate) have seperate cooldowns.
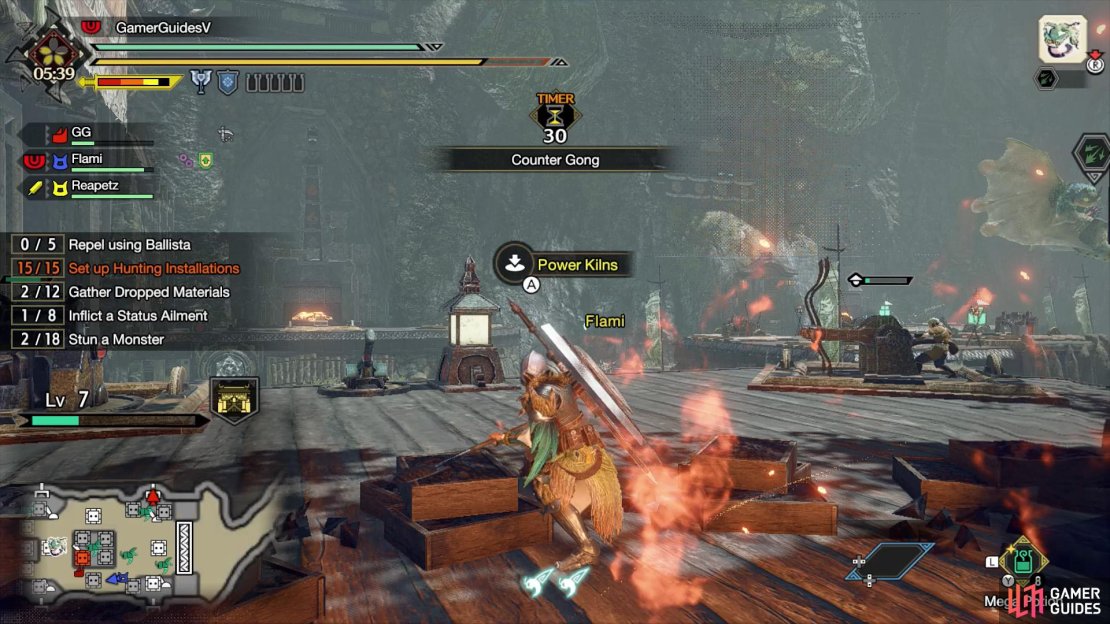
To speed up the cooldown, you can use the Power Kilns nearby, which resemble furnaces and are indicated by an upside-down “T” icon. Just spam to add fuel to the fire. You’ll have to repeat this multiple times, so make sure it’s safe. The best time is between waves, but if you’re in the middle of a wave, you can let your fellow hunters distract the monsters.
How to stop the Rampage
(1 of 2) Don’t be surprised if you join a Rampage Quest halfway through.

Don’t be surprised if you join a Rampage Quest halfway through. (left), Not sure what to do? Check the final gate or jump on a ballista/cannon and scout the area. (right)
Did you get all of that? Well, depending on how you begin this quest, you may not have time to properly digest it all. If you respond to a Join Request, chances are you’ll be thrust right in the middle or even the end of the Rampage. In which case, just do whatever it takes to protect the final gate, located to the far east.
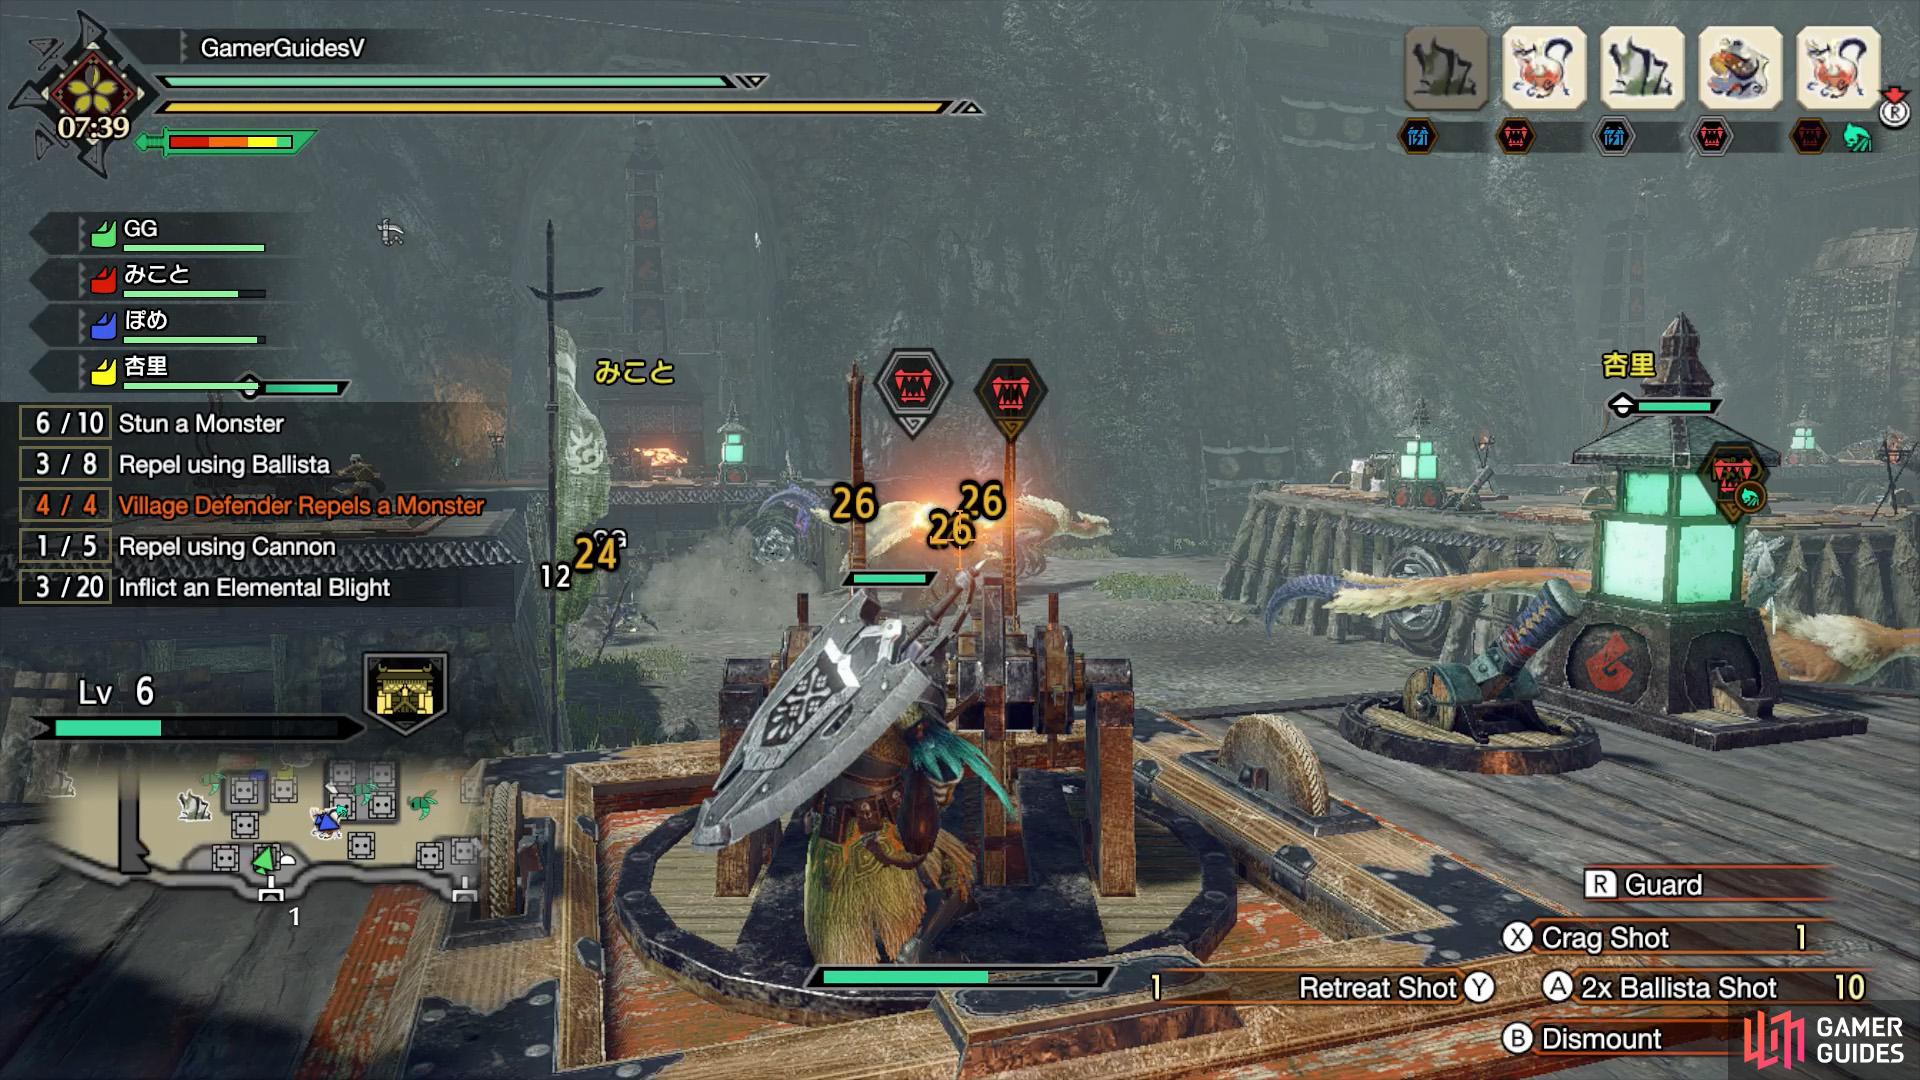
If things are looking crazy, it might be a good idea to jump on a Ballista/Cannon. Amid the chaos, it can be hard finding a Mountable one, but check if there’s an icon to the left of the HP bar. If you see a head, it means it’s an automated installation; otherwise, if there’s a plain old HP bar, you can ride it.
Once you’re on, fire away like no tomorrow. But watch out for Stalkers near you, who might try to knock you off. Plus keep your eyes above, in case there are Targeters that’ve noticed you. When you see an attack coming, you can hold  to guard. If your Ballistae/Cannon gets destroyed, no biggie. You’re bound to find more “fun” elsewhere.


(1 of 2) It’s easy to forget about the Dragonators, but if you time them well…
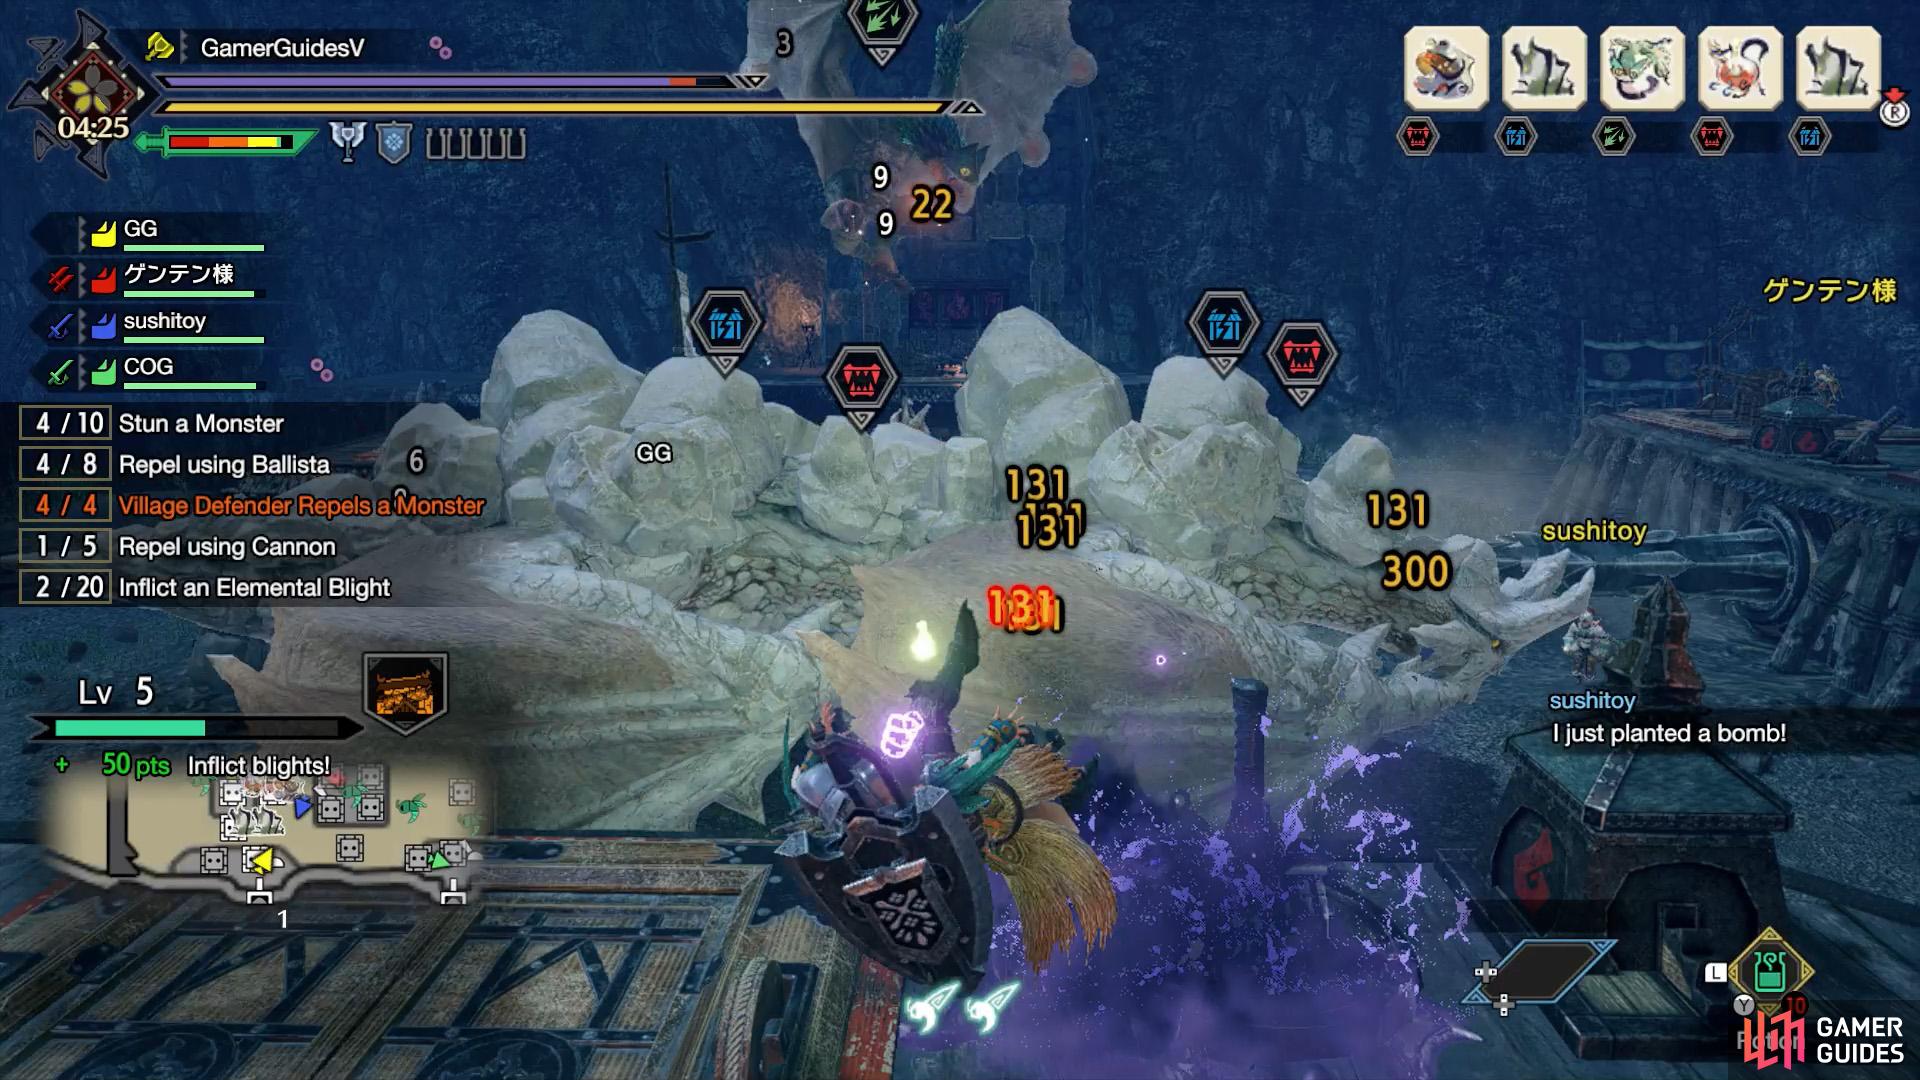
It’s easy to forget about the Dragonators, but if you time them well… (left), You can deal massive damage to multiple monsters. (right)
When you see the Counter Signal, we suggest abandoning the installations and switching to your weapons, as your weapons get a huge attack buff. However, there may be occasions where you should stay on an installation for a bit longer–for example, to shoot down a Targeter.
Also, when your Stronghold is Level 3, the Dragonators will be unlocked. At this stage, it’s very easy for other hunters to forget about them. But they can help massively. There’s usually one Dragonator near the front and another at the final gate. As mentioned, the Dragonator has a huge cooldown, so timing is key. But make sure to use them at least once, or it’s a big waste.
To finish this quest, you need to either survive both waves of monsters or defeat the Rathian, which appears near the end of the second wave. If attempting this quest in multiplayer, you should be able to take down the Rathian between the four of you. Otherwise, if you’re doing this quest alone, prioritize defending the gate and try to distract the Rathian if you can.
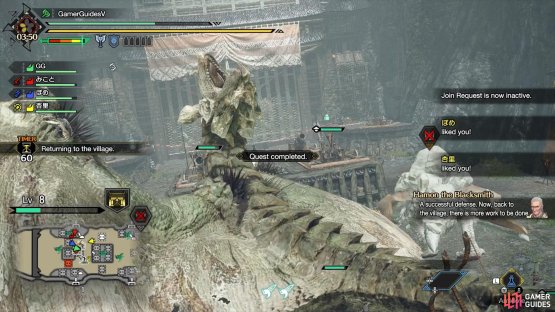
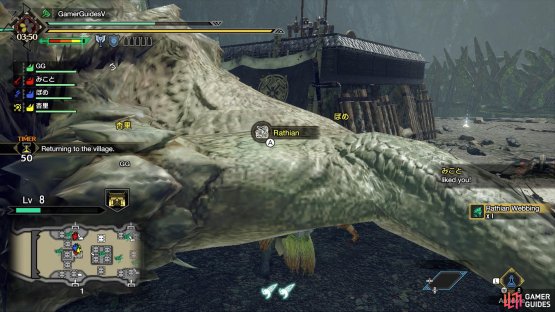
(1 of 2) With four hunters on the job, it shouldn’t be too hard to defeat Rathian.

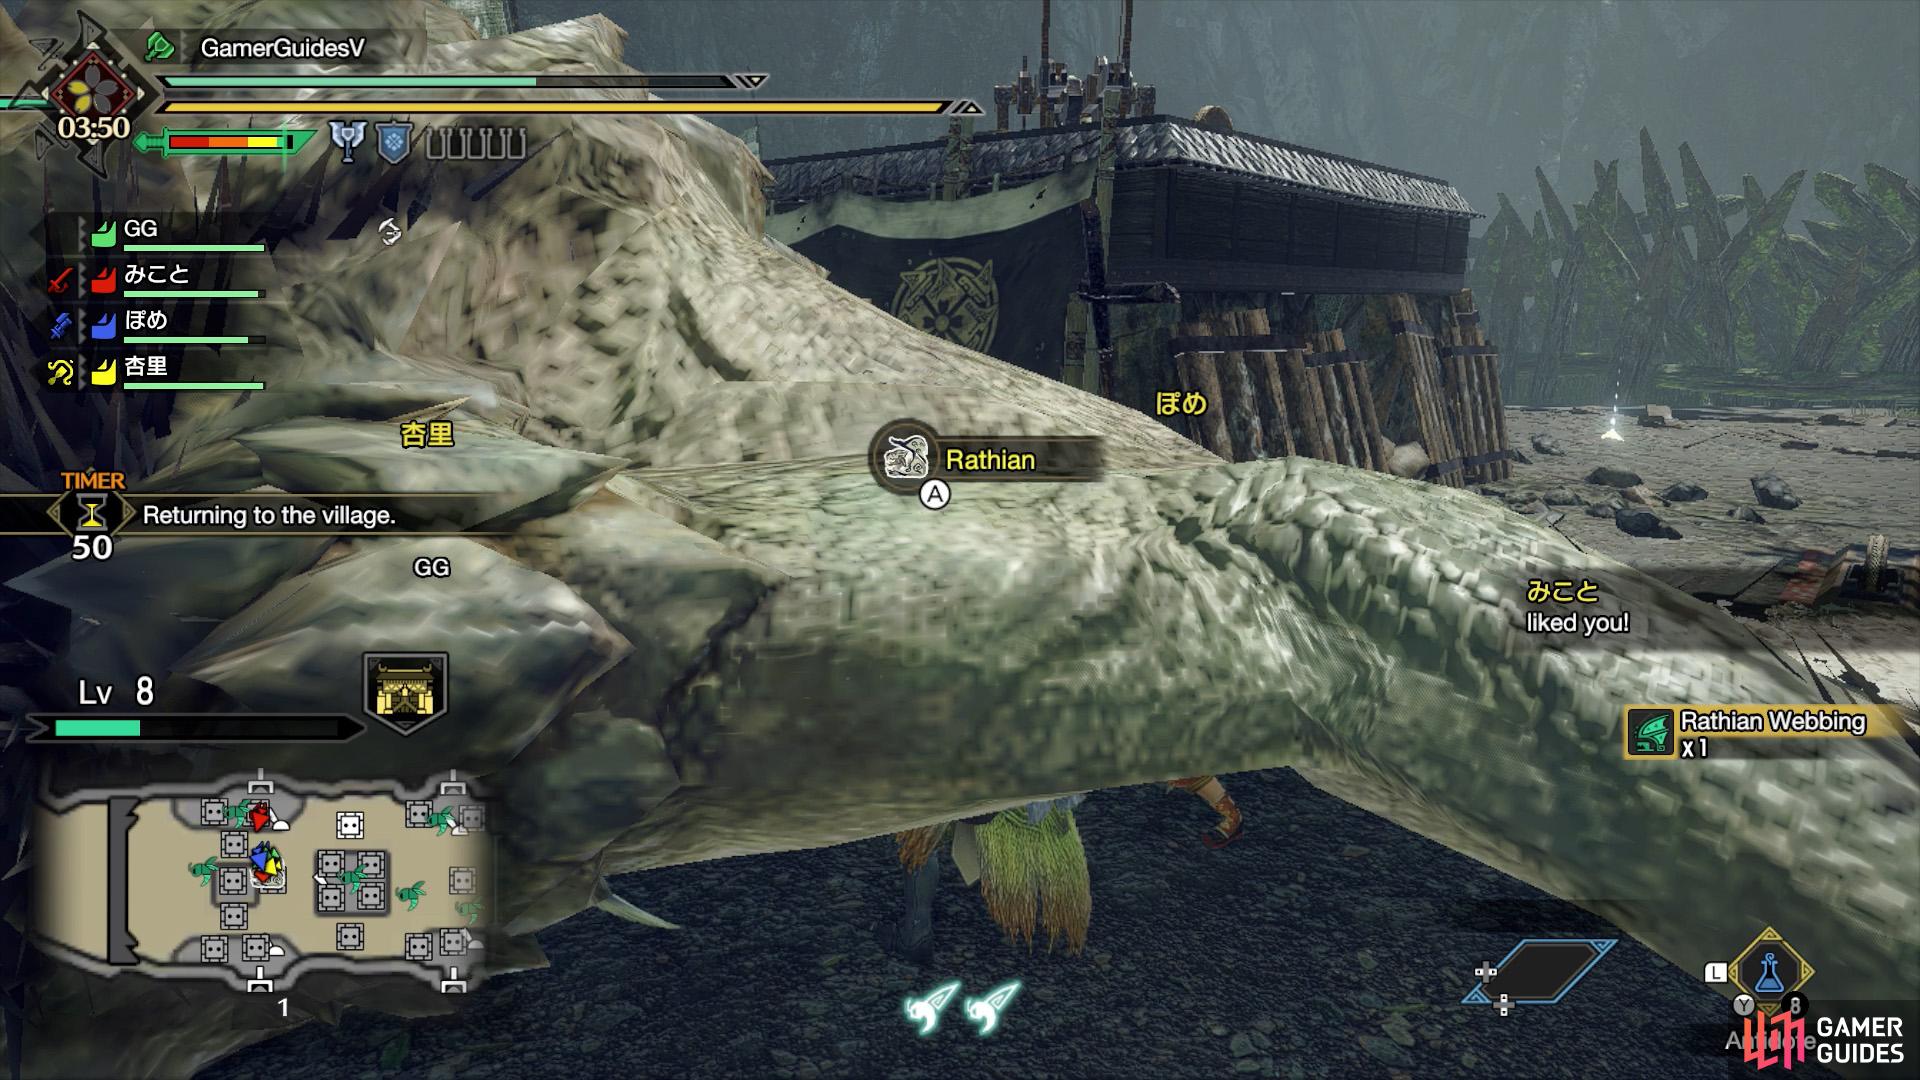
With four hunters on the job, it shouldn’t be too hard to defeat Rathian. (left), Once Rathian has fallen, you’ve got 60 seconds to carve from it and grab any dropped materials. (right)
By the way, it’s OK if you faint in this quest. Unlike other quests, you can’t fail this quest by fainting. If you faint more than 3 times, your rewards will decrease slightly. But it’s nothing to fuss over–you can get more rewards later.
No Comments