
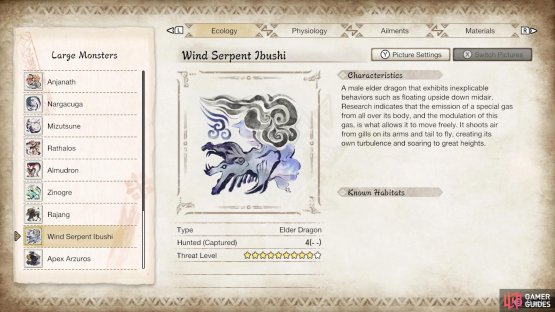
Wind Serpent Ibushi is an elder dragon new to Monster Hunter: Rise. It’s encountered in the Hub Urgent Quest that’s named after itself, Serpent God of Wind.
| Quick Jump |
|---|
| Material Drops (High Rank) |
Overview
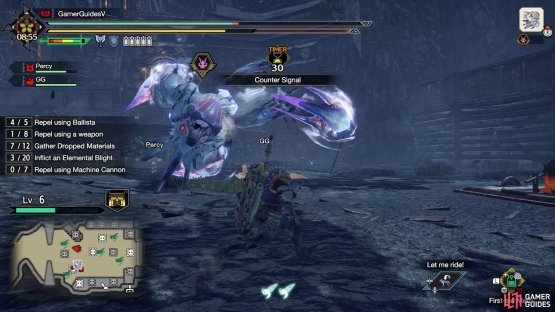
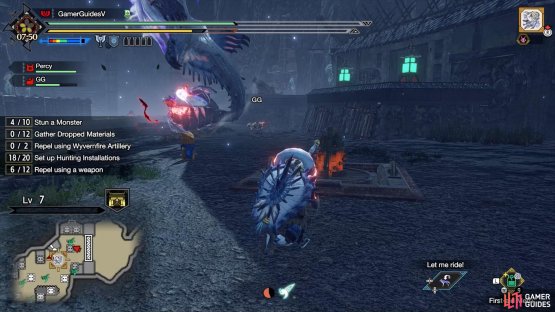
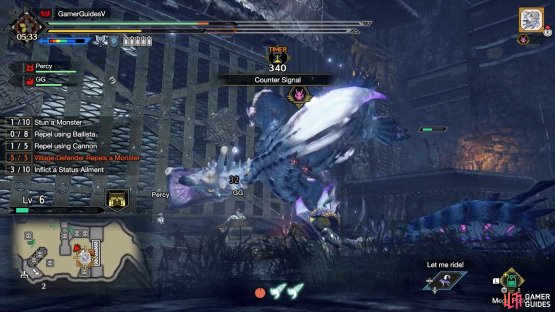
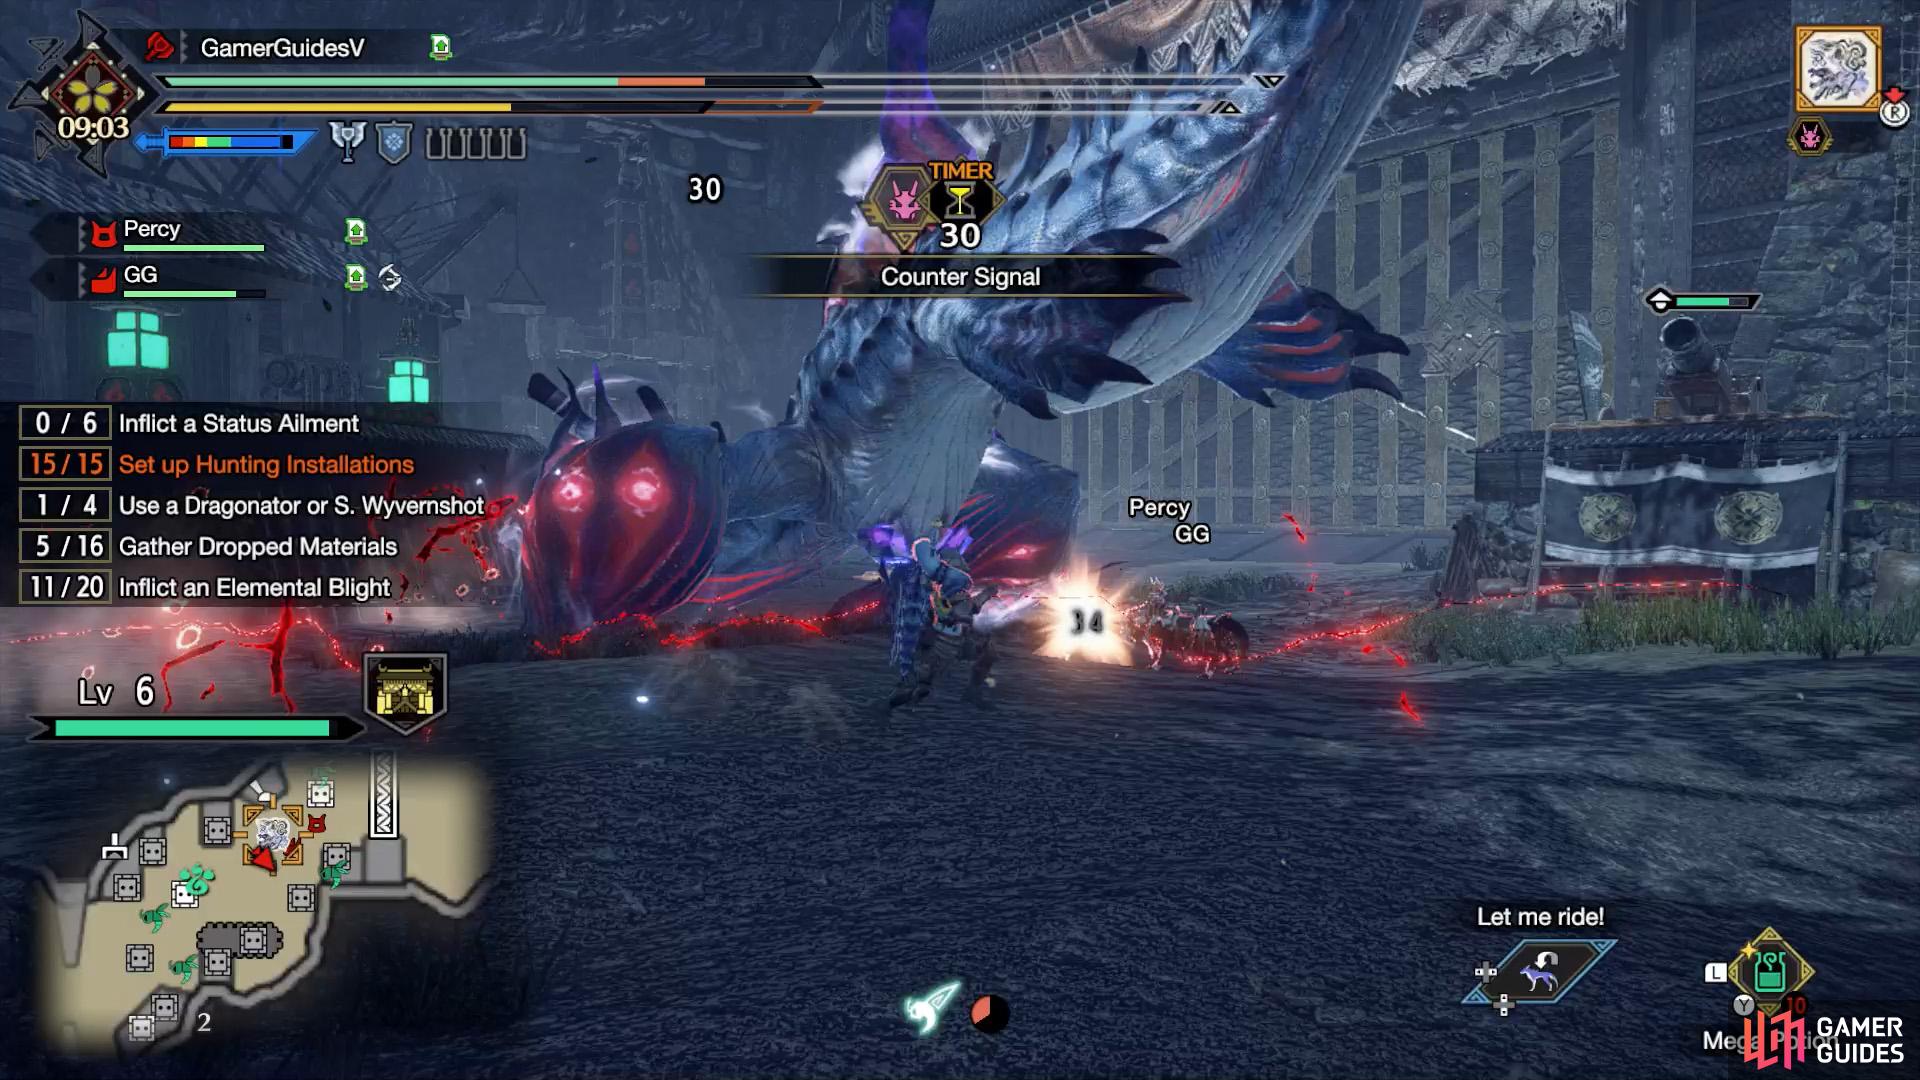
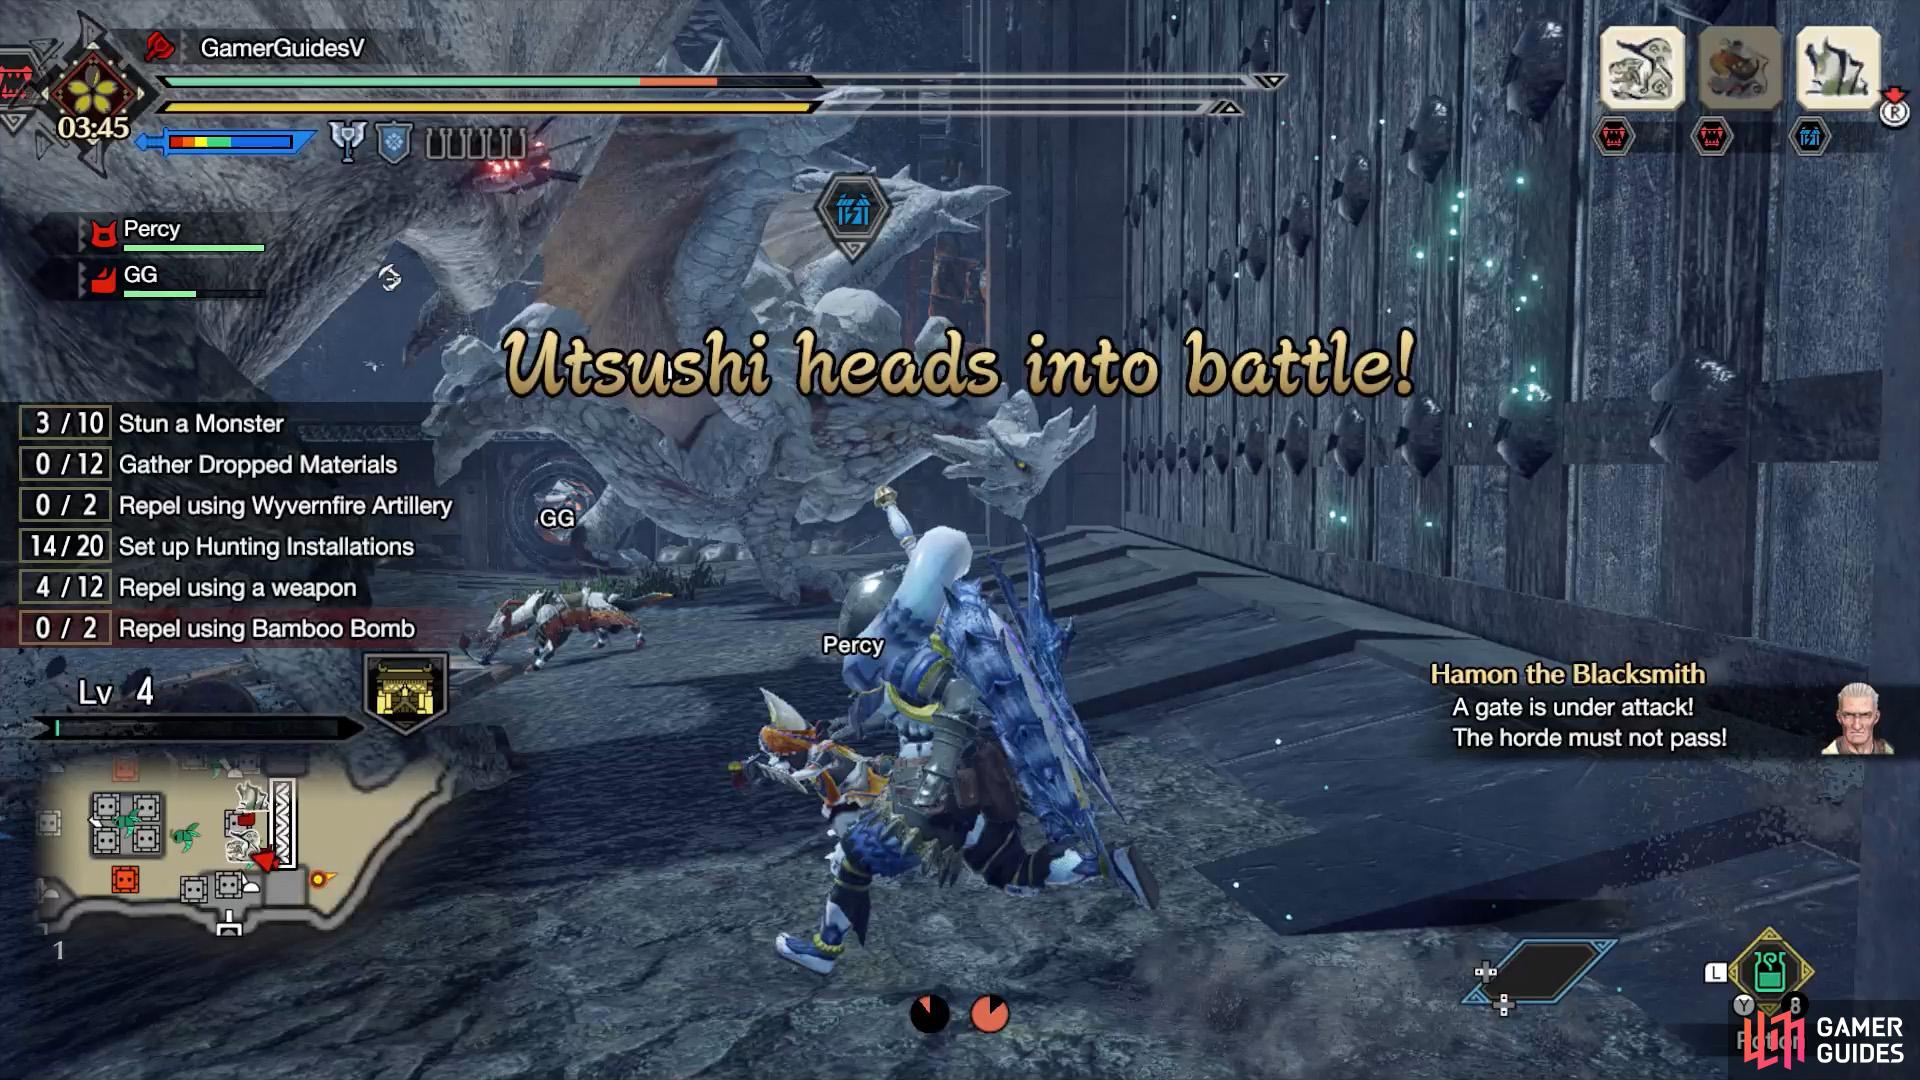
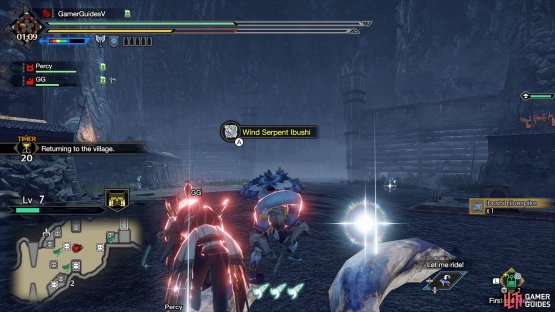
(1 of 2) Fighting Wind Serpent Ibushi at the Red Stronghold.


Fighting Wind Serpent Ibushi at the Red Stronghold. (left), Wind Serpent Ibushi’s profile in the Hunter’s Notes. (right)
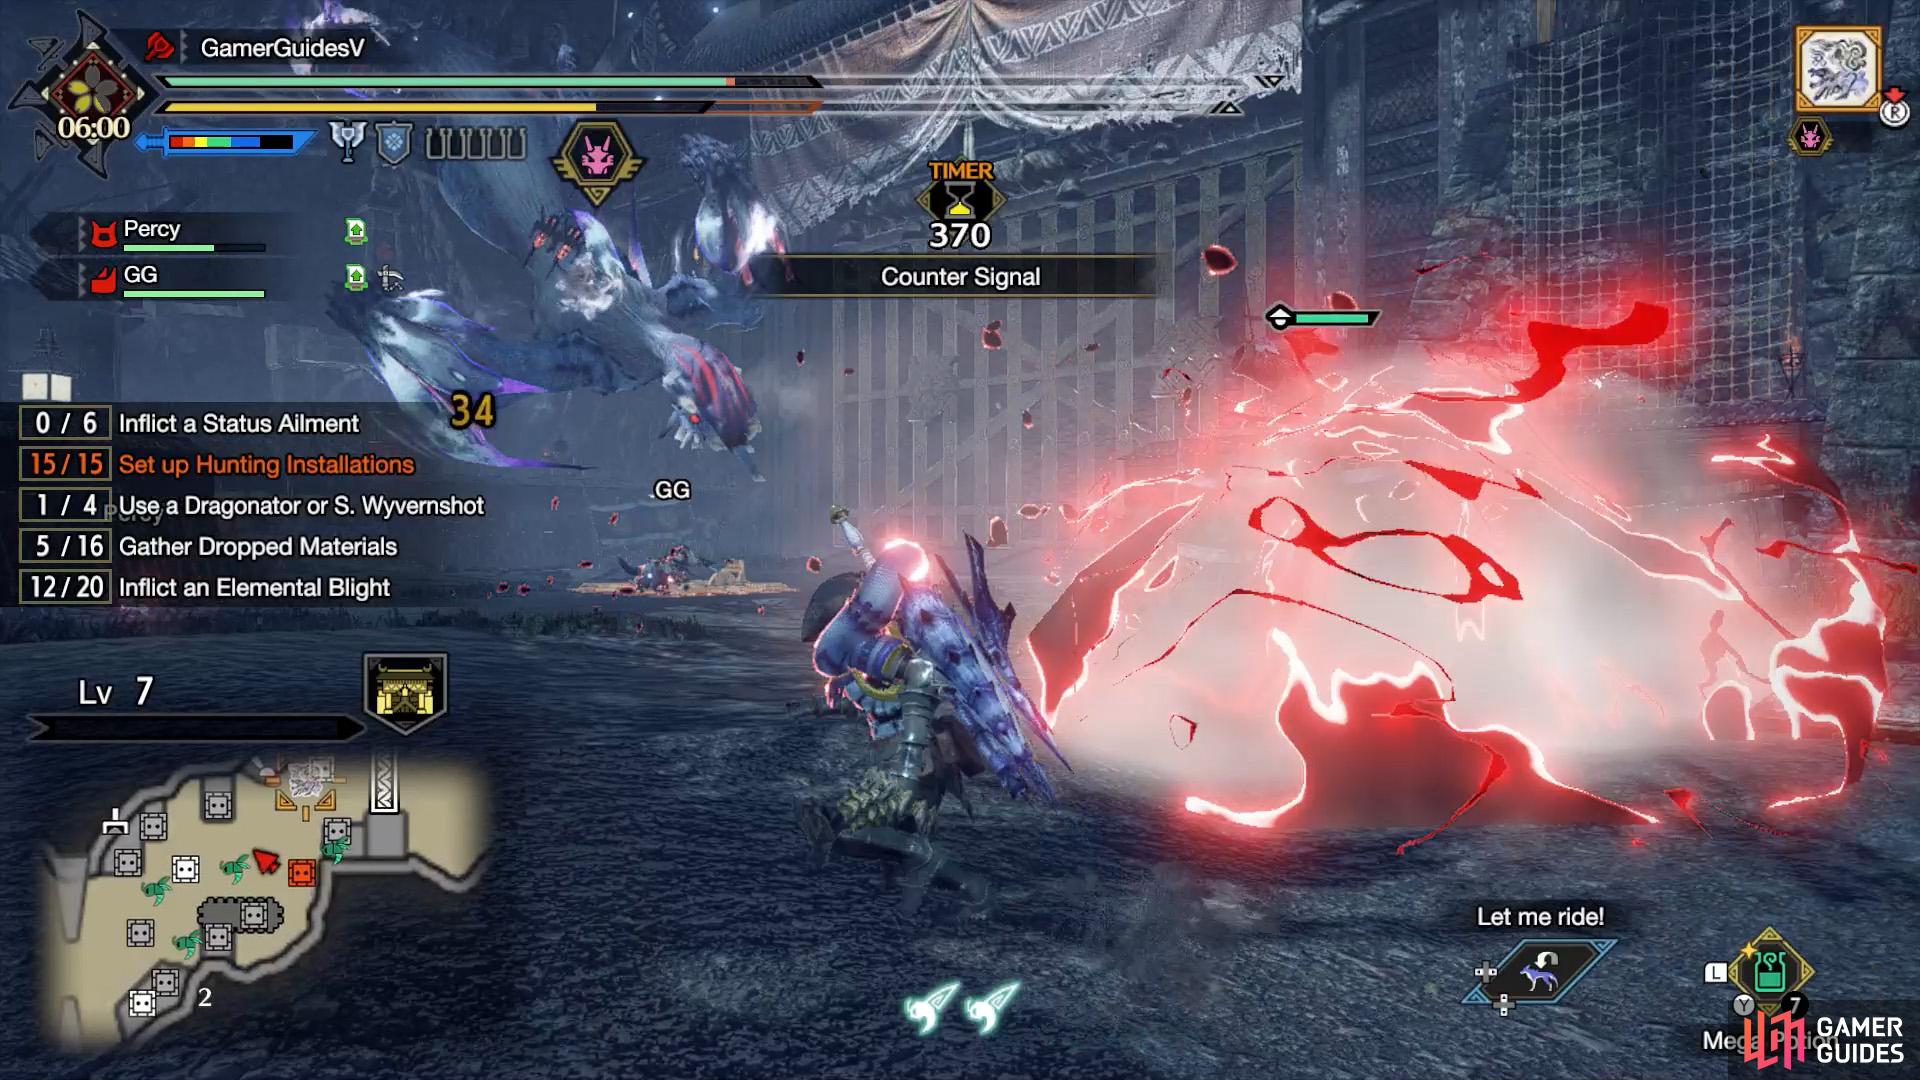
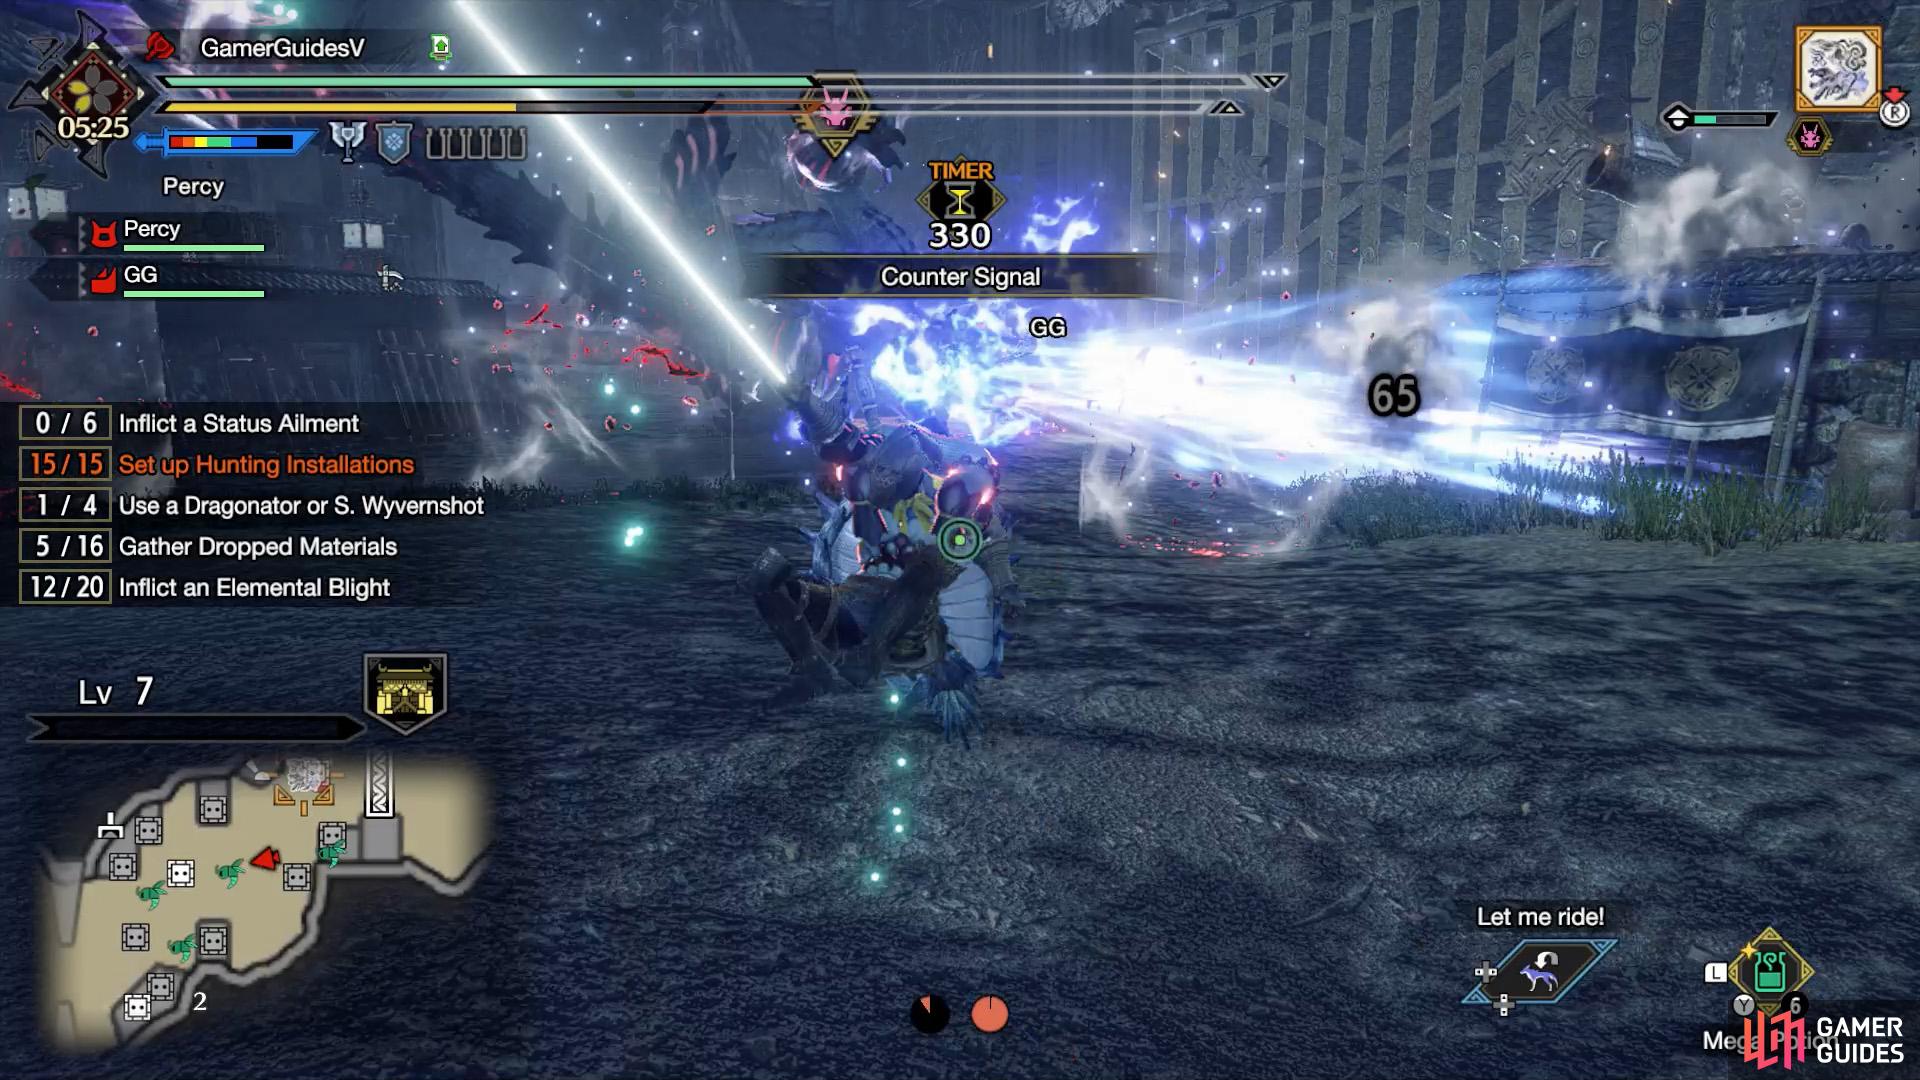
At the time of writing, you can only fight Ibushi during Rampage Quests. The Wind Serpent is a sight to behold and can cause devastation to hunters and structures alike.
Interestingly, Ibushi spends most of its time floating upside down. True to its name, it can usher wind drafts with its attacks and can unleash sinister red blasts of energy.
Weaknesses
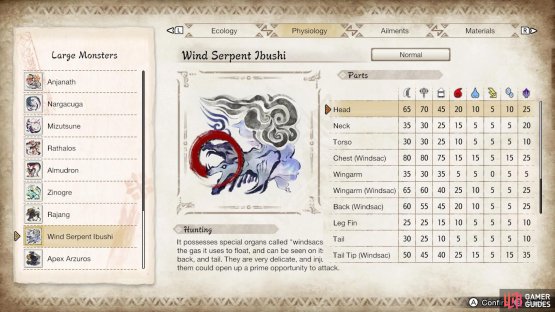
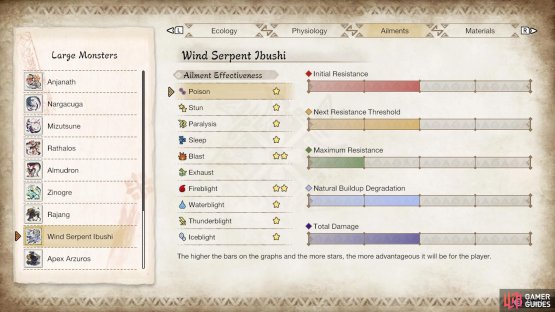
(1 of 2) Wind Serpent Ibushi’s parts/elemental susceptibility.

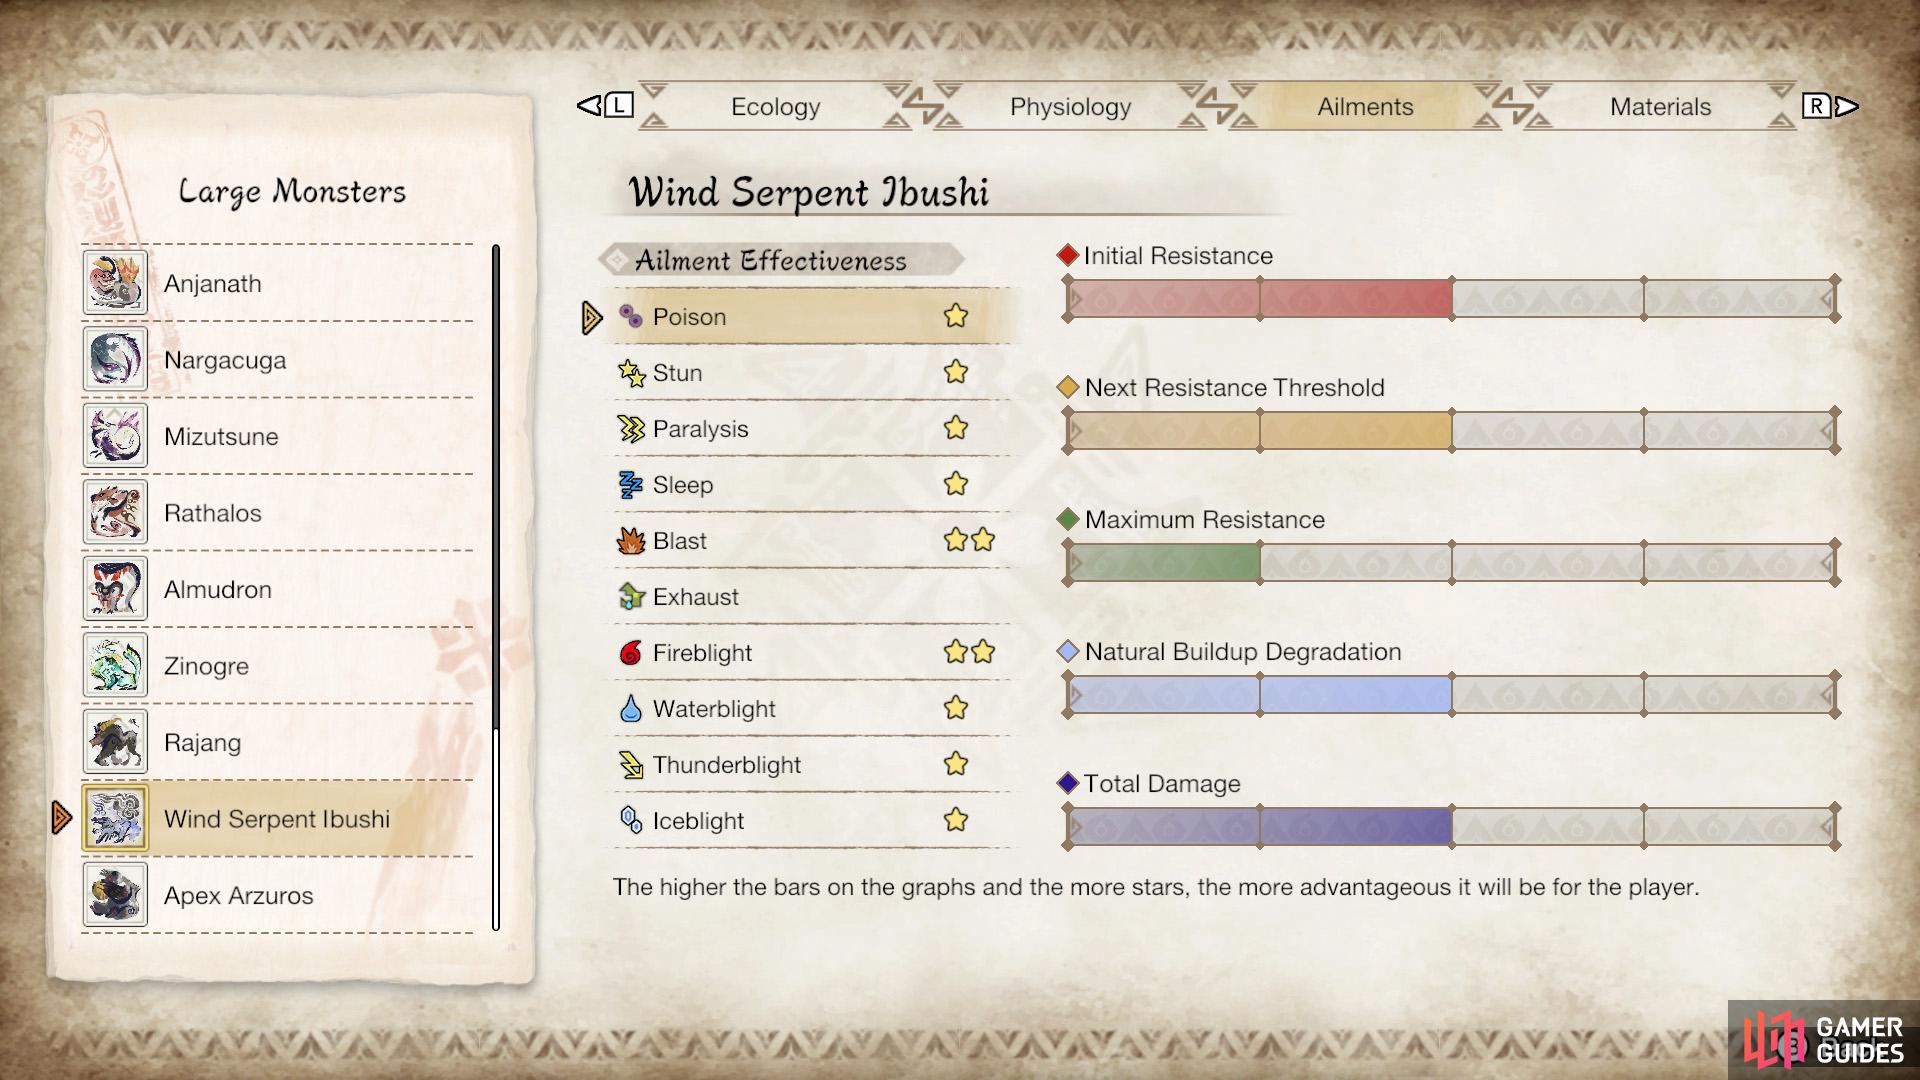
Wind Serpent Ibushi’s parts/elemental susceptibility. (left), Wind Serpent Ibushi’s ailment susceptibility. (right)
| Parts | Elements | Ailments |
|---|---|---|
| Head, Chest (windsac) | Dragon, Fire | Blast, Fireblight |
Attack Patterns
Bite
While hovering upside down like normal, Ibushi opens its mouth. It’ll twist its neck so its head is sideways and then move forward to try and bite you.
Corkscrew Dash

(1 of 2) Ibushi rotates until it’s right-side up.
Ibushi rotates until it’s right-side up. (left), Then it dashes forward. (right)
Ibushi rotates on the Z-axis (the line going into the screen) until its head is upright (or close). It’ll make a shrill noise as it does so. Next, Ibushi will twist its body and dash straight forward in the air. If you’re hit by this, you’ll get sent flying up.
If Ibushi is enraged (red eyes), it’ll generally perform a second dive, which can be in the opposite direction if it missed/hit you. Or the same direction if it’s targeting an installation or the gate. You’ll hear the same shrill sound beforehand.
Tail Slam

(1 of 2) Ibshi floats right-side up, gasp, while dragging its tail.


Ibshi floats right-side up, gasp, while dragging its tail. (left), It’ll then somersault and slam its tail down. (right)
Ibushi floats forwards right-side up for a change, while dragging its tail sightly behind. Also, its arms will flail around eerily. Ibushi will then somersault and bring its tail slamming down forward.
The impact will cause a wind draft in front of its tail and Ibushi will idle for a while. If you’re hit by the tail, your wirebugs will be disabled for a bit.
Tail Sweep

(1 of 2) Ibushi digs one of its arms into the ground and there are multiple wind drafts.

Ibushi digs one of its arms into the ground and there are multiple wind drafts. (left), It’ll then sweep its tail across the ground. (right)
Ibushi digs one of its arms into the ground, while floating horizontally and looking sideways. Multiple wind drafts will appear near it. It’ll then sweep its tail to attack whatever’s in front of itself.
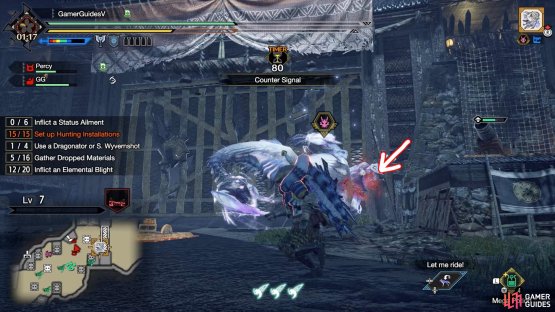
Tail Blast


(1 of 2) Ibushi’s tail will be in front of its body and near the ground.
Ibushi’s tail will be in front of its body and near the ground. (left), The Wind Serpent will then somersault and launch an energy ball with its tail. (right)
While Ibushi is hovering upside down, it’ll rotate slightly back on the X-axis while growling. Its tail will be in front of its face, with red sparks appearing at the tip of its tail. If you’re too close to notice its tail, look out for Ibushi’s mouth, which opens and closes.
Afterwards, Ibushi will somersault and unleash a ball of red energy onto the floor, which travels in a straight line. If you’re hit by the red ball, you’ll fly upwards.
Mouth Blast
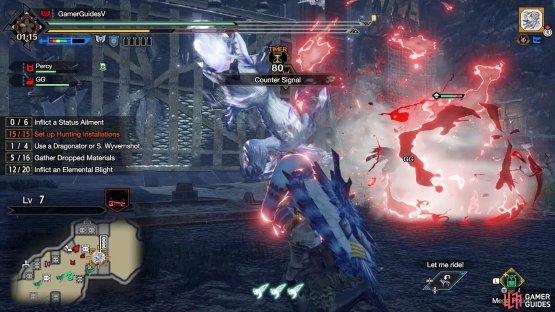
(1 of 2) Ibushi rotates so it’s horizontal and red energy comes from its mouth.

Ibushi rotates so it’s horizontal and red energy comes from its mouth. (left), It’ll then shoot a ball of red energy that travels across the floor. (right)
Ibushi rotates its body so its horizontal and it makes a swallowing kind of sound. While doing this, red energy will appear from its mouth. Ibushi will then shoot a big ball of red energy onto the floor, which travels in a straight line.
Sometimes, Ibushi can follow up with another mouth blast after rotating the other way.
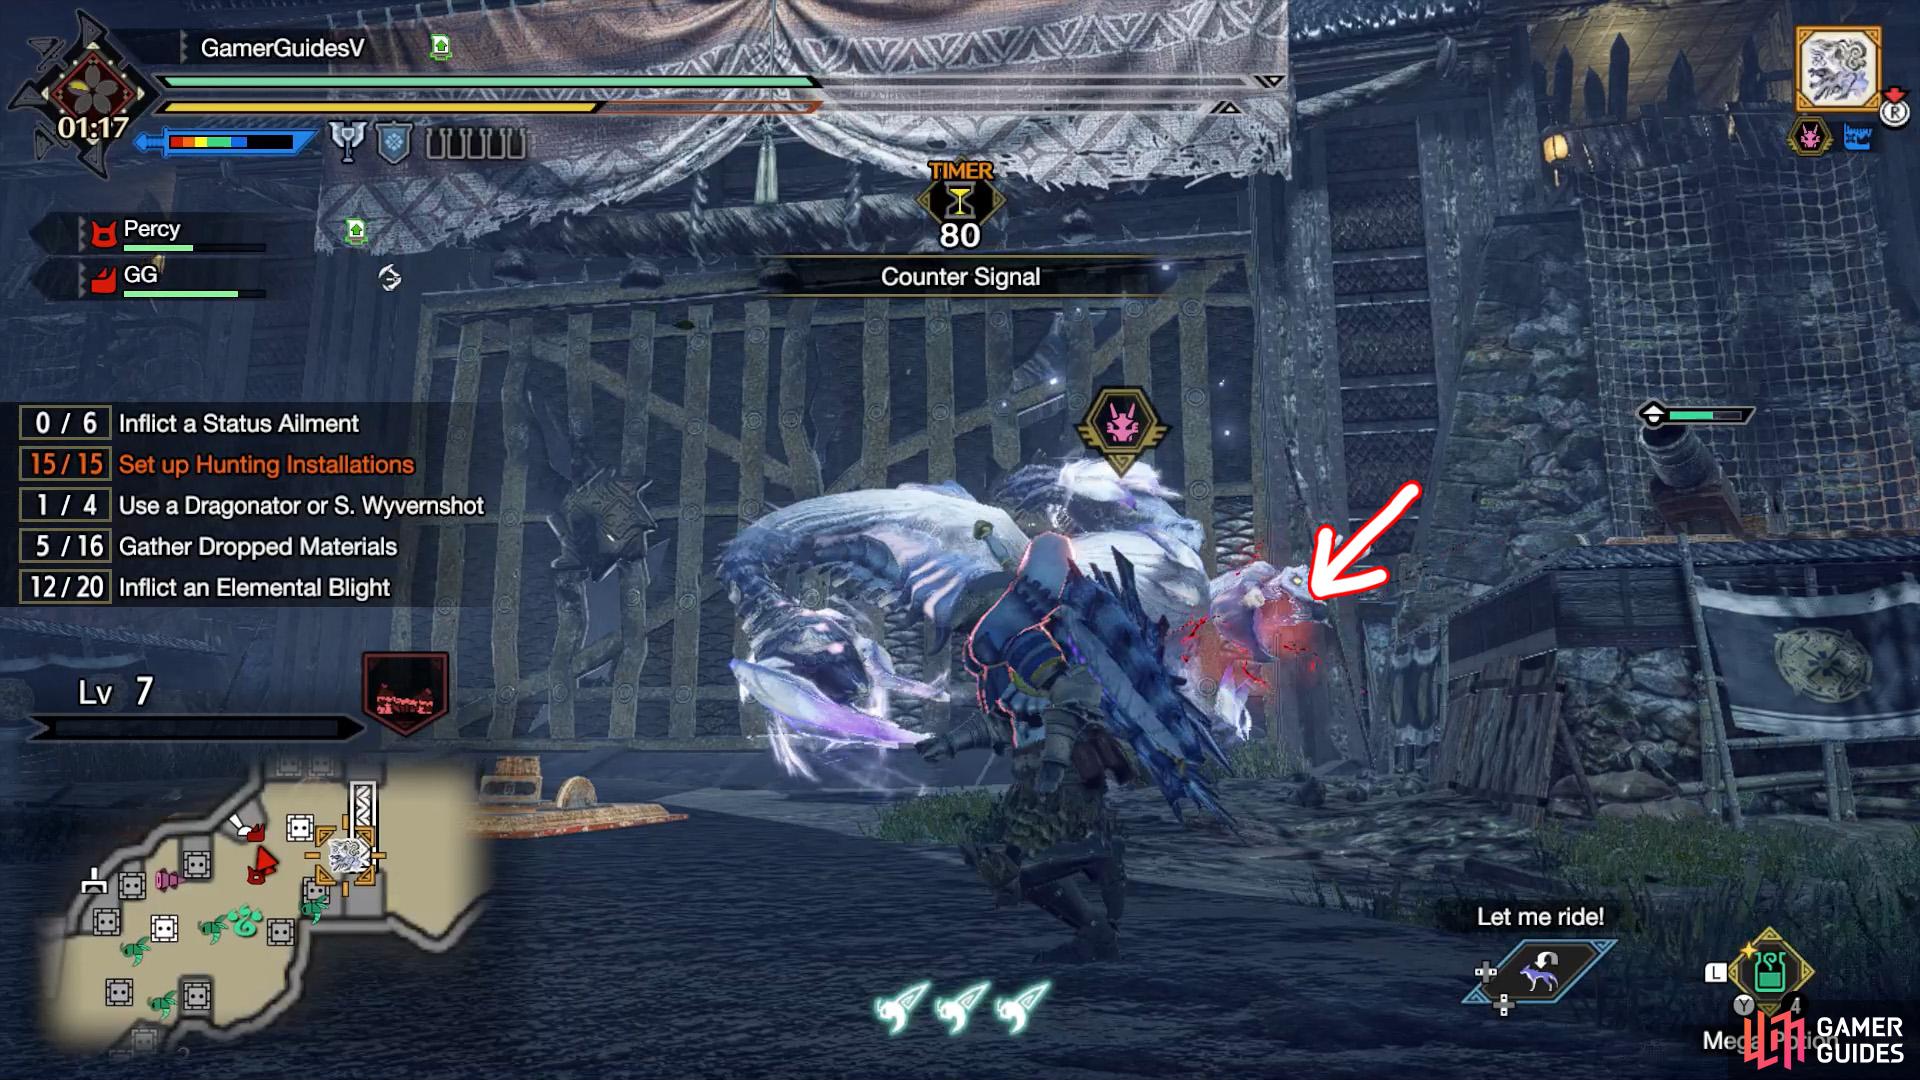
Arm Blast

(1 of 2) Ibushi rotates and touches the ground with one of its arms.

Ibushi rotates and touches the ground with one of its arms. (left), It’ll then pull away, unleashing a forward-traveling energy ball. (right)
Ibushi performs a 270 rotation and touches the ground with one of its arms. Its back will be facing you. Red energy will appear from that arm. Ibushi will rotate the opposite way and unleash a red energy ball that travels in a straight line across the floor. Getting hit will send you flying.
Energy Slam
(1 of 2) Ibushi will rotate while red energy comes from one of its arms.

Ibushi will rotate while red energy comes from one of its arms. (left), It’ll then pounce forward and strike the ground with the energized arm. (right)
A ball of red energy appears from one of Ibushi’s arms. Ibushi will rotate on the Z-axis until that arm is directly above. Then it’ll pounce forward and slam the ground with that arm. The impact will also cause a few wind drafts to appear close by.
After using this move, Ibushi will follow up with a tail sweep. However, if Ibushi is tired, it will pause for several seconds before doing so.
Wind Blasts

(1 of 2) Ibushi touches the ground with both of its wing arms.


Ibushi touches the ground with both of its wing arms. (left), It’ll then create multiple wind blasts in front of itself. (right)
There will be a quiet humming sound, while Ibushi hovers slightly back. Ibushi will look like its doing a handstand, with its two wing arms touching the ground. Wind will start appearing near Ibushi’s arms, then it’ll do a backflip and multiple wind blasts will shoot forward in a narrow arc.
If you’re caught by the blasts, you’ll be sent flying upwards. Be wary that Ibushi likes to use a Tail Slam after this move. So use wirefall to recover in a safe direction.
Rotating Laser

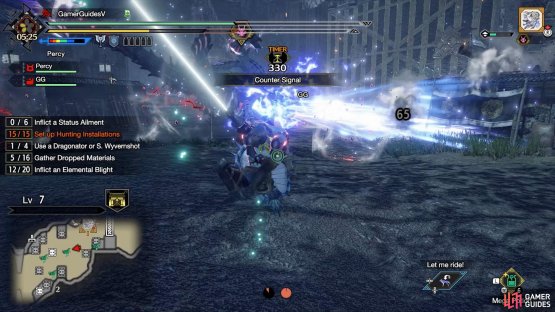
(1 of 2) Ibushi twists its upper body so its sideways and purple energy comes from its mouth.
Ibushi twists its upper body so its sideways and purple energy comes from its mouth. (left), It’ll then shoot a big laser beam from right to left. (right)
Ibushi likes to use this move after it becomes enraged (when it roars and its eye redden).
While hovering upside down, Ibushi will pull its upper body so it’s horizontal. Purple energy will start appearing near Ibushi’s mouth and a set of wind drafts will appear around Ibushi. Soon afterwards, Ibushi will shoot a big purple laser from your right to your left.
To avoid the laser, either wiredash upwards or head for a wind draft. Or if you’re near Ibushi, you can go underneath it.
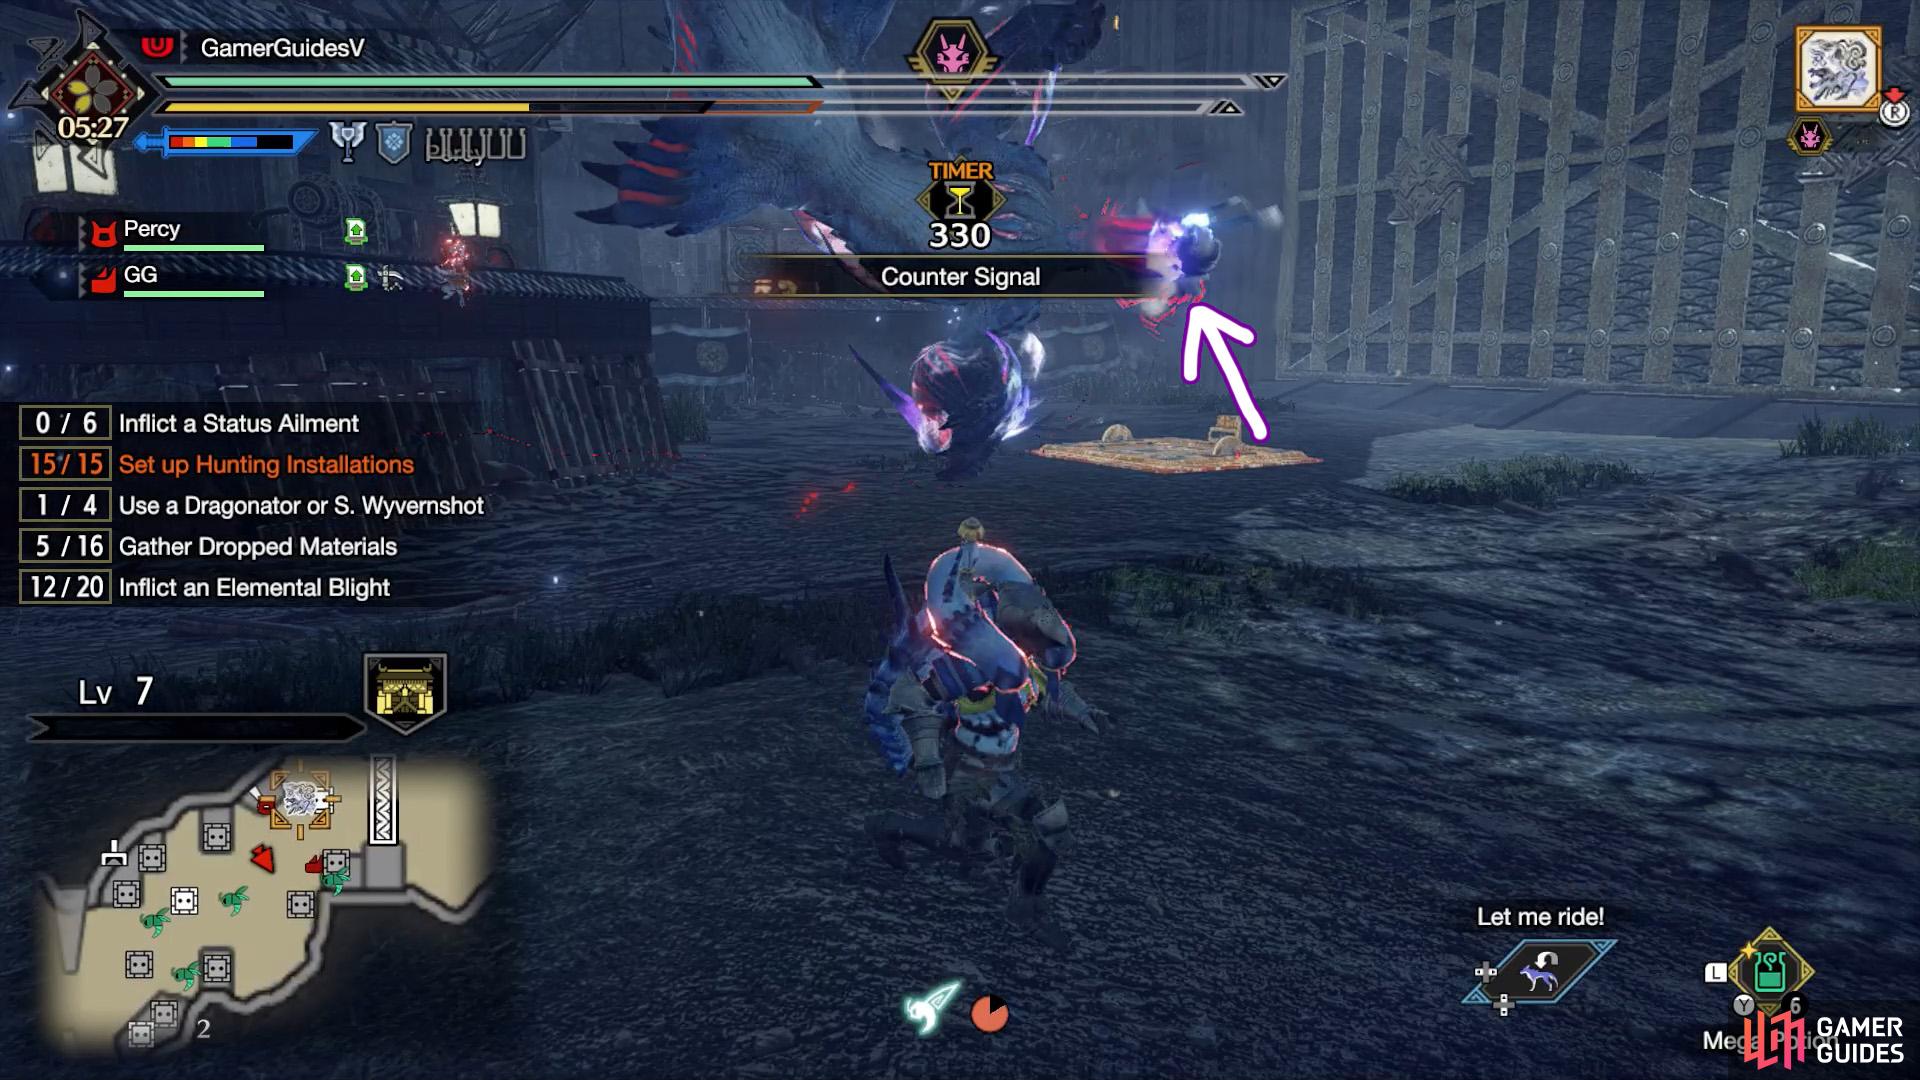
Floating Boulders


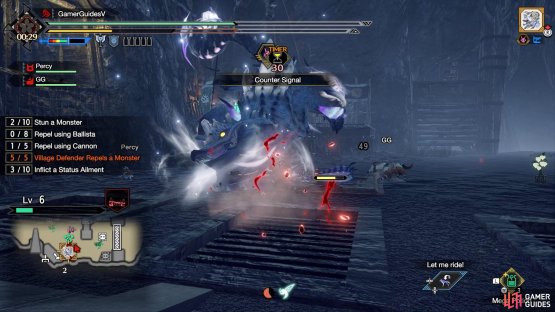
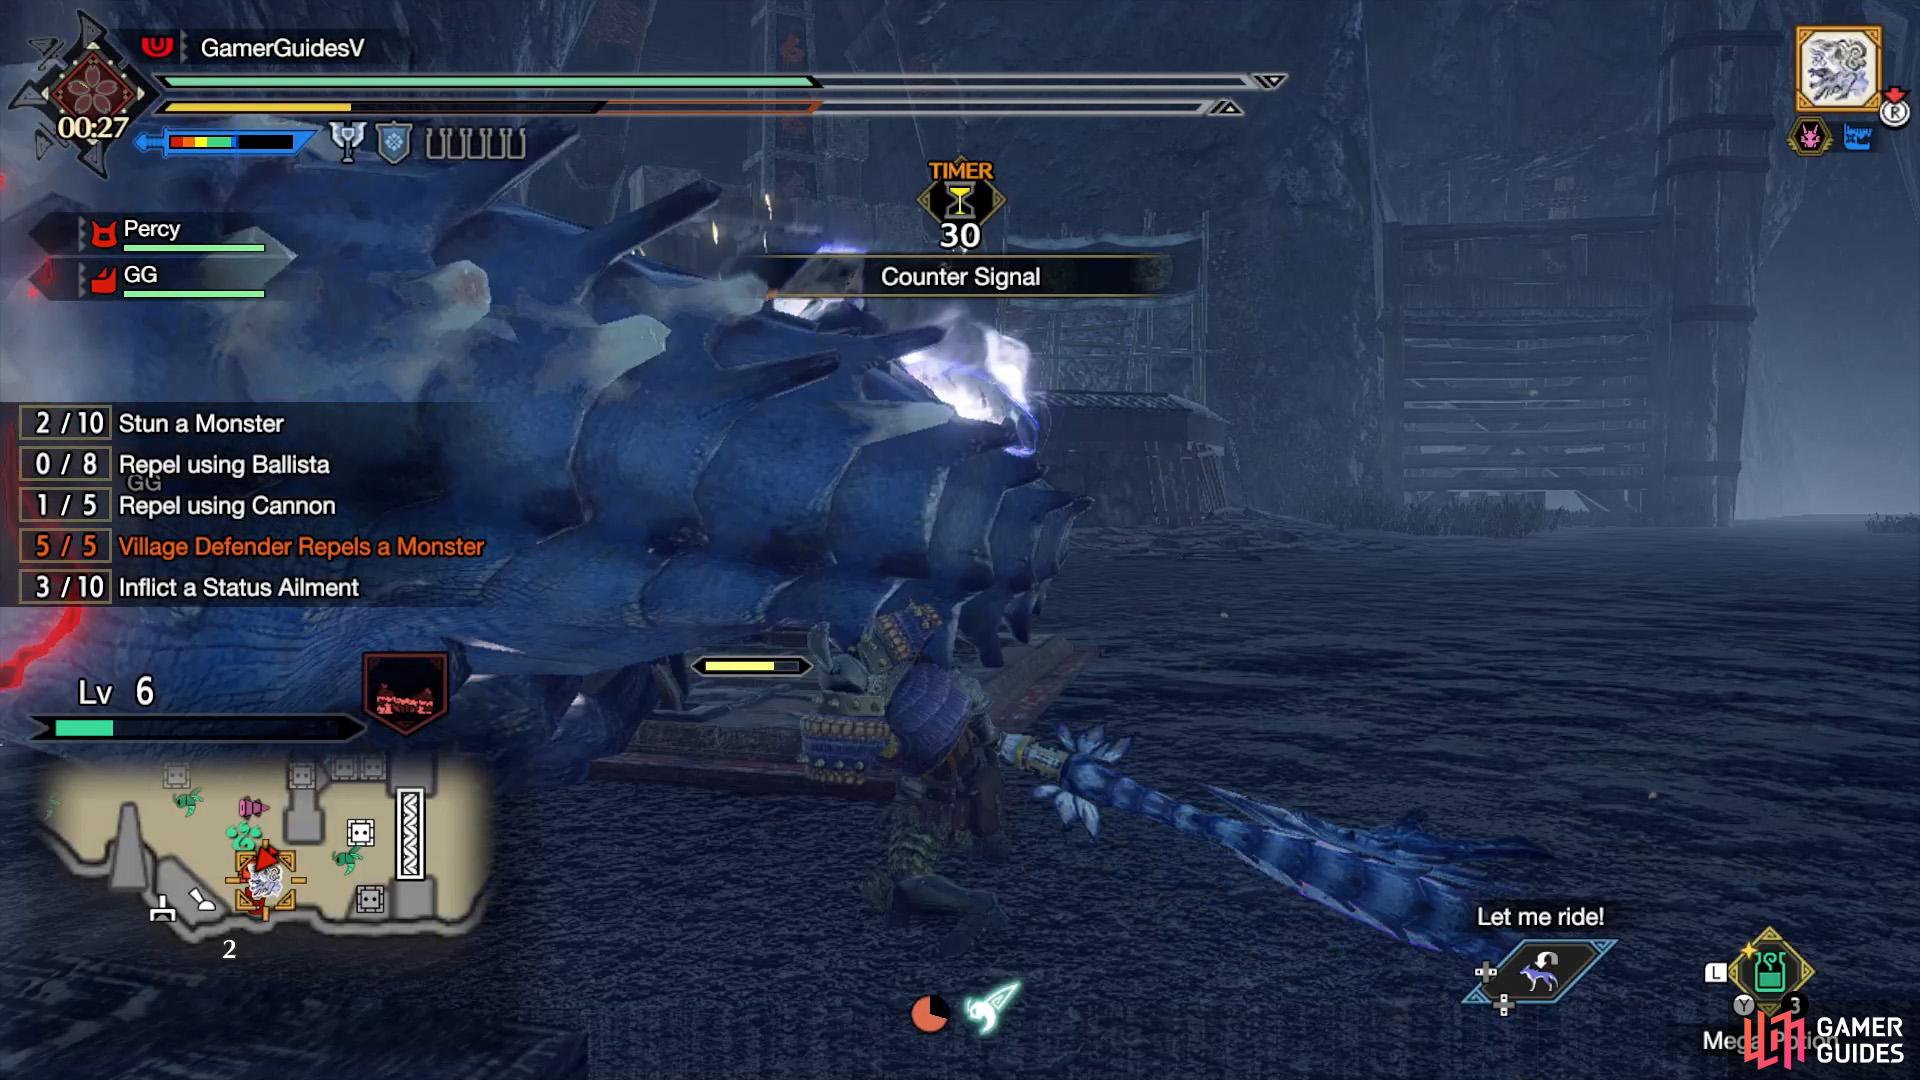
(1 of 2) Ibushi surrounds itself with floating boulders.
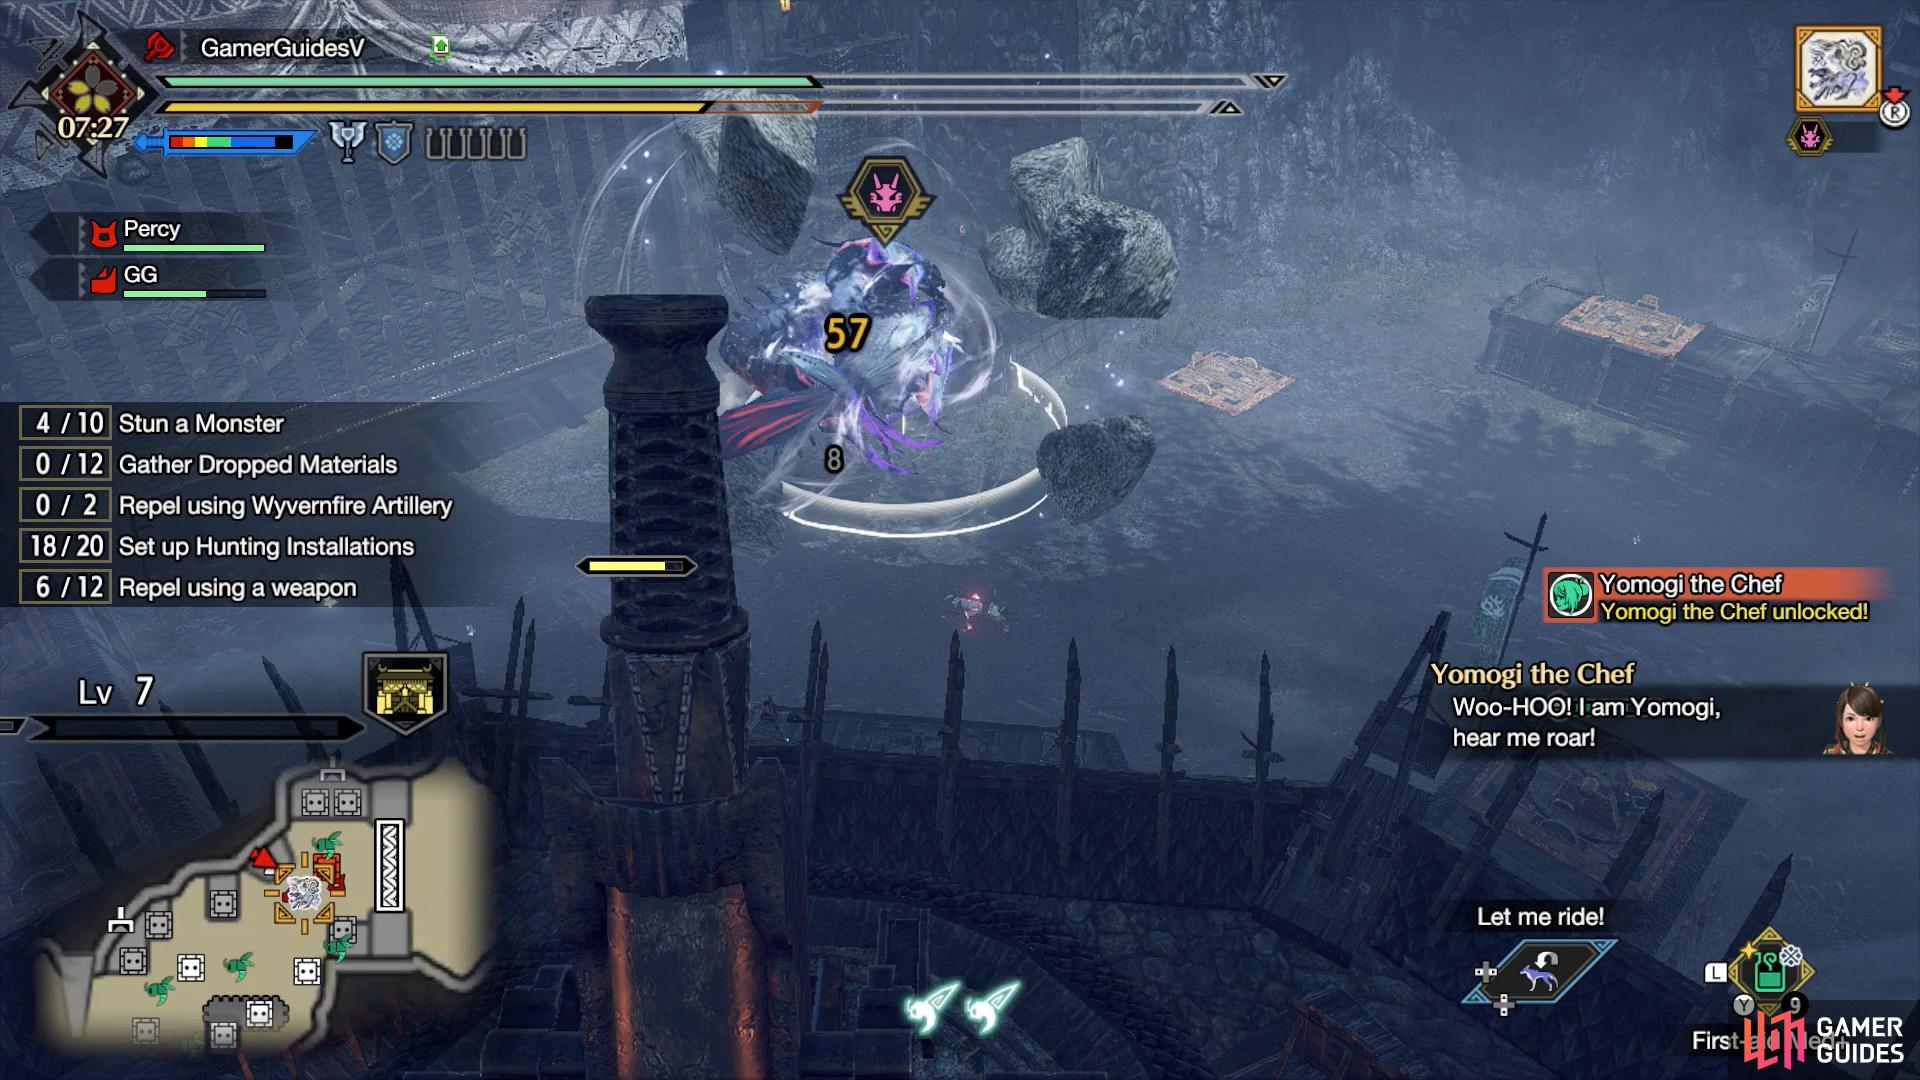
Ibushi surrounds itself with floating boulders. (left), If there’s one active, get on a dragonator or wyvernshot ASAP! (right)
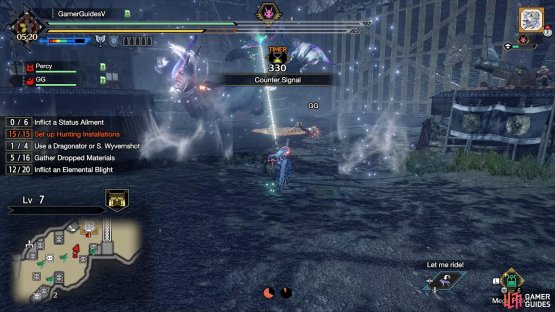
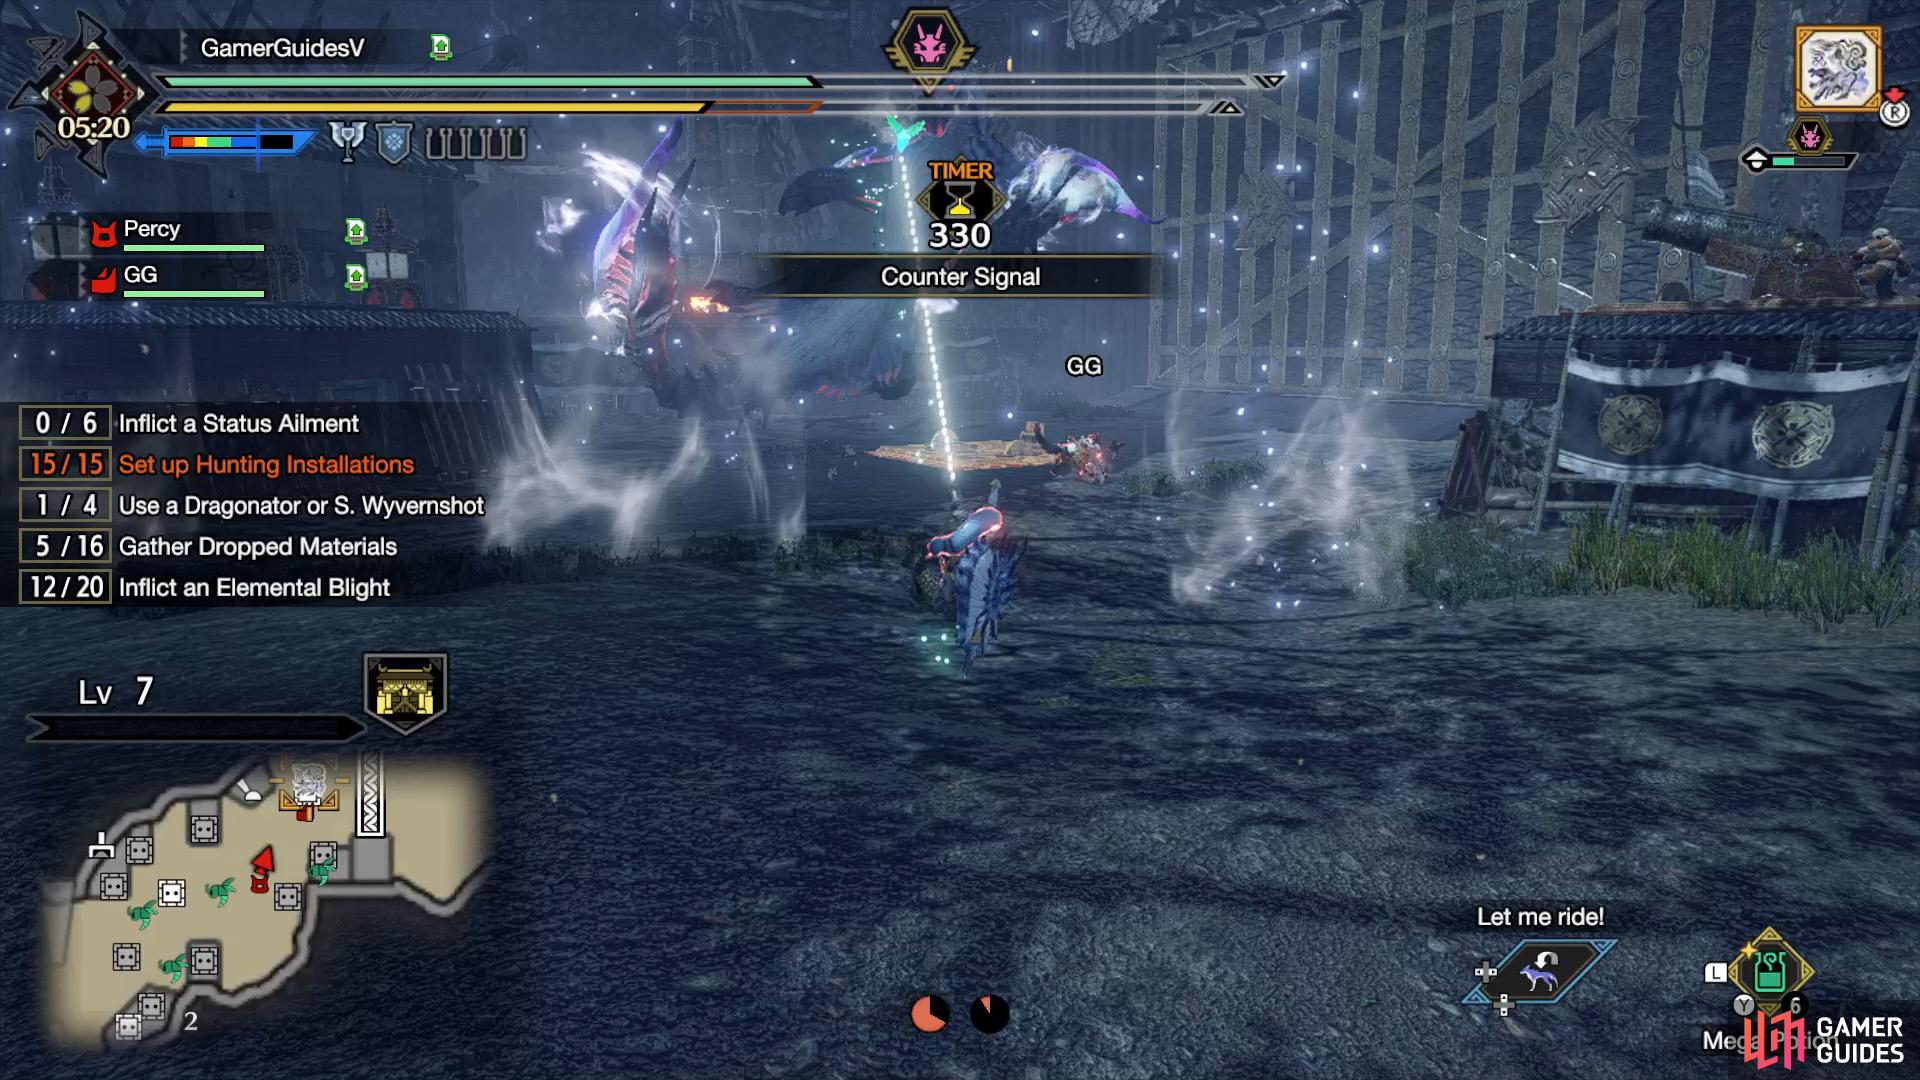
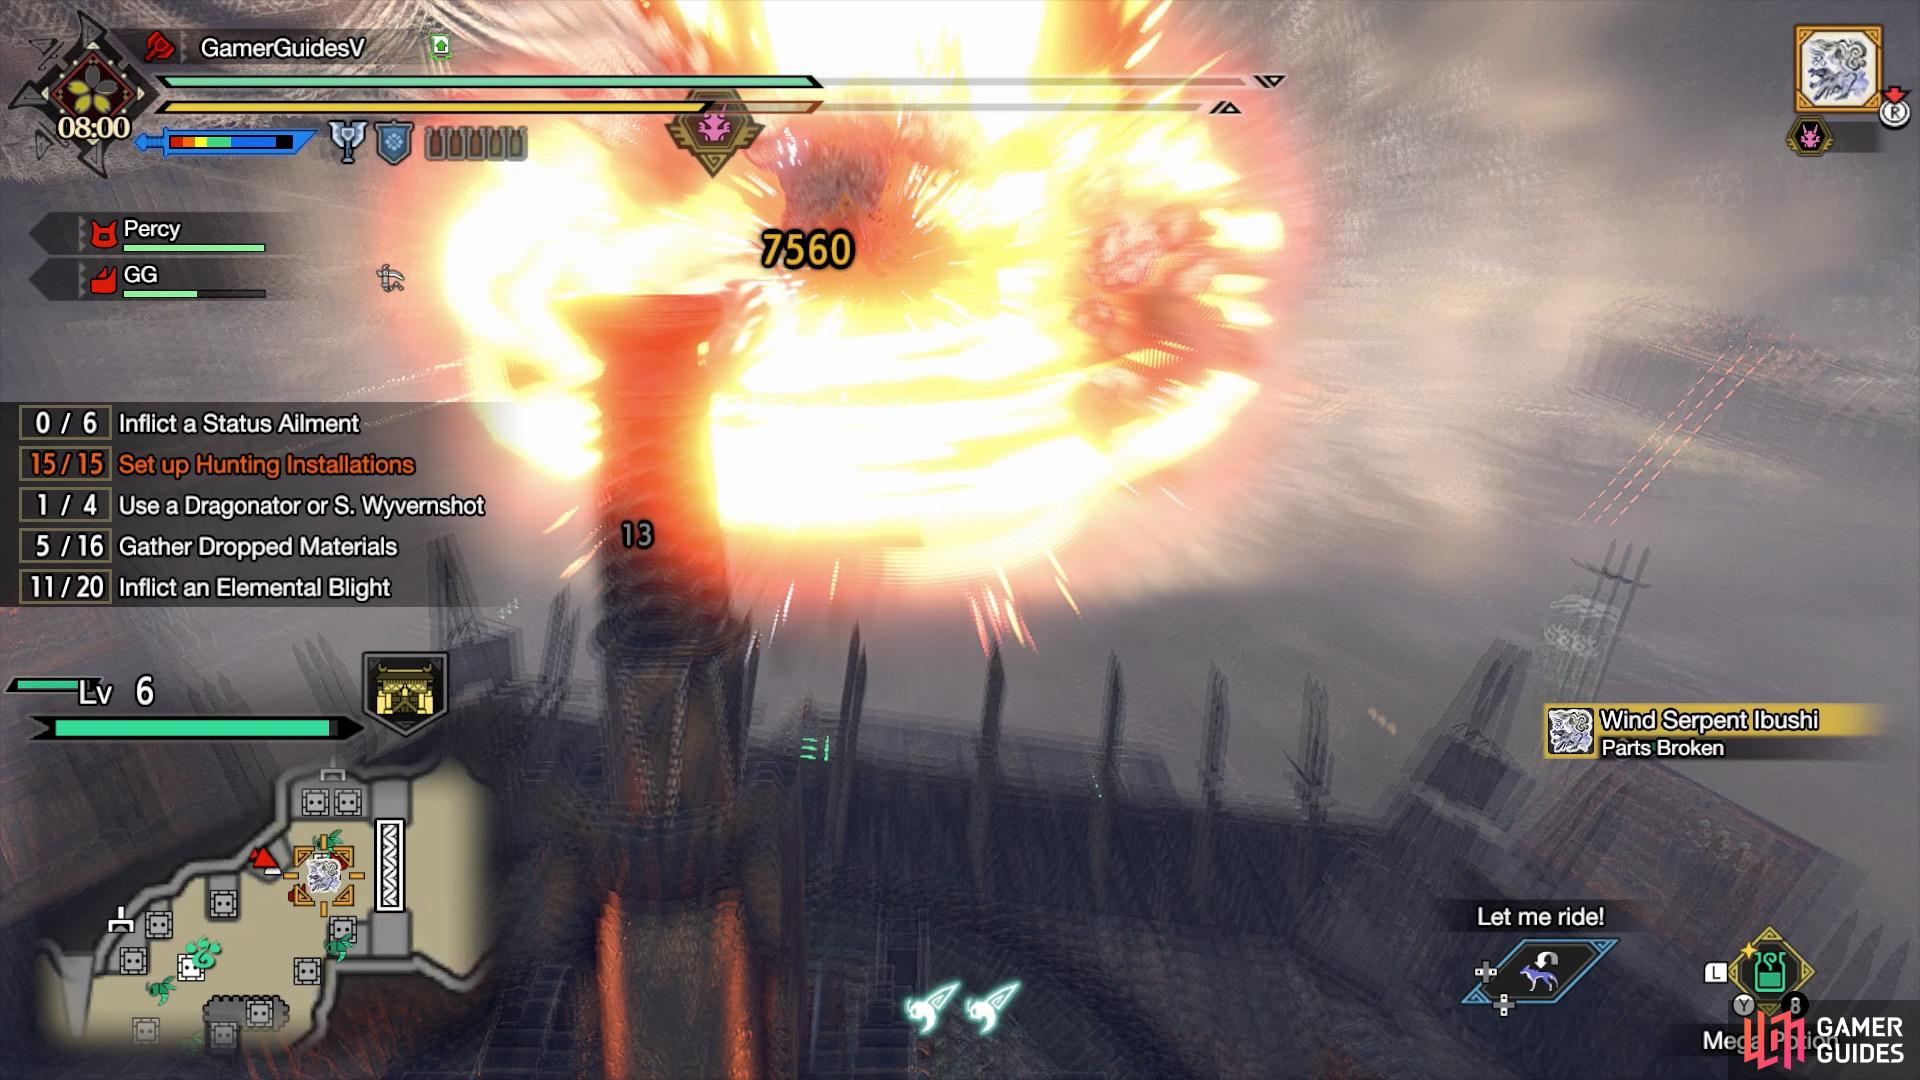
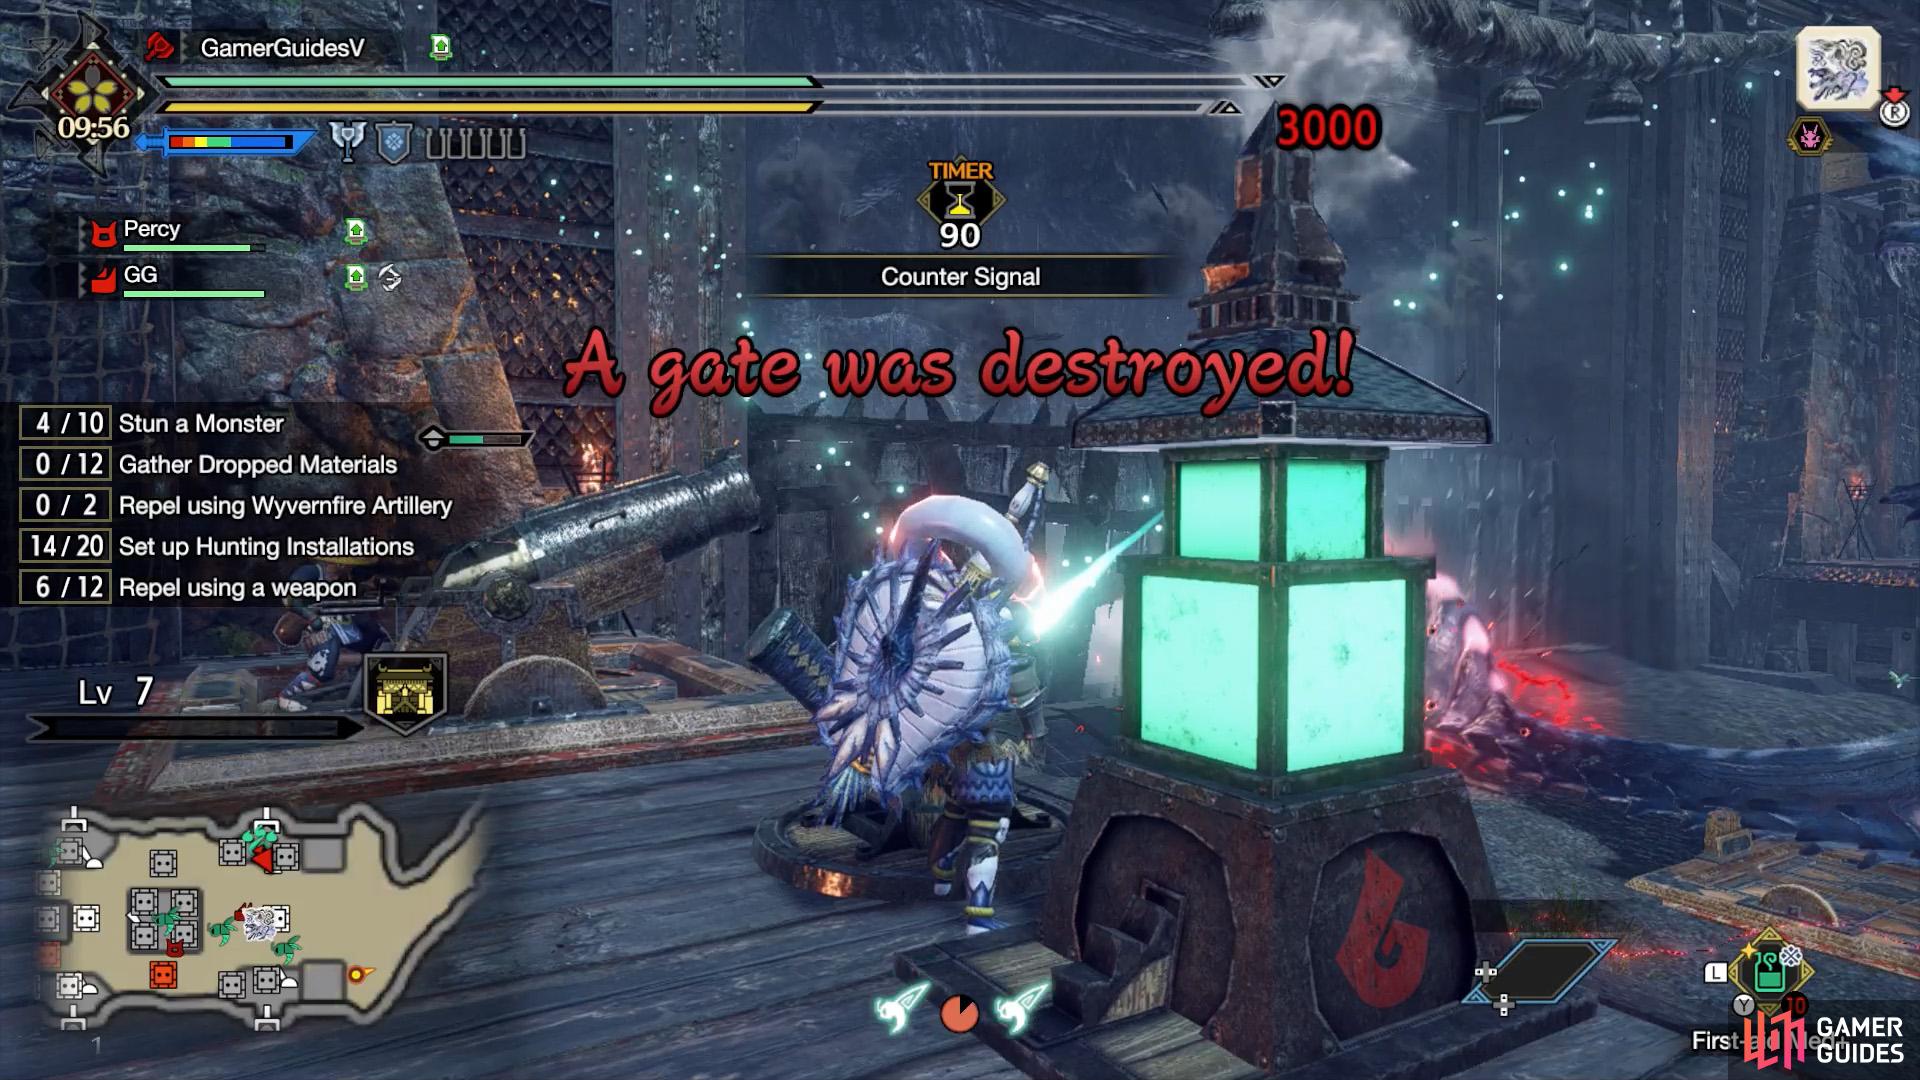
This is Ibushi’s most devastating attack, which can destroy the final gate if he uses it 2 or 3 times throughout the fight. There will be an audible warning and Ibushi will hover high up, while gathering floating boulders. After a set amount of time, Ibushi will launch the boulders at the gate, causing massive damage.
No matter how well you’re doing against Ibushi, you will instantly lose the fight if you keep allowing him to use this move uninterrupted. Way before Ibushi uses this move, you want to damage him as much as possible without using the last dragonator or splitting wyvernshot. If you’ve saved up Elder Fugen, call him in ASAP.
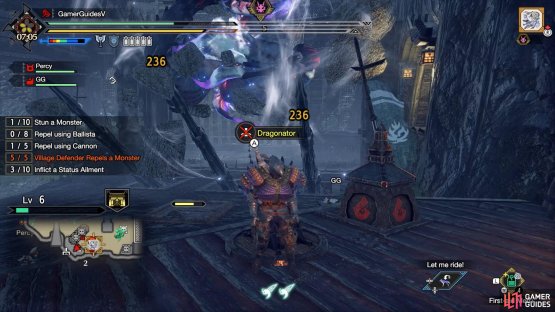
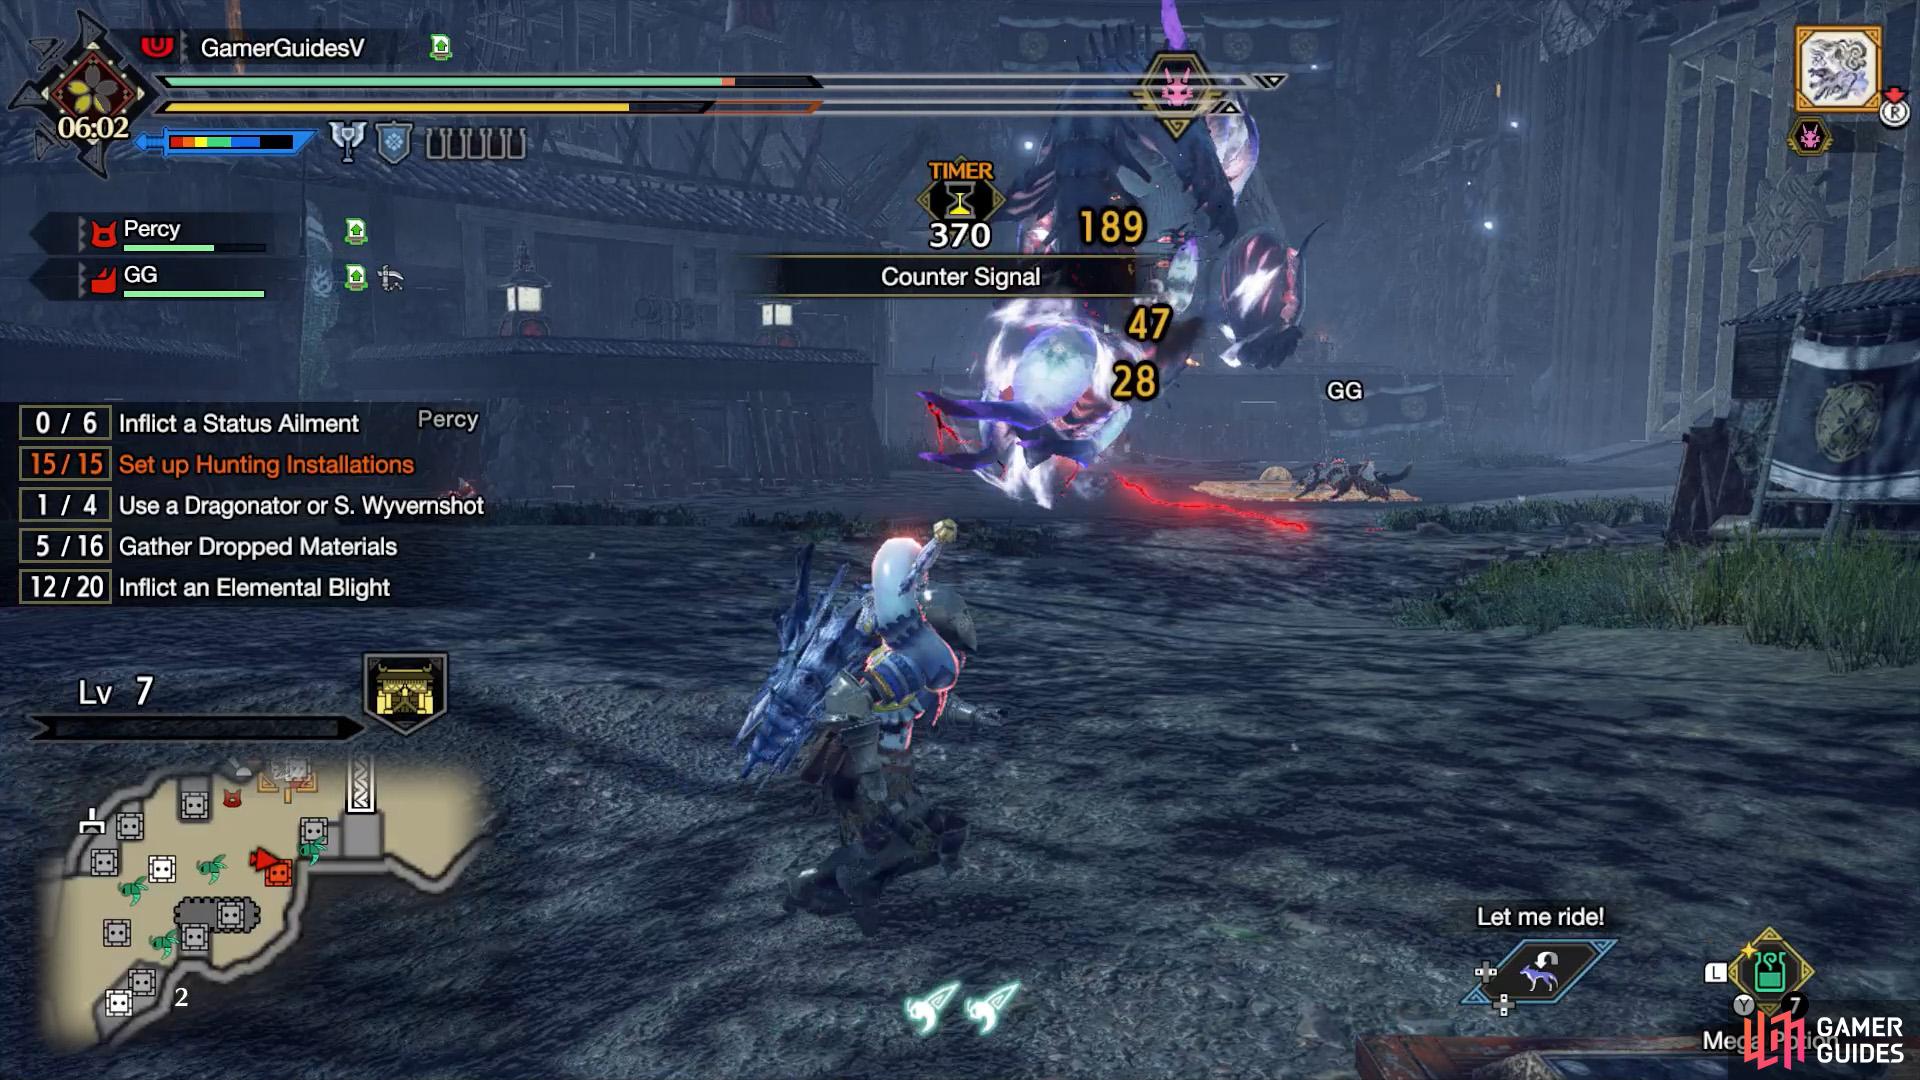
(1 of 2) With enough damage, a direct shot from the wyvernshot should stun Ibushi.
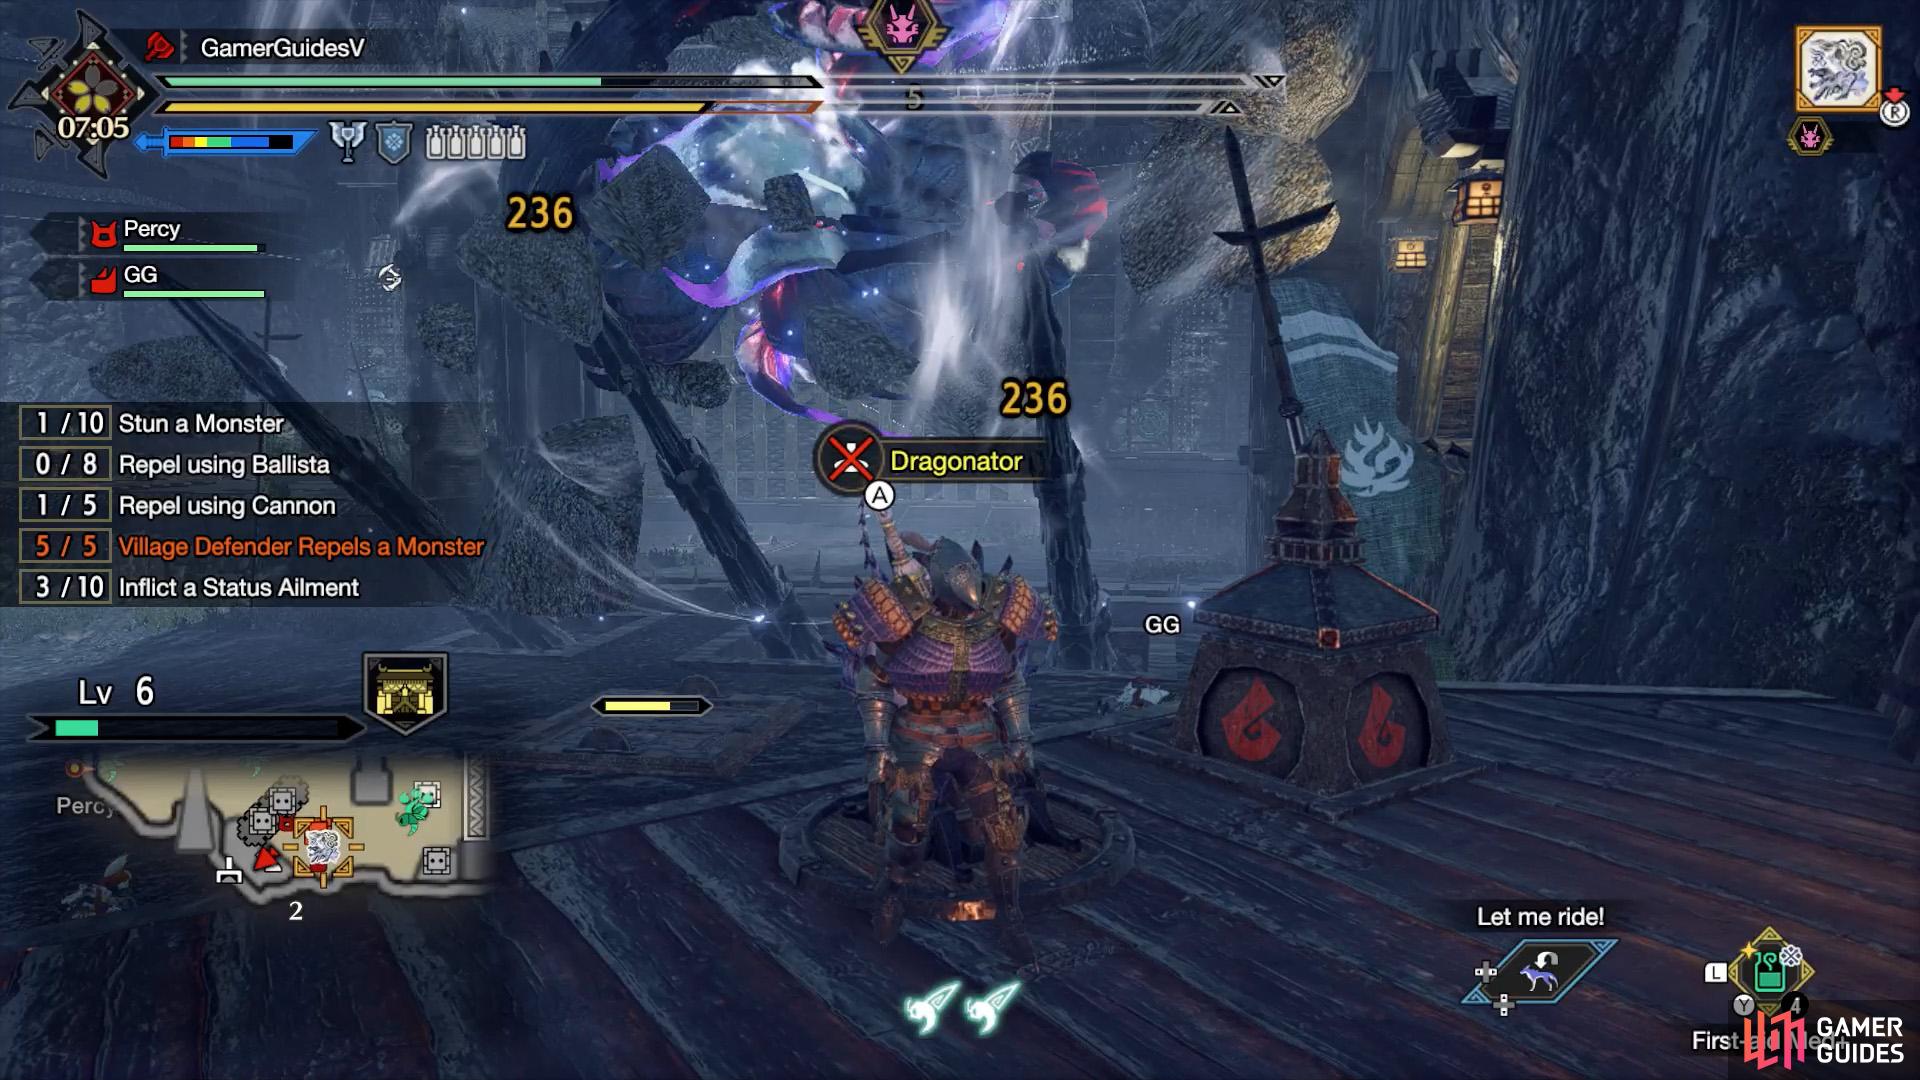
With enough damage, a direct shot from the wyvernshot should stun Ibushi. (left), Similarly, the dragonator also works. (right)
When Ibushi uses this move for the first time, run to the last dragonator or splitting wyvernshot and let Ibushi have it! Which one you use depends on your stronghold layout, but Ibushi will always be positioned near it. If you’re using the wyvernshot, be sure to aim it properly. If you dealt enough damage prior, the impact will interrupt and stun Ibushi.
That’s one floating boulder hopefully interrupted, but what about the other times? If you’re playing multiplayer, you or your allies should work the power kilns to get the dragonator/wvyernshot running a second time. But if you’re playing solo, you’ll have to do your best to scrape by.
(1 of 2) When the dragonator/wyvernshot aren’t ready, blast the boulders with artillery.


When the dragonator/wyvernshot aren’t ready, blast the boulders with artillery. (left), If you destroy enough boulders, you can weaken the attack. (right)
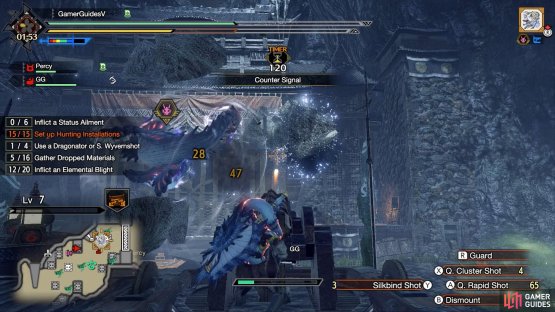
If you don’t have the dragonator/wyvernshot ready, jump into a ballista, cannon or machine cannon and keep shooting the floating boulders. You won’t be able to stop the attack outright, but if you break some of the boulders, you’ll weaken the impact. The machine cannon seems to work best, but your stronghold must be Level 6 or over.
Strategy

(1 of 2) Ibushi will drop in around the 10 minute mark.
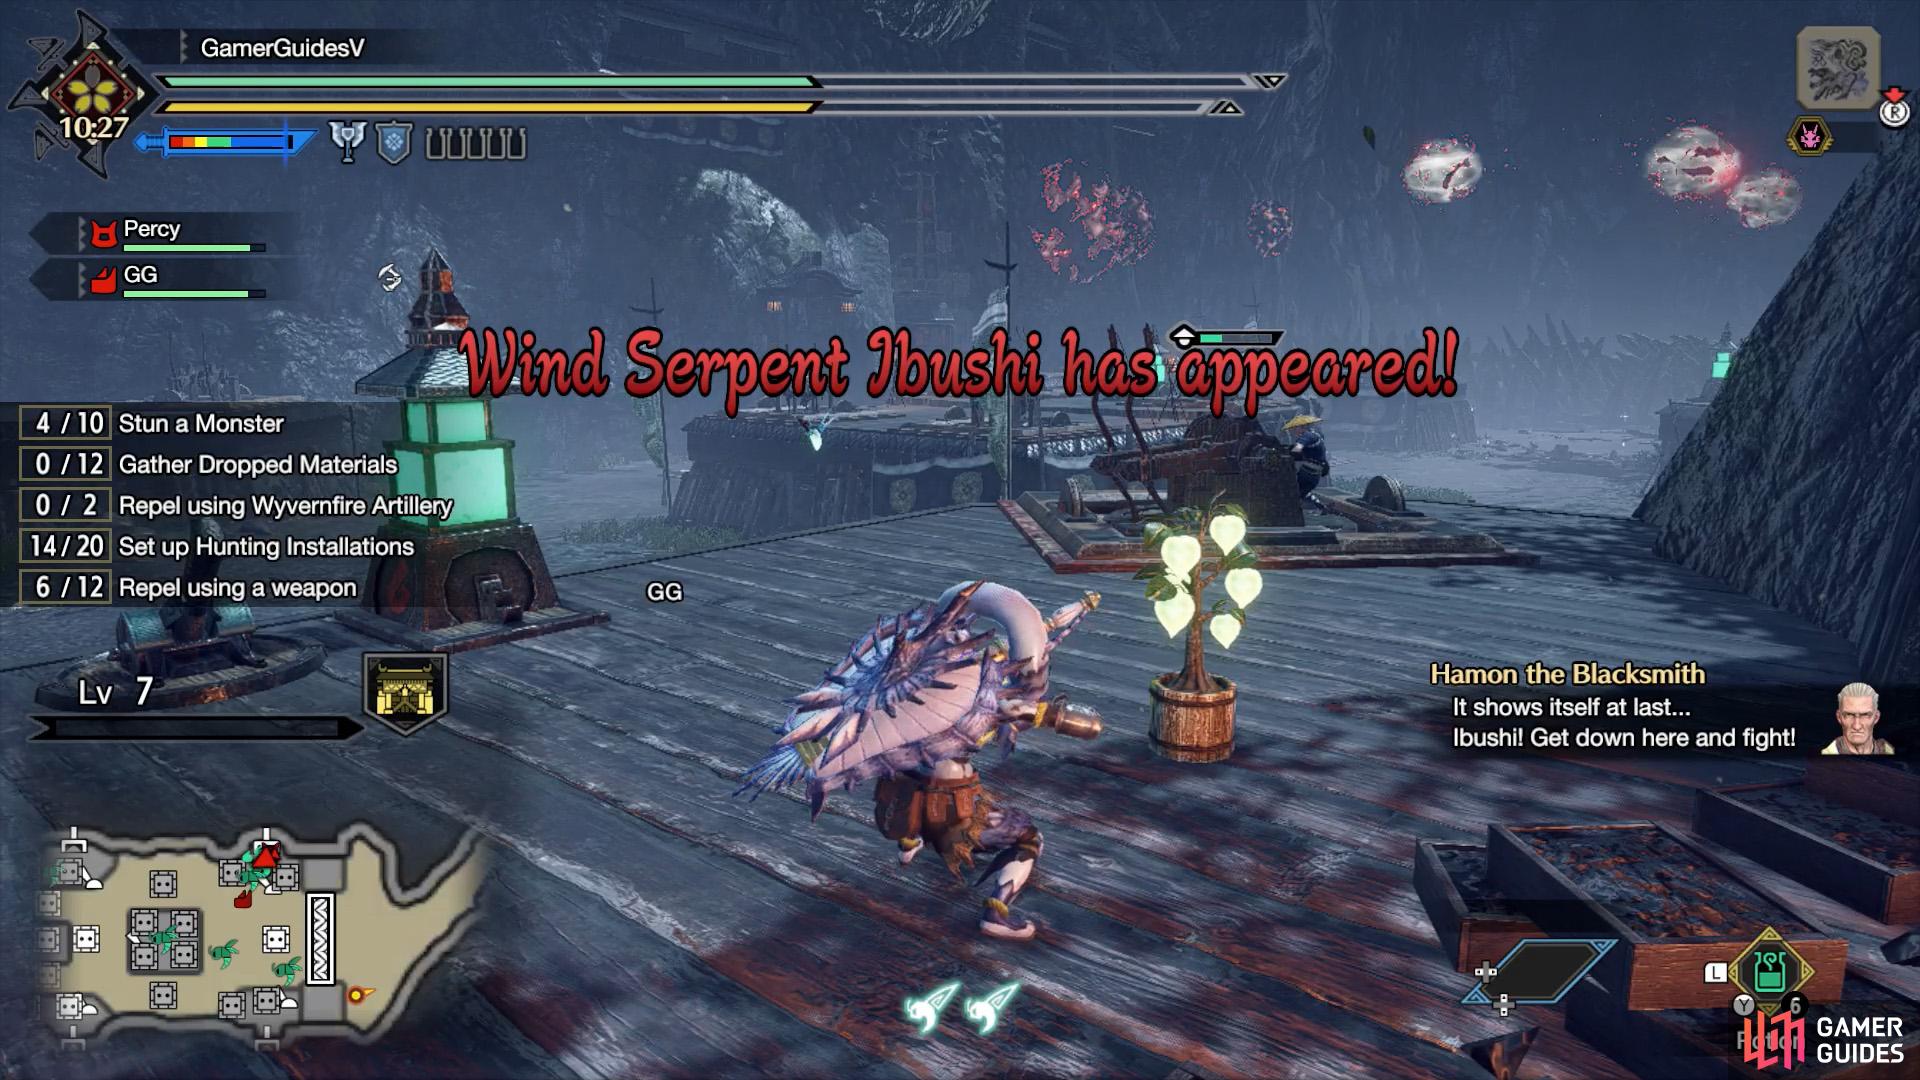
Ibushi will drop in around the 10 minute mark. (left), It’ll appear near the entrance of the area and quickly move to the gate at the end. (right)
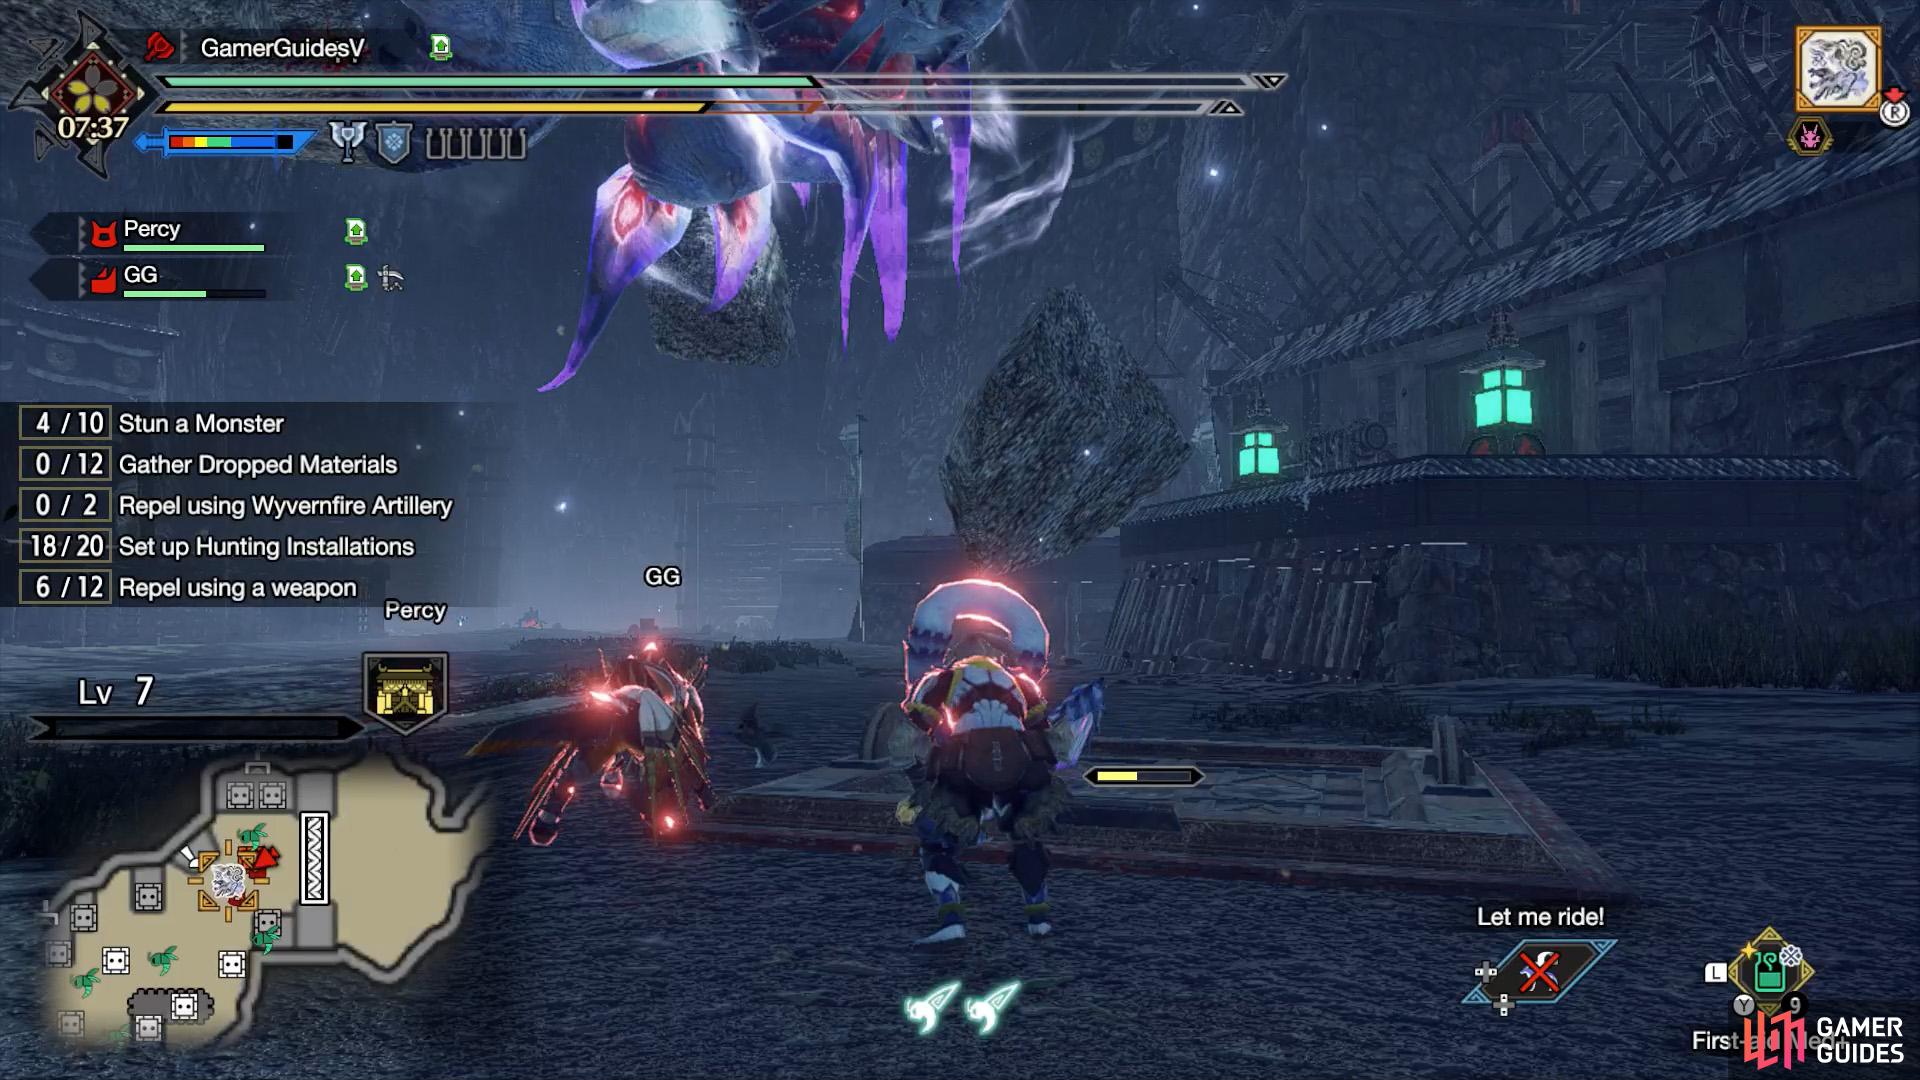
No doubt about it, Ibushi is a menace. The wind serpent is huge and its attacks hit like a wind-powered truck. You shouldn’t get one-hit by its attacks, but you’ll probably say goodbye to half of your health bar. However, once you spend some time with it, most of its attacks are easy to dodge and it’s not that aggressive, compared to, say, Apex monsters.
More than anything, the hardest part of this fight–especially if you’re playing solo–is stopping Ibushi from destroying the gate, which is an instant Game Over. Also, if you’re aiming to defeat Ibushi, you only get around 10 minutes to fight it, which isn’t a lot of time (although it feels like an eternity if you’re defending against it).


(1 of 2) Level up your stronghold to unlock the Dragonator.
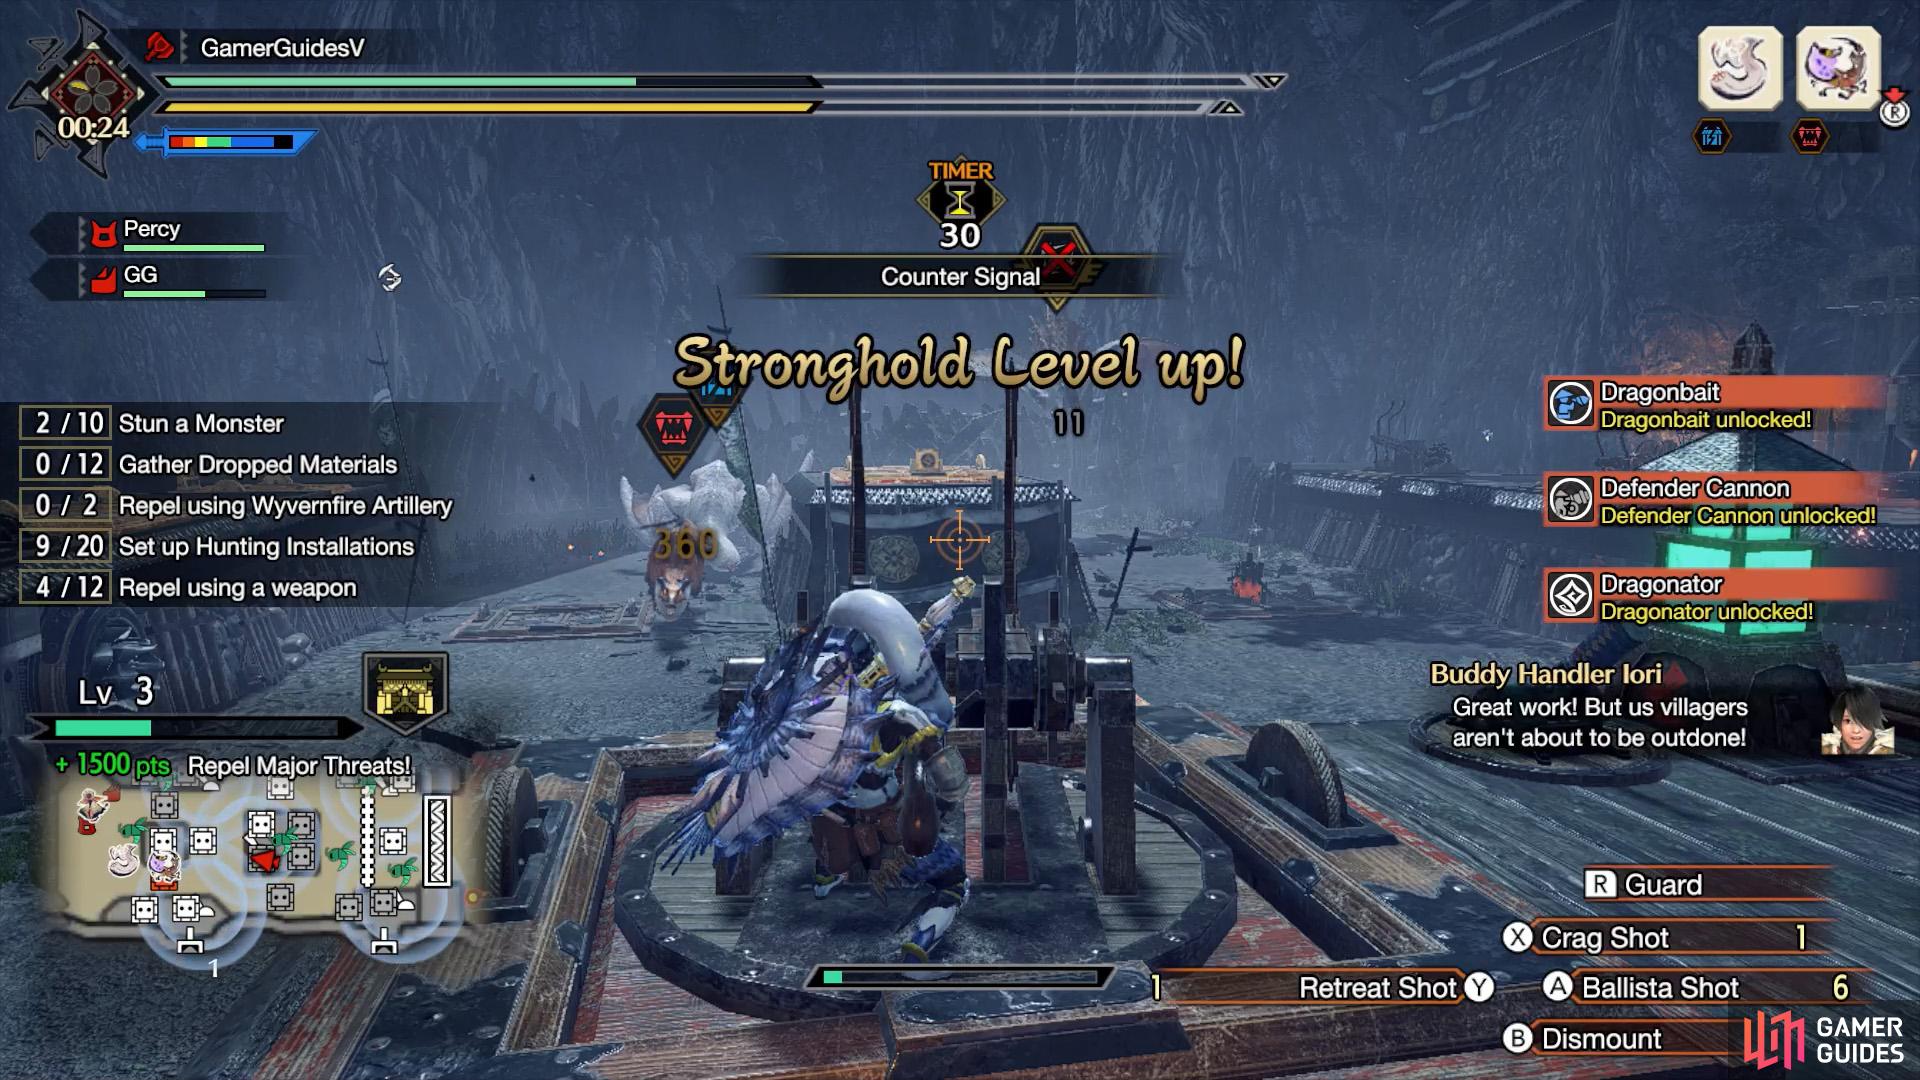
Level up your stronghold to unlock the Dragonator. (left), As well as the Splitting Wyvernshot. You’ll need ’em for Ibushi. (right)
First things first, don’t come into this fight undergeared; you’ll want some High Rank armor at least so you don’t get one-shot. Stock up on Mega Potions and grab the stacks of First-aid Med+ from the supply box (one for yourself in multiplayer; three if going solo). Also, if you can spare some, bring some (Mega) Demondrugs to boost your Attack.
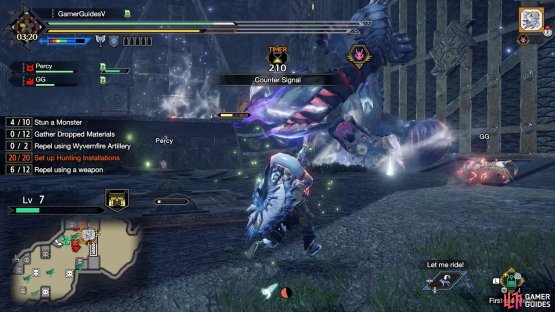
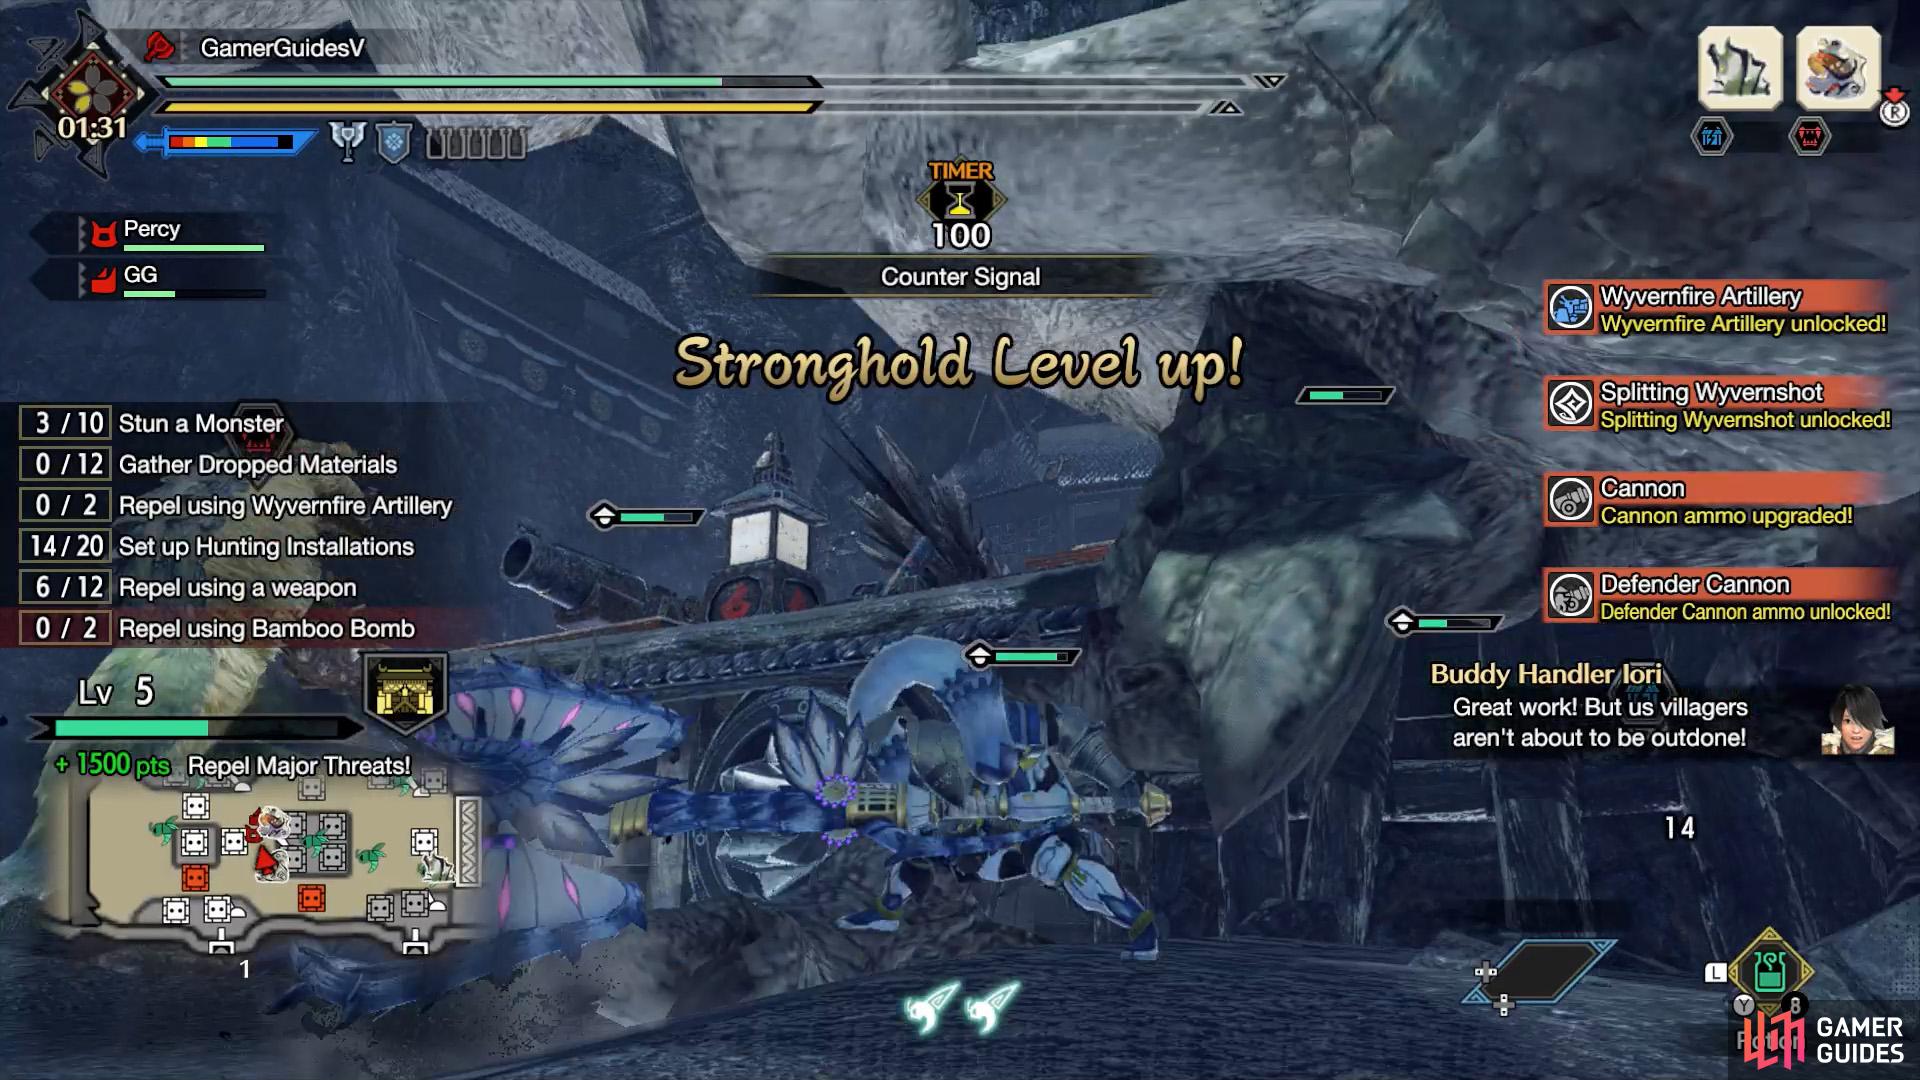
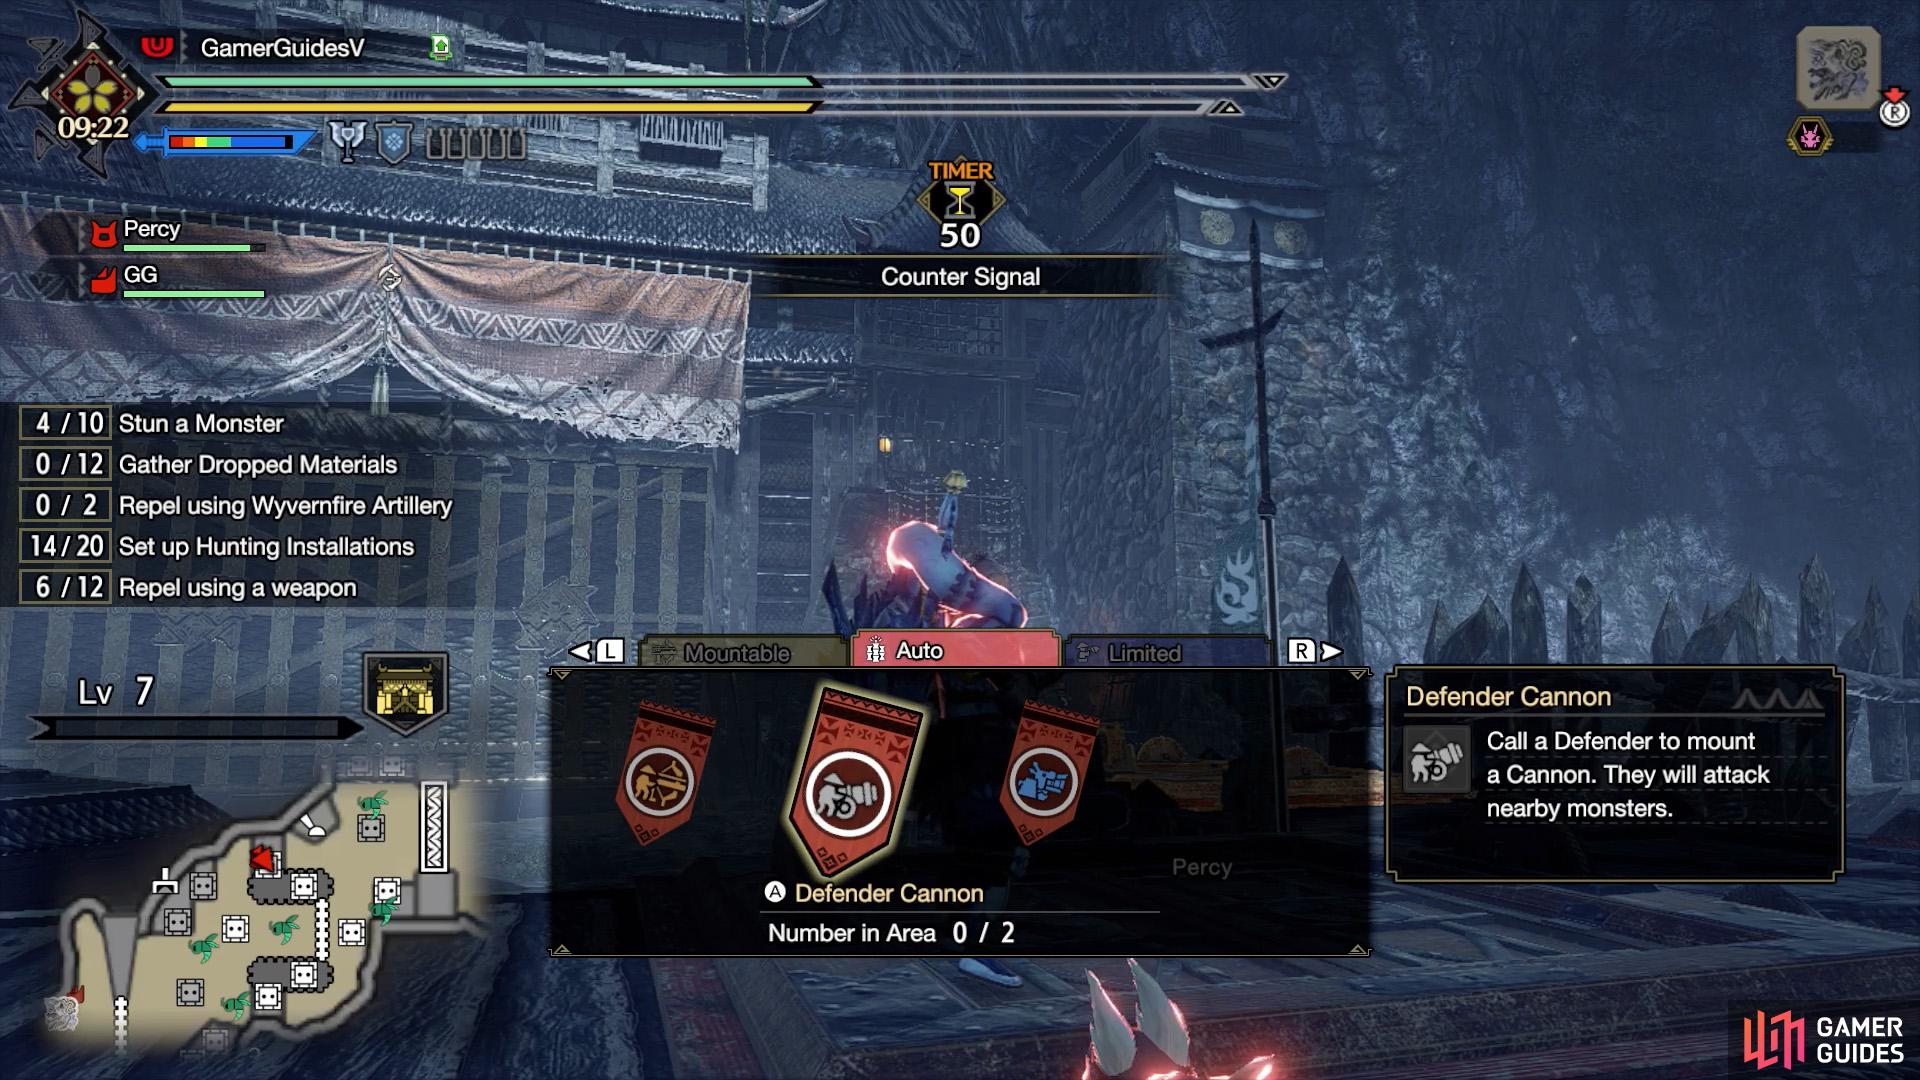
Next, your battle with Ibushi begins long before it even appears. Since you’re facing Ibushi in a Rampage Quest, you want the final gate to be as pristine as possible before Ibushi arrives. Also, you want to upgrade your stronghold so you’ve at least got access to the Dragonator (Level 3) and Splitting Wyvernshot (Level 5).

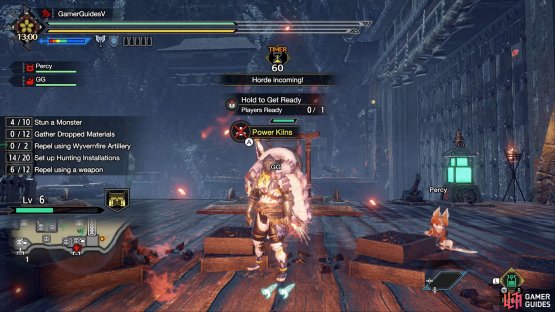
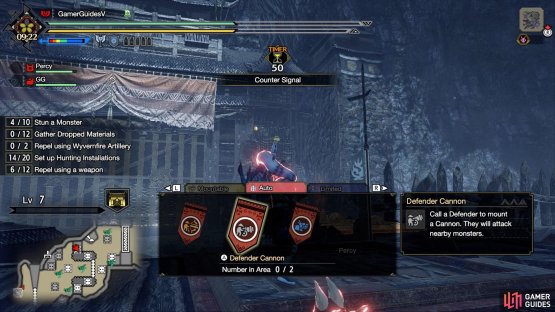
(1 of 2) In-between waves or when things are quiet, use the power kilns to power up the dragonator/wyvernshot.

In-between waves or when things are quiet, use the power kilns to power up the dragonator/wyvernshot. (left), A green light means they’re back on. Plus the power kiln option will be disabled. (right)
Ideally, you want the final gate in the first area to be still standing before Ibushi appears. If it’s destroyed, don’t panic straight away, but try to limit the damage caused in the second area. Head there pronto and install automatic ballistae/cannons.
During the first and second waves, don’t hesitate to use the dragonator/wyvernshots once you’ve unlocked them. They’re best used when things get extremely chaotic near the frontlines or when the last gate of the area is being heavily assaulted. After using them, you can use the power kilns in-between waves to power them back up.


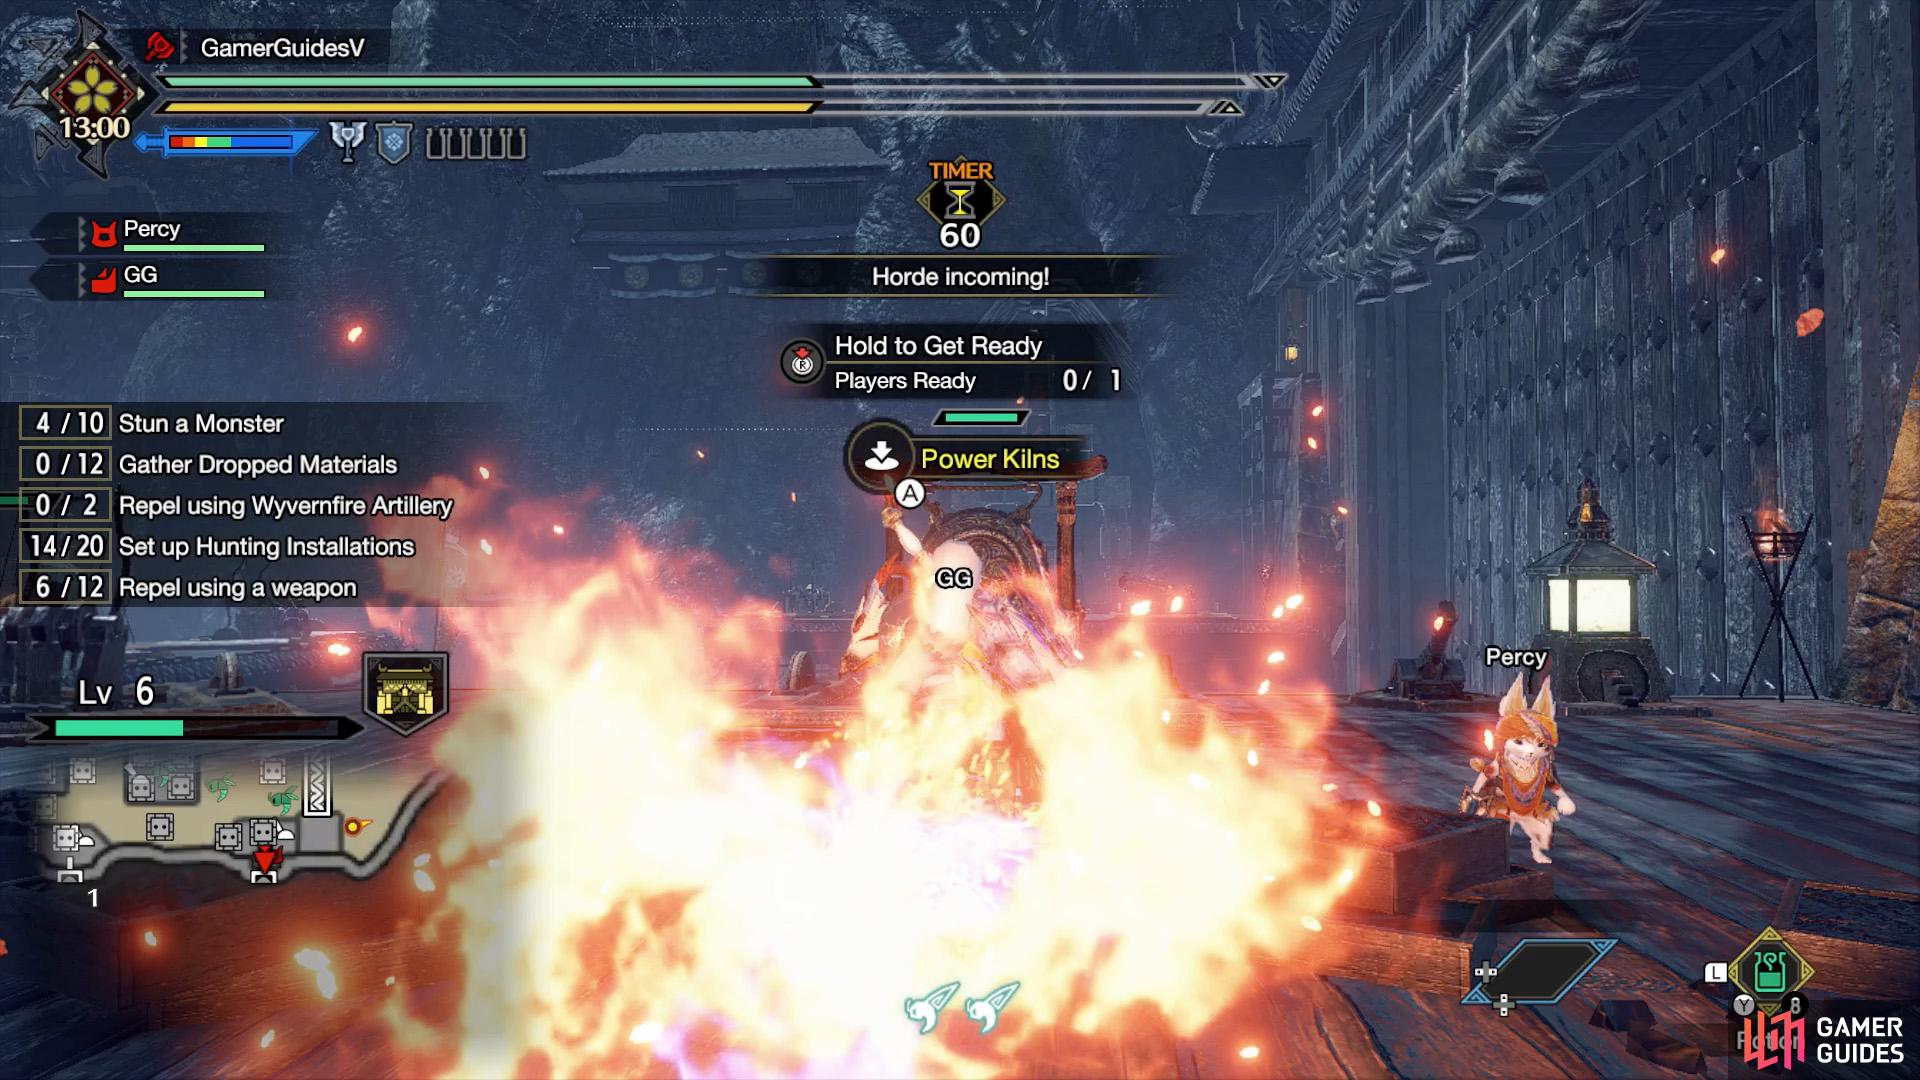
(1 of 2) Remember to ask Utsushi for help during the second wave!
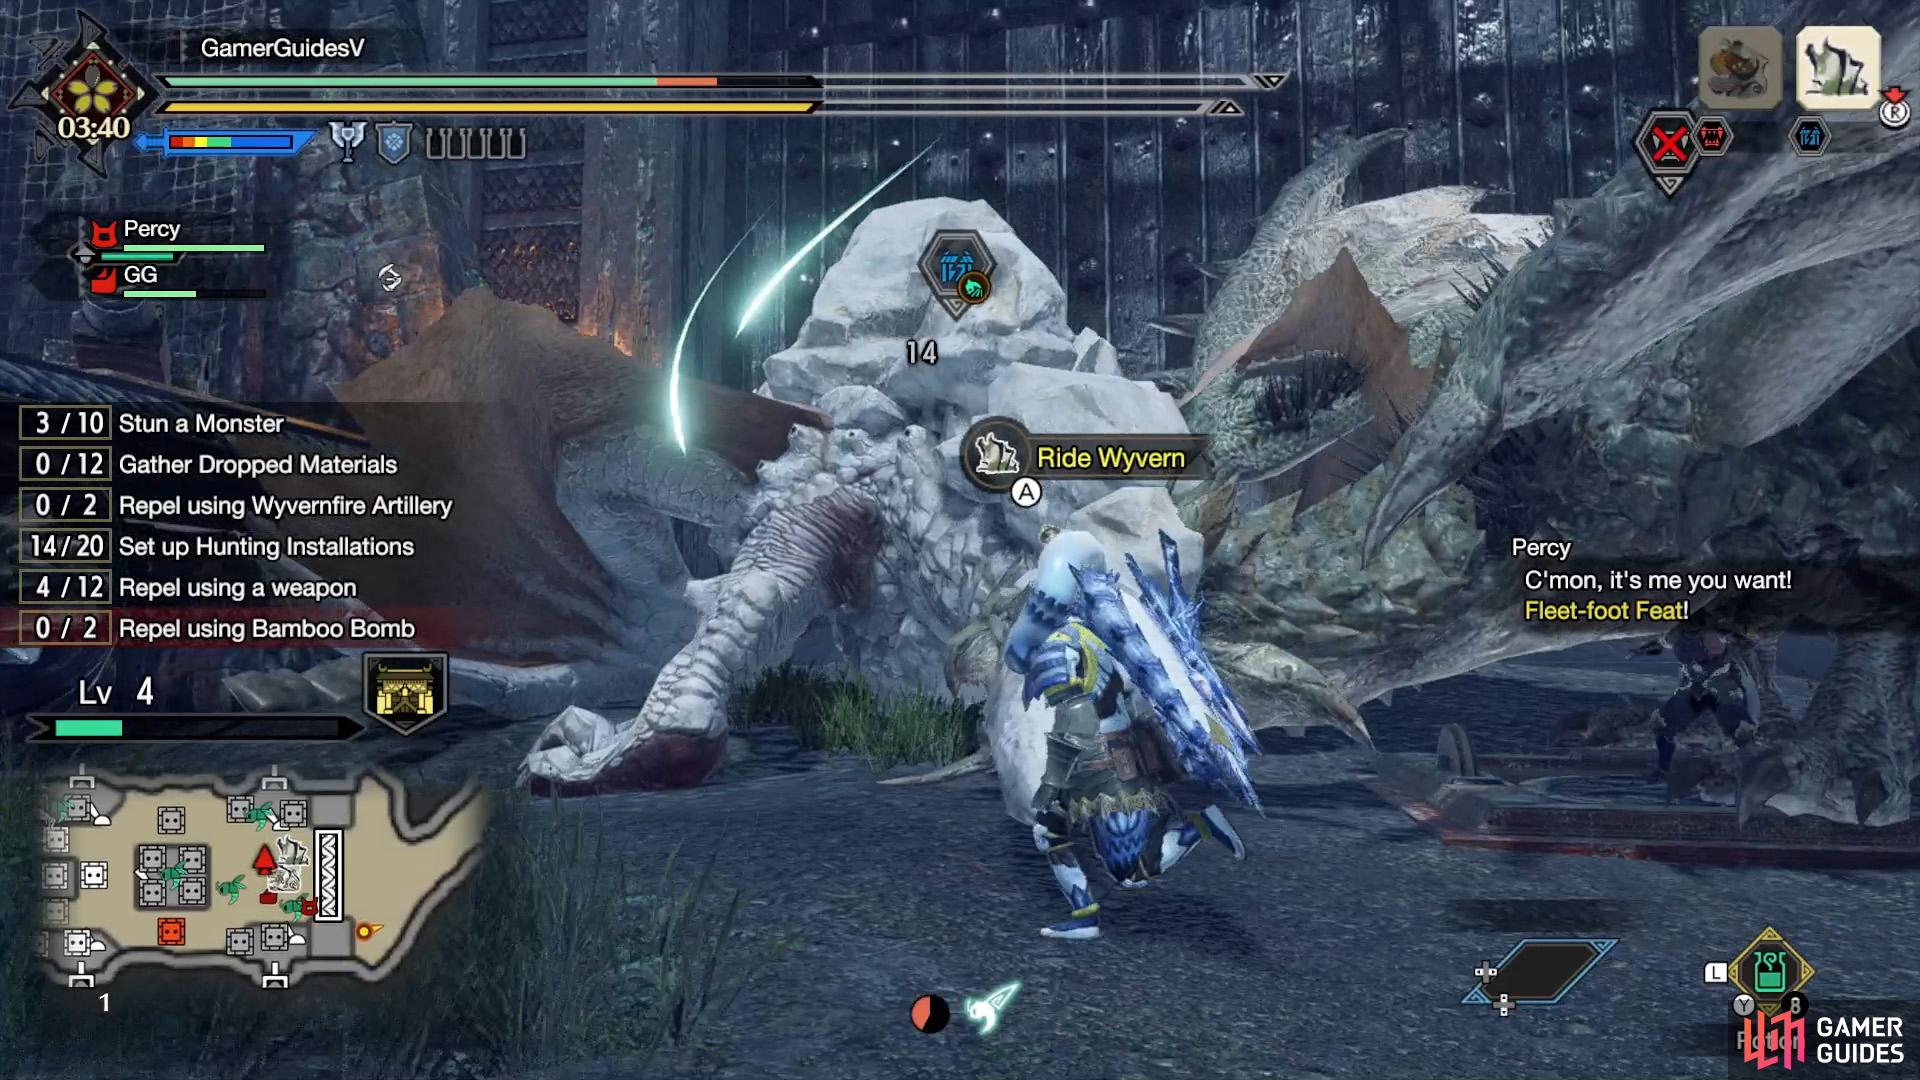
Remember to ask Utsushi for help during the second wave! (left), His wire attacks will make monsters ridable–and you can launch monsters to chain Wyvern Riding. (right)
Also, after using Utsushi, he will cause nearby monsters to be Wyvern Ridable. One thing you can do is ride a monster until you unlock the Mounted Punisher, but do not use it. Instead, Launch your monster into a second monster. Then repeat, so you’re nearly always riding something. This will let you take out many monsters with ease.
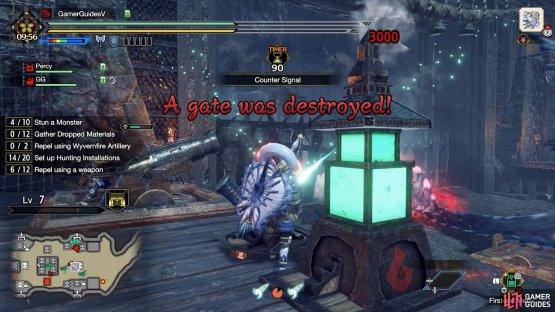
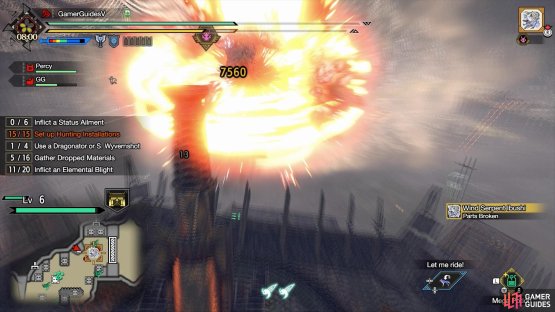
(1 of 2) Ibushi will one-shot the last gate in the first area.
Ibushi will one-shot the last gate in the first area. (left), If that happens, run to the second area and install automatic weapons (unless you did it earlier). (right)
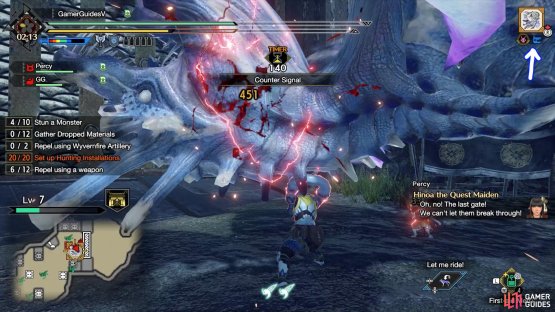
Still hanging in there? Once Ibushi arrives, that’s where the real fight begins. If the final gate in the first area is still standing, Ibushi will one-shot it. No worries, it won’t destroy the real final gate so easily. If you’re quick, you can use the dragonators in the first area to inflict some damage.
Before fighting Ibushi properly, sip your (Mega) Demondrug. Then go nuts. Since Ibushi is huge, hitting it is relatively easy. Despite its size, the hitboxes for its attacks are relatively small. You can dodge a lot of attacks by rolling once. If you get hit, obviously remember to heal, because you may not survive a second blow. If you faint, don’t worry either, as you can’t fail the quest by carting.
(1 of 2) When the music changes and the blue skull icon appears, you’ve almost defeated Ibushi!


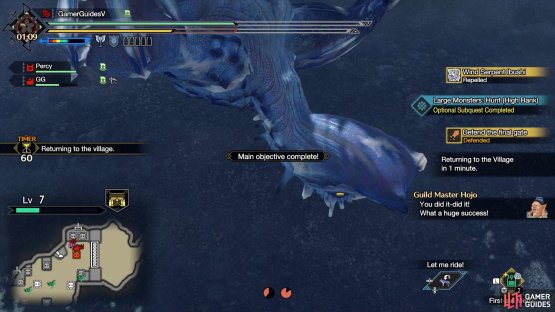
When the music changes and the blue skull icon appears, you’ve almost defeated Ibushi! (left), Congratulations on saving the village yet again! (right)
As mentioned in the attack patterns, you should aim to interrupt Ibushi’s floating boulder attack at least once, because if he uses it 2 or 3 times, the final gate will crumple like paper, wasting all your hard work. Although you will still get a few material drops, as a consolation prize. That’s what the dragonator or splitting wyvernshot are for, although you also need to hurt Ibushi beforehand.
With the gear that’s available up to this point, you should be able to defeat Ibushi, barely. If the music starts changing to the uplifting Monster Hunter theme, it means Ibushi is almost out of health. After a few more hits, you should see the “blue skull” icon in the top right corner, which means its on its last legs. Keep it up and you should send the wind serpent scurrying!
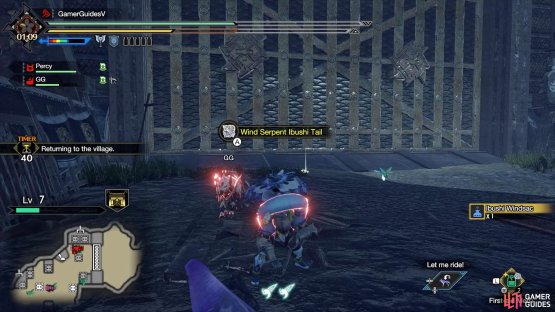
(1 of 2) After the fight, remember to carve from Ibushi’s body parts.


After the fight, remember to carve from Ibushi’s body parts. (left), Plus its tail. These are all marked on the mini-map. (right)
Meanwhile, if you’re not planning to defeat Ibushi, we think it’s a good idea to approach the fight with that mindset anyway. Although it can be scary, you really want to focus your attacks on Ibushi, so it’s attacking you, rather than the final gate. If you instead run around doing nothing but dodge attacks, Ibushi may get bored and head towards the gate. Plus there’s barely any downside to fainting, so you may as well go all out!
If playing multiplayer, this fight should be very manageable. You can always let other hunters distract Ibushi, while you man the installations or use the power kilns to reactivate the dragonator/wyvernshot. Chances are, there might be hunters looking to farm Ibushi’s materials, who are more experienced and better geared than you.
Material Drops (High Rank)
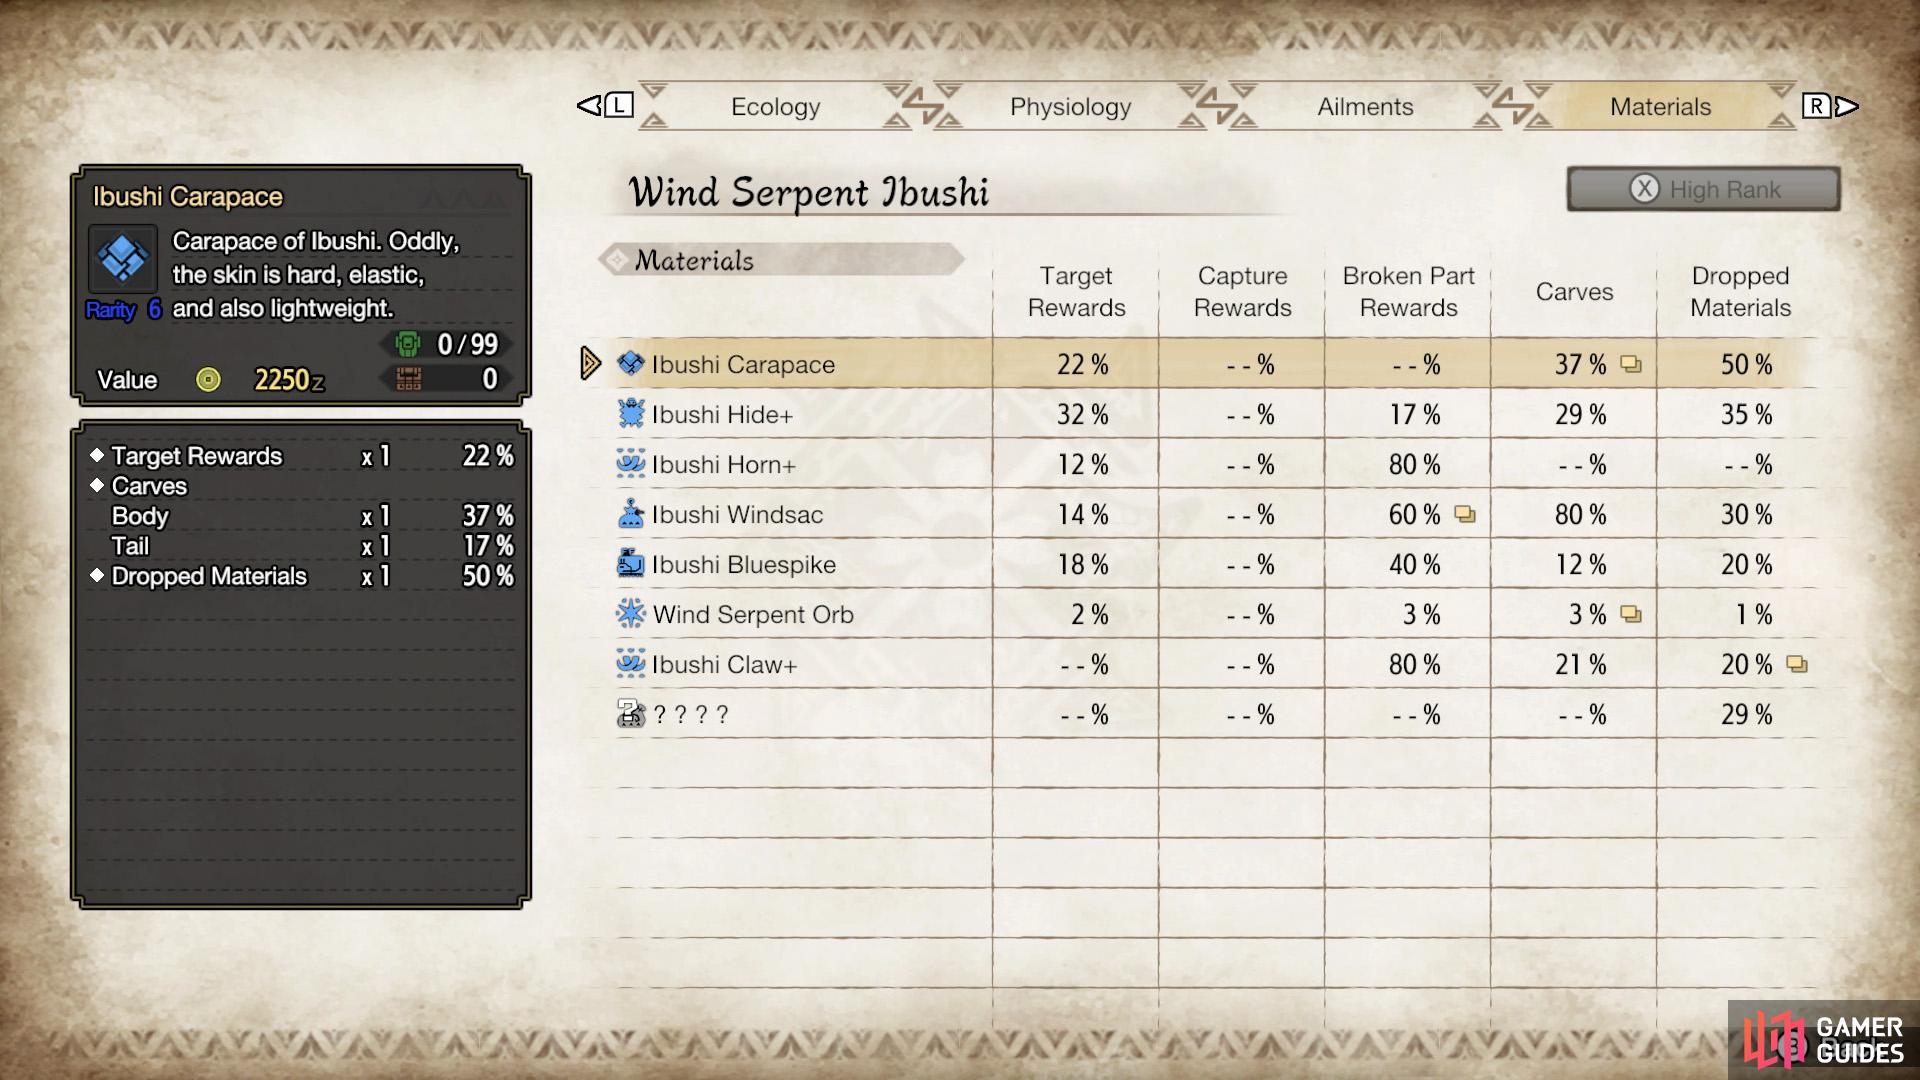
Wind Serpent Ibushi’s High Rank drops.
Target Rewards
| Material | Drop Rate (%) |
|---|---|
| Ibushi Carapace | 22% |
| Ibushi Hide+ | 32% |
| Ibushi Horn+ | 12% |
| Ibushi Windsac | 14% |
| Ibushi Bluespike | 18% |
| Wind Serpent Orb | 2% |
Capture Rewards
Ibushi cannot be captured.
Broken Part Rewards
| Material | Drop Rate (%) |
|---|---|
| Ibushi Hide+ | Horn - 17% |
| Ibushi Horn+ | Horn - 80% |
| Ibushi Windsac | Back - 60%, Wingarm - 20% |
| Ibushi Bluespike | Back - 40% |
| Wind Serpent Orb | Horn - 3% |
| Ibushi Claw+ | Wingarm - 80% (x2) |
Carves
| Material | Drop Rate (%) |
|---|---|
| Ibushi Carapace | Body - 37%, Tail - 17% |
| Ibushi Hide+ | Body - 29% |
| Ibushi Windsac | Tail - 80% |
| Ibushi Bluespike | Body - 12% |
| Wind Serpent Orb | Body - 1%, Tail - 3% |
| Ibushi Claw+ | Body - 21% |
Dropped Materials
| Material | Drop Rate (%) |
|---|---|
| Ibushi Carapace | 0%, 50% |
| Ibushi Hide+ | 0%, 35% |
| Ibushi Windsac | 30%, 0% |
| Ibushi Bluespike | 20%, 0% |
| Wind Serpent Orb | 1%, 0% |
| Ibushi Claw+ | 20%, 15% |
| Dragon Treasure | 29%, 0% |
No Comments