
What are Relic Records?
These are artifacts left behind by previous inhabitants, placed in hard-to-find or reach locations of the map. Once you’ve found a record, it will be saved in your Hunter’s Notes, the Notebook section. After finding all 10 records of the same type, speak to Kagero the Merchant in Kamura Village to receive unique carvings for your room.
Relic Record I
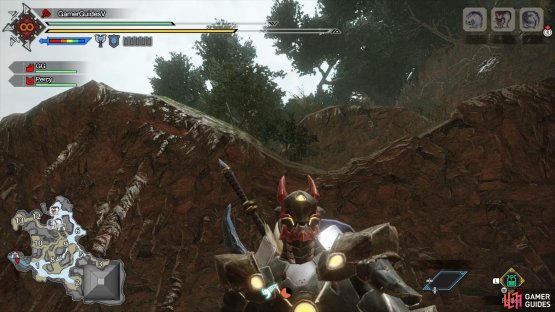

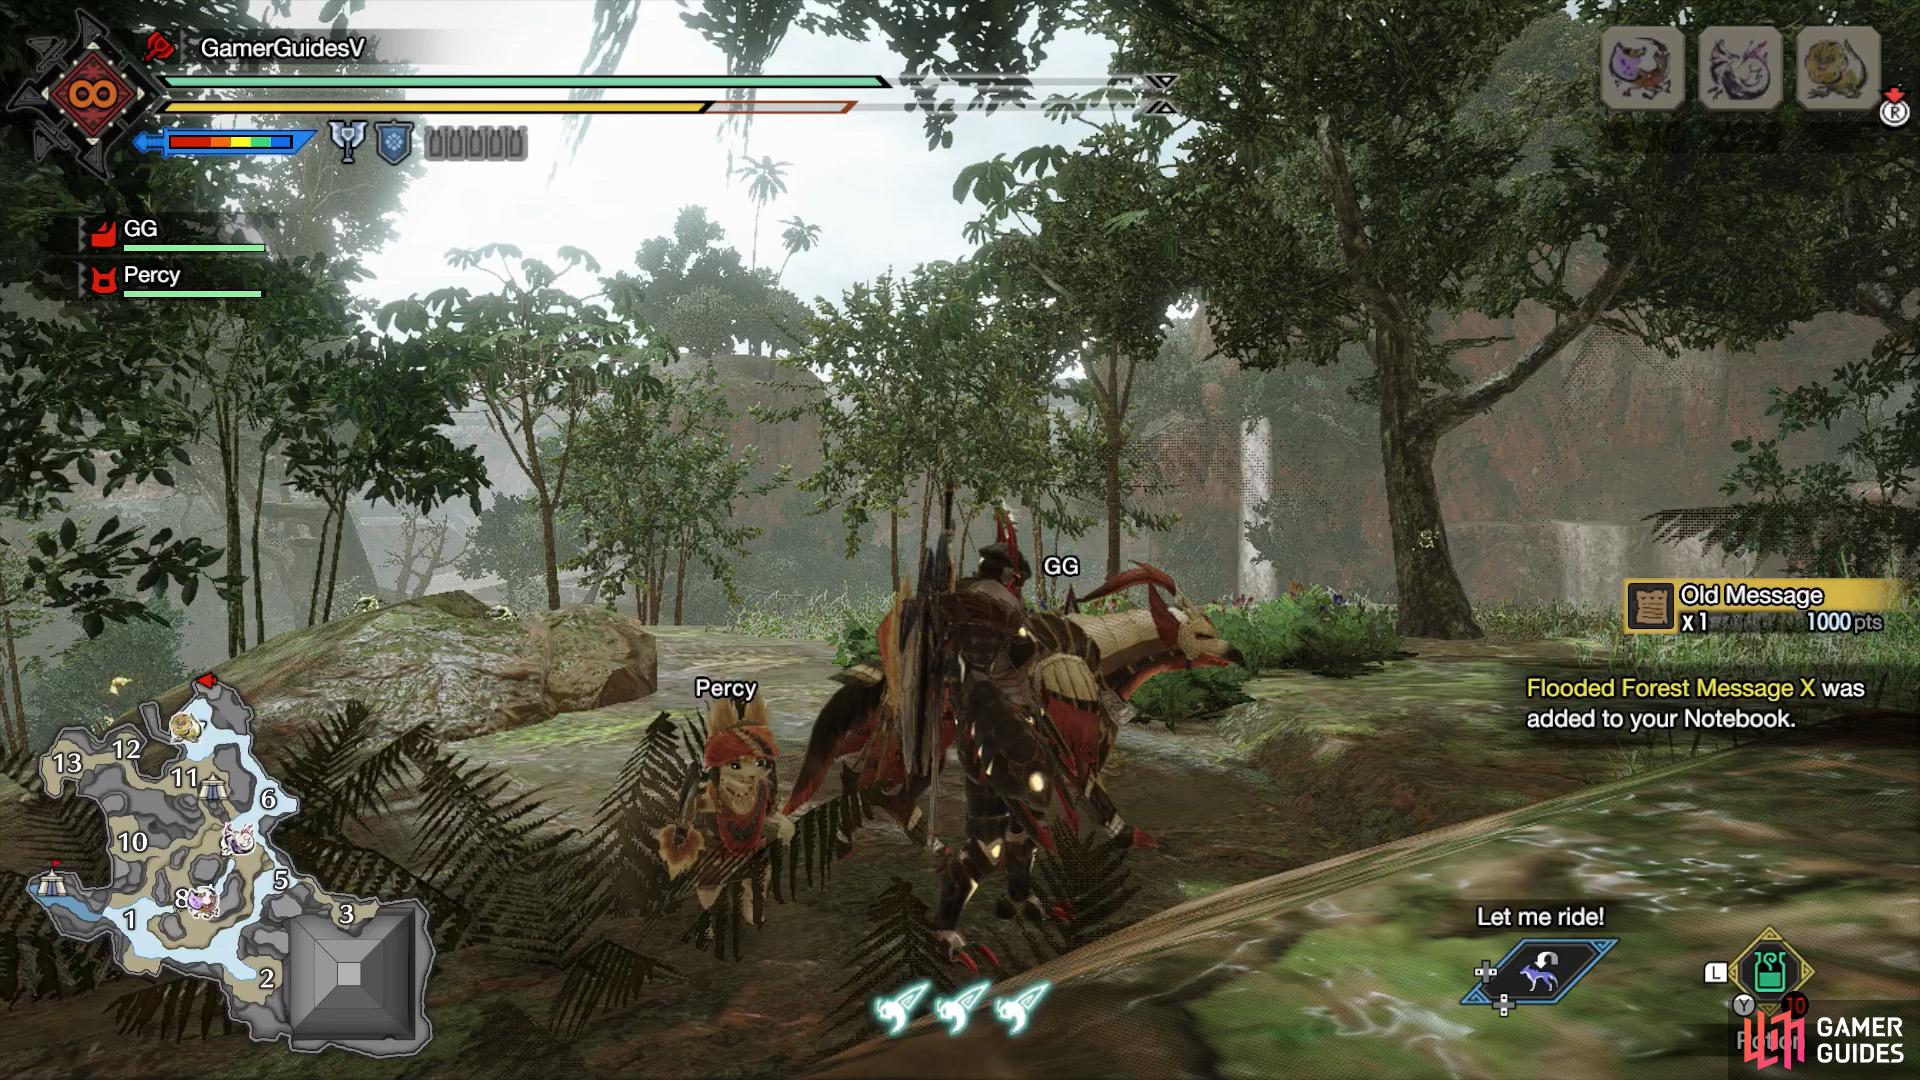
(1 of 2) Walk away from the main camp and look up.

Walk away from the main camp and look up. (left), Wiredash up the ledge or use the nearby great wirebug to get close. (right)
A nice, easy relic to get you started. Use your wirebugs to climb up the ledge directly above the main camp. We recommend manually aiming upwards with (using  and
and  ). The relic is near the center of the ledge.
You can also use the nearby great wirebug, on the raised ground, to reach a higher ledge. Then drop down to the lowest ledge.
Relic Record II

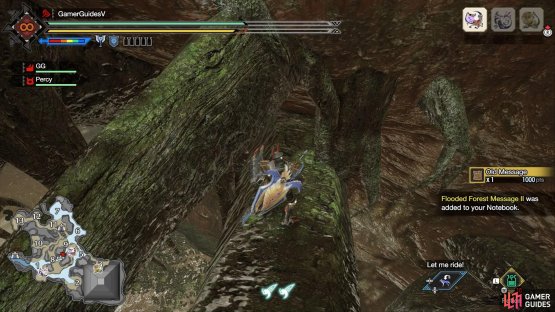
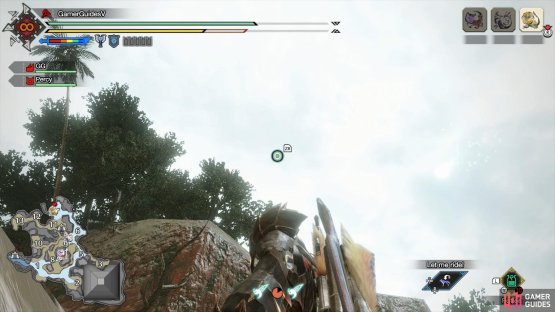
(1 of 2) Look for the intersecting tree branches that we’ve highlighted in yellow. Then walk along the red arrow path.
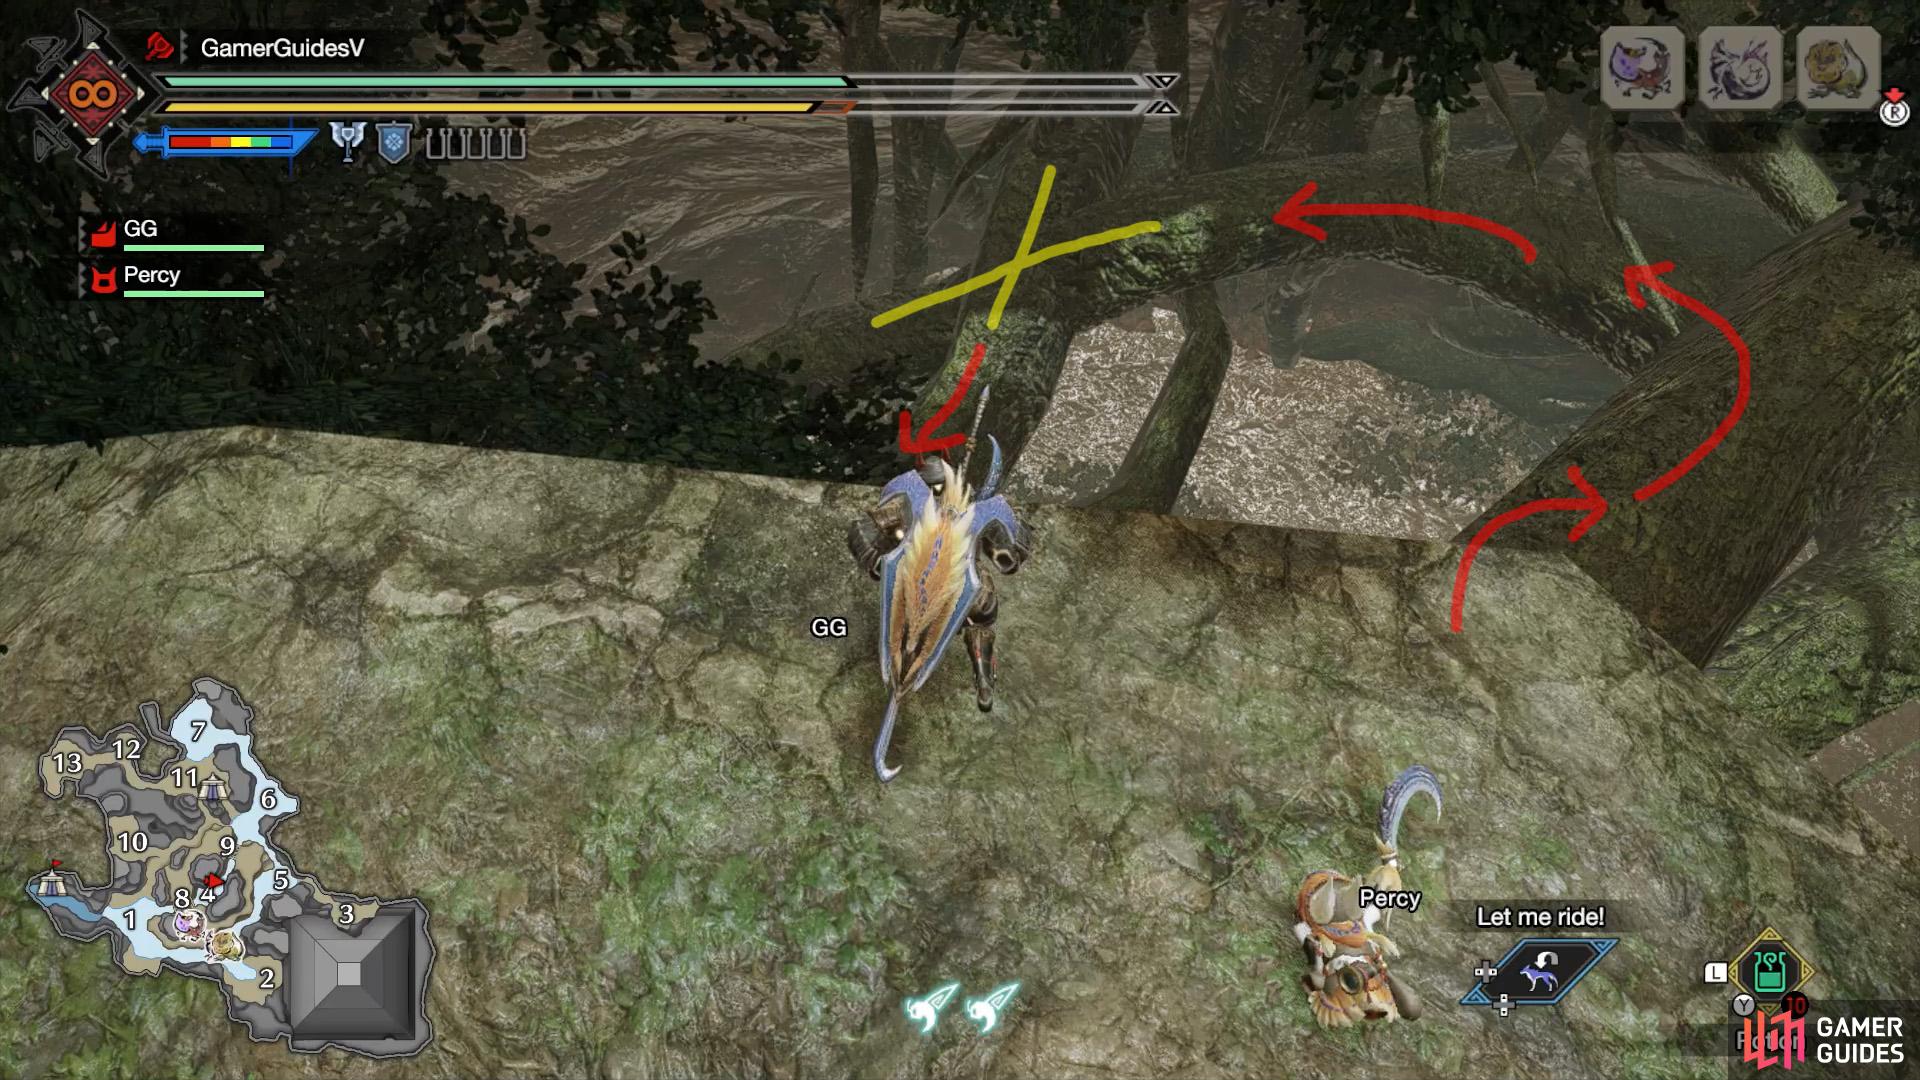
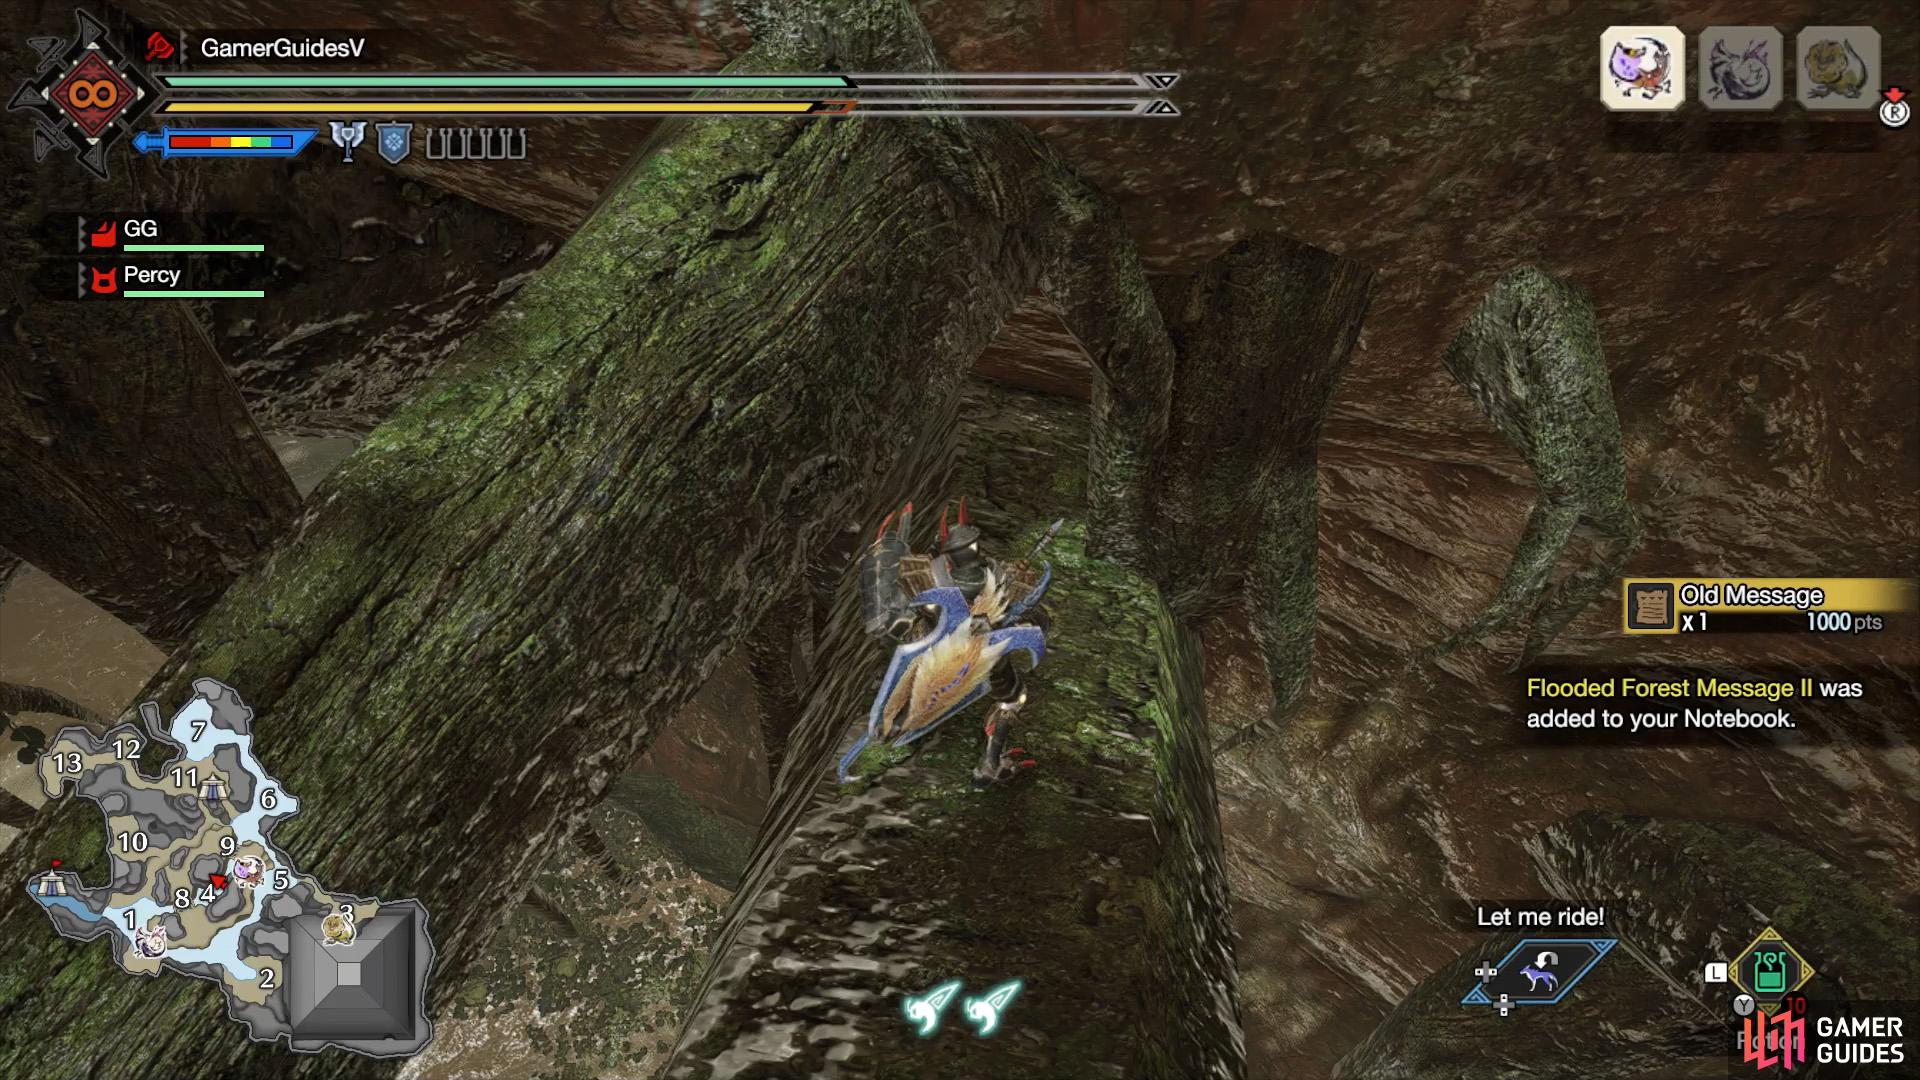
Look for the intersecting tree branches that we’ve highlighted in yellow. Then walk along the red arrow path. (left), This relic’s sitting smugly at the end of a tree branch. (right)
This relic is a royal pain in the butt if you don’t know where to look. Make your way to the round highlands in-between areas 8 and 9. There’s a small pyramid here. Walk towards the south-east corner, overlooking the shallow water in Area 4. Look for a Smokenut on the ground.
Face Area 5 using your mini-map and walk in its direction. As you reach the edge, carefully peer down. There should be a bunch of tree branches between this highland and the highlands on the opposite side. Among them, there are two branches that criss-cross. The relic’s at the end of the vertical branch, towards your side. Jumping to this branch from here is a bit fiddly though.
Instead, walk a few paces right and drop down to another vertical tree branch, which is easier to see and somewhat wider. Slowly walk across this branch, then drop down left to the horizontal branch. From here, follow that branch until you can turn left towards the vertical branch that leads to the relic.
Relic Record III
(1 of 2) There’s a gap high up on the south side of the great pyramid.

There’s a gap high up on the south side of the great pyramid. (left), This relic’s in a room accessible via the gap. (right)
We suggest tracking Relic Record VIII at the same time. Head to the great pyramid near areas 2 and 3. We suggest approaching from Area 2. Climb up the western side for a bit until you reach level ground, then use the great wirebug nearby to launch yourself to the halfway point.
From here, walk over to the south side of the pyramid, while remaining on the same level. Once you’re halfway across the south side, look up. There should be a square gap in the pyramid wall. Run up the pyramid wall via wiredashing, towards the gap. You may need to hang in mid-air with  to regain stamina.
Once you’ve there, head inside and the relic’s on the left. Be wary of a hole in the floor, near the center of the room.
Relic Record IV
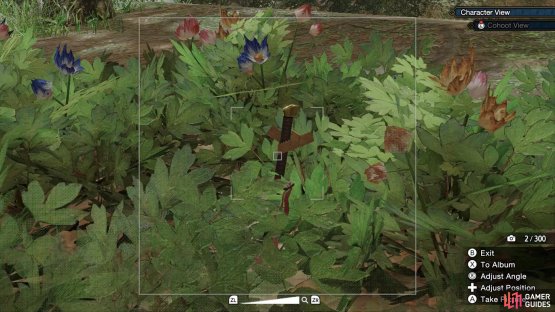
(1 of 2) This is another relic that’s hard to see.


This is another relic that’s hard to see. (left), It’s found in a flowery bush halfway between areas 10 and 11. (right)
Hidden among a flowery bush that’s almost exactly in-between areas 10 and 11, on the highlands. You can get here slightly faster from the Sub-Camp.
Relic Record V

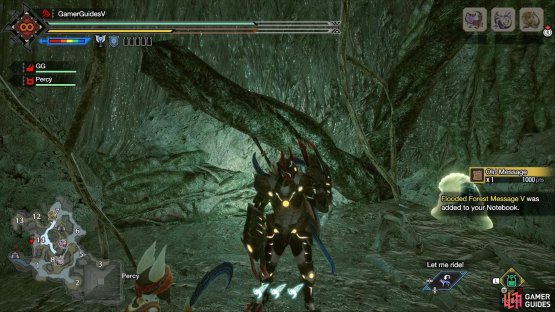
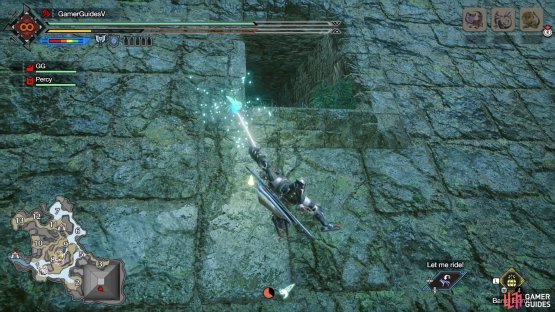
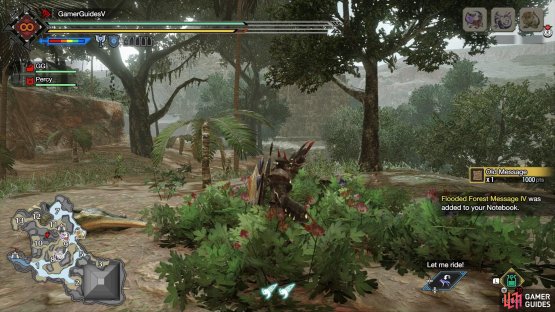
(1 of 2) Patiently search the west wall in Area 14.
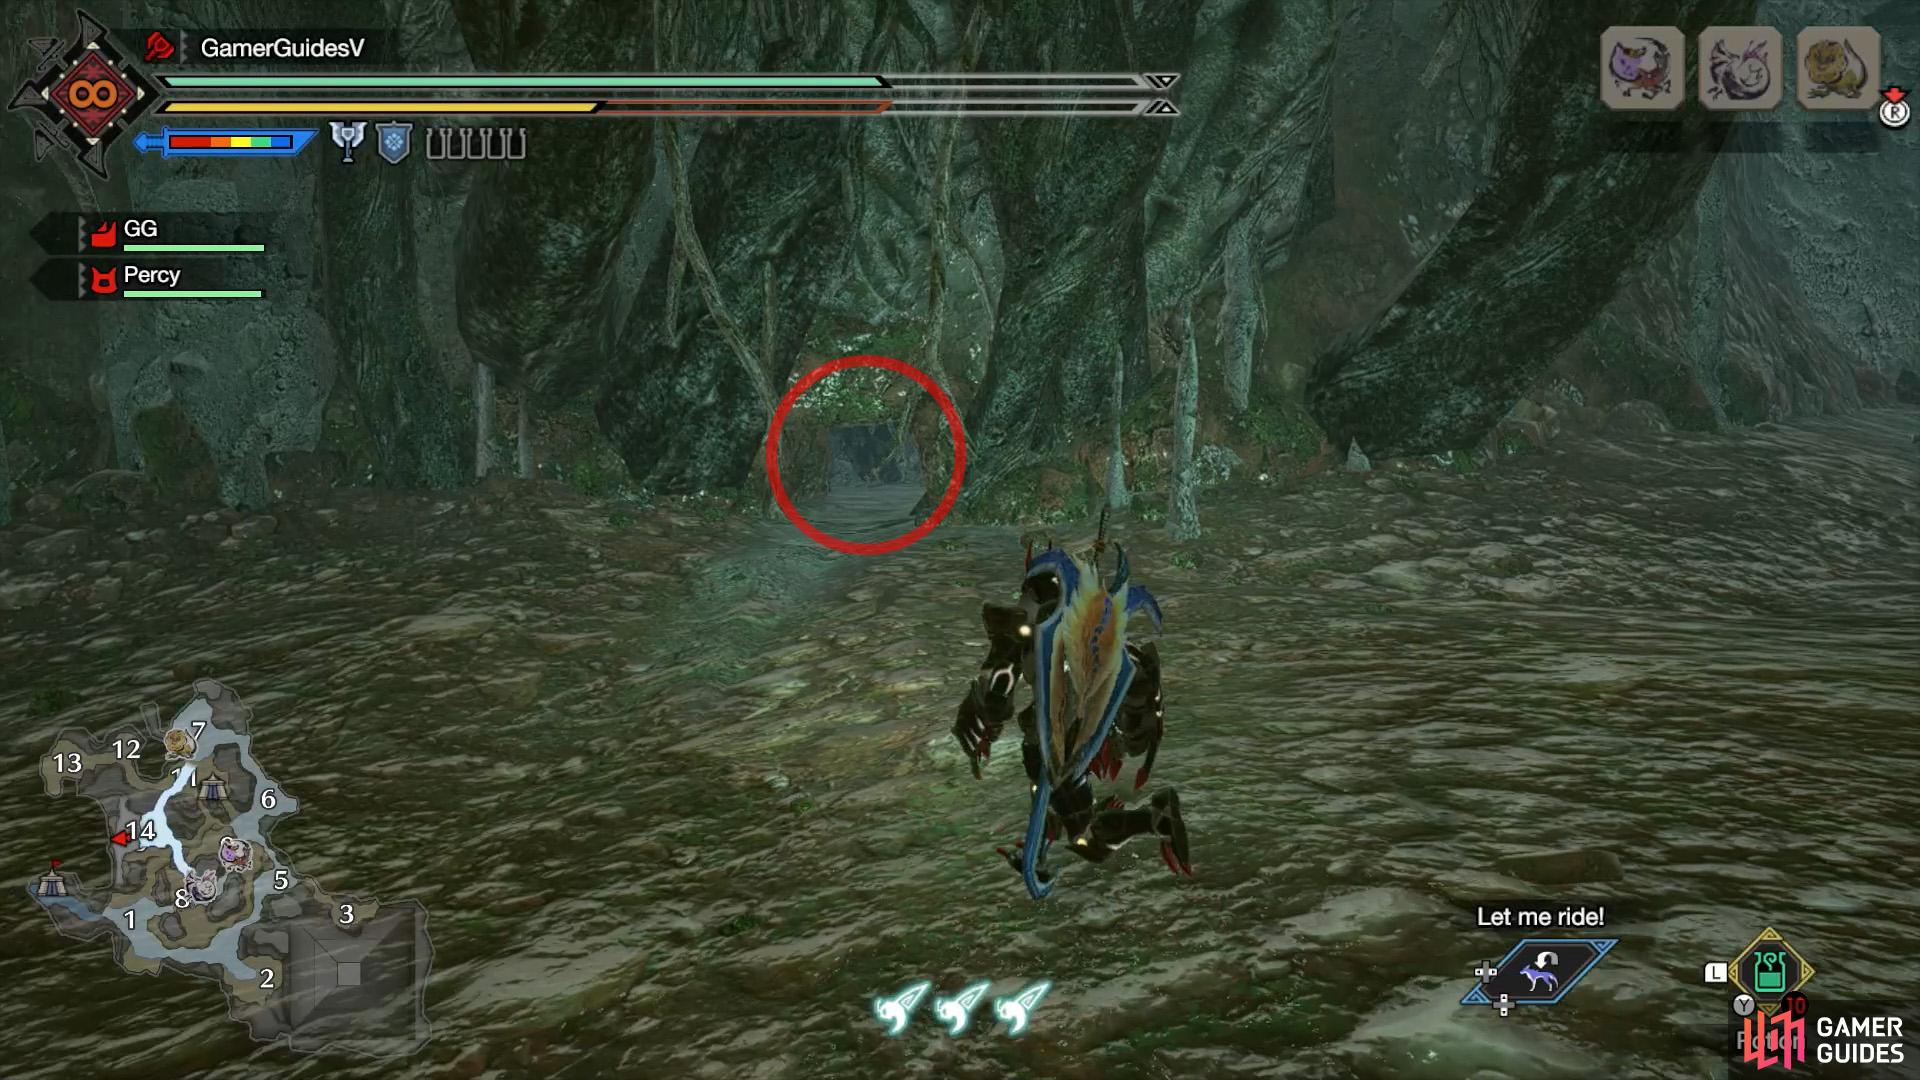
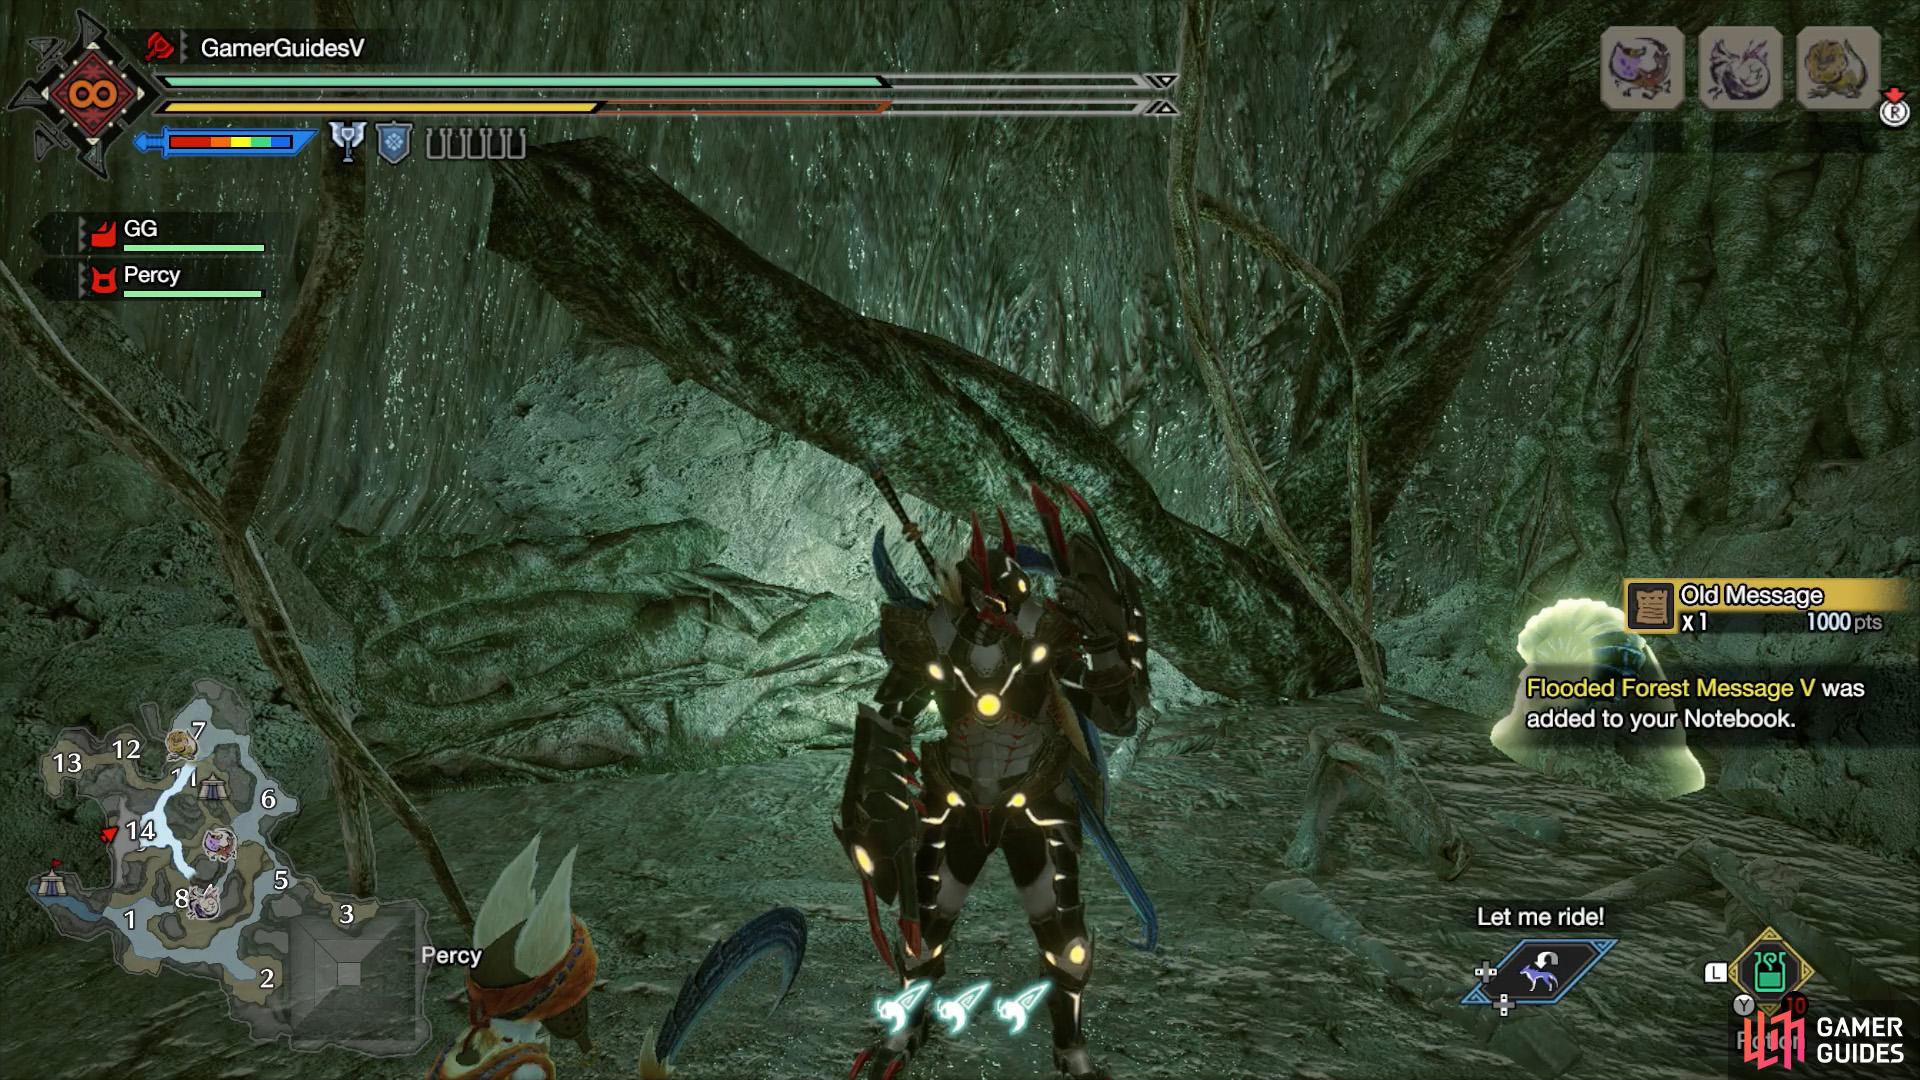
Patiently search the west wall in Area 14. (left), Crawl through the gap to reach this lost relic. (right)
Inside a hidden cave along the west side of Area 14, underground. The cave you’re seeking is more or less halfway up Area 14. Look for a hole at the bottom of the wall that you can crawl through.
Relic Record VI
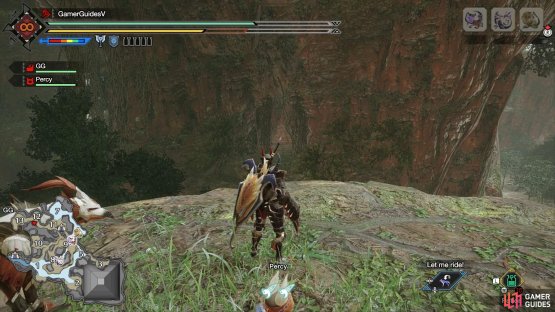
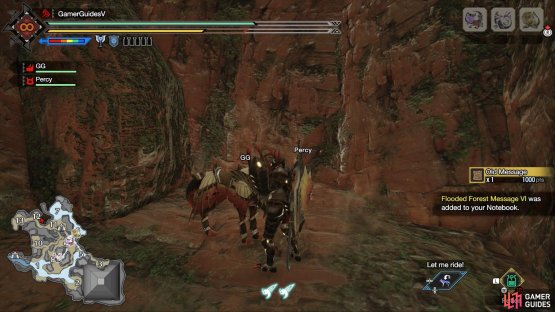
(1 of 2) This alcove is near the south exit of the Area 12 battleground.


This alcove is near the south exit of the Area 12 battleground. (left), Wiredash across from the highlands to reach this relic. (right)
Inside an alcove high up a cliff, towards the south of Area 12, along the boundary. You can use the great wirebug in Area 12 to launch yourself up. Then use your own wirebugs to cross over to the highlands directly south. Stand near the northernmost tip of these highlands and face east. You should see the alcove.
Relic Record VII

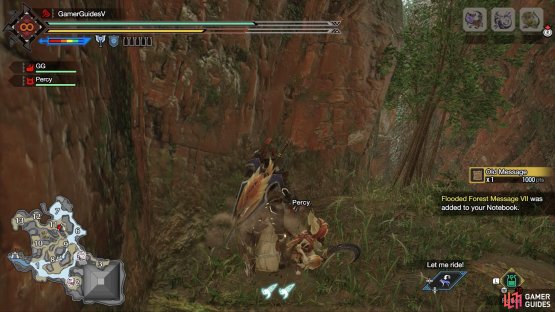
(1 of 2) Here’s the ledge from the top of the narrow highlands.

Here’s the ledge from the top of the narrow highlands. (left), You can drop down to the ledge or climb up from the ground. (right)
On a west-facing ledge at the narrow highlands where areas 6, 7, 9 and 11 intersect. The same place where the Sub-Camp is. There are multiple ways to reach it.
One, you can go to Area 11 and climb up from the west side. There’s a blue mining outcrop near where you should start climbing.
Two, fast-travel to the Sub-Camp, then climb up to the very top, via the nearby gap in the wall. Once at the top, drop down to the slightly lower ground at the northern tip. Then turn left and drop to the ledge with the relic.
Three, use the great wirebug in-between areas 10 and 13 to launch yourself east. After landing, turn left and climb up to the top of the higlands. At the top, face right and there should be two Golden Spiribirds leading to the narrow highlands. Approach the cliff and look left, to find a ledge that’s lower down. Then wiredash to it.
Relic Record VIII


(1 of 2) Um, no palicoes or palamutes were hurt in the process.

Um, no palicoes or palamutes were hurt in the process. (left), After blowing up the cracked door, the relic’s in the room beyond. (right)
Inside the room near the top of the great pyramid near areas 2 and 3. Bring barrel bombs.
Head over to Area 2 and start climbing the pyramid, then use the nearby great wirebug to launch yourself to the halfway point of the pyramid. From here, you need to wiredash the rest of the way. Chances are you can’t reach the top in one go–remember to press to hang in mid-air and get your breath back.
Once you reach the flat ground near the very top, there’s a cracked door along the middle. Place a regular ol’ barrel bomb in front of the door and move back before it explodes. Then repeat. The second explosion should blow up the door enough for you to enter. You can also blow up the door using a single large barrel bomb, but you need a way to detonate it yourself.
Relic Record IX
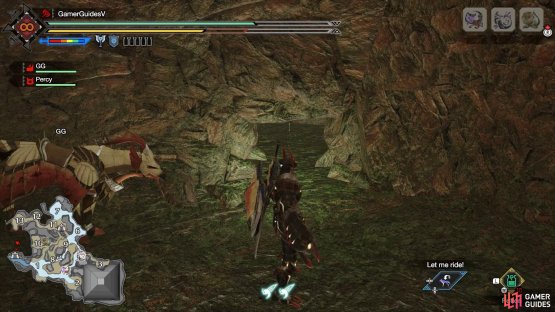
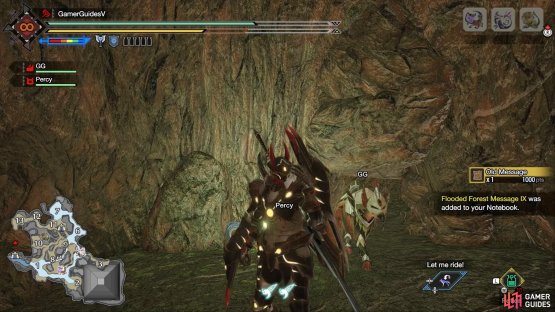
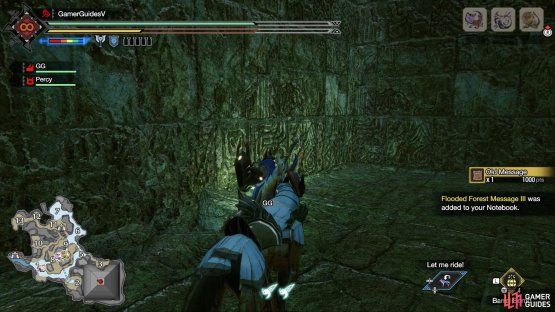
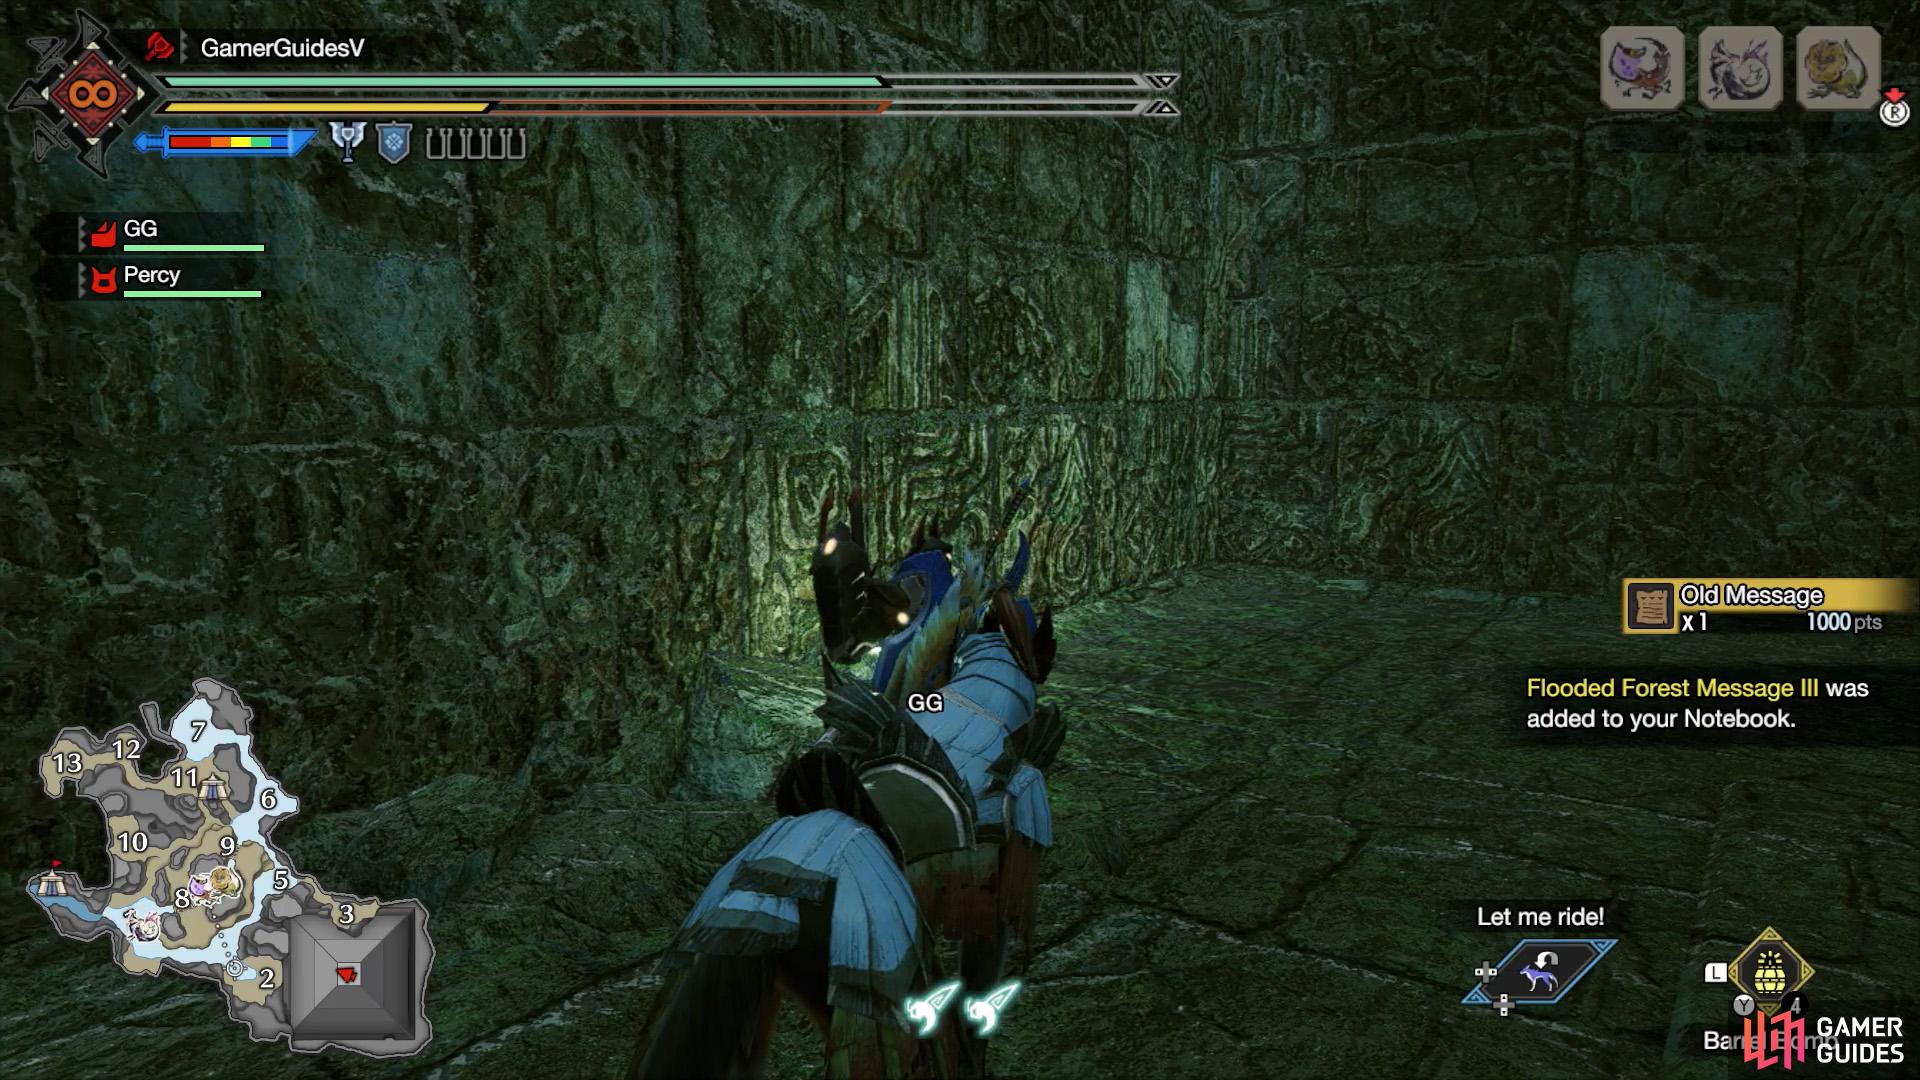
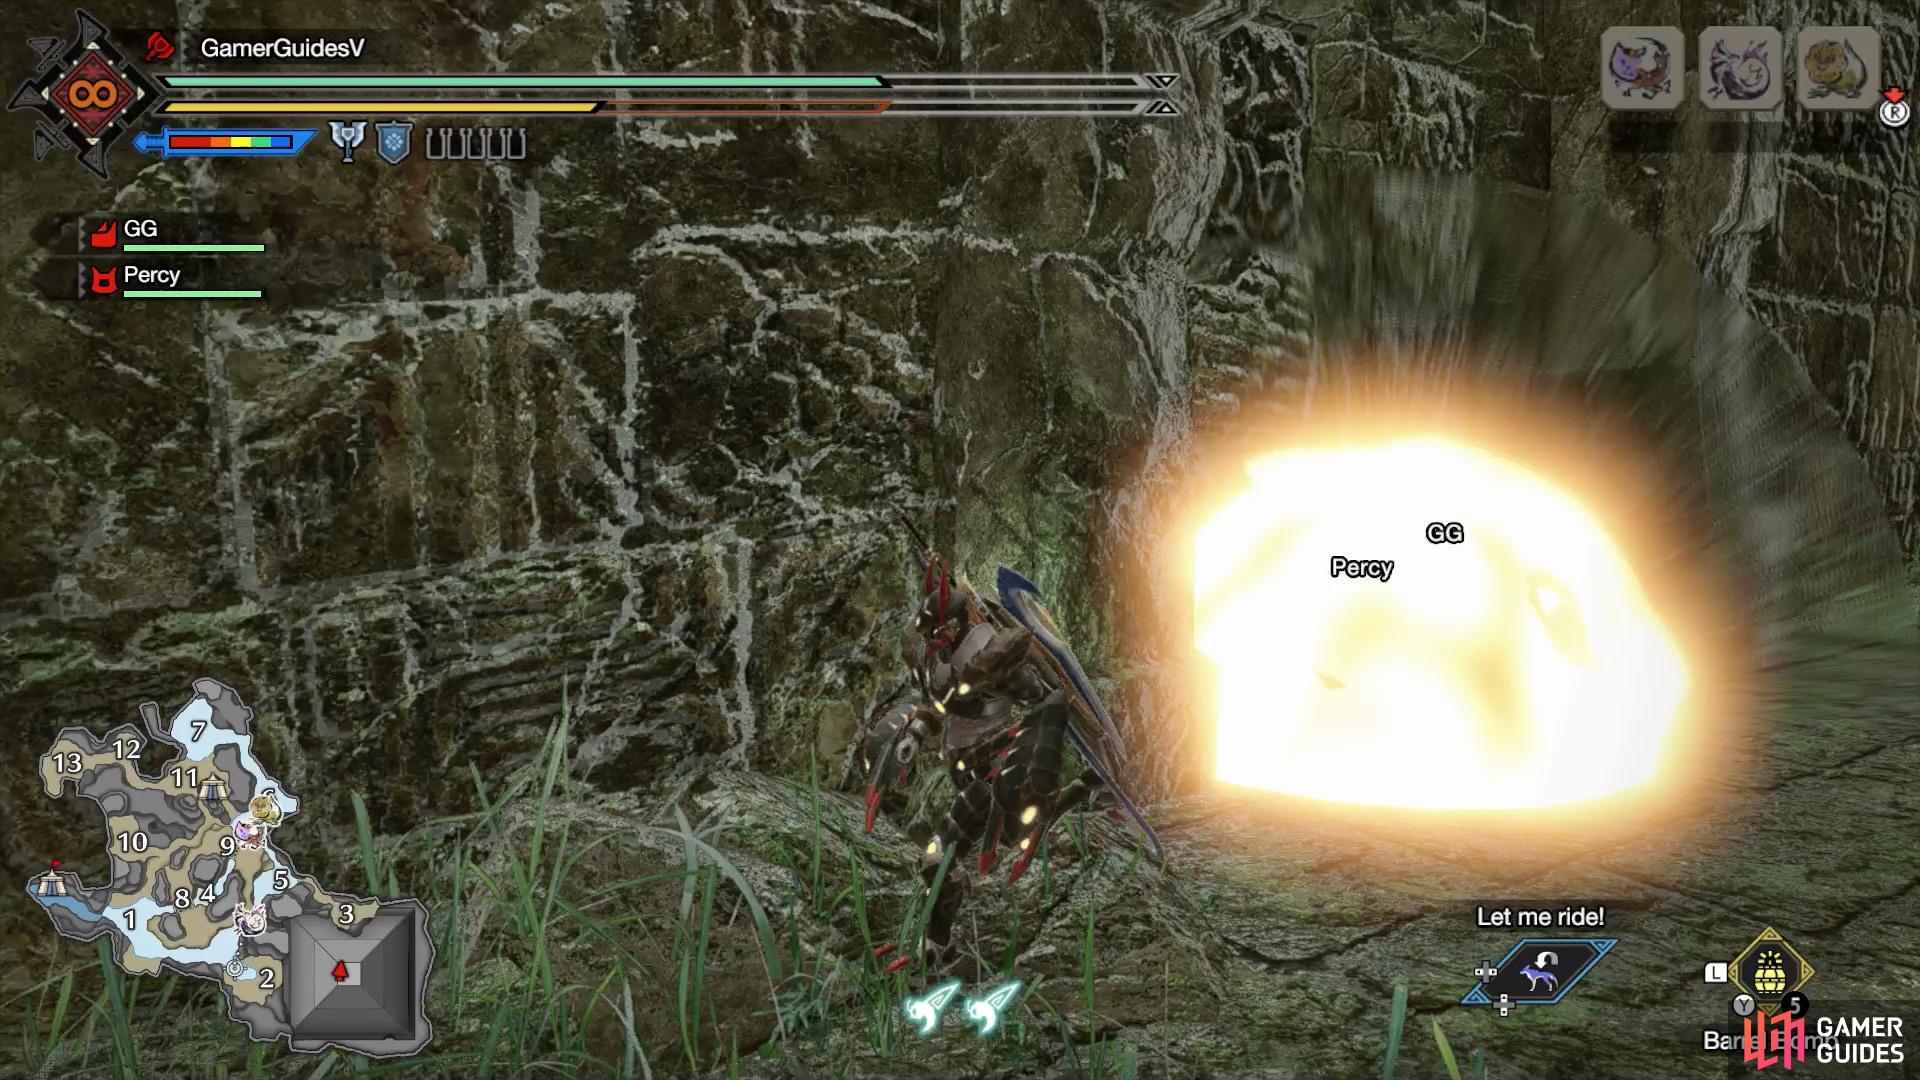
(1 of 2) When you’re halfway along the secret tunnel, check the wall on the left.
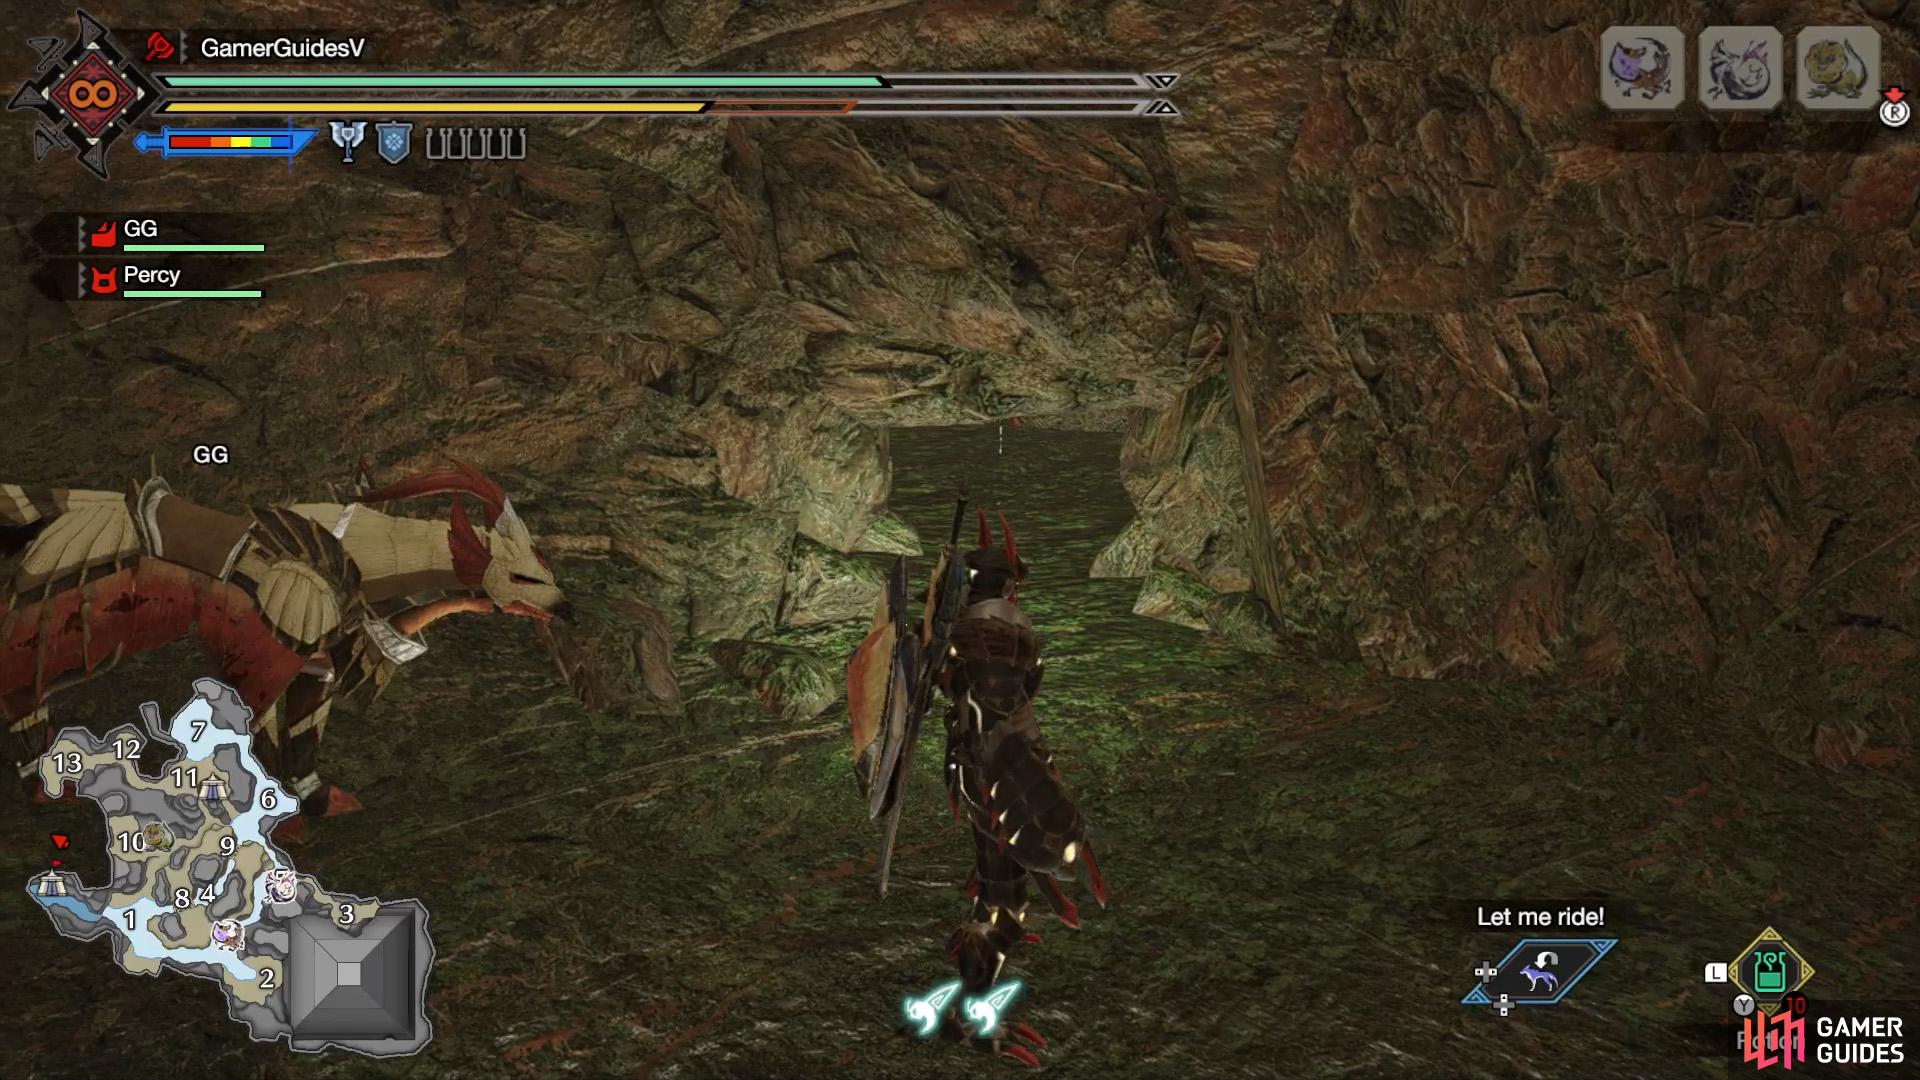
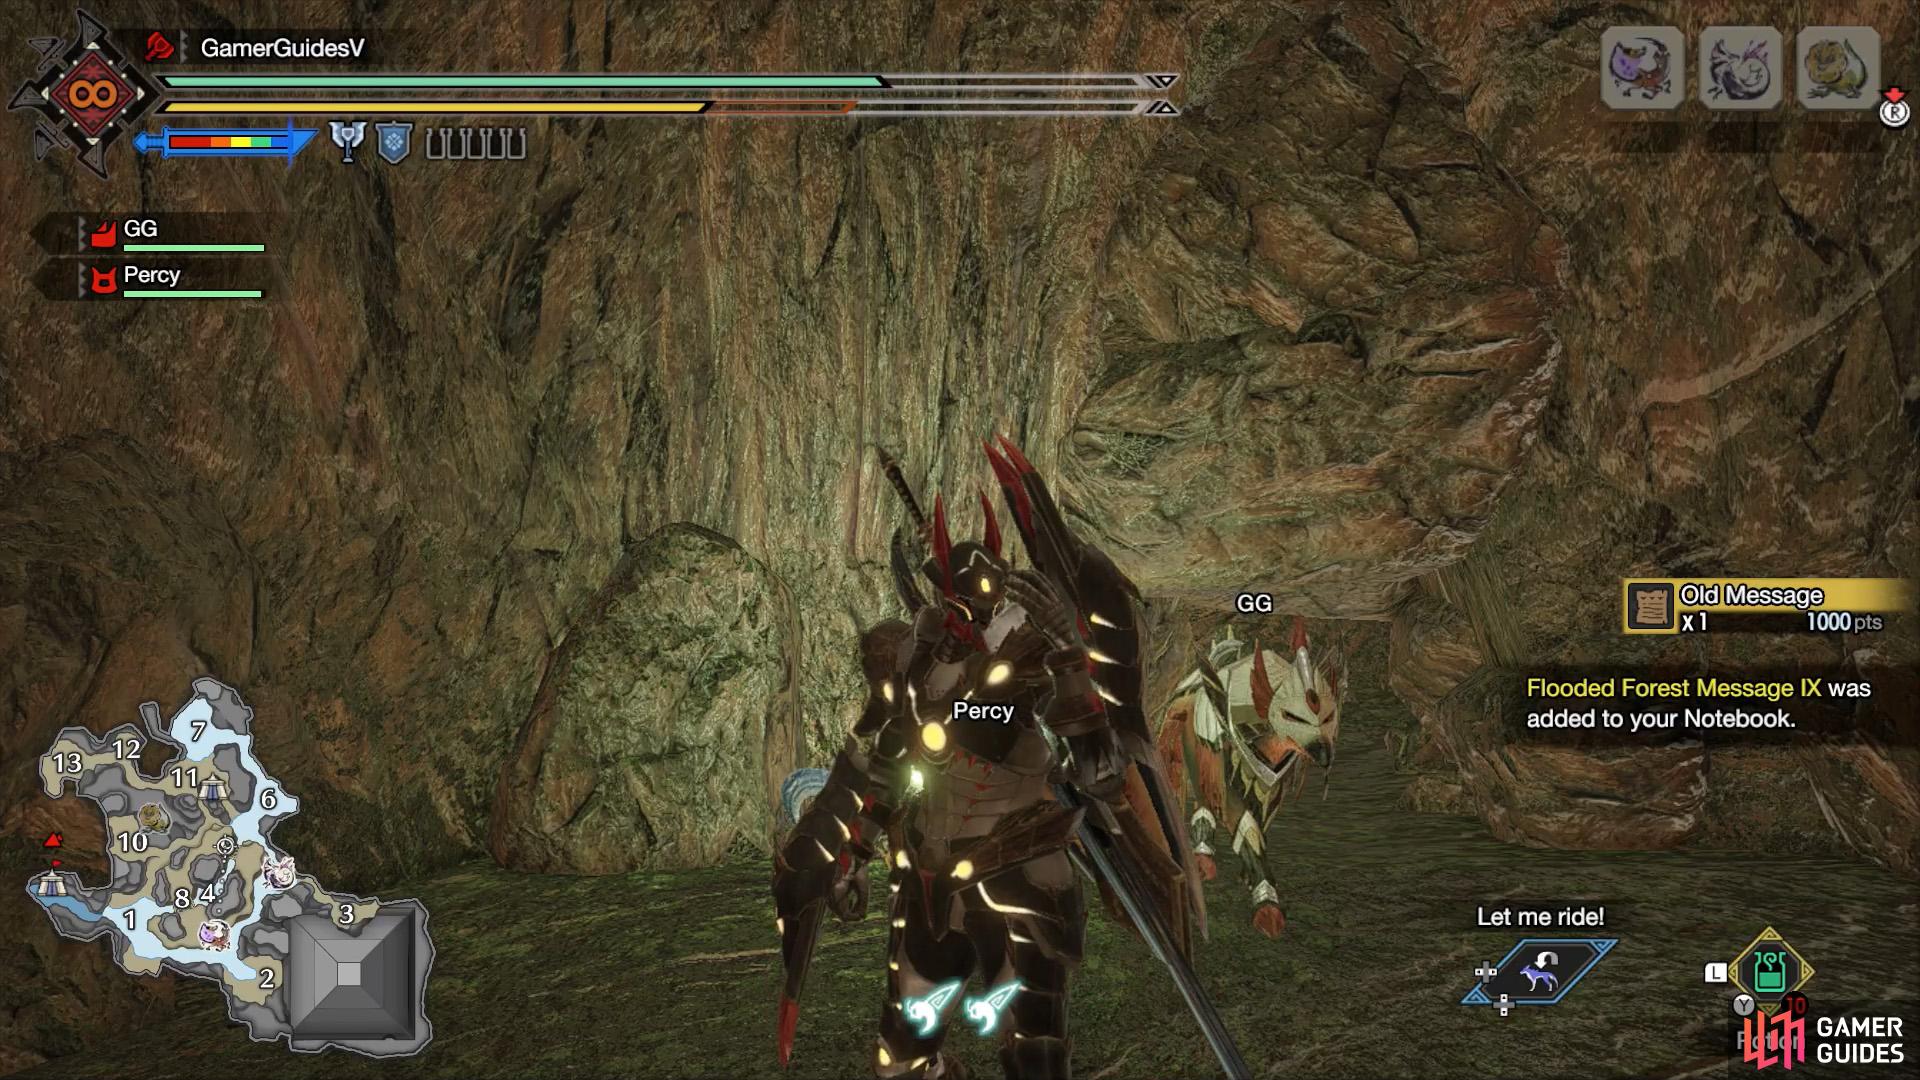
When you’re halfway along the secret tunnel, check the wall on the left. (left), Crawl through the gap to discover another relic. (right)
In a hidden cave halfway up the secret tunnel between the main camp and Area 13. From the main camp, use the nearby great wirebug on the raised ground to launch yourself higher up. After landing, go left and enter the secret tunnel. Follow the tunnel towards Area 13 and stop near the halfway point. Look for a gap on the left you can crawl through.
Relic Record X
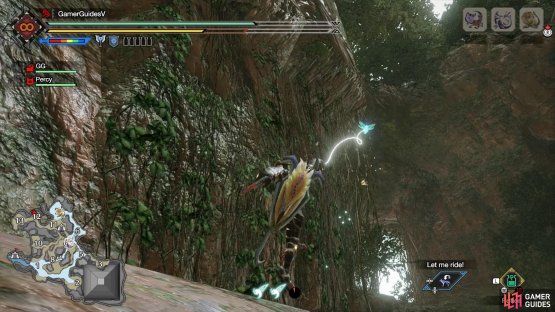
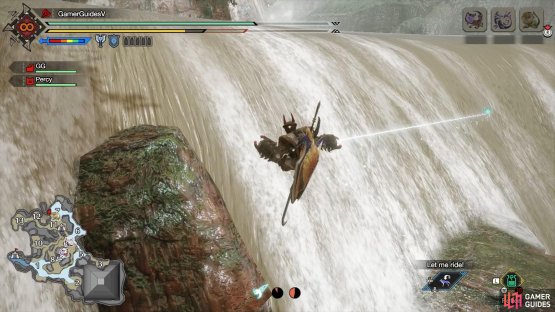
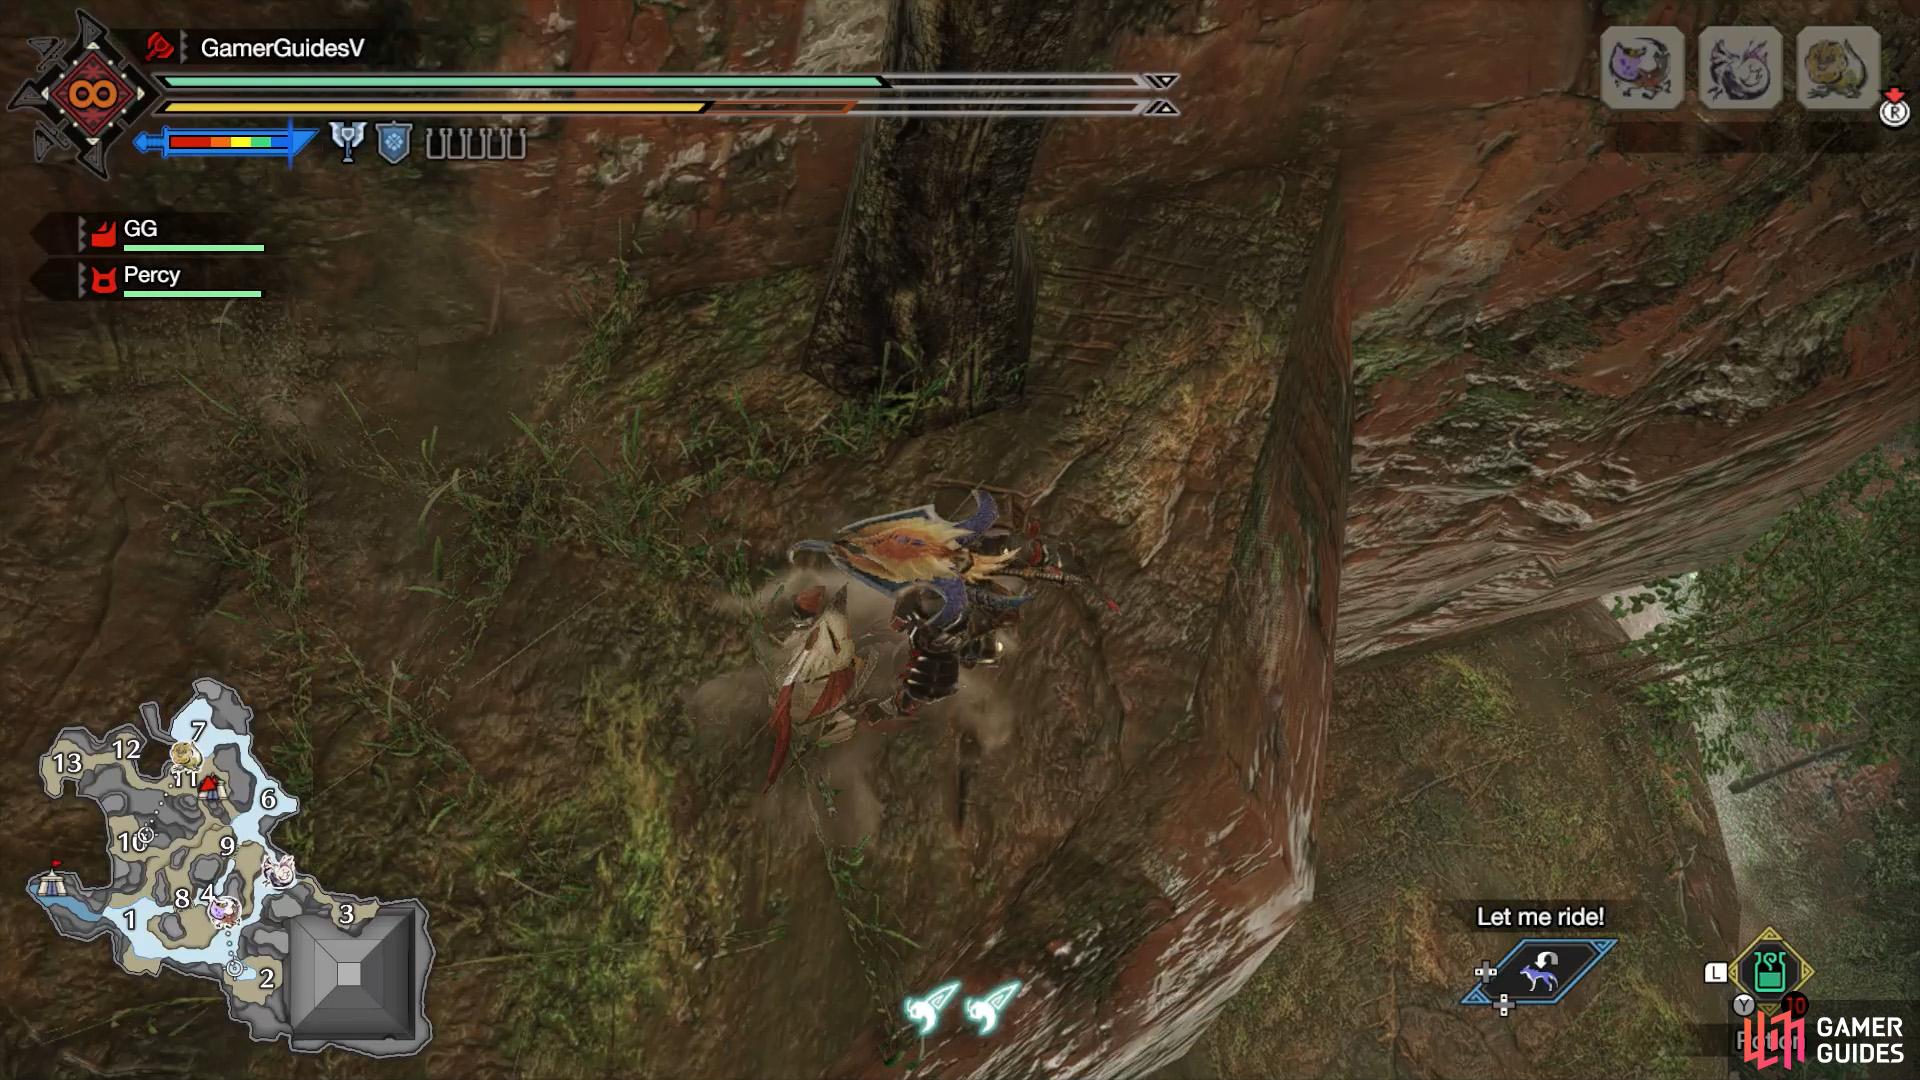
(1 of 2) After using the great wirebug in Area 12, turn right and navigate across the gap.


After using the great wirebug in Area 12, turn right and navigate across the gap. (left), On the other side, wiredash to the ledges near the top of the waterfall. (right)
This is without a doubt the hardest relic of the lot.
Head to Area 12 and use the great wirebug to launch yourself up. It might be useful to grab the nearby wirebug beforehand. Turn right and then use the vine-covered walls (or wiredash) to get across the gap. On the other side, you’ll emerge high up in Area 7. Drop down twice to your right until you’re near a Clear Crystal.
Now for the tough part.
Look towards the waterfall and you should see two ledges that are slightly lower down. Wiredash to the closest ledge. You should barely reach it with one wirebug, although you may need to mid-air roll with  to get more distance. Next, wiredash to the second ledge. This one will require two wirebugs. If you’re worried about overshooting, press to hang in mid-air.

(1 of 2) Aim a wirebug high so you land on top of the ledge.

Aim a wirebug high so you land on top of the ledge. (left), After finally reaching the top of the plateau, check north for this final relic. (right)
Finally, manually aim upward to reach the ledge on the other side. To be safe, you’ll probably want to use two wirebugs. Note that you can’t climb up the side of this ledge, so you need to land on top of it. Once you’re there, climb up to the top of the plateau and you’ll find the relic near the back.
No Comments