Zinogre is a beastly Fanged Wyvern, nicknamed the Lord of Lightning, which first appeared in the 3rd generation of Monster Hunter games. It can gather Thunderbugs in the environment to charge its body with electricity.
| Quick Jump |
|---|
| Material Drops (Low Rank) |
Overview
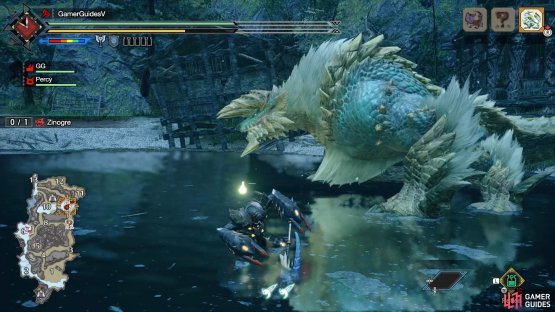
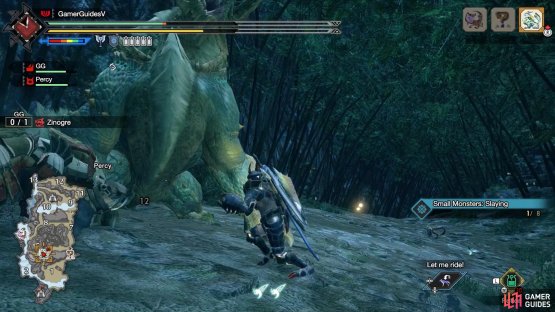
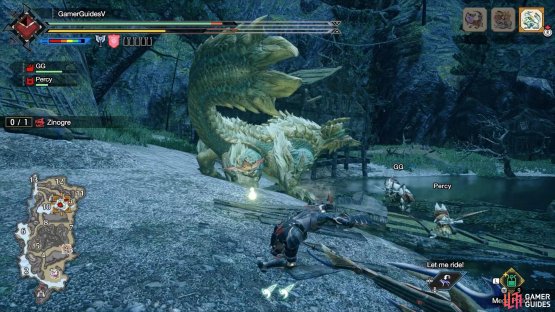
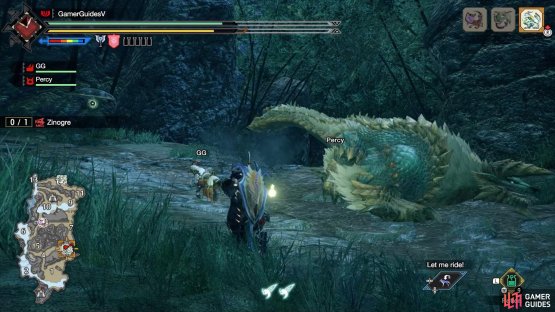
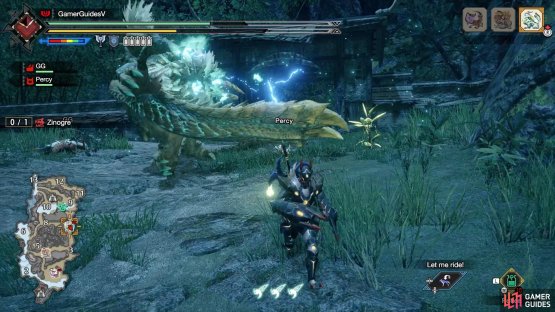
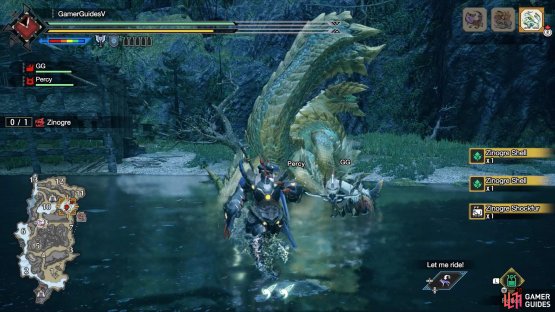
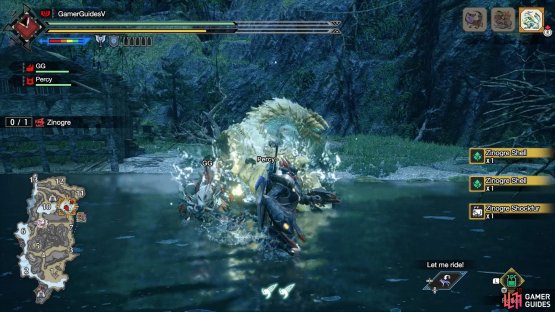
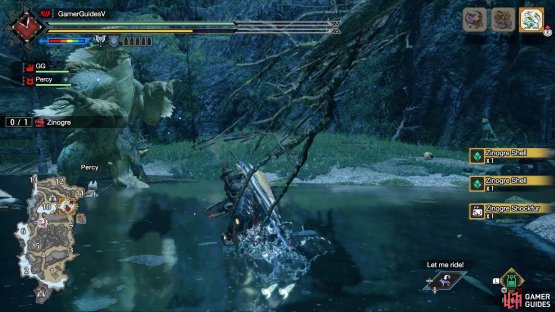
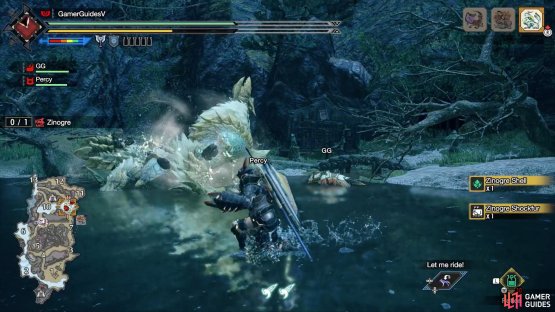
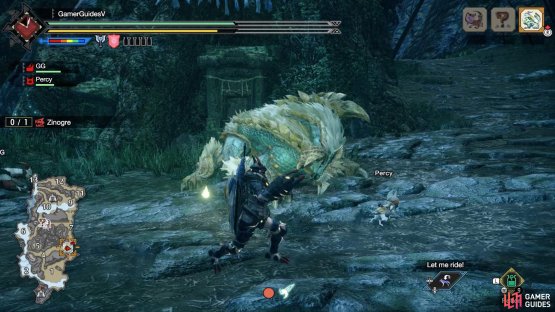
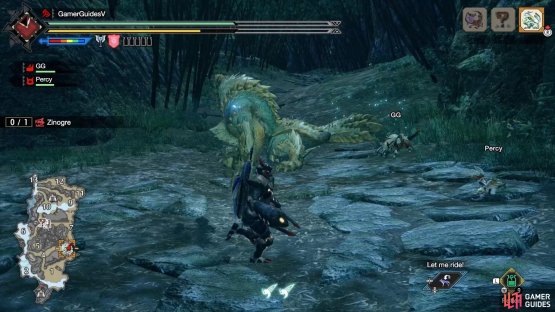
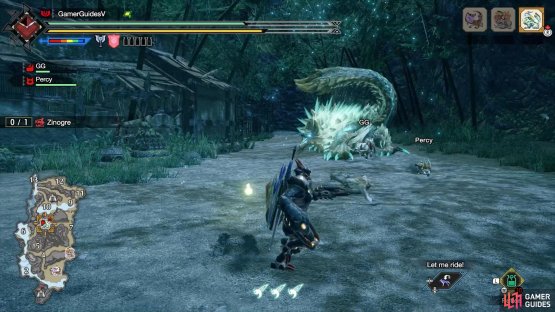
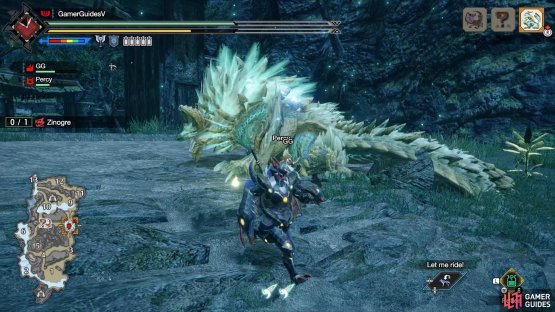
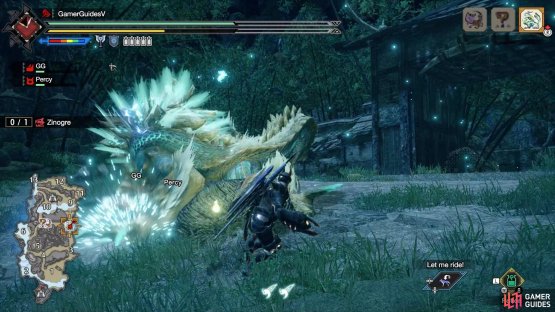
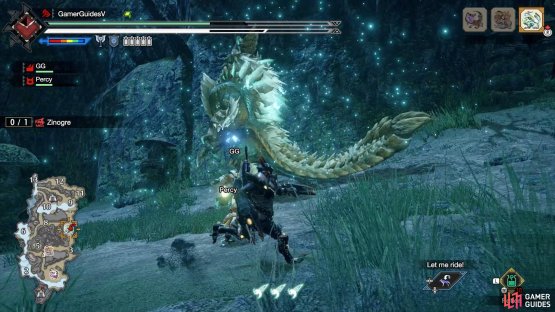
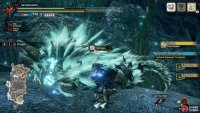
(1 of 2) Fighting Zinogre at the Shrine Ruins.
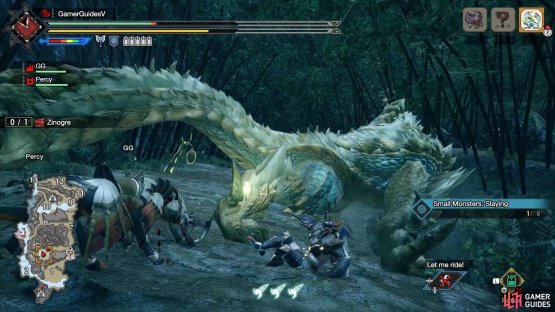
Fighting Zinogre at the Shrine Ruins. (left), Zinogre’s profile in the Hunter’s Notes. (right)
This fearsome monster packs a punch and, despite its hulking size, is extremely agile. If that wasn’t enough, Zinogre can summon Thunderbugs onto its body, to charge itself with electricity–doing so will grant Zinogre’s attacks electrical properties.
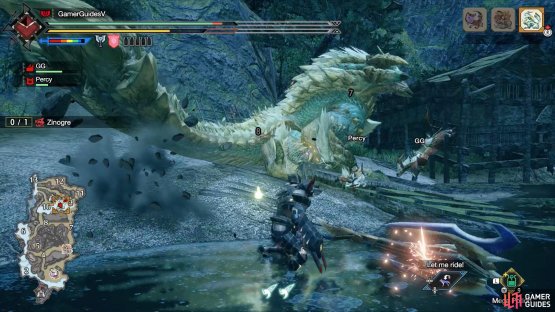
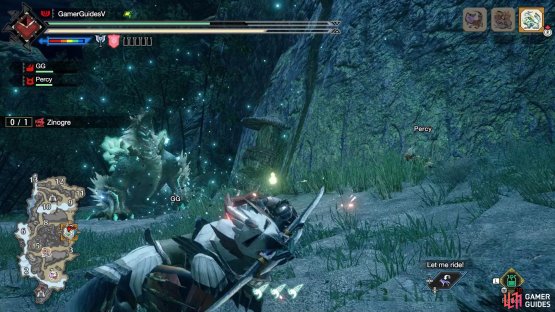
Zinogre has two charged states. After charging itself the first time, a faint cluster of Thunderbugs will follow Zinogre wherever it goes. If allowed to charge a second time, Zinogre’s fur will become electrified; you’ll know it when you see it.
Weaknesses
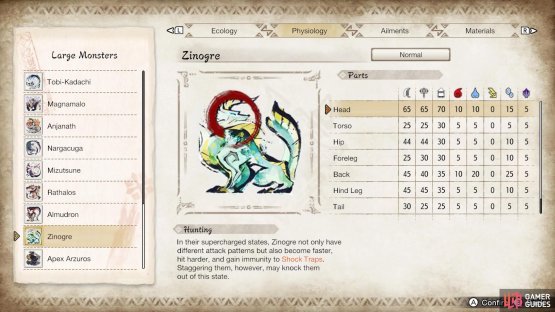
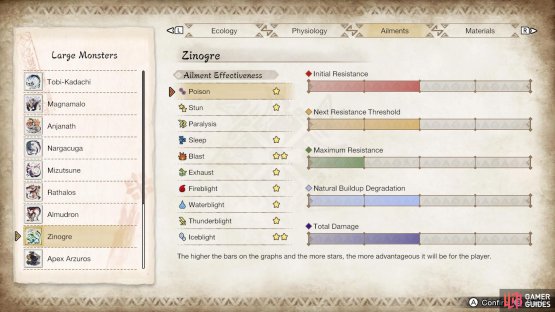
(1 of 2) Zinogre’s parts susceptibility.
Zinogre’s parts susceptibility. (left), Zinogre’s element and ailment susceptibility. (right)
| Parts | Elements | Ailments |
|---|---|---|
| Head | Ice | Blast, Iceblight |
Attack Patterns
Leg Stomp
A simple attack where Zinogre raises one of its fore legs and then moves forward, while bringing it crashing down.
Bite
(1 of 2) Be careful when Zinogre raises its head up.
Be careful when Zinogre raises its head up. (left), It wants to take a bite out of you. (right)
Zinogre raises its head high up, then moves forward and tries to chomp its prey. Immediately afterwards, it’ll usually follow with another move–very often, an overhead tail slam. So be prepared to dodge a second time. It can also transition to a back spin.
When Zinogre is fully charged, it can follow up this move with a deadly triple leg stomp.
Overhead Tail Slam
(1 of 2) Zinogre right before it somersaults forward.
Zinogre right before it somersaults forward. (left), After the somersault, Zinogre will stay in place for a brief moment. (right)
We’ve never seen Zinogre use this move unless it’s preceded by another–usually a bite, but sometimes a back spin. Zinogre will spin 270 degrees on the spot, then somersault forward, while bringing its tail crashing down. It’ll then idle for a short while.
Back Spin
An athletic-looking move, where Zinogre moves backwards and then spins its body 360 degrees. It usually does this to increase its distance from hunters. Afterwards, it’ll typically follow up with another move, such as a dash, lunge or thunderballs. But it can also start charging up, so you’ll need to chase after it quick.
Dash
(1 of 2) Zinogre lowers its front body.
Zinogre lowers its front body. (left), Then it dashes forward. (right)
Zinogre growls while lowering its front body. It’ll then dash straight ahead. If Zinogre is fully charged, its body will be cloaked by electricity. Which looks kind of cool (if you don’t get hit by it).
After using this move, Zinogre can sometimes follow up with another move–the most dangerous is the rolling slam.
Lunge
A fast attack, where Zinogre leaps forward a considerable distance and slams down with one of its fore legs. There’s very little time to react, but you’re safe if you keep to the side.
Tail Swipe
(1 of 2) Zinogre inches back, while looking ready to pounce.
Zinogre inches back, while looking ready to pounce. (left), It’ll then swing its tail and do a somersault twist in the air. (right)
Zinogre quickly shuffles back, while looking ready to pounce. Next, it’ll swing its tail out in front, then do a lovely twist in the air before landing.
Tail Slam
(1 of 2) It’s relatively safe staying behind Zinogre, but watch out for this tell.
It’s relatively safe staying behind Zinogre, but watch out for this tell. (left), After raising its tail, Zinogre will slam it down. (right)
When you’re behind Zinogre, be careful if it raises its tail up, while looking back at you. This means it’s going to slam its tail down, to surprise careless hunters.
Chest Slam
(1 of 2) You don’t want to be in front of Zinogre when it stands up.
You don’t want to be in front of Zinogre when it stands up. (left), Unless you want to be smashed by its chest. (right)
Zinogre stands on its hind legs. It’ll then pounce forward and attack with its front body. If Zinogre is fully charged, electricity with come from its chest.
Shoulder Bash
(1 of 2) Zinogre leans to one side.
Zinogre leans to one side. (left), Then it’ll charge in the direction it was looking. (right)
For this move, Zinogre leans back to one side, then charges straight forward with its shoulder. When its fully charged up, Zinogre will follow up with an electrified leg stomp, which is a lot more dangerous.
Charge Up
(1 of 2) Before Zinogre charges up, Thunderbugs will appear around its body.
Before Zinogre charges up, Thunderbugs will appear around its body. (left), Hit Zinogre with everything you’ve got and you can interrupt it or cause it to flinch. (right)
Zinogre will stop everything to summon a mass of Thunderbugs (resembling glow flies) onto its body. After several seconds, Zinogre will gain a level of charge. If Zinogre reaches the second level of charge, there will be a small electrical burst that can hit you if you’re close.
As soon as Zinogre uses this move, keep attacking it to interrupt it. Ideally from the sides, where it’s safest. If you deal enough damage, you can even flinch Zinogre. It’s a good idea to stick reasonably close to Zinogre when it’s not fully charged up, so you’re ready to stop it from charging.
Thunderballs
(1 of 2) Don’t get too close when Zinogre is using this move.
Don’t get too close when Zinogre is using this move. (left), Besides the thunderballs, you can be hurt by Zinogre’s spins. (right)
Zinogre moves back and arcs its tail upwards. It’ll then spin on its side, swinging its tail down, causing two electrified balls to shoot forward. Then it’ll do it again.
Line of Thunder
(1 of 2) Zinogre twirls its head to beckon lightning.
Zinogre twirls its head to beckon lightning. (left), Which strikes the ground in a line in the direction where Zinogre is facing. (right)
Beware when Zinogre jumps backwards. It’ll twirl its head upwards, before unleashing a line of thunderbolts directly ahead. Move to the side unless you want to be electrocuted. Sometimes it may use this move without jumping (usually after it’s used a different move). If something looks amiss, move away from its line of sight.
Rolling Slam
(1 of 2) Zinogre looks up, then lunges into the air.
Zinogre looks up, then lunges into the air. (left), It’ll then come crashing down on the floor, creating an impressive shockwave. (right)
Zinogre briefly stops and then roars while looking upwards. It’ll then lunge forward into the air, roll its body up and slam down on the ground. After it lands, it will create an electrical shockwave nearby. However, it’ll also be stuck on its back for a short while.
Triple Leg Stomp
(1 of 2) The tell for this is subtle, but when you see one stomp, be ready for a few more.
The tell for this is subtle, but when you see one stomp, be ready for a few more. (left), If you’re stuck in front of Zinogre, you can just about roll or run away. (right)
This is the move that’ll probably get your heart pumping. Zinogre will growl and angle its body. It’ll then punch the ground with one of its fore legs. Right afterwards, it’ll move forward and stomp the ground with its other fore leg. Finally, it’ll move forward again and stomp with its first fore leg.
If you’re close by, you can roll/run away from Zinogre with good timing. However, if you get hit by one of the stomps, don’t move or use wirefall. As you’re likely to get hit by another stomp after recovering. Instead, stay still and use your i-frames when down to weather the assault.
Sky Uppercut
(1 of 2) Zinogre stands up and wobbles around a bit.
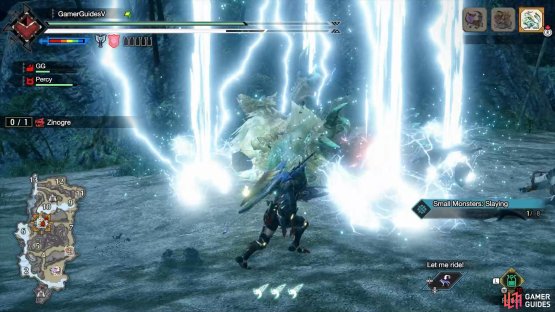
Zinogre stands up and wobbles around a bit. (left), Soon afterwards, it’ll perform an electrical uppercut forward. (right)
There will be an audible warning right before Zinogre uses this move. It’ll stand upright and wobble around. Then it’ll grab a ball of lightning and uppercut forward, creating spikes of lightning nearby. If you’re caught by this move, you’ll be sent flying. Should that happen, use wirefall to save yourself.
Strategy
Since Zinogre has many electrified attacks, it’d be smart to have equipment with high Thunder resistance. If you can stomach grinding it, Tobi-Kadachi’s armor has good Thunder resistance. For those aiming to capture Zinogre, don’t use Shock Traps because Zinogre is immune; use Pitfall Traps instead.
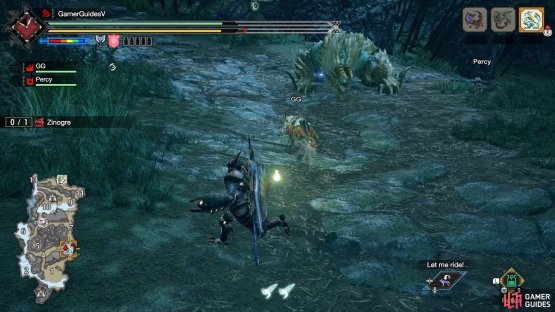
When fighting this behemoth, try to keep fairly close unless you’re nervous. In general, the safest place to be is by Zinogre’s sides–near its hind legs and tail. This lets you avoid most of its attacks, while allowing you to focus on its tail, for the additional carve. Just be mindful that Zinogre moves around a lot, so you’ll frequently have to re-position yourself.
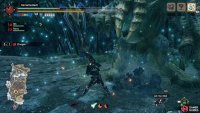
(1 of 2) First state: A few thunderbugs and crackles of electricity.
First state: A few thunderbugs and crackles of electricity. (left), Second state: Clumps of thunderbugs and glowing white fur. (right)
During the fight, Zinogre will often pause to try and charge up its body with electricity from Thunderbugs. As mentioned, it has two charged up states, which you should learn. The first stage, it’ll have a faint cluster of thunderbugs around it and sparks will occasionally appear. The second stage is impossible to miss–Zinogre’s white fur will stand on end.
As soon as Zinogre beings charging–or beforehand, you’ll want to hammer Zinogre with everything you have. If you attack it enough, it’ll stop charging or you may even flinch it. Try and attack it from the sides, because it can quickly attack after being interrupted. That said, if you want to break its horns, you can aim for its head and risk a counter-attack.
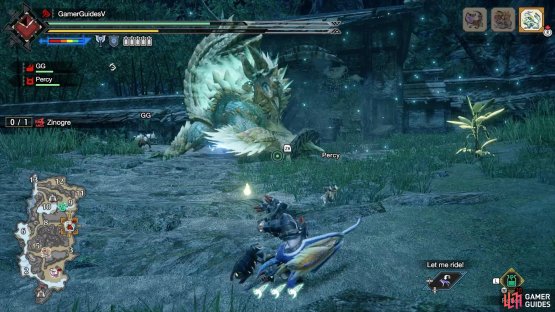
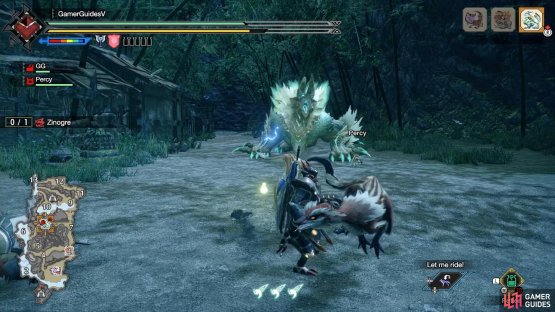
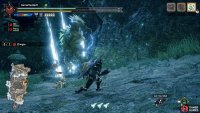
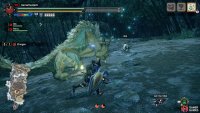
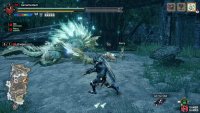
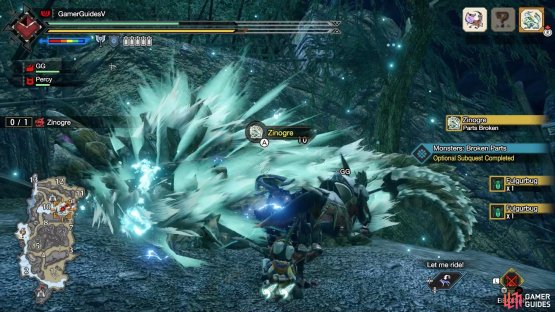
(1 of 2) When Zinogre is fully charged, wyvern ride another monster so you don’t get hurt.
When Zinogre is fully charged, wyvern ride another monster so you don’t get hurt. (left), If Zinogre collapses, you can gather a few Fulgurbugs from its furry back. (right)
Despite your best efforts, there’s a high chance that Zinogre will eventually become fully charged. Don’t panic if this happens, but do be extremely cautious of its powered up moves. If you continue to attack Zinogre, you can de-electrify it. For a hassle-free way of taming a fully charged up Zinogre, we suggest running away and Wyvern Riding another monster.
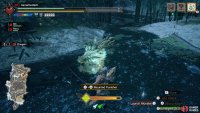
By the way, if you manage to stun Zinogre and it falls on its side, you can gather Fulgurbugs from its back. This will also make it easier to de-electrify the beast. With Wyvern Riding, you can easily stun Zinogre by executing a Mounted Punisher.
Material Drops (Low Rank)
Low Rank Zinogre drop list.
Target Rewards
| Material | Drop Rate (%) |
|---|---|
| Zinogre Shell | 21% |
| Zinogre Shockfur | 31% |
| Zinogre Shocker | 21% |
| Zinogre Tail | 8% |
| Fulgurbug | 17% |
| Zinogre Plate | 2% |
Capture Rewards
| Material | Drop Rate (%) |
|---|---|
| Zinogre Shell | 15% |
| Zinogre Shockfur | 29% |
| Zinogre Shocker | 25% |
| Zinogre Tail | 12% |
| Zinogre Plate | 3% |
| Zinogre Horn | 16% |
Broken Parts Rewards
| Material | Drop Rate (%) |
|---|---|
| Zinogre Shockfur | 30% (Back) |
| Zinogre Shocker | 70% (Back), 10% (Foreleg) |
| Zinogre Plate | 3% (Both Horns) |
| Zinogre Horn | 97% (Both Horns) |
| Zinogre Claw | 70% (Foreleg), 20% x2 (Foreleg) |
Carves
| Material | Drop Rate (%) |
|---|---|
| Zinogre Shell | 34% (Body), 17% (Tail) |
| Zinogre Shockfur | 25% (Body) |
| Zinogre Shocker | 18% (Body) |
| Zinogre Tail | 80% (Tail) |
| Zinogre Plate | 1% (Body), 3% (Tail) |
| Zinogre Claw | 22% (Body) |
Dropped Materials
| Material | Drop Rate (%) |
|---|---|
| Zinogre Shell | 29%, 50% |
| Zinogre Shockfur | 0%, 40% |
| Fulgurbug | 20%, 0% |
| Zinogre Plate | 1%, 0% |
| Zinogre Claw | 0%, 10% |
| Wyvern Tear | 50%, 0% |
Material Drops (High Rank)
Coming Soon!
























 Sign up
No Comments