
What are Relic Records?
These are artifacts left behind by previous inhabitants, placed in hard-to-find or reach locations of the map. Once you’ve found a record, it will be saved in your Hunter’s Notes, the Notebook section. After finding all 10 records of the same type, speak to Kagero the Merchant in Kamura Village to receive unique carvings for your room.
Relic Record I
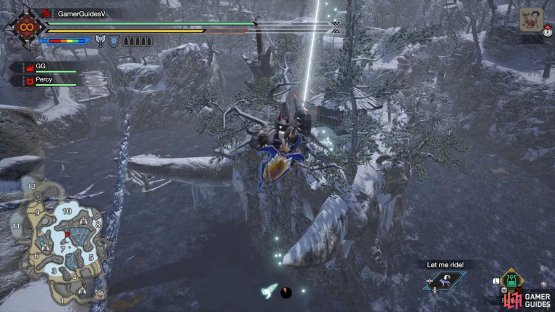

(1 of 2) Wiredash from the nearby highlands to reach this island.
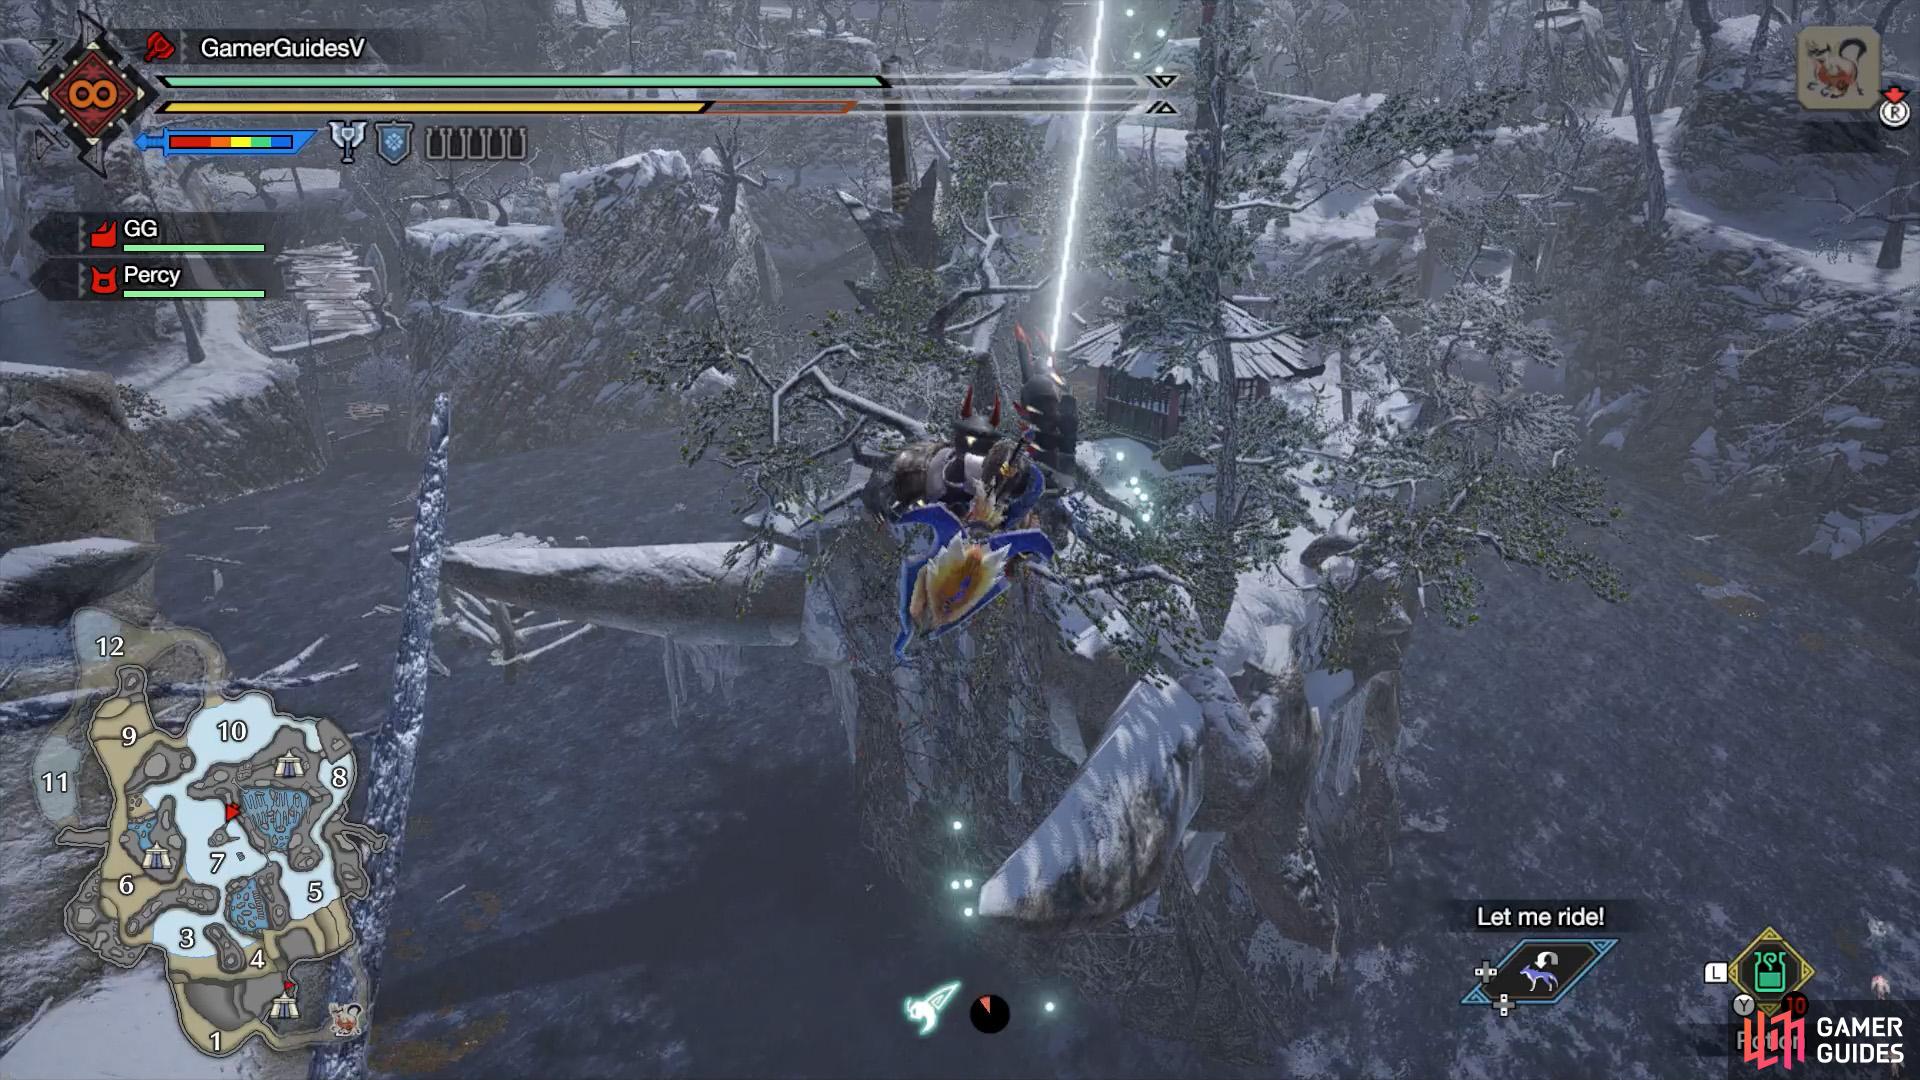
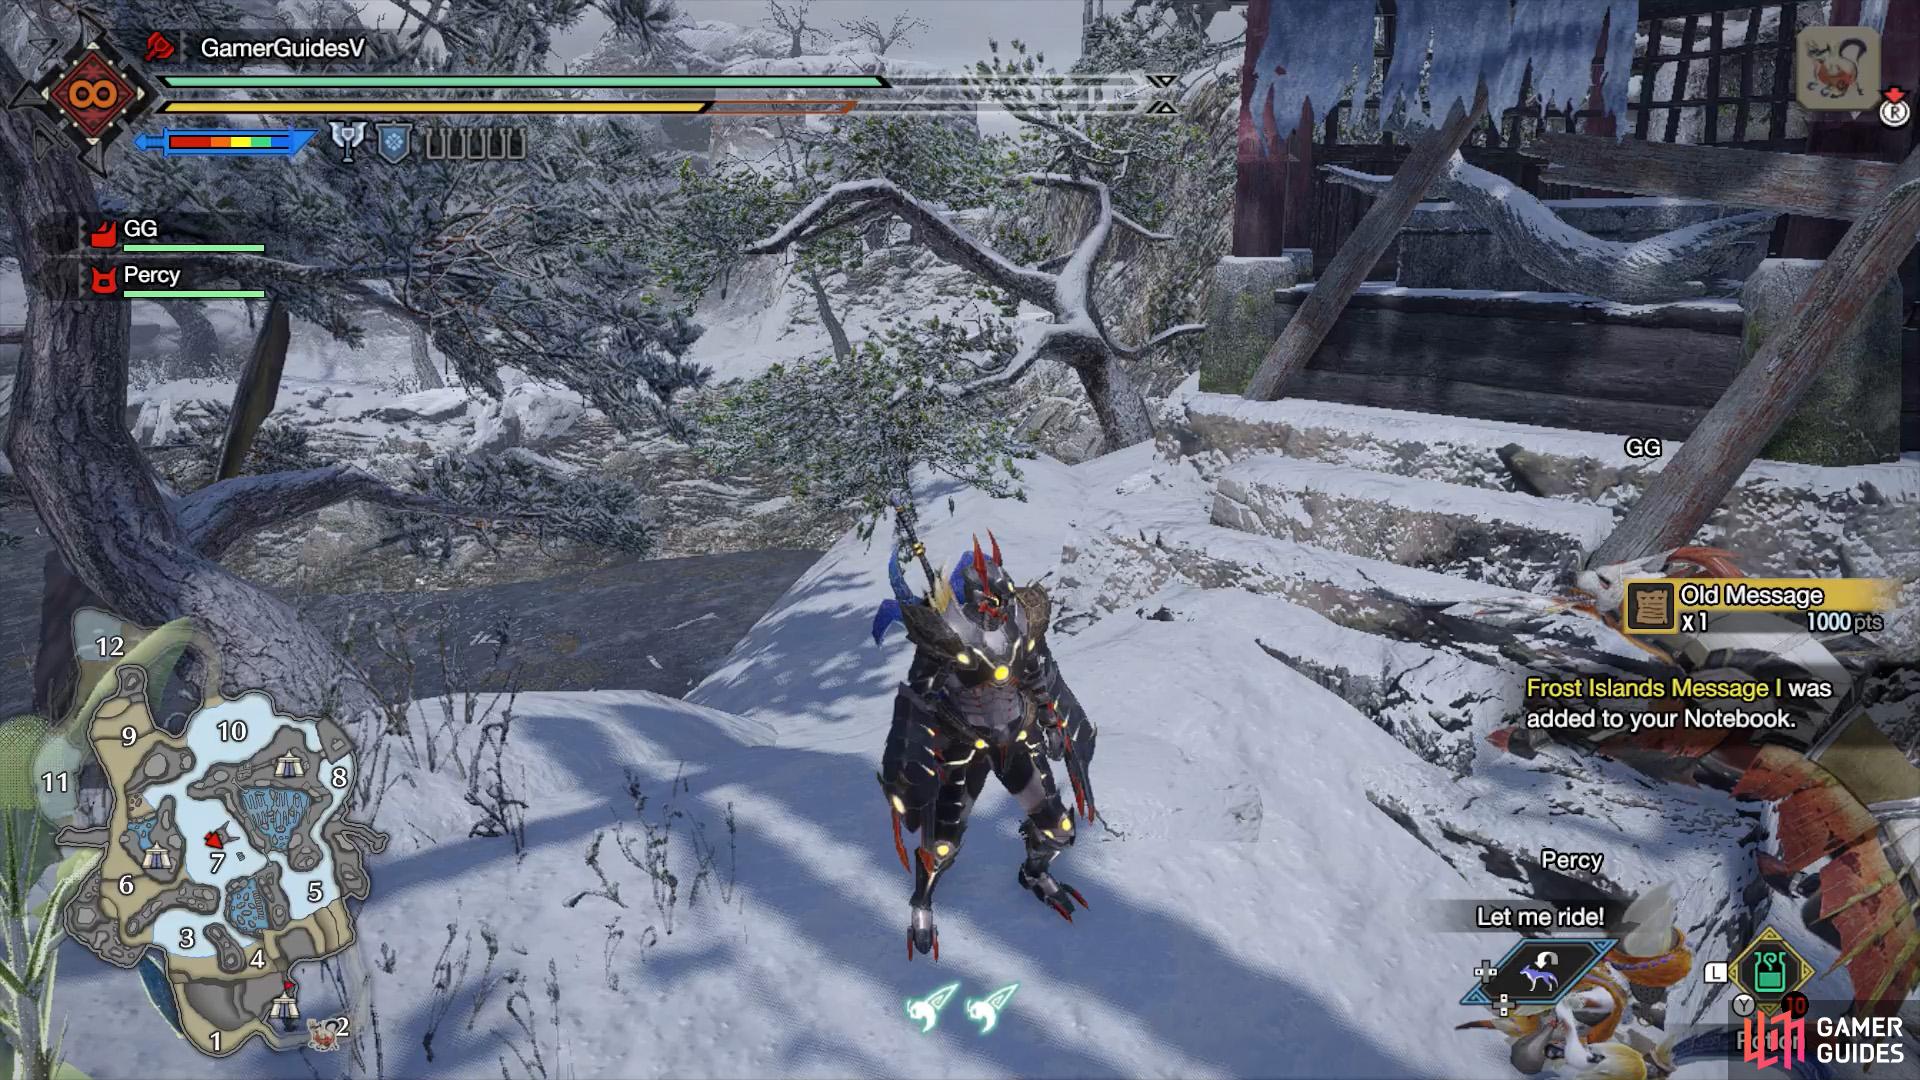
Wiredash from the nearby highlands to reach this island. (left), The relic is near the front of the shrine. (right)
This relic is in front of the shrine on the island in the center of Area 7. Trouble is, you can’t climb up the island directly. What you can do is use a wirebug to climb up the nearby highlands to the north-east of the island. Then wiredash to the island from there.
Relic Record II


(1 of 2) Wiredash up the biggest tree west from the main camp.
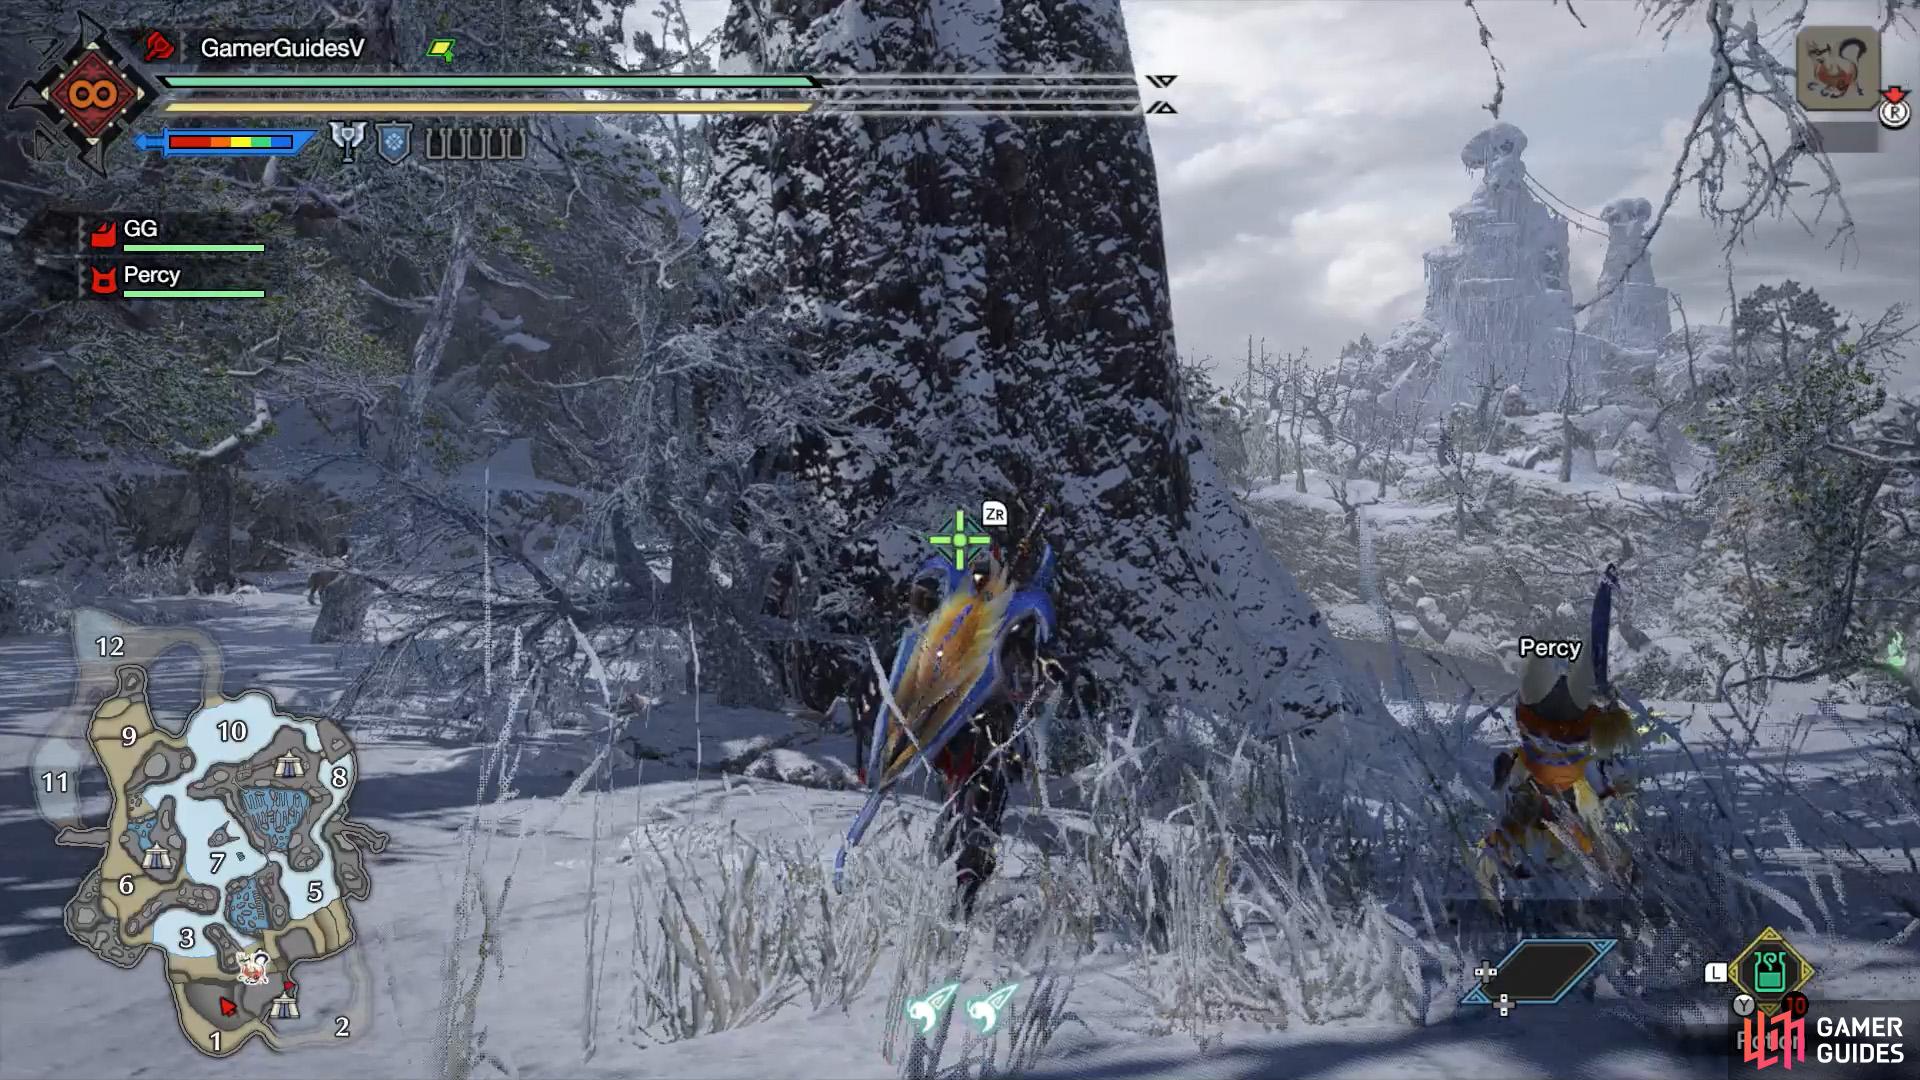
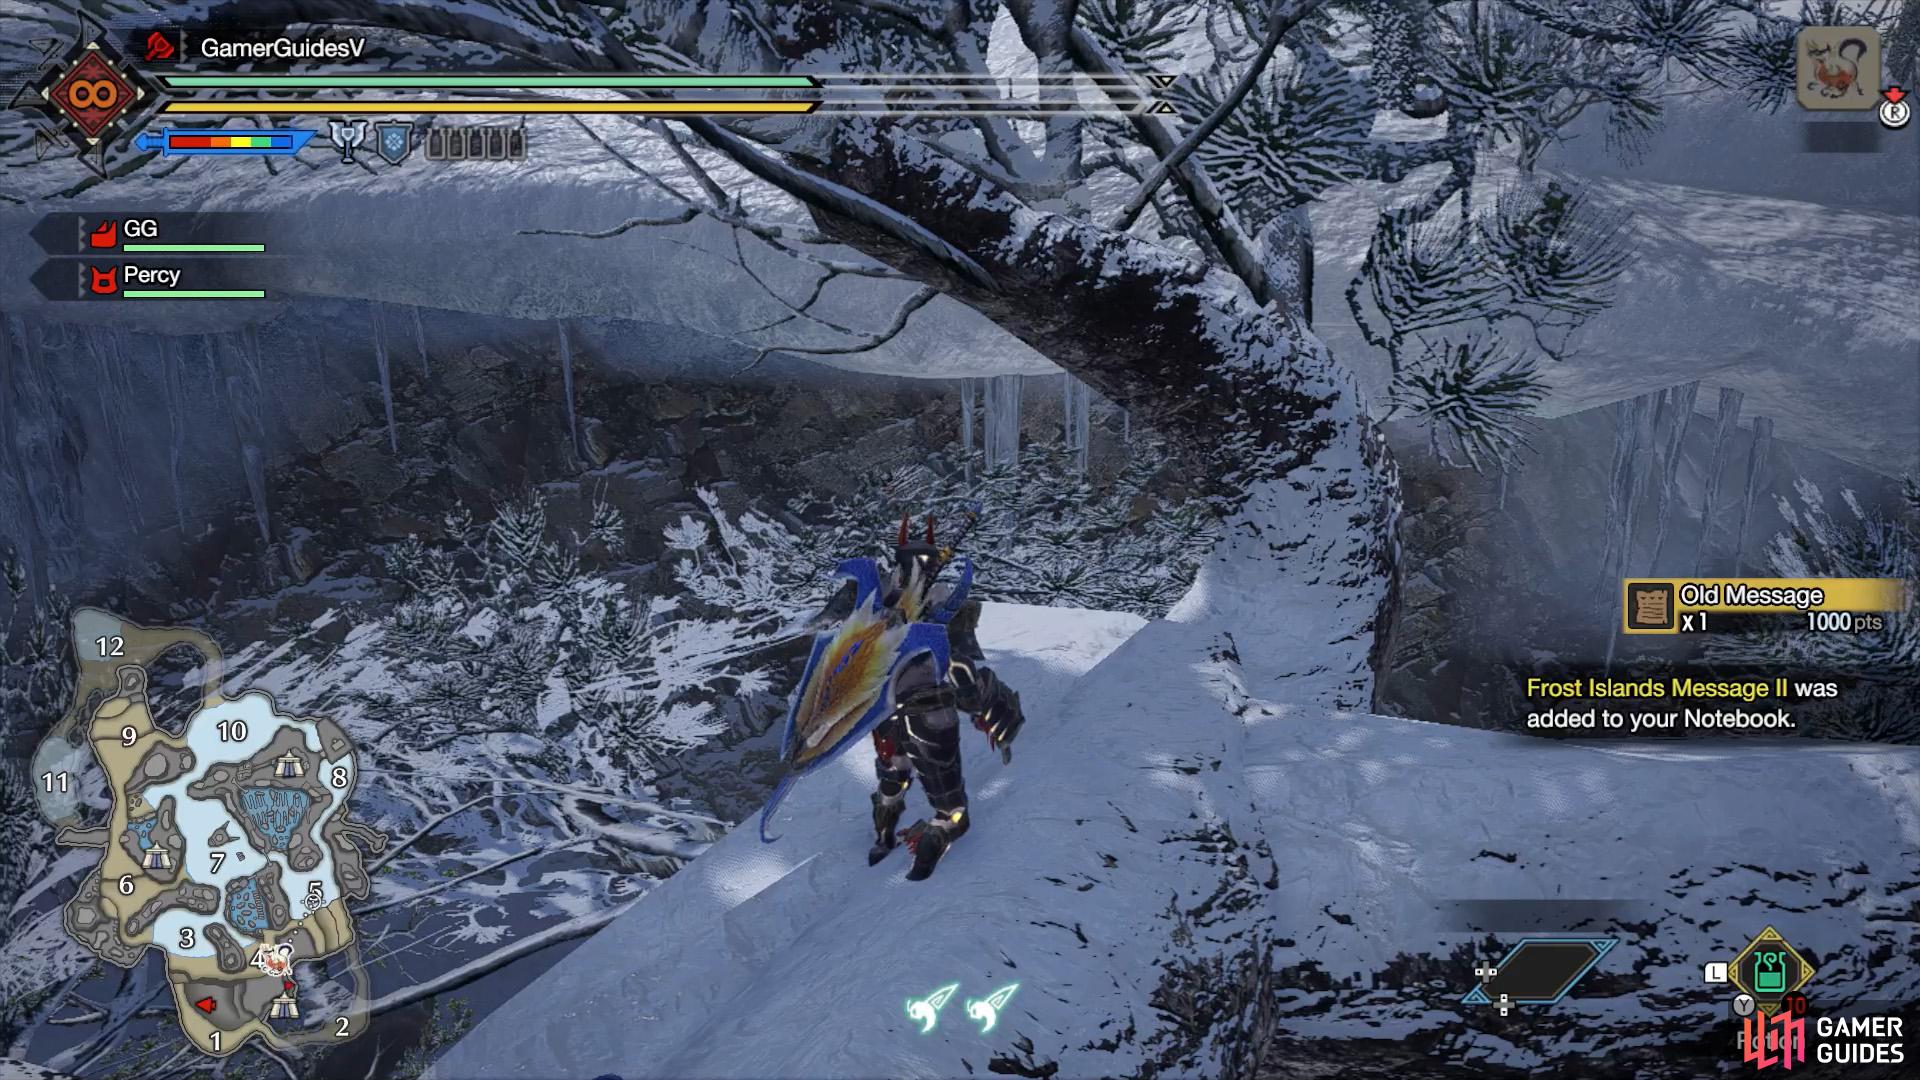
Wiredash up the biggest tree west from the main camp. (left), Take your time and try not to rush. (right)
Atop the largest tree in the center of the lower ground along the top of Area 1 and to the west of the main camp. Use your wirebug to climb up the trunk. Then carefully walk along the main branch. After a while, you’ll need to use a wirebug again to clamber up to the highest point of the tree.
Relic Record III

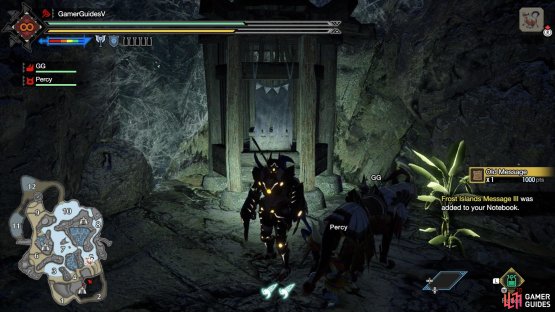
(1 of 2) It can be hard to see, but you want to climb up to this cave.

It can be hard to see, but you want to climb up to this cave. (left), Once inside, the relic’s next to an altar. (right)
At the end of a tunnel in the highland region between areas 4 and 5, in the direction of Area 2. Head north from the main camp and use a wirebug to climb up to the nearby highlands (or skilfully slide right). Referring to the mini-map, face Area 2 and use a wirebug to climb up the cliff. Look for a tunnel in the cliff face. There’s Honey near where you should climb.
Relic Record IV


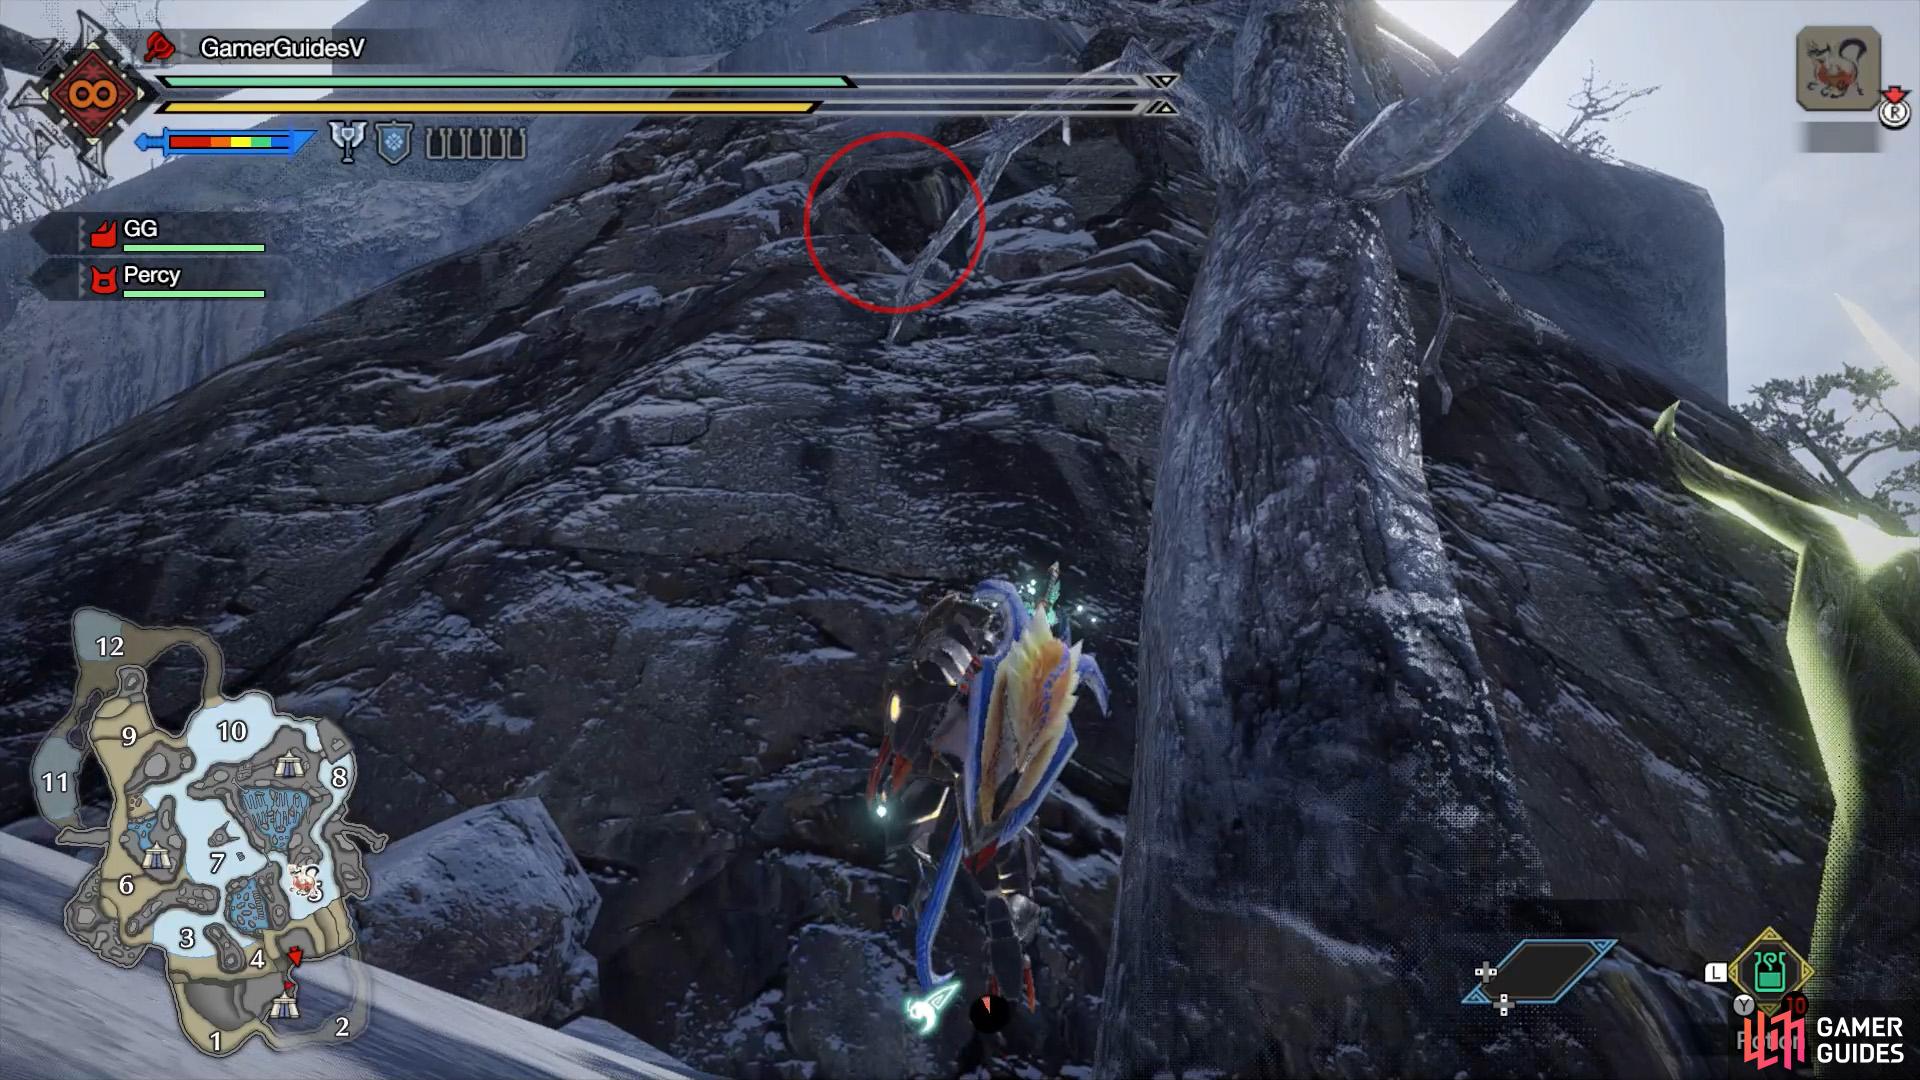
(1 of 2) This tunnel can be easy to miss.
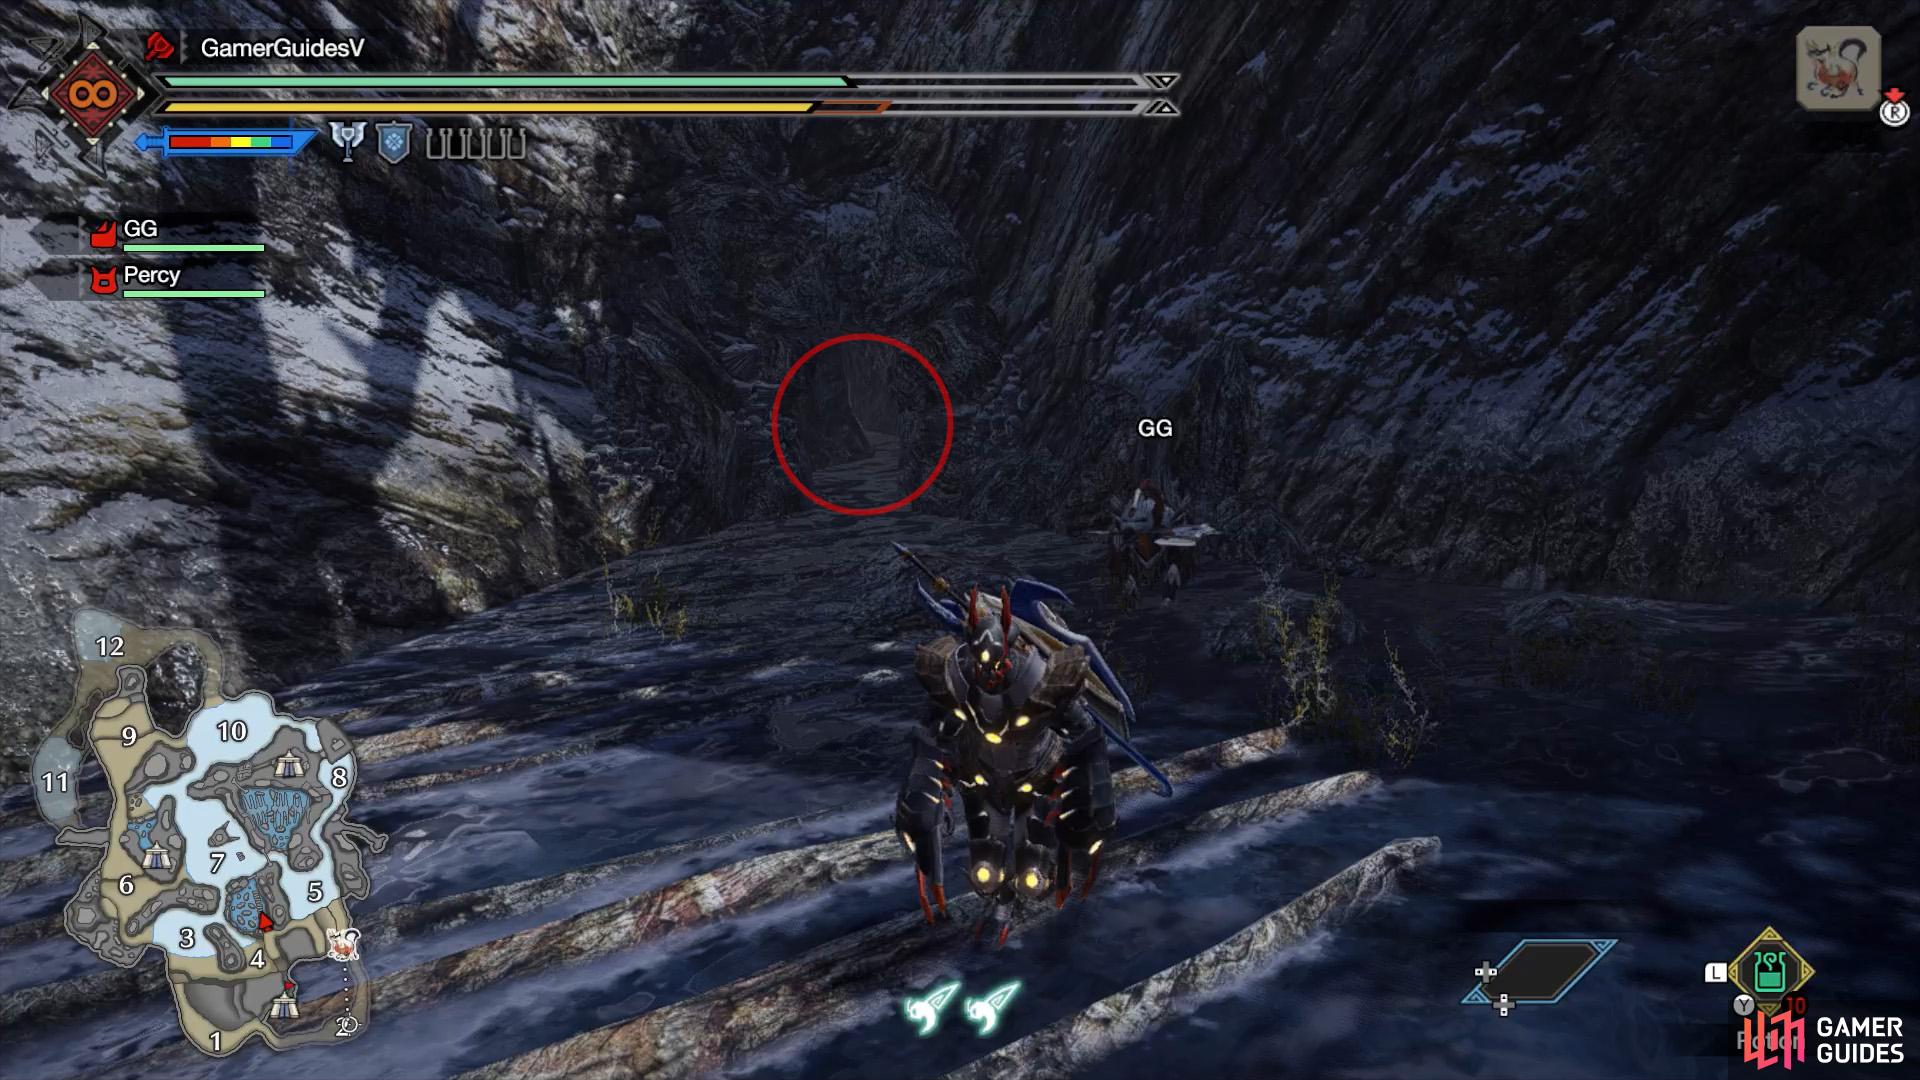
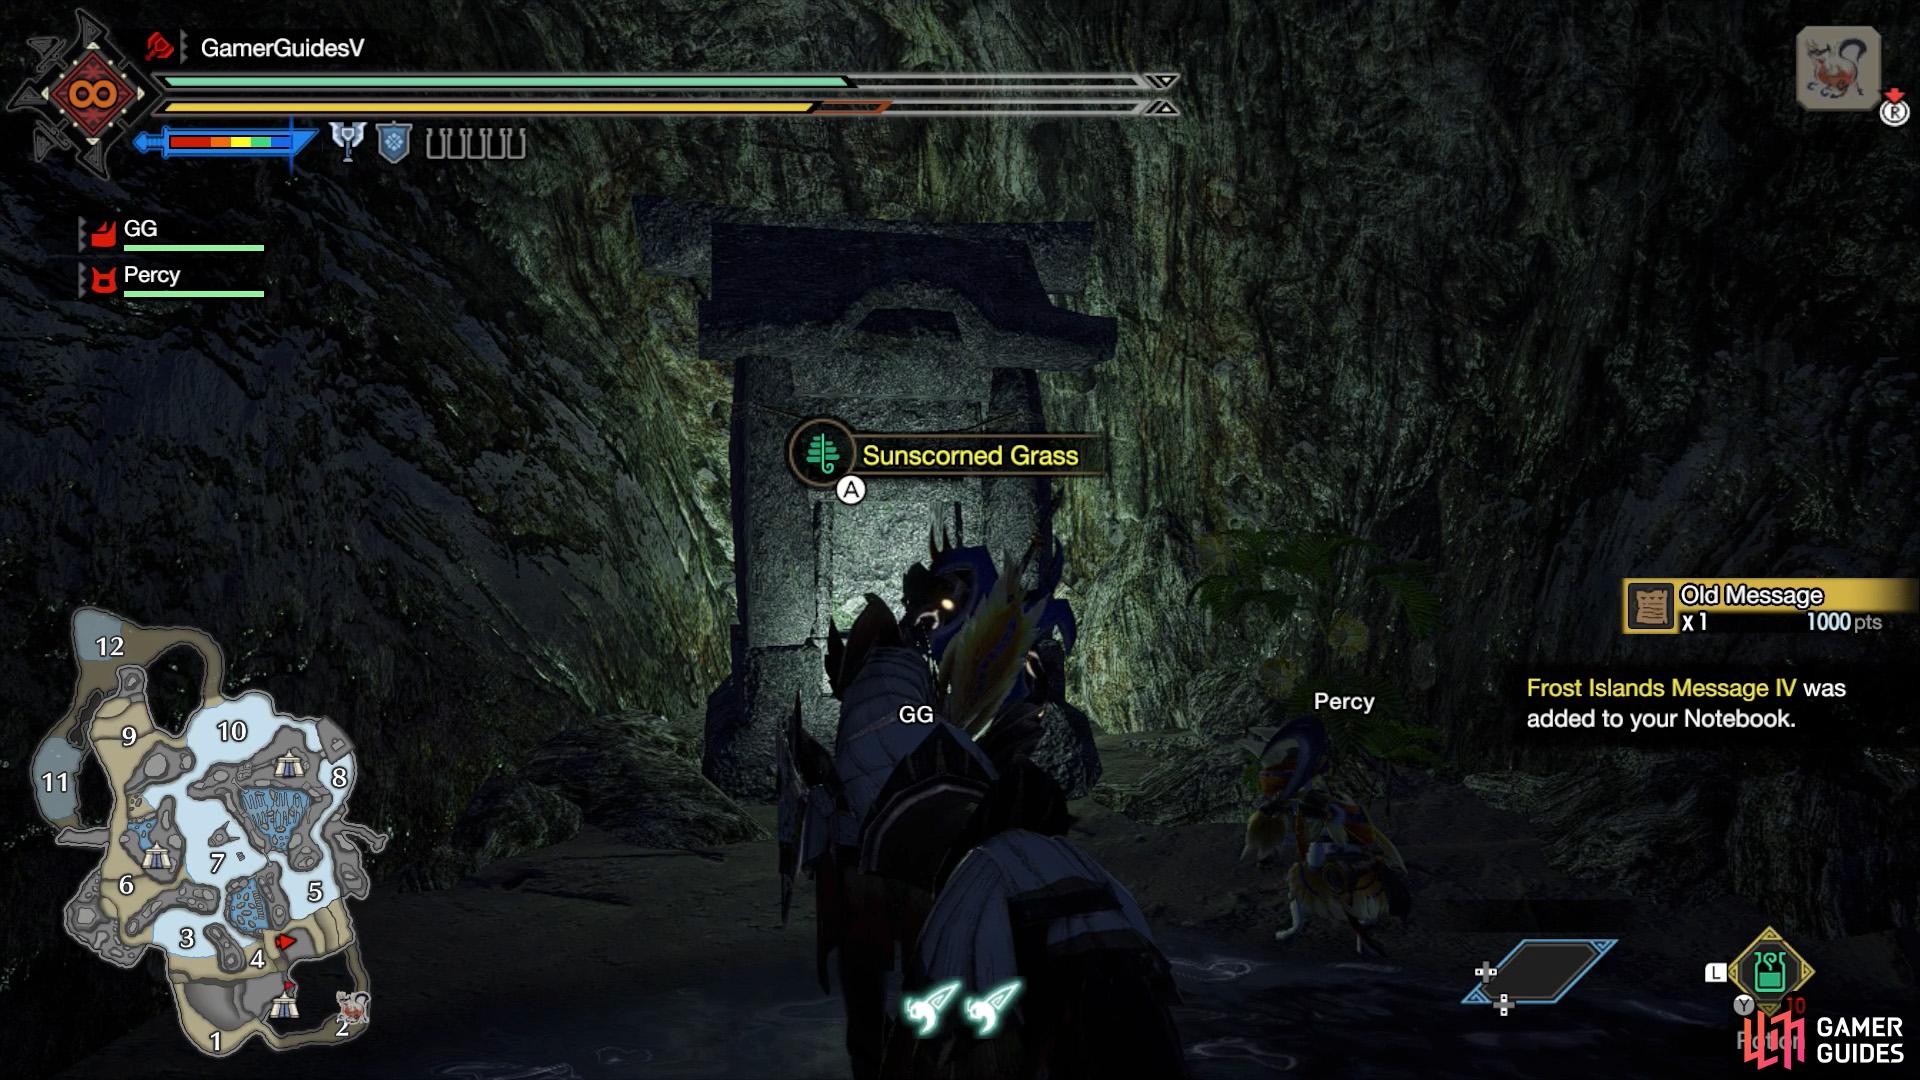
This tunnel can be easy to miss. (left), Again, there’s an altar with a relic close by. (right)
Also at the end of a tunnel. Enter the enclosed region in the center of areas 3, 4, 5 and 7. If you head north from the base camp, you can go under the archway that leads to a collapsed bridge. Once in the enclosed region, look for a tunnel entrance in the south-eastern corner (it can be hard to see since it’s dark). The relic’s near another hidden altar.
Relic Record V
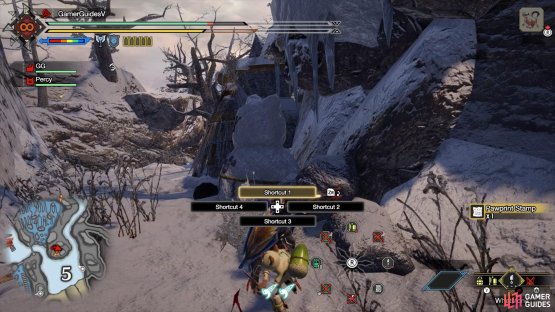

(1 of 2) Look for this feline snowman… A snowcat?

Look for this feline snowman… A snowcat? (left), Blow up the snowman to reveal this hidden relic. (right)
This relic requires some lateral thinking. Head to the far end of the highlands overlooking Area 5 from the north. If you’ve unlocked Sub-Camp 2, fast-travel there and use the great wirebug to the east. Circle around until you find the Felyne and Melyne base. In-between the cliffs, there are two statues, a hut and snowman in a line. Use a barrel bomb to blow up the snowman.
You can also reach the same location by using the great wirebug along the east side of Area 5. This will put you slightly higher up, so you need to drop down forward.
Relic Record VI

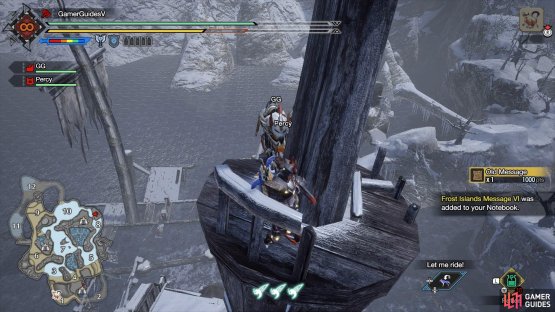
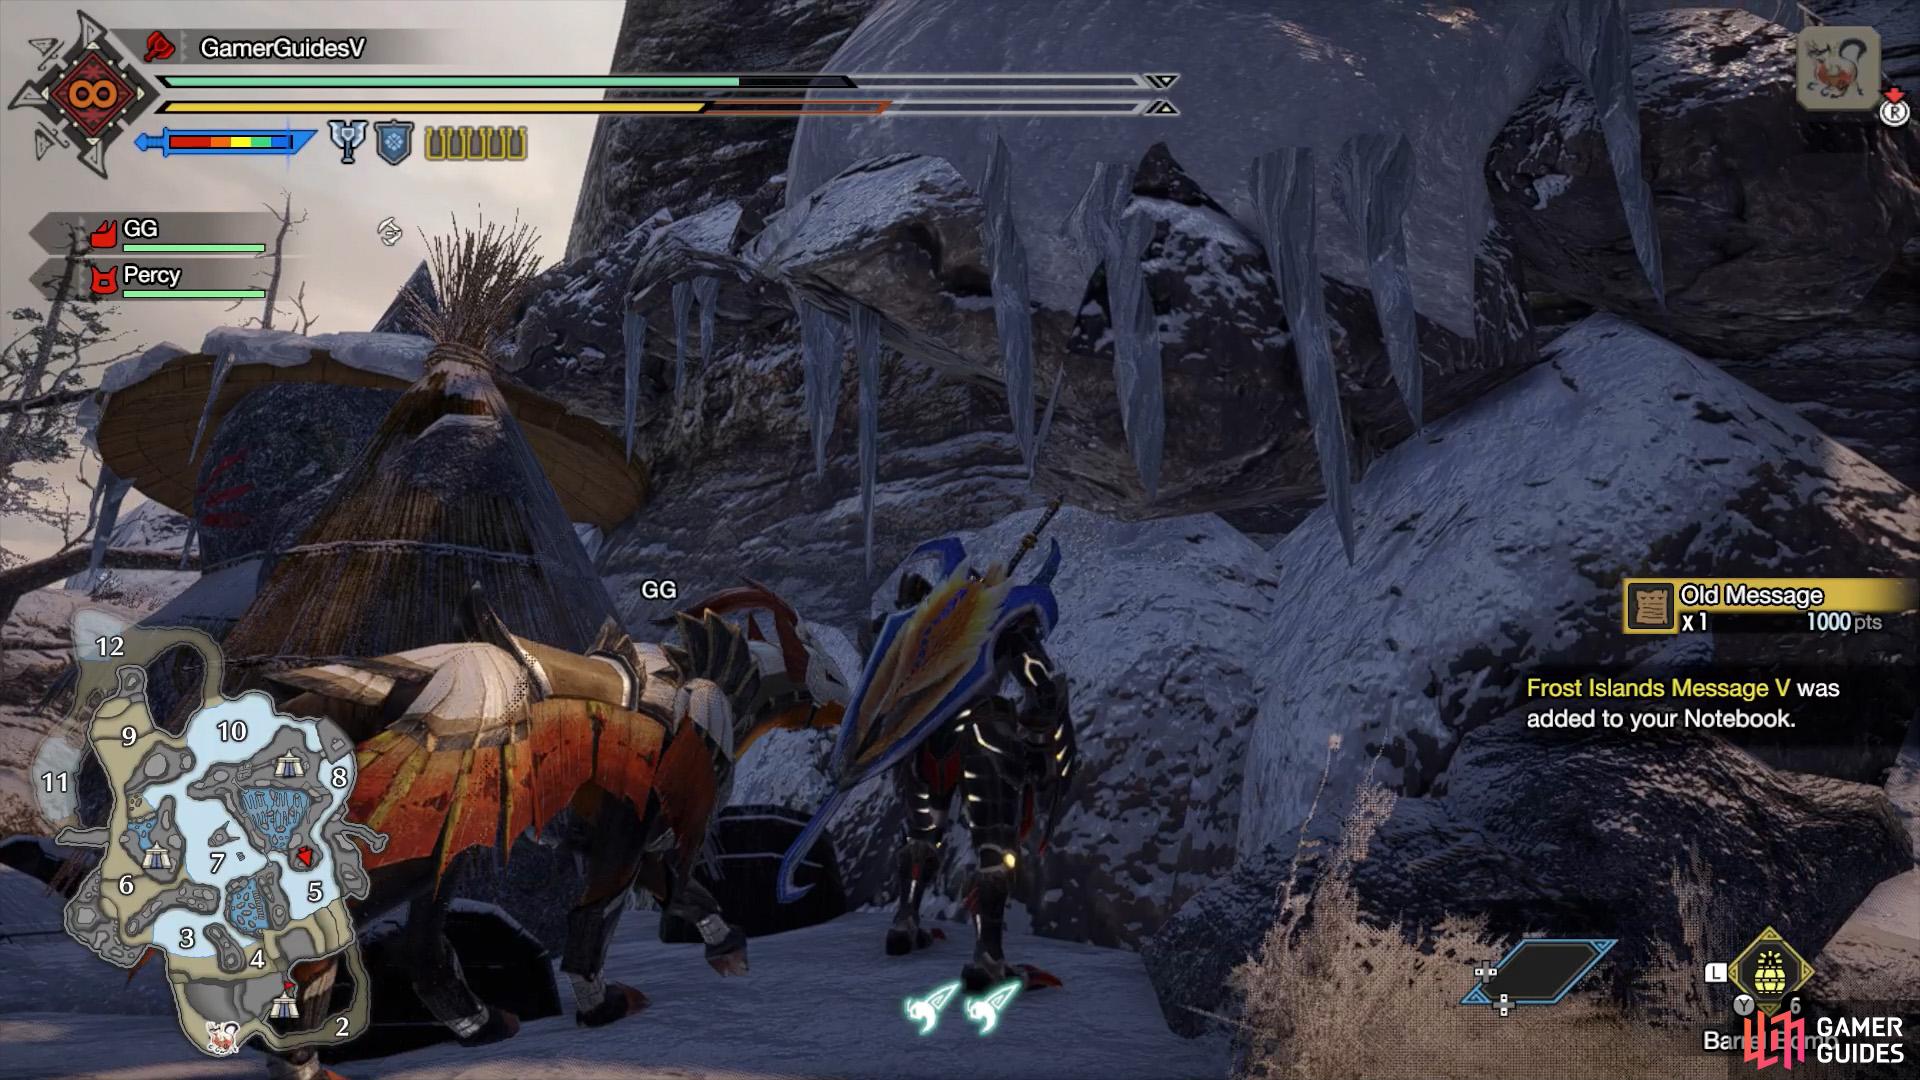
(1 of 2) Clamber up to the top of the shipwreck from the nearby highlands.
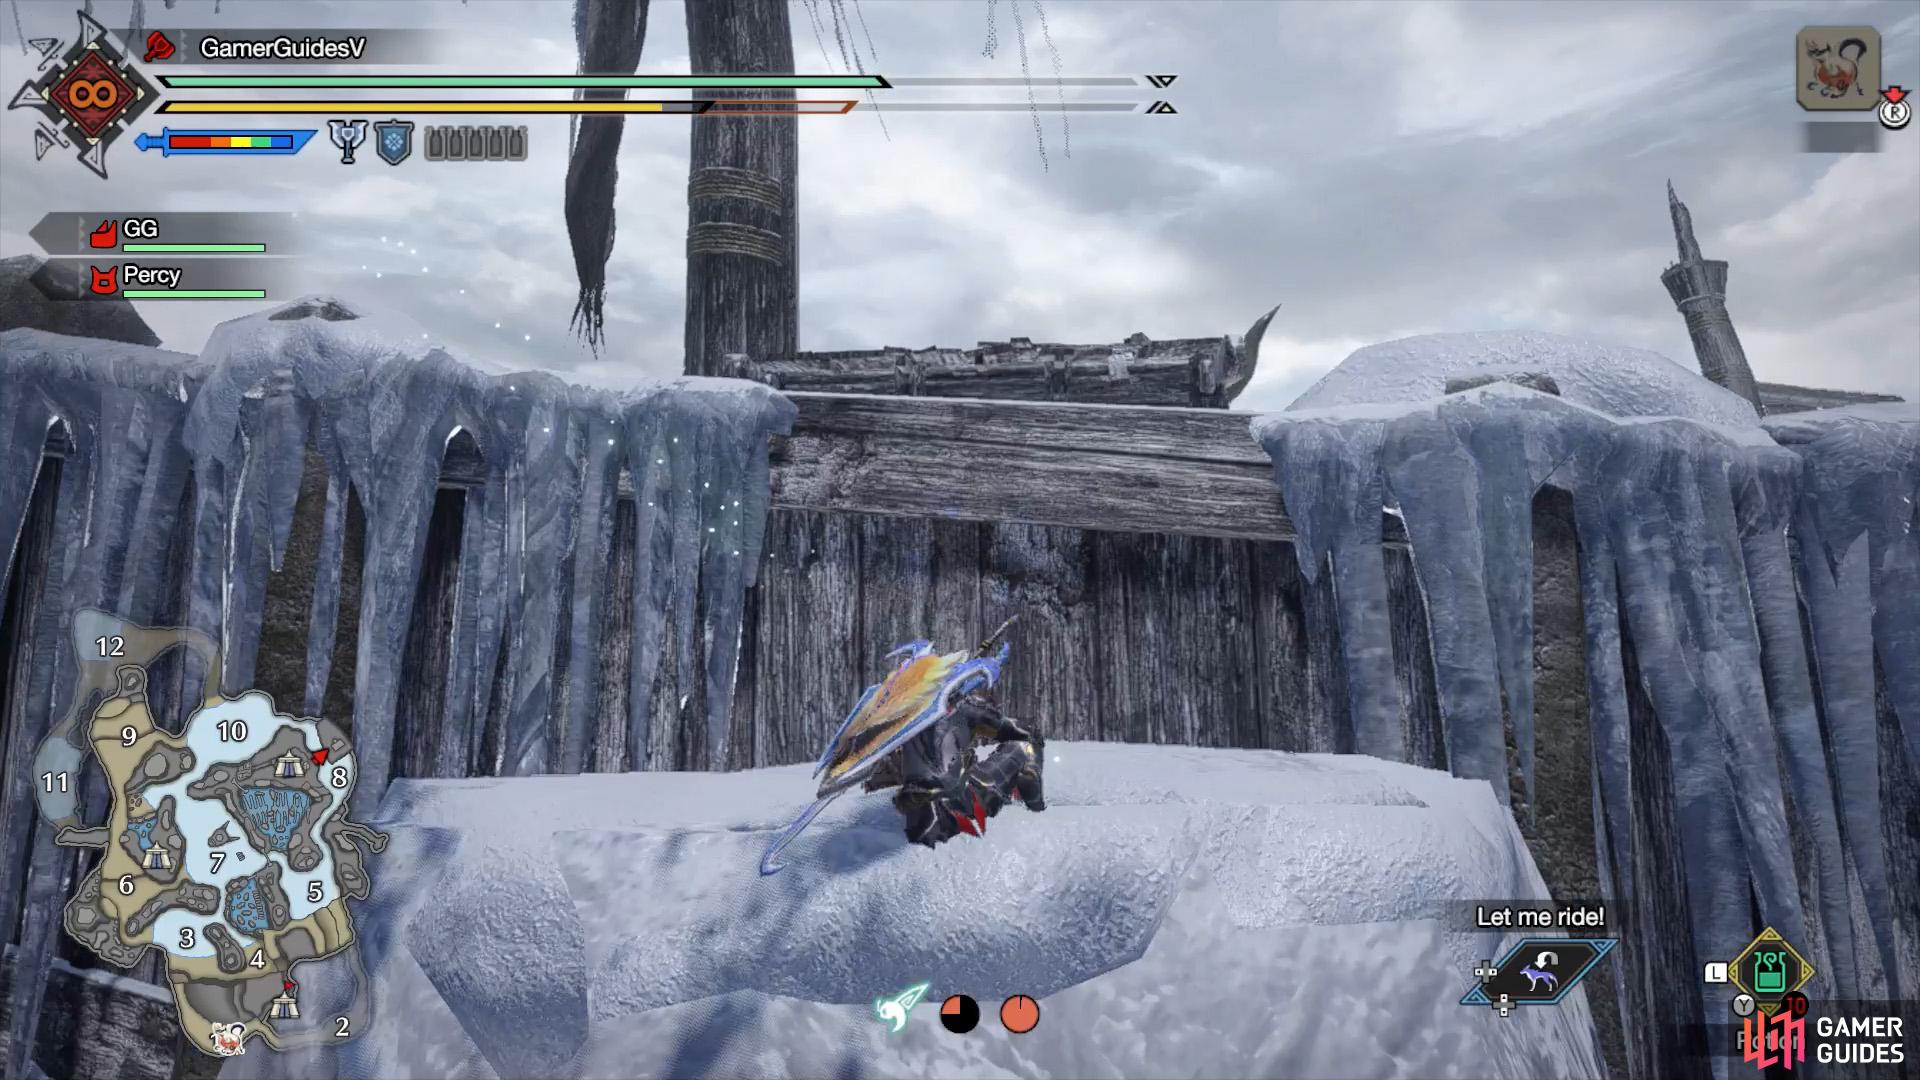

Clamber up to the top of the shipwreck from the nearby highlands. (left), Then skilfully climb up the central mast. (right)
Climb up the shipwreck in the far north-east corner, north of the Area 8 battleground. The easiest way is to go along the highlands where Sub-Camp 2 is–the one in-between areas 8 and 10. There’s a step you can reach the top of the shipwreck from. Once you’re there, use a wirebug to climb up the central mast.
Relic Record VII


(1 of 2) You’ll need to crawl through these tunnels.
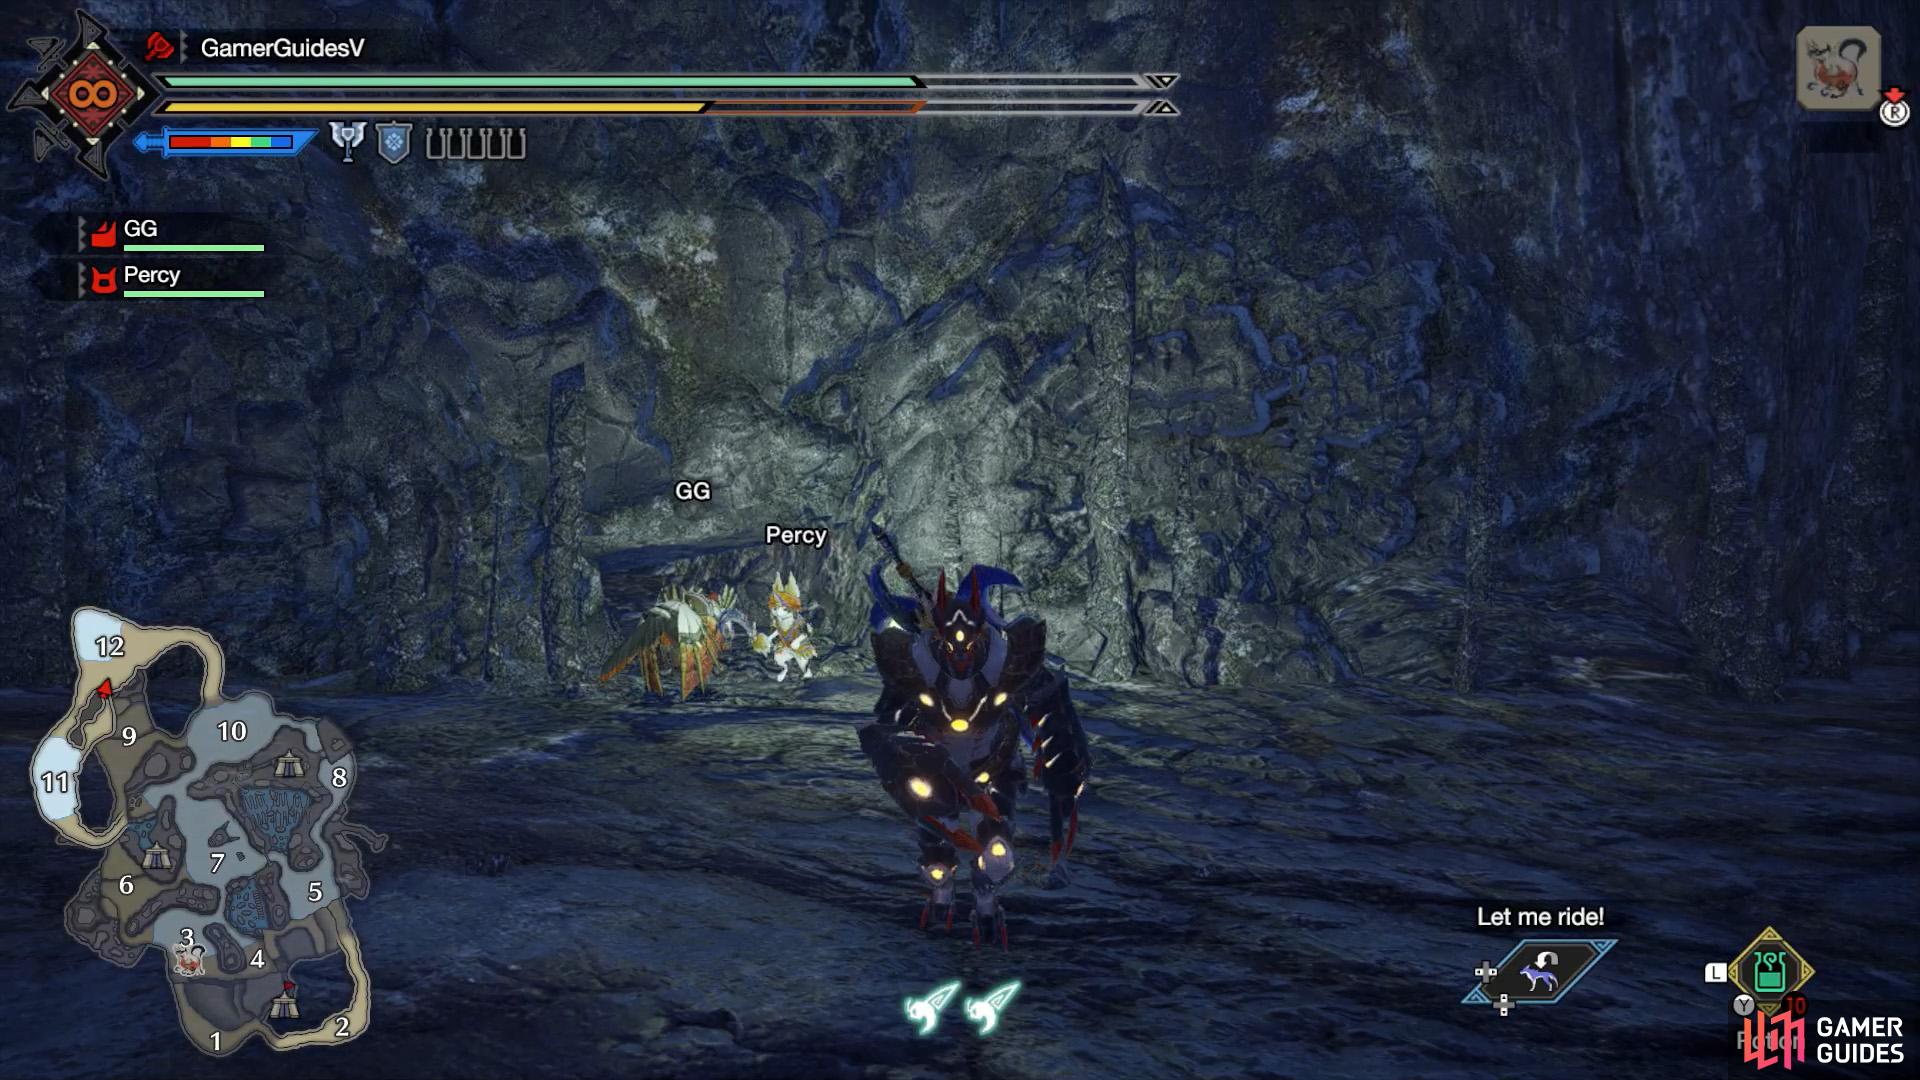

You’ll need to crawl through these tunnels. (left), The relic’s on a ledge towards the west. (right)
Make your way to Area 12, which is underground. There’s an entrance in Area 10. Once there, use your mini-map to find a small tunnel towards the south. Which leads to an enclosed space. You can also reach the same place via a similar tunnel in Area 11.
Inside the cramped space, check your mini-map again and go over to the halfway point of the western wall. Use a wirebug to climb up to a ledge with the relic.
Relic Record VIII

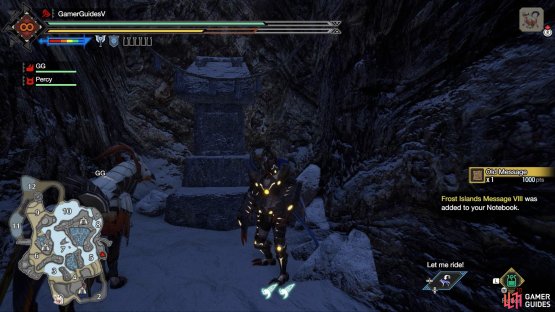
(1 of 2) The first signpost is this Yellow Spiribird.
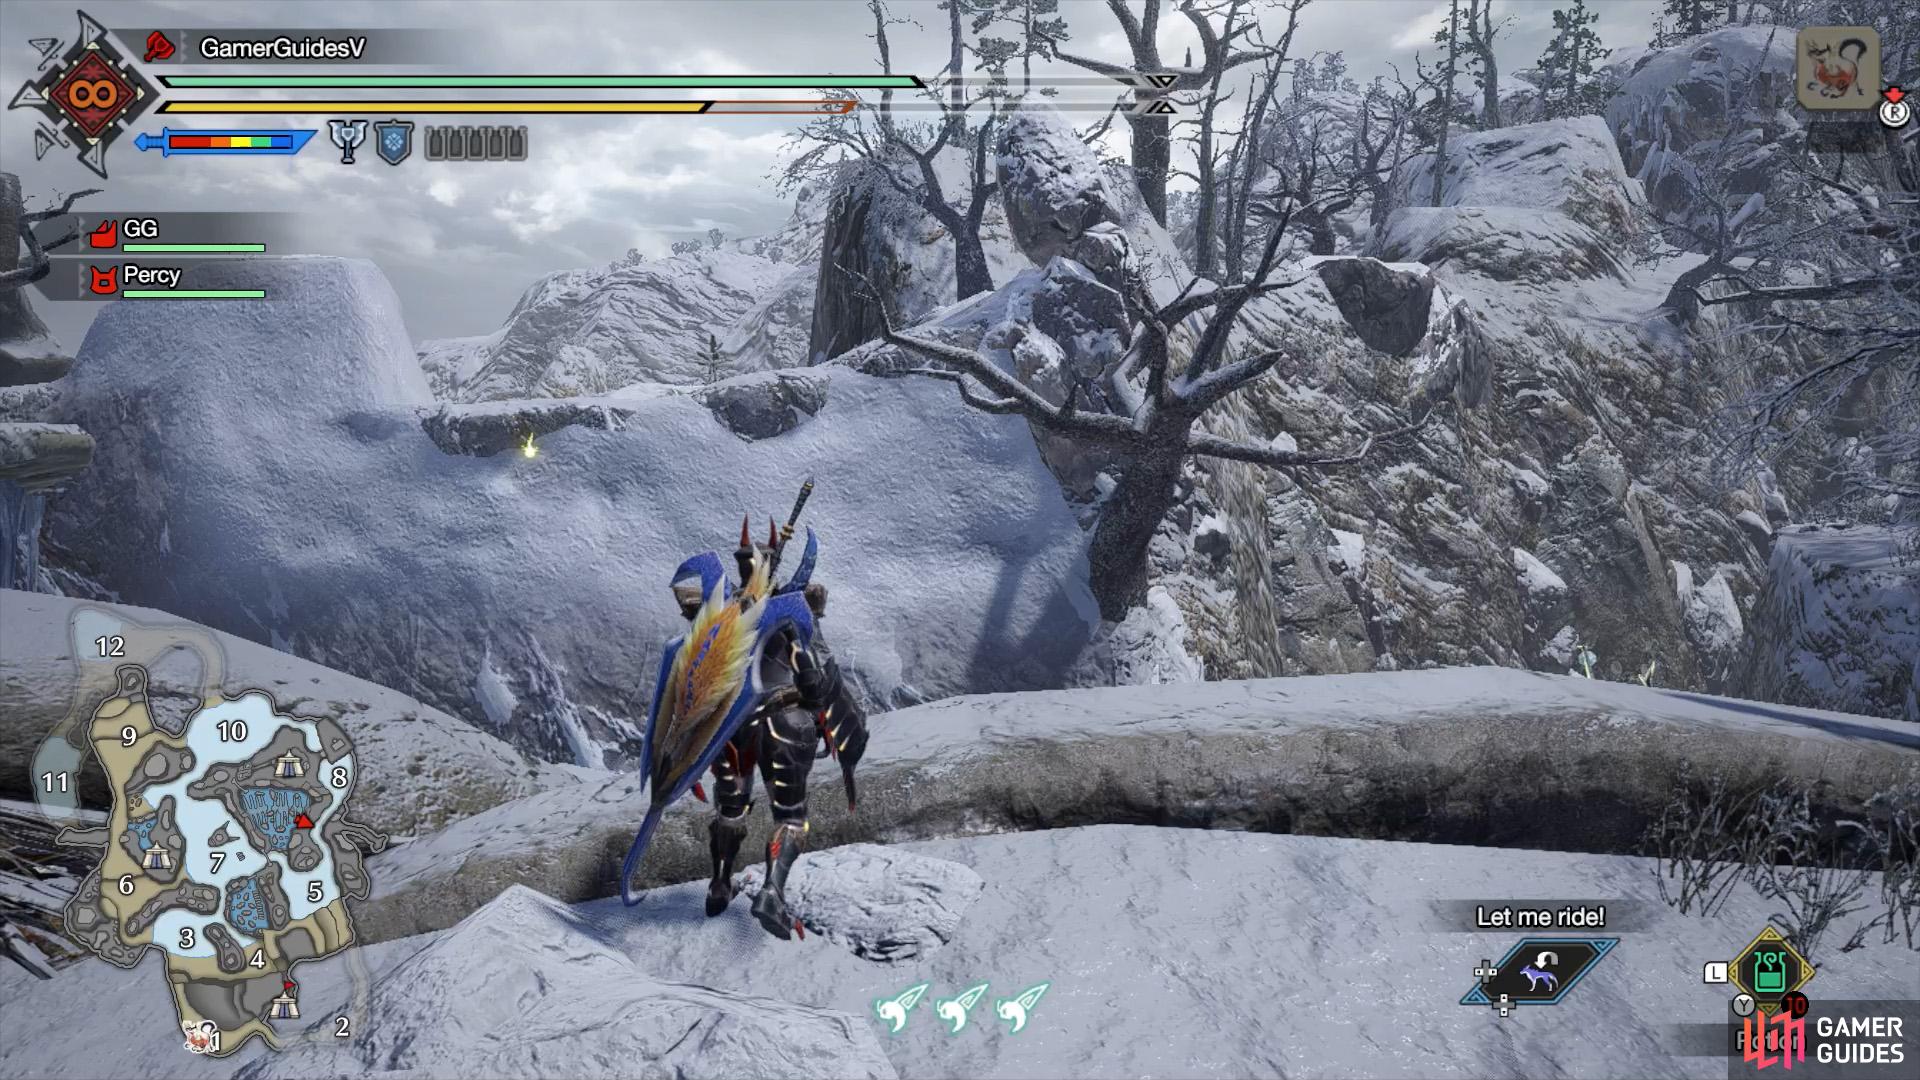

The first signpost is this Yellow Spiribird. (left), Follow the Golden Spiribirds nearby, then look for a cave near the end of the path. (right)
Climb up the highlands to the east of the Area 5 battleground. What you can do is start from the highlands between areas 5 and 8 (easy if you can fast-travel to Sub-camp 2). Face south-east and look for a Yellow Spiribird near the edge of the ground on the opposite side. Wiredash over.
Once you’re at the eastern highlands, travel south. Grab the two Golden Spiribirds nearby and then carry on in that direction. The relic’s in a cave near the far end of the path.
Relic Record IX
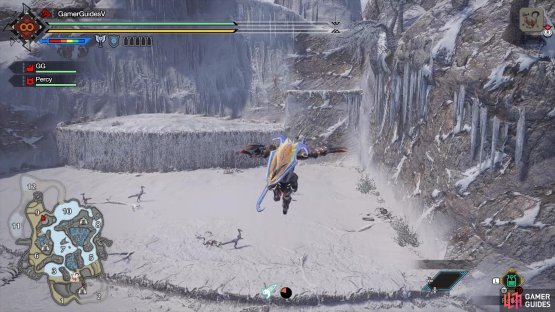
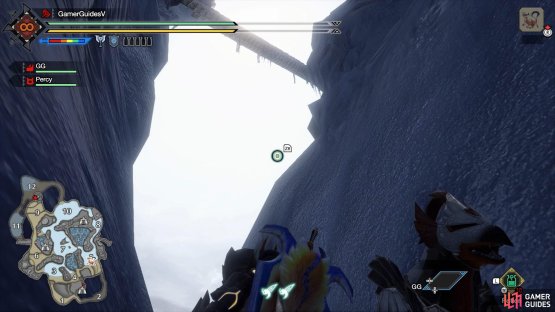
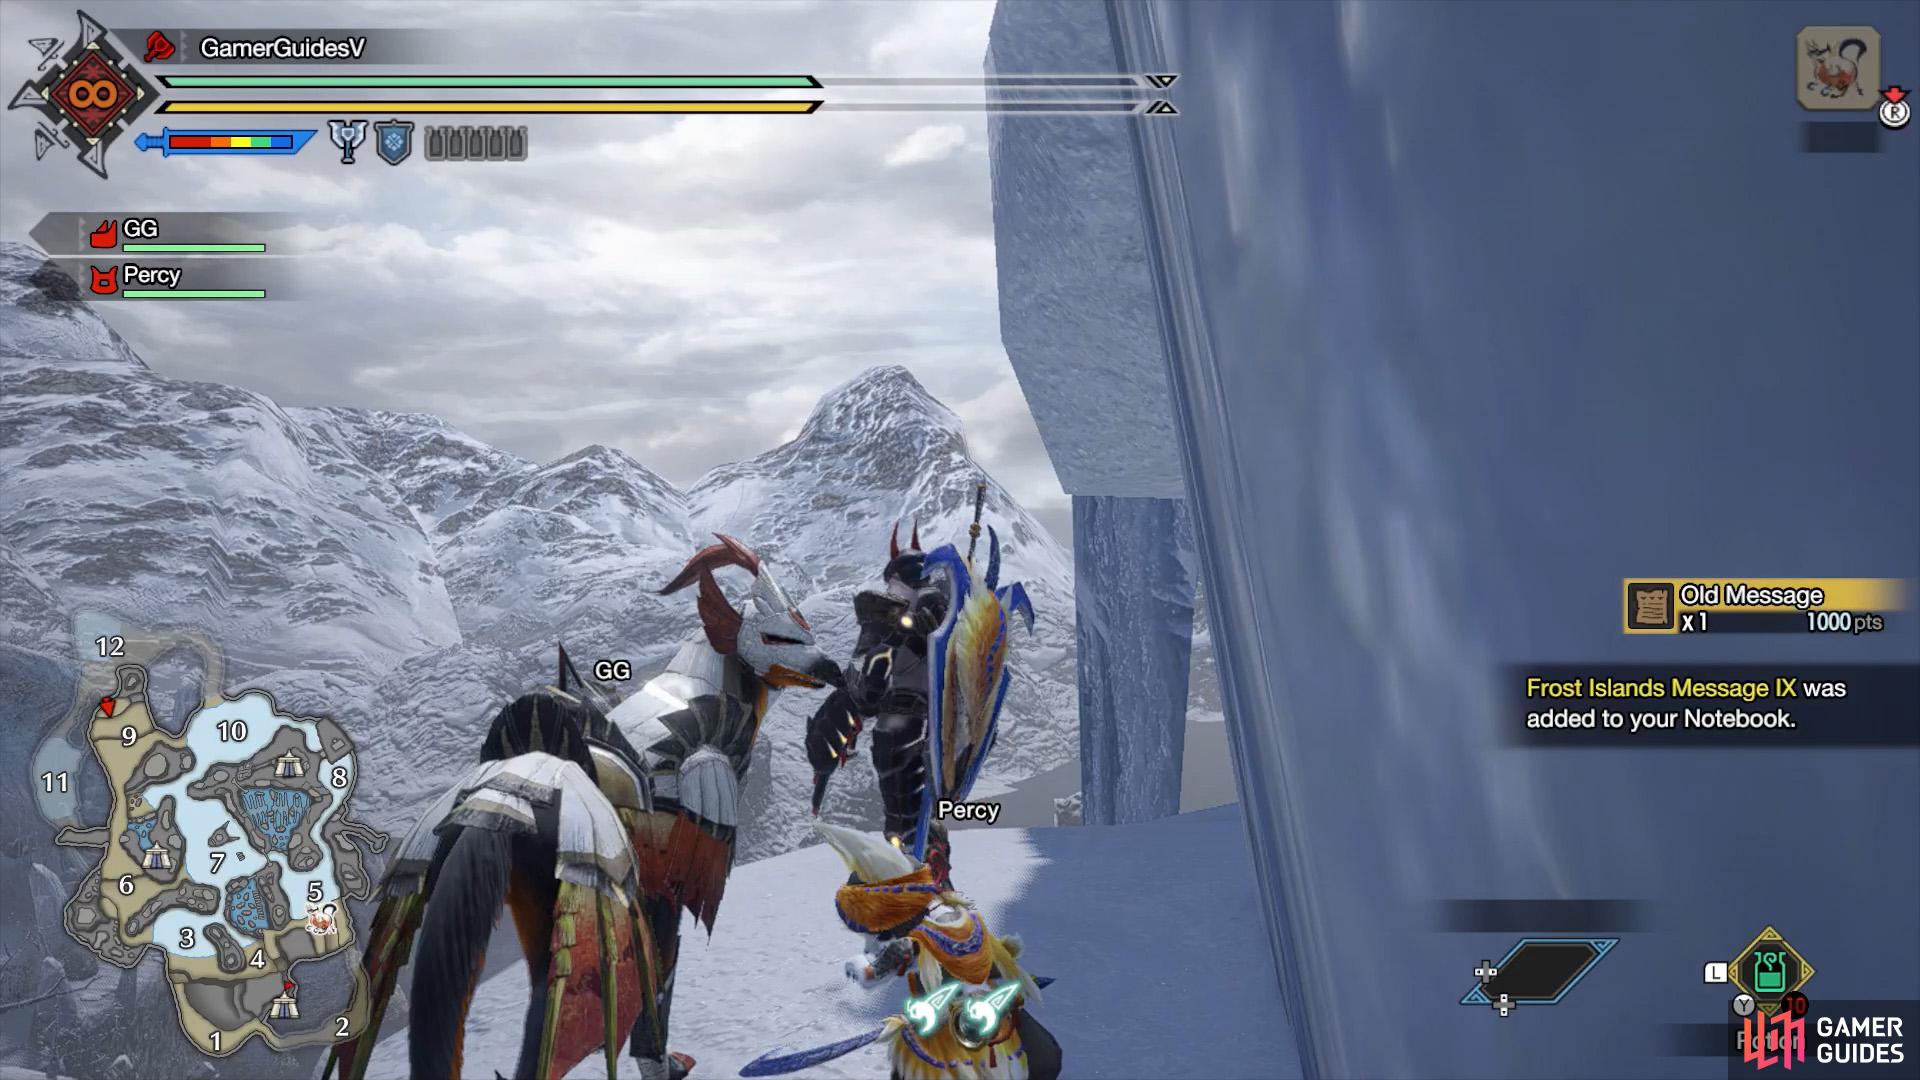
(1 of 2) Your arduous climb begins here.
Your arduous climb begins here. (left), Launch yourself up this ledge. (right)
This is one of the hardest relics to reach; whoever designed this needs to be shot… with a water pistol.
Make your way to Area 9 and climb up the vine-covered walls towards the northernmost part of the area. Be sure to grab an extra wirebug just before the vines. After climbing up, turn right and use your wirebug to climb up to a high up ledge. Then face the cliff on the left and continue climbing with your wirebug.
Now for the hard part. Face left and look up–there’s a ledge high up, but the walls around here are too slippery to climb. Stand a fair distance away and, while facing the direction of the ledge, manually aim and shoot a wirebug as high up as you can (using  and
and  ).
).
If you still have your third wirebug, good. You can also press  after shooting a wirebug, so you can aim a second (and likely third) wirebug while suspended in mid-air. But if your third wirebug ran out, you’ll need to roll in mid-air with
  to gain extra height instead.


(1 of 2) Notice the climbable wall on this ledge.
Notice the climbable wall on this ledge. (left), Whew, made it! They sure don’t make things easy, huh? (right)
After reaching this hellish ledge, it’s not over just yet. Look up some more–there’s another ledge parallel to the cliff that’s even higher up. Wait until your wirebugs have recovered. Face the cliff and you may notice a wall you can climb up for a bit. Shoot a wirebug towards this wall, then run up it and then, near the end, run as diagonally left as possible.
At the highest point of your jump, press to hang in mid-air. Then quickly move your camera so you’re facing the ledge. Chances are, there’s still some distance to the ledge, but you can just about make it. Manually aim and shoot a wirebug at the ledge, performing a mid-air roll with if necessary.
If you fall, you may land on a ledge directly below, which has a tunnel that leads to a great wirebug. From that ledge, you can wiredash back to the ledge you started the jump from.
Relic Record X

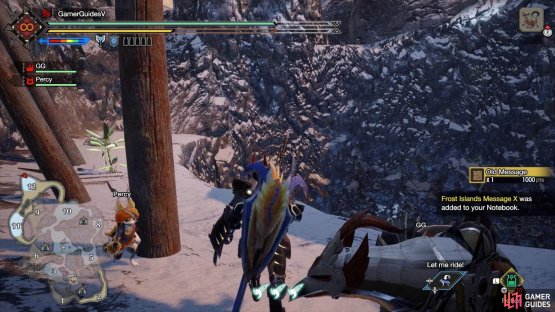
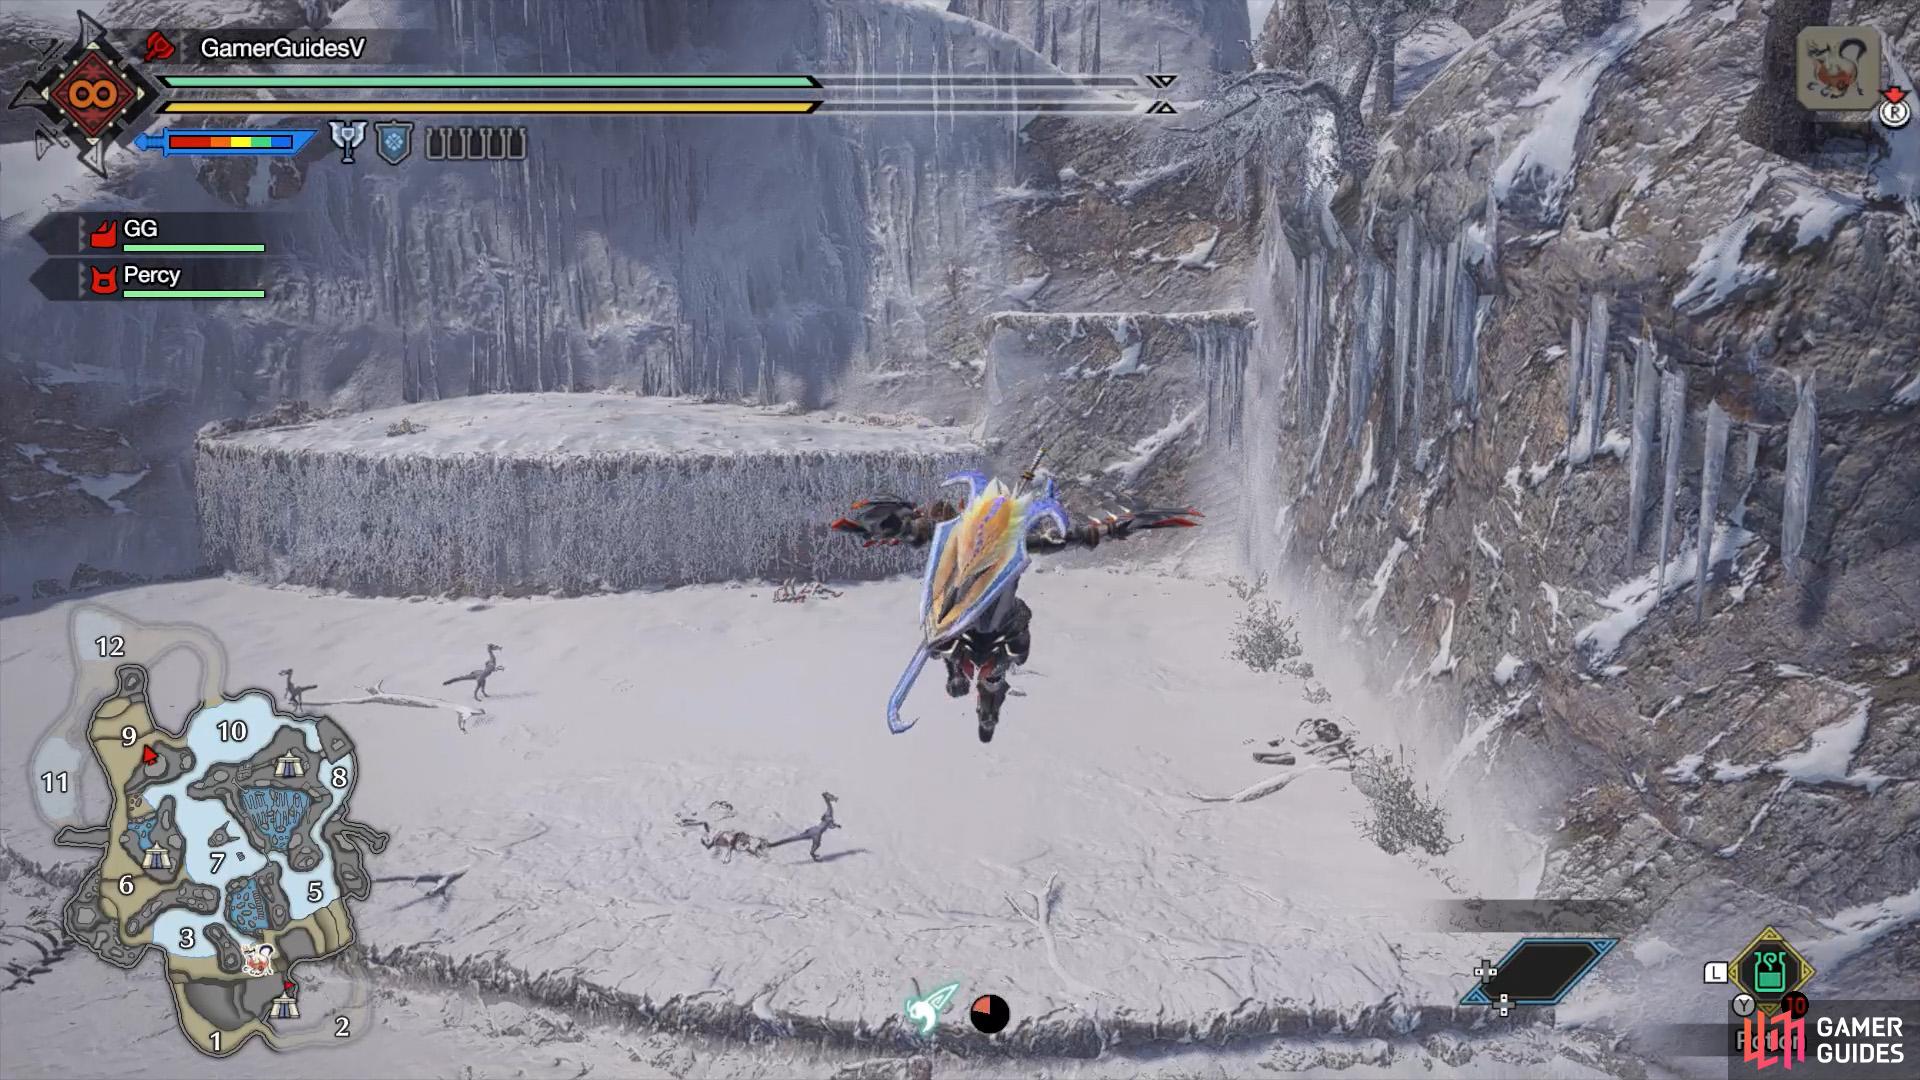
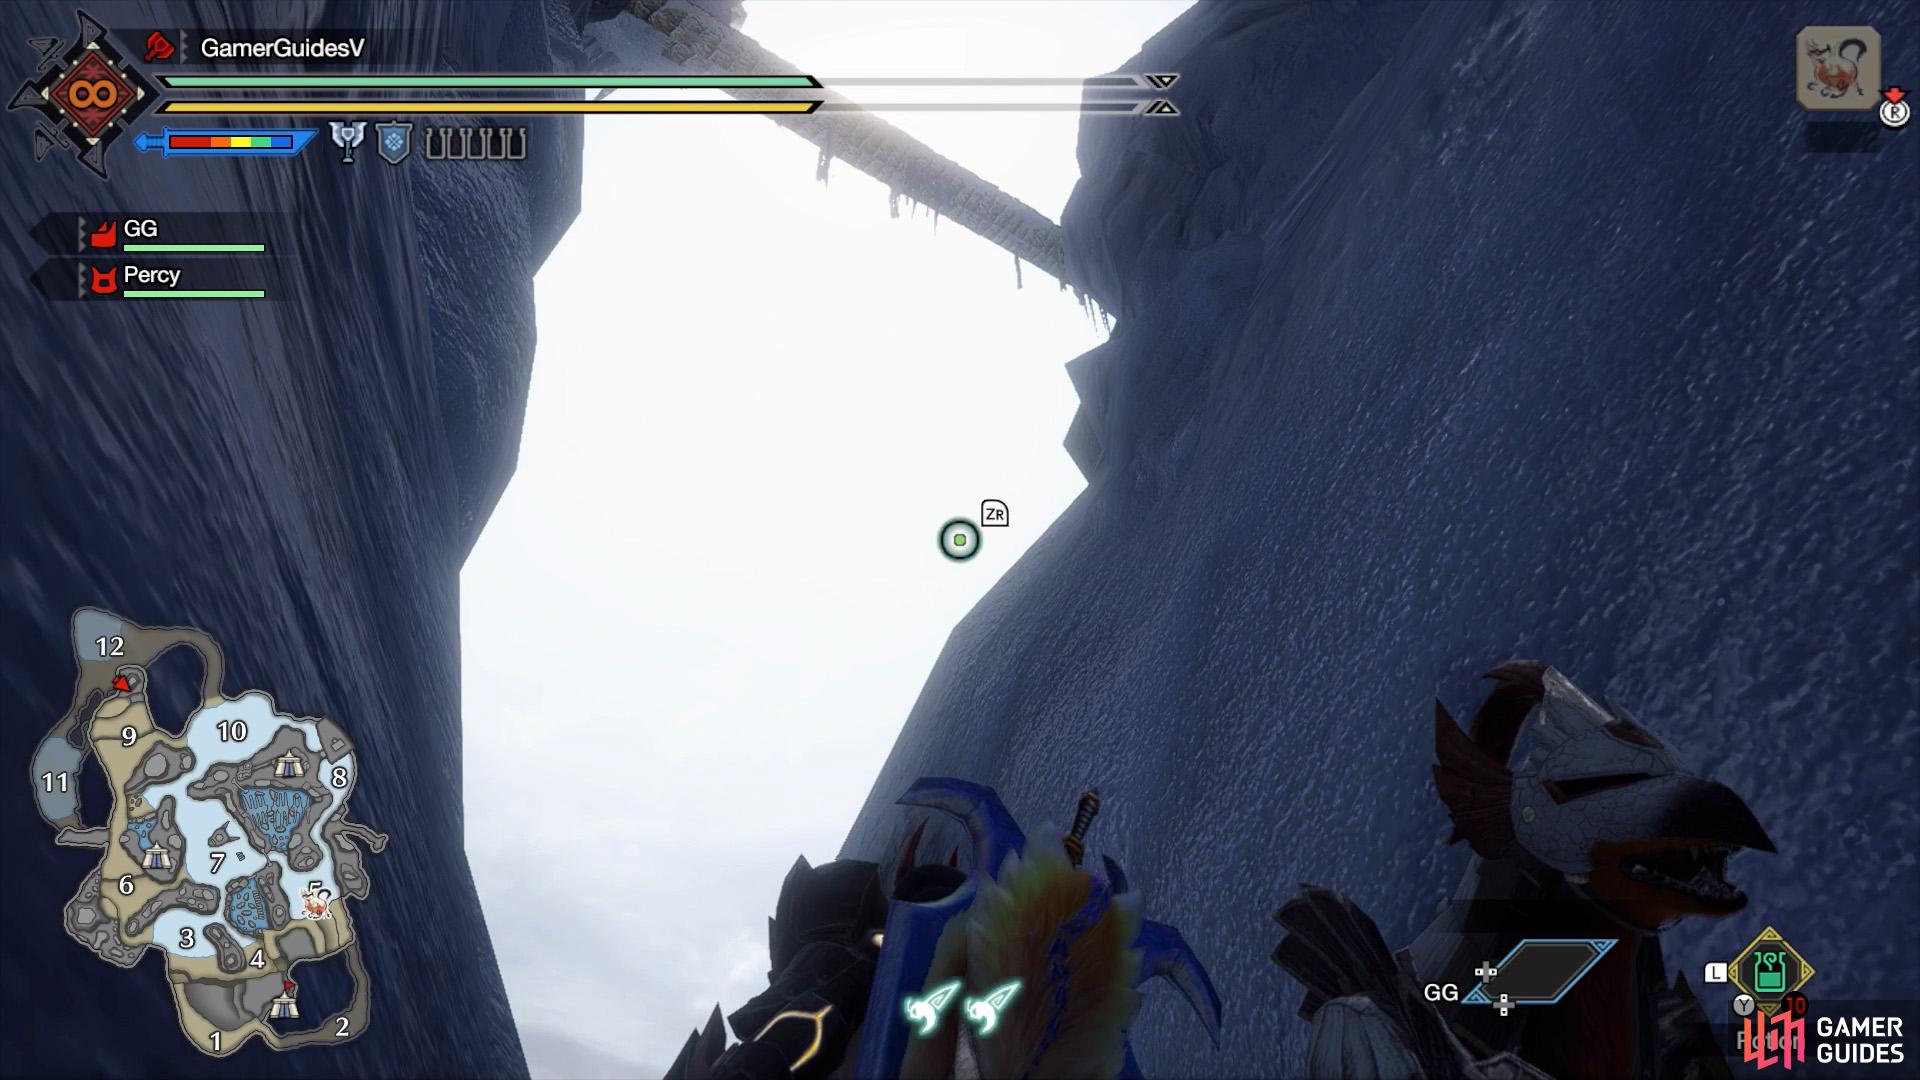
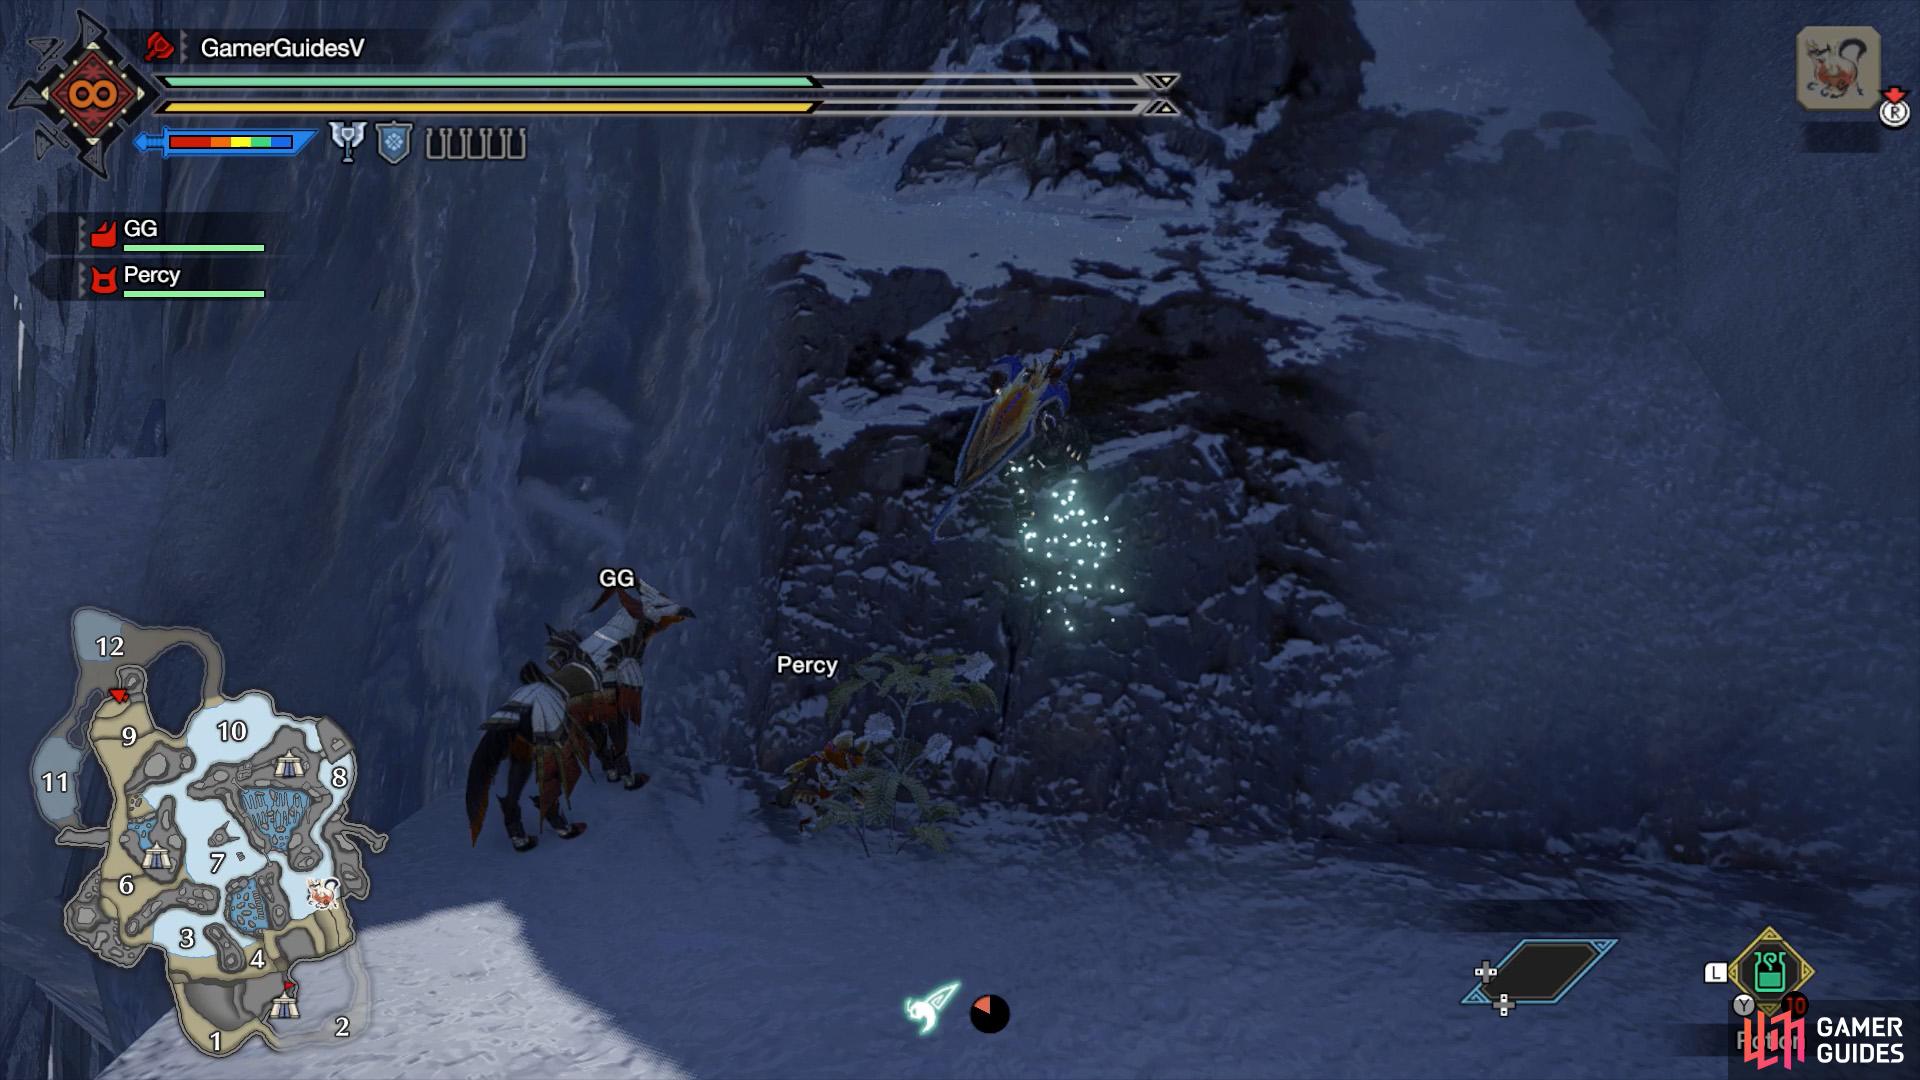
(1 of 2) This light is pretty nice. Wait, you can go up here!?
This light is pretty nice. Wait, you can go up here!? (left), This is what you’ll find at the very top of the shaft. (right)
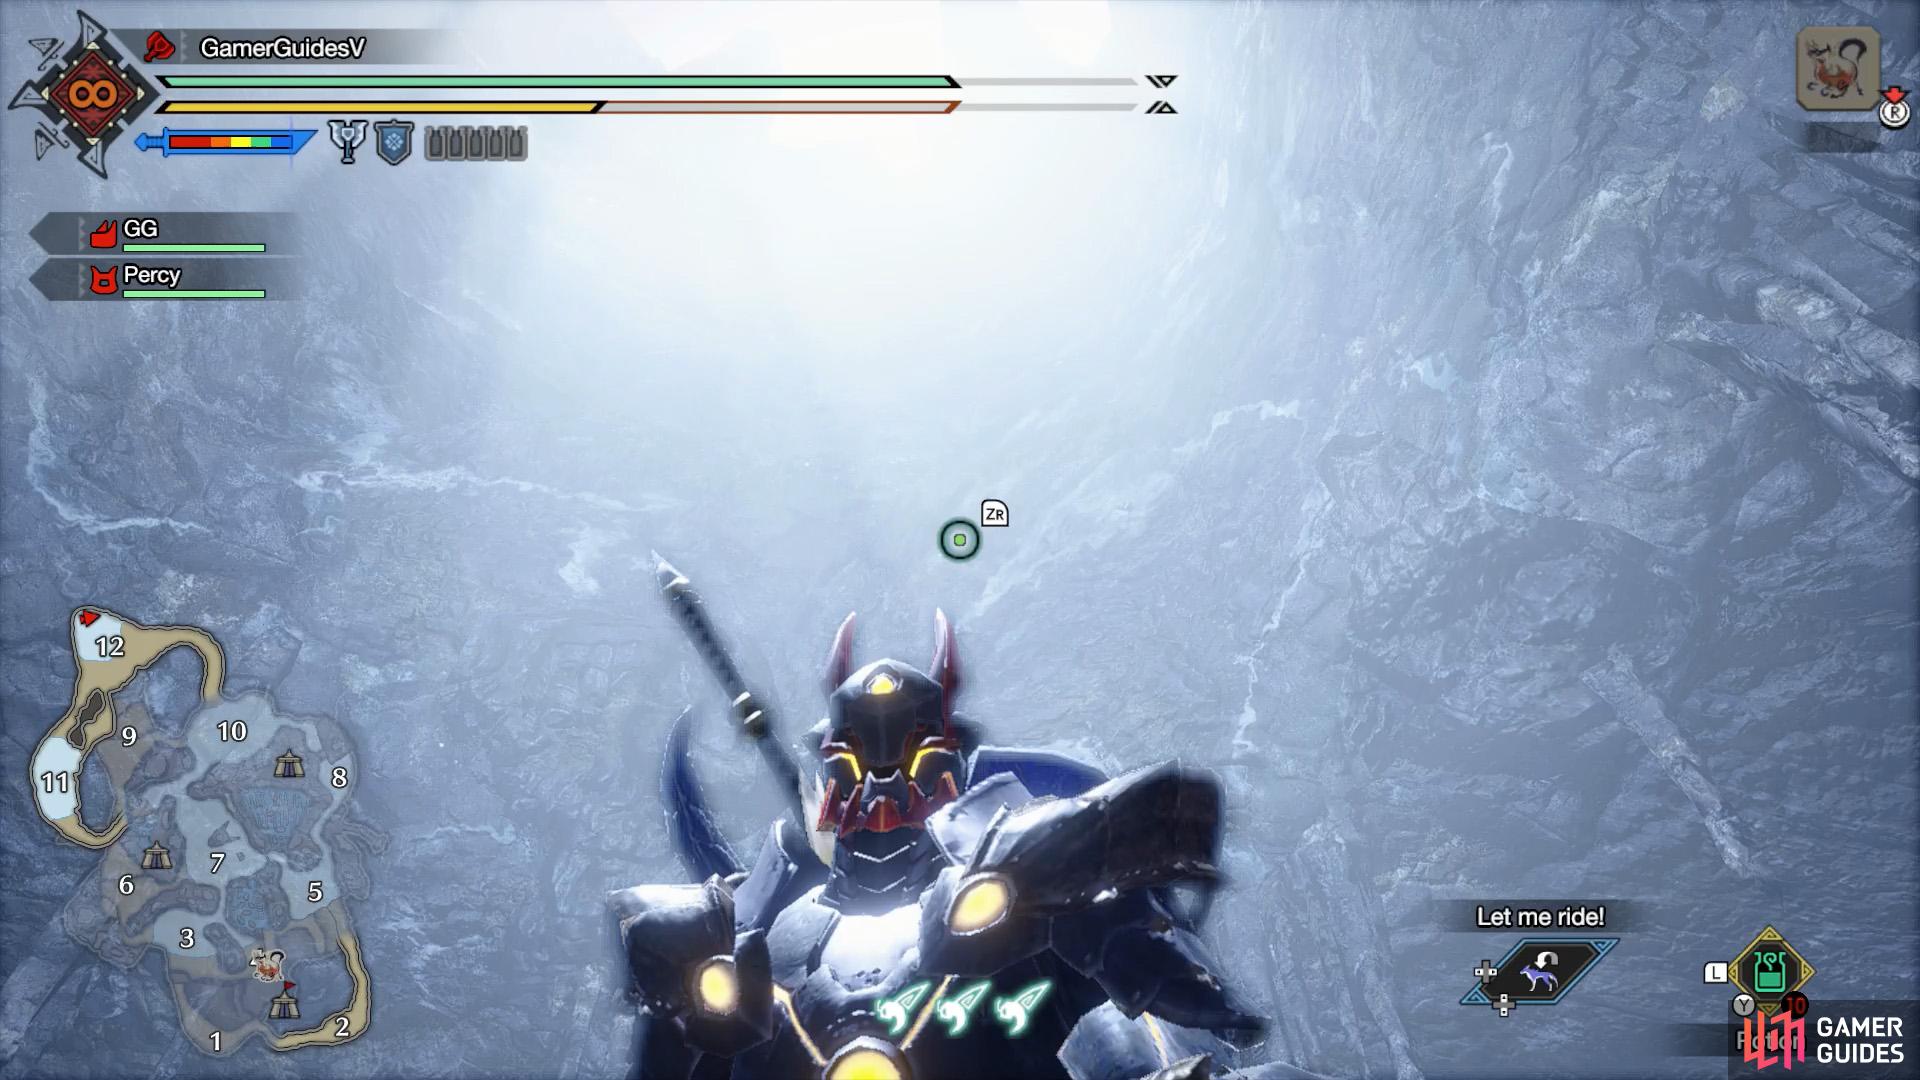
This is a somewhat tricky relic, but not as hard as the previous one. Go to the northernmost part of Area 12, which is underground. There should be light shining from a shaft above. Guess where we’re going?
If you can, grab an extra wirebug nearby. Manually aim and shoot a wirebug upwards (using and ). Then do it again and likely a third time as well. You should (barely) reach a climbable section of the shaft.
Climb all the way up the shaft and you’ll find a ledge with a couple of archways. The relic’s under the left-most archway.
No Comments