Home of the Organization
This is it, the final world. Head into the Fragment Passing where you will encounter waves of Shadows. In the second portion of this area you’ll find two chests, one in each corner, that have a Mythril Stone (1/19) and Mythril Crystal (2/19). Head up the other side to spot two more chests; an AP Boost (3/19) and Orichalcum (4/19) can be found inside. Exit to Memory’s Skyscraper where you’ll start a scene and a new boss fight to the Final Mix.
BOSS - Roxas
Roxas is fast and starts the battle off timid and not too aggressive. He has several attacks you need to worry about and since this is a solo fight you can only use Limit Form. At the start of the battle Roxas uses Whirlwind Swing, where he charges his Keyblades and twirls in a wide cross-circle – use Reflect or Dodge Roll to avoid this attack. Roxas also uses a Combo Attack where you can Guard or Reflect to open him up for a counter. Other moves are bound to happen if you use your second Finisher in a combo, so be mindful of how quick you are swinging.
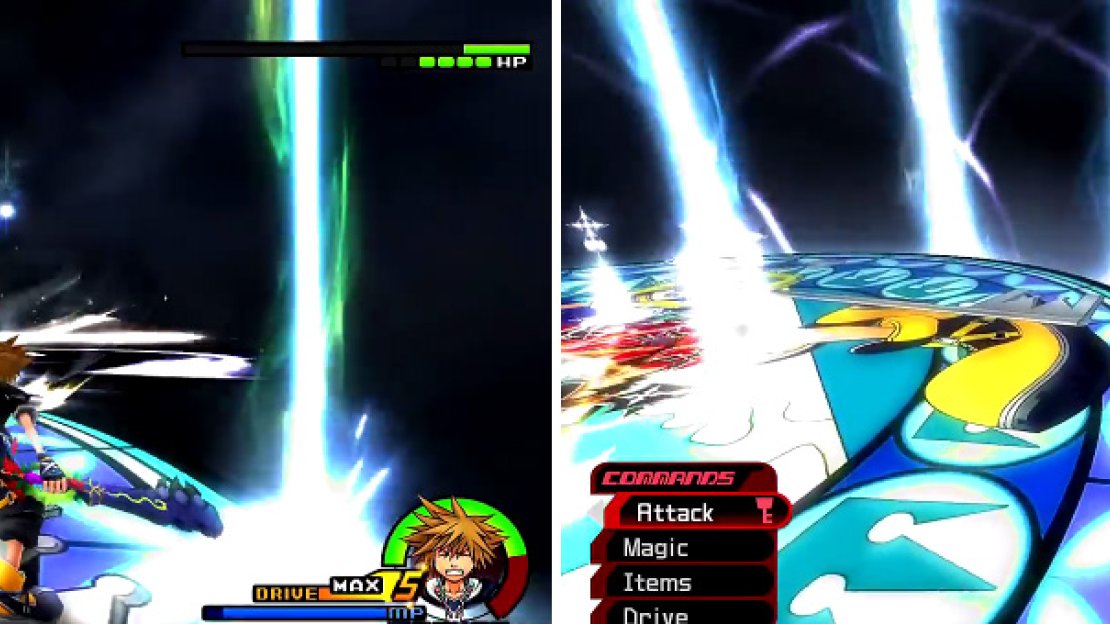
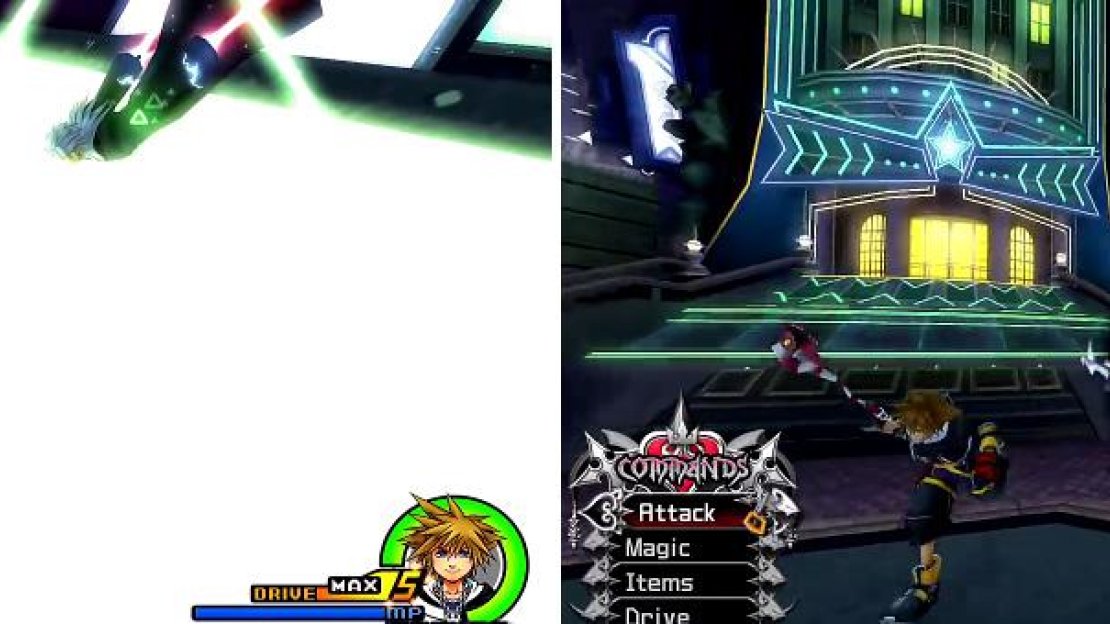
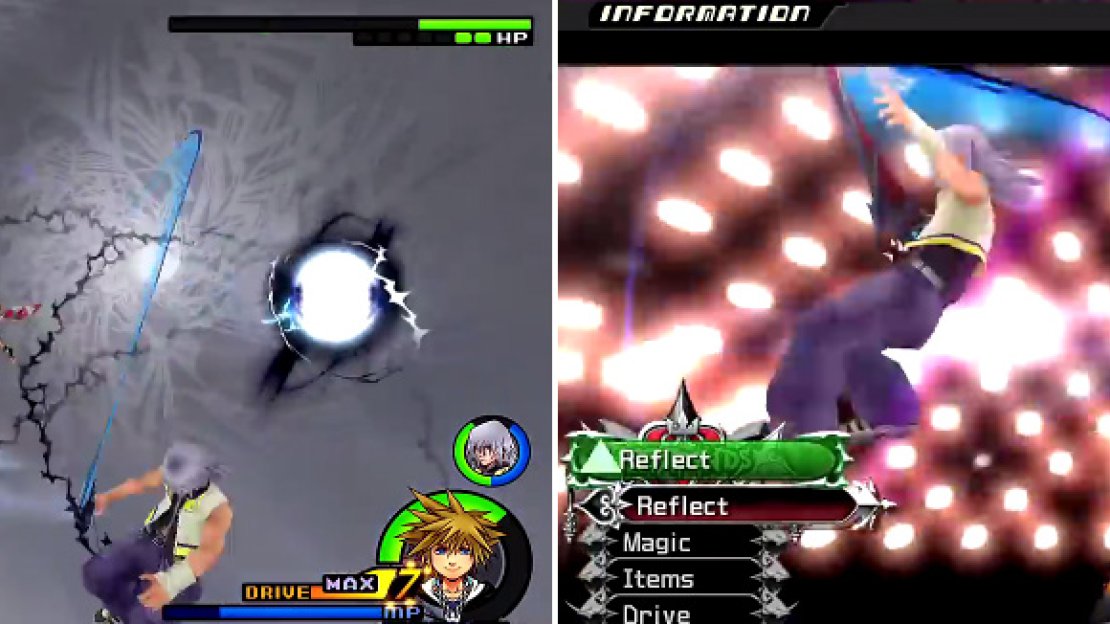
There is a Duel Attack similar to a Samurai. If you win the duel then you will steal Roxas’s Keyblades temporarily. You can guard against Strike Raid but Dark Power, a version where Roxas warps as well as throws the Keyblade, should be Reflected. Roxas also uses Light Beam, an attack that creates pillars of light; just stay far enough away to avoid this since Roxas does it from the center of the arena. Lastly, as Roxas gets below 40% HP he will use “Magic Hour” to try and burst down Sora. When Roxas moves to the center and creates the pillars you need to start dodging around the outside of the arena or the orbs will track you too quickly and getting hit once usually is to get hit everytime.
The Light Pillars can be guarded against or dodged but be careful (left). When Roxas uses Magic Hour (right), stay on the outside and keep dodging the orbs.
The best time to go on the offensive is after Roxas’s combo or after a successful Guard. Try not to go full out on your combo because Roxas is great at Guarding the Finishers and will counter himself. Magic isn’t the way to go with this fight; stick to Limit Form for the Sonic Blade attack or save the MP for healing.
Rewards : HP +5 (Sora), Combo Master (Sora)
After the scene you receive the Two Become One Keyblade and Secret Ansem’s Report 8. On the right side of the tower you can find an AP Boost (6/19) and in front of the tower you can collect Twilight #35 . Off to the left side are two more chests; a Mythril Crystal (5/19) and Mythril Stone (7/19). Head to the Brink of Despair next where you can obtain the Dark City Map (8/19). Save and visit the Moogle Shop as well, just don’t miss the small chest to the left for an Orichalcum+ .
Stiltzkin’s Moogle Shop
| Item | Price |
|---|---|
| Wisdom Wand | 2000 |
| Knight Defender | 2000 |
| Potion | 40 |
| Hi-Potion | 100 |
| Ether | 120 |
| Tent | 100 |
Nobodys Home
Head up to the next area for a quick scene. This area has plenty of Nobodies and one in particular is new and dangerous, the Sorcerer.
Monster - Sorcerer
Sorcerers use magic cubes to prevent melee combat, but a well-timed Reflect can cause significant damage and even take out a Sorcerer in a single blow. Magnet works well too, it stuns the Sorcerer allowing for a melee combo. It’s also possible to defeat Sorcerers before the cubes are summoned; a preferred method.
Open the first chest for an Orichalcum (11/19) then continue up to find Snipers and more Sorcerers. Pick up the Mythril Gem (10/19) and continue into the next area. This platform is just an elevator and at the far end is Twilight #26 . Defeat the Dragoons as you ascend then enter Twilight’s View. Collect the Cosmic Belt (12/19) from the chest, save your game, then enter the Hall of Empty Melodies. A lengthy scene occurs and then a boss fight with Xigbar!
BOSS - Xigbar
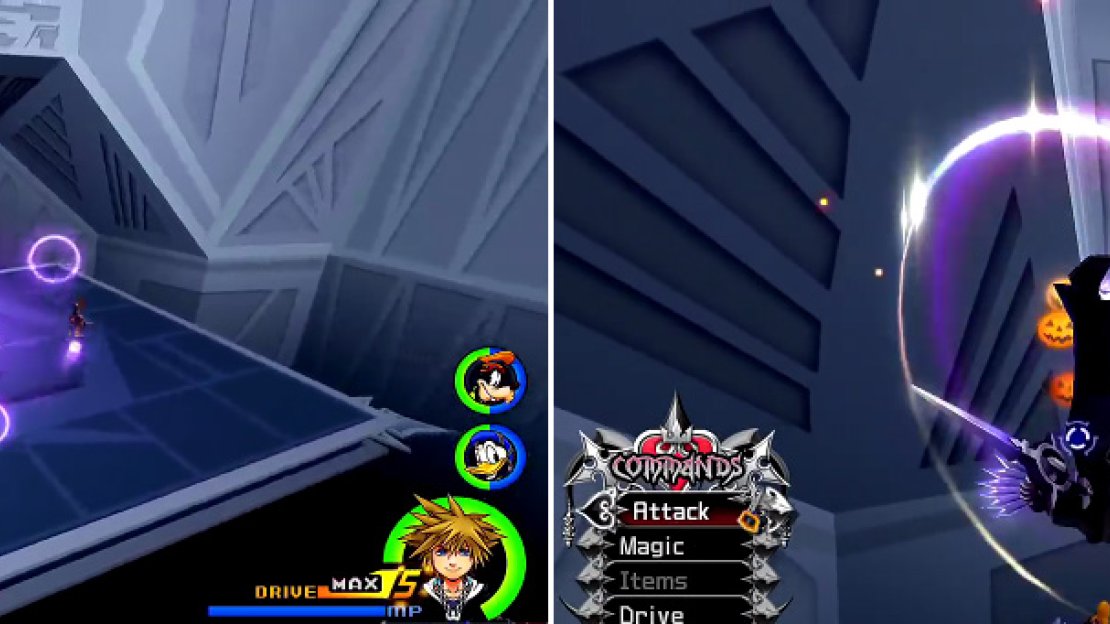
As soon as the battle begins, Xigbar warps to a balcony and begins sniping Sora. Dodge until you receive the Reaction Command “Break” then use “Warp Snipe” a few times to get Xigbar to warp back down and face off like a man. He is still quick and hard to hit, much like the Sniper Nobody. Xigbar does need to reload however and that is a great time to attack. You could close in on Xigbar and be prepared to Guard to reflect the lasers back at him. Throughout the entirety of the battle, Xigbar will change the floor making it more difficult to close in on him.
The battle repeats this cycle until Xigbar reaches 35% HP. He shouts, “You’re gonna pay!” then turns the room into a tiny square and begins an assault, rapidly firing lasers. An easy tactic is to run in circles and use Reflect if you ever get caught, but just because you dodge the initial wave doesn’t put you in the clear. You need to dodge the follow up attack in the same manner or you will likely fall. As with all battles against the great Organization XIII, using forms isn’t the best idea since you have a much higher chance to enter Anti-Form. End the battle as soon as you can but keep enough MP to heal just in case.
Rewards : MP +10 (Sora), Item Slot (Donald), HP +5 (Goofy)
Xigbar will start out by sniping you (left) so keep running and wait for the Reaction Command to stop him. After, you must be patient when trying to reach him as he dodges around a lot but he will stop eventually (right).
After the battle you receive Secret Ansem’s Report 3 . Continue your ascension at Naughts Skyway where you can obtain a Mythril Gem (13/19). Further up the ramp are an Orichalcum (14/19) and a Mythril Crystal (15/19). In the next area you get another awesome scene and the Oblivion Keyblade afterwards, as well as the Castle That Never Was Map . Continue to the Proof of Existence where you will want to save because you have two boss fights coming up. Also grab Twilight #34.
Dismantling the Organization
Enter the first area to fight Luxord.
BOSS - Luxord
This battle has its own unique mechanics and you must learn them in order to conquer this member of Organization XIII. Both Sora and Luxord have a Time Meter at the top of the screen that indicates who has the most time to spare – the objective is to not reach 0 and get Luxord to 0 though Sora can still be defeated if all of his HP is depleted. There are a few tricks that Luxord will employ to drain a lot of Sora’s Time Meter.
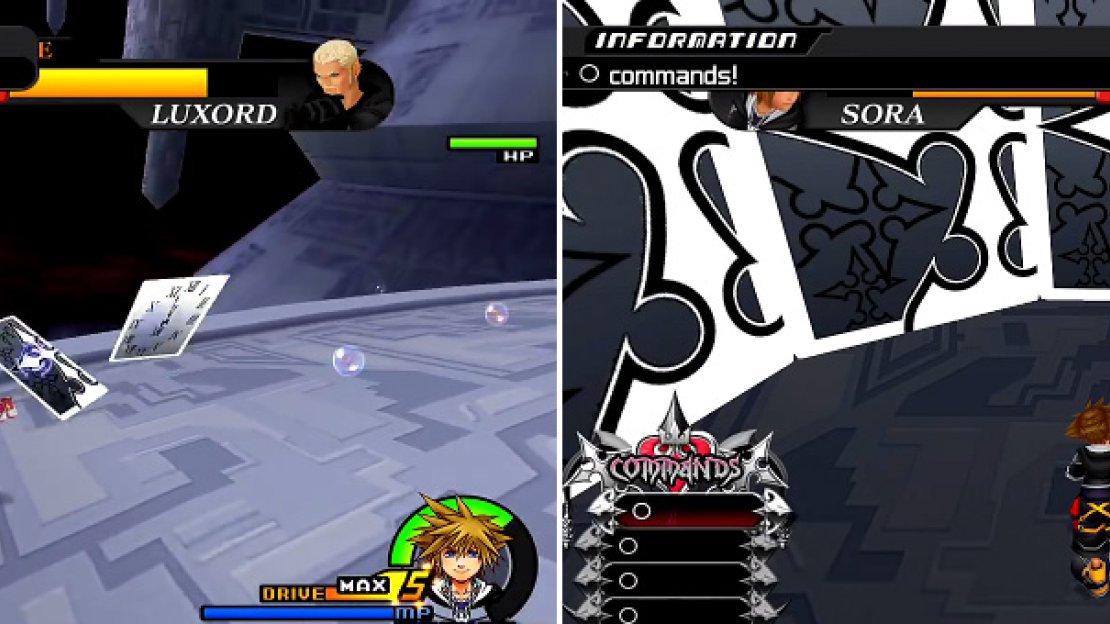
Right off the start Sora is turned into dice; you can’t attack effectively so just dodge until you are restored. Luxord summons cards that can attack Sora but they aren’t much threat and should be taken care of immediately for the MP they can return. You can also attack Luxord to reduce his Time Meter which is obviously beneficial towards victory. One game you will play is of cards. Press Triangle to accept the challenge, the game is played like the Gambler mini-game. The command menu changes to “X’s and O’s” and the objective is to choose the “O” so just wait for it along the top when the cycle slows down. Nailing this challenge deals a lot of damage to Luxord, likewise losing drains a lot of Sora’s time. When Luxord turns into a card you have to pick him out, easily done by rotating the camera.
When Luxord’s Time Meter is below 30% he will start to place cards all over the battlefield and slash at Sora. Dodge this long enough and Luxord warps away and positions a wall of cards around Sora where another mini-game ensues. This time the “X’s and O’s” plays out where you must get an “O” in each command slot so you must be quick! Luxord will lose most of his Time if you win, but Sora can lose a large chunk if you fail. Finish off Luxord with some melee attacks once his time has expired.
Rewards : HP +5 (Sora), Magnet Element (Sora)
After the battle you receive Secret Ansem’s Report 9 . Step into the next area to find Saix.
Watch when Luxord changes to know which card he is or swing the camera around when they are stood up to find him (left). You must get all Os at the end (right) and you must be fast or you will lose a lot of time.
BOSS - Saix
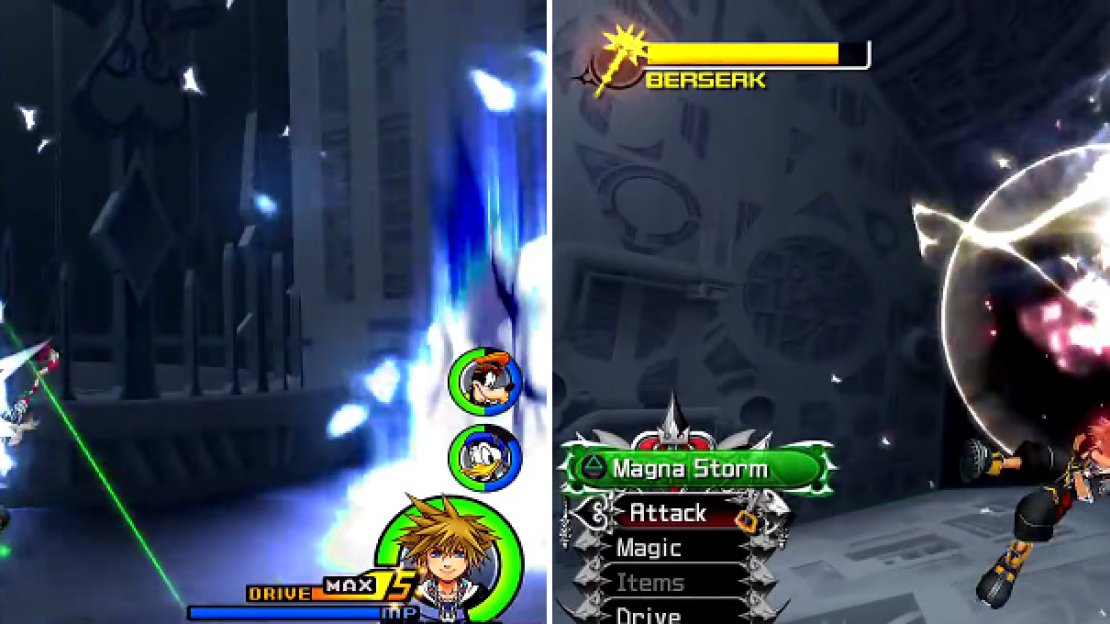
Saix doesn’t have tricks up his sleeve like Xigbar and Luxord but he is the Organization’s No. 2 for a reason. Take note of the Berserk Bar in the upper left because when filled Saix will go Berserk like the Berserker Nobody. Dodge these attacks and collect the claymores that are left behind. From here it is simple to use “Eclipse” then “Magna Storm” to connect with Saix and revert him to his normal state where he is much more susceptible to damage.
With Donald and Goofy both present to aid Sora, the battle shouldn’t be too difficult. Occasionally Saix will look to the moon and attempt to go Berserk quickly by charging the gauge so simply break his concentration. Do not attempt Drive Forms during this battle for fear of going into Anti-Form unless you are daring enough to reach Final Form.
Rewards : HP +5 (Sora), HP +4 (Donald), Item Slot (Goofy)
When Saix throws out the claymore, grab it (left) and then wait for the Reaction Commands to appear (right) to deplete his Berserk gauge.
After the battle you’ll receive Secret Ansem’s Report 12 and another Final Mix exclusive scene. Return to the Proof of Existence then head up to the next area for a lengthy scene, after which you receive Secret Ansem’s Report 11 . Fight through this area and into Ruin and Creations Passage. Head up to the first platform and collect a Mythril Stone (16/19). The next platform has some Snipers and Assassins and an AP Boost (17/19) too. The third platform has a Mythril Crystal (18/19) and the final platform has an Orichalcum (19/19). You can reach Twilight #17 if you use Glide from the top platform. Enter the last area to fight Xemnas.
BOSS - Xemnas
At the start of the battle Sora becomes ensnared as Xemnas warps to the top of Memory Skyscraper. Rush to the tower and use the Reaction Command “Facedown” then follow up with “Clash” then “Breakthrough” to get a hit on Xemnas. Just don’t miss “Finish” or you’ll take damage. Xemnas uses a few attacks like Thunder Guard that summon a barrier that damages Sora and Slice Barrage, a long combination that can be guarded with Reflect.
He often warps around, moving close to Sora for a quick slash with his Ethereal Blades. You can parry this with Guard and go on an assault of your own, but just shy away from Magic in this fight. You will get caught in the Invitation to Nothingness again during the battle, so just remember to charge the tower and use “Facedown” again to start the trio of Reaction Commands.
Rewards : HP +5 (Sora), MP +10 (Sora)
You will get a trio of Reaction Commands (left) after you head up the tower. Be sure to get them all to avoid damage. Xemnas has some attacks (right) but most are easy to dodge.
After the battle you receive Secret Ansem’s Report 13 . New chapters are unlocked at the Olympus Coliseum and it’s possible to collect everything in the game now. Be sure to check out the Side Quests section for details on how to complete Item Synthesis, grab all the Puzzle Pieces, and defeat the hardest enemies!
When you are ready to take on Xemnas, open the Door.
FINAL BOSS - Xemnas
This is a multi-stage battle, as expected of the final boss. Start off by dodging the buildings and using the “Slicer” Reaction Command to break through. As you rise, use the “Sky Scraper” Reaction Command a few times to reach the platforms. Defeat the numerous Bomb Bell B Nobodies to knock them into the power generator of the ship. With it destroyed, use the “Stunt Dodge” Reaction Command to leap to the other generator, performing the same actions. After both are destroyed, Sora is onto the core where you face numerous spawning Nobodies that attempt to stop the group from destroying the core. You’ll need to defeat them all each time to continue attacking and destroying the core so you may “Proceed” to the next area.
Armored Xemnas
Xemnas sits on a throne with his Keyblade Armor donned. You can get a few shots in but will likely be knocked back. Xemnas uses many attacks from the fallen Organization XIII members so stay on your toes. Riku’s Limit Break is great for this portion of the battle and, should you fall, Mickey is oddly available to revive Sora (even though he was locked out with Kairi). Keep up the pressure and heal as necessary to take out Xemnas in this phase of the battle.
Dragon Form
The next phase is against Xemnas’s Dragon Form. Riku and Sora are both on a little ship chasing after him and you cant heal! Be sure to use Circle to absorb enemy attacks and then use Triangle to blast parts of the Dragon up. Since you can’t heal, be sure to dodge all of the attacks. Usually a full powered blast is enough to take out a single part. You will need to repeat the dodging and attacking sequence until all portions of the Dragon Form are defeated.
You can get in a ton of shots right from the start (left) before he gets a chance to attack. The Dragon Form requires absorption of energy so you can unleash the Mega Laser (right).
Armored Xemnas
With the Dragon defeated, Xemnas returns to his Keyblade Armor. Donald and Goofy aren’t here to help this time, it’s just Riku and Sora. Like last time, you’ll get knocked back so Glide back to Xemnas and use Final Form if you need to. At times you’ll need to use “Riding Shot” to come back and use “Meteor Rain” to damage Xemnas. The Nobody symbols link up in the back and fire lasers throughout this phase, but as Xemnas’s HP gets lower they will shoot more frequently and even during a grapple. Make sure to leave it all out there on this fight so you may reach the Final Form.
Final Form
This is it, the Final Form of Xemnas. Sora is tossed into the air right from the start and starts firing energy beams. Use the “Reversal” Reaction Command to constantly dodge; attacking is futile during this onslaught. Xemnas is fast and leaves images of himself in his wake, so you will be constantly locking back onto the real Xemnas. Guard the melee attacks and start a combo to get some decent damage in because Xemnas isn’t good at breaking the combos. As his HP is lowered, Xemnas begins shooting energy balls that explode even when blocked. Reflect or a Limit Break like Sonic Blade is useful in this situation. Further down the line, Xemnas begins to warp and fire lasers in a circle as he encompasses Sora – again use Reflect and dodge as best you can.
With two bars or less, Xemnas will use an ability to trap Sora and you gain control of Riku. Use Dark Aura to stun Xemnas then take three steps, no more and no less, then use Dark Aura again. Repeat this until you can reach Sora and free him to deal a ton of damage to Xemnas. From here you’ll be back to the start with dodging repeatedly. Take his HP to 1 and you’ll have to mash Cross and Triangle repeatedly to dodge attacks and keep Sora and Riku alive. Use a Combo Finisher once you survive to end the battle.
Rewards : Drive Gauge +1 (Sora), HP +10 (Riku)
You need to be able to dodge well (left) during the initial onslaught and throughout the battle. Xemnas is relentless at this time. In the final phase, you will have to mash Reflect (right) to avoid the oncoming lasers.
After the battle you will get the final scenes of the game, including the additional endings if you meet the requirement. Be sure to save after you are done, there is still more content to be played!





No Comments