Xehanort
After the opening scene open the three chests for the Keyblade Graveyard Map , a Mega-Potion , and an Elixir . Head out to the Twister Trench and be swept away by each tornado. Clear them for massive experience and command points as well as a safe journey through the area, but be wary as they are difficult. The Mandrakes are particularly bothersome; be sure to jump over their blade attacks. Find all four chests to obtain a Mega-Potion, Windcutter, Megalixir and a Mega-Ether . The final sticker is near the central pillar, a Traffic Cone Sticker high in the air. At the other end of the trench is the Fissure where a Shop and Save Point greet you. This is the last save of the game before the finale. Continue to the next area when you are ready.
Unversed Mission - Launching Plant
Location : Seat of War
Reward : Illusion L
1 Star : 0-200
2 Star : 201-349
3 Star : 350+
The Launching Plant will drop orbs when hit after being launched. You’ll need to deliver a lot of hits quickly so Surge attacks work best. For Terra, use Thunder Surge constantly to launch the Unversed into the air then follow up with a leaping Thunder Surge for large hits. The Thunderbolt finisher is great for getting a lot of orbs quickly.
BOSS - Master Xehanort and Vanitas
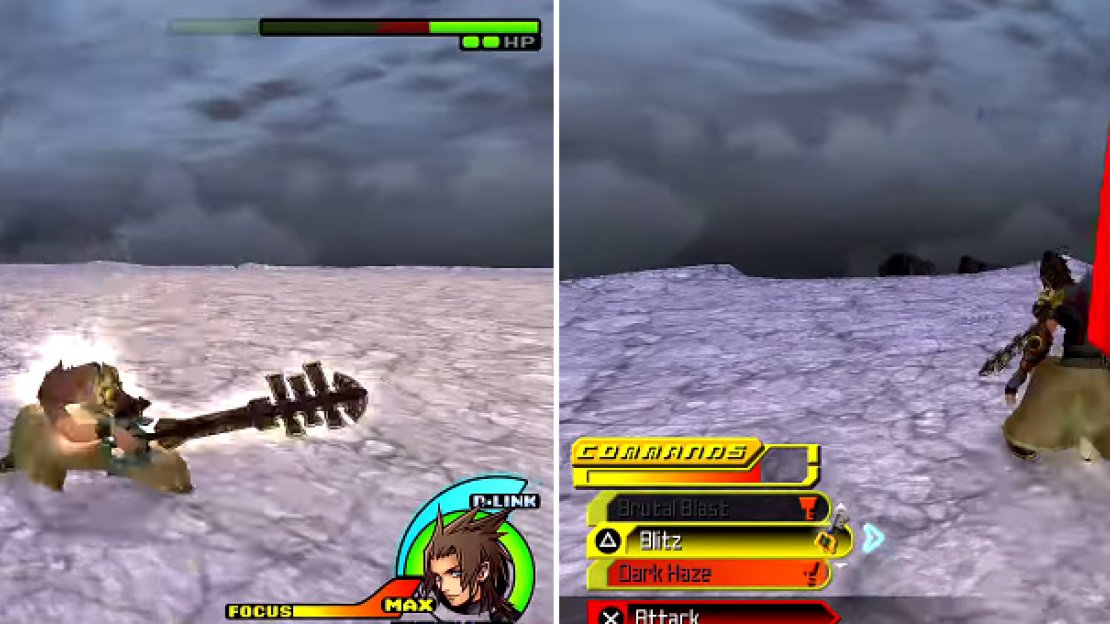
For this fight its best to just attack Vanitas. Once his HP reaches 50% the fight is over and he has the lesser of the two in the HP category. If you can stun or freeze Vanitas then it should make for a quick fight. In the end this fight isn’t that hard. If it does get rough, simply D-Link or use your Shotlock to stay alive.
Focus your attacks on Vanitas (left) but watch out for attacks behind you that can catch you out (right).
Prizes
| Prize Category | Name |
|---|---|
| Power Up | Maximum HP Up |
BOSS - Master Xehanort
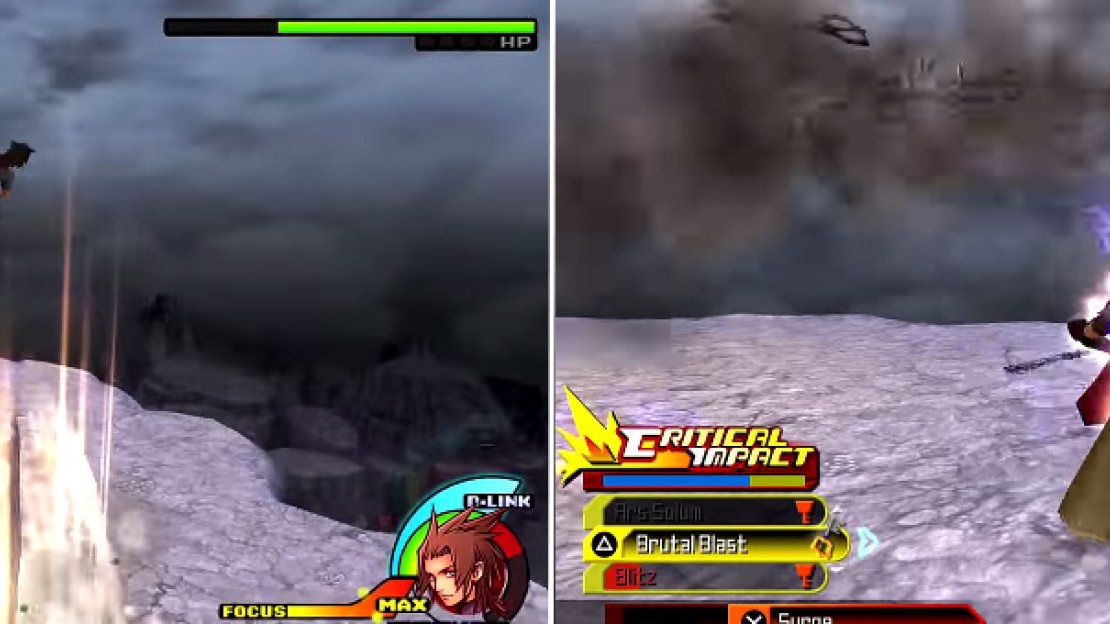
The next battle is against Master Xehanort himself as he sends Vanitas to go and battle elsewhere. Xehanort will warp around whenever you get close to him and then generally appears behind Terra and starts a combo. You can avoid this and counter with your own combo for decent damage. When you are given distance, use that opportunity to Shotlock or heal depending on your situation. Xehanort will charge up a few attacks that can be devastating such as a swarm of Keyblades so hit him with a Strike Raid style attack or a Shotlock to disrupt him because these types of attacks will leave you crippled. Take advantage of short warps for easy combos and keep the heat on Master Xehanort to end the battle.
Xehanort uses the ground underneath you to launch you into the air (left). He also summons a storm of keyblades (right) that can be very damaging.
Prizes
| Prize Category | Name |
|---|---|
| Power Up | Maximum HP Up |
BOSS - Terra/Xehanort
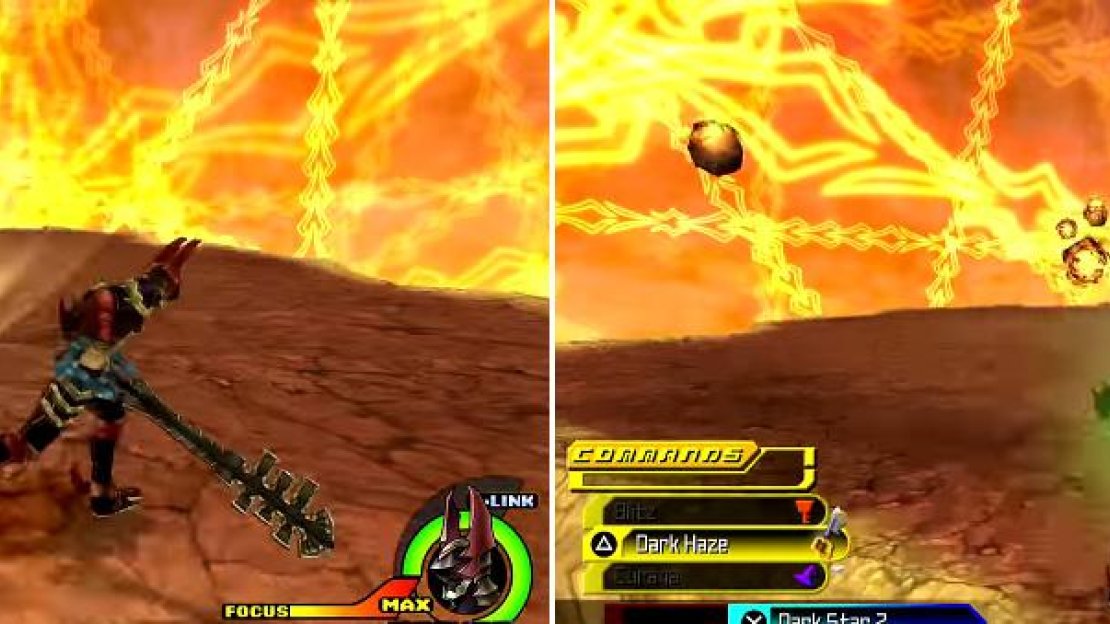
Xehanort steals Terra’s body in this fight and you are unable to use any D-Links. Stick to your guns, use standard combinations and commands to win this final battle. Right off the bat you will be assaulted by a Dark Volley so be sure to dodge it. Counter and combo, heal when you get a breather. Shotlock when Xehanort is charging up attacks, otherwise don’t bother trying because you will just get interrupted. Stick it out to finish Terra’s Story.
Xehanort summons fireballs that spring up from the ground (left) and then they will launch themselves at you (right) dealing massive damage.
Prizes
| Prize Category | Name |
|---|---|
| Item | Xehanort’s Report 11 |
Do not overwrite this save file. Instead, start up a new one and save in a new block with a new character.


No Comments