Another Arabian Night
As you land, a scene occurs with Iago then the Heartless strike! You’ll be fighting some Shadows and a bunch of Luna Bandits, new enemies that have a knockdown effect. Fight them off for some time then Iago will accidentally aid the party as they rush into the Peddlers Shop – you obtain the Agrabah Map . Try to purchase an Aegis Chain or two so you can be prepared for the boss in this level.
Mojito’s Moogle Shop
| Item | Price |
|---|---|
| Divine Bandana | 200 |
| Fire Bangle | 300 |
| Blizzara Armlet | 300 |
| Thundara Armlet | 300 |
| Aegis Chain | 500 |
| Potion | 40 |
| Ether | 120 |
| Tent | 100 |
Monster - Luna Bandit
Named after its crescent blade, the Luna Bandit has numerous attacks and can trouble you in numbers. Reflect serves well to block attacks such as the Multi-Slash and Dash Slash, attacks that are slow and fast respectively. The Aerial Spin Slash is the one you need to watch out for. The Luna Bandit will leap into the air and knock Sora back dealing moderate damage and in groups this could become a chain of knockbacks. The final attack is the Ring Rush where the Luna Bandit spins on its sword; you will want to leap over this attack.
Treasure Time
There are currently no Heartless around so it’s a perfect time to collect all the treasure. Head up the steps to find a Hi-Potion (3/24) then a Mythril Shard (6/24) next to it. Drop down as you continue moving clockwise and destroy the kiosk then claim Edge #3 , this is best done by using Fire. Climb back up now and you should be able to spot three chests: a Mythril Stone (5/24), a Mythril Shard (2/24) and a Dark Shard (1/24). Jump down from the center to the north where Iago is flying around and climb atop the stand to obtain Two Sides #5 . Northeast of here is an alcove with a Serenity Shard (7/24) and opposite it is an AP Boost (4/24). Exit from the north to reach the Palace. After the short scene, return to the Peddlers Shop where you should encounter another new Heartless along the way.
Monster - Silver Rock
Silver Rocks are like Red Nocturnes and Blue Rhapsodys, just the white version of this Heartless family. It can unleash a Rocket Wave, a nose-dive attack that most of these Heartless use. It can also use Shock Wave to quickly charge in and do a burst of damage. Most notably is the oft used Teleport Attack and Explosion. The Silver Rock will turn into a ball of light and whizz around dealing damage. This is best countered by using the Reaction Command “Shift Shot” to easily kill it and avoid taking a bunch of damage.
To the Cave of Wonders
Start by going to the Bazaar, a short turn out of the Peddlers. You’ll face a new enemy here, the Fat Bandit, but there are plenty of treasures as well. Starting at the right side, there is a chest on the high platform with a Mythril Gem (8/24). Drop down and destroy the stands at the southern end to reveal three more chests: a Mythril Shard (12/24), an AP Boost (11/24), and a Hi-Potion (10/24). In the center of the area is a chest with a Power Shard (9/24) inside. The stand atop the steps has Edge #9 stuck in it so it must be destroyed. At the southern end you can leap from the stands with High Jump Lv2 and grab Twilight #41 .
Monster - Fat Bandit
Fat Bandits make their return from the first game. They use little punches to deal minor damage but their main damage is from their Flame Shot and Flamethrower. Flame Shot is the fireballs that the Fat Bandit will spew out rapidly and they can be blocked. Flamethrower is a long continuous flame that should be avoided. Treat the Fat Bandit like the Large Bodies and use “Full Swing” to deal massive damage.
Outside you’ll find more chests – a Mythril Stone (14/24) and a Skill Ring (13/24) along with a save point. At the Cave of Wonders: Entrance you’ll have little to fight and lots to gain. Behind the entrance are two chests that contain a Mythril Shard (16/24) and Power Stone (15/24) as well as Dawn #29 .
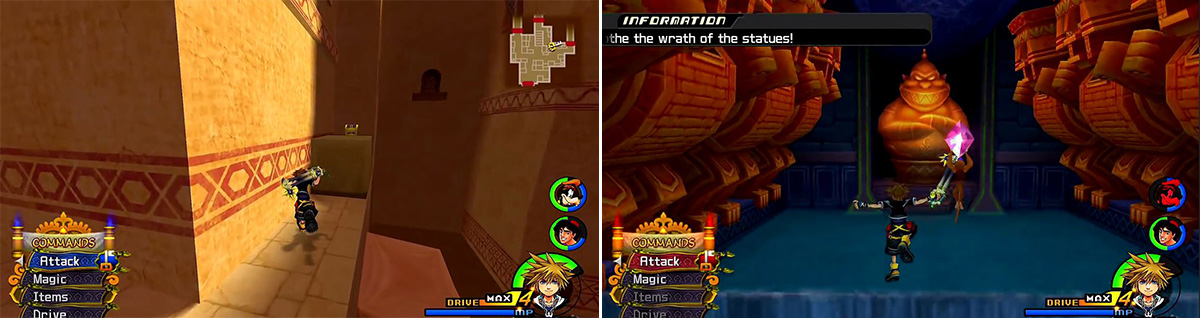
Look all around Agrabah for chests hidden in nooks (left). When leading Abu (right), you must jump the water yourself and order him to do so too.
The Wonders Inside
Inside you will find two more new enemies almost immediately; the Fortuneteller and Fiery Globe.
Monster - Fortuneteller
The Fortuneteller is immune to Blizzard magic and uses its crystal ball to attack. It can strike with Blizzard from afar, throwing ice crystals at Sora. After their countdown is up they will use Frozen Verdict to freeze its target. This move can be countered with the Reaction Command “Clear Shot” to kill the Fortuneteller. If you are able to Guard against the Ice Crystals then you will deal major damage back to the Fortuneteller so it’s best to fight defensively against them. Often they are paired with Fiery Globes which makes it difficult to use magic at all since the Fortuneteller guards against Blizzard and the Fiery Globe guards against Fire damage.
Monster - Fiery Globe
There isn’t much to say about the Fiery Globe. It is always in a group with several other Fiery Globes and is often accompanied by a Fortuneteller. It is immune to Fire magic so fighting with magic is usually a poor choice unless you use Magnet or Thunder. The only attack that the Fiery Globe uses is a charge that flings small flames. Since they have such a small amount of HP, a quick combo or blast of Thunder is usually enough to take them all out. This Heartless appears in the battle with the Volcanic Lord and are the counterparts to the Icy Cube found just a bit later in the game.
Grab the Hi-Potion (20/24) from the first chest then go left to the next one to find a Mythril Shard (19/24). Cross back to the right to find a Mythril Stone (17/24) then left again for an AP Boost (18/24). Leap from the end to claim Edge #10 then head to the next room. Examine the jewel and then the statue to trigger a scene. Here you’ll need to hit Triangle to tell Abu to move forward and jump as waves come down. At the end tell him to place the jewel and the event is over.
BONUS : Summon Boost (Sora) Donald Blizzard (Donald) HP +5 (Goofy) HP +15 (Aladdin)
Use the Save Point that appears then head to the Chasm of Challenges. Use the stone in the middle to start your descent. Icy Cubes are first, then Fiery Globes join in. On this second platform you’ll want to snag Dawn #10 before defeating the enemies. Next is a Fat Bandit then a Fat Bandit with Fiery Globes to round it out. On this last platform be sure to grab Dawn #11 . You fall to the ground, passing Dawn #37 in mid air so try to grab it! At the end you must defeat some Fortunetellers and the event concludes. Open the chests here for an AP Boost (22/24) and the Cave of Wonders Map (21/24). If you missed anything in the event you can warp back to the top and try again.
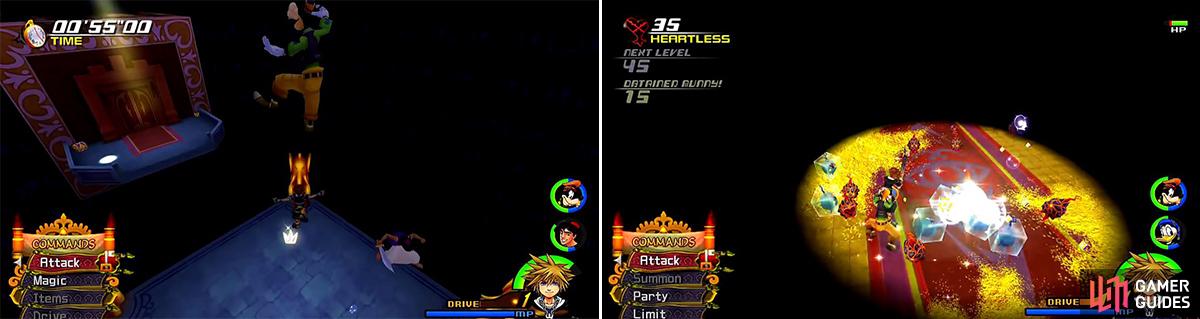
During the event, make sure to grab the Puzzle Pieces (left) as you fall. Ice Cubes (right) come in hoards but are easily defeated.
Monster - Icy Cube
Icy Cubes are much like the Fiery Globes except they are resistant to Blizzard. It uses a charge attack that flings ice shards, easy to avoid and quick to kill especially with Fire. They appear in the battle with the Blizzard Lord later in Agrabah and are often accompanied by either Fortunetellers or Fiery Globes to cover their weakness and force you to use Magnet or Thunder to take them out.
Lords of Fire and Ice
Examine the stone again to open the door to the Treasure Room. Pete sends out a bunch of Heartless, 50 to be exact. The first 47 of them consist of Silver Rocks, Fiery Globes, and Icy Cubes so it’s not difficult to plow through them all with combos. This is a perfect time to use Limits and Forms to quickly take out a lot of enemies and level up. The final three Heartless are Fat Bandits all at once and a Limit or Blizzard is best used on them.
BONUS : HP +5 (Sora) HP +4 (Donald) Auto Healing (Goofy) HP +15 (Aladdin)
You’ll want to backtrack all the way to the Treasure Room because there are still two chests there that you couldn’t grab: a Serenity Gem (24/24) and another AP Boost (23/24). There are also two stickers in there, Dawn #6 and Twilight #23 that require High Jump Lv2. Grab some Fire and Blizzard resist gear then head to the Palace for the boss fight.
BOSS - Blizzard Lord and Volcanic Lord
A big key to this fight, like any fight, are Reaction Commands. Firagun and Blizzagun can be used to toss the Blizzard Lord or Volcanic Lord at the other to cause some decent damage. Both have a basic swing attack with the staff and Ice Crystals/Fireballs that act the same. Blizzard Lord can use an Ice Breath that is similar to a Fat Bandit’s Fire Breath and it can also use Freeze to hold someone in place. The Volcanic Lord will use Fire Press to leave hotspots on the ground and Ignite to light a target on fire.
As you deal damage to these two they will break into either Fiery Globes or Icy Cubes so just do your best to break them up. Spells will increase as you lower their health but these Lords really aren’t that difficult if you use Valor Form and let them have it.
Rewards : Finishing Leap (Sora), HP +4 (Donald), Armor Slot (Goofy), HP +15 (Aladdin)
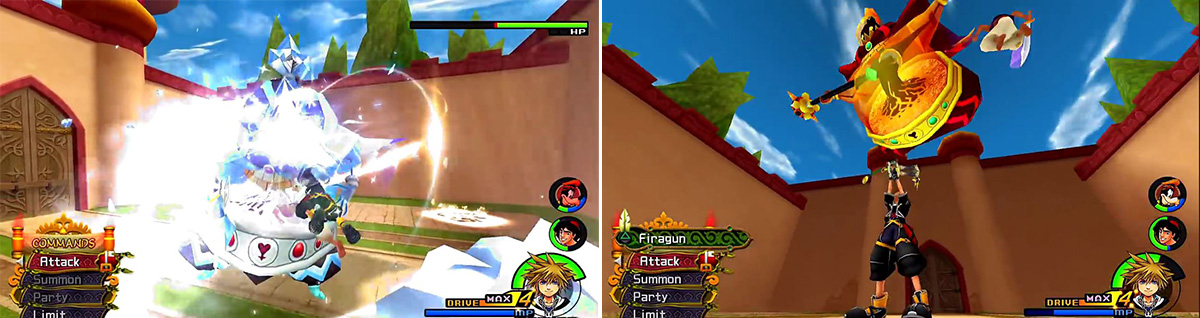
The Blizzard Lord (left) has some powerful magic. You can throw the Lords at each other (right) to deal damage and make them easier to kill.
After the battle you will get the usual scene but also the Lamp Charm so you can summon Genie. You can head to Twilight Town again, but it’s wise to finish off the remaining worlds first.
No Comments