Is this Halloween?
Head through the Broken Highway to reach Halloween Town. The very first area after the scene has some treasure, so snag the Mythril Shard (1/14) and the Serenity Gem (2/14) before heading into town. After the scene you’ll be in Dr. Finkelstein’s Lab. Pick up the Halloween Town Map (3/14) then head on out to the Town Square.
Monster - Wight Knight
Wight Knights aren’t particularly difficult but they have an array of attacks that can be bothersome. They often use a Spin Attack to whirl around like a tornado so it’s best to just Guard this attack. There is also the Leap, where the Wight Knight jumps a great distance, slashing in the process then following up with claw swipe. Lastly, the Wight Knight uses a Spinning Leap which combines the attacks for a long jump with a spin. Use Reflect if you aren’t good at Guarding the Wight Knight and its attacks. In a group, try to take out the lesser Heartless first since Wight Knights are a pain.
Monster - Driller Mole
Driller Moles are Emblem Heartless that roll on wheels and can burrow underground to sneak attack Sora. The Drill Attack is a lunging stab that doesn’t deal much damage but shortly after that it will tunnel into the ground. It’s hard to track, but if you watch you can see the dust spots popping up from the ground to indicate where the Driller Mole is located. From here the Driller Mole will use the Upper Drill attack to inflict medium damage and emerge from the ground. You’ll want to finish it off before it burrows again. In groups, focus on this Heartless first to avoid unnecessary damage.
In the Town Square you’ll fight some new enemies; clear them out and begin to hunt down the treasure. Near the guillotine is an Energy Shard (5/14) and near the swinging gate is a Mythril Stone (4/14). To reach the puzzle piece in the air, stand on the grates and get launched into the air. Use an Aerial Recovery and a slash to snag Two Sides #8 . Continue back to the Graveyard and exit south to the Hinterlands. It’s easy to spot the two chests on the right and they hold a Lightning Shard (6/14) and a Mythril Stone (7/14). On the left side behind a tree is another chest, it has an AP Boost (8/14) and in the back is Two Sides #2 which should complete that puzzle.

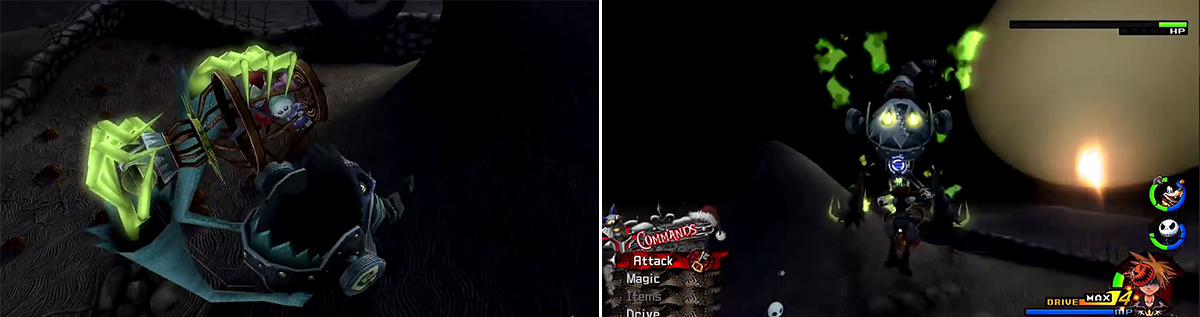
There are some weird creatures in Halloween Town (left). Hit the carousel (right) to help you defeat the enemies faster.
Christmas Town
Use the Christmas Tree in the back to reach Christmas Town. Visit Gumo’s Moogle Shop, save up, and grab Dawn #12 behind the tree.
Gumo’s Moogle Shop
| Item | Price |
|---|---|
| Ability Ring | 80 |
| Engineer’s Ring | 160 |
| Technician’s Ring | 240 |
| Aquamarine Ring | 480 |
| Platinum Ring | 480 |
| Potion | 40 |
| Ether | 120 |
| Tent | 100 |
Monster - Toy Soldier
Toy Soldiers are slightly difficult because it is hard to avoid their attacks. The best way to strike is to dodge the rifle attack and get up close, striking a few times before the Toy Soldier hops away. When it shifts to its pumpkin form you’ll want to use Reflect to negate the damage and resume your assault. Be alert for the Slash and Headbutt that the Toy Soldier employs in its pumpkin form. It uses this to create a break, leap away, then begin its long distance assault with the rifle.
You’ll fight a new enemy here, the Toy Soldier. Defeat all the Heartless and use the carousel to “Spin” any enemies away for decent damage. After the scene you’ll get to loot the area. Near the large green doors is a Lightning Stone (11/14) and near the entrance to Sandy Claws is a Mythril Stone (12/14). Head back towards the exit to find a Mega-Potion (9/14) and Mythril Gem (10/14) then enter Santa’s House. Open the two chests for the Christmas Town Map (13/14) and an AP Boost (14/14) then pick up the two puzzle pieces, Dawn #21 and Edge #2 . Head into the next room and follow the footprints to Curly Hill, a new area that’s off from the Graveyard.
BOSS - Prison Keeper
The Prison Keeper is unique in that it will change its fighting style depending on which of its victims it swallows, Lock, Shock, or Barrel. When it swallows Lock, which it does from the start, the Prison Keeper will shoot fireballs from its mouth and hands from a distance. It is possible to bat these back, but using Quick Run then comboing up close is recommended. During this phase, the Prison Keeper will have red hands. If Shock is gobbled up the Prison Keeper’s hands will turn yellow and it will start spinning in circles releasing energy balls as it rises and falls. Lastly, when Barrel is swallowed the Prison Keeper’s hands will turn green and try to close in on Sora with wild attacks.
Keep your HP high and be sure to use many aerial attacks to keep your combo going. When the Prison Keeper transitions between phases you can get up close and use the “Inside Combo” Reaction Command to stun it. Valor Form is perfect for this battle since it lets you get off tons of damage via aerial combos. Towards the end of the battle the Prison Keeper swallows all three children and thus uses all of its attacks. Blizzard or Wisdom Form are the best options since you can keep your distance but it is not too difficult to get into melee range to finish the battle either.
Rewards : Flash Step (Sora), Hyper Healing (Donald), HP +5 (Goofy), HP +15 (Jack)
Prison Keeper (left) will swallow one of three enemies before the battle. His attacks change depending who he swallows (right).
It turns out that Santa Claus is in trouble so head back to Christmas Town. Along the way you’ll fight another new Heartless, the Emerald Blue.
Monster - Emerald Blue
The Emerald Blue is part of the family of Heartless that whizzes around using spells to deal damage and this one is no different. The Emerald Blue uses Aero to surround itself with wind, protecting it from attacks. When Aero is on, the Emerald Blue will charge from up high dealing damage and knocking back Sora. On occasion the Emerald Blue will use a Tornado to draw in its enemies then back off to charge in while you are mostly disoriented. Focus on taking these enemies out first in a group. The Emerald Blue can linger and is often annoying the longer you let it hang around.
Save up at Yuletide Hill and head back to Santa’s House, into the Factory.
BOSS - Oogie Boogie
The only way to get Oogie Boogie down is to toss so many presents up on the lift that the glass shatters. Do this by using the Reaction Command “Fore!”, it takes 12 presents to break the lift. During this time Oogie Boogie will unleash an arsenal of attacks. He uses Squisher, where a boxing glove will repeatedly smash down on the conveyor belt, indicated by Oogie Boogie shouting, “I’ll squash you flat.” When he says, “Hope you like the Oogie Gifts I picked out for you!” he’ll toss purple bags out of the dispenser that become Heartless. Oogie will cry out, “Ooooh!” then throw Exploding Dice so be sure to move.
After you knock him down the first time, Oogie will start to use Zapper, an attack where bolts of lightning rain down and slowly move towards the spiked wall in the back. After every time you knock Oogie Boogie down he will speed up the conveyor belt and likely switch lanes so you must chase after him by using the Reaction Commands when the portals are lit up. After the second time Oogie falls he will use Zapper and Oogie Gift together and switch lanes often. It takes three knock downs to beat Oogie, so use the Potions you have to sustain your HP until you take him out!
Rewards : Item Slot (Sora), HP +4 (Donald), Once More (Goofy), HP +15 (Jack)
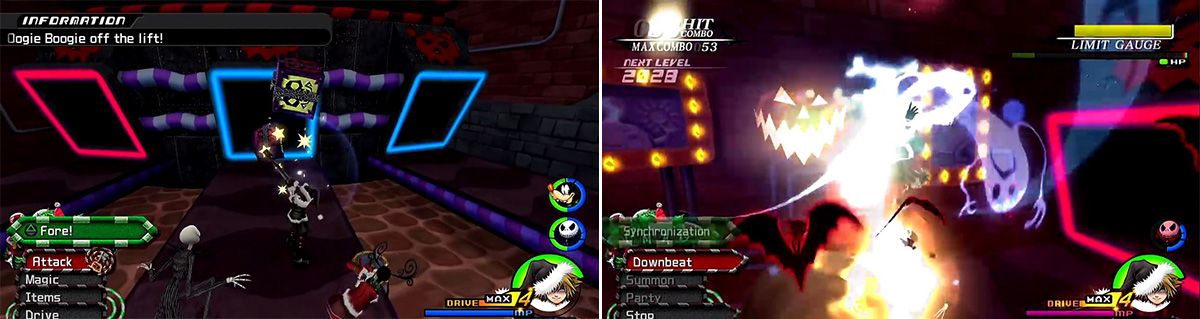
Hit the presents (left) while avoiding attacks from Oogie Boogie. Using the Limit (right) when Oogie Boogie reappears will make short work of him.
After the scene you obtain the Magnet Element . The next area is the Pride Lands but since you have Magnet you might want to make another stop at Atlantica first. Check the appropriate section for information on that.
No Comments