The Group Reunited
After the opening scene, open the chests for an Ether and a Potion . Exit at the western side into the Garden to find new Unversed such as the deadly Mandrake that can attack with spinning green projectiles from a distance. The Tank Topper is also a new foe, it will explode after taking enough damage and becomes invulnerable during it’s ticking time-bomb phase. If you hit it from the back however you will release the tension it has built up, allowing you to kill it. As you make your way to the top of the Garden be sure to loot the contents of the four chests for a Zero Gravity, Strike Raid, Wellspring Crystal , and a Fleeting Crystal.
As you enter the Front Doors you will find Mickey Mouse battling a horde of Unversed. Lend Mickey a hand and use the joint attack “Burst of Faith” to take them out quickly. There are three more chests in this area containing a Panacea, Radiant Garden Map and a Mine Square . The Juice Sticker can be reached with a max level High Jump or a jump from the steps and dash command combination.
Prizes
| Prize Category | Name |
|---|---|
| Dimension Link | Mickey Mouse |
| Keyblade | Destiny’s Embrace |
Return to the Garden and climb to the top of the other area and enter the Reactor via the smashed door.
BOSS - Trinity Armor
This Unversed is similar to the Guard Armor from the original Kingdom Hearts and will be fought much the same. The Trinity Armor starts with all of its pieces connected as a single unit; during this phase it will use three attacks. The first is Fire Rain, where Trinity Armor shoots fireballs into the sky that will land and explode on contact. The second is Charge, a simple dash that is executed three times in a row and is best avoided with Barrier or Cartwheel. Lastly, Trinity Armor will move to the center of the area and charge up a Trinity Laser that will deal a lot of damage. This attack is used in a sweeping motion, just Cartwheel through the laser to avoid taking damage.
Once the Trinity Laser has been used or you deal a lot of damage, the Trinity Armor breaks into pieces. From the start they will all be spinning around in circles and this is a good time to use a Shotlock. The legs will stomp around, the arms fly around, and the head will shoot fireballs. Focus on the arms and legs as they are easier to defeat. After some time the pieces will regroup and use Trinity Laser again, then revert to being separate pieces. Remember to focus on a single piece until it is defeated then move onto the next, leaving the head for last.
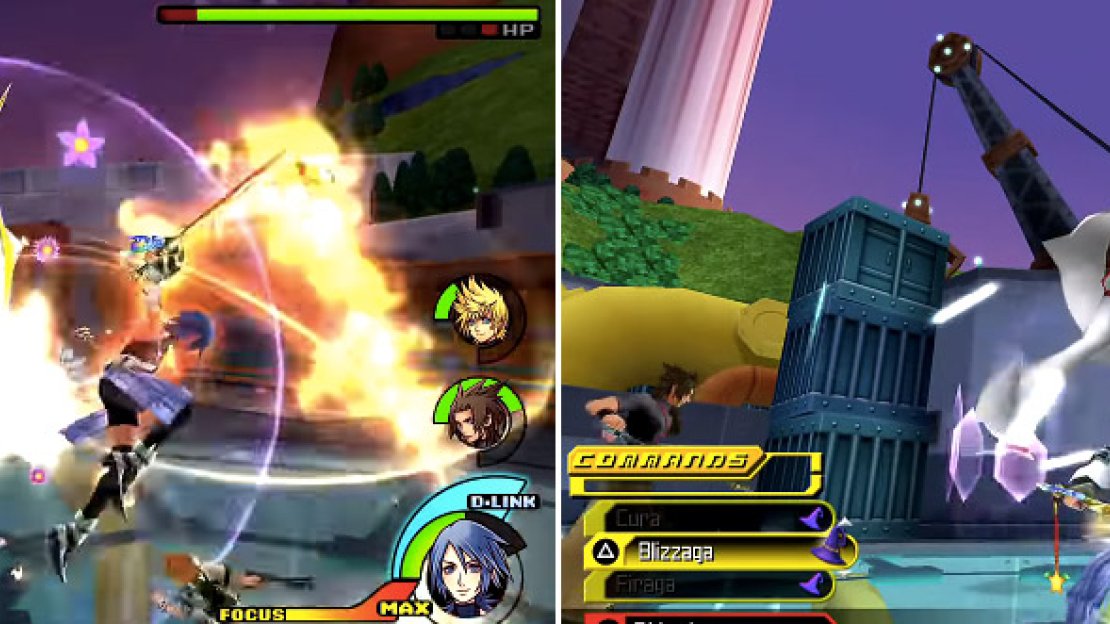
Firestorm (left) works a treat against Trinity Armor. It doesn’t do anything you haven’t seen before (right) during previous fights.
Prizes
| Prize Category | Name |
|---|---|
| Power Up | Maximum HP Up |
| Command Style | Bladecharge |
| Item | Disney Town Pass |
After the battle, Aqua has to make her way to the Central Square again. To get there you have to go through the Aqueduct and Fountain Court areas. Don’t miss the Hi-Potion in the early part of the Aqueduct or the three at the end with a Block Recipe, Thundara and Hi-Potion . The Donut Sticker can be reached with a jump from the ledge and a swing of the Keyblade. In the Fountain Court you will find two chests in the northeast corner containing a Soothing Crystal and the Counter Blast. Directly below here are some Blue Sea Salts that can be defeated to spawn the Prize Pods of this world.
As you enter the Castle Town area you will meet Merlin. Don’t miss the Flower Sticker near the save point and be sure to use the shop to get any new commands that you don’t have. Enter Merlin’s House and check the book to unlock a new Command Board and open the chest for Xehanort’s Report 3 . Leave and go to the Central Square where Aqua finds a surprise.
BOSS - Masked Boy
The Masked Boy is pretty aggressive and relentless but his lack of status resistance make him easy prey for Aqua. Equip Ignite, Poison, Magnet, Blizzard, and Cure so you can take advantage of this foe’s weakness. Start off the battle with Ignite then switch to the defensive. You’ll have to deal with the Sliding Dash that the Masked Boy uses, it can be blocked with Barrier. The Crawling Fire attack is very slow moving but should likewise be blocked. The Lightning Bolt attack sees the Masked Boy move high into the air, when this happens you’ll want to dodge. Lastly, the Masked Boy has a tendency to leave an after-image when struck and he will counter by warping behind you so be ready to guard.
It’s not hard to dodge the attacks and when you do the Masked Boy is wide open for a combo or a magic attack. Magnet is nice to suspend him in the air momentarily and Poison and Ignite can combine to tick away chunks of his health, where as Blizzard has a chance to Freeze. If you need to heal, wait for an attack to dodge then strike or else you’ll end up hit with a Lightning Bolt that could end up being your demise.
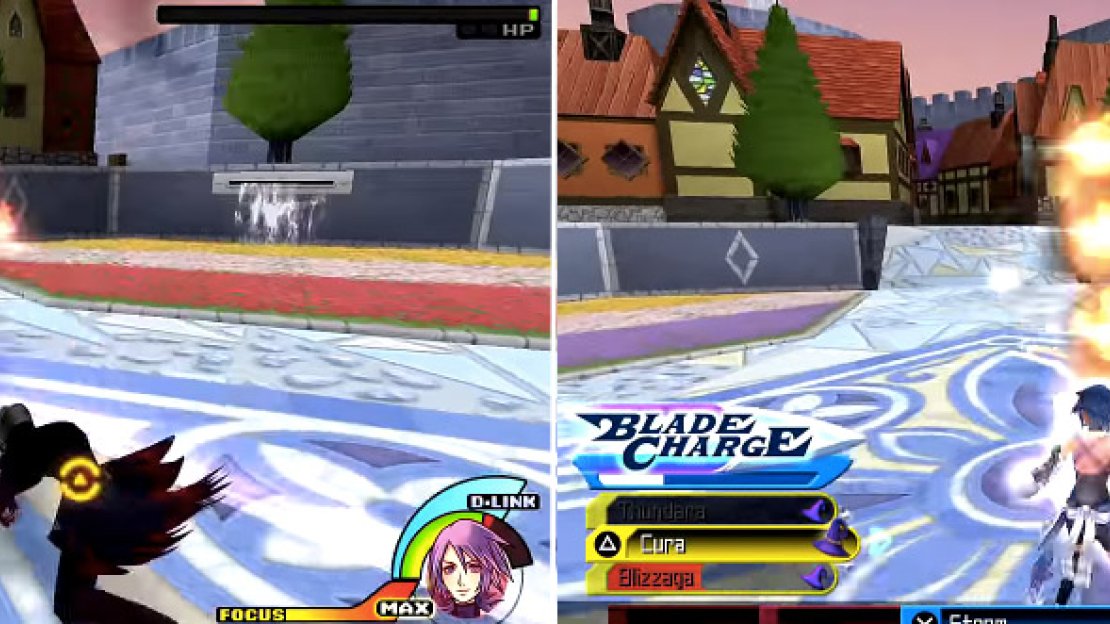
Masked Boy is much the same as previous fights if you played the other stories. He has his clone (left) attack from behind and can throw out a fireball (right) that splits into four which you should dodge.
Prize
| Prize Category | Name |
|---|---|
| Power Up | Deck Capacity +1 |
After the tough fight head over to Disney Town.
Unversed Mission - Diet Tank
Location : Central Plaza
Reward : Illusion D
1 Star: 2’00“00+
2 Star : 1’00“00 - 1’59“59
3 Star : 0’00“00 - 0’59“59
The objective is to shrink the Diet Tank by hitting the valve on the back. Load up with Triple Firaga and Triple Blizzaga commands then start the challenge. The Diet Tank will shoot up into the air, just lock on and Guard but don’t use a counter. Instead use a Triple Firaga/Blizzaga to deal massive damage and force the Diet Tank back into the air. Chase it down and keep using a Guard -> Triple Firaga/Blizzaga combo to win.


No Comments