In the Dungeon
After you arrive turn around and grab the Hi-Potion from the chest. Head to the top of the ramp into the Gates. You can obtain a Sleep and Cure from two chests but the others will have to wait. Move on to Maleficent’s Throne where Aqua finds Ventus and is unfortunately dumped in to a cell. Open the nearby chest for the Enchanted Dominion Map then move on to the Dungeon. Make your way to the Hall where you fight alongside Prince Philip. Leave at the southern end to reach the top portion of the Dungeon.
Loot the Hi-Potion from the chest and use a dash command to cross the large gap and get the Ice Barrage from a chest. Return to the Hall and leave at the western end to reach Maleficent’s Throne. There is a Confusion Strike in the chest at the top of the throne; grab it and move on to the Gates. The objective is to defeat enough enemies so that Philip moves to a corner and calls for Aqua to break the wall and allow her to jump up. Once up top, take out the remaining enemies and open the chest for a Wellspring Crystal . Hit the wheel in the corner to open the gate.
In the southern end do the same thing, defeat all the enemies and break the wall to reach the second layer. There are two chests up top with an Absolute Zero and Pulsing Crystal inside; hit the wheel to raise the gate.
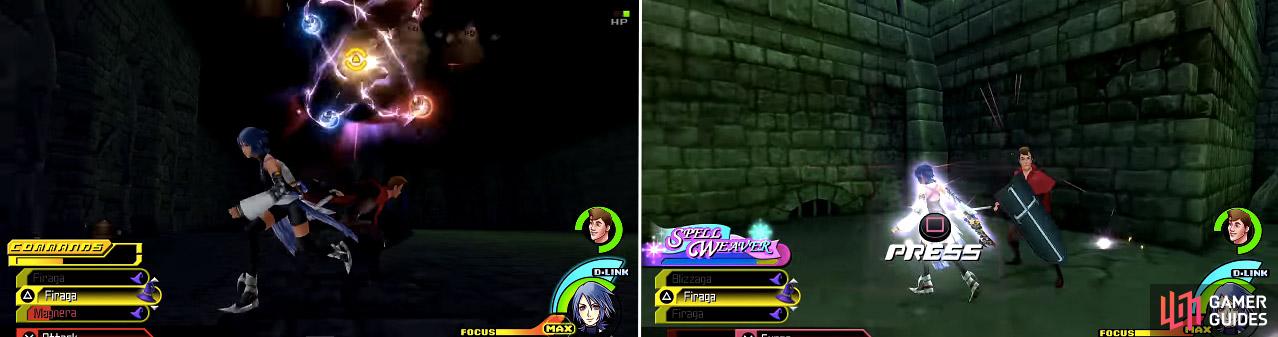
Philip will help you kill the goons (left) as you make your way through the castle. You can use his Selfless Prince (right) command to reach the upper levels in this area.
Prize
| Prize Category | Name |
|---|---|
| Command | High Jump |
Equip High Jump immediately and head south to the Waterside. There are three chests in this area with an Ether, Balloon Letter and a Potion inside.You can also find the Prize Pods in this area. Move to the Forest Clearing for the last chest containing a Hi-Potion and a Flower Sticker that can be reached via High Jump. Equip a few good healing abilities and move to the next area for a boss fight.
BOSS - Dragon
You’ll want to be fighting the Dragon off to the side since it can only strike head on or with a Ground Stomp. Use Thunder, Blizzard, and Fire to deal damage from the side. You need to back away from it to avoid the Ground Stomp then get back in close with Barrier Surge. Mine Square is also a good Command to use if you can get head on to drop it. To avoid the biting combo use Barrier or Cartwheel out of the way. When the Dragon uses Flamebreath you need to move over to Prince Phillip and use square to trigger the “Selfless Prince” command and banish the flames.
The first phase lasts until 50% HP and then the Dragon begins to fly. Use this time to get hits in with your Shotlock and heal up. When you deal enough damage Prince Phillip will once again give you access to the “Selfless Prince” command so you can ride the Dragon’s back. Get into the Spellweaver Command Style and unleash some magic to end the battle at this point and take down Maleficent.
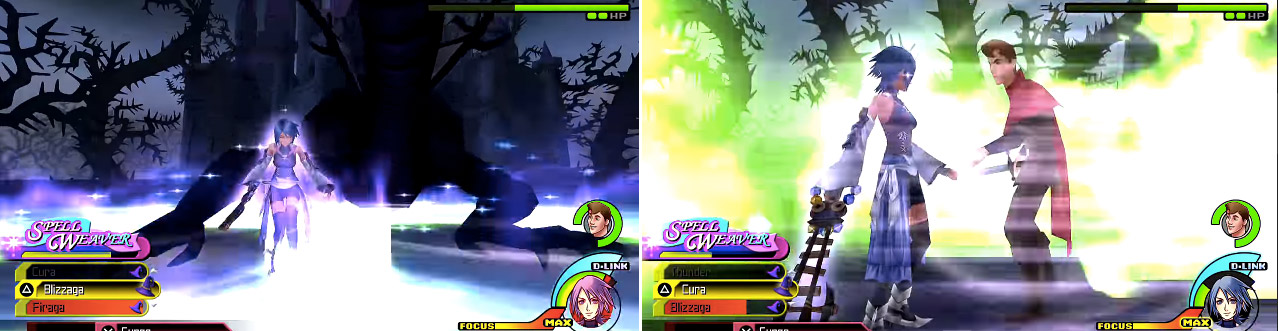
The Dragon will stomp the ground (left) multiple times over. You can either jump before it hits or block most of the damage. When it uses its Flame Breath, run over to Philip before you get too injured (right) and use Selfless Prince to banish the flames.
Prize
| Prize Category | Name |
|---|---|
| Power Up | Maximum HP Up |
| Command Style | Firestorm |
| Keyblade | Fairy Stars |
| Item | Xehanort Report 6 |
After the battle is over head to the Radiant Garden.
Unversed Mission - Flaming Box
Location : Waterside
Reward : Firaga
1 Star : 0-14
2 Star : 15-29
3 Star : 30+
Start the challenge where a Flaming Box launches fireballs into the sky. You must break them before they hit the ground. This is best done with simple Keyblade strikes on single targets and Magnet/Zero Gravity on larger groups. The longer you go the more fireballs will get launched simultaneously.
No Comments