Restoring Power
Hit the door a few times to fill the Cluster Gauge then use “Freeze” on the door to trigger a scene. Be sure to check the Moogle Shop before continuing on.
Artemicion’s Moogle Shop
| Item | Price |
|---|---|
| Aegis Chain | 500 |
| Aquamarine Ring | 480 |
| Platinum Ring | 480 |
| Potion | 40 |
| Hi-Potion | 100 |
| Ether | 120 |
| Tent | 100 |
Open the two chests in the hall for the Pit Cell Area Map (1/10) and a Mythril Crystal (2/10). Continue into the Canyon where you can spot a chest next to Goofy and another in the distance, they yield a Mythril Stone (4/10) and a Frost Crystal (6/10). Keep to the outer ring, climbing the steps up to a Dark Crystal (3/10) and a Mythril Gem (5/10). Grab Dawn #38 then drop down and use the command “Access Computer” on the center console. Follow the red block and it will change blue eventually; be sure to hit that one to beat the minigame. Return to the Pit Cell and use the Terminal to return to the lab.
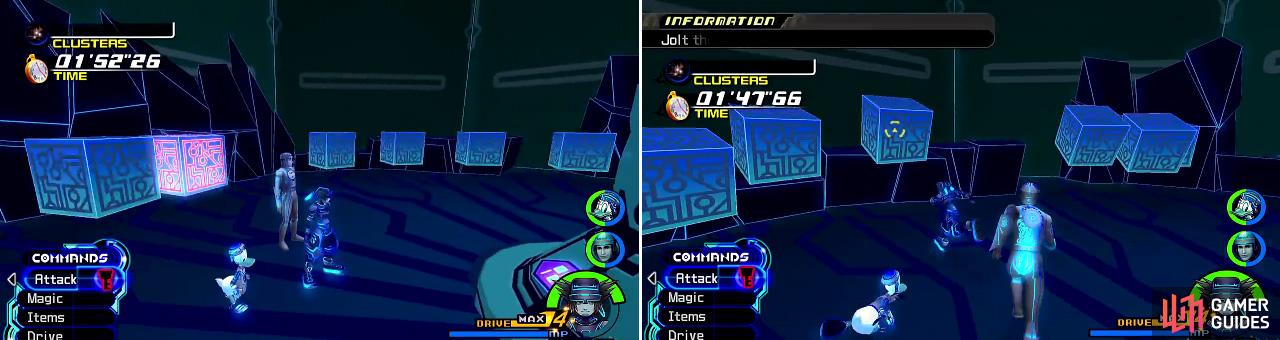
One cube will turn red (left) so follow it until it turns blue and stops. After this is done, run over to the cube and hit it (right) to complete the task.
Becoming the Master
After the scene examine the wall to trigger a follow up. Afterwards, Sora learns Master Form and you can be on your way. Grab the Ukulele Charm (14/14) along the way and return to the Pit Cell.
Helping Tron
You are transported to the game grid upon your return. You’ll be driving through the grid on a Light Cycle and need to navigate to the end. Use L1 and R1 to turn when directed. Square will let you charge, breaking the Guard of the enemy. Cross will let you attack and Circle puts up your Guard. Its easiest to attack Blue and Yellow enemies and charge the gray and green enemies. Return to the Canyon and ascend the stairs into the Dataspace; you’ll fight some Strafers along the way.
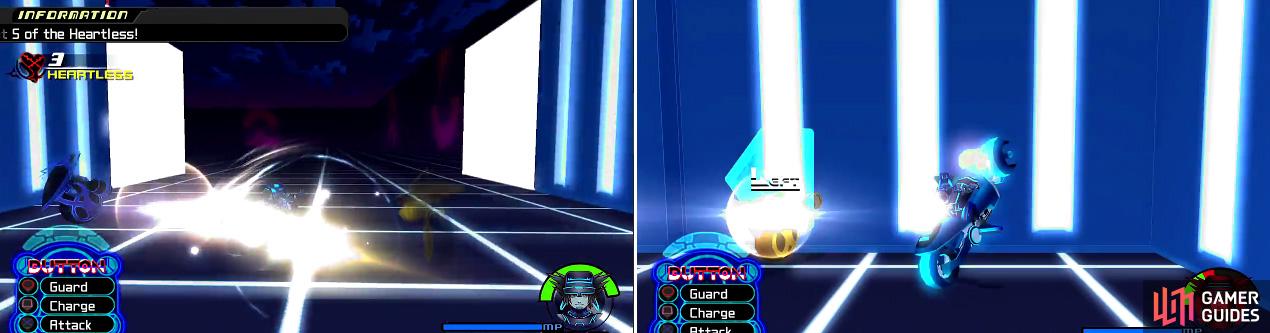
You should take out the Heartless (left) as you race or they can damage you. Try not to crash (right) or it will hurt a lot!
Monster - Strafer
Strafers are pretty weak but they do absorb Thunder. Stay on the lookout for the Laser, a short-range blast, and the Lariat that it uses all time. Its most deadly move is a slow Homing Beam that will follow Sora until it hits.
Access the computer in the Dataspace to trigger a scene and then an event. During the event you need to “Freeze” the three monitors around the room. To do that you need to defeat the Strafers that appear and fill up the Cluster Gauge. Do this three times to complete the event.
BONUS : HP +5 (Sora) Thunder Boost (Donald) HP +5 (Goofy) HP +10 (Tron)
Down with the MCP
Return to the Canyon and take the elevator to the I/O Tower. Defeat the Heartless and open the chests to find a Power Crystal (7/10) and an AP Boost (8/10). Head into the large area and defeat the Devastator enroute to the Communications Room. Open the two chests here for the I/O Tower Map (9/10) and a Gaia Belt (10/10) then save.
Monster - Devastator
The Devastator has a number of attacks in its arsenal that can cause serious damage. Its leg attacks from Leg Lariat can be Guarded but the Clamp attack must be dodged (don’t get smushed!). It can also use a Rapid-Fire Shot or fire homing attacks like the Proto Cannon or the Electron Ball – best defended with Reflect as opposed to Guard since there are multiple balls.
Head back a single room to start the boss fight.
BOSS - Hostile Program
The Hostile Program is one of the easier bosses especially with your new abilities. It tries its best to keep distance, using lasers to keep you at bay. Close the gap with Quick Run and lay into the enemy, causing Clusters to drop. With the Draw Ring and Draw equipped you should be able to pick most of them up. Collect enough to fill the Cluster Gauge then use the Reaction Command “Freeze” to hold the Hostile Program in place. Use a Drive Form to deal a lot of damage and force more Clusters to drop. After the Hostile Program is no longer frozen it will dash around the outside of the area, so stick to the middle. Watch out for the lasers that the Hostile Program uses towards the end of the battle and you should be fine.
Rewards : Drive Gauge +1 (Sora), Round Break (Sora), HP +4 (Donald), Jackpot (Goofy), HP +15 (Tron)
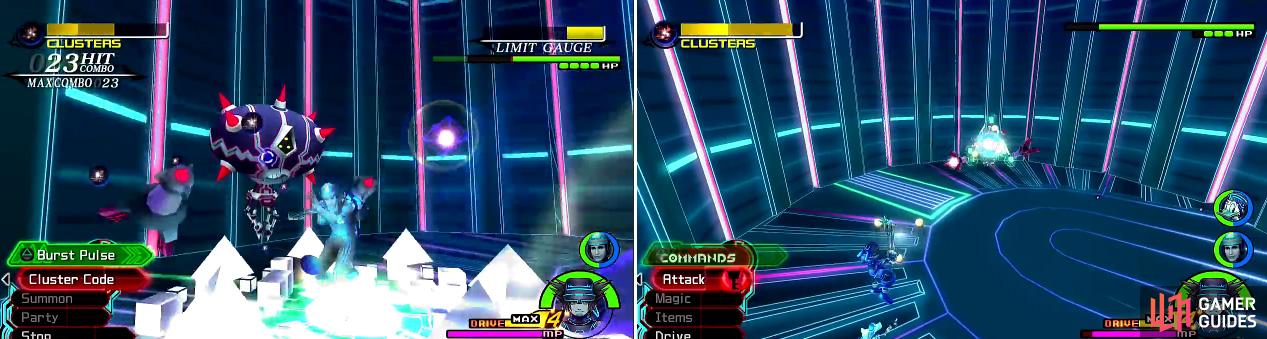
You can use the Limit (left) to quickly accumulate clusters. Once this is done, use Freeze (right) to stop Hostile Program and get in some free hits.
After the scene return to the Research Lab where you’ll receive the Photon Debugger Keyblade . You’ll have access to another chapter at Atlantica if you want to go now. Also, Drive Forms can level up to 6 now and this is a great time to level them up since you just got Master Form.
No Comments