Lucanis has two passions in life - coffee, and getting revenge on Zara Renata, the Venatori witch who imprisoned him and turned him into an abomination. Fortunately Spite also shares this goal, and when everybody’s favorite Demon of Vyrantium gets a lead on Zara, it’s time to indulge their vendetta. This page will provide a walkthrough for the side quest ![]() Bloodbath in Dragon Age: The Veilguard.
Bloodbath in Dragon Age: The Veilguard.
Page Breakdown
| Quick Search |
|---|
| Starting Bloodbath |
| Search the Venatori Hideout |
| Find Aquila at the Bank |
| Reach the Chantry |
| Find Zara in the Chantry |
| Boss: Zara |
| Zara’s Attacks |
| Zara Strategies |
Starting Bloodbath
To start this quest you’ll need to advance to act 2 in the main questline by completing ![]() The Siege of Weisshaupt, after which you’ll start the quest After the
The Siege of Weisshaupt, after which you’ll start the quest After the ![]() Storm, which involves checking in on your companions and letting them air their grievances so you can resolve these distracting personal issues that are limiting their effectiveness. Lucanis is one such companion; talk to him (and everybody else listed as an objective) then meet with Solas and talk to Lucanis again - during your second conversation you should get this quest.
Storm, which involves checking in on your companions and letting them air their grievances so you can resolve these distracting personal issues that are limiting their effectiveness. Lucanis is one such companion; talk to him (and everybody else listed as an objective) then meet with Solas and talk to Lucanis again - during your second conversation you should get this quest.
(1 of 2) Talk to Lucanis a few times after completing “The Siege of Weisshaupt” and he’ll give you this quest.
Talk to Lucanis a few times after completing “The Siege of Weisshaupt” and he’ll give you this quest. (left), Find a Crow informant in Treviso to get a lead on the Venatori holed up in the city. (right)
Search the Venatori Hideout
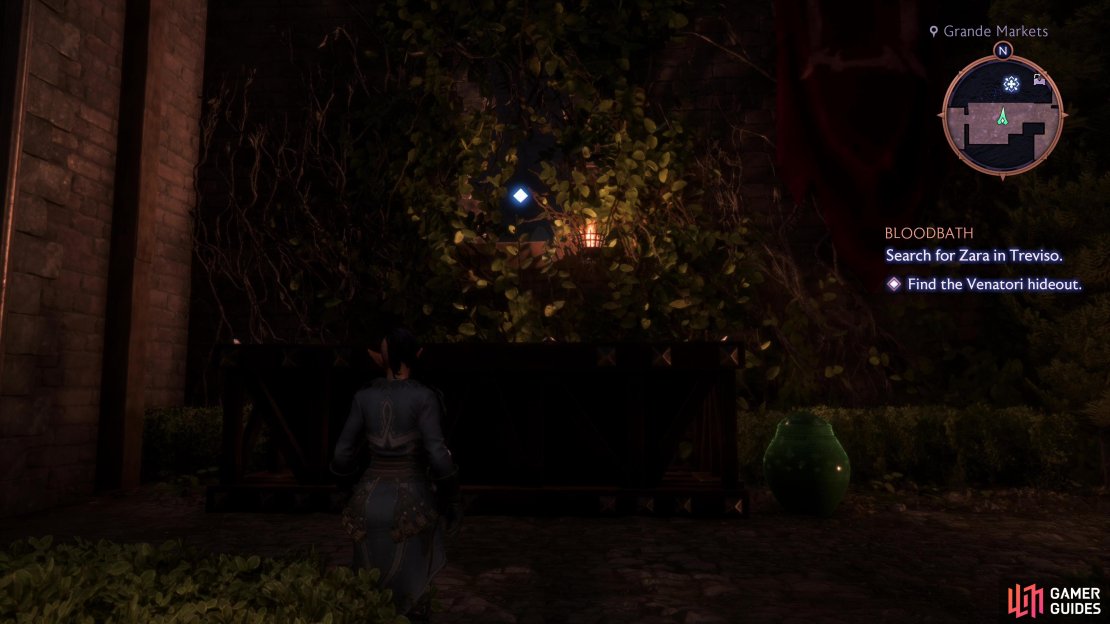
Once you’ve started this quest, travel to the Grande Market beacon in Treviso and from there head west to meet a Crow agent, who will give you the lead Lucanis has been looking for. Head towards the cafe to the north and west and before you reach it enter a door to the north. When a lock proves to be an insurmountable barrier, seek out a hole in the wall to the right of said locked door and climb up to and through the wall.
When you’re inside, ascend some ramps and climb some ledges to the east, then exit through a doorway to the north to overhear some Venatori across the canal to the west. Before you go over there, however, continue north and find a way to climb up to the roof above you, the nsearch a bench to find the Daisy Fun-Time Lemon Gin Memento (+50 Caretaker Power). With this treasure in hand, leap your way across to the Venatori below you to the west, using some suspended platforms to get across the canal.
(1 of 3) Climb through a hole in the wall near the cafe to reach the Venatori hideout.
Dispatch the Venatori and climb a lattice to reach a roof, jump across to the north and open a door to reach a shortcut to The Cantori Diamond, then jump your way back south, cross a lattice, and enter a building through a broken railing. Jump down to the west, defeat an Executioner that appears out of nowhere, then search the room for clues:
- You’ll find a Crumpled Paper on a table to the west.
- A Venatori Note is hung on the wall to the south.
- Another Venatori Note can be found on the wall near the doors to the noth.
- A Venatori Notice can be found on the eastern edge of a crate in the center of the room.
- An Official Document rests on a table in the northeastern corner of the room.
The last one has the intel you need. Before you leave, destroy some crates in the southeastern corner of the room to reveal a doorway, through which you’ll find a chest. This one doesn’t count towards any of Treviso’s marked chests, but there is one such collectible up ahead, and this should be your first opportunity to collect it, and there’s a good chance this will be the last chest you need to complete Treviso’s collectibles.
(1 of 4) Drop down and defeat a Venatori Executioner,
From the chest you just looted, make your way west, then south, go up several flights of stairs and into a fancy room with marble flooring. Go through some doors to the south, then turn west to find this chest in an alcove. Plunder it and cross it off your list, then make your way to the bank.
Find Aquila at the Bank
When you’re ready to move on, fast travel to the Streets of Coin Financials beacon and from there head east and around the corner to the south. If you already did some treasure hunting, this bit might be familiar to you - climb the lattice and a ladder to reach a roof, dispatch a pair of Venatori, then enter a doorway to the south where more foes - including Aquila - await.
Dish out damage until Aquila runs, then go through a door to the east to find a small (unmarked) chest to find the Crush rune, then head back to the previous room and follow Aquila south, then west. Drop off a ledge and turn north to find Aquila and a Centurion - this time Aquila will stand and fight, but they’re just an elite mage with more health than usual. Once Aquila is defeated you’ll get another lead - the Venatori have been pillaging the Chantry! Go through a door to the north to find another unmarked chest, then backtrack south to the larger room where you fought Aquila before turning east and using a zipline to ride across the canal to the Chantry.
When you land, turn south to find the Maferath’s Embrace Memento (+50 Caretaker Power) on the ground near some chairs, then go through then talk to Lucanis near the doorway to the east. This is where the quest leaves the familiar bits of Treviso behind and forces you to drag Lucanis along (if for some reason you didn’t already have him in your party)… that’s right, we’re just getting started!
(1 of 5) Find and climb a lattice and a ladder near the Streets of Coin Financials beacon,
Reach the Chantry
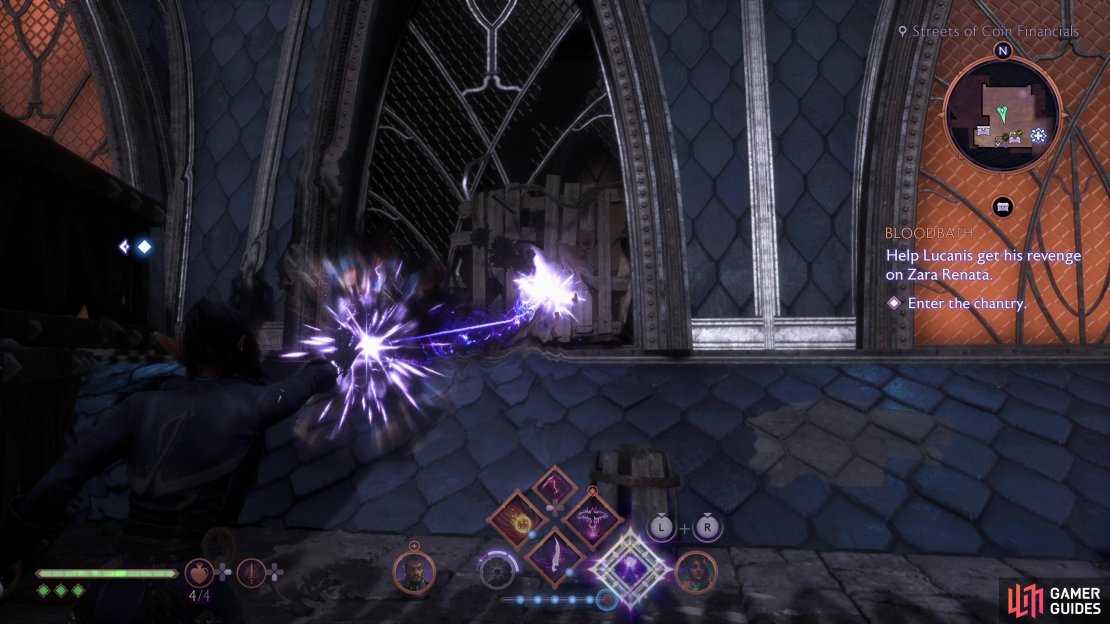
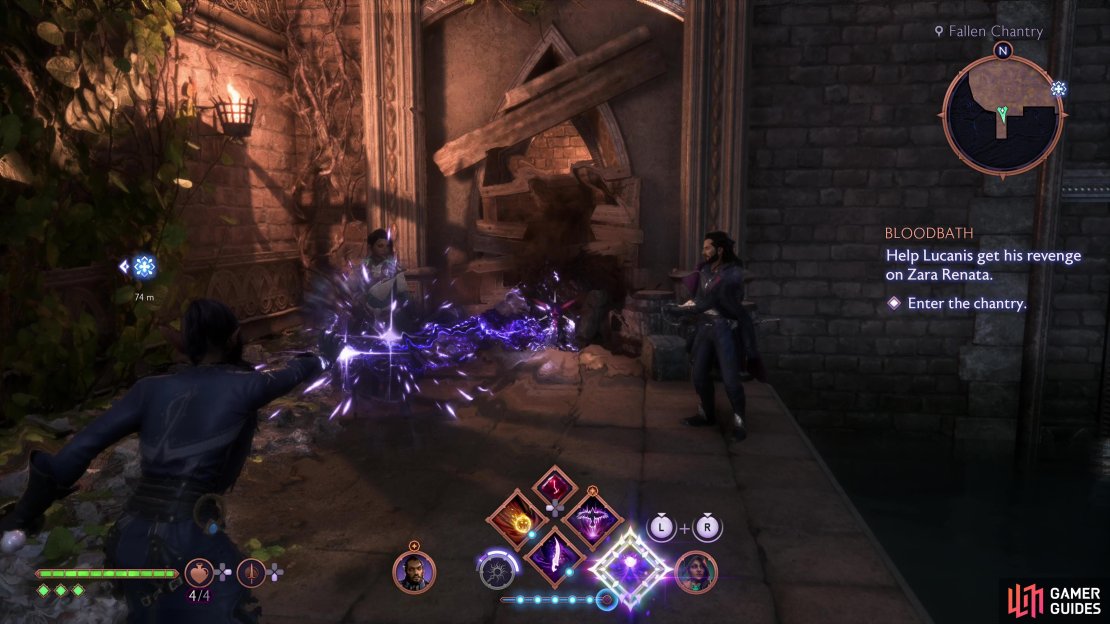
Confirm you’re ready to press on with the hunt for Zara and you’ll zone into the Chantry, or some of the buildings nearby, at any rate. Climb a ladder to the east, loot a chest on the next floor, then exit out a broken window to the north. Once outside, turn west and head around some wooden obstructions before turning south to find another broken window, albeit a boarded up one. Destroy the feeble barrier and enter through the window, cross a beam to the west, then turn north to find another chest. Awfully generous, this area. Not done yet, either. Exit back outside and from this second broken window head north to find an elevated section of roof. Climb up it, then turn east and climb to a higher ledge to find The Offer of Honor memento (+50 Caretaker Power).
Drop down to the east and climb a crate to reach another section of roof. Turn south and you’ll meet up with Illario who wants to tag along. Respond with ”Let’s all go together.” to earn disapproval from Lucanis or shut Illario down by saying ”Lucanis said no.” to gain approval. The outcome is the same either way - Lucanis will berate Illario until the latter concedes, leaving you to your bloody business.
(1 of 4) Destroy a barricade,
Leave Illario behind to sulk and drop down to a lower roof to the south, then head to the southeastern corner of this roof to find a ladder leading to a balcony wrapping around the corner of the adjoining building. Follow it around, descend a second ladder to finally reach the “Fallen Chantry”, then head through a doorway to the east to find a small, unremarkable chest. There’s plenty more to be found here - head to the southwestern edge of this courtyard area to find some stairs leading down to the canal. Zorch a boarded-up doorway to the south and plunder a small chest, then make your way back upstairs to the southeastern corner of this courtyard area to find The Writ of Antivan Will memento (+50 Caretaker Power) on the ground near a portcullis. With all that plundered, head up the stairs to the Chantry’s front doors, then turn south and climb a ledge to find a large chest.
(1 of 4) Destroy a barricade near the canal,
Find Zara in the Chantry
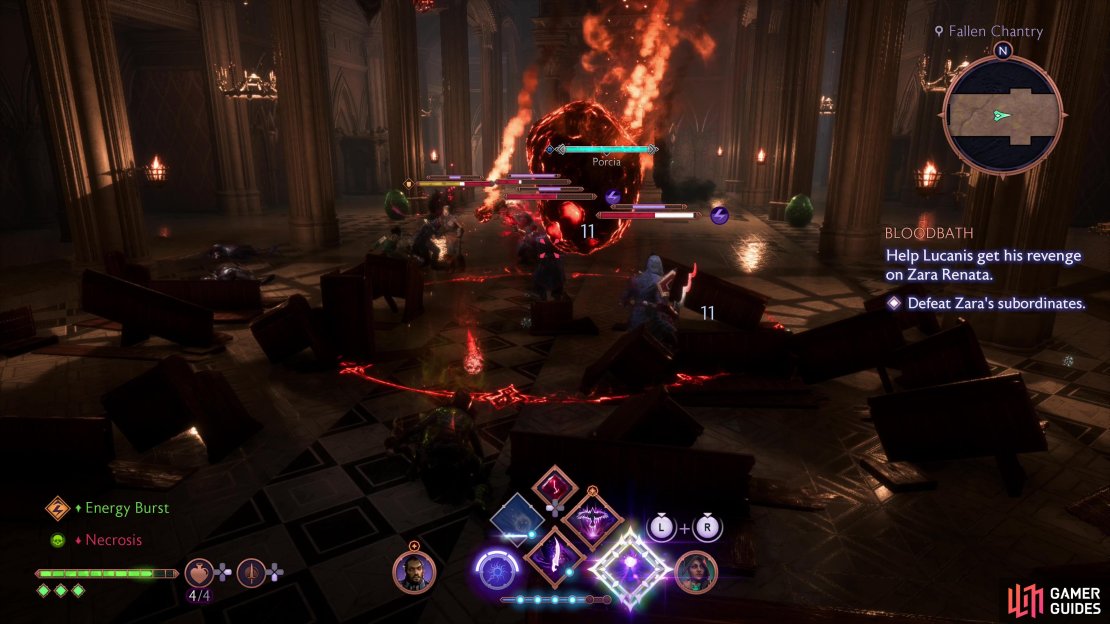
Now that you’re weighed down with new loot, enter the Chantry doors. Thus far this quest has involved quite a bit of loot briefly interrupted by sporadic combat, but that’s now changing to a more balanced combat/loot ratio. Press on east to the nave, where numerous Venatori are in the midst of some foul ritual. Approach them and you’ll have to fight several Venatori Soldiers and the odd undead, all of which are led by Porcia, who is just a named elite Venatori mage. Once they’re dead, loot Porcia and a chest in the corner to the southeast - the former will yield some random gear while the latter will give you a ![]() Death Mask cosmetic item.
Death Mask cosmetic item.
Go through a doorway in the northeastern corner, then turn west to find a dead end. Or rather, what appears to be a dead end - the bookshelf at the end of the corridor can be interacted with to move another nearby bookshelf, leading to a hole you can descend via a ladder. Do so, then press on to the north until you reach an intersection, then continue north, climb up a ledge to the east, and loot a chest. Backtrack to the watery intersection, then proceed west, defeat an Executioner, climb a ledge to the north, then follow the linear path ahead, go upstairs and through a doorway to reach a well-stocked mess hall.
(1 of 4) Defeat Porcia’s minions in the nave,
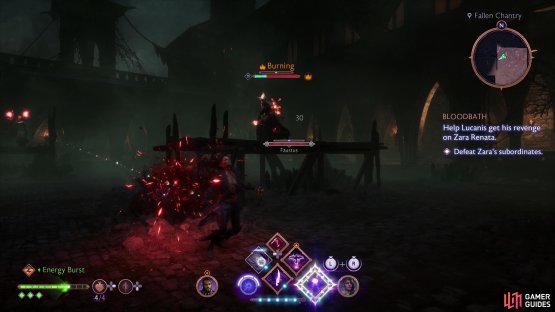
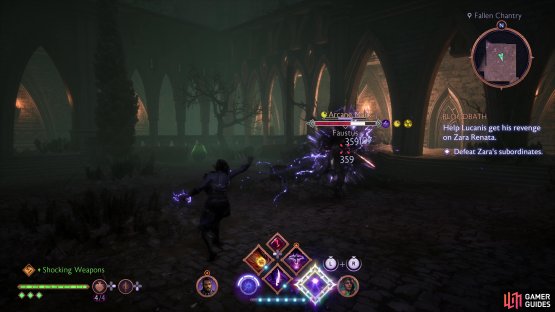
Exit through another doorway to the north to reach a courtyard where you’ll encounter an elite Venatori soldier named Faustus. He fights like any normal Venatori soldier, albeit one with much more health and who detonates AoE bursts from time to time. He’s also joined by three mages who stand on high ground, content to pelt you with ranged attacks until you deal with them. Defeat them and loot Faustus for some resources, then go through some doors to the north to reach a chapel where a trio of generic Venatori await - mere speed bumps on your way to Zara.
(1 of 2) Faustus is accompanied by a trio of mages, who would enjoy nothing more than to pelt you with magic from afar.
Faustus is accompanied by a trio of mages, who would enjoy nothing more than to pelt you with magic from afar. (left), Dispatch the mages, then bring down Faustus. (right)
Go through a door to the east, loot a chest, then head north and west to exit out to another courtyard, where some more named Venatori - Nonus and Decimus - await. These are both Centurions with a searing tether connecting them, with Decimus being a “glass cannon” who is significantly less durable than his counterpart. Focus on Decimus first and bring him down, then work at chipping away Nonus’s HP. Loot the last one to fall for some minor treasures, then press on to the south.
Head south as far as you can until you find a small chest - the first of a few treasures we’ll be getting in this area. Make your way west up some stairs towards a statue and note a door to the south and another to the north. Go through the southern door first and enter the room beyond, noting a doorway beckoning you further south. Ignore it and instead climb a ladder to the west, crawl out a window to the north, walk along the roof to the north and through another broken window to reach the upper floor of another building. Kick down a ladder between two bookshelves (just in case - you shouldn’t need to actually use it), loot a chest to the north, then climb through yet another broken window to drop down to an elevated walkway above where you fought Decimus and Nonus, where you’ll find a chest. Plunder it, jump over the railing to the east to return to where you fought Decimus and Nonus, then backtrack south and west to the statue. Go through the door to the north now and loot a chest in the southwestern corner of the room you find yourself in.
(1 of 4) Take out Decimus first, as he’s the least durable of the two,
Exit this room, head south past the statue into the southern room you passed through earlier, and this time exit out through the doorway to the south. Follow the linear path ahead and you’ll eventually stumble upon Zara engaging in some… grotesque ablutions.
Boss: Zara
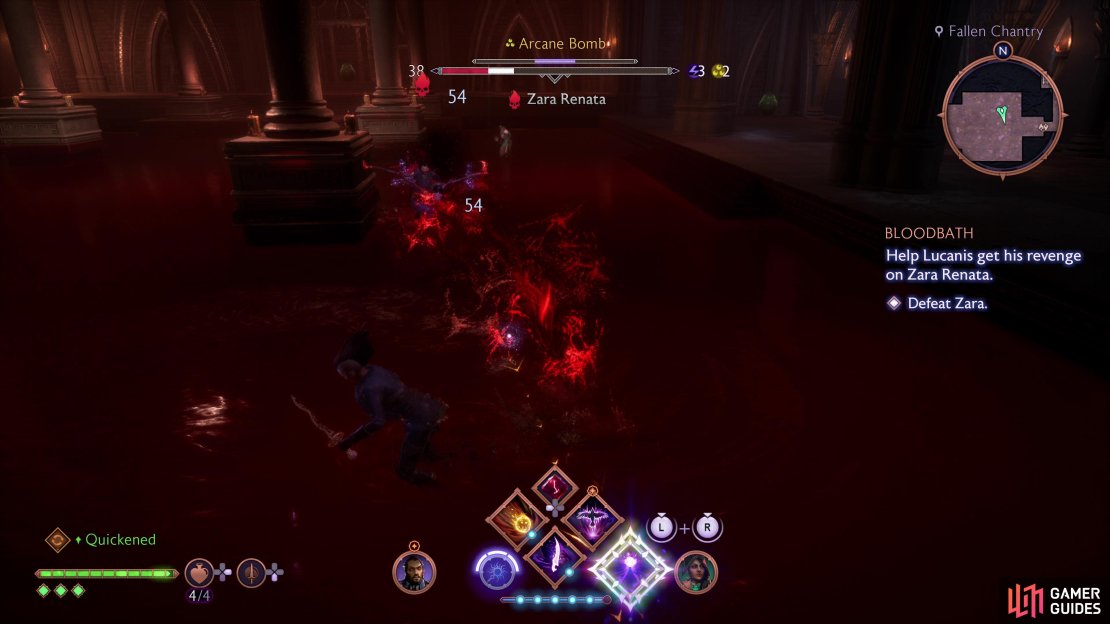
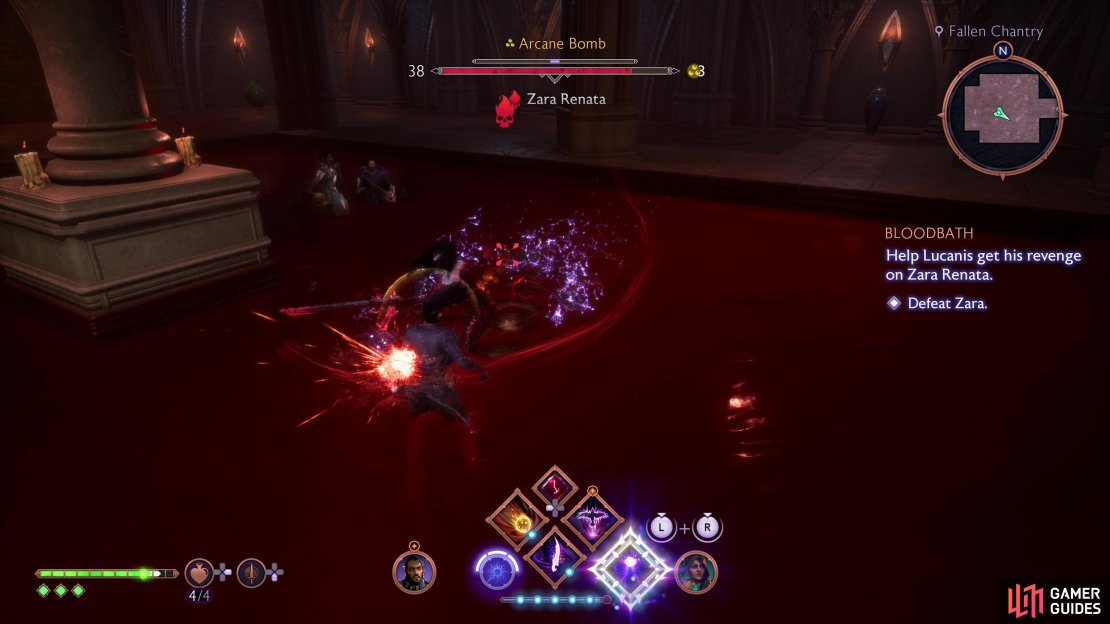
Say whatever you wish to Zara and a fight will ensue afterwards. Zara is, oddly enough, a mage in the mold of Rook - being surprisingly athletic and melee-focused, preferring to stalk her target (often Rook) with her dual hand scythes. This makes her somewhat similar to Executioners in battle, and like them Zara can parry or dodge frontal attacks - not often enough to make these attacks worthless, but you need to be prepared for it, especially as she’s prone to counterattacking after parrying. That said, her attacks are pretty easy to dodge if you’re willing to spam, she doesn’t deal a ton of damage and is only moderately tanky, so once you learn her routine it shouldn’t take too long to pummel Zara.
Zara’s Attacks
As mentioned above Zara has several attacks she’ll use, mixing blood magic and melee attacks with her hand scythes:
-
Homing Blood Bolts: Zara will shoot out a trio of bloody projectiles which have minor homing capabilities. They can be avoided by hiding behind a pillar, or running or dodging perpendicular to their flight path. They deal moderate damage, but you mostly have to be wary of them at close range, as all three of them landing can be pretty painful.
-
AoE Blood Burst: A well-telegraphed albeit wide range AoE burst attack that deals heavy damage - get out of the marked area in time.
-
Scythe Combo: Zara will perform several attacks with her scythes, aborting the combo if her target gets too far away. If you stay within range, she may spam quite a few attacks into a single combo. Sometimes these are parryable, and if you parry Zara will be staggered for a fair amount of time - keep an eye on the attack indicator if you fancy trading blows.
-
Teleport Scythes: Pretty much a copy of the teleport attack the Executioner uses, if you see a smallish reticle on the ground, avoid it, as Zara is imminently going to teleport above the marked area and perform a downward scythe attack. She will do this several times in succession, and will target the area you’re moving towards, so be prepared to switch direction to avoid these attacks.
Zara Strategies
Zara doesn’t hit very hard and her attacks become rather predictable. With any ranged weapon you can comfortably land the odd hit between Zara’s attacks, and if you’re confident in your ability to parry, don’t put too much ground between you and Zara so you can bait scythe attacks and parry them. If you prefer safer strategies, use Time Slow to make it easier to spam combos (and especially trigger Arcane Bombs, if that’s your fancy). Setting up detonations will also give you some time to lay into Zara.
Periodically Zara will summon minions - first Venatori Soldiers, then mages, and finally Centurions. Zara will parasitize one of these summons, incapacitating it and using its life force to give herself a barrier. Look for a red tendril connecting Zara and her victim and kill it to remove this barrier… or just attack Zara until it’s gone - it’s not terribly durable.
(1 of 4) Zara also is fond of slashing with her scythes,
Defeat Zara and watch the scenes that follow. Afterwards you’ll be back at the Lighthouse and you’ll get your quest rewards: 2,250 EXP, 400 gold, +100 Antivan Crows Strength and a piece of gear (our mage got a ![]() Corvid Cloak). This will also unlock the Gaatlok and Antaam missive as well as two new side quests in Treviso - Statuary, Fine Art and Antaam - Part 2 and Partners in a Dangerous Crime.
Corvid Cloak). This will also unlock the Gaatlok and Antaam missive as well as two new side quests in Treviso - Statuary, Fine Art and Antaam - Part 2 and Partners in a Dangerous Crime.


























No Comments