![]() The Demon’s Bargain is Bellara’s third companion quest in Dragon Age: The Veilguard, and can be accessed after
The Demon’s Bargain is Bellara’s third companion quest in Dragon Age: The Veilguard, and can be accessed after ![]() The Siege of Weisshaupt main story quest. Read on to find out where you need to go, how to complete the puzzles, and what you get for completing the quest.
The Siege of Weisshaupt main story quest. Read on to find out where you need to go, how to complete the puzzles, and what you get for completing the quest.
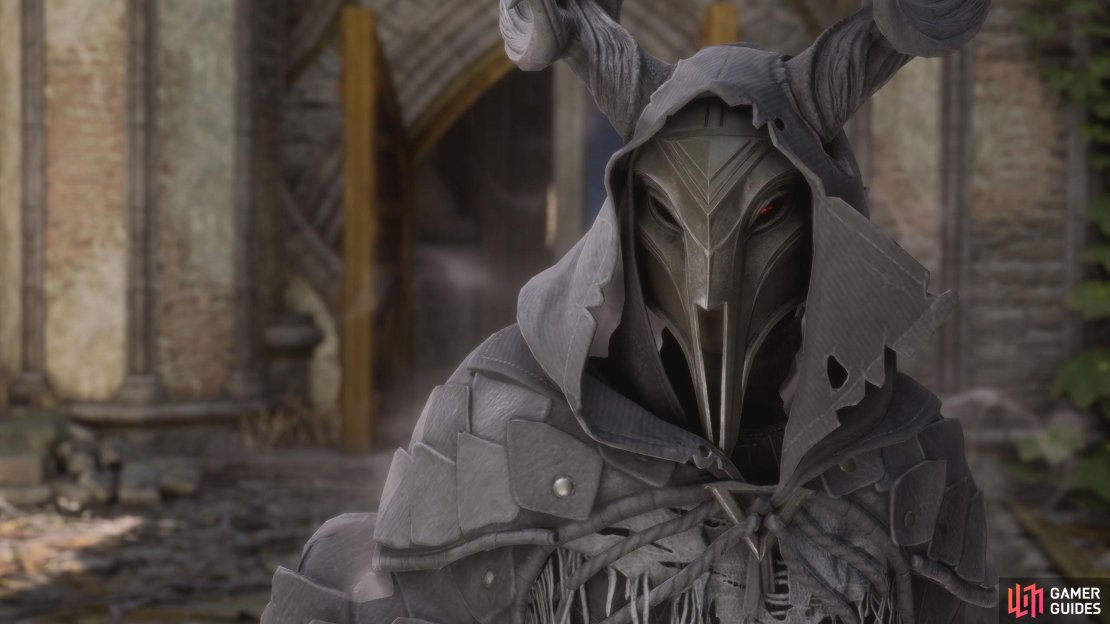
A mysterious person appears in The Demon’s Bargain quest.
Table of Contents
If you want to jump to a specific section, click on the links below.
| Quickjump |
|---|
| Find the Missing Veil Jumpers |
| Burning Anger Battle |
| Balcony Path Chest |
| Balcony Path Barrier |
| Elven Temple |
| Boss Guide |
Find the Missing Veil Jumpers
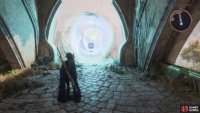
After you obtain the quest from Bellara, a new place in Arlathan Forest will open up called the Eleven Ruins. This area can only be accessed during the quest, and cannot be accessed in the Arlathan Forest exploration zone. You’ll begin the quest in the Floating Archive Temple area, where you’ll need to find the missing Veil Jumpers. At the start, take the path south, and go through the ominous portal.
This will take you to the Floating Island’s location. Continue south, and you’ll battle two Greater Sentinels who resist cold but are vulnerable to electricity. Defeat the sentinels and a Greater Pride Demon will appear, which is resistant to electricity, but vulnerable to Necrosis. If you need them, there are some potions and ultimate pots scattered around the edge of the room.
(1 of 2) Make sure you select the Elven Ruins to travel to, and not Arlathan Forest, as they’re different places.
Make sure you select the Elven Ruins to travel to, and not Arlathan Forest, as they’re different places. (left), Follow the path south and go through the portal at the end. (right)
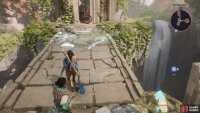
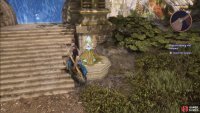
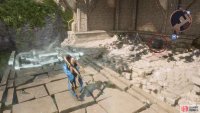
With the enemies defeated, pick up the power crystal from the relic device to the south to dispel the blue barrier, and place it on the relic device on the broken bridge to the south.Go across the new bridge you created and open up the small chest across the other side before continuing south across the log. This will take you to Balcony Path, continue south, and slide down to the bottom, where you’ll encounter more Greater Sentinels and Greater Spellwights.
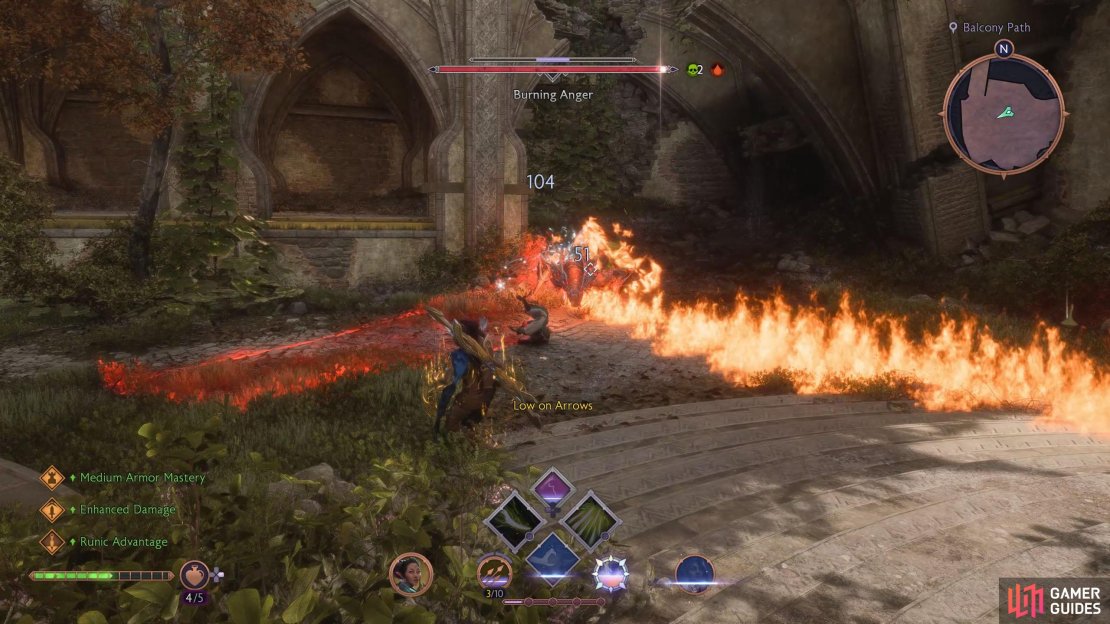
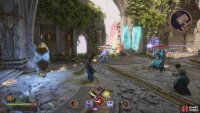
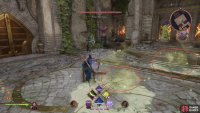
Defeat the enemies, and a Rage Demon will appear, aptly named Burning Anger. For the most part, this enemy will spend the majority of its time dashing across the arena, leaving behind a trail of fire; as long as you aren’t in its path, you should be fine.
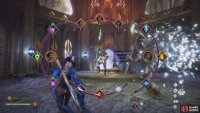
(1 of 3) In the next room, you’ll battle Greater Spirits who are weak to electricity.
Burning Anger Battle
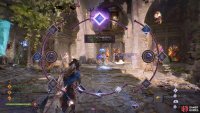
Take out the smaller enemies first if there are any before you focus on the Burning Anger. The most difficult attack this enemy has against you is its fire wave attacks, where a circle of fire will periodically send out waves of fire. These can be jumped over, but the best way to avoid them is to get as far away from the attack as possible. If you are close to the attack, you can use a charged attack to stun it out of the attack.
Aside from the fire wave and fire dash attacks, the demon will frequently leap into the air and slam down at your last location, so make sure you keep moving. Finally, it can hurl several fireballs at you in quick succession, although this is easily avoided by running to either side.
As the enemy is elite, it has an armor bar (yellow bar) that needs to be taken down before you can hurt it. The best way to achieve this is to use Sundered detonations on the enemy, although any detonation will do. Once the armor is down, focus on using cold attacks as it is vulnerable to them, and avoid using fire attacks as it’s resistant to them.
Neve is great for this battle, especially in combination with Bellara, so make sure you use their skills as often as possible. If you’ve defeated a rage demon before, this one is no different, and you shouldn’t have too many problems defeating it. Once you’ve defeated Burning Anger, make sure you loot its corpse as it’ll give you the ![]() Veil Quartz Sample trinket for Bellara (this would’ve been great for the previous battle).
Veil Quartz Sample trinket for Bellara (this would’ve been great for the previous battle).
(1 of 4) Fire Dash: Burning Anger will dash multiple times, leaving behind a trail of fire.
Balcony Path Chest
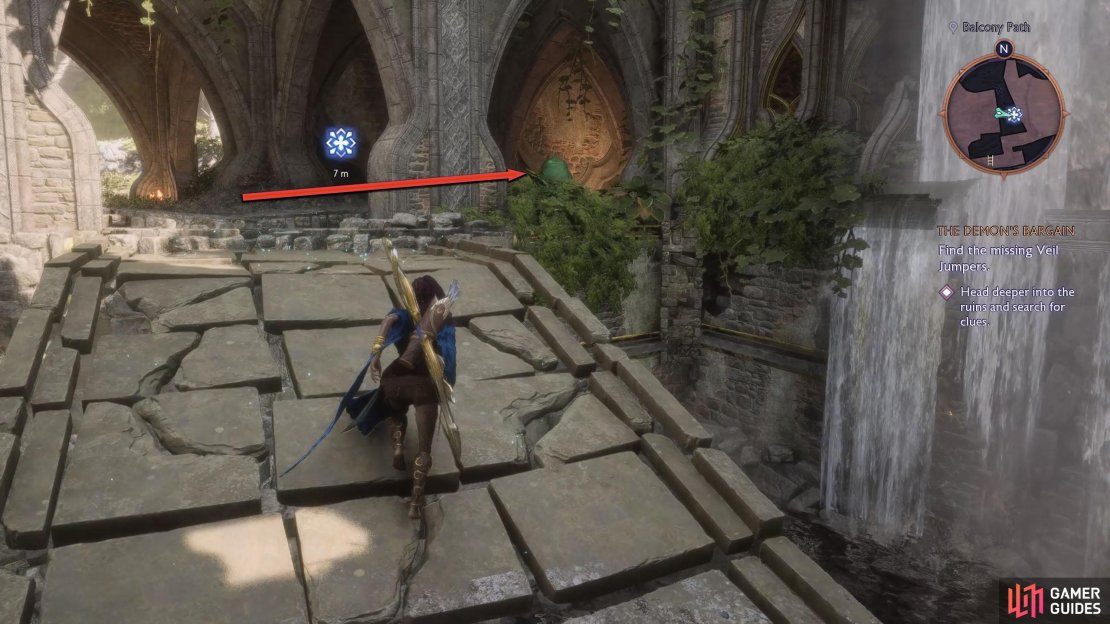
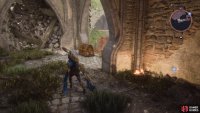
Take a look at the map to notice a chest is in this area. You can obtain this by going through the archway to the east, picking up the nearby power crystal to your right, and placing it on the relic device after fixing it with Bellara.
Go across the new bridge you created, head south, and follow the path southwest to find a ladder. Before you go up, search the camp opposite the ladder (near the waterfall) for some loot and a lore note. Go back and climb the ladder to find the chest by the balcony.
(1 of 4) Go across the bridge you created with the power crystal and head right.
Balcony Path Barrier
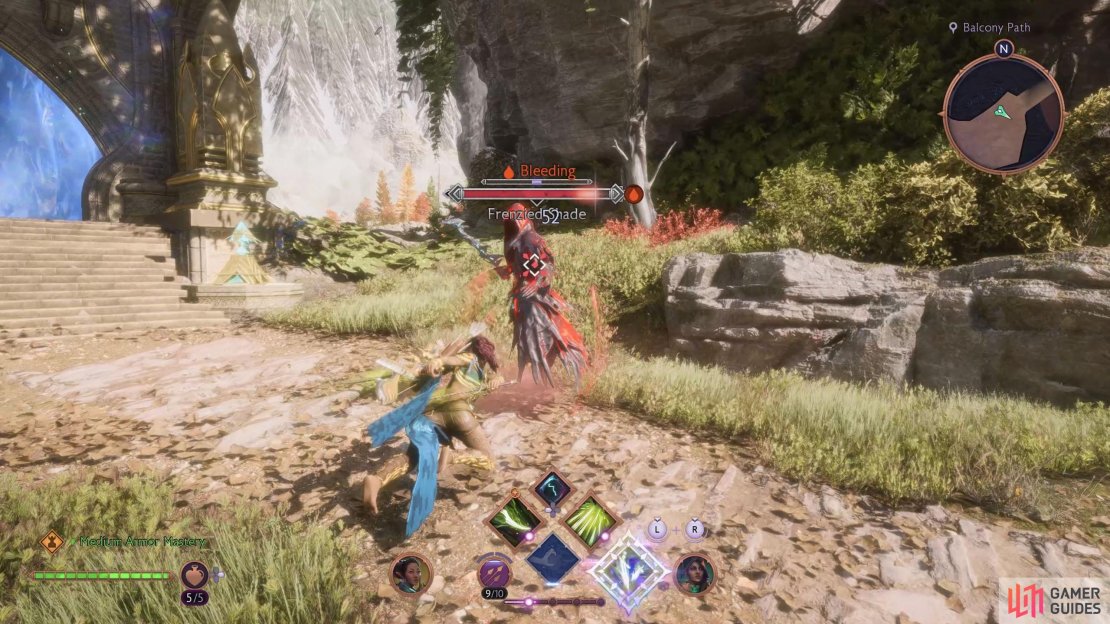
Head back to the bridge you created with the power crystal and head east into the open area. As you approach the barrier, a Frenzied Shade will appear. This is slightly stronger than the regular demon you regularly fight as it has more armor and health, however, it has the same attacks, and it’s still vulnerable to cold and resistant to necrosis.
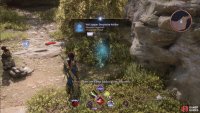
Defeat the shade, pick up the Memento, which is opposite the barrier against the rocks to your right (facing away from the barrier), and examine the backpack next to it. After examining the backpack, use Bellara’s power on the broken device to the right of the barrier, and pick up the power crystal.
(1 of 3) Defeat the Frenzied Shade, which is stronger than a regular demon.
Elven Temple
Place the power crystal on the relic device just past the barrier and go across the new bridge you created to find some loot, including a small chest containing the ![]() Death Mask appearance. Head back, and continue northeast until you reach the balcony on the other side. Follow the path north, while picking up the ultimate and potion pots along the way, and prepare yourself for a battle.
Death Mask appearance. Head back, and continue northeast until you reach the balcony on the other side. Follow the path north, while picking up the ultimate and potion pots along the way, and prepare yourself for a battle.
After the cutscene, you’ll face many Voltaic Shades that you’ll need to defeat before you can destroy the blue crystals. When you defeat the first group of enemies, use Bellara’s power on one of the crystals to shatter it, and then you’ll have another group of enemies to defeat. This time, you’ll face two Greater Shades, and a Spellwight. Defeat the enemies, destroy the last blue crystal, and you’ll have another battle on your hands.
(1 of 4) Place the power crystal in the device after the barrier to find a chest containing the Death Mask.
Toxic Yearning Boss Guide
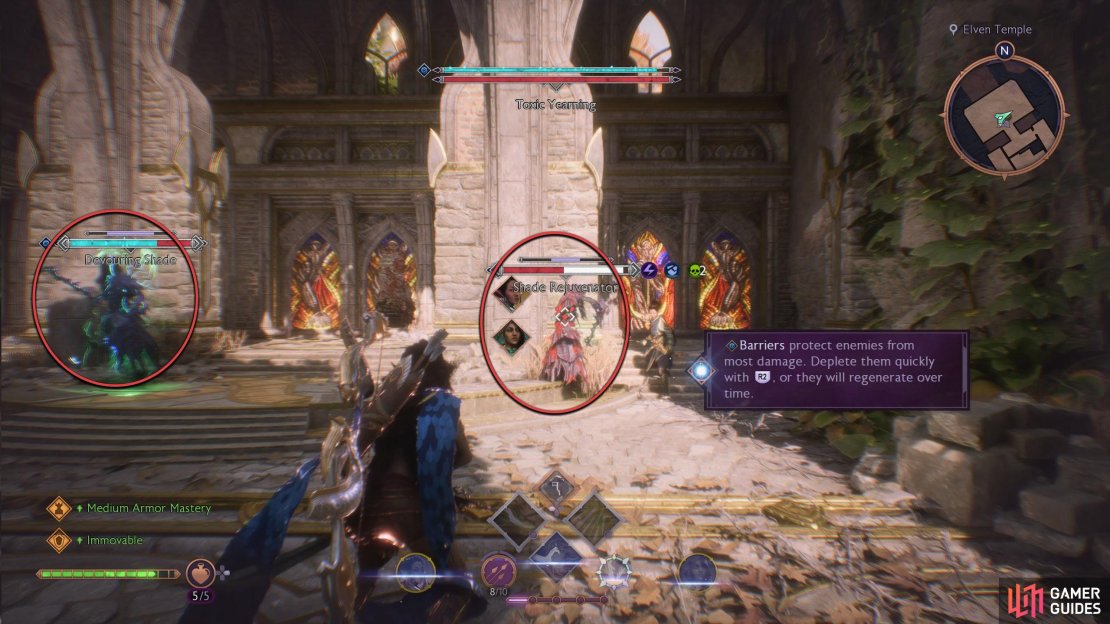
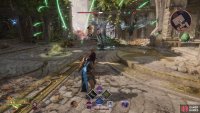
This time you’ll be fighting a Toxic Yearning demon, a Shade Rejuvenator, and a Devouring Shade. Defeat the latter two enemies first, as they’ll heal the boss, and then go all out on the boss. The Shades are vulnerable to cold and resistant to necrosis, while the Toxic Yearning is vulnerable to electricity and resistant to necrosis.
For the boss, it only has a few attacks you need to be aware of. The first is its homing missiles, where it’ll unleash numerous green beams at your location. This can be avoided by waiting for them to close in on you, and then dodge to the side. Next up is its Necrotic Pools. Throughout the battle, the boss will fire a pool of necrotic poison on the floor, indicated by a red target marker.
These will persist throughout the battle, so make sure you don’t run over them. Finally, you have the boss’s whirlwind attack, which is the most dangerous attack. The boss will spin with its arms out toward you, and follow you across the arena. To avoid this, run as far away as possible when it begins to spin.
(1 of 4) Defeat the minions first, as they can heal the boss.
The boss shouldn’t cause you too many problems, so chip away at its health, while avoiding the whirlwind attack, and you should be fine. If you need potions, some are scattered around the arena’s edge. Once the boss is defeated, open up the chest in the center of the room to obtain ![]() The Ready Explorer armor for Bellara and a couple of Royal Elfroot. When ready, speak to Bellara to exit the area, and end the quest.
The Ready Explorer armor for Bellara and a couple of Royal Elfroot. When ready, speak to Bellara to exit the area, and end the quest.







No Comments