After recruiting a Grey Warden ally, your spree of uninterrupted operations will come to a shocking end. The gods have finally decided to move against you, making a show of their power and ability to strike wherever they want, whenever they want, with overwhelming force. The Veilguard, with limited resources, will have to prioritize one target, with dire consequences for whichever gets neglected.
Page Breakdown
| Quick Search |
|---|
| Starting On Deadly Wings |
| Stop the Dragon from Destroying Treviso |
| Boss: Corius the Icetalon |
Starting On Deadly Wings
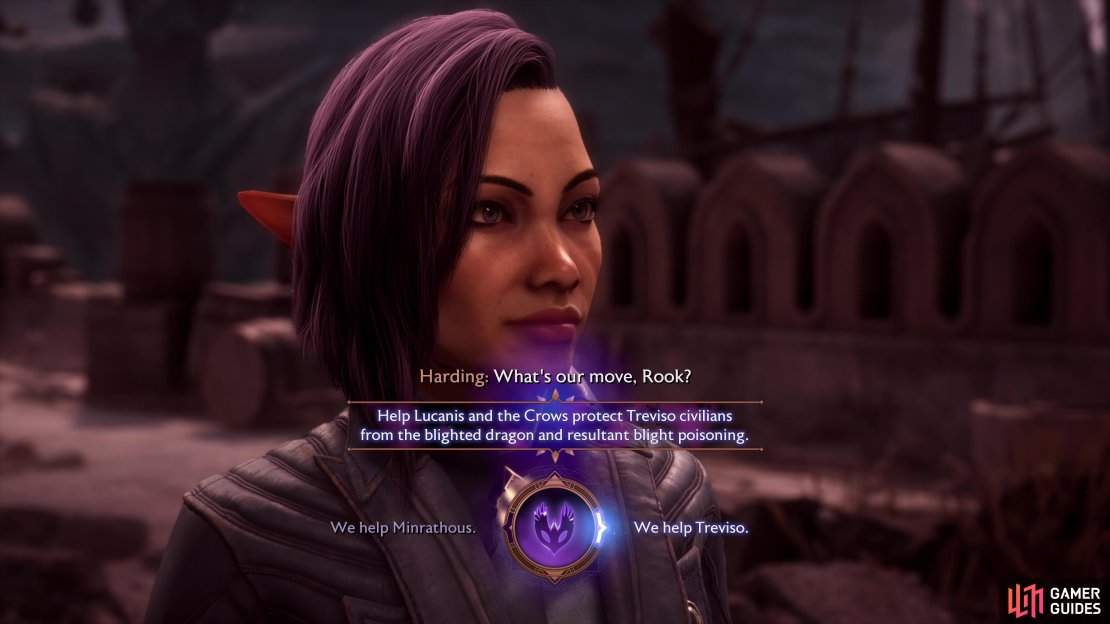
Complete the quest A Warden’s Best Friend after which you’ll immediately end up in a chat with your allies in the Crossroads, where you’ll be informed that dragons are simultaneously attacking both Treviso and Minrathous. Lucanis and Neve are both determined to assist their hometowns, but Rook doesn’t split two ways - you’ll need to decide which city you want to personally intervene in favor of, leaving the others to your allies. This has some long term ramifications going forward, as detailed in the spoiler box, below:
After recruiting Davrin, you’ll be forced to choose between assisting Treviso or Minrathous - if you choose Treviso, this quest will begin.
Whichever city you neglect will have its major faction - the Shadow Dragons in Minrathous and the Antivan Crows in Treviso - decimated. They’ll still have some quests late in the game, as well as some unique quests covering the aftermath of the attack that will only occur if their city is neglected, but the intact faction will be the one to show up and provide assistance during major story events, flavoring the Veilguard alliance somewhat. The faction merchant for the neglected faction will die and you won’t be able to boost that faction’s strength by selling valuables to them anymore, and Neve or Lucanis will not be available as a companion for a few missions if their city was neglected. In addition, you will not be able to romance Lucanis if you do not choose Treviso.
In any event, make your choice to either help Treviso or help Minrathous. If you choose Minrathous the quest On Blighted Wings will begin, while if you choose Treviso, this quest will begin.
Stop the Dragon from Destroying Treviso
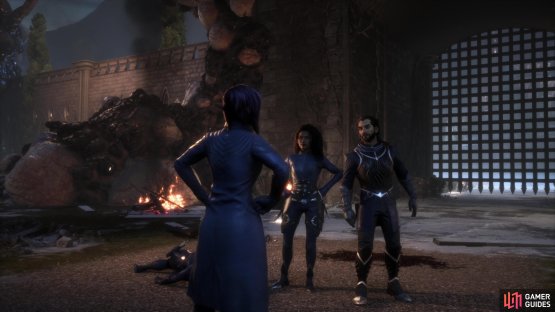
Assuming you chose to help Treviso you’ll travel there immediately, along with a companion of your choosing. Take a zipline to the northwest to reach a distant roof, head to the northern edge of said roof, drop down some ledges (don’t cross the beam) then jump a gap to the north to reach a balcony on another building. Enter the building, head downstairs, defeat two Antaam, then exit through two doors to the west to reach a courtyard where you’ll reunite with Lucanis (who joins the party). After some chatter you’ll pass through a gate and confront the dragon laying waste to Treviso.
(1 of 2) Fight through some Antaam en route to the dragon,
Fight through some Antaam en route to the dragon, (left), and reunite with Lucanis. (right)
Boss: Corius the Icetalon
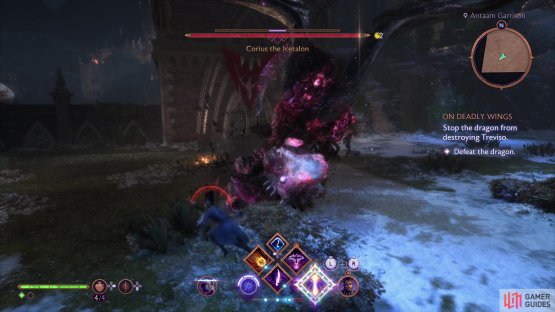
If your knee jerk reaction to this fight is “this seems a little early, are we strong enough for this?”, then your instincts are in the right place, and no, you’re probably not. Still, nobody else is stepping up to save Treviso, so you’ll need to do your best and hope for a miracle. This is a pretty standard dragon fight - not that you’d be aware of that at this point in the game, as this is your first encounter with such foes. Still, if you can commit these attacks to memory you’ll be well served, as you’ll be seeing them again, and most dragons use the same core attacks with slight variations. Other than that, note that none of a dragon’s attacks can be blocked or parried, so be ready to dodge! With that out of the way, let’s look at the attacks we’ll be dealing with:
Bite
Corius the Icetalon will rear back its serpentine neck, then unleash a deceptively fast bite attack. You’ve got to dodge your timing pretty carefully here, as the lunging bite is fast and doesn’t leave a lot of room for error.
Swat
Dragons can perform two different swats at insects biting their flanks, a backhanded raking swipe and the closest thing you’ll see to an uppercut in this game. Either way, it’ll be used when you’re at the dragon’s flank, and this attack will be performed reliably enough that you probably only want to try to sneak in an attack or two before dodging away as a precautionary measure.
(1 of 2) The dragon’s bite attack has a clear windup, but the execution is still quite fast, and can be tricky to dodge!
The dragon’s bite attack has a clear windup, but the execution is still quite fast, and can be tricky to dodge! (left), Dragons will also swat enemies at their flank. (right)
Charge
Your foe knows it’s bigger and is willing to use its bulk to its advantage by charging at you. Just dodge out of the way when you see it coming. Iframes are more reliable than positioning, so wait until it’s close before dodging.
Tail Lash
If you’re behind the dragon it’ll swat at you with its tail, which the creature announces by lifting its rump into the air and looking behind it. Dodge away from the dragon to avoid this attack, which is less rangey than you might expect.
Diving Flop
Anybody who thinks dragons are graceful creatures haven’t seen this diving attack. The dragon will fly up in the air, then swoop down at you. Swooping is bad, as are the aerodynamics of dragons in flight, as what looks like it might be an attempted claw swipe or bite instead turns into a belly flop. Still, with a dragon this massive getting clipped by such an attack will still hurt, do dodge to the side and let the iframes sort things out for you.
Drop Slam
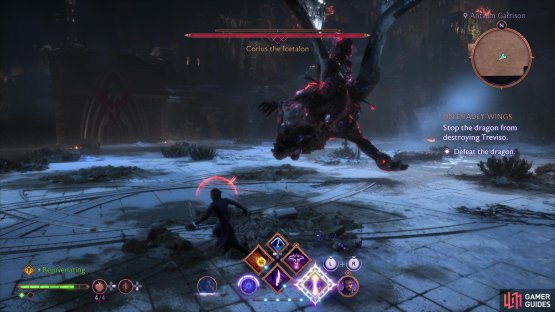
A more intentional aerial attack, the dragon will fly into the air, hover for a moment, then slam down, dealing heavy damage in a wide area. You get the courtesy of an AoE reticle letting you know the attack is coming, but unless you’re near the edge of the AoE, it’ll be too late to escape by the time you see the reticle. Instead you’ll just need to be paranoid and dodge away any time you see the dragon take flight to ensure you don’t get caught in this attack.
(1 of 2) Dragons aren’t graceful creatures - a diving charge turns into an embarrassing flop - but the dragon’s bulk is still deadly!
Dragons aren’t graceful creatures - a diving charge turns into an embarrassing flop - but the dragon’s bulk is still deadly! (left), In a more coordinated abuse of mass, the dragon can leap into the air, hover, then slam back down on the ground, dealing heavy damage over a wide area. (right)
Ice Breath Volley
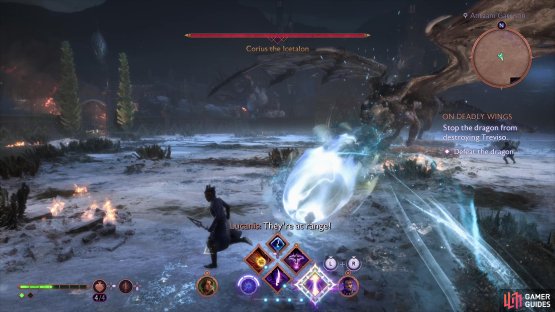
Dragons have dangerous breath weapons, and with a moniker like “the Icetalon”, it should be no surprise that Corius breathes ice at you. In this case, the dragon will shoot out three frozen orbs in succession. Wait until they’re close before dodging lest the last orb catch you at the end of the dodge - this whole attack exists to punish premature dodging.
Ice Breath Ray
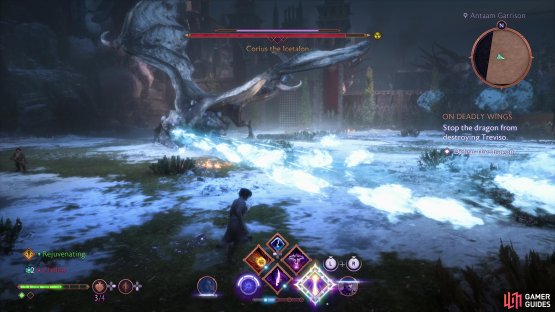
A more sustained breath attack, Corius the Icetalon will shoot out a beam of ice and sweep across the battlefield. With good timing you can dodge through the beam, and if you get to the dragon’s flank you can deal some sustained damage - a rarity in this fight. It only deals moderate damage but can inflict several stacks of Chilled, which will deal heavy damage-over-time.
(1 of 2) Corius the Icetalon has two breath attacks - a volley of ice orbs that punish premature dodging,
Corius the Icetalon has two breath attacks - a volley of ice orbs that punish premature dodging, (left), and a sustained beam of frost which you can exploit by getting around to the dragon’s flank. (right)
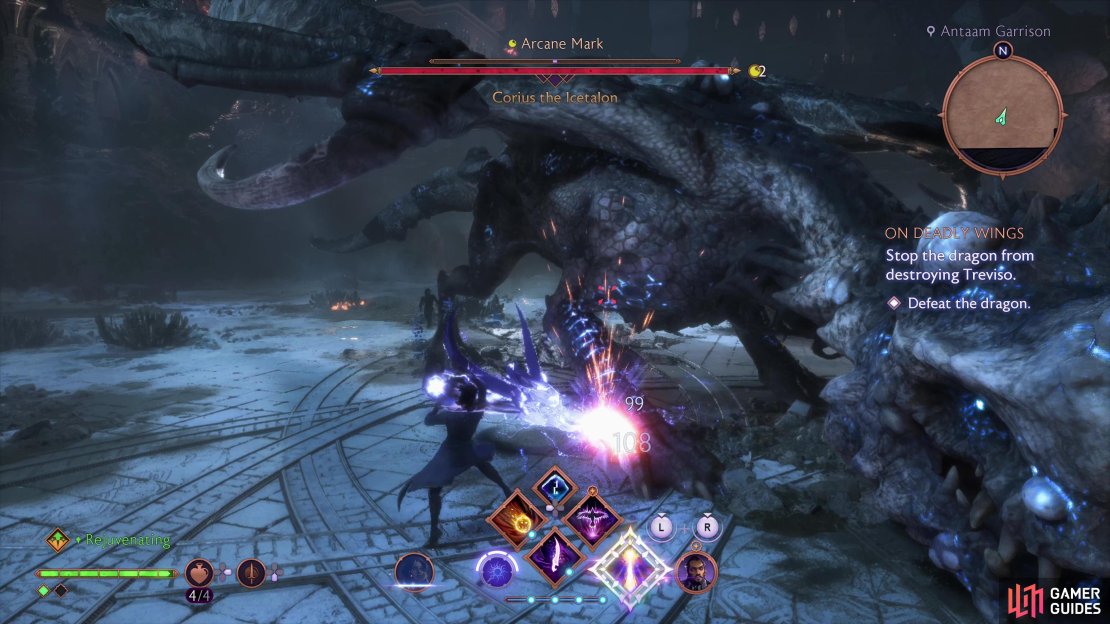
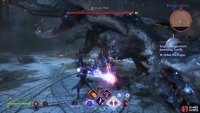
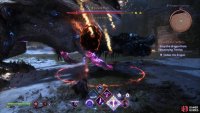
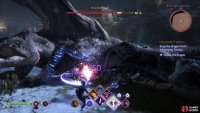
Corius the Icetalon is strong, capable of killing in two or three hits, so bringing along companions who can heal will make this fight easier. You also need to be worried about accumulating Chilled stacks, which can inflict a sneaky amount of damage-over-time. What might take some getting used to is just how relentless dragons can be in this game, attacking with little pause. You’ll have to adjust to the cadence and be satisfied with sneaking in the odd counterattack or two between the dragon’s own offense - if you’re a mage used to getting your way will full combos culminating in a Spirit Blade throw and Arcane Bomb proc or charged heavy attack, that’s probably not going to be feasible in this fight. Settle for chip damage and don’t overcommit.
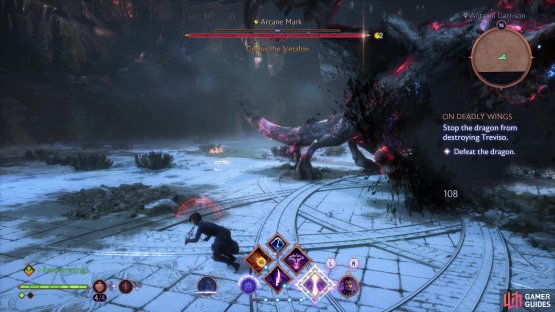
Not only is your offensive flow disrupted by the dragon’s attacks, but he takes surprisingly little damage from you at all. Or rather, he’s got a tremendous health pool. There are two consolation prizes, however: First, the dragon’s limbs and head will periodically glow purple, letting you know they’re currently vulnerable. This is a good time to close in and hit the offending appendage with a skill (the iframe from your attack should keep you safe). Sneak in normal hits to keep your main resource up so you can punish the dragon when these opportunities arise and it’ll shorten the fight significantly. During the fight you’ll likely stagger the beast, knocking it onto its side and creating a vulnerable patch over its chest. Be ready for this so you can take full advantage! Second, you’re not expected to win this fight; reduce the dragon’s health to around 75% and Ghilan’nain will call off her pet before it can sustain any serious damage.
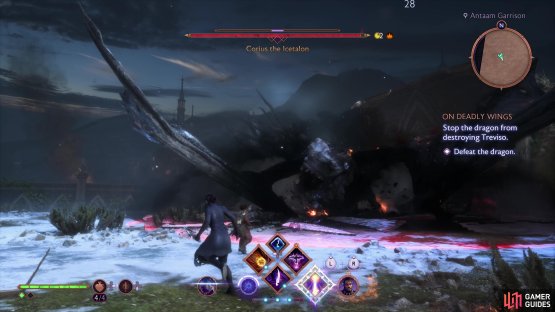
(1 of 3) Take what chip damage you can - you probably won’t get away with lengthy combos between the dragon’s attacks.
After the fight you’ll ponder the strategic mismatch you find yourself in and get an update about Minrathous. Bad news all around. Following that you’ll be back in The Lighthouse and this quest will end, earning you 2,570 EXP, 400 gold, the ![]() Upend Rune, +400 Antivan Crows Strength and some gear (our mage Rook obtained a Glacial Staff.
Upend Rune, +400 Antivan Crows Strength and some gear (our mage Rook obtained a Glacial Staff.






No Comments