As you progress through Dragon Age: The Veilguard, you’ll gain access to exploration areas for each of the regions. Inside, you’ll find hidden chests among other goodies. Necropolis Halls is an area you’ll explore later in the game, and this page will help you find every hidden chest, including the difficult-to-locate unique chests.
Table of Contents
If you want to jump to a specific section, click on the links below.
| Quickjump |
|---|
| Regular Chests |
| Unique Chests |
Regular Chests
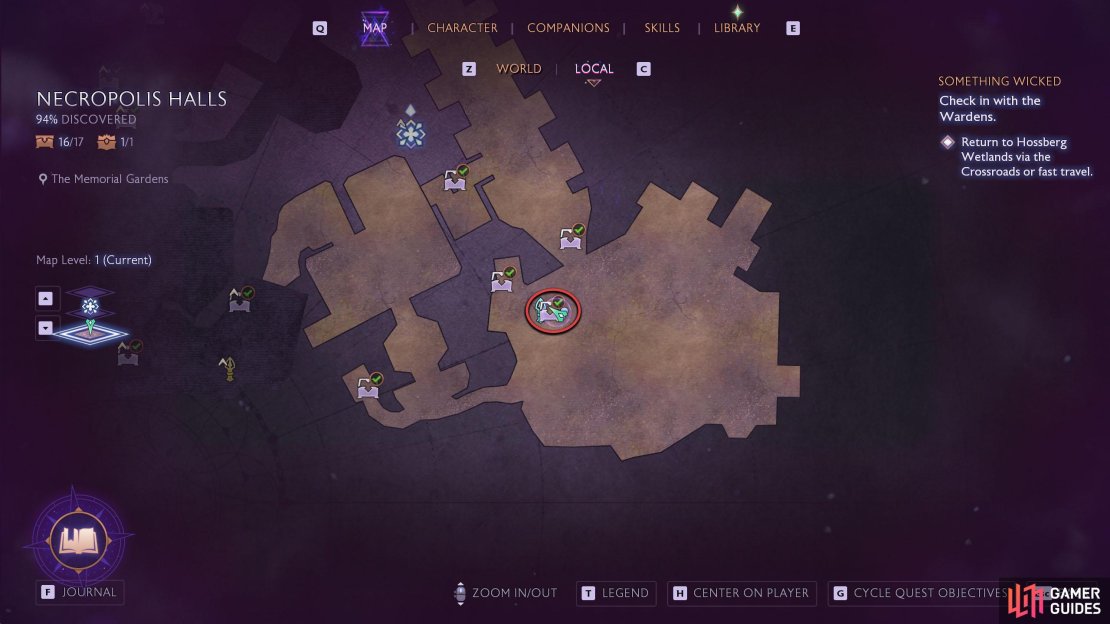
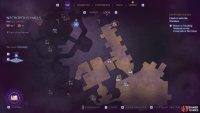
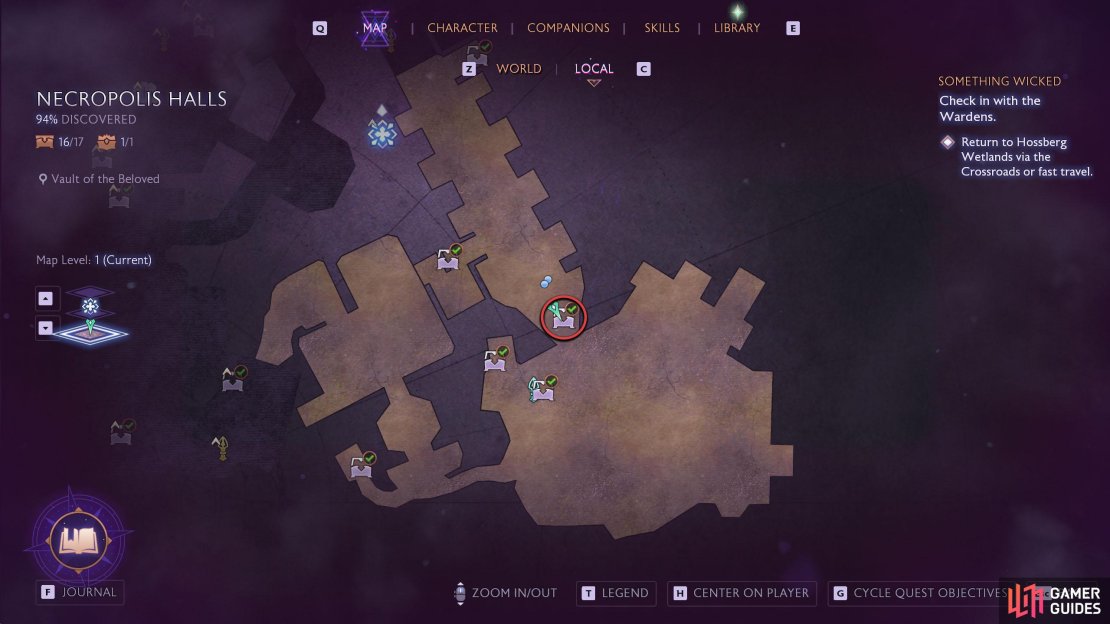
There are a total of 17 regular chests to find in Necropolis Halls, but to get some of these, you’ll need to come back at a later time when a new quest appears, as it will open up more of the map to explore. Below, you can find the location of each chest.
Regular Chest 1 - Vault of the Beloved
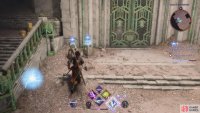
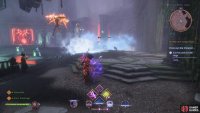
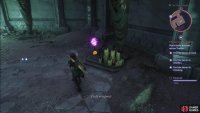
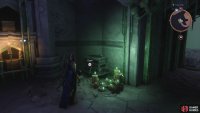
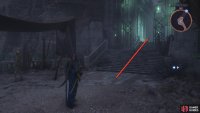
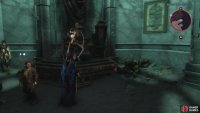
Available during your first exploration of Necropolis Halls. You’ll find this chest just past the door where you need to gather four wisps as part of the main story quest “Where the Dead Must Go”. As soon as you open the door, the chest will be in the right corner, next to the brazier.
(1 of 3) You’ll find this chest along the path during the “Where the Dead Must Go” main story quest.
Regular Chest 2 - The Path of Sighs
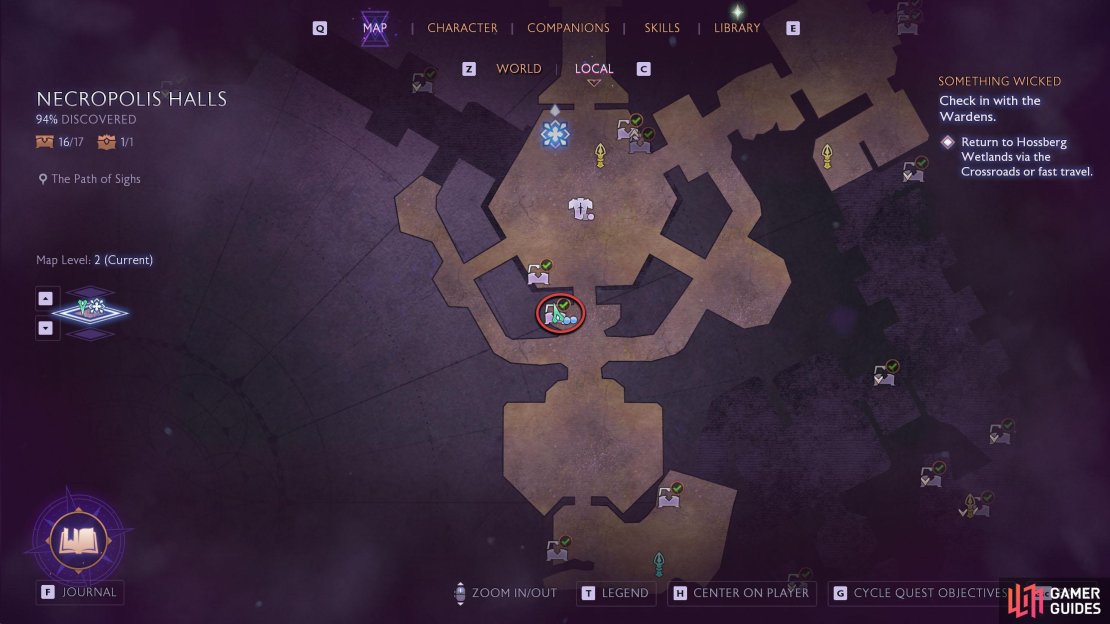
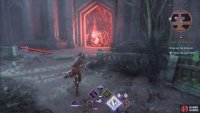
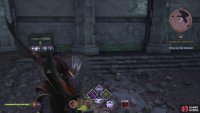
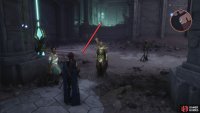
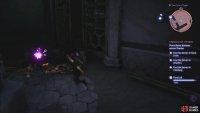
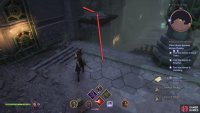
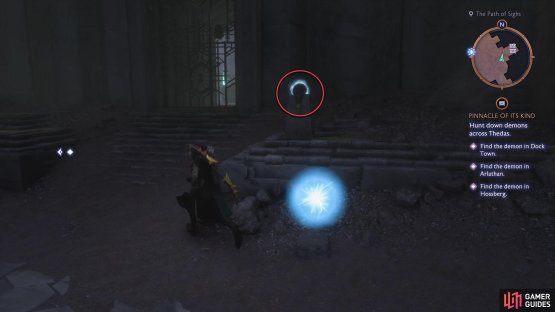
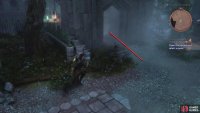
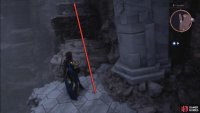
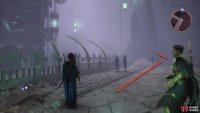
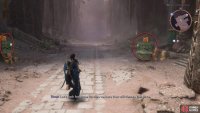
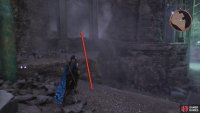
Make your way through the “Where the Dead Must Go” story quest until you reach The Path of Sighs, where you fight the Graverobbers. After defeating the Graverobbers, head north toward the red barrier, and check to the left of it to find the chest.
(1 of 3) You’ll find this chest when you enter The Path of Sighs from the Spectral Court area.
Regular Chest 3 - Hollow Belfry, Lower
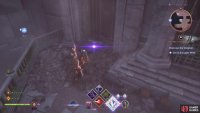
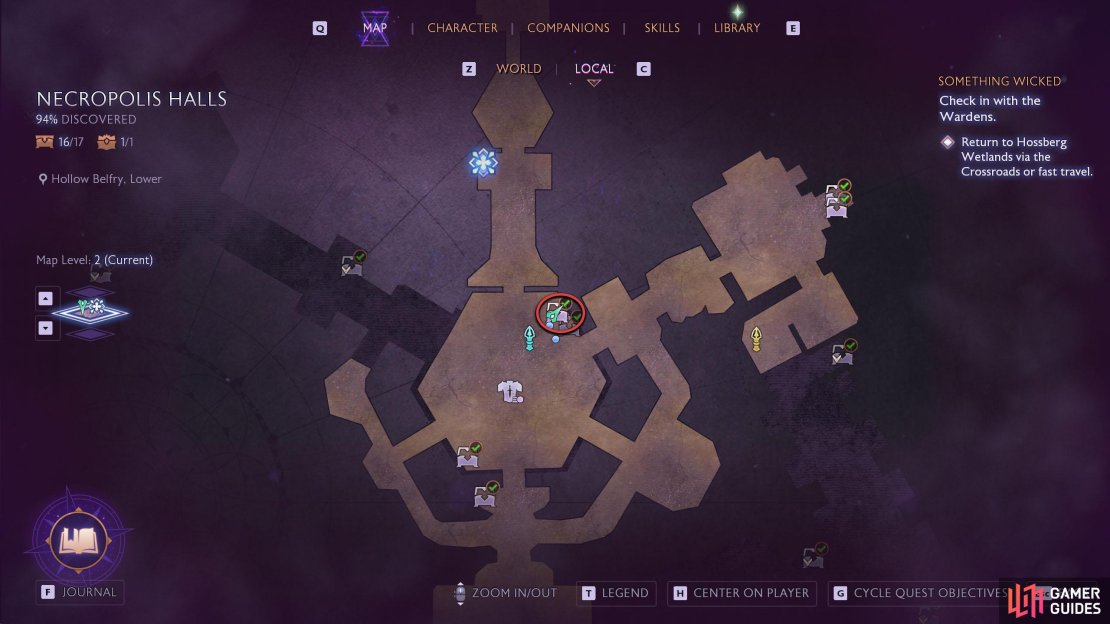
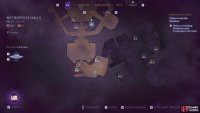
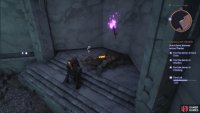
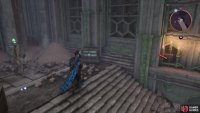
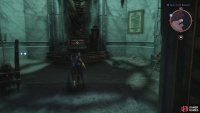
This is the area where Emmrich rings the bell at the end of the “Where the Dead Must Go” story quest. After you’ve survived the demon attack, head over to the northeast corner of the room to find the chest sitting snugly against the wall.
(1 of 3) The chest can be found in the northeast corner of the main hub in the Necropolis Halls.
Regular Chest 4 - Cascades
Requires unlocking the companion Taash.
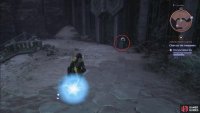
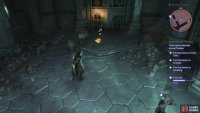
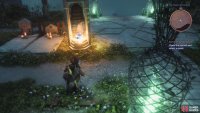
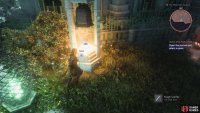
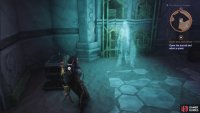
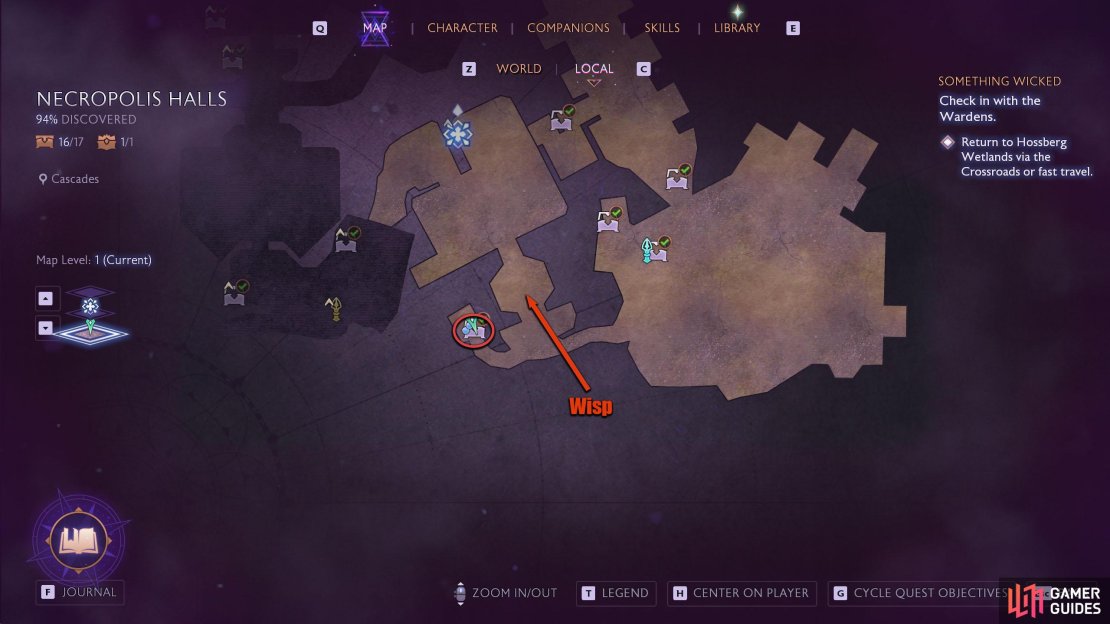
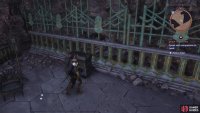
This chest requires you to find a wisp. The chest itself is situated behind an iron gate on the west side of the Cascades. To find the wisp, you’ll need to complete a puzzle in The Spectral Court located to the north of it. In The Spectral Court, interact with the coffin there, and a wisp will bounce around different braziers.
Light up the brazier with Taash’s power in the order that the wisp jumps to. After you complete the puzzle, check the same coffin again to get a Memento as well as the wisp. Now, quickly take the wisp south into the Cascades, and place it on the nearby pedestal to open the gate. The chest will be at the back of the room.
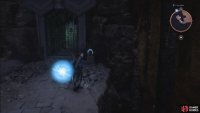
(1 of 4) The chest is located behind an iron gate in the west of the Cascades.
Regular Chest 5 and 6 - The Path of Sighs 2
Requires Davrin to access this chest.
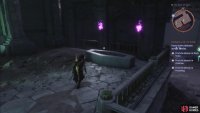
Teleport to The Path of Sighs Beacon, use Harding’s power on the block to the west, climb up, and continue west to find a coffin. Interact with the coffin to start a puzzle, where you’ll have 1:45 seconds to complete it.
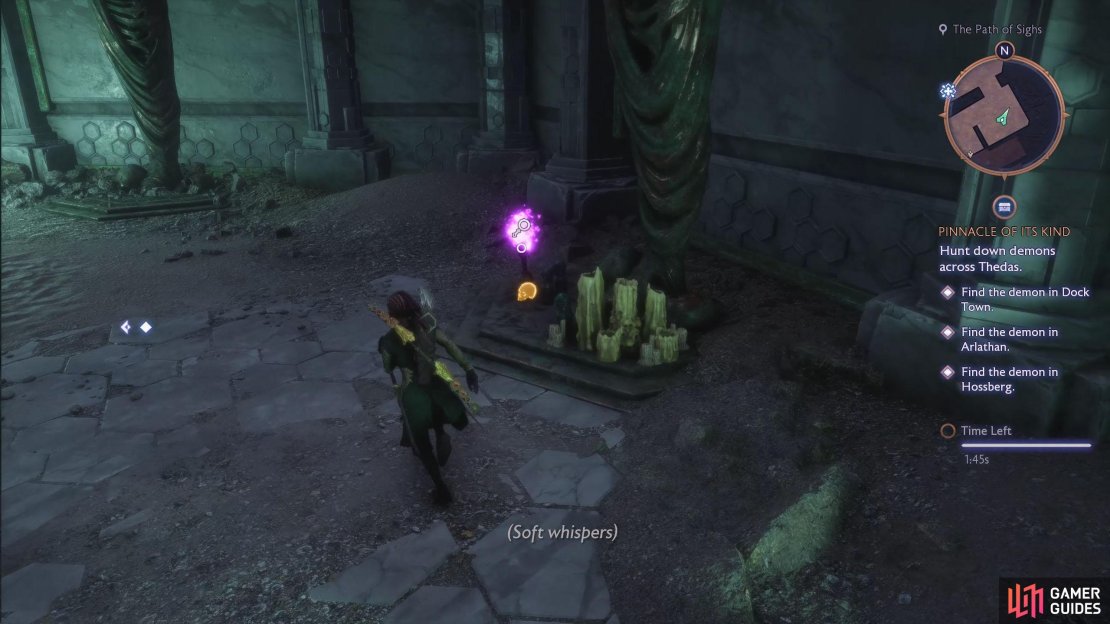
Your goal for this puzzle is to collect five parts of the skeleton and place it back in the coffin within the time limit. If you have trouble finding them, look out for the purple lights/torches to find them.
(1 of 3) The chests here require you to complete the skeleton retrieval puzzle.
- Skull: At the base of the green statue opposite the coffin.
- Humerus : Head into the northern room and search behind the iron fence to the left of the entrance.
- Tibia : In the same room, climb up the stairs to the north, and climb up the small ledge in the northwest corner.
- Ribcage : Head south from the last part, where you’ll find it on the floor, next to some pots.
- Femur : Go back to the top of the stairs and head to the southwest wall. Here, you’ll find a ledge leading into a hole in the wall.
Once you have all the parts, rush back to the coffin where you started to obtain the wisp. Now, go back into the northern room, and place the wisp on the pedestal on the east side of the room. Inside, you’ll find two chests and a Memento.
(1 of 2) After taking the parts back to the coffin, pick up the wisp and back into the northern room. The pedestal will be on the right.
After taking the parts back to the coffin, pick up the wisp and back into the northern room. The pedestal will be on the right. (left), Behind the gate, you’ll find two chest, one on either side of the room. (right)
Regular Chest 7 - The Memorial Gardens
Requires completing the Walking the Graves companion (Emmrich) quest.
During the Walking the Graves quest, you’ll help out Emmrich in The Memorial Gardens. After the quest is complete, head over to the northwest as if you’re going to the Beacon, and you’ll find an illusory door that’ll transport you to a platform above, where you’ll find the chest in front of you to your left.
(1 of 3) Head toward the Fast Travel Beacon in The Memorial Gardens.
Regular Chest 8 - The Memorial Gardens 2
Requires completing the Walking the Graves companion (Emmrich) quest. Emmerich must be in the party.
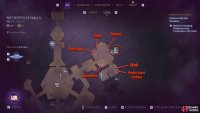
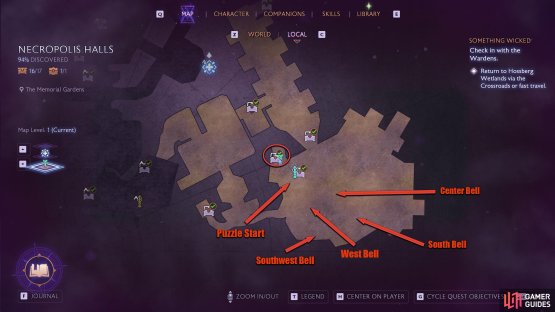
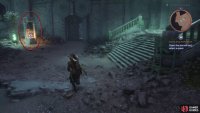
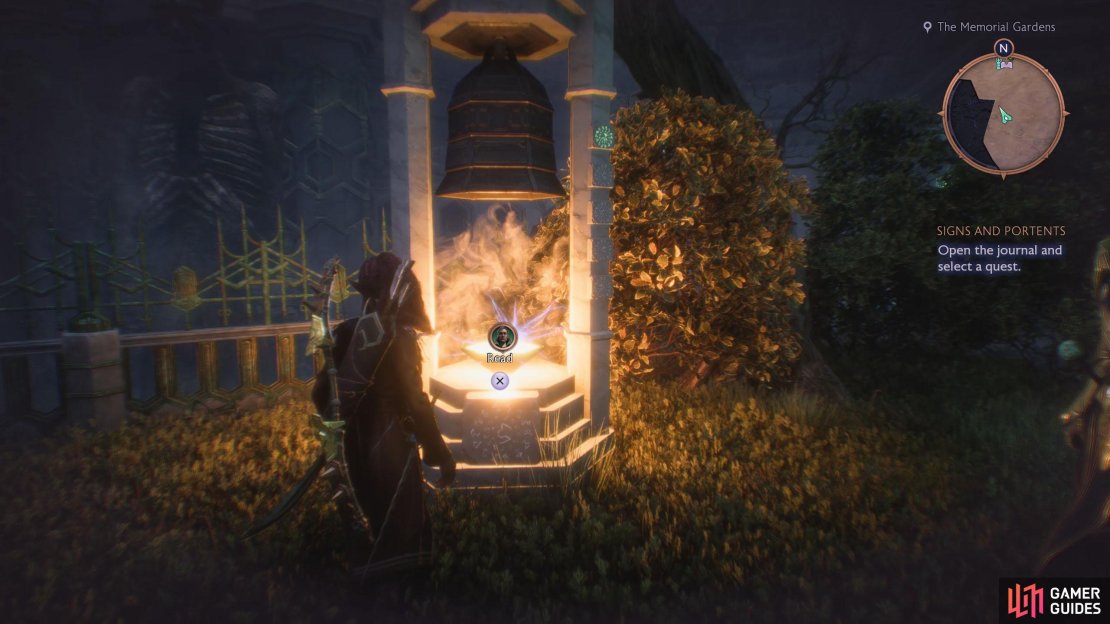
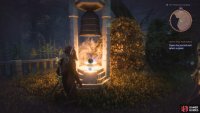
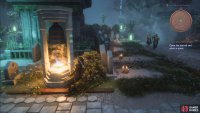
Go back to where the illusory door was (where the Beacon is), and you’ll find an obscure bell with golden energy inside it just behind where it was. Use Emmrich’s power on it to start a puzzle. The goal of this puzzle is to follow where the wisp goes and do the same thing to that bell. If you get lost while doing this, you can look at the glyphs on the nearby door and match that up with the glyph below the bell. To make things even easier, here is the order you need to light up the bells.
(1 of 2) Here, you’ll find the locations of all the bells.
Here, you’ll find the locations of all the bells. (left), You start off the puzzle by interacting with the bell above. The gate to the right of it will open up upon completion of the puzzle. (right)
- West Bell
- Center Bell
- South Bell
- Southwest Bell
After lighting up all the bells, head back to the bell that started the puzzle, and the gate to the right of it will have opened up. Go inside, where you’ll find the chest to the left of the door.
Regular Chest 9 - Cascades 2
Requires Dock Town Exploration Unlocked and be on ![]() The Snake Nest Deal quest.
The Snake Nest Deal quest.
From The Memorial Gardens Beacon, follow the path southwest until you can go north into the building. Inside, there’ll be a door you can interact with, with Emmrich’s power to acquire a wisp. Take the wisp back out the building and continue west, where you’ll find a pedestal to place the wisp. Head inside the unlocked room to find the chest to the right of the door.
(1 of 4) Head southwest from The Memorial Gardens Beacon.
Regular Chest 10 - Cascades 3
Requires Dock Town Exploration Unlocked and be on The Snake Nest Deal quest.
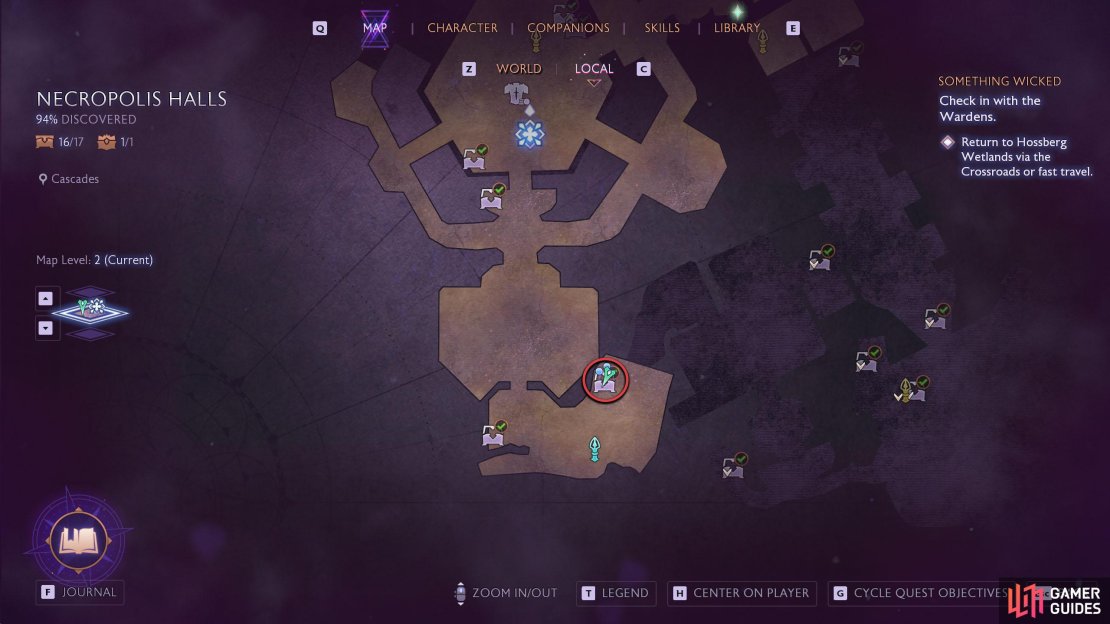
From the Cascades Beacon, head to the southwest corner of the Cascades, and you’ll find a path leading up. To reach the next platform, you need to use Harding’s power to pull the block out, which can be done by looking down over the edge, where the gap is. Follow the path around, kick down the ladder (in case you fall), and then use Lucanis’ power to create a bridge to the north.
Make your way across the makeshift bridge, and jump over to the two wooden beams sticking out of the wall before dropping to the platform below. Finally, slide down the path to the east, and you’ll find the chest against the wall to the west. Note that the chest has a trap, so make sure you move away after opening it.
Regular Chest 11 - Hollow Belfry, Upper
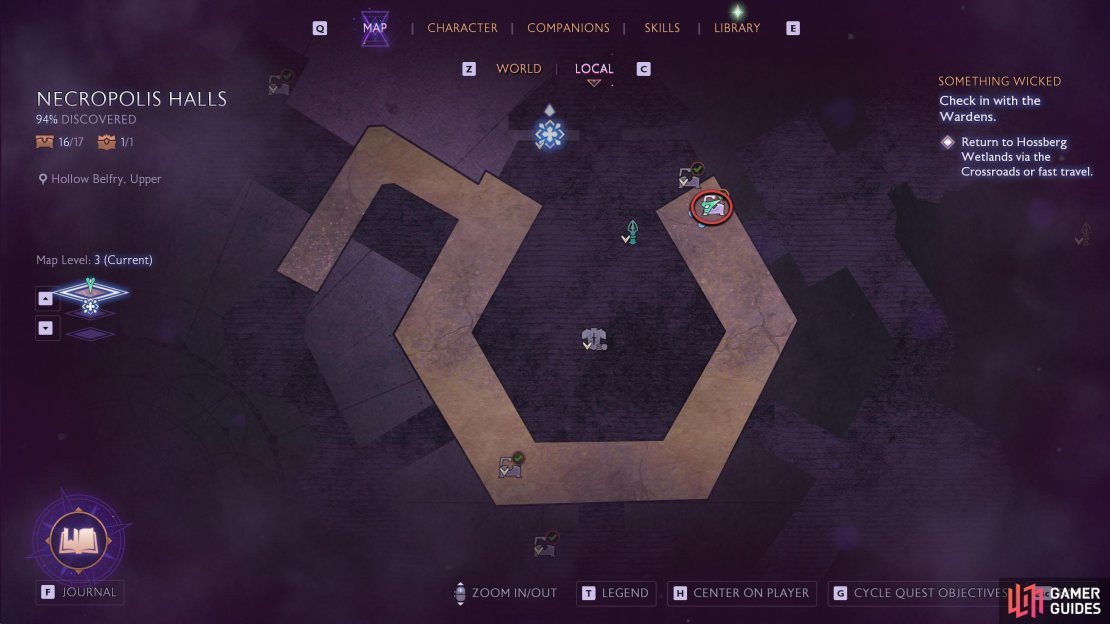
From the Hollow Belfry, Lower Beacon, go through the southwestern door (if you didn’t unlock this, head through the southern door), and follow the path around to the north until you reach the Upper part of the Hollow Belfry. Now, all you need to do is follow the path anti-clockwise to the end, where the chest will be against the wall to your right.
Regular Chest 12 - Vault of the Beloved 2
Requires Taash to access this chest.
From The Memorial Gardens Beacon, enter the door to your north, and follow the hallway to the end. At the end of the path is a door to the northeast that can be opened by using the lever next to it.
Inside, you’ll find a locked chest that has a skeleton and a note attached to it that requires you to complete a puzzle of sorts to unlock the chest. Head back into the hallway, defeat all enemies if needed, and light up all six candles on either side of the room.
(1 of 5) Head north from The Memorial Gardens Beacon and enter the northeastern room.
Regular Chest 13 - Vault of the Beloved 3
Must complete the candle puzzle from the previous chest.
In the same area, there is an illusory door to the south that will transport you to the platform above where the chest is. This door is on the rocks, but it’ll only appear after you complete the candle puzzle. Note that you will need to refresh the area after the candle puzzle for it to appear. Simply teleport back to The Memorial Gardens Beacon and head north.
(1 of 3) After completing the candle puzzle, teleport to The Memorial Gardens Beacon and head north.
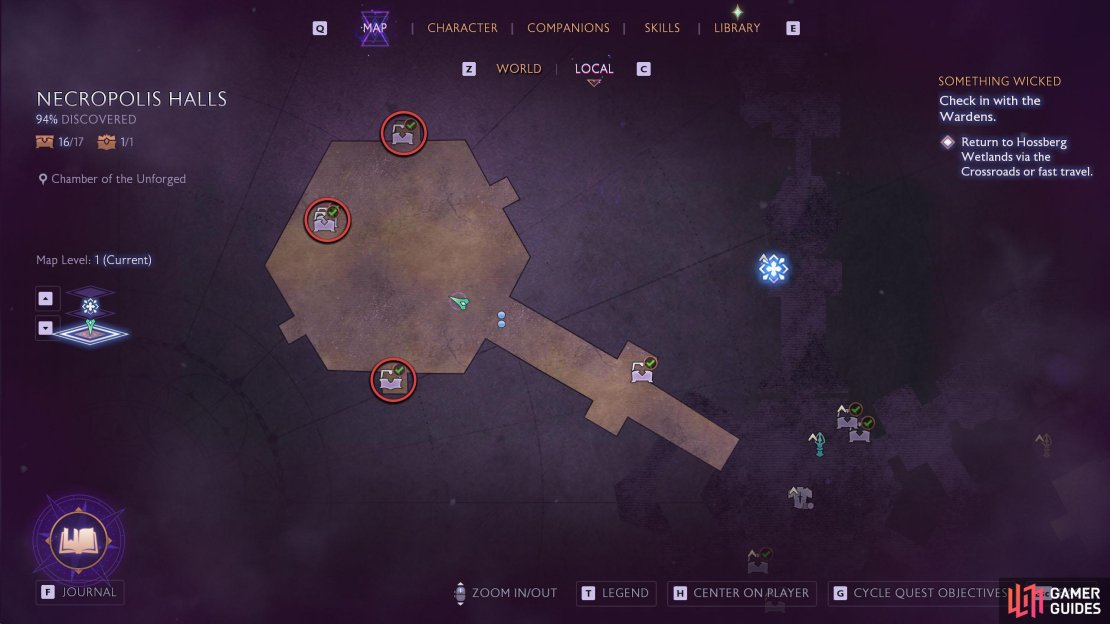
Regular Chests 14, 15, 16 and Unique Chest - Chamber of the Underforged
Requires completion of the ![]() Unwelcome Guests and Pinnacle of its Kind side quests.
Unwelcome Guests and Pinnacle of its Kind side quests.
Before you can start this quest, you need to complete the Unwelcome Guests side quest. Afterward, approach the door to the northwest of the Hollow Belfry, Lower to start the Pinnacle of its kind quest.
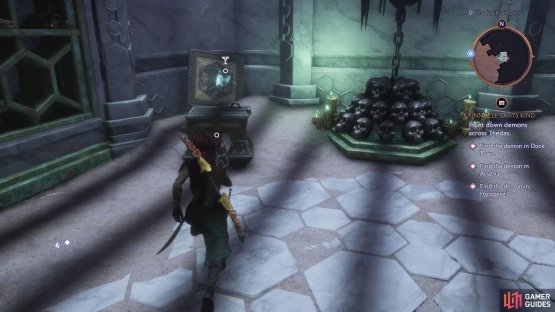
In short, you’ll need to defeat a bunch of demons in three locations in the world before you fight a level 40 dragon. Once you’ve defeated the dragon, you’ll find four chests around the arena, with one of them being a unique chest. For a full walkthrough of the quest, check out our Pinnacle of its Kind quest guide.
(1 of 4) The final part of the Pinnacles of its Kind quest will take you to the Chamber of the Unforged, where you’ll fight a dragon.
Regular Chests 17 - Lost Watcher’s Wing
Requires completion of all the Haunting side quests (Restless Dreams, From Beyond, and Shadows of Fortune.)
This quest appears on the stairs near where you start the area for the first time. However, the stairs will be rubble until you get them rebuilt. To do this, you’ll need to have complete all the Haunting side quests from Myrna as well as completed the candle puzzle that you need to do for chest 12 as this will send skeletons around the area to perform maintenance around the halls.
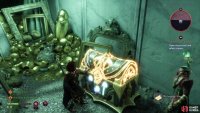
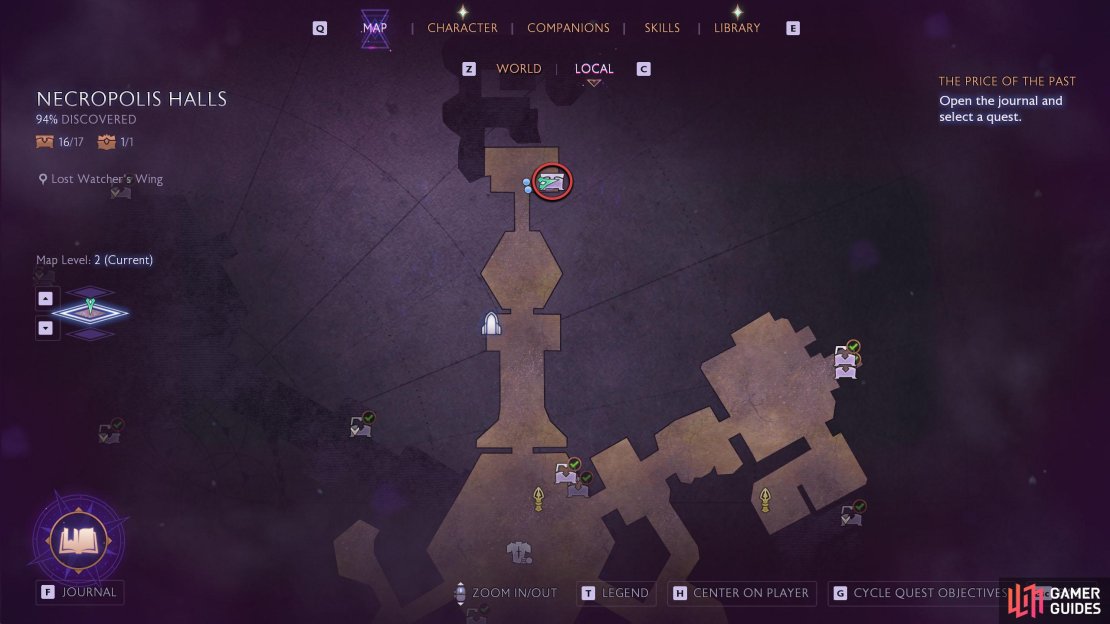
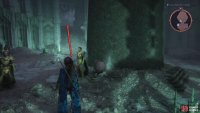
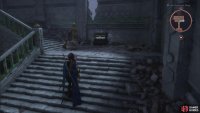
Make sure you refresh the area (teleport to the Lighthouse and come back) for the changes to take affect. This may take some time for them to appear, so you may have to keep checking to see if they’ve been rebuilt. From the Hollow Belfry, Lower Beacon, head north into the Lost Watcher’s Wing and follow the path to the end. To your right, there will be some stairs with the chest on it.
(1 of 3) This chest can be found on the stairs in the Lost Watcher’s Wing.
That’s it for the Necropolis Hall chests. The list above isn’t in a particular order, but the order we got them in. As long as you meet the requirements listed, you can get the chest.
Many chests may need you to have a specific quest or companion to access them. Why not check out our other chest guides below?




















No Comments