Once you unlock Rivain for exploration in Dragon Age: The Veilguard, you’ll be able to undertake some of the various quests that have become available there and hopefully raise your Grey Warden’s and Lords of Fortune Strength for the battles to come. Unless you’re diligent in your exploration, The Warden Vault is an easy quest to miss, you won’t start it by speaking to someone like most other quests. Keep reading to learn where you can find this quest and how to complete the puzzles to secure access to the vault!
The Warden Vault is a Rivain Side Quest in Dragon Age: The Veilguard.
Table of Contents
If you want to jump to a specific section, click on the links below.
| Quickjump |
|---|
| The Warden Vault Quest Location |
| The First Warden Lock |
| The Second Warden Lock |
| The Third Warden Lock |
| The Warden Vault Rewards |
Starting The Warden Vault
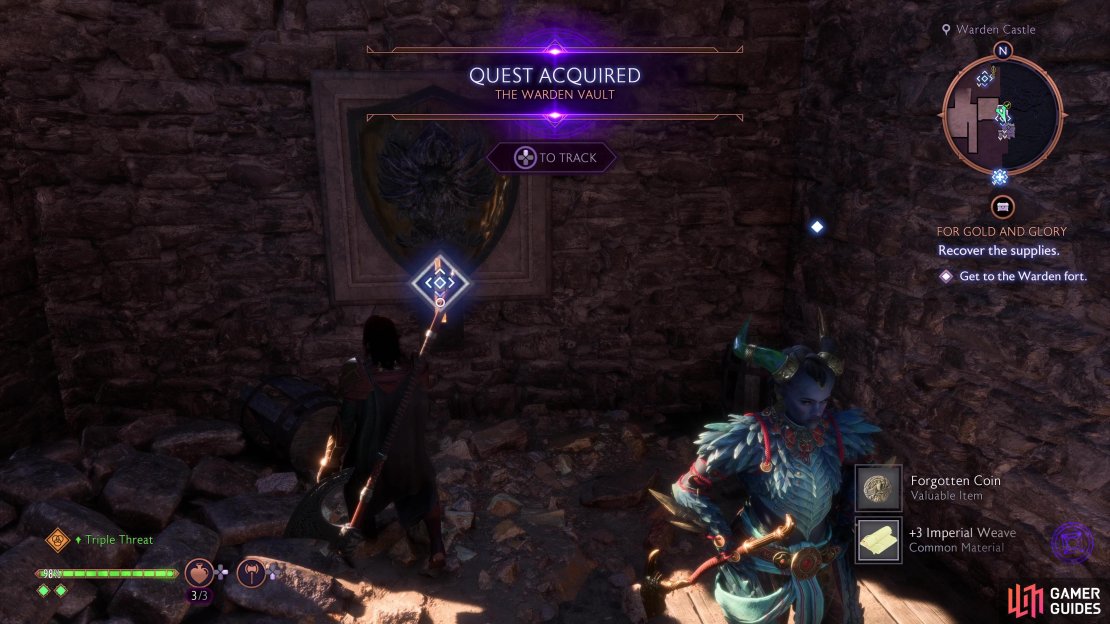
As mentioned above, you won’t start The Warden Vault how you begin most other quests, it takes exploration of the Warden Castle, located to the east of the map. The objective of the quest is to find and activate three locks that sit below large Grey Warden shields, and to begin the quest, you must simply find any one of these three locks. While it’s easiest to find the first one you come to, you’ll begin the quest when you find any of them.
Warden Lock Locations
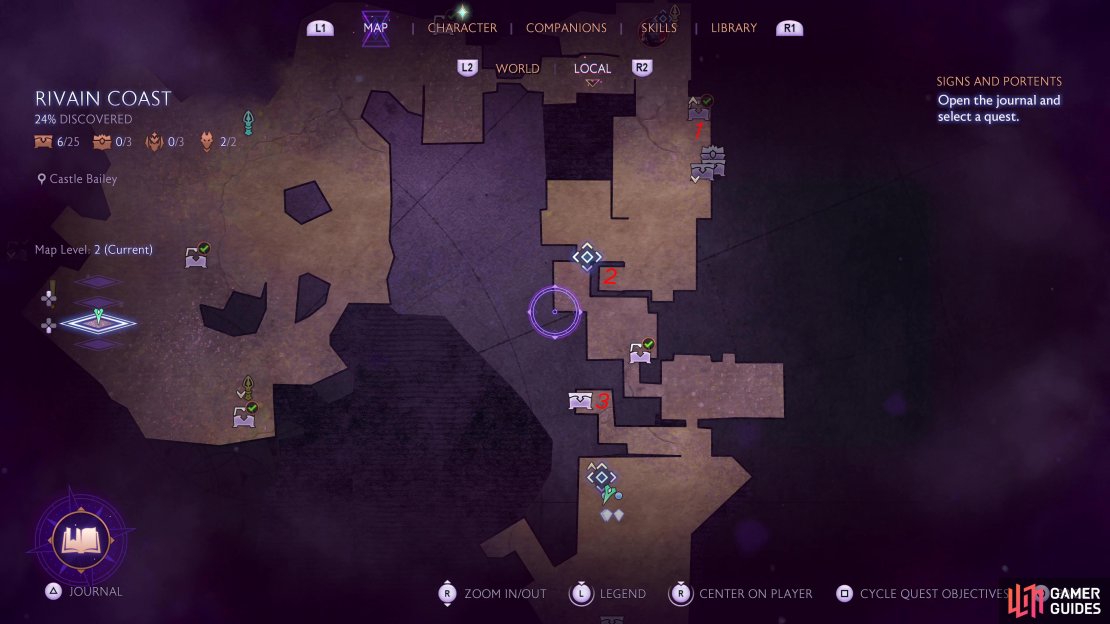
To help you find all three locks easily, you’ll find each one in their own section below, but do note, these can be found in any order, this is just the order we found them in. For most players, you will find the First Lock as soon as you return to the Castle and the second Lock may well be the trickiest.
This map shows the location of the three locks for The Warden Vault.
The First Warden Lock - Torch Puzzle
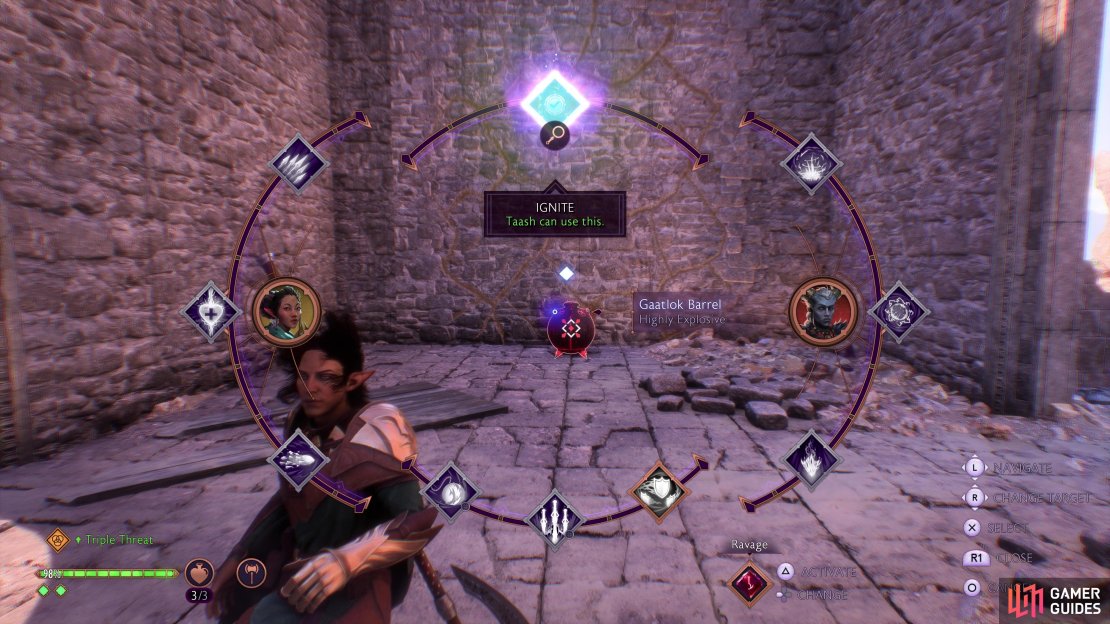
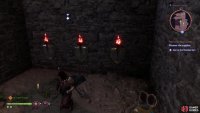
As you enter the Warden Castle from the Clifftops and crossing the beam you knocked down during The Dragon Slayer main quest, look to your right immediately to spot a Gaatlok Barrel you can have Taash ignite, blowing the wall away in the process. Head through to this new area and look to your left to spot a cart with some crates and barrels tucked away in the corner. Break these by rolling into them and you’ll discover three torches with levers on the side of the wall.
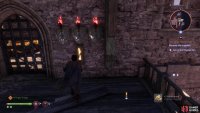
You must light all of the torches at once by pulling the various levers in a specific order. While you can stand here flipping switches until you succeed, the intended order, when facing the three torches, is Left, Middle, Right. That’s right, it’s as simple as that! You can now head up the stairs in this area and go through the door at the top where you’ll find that the torches on the nearby gate is now alight. Use the lever to gain access to not only a Gear Chest but also the first Shield Lock lever, this will also give you the quest if it’s the first one you found.
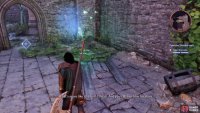
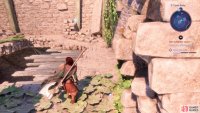
(1 of 4) Have Taash use her fire on the barrel here to open a new area near the entrance of the Warden Castle.
The Second Warden Lock - Skeleton Puzzle
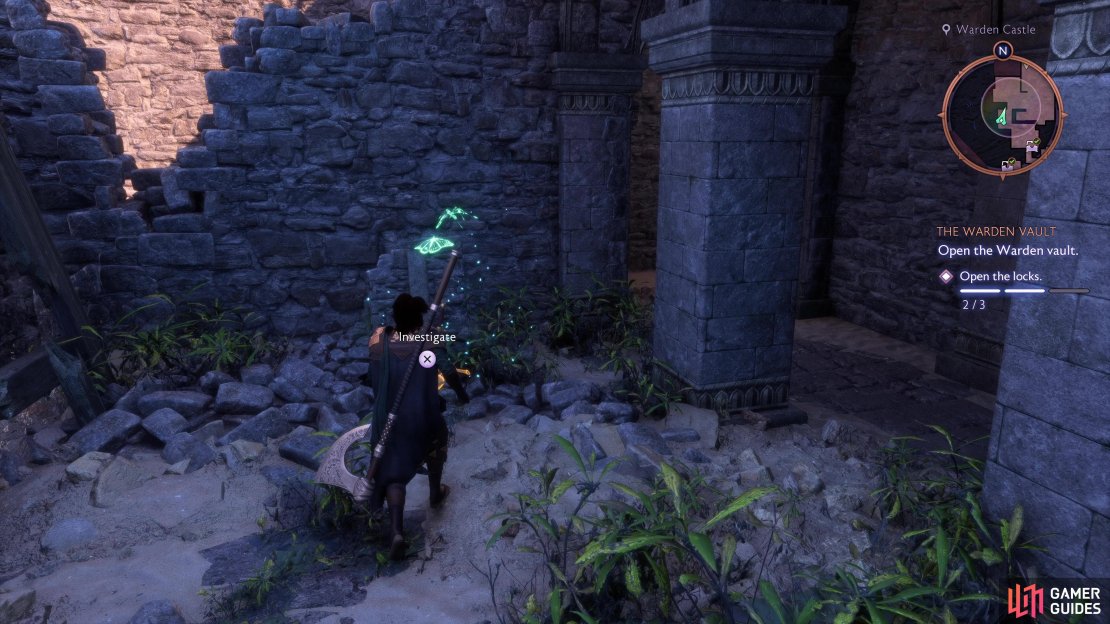
The next Warden Lock is perhaps the trickiest one to solve, as you’ll need to explore the entirety of the Vault to activate it. From the previous Lock, activate the shortcut ladder and head down to deal with any Antaam that may be lurking there. Once defeated, head south (on a fixed minimap) and go around the corner to spot a corpse with a green glow, examine it to start the Skeleton Puzzle.
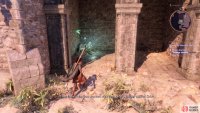
The objective here is to look at the direction that the spirit walks, and follow it to the next corpse. There are four in total (including the one you just activated) and you must interact with them in a specific order. You’ll spot the spirit walk through the wall to the north, which should give you an idea of where to go. Follow the steps below to find all of the corpses and the second Warden Lock.
-
Investigate the first corpse to the west of the main chamber and watch as it walks through the wall to the north.
-
Go north and exit the Warden Castle, taking a left when you can and going back through the hole you destroyed with Taash earlier (remember this corpse you walked by though). Head up the stairs and look to your right to spot the second corpse.
-
Retrace your steps to just a moment ago and now look at the corpse just next to the entrance to the castle’s main chamber.
-
Follow the spirit back into the main chamber and head toward the southern wall to spot it once more, interact with it to reveal a hidden door that hides the second Warden Lock.
The Third Warden Lock - Wisp Puzzle
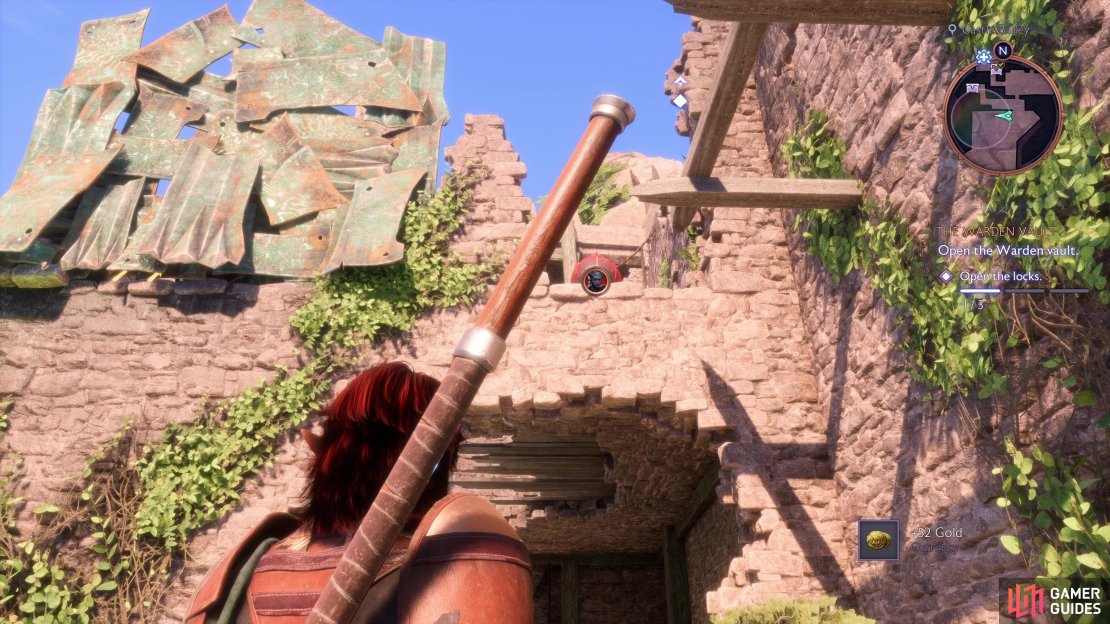
The final Warden Lock is another that is easily missable, and you’ll need to head to the back of the Castle to begin the search. Make your way to the Castle Bailey at the far southern part of the Castle and deal with the group of Antaam there. Once the area is clear, look up in the northwest corner to spot another Gaatlok Barrel you can have Taash ignite, dropping a ladder in the process.
Climb up the ladder to spot a Wisp in the corner, remember that these are on a timer, so if you want to get the nearby Gear Chest first, ignore it for now and walk across the beams to the northern side where you can claim it. Once you’re ready to solve the Wisp Puzzle, return to this location and walk into it to have it follow you.
Drop back down, head north into the next room and then go immediately left, following this corridor all the way to the end to have the Wisp possess the corpse in the hole in the wall, which will pull a lever and open the door, revealing the third and final Warden Lock!
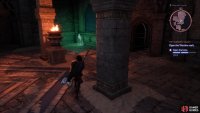
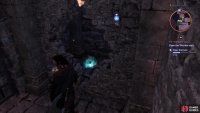
(1 of 3) Look up in the Castle Bailey to spot this barrel you can hit with Taash.
The Warden Vault Quest Rewards
With all three locks released, you can now proceed to the Vault and open it to get your rewards. First, however, you need to locate it. Return to the main chamber where the second lock was and head down the stairs on the right side (when facing the southern wall), you’ll be able to have Taash open the way and inside, you’ll find the Vault.
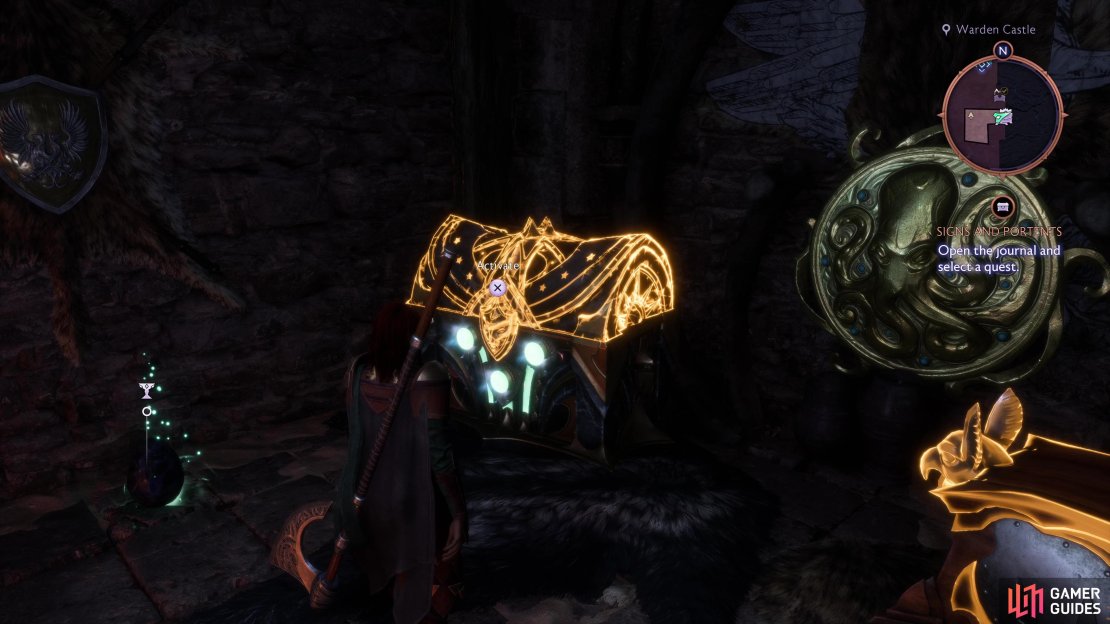
You’ll find a whole horde of treasure upon completing the Warden Vault quest.
With all three locks released, you can simply stroll up to the door and open it to complete the quest and gain access to the various chests inside. For completing the quest, you’ll get 500 XP, +50 Grey Warden’s Strength, +100 Lords of Fortune Strength, an Unique Chest, two Gear Chests, and the Petrified Dragon’s Egg Memento.



No Comments