The saying “the dead tell no tales” usually bears some weight, but with an experienced necromancer in the Veilguard, death is merely a prelude to interrogation. After the Veilguard deals with more pressing issues in Minrathous, Emmrich will coax answers out of a corpse and determine the location of a death mage who was involved in the Venatori invasion of the Necropolis - a lead too tempting to ignore. This page will provide a walkthrough for the quest ![]() House of the Dead in Dragon Age: The Veilguard.
House of the Dead in Dragon Age: The Veilguard.
Page Breakdown
Starting House of the Dead
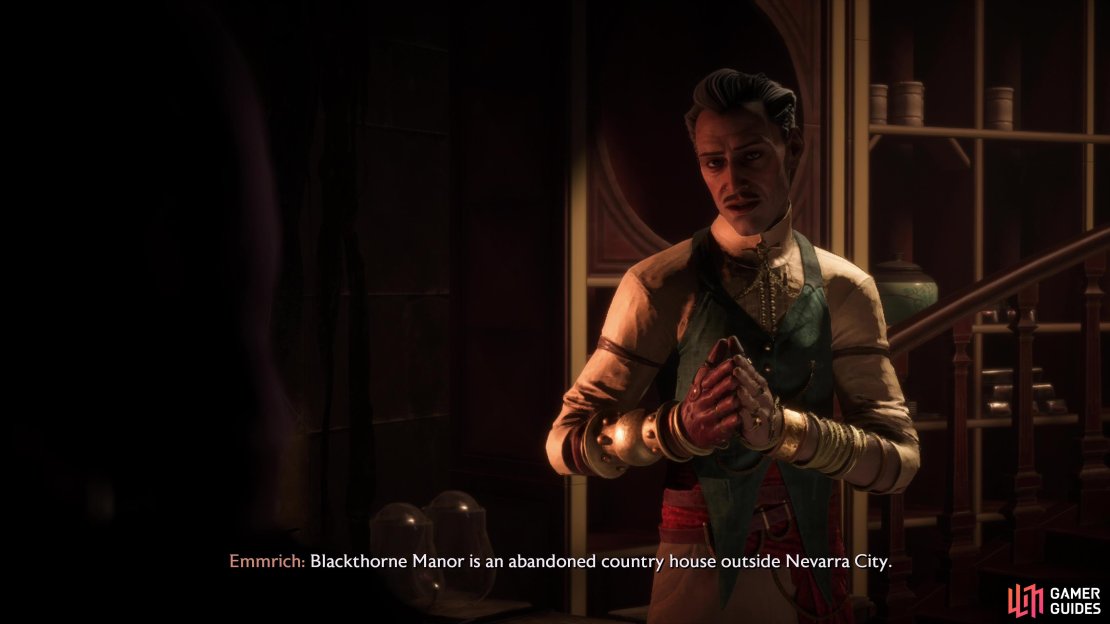
To start this quest you’ll need to reach Act 2 by completing The Siege of Weisshaupt, after which you’ll need to complete another main quest - ![]() The Cobbled Swan Case, for example. Once done, return to The Lighthouse and talk to Emmrich, who will use his death magics to pry information out of a corpse, which yields the name “Blackthorne Manor”. This will unlock both the quest House of the Dead as well as unlocking Blackthorne Manor as an explorable area.
The Cobbled Swan Case, for example. Once done, return to The Lighthouse and talk to Emmrich, who will use his death magics to pry information out of a corpse, which yields the name “Blackthorne Manor”. This will unlock both the quest House of the Dead as well as unlocking Blackthorne Manor as an explorable area.
Complete “The Cobbled Swan Case” and Emmrich will get some information from a corpse, starting this quest.
Explore the Tomb
Gather your party (including Emmrich) and venture forth to Blackthorn Manor, which is an appropriate setting for all the spookiness sure to follow. Does the sun ever shine on Nevarra? Not when we’re here on a job, apparently. After some chatter with Emmrich, head upstairs to the north to reach the Blackthorne Courtyard, where double doors beckon you to the manor’s interior. Ignore it for now and instead turn left (west) to find a tomb that’ll yield some optional plunder, if you’re willing to delve into its depths.
Open the doors to the tomb and climb down a ladder, then head down stairs to the north and west to reach a chamber occupied by The Grounds Keeper and a pair of Protected Shades. The former is just a Despair Demon and it will use all the familiar attacks, including creating a chilling field and blinding your companions so it can toss frozen orbs at an isolated Rook. The Protected Shades are just melee shades with a barrier, and The Grounds Keeper will summon more shades (albeit unprotected ones) when its health is low.
Defeat this creature, exit the room to the west, loot a chest, then climb a ladder, follow a wooden platform to the south and east. Continue along the linear path ahead and go upstairs to find yourself on a ledge overlooking where you entered the tomb - look a chest to the north, then drop off the ledge to the east, climb a ladder, and exit the tomb.
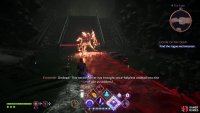
(1 of 3) Enter a tomb on the grounds and defeat The Ground’s Keeper,
Find the Points of Suffering
Return to the front of the manor and enter and note that you’ve got a plethora of options seemingly available to you - halls to the left and right, on both the first and second floor, and two flights of stairs to the north. Alas, most of these are false options, as sealed doors block your way in most directions - right now only the eastern wing is open to you, and even then, only grudgingly. From the entrance turn right and destroy a barricade over the doorway. Destroy the numerous crates and barrels in the room beyond, loot a tiny chest, then climb onto a ledge and destroy more junk to find a small chest. Neither likely contain anything great, but chests are chests.
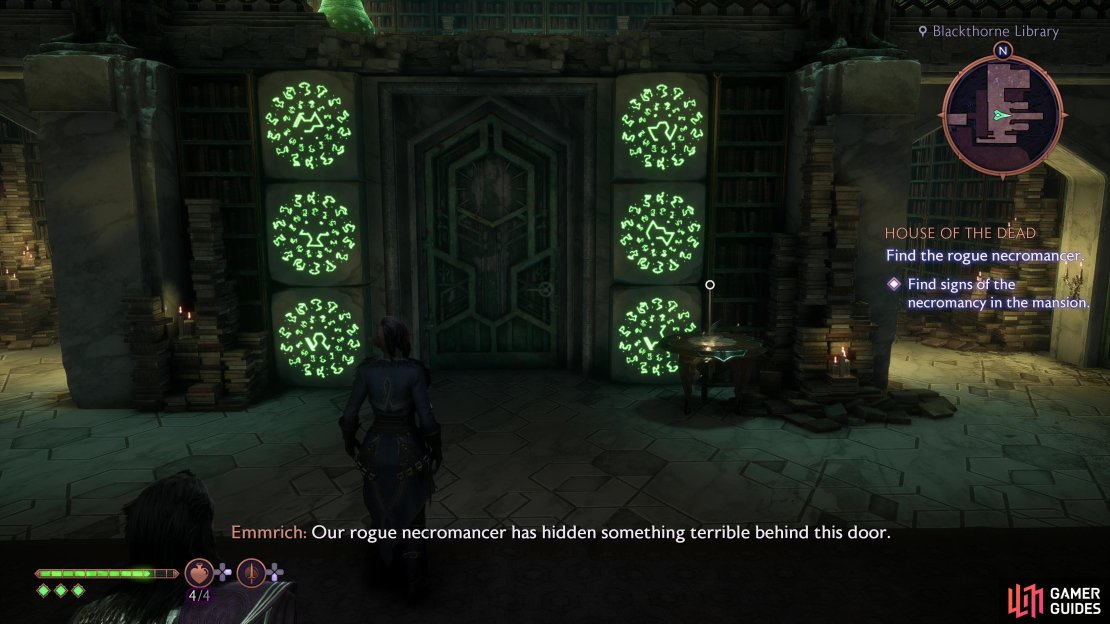
Exit the room, head upstairs to the north, then ascend a second flight to the south and continue west on the upper floor to reach a library. Drop off a ledge to the east to reach a sealed door which, according to Emmrich, hides something terrible. Naturally we want to see, but we’ll need to find some “points of suffering” that fuel the wards on the door. Thus begins the scavenger hunt that’ll see us explore most of the mansion.
Grab a Skeleton Key off a small table near the sealed door, which is the most notable bit of loot in this library. If you head south you’ll find a glass case hiding a tiny chest, and if you head upstairs and search a small alcove (also to the south) you’ll find another tiny chest. Otherwise, there’s the odd note lying and material lying around in glass cases. Loot what you care to, then exit via a door to the north on the lower floor.
Explore the North-East Wing
Loot the small room north of the library, then head down a hallway and up some stairs to the east and north to reach the “North-East Wing” of the manor. Pass west through a room lined by urns and statues, go upstairs, and you’ll reach another fork. If you go north you’ll reach the first objective, so go south first, up some stairs, and turn west at a long table to find a small chest behind some pillars. Continue south and east to reach the upper floor of the room north of the library, the floor of which has complete collapsed, leaving behind some exposed beams. Cross to the eastern side of the room and use what floor still exists to climb onto some scaffolding, then onto another section of collapsed floor. Cross a beam to the west to find a small chest, then work your way back down to the fork following the statue room.
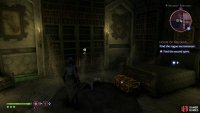
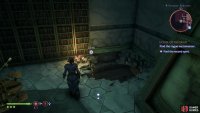
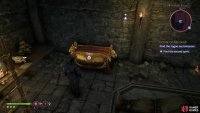
(1 of 4) Enter the library to find a sealed door - getting through it is your goal, but you need to remove the warding, first. Grab the Skeleton Key off the table,
Free the Tormented Spirit in the Master Bedroom
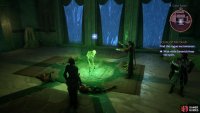
Head north and ignore some stairs to the west - they go nowhere. Instead, press on to the Master Bedroom, where you’ll find a tormented spirit amidst a pile of corpses. Approach and four Frenzied Shades will appear. Banish them and let Emmrich deal with the tormented spirit - chatter during this encounter will make it clear that you’re dealing with a powerful and unscrupulous practitioner of death magic.
(1 of 2) Enter the Master Bedroom to find a tormented spirit,
Enter the Master Bedroom to find a tormented spirit, (left), and put down the four shades that spawn when you approach said tormented spirit. (right)
Explore the North-West Wing
Backtrack to the library and you’ll see that half the seals on the door have vanished, then continue back to the Grand Foyer and cross to the eastern wing of the manor. The Skeleton Key you found in the library will open a door to the north, so use it and pass on through some hallways to the north and west to reach the Ruined Balcony.
Once again there are two paths you can take - work your way around a fountain to the south (grabbing a tiny chest on the edge of said fountain as you go) and you’ll find a doorway running east towards your destination, while some stairs to the north of where you entered will provide another option. Naturally we want to do the optional exploration first.
Go up the stairs to the north to reach the upper floor of the North-West Wing, a square loop with little of interest in it save for a chest on a ledge in the northwestern corner. Note the chest and the lower room below beyond the railing, then head north to find a doorway to the west, leading to the Storage area. You may find undead prowling about, so kill them if necessary, then note two staircases to the south of where you entered - one case leading down and another up.
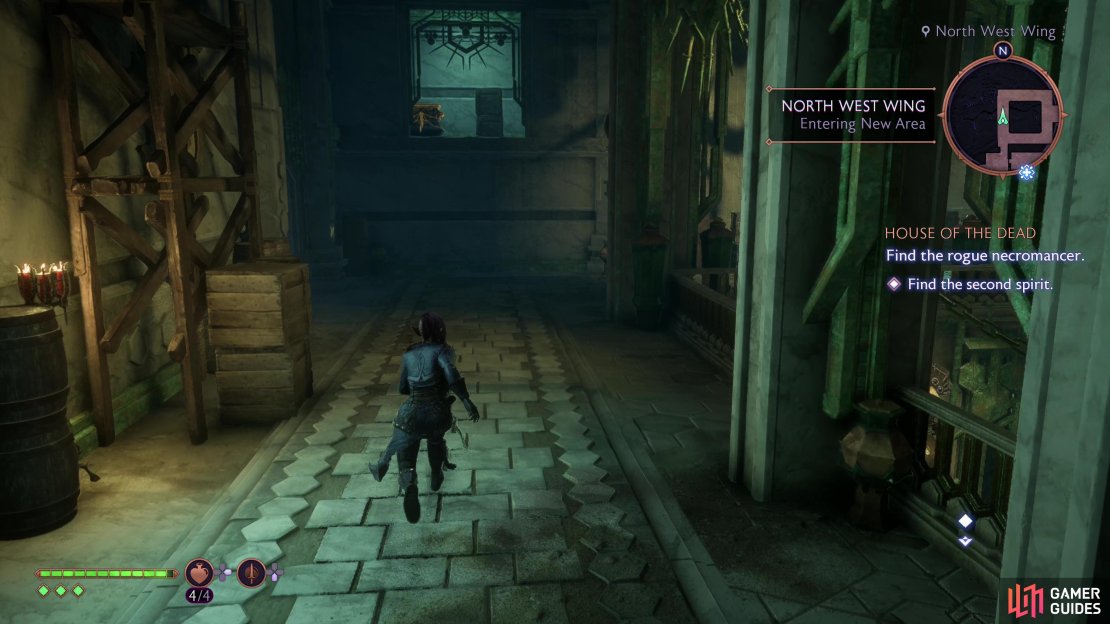
![]() Ascend upstairs to the south, then turn west to find a wooden plank running northish to some crates in the middle of the room. From here cross another beam to the northwest, drop down some crates to the north and west to reach the northwestern section of the room and turn south to find a chest. Climb back onto the crates to the east, then work your way east and north and look northeast to spot a wooden ledge you can jump to - there will be an ultimate pot behind a beam up here. Jump across to this wooden ledge, then cross a bream to the east and northeast to reach a stone ledge and turn east to find the chest overlooking the North-West Wing room.
Ascend upstairs to the south, then turn west to find a wooden plank running northish to some crates in the middle of the room. From here cross another beam to the northwest, drop down some crates to the north and west to reach the northwestern section of the room and turn south to find a chest. Climb back onto the crates to the east, then work your way east and north and look northeast to spot a wooden ledge you can jump to - there will be an ultimate pot behind a beam up here. Jump across to this wooden ledge, then cross a bream to the east and northeast to reach a stone ledge and turn east to find the chest overlooking the North-West Wing room.
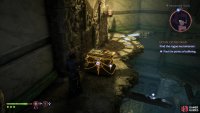
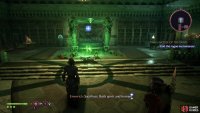
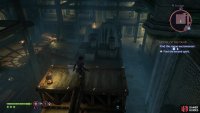
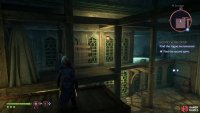
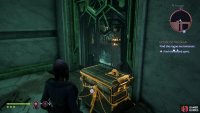
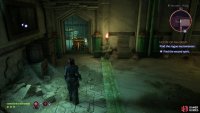
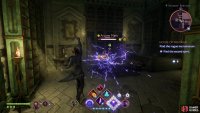
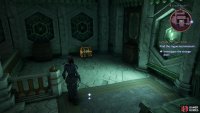
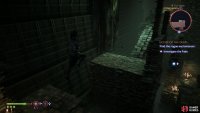
(1 of 4) Enter the North-West Wing and note a chest out of reach on a high ledge.
Explore the Servant’s Wing
Loot it, drop down, enter the Storage room again, then turn south and head downstairs.to reach the Servant’s Wing - the room beneath the North-West Wing. If you didn’t kill the undead earlier, you’ll doubtlessly have to now. Once they’re at rest again, turn north from where you entered to find a chest behind a caged doorway. You cannot get this chest on this visit, so put it out of your mind and don’t waste time looking for it - spare yourself some time and frustration.
That out of the way, there are a few places you can go from here, although this room itself isn’t that interesting. From where you entered head south and open the first door to the right (west) to reach a Servant’s Bedroom. You won’t find much here save for the odd bit of minor loot. Exit and continue south through a doorway, then turn right (west) again and open another door to reach another Servant’s Bedroom, this one with an undead inside. Exorcize it, loot a chest near a bed, then examine the bookshelves to the west to open a secret passage.
Enter the secret room and descend a ladder in the corner to reach a room with a giant corpse, a chest and the Seneschal’s Notebook, the latter of which hints at the cause of the manor’s abandonment. Loot the chest, then scurry back up the ladder lest you attract the wrong kind of attention.
Exit this second Servant’s Bedroom and go through another doorway to the south and down some stairs to find a room housing a small chest, which contains the ![]() Helm of Light and Shadow cosmetic. Grab it, backtrack up the stairs to the north, then turn right (east) and enter the Servant’s Kitchen. There’s a bit of loot to be found here, including a small chest along the eastern wall near a table loaded with some remarkably fresh looking meat. Huh. Anyways, this chest contains the Pursuant’s Implements cosmetic, but other than this if you continue south and east you’ll find a door leading to the Grand Foyer, which you can open from this side.
Helm of Light and Shadow cosmetic. Grab it, backtrack up the stairs to the north, then turn right (east) and enter the Servant’s Kitchen. There’s a bit of loot to be found here, including a small chest along the eastern wall near a table loaded with some remarkably fresh looking meat. Huh. Anyways, this chest contains the Pursuant’s Implements cosmetic, but other than this if you continue south and east you’ll find a door leading to the Grand Foyer, which you can open from this side.
(1 of 5) After you reach the Servant’s Wing, turn north to find a chest through a gated door that cannot be obtained on this visit to Blackthorne Manor.
Free the Tormented Spirit in the Guest Room
Backtrack to the Ruined Balcony and head south past the fountain, then east down a hallway to reach the Guest Room, where another tormented spirit awaits. Approach it and you’ll be attacked by another four shades - two Devouring Shades at first, and once they’re defeated, another Devouring Shade and a Devouring Voltaic Shade will appear, the latter of which is a ranged caster. Kill them, then loot a chest in the northwestern corner, kick a ladder down on the balcony to the south, then go through the door to the east to return to the Grand Foyer.
(1 of 3) Defeat several Devouring Shades, including a caster who appears after the first pair are defeated,
Explore the Fade
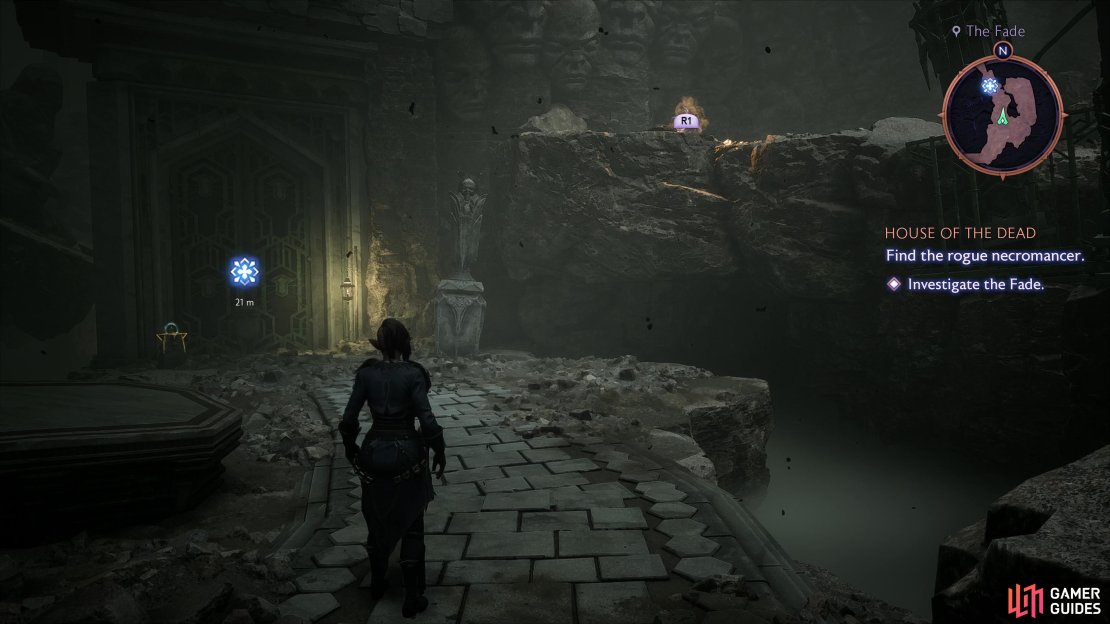
Return to the library and open the now unsealed door, beyond which you’ll find a portal that takes you to the Fade. Lovely. Once you appear in the Fade, continue east and north down some stairs to find a sealed door with a receptacle near it. Climb some ledges to the east and north to find an angry wisp. Use Emmerich’s ability “Placate Mischief”, approach the wisp to lure it to you, then jump down to the west and coax the wisp into the receptacle near the door to open it.
Jump a gap, climb some stairs and turn east, following a walkway. Before you pass through an archway, however, turn north and you’ll find a note on the ground reading ”![]() Treasure… try down.”. How very Souls-like. Drop off the ledge to the north near the note to find a small chest, then climb back up and continue through the archway to the east and drop off a ledge to find yourself in a watery pit, where you’ll encounter a Rage Demon and several lesser undead.
Treasure… try down.”. How very Souls-like. Drop off the ledge to the north near the note to find a small chest, then climb back up and continue through the archway to the east and drop off a ledge to find yourself in a watery pit, where you’ll encounter a Rage Demon and several lesser undead.
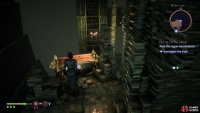
Defeat them and head upstairs into a… well, normally we’d call it a library, but in the Fade it’s safer to just call it a “room full of books”. Head downstairs and pass through two archways made of books until you reach an apparent dead end. Turn north to spot a platform made out of books, jump onto it, and work your way west, north and east along similar book-ledges to find a ramp (also constructed of tomes) leading up to a chest. Loot it, climb a ladder to the south, then drop down onto the walkway below. Turn west and grab the note The Obverse of Reality off a stack of books, then backtrack along the walkway to find a doorway to the south.
(1 of 4) Solve a wisp puzzle,
Drop down a ledge and continue south, then after some chatter turn west and follow the linear path ahead. Slide down a slope, climb some ledges, then drop down to the east to trigger a scene. After meeting with this mysterious necromancer infesting Blackthorn Manor you’ll end up fighting a Greater Despair Demon, two Voltaic Shades on high ground, and numerous lesser undead fodder. Try to deal with the ranged shades first, but the Despair Demon will probably monopolize your time sooner or later. Defeat these enemies, then loot the Greater Despair Demon for the ![]() Defy Rune before heading south and plundering a chest.
Defy Rune before heading south and plundering a chest.
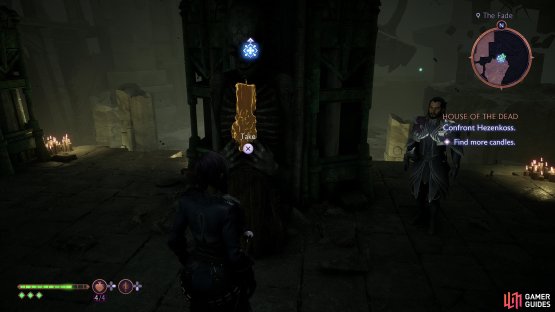
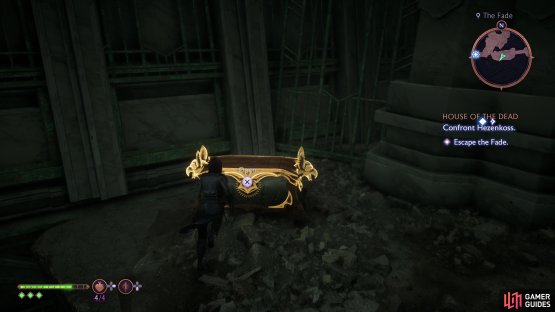
Continue west until you reach a dead end, then after Emmrich expresses optimism about the situation you find yourself in, head east a bit and a candle will appear to the south. Emmrich will explain that you need to find more candles, so backtrack northeast to where you fought the demons and undead earlier, climb the ledges the Voltaic Shades were on and search behind a column to find a second candle. Backtrack again, this time heading south and west, and place the candles in the marked spots, then cross the bridge Emmrich conjures. Continue west, climb some ledges, then loot a chest. From the chest, climb another ledge, then drop down to the west and pass through a portal to escape the Fade.
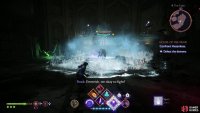
(1 of 4) After finding the offending necromancer, defeat a Greater Despair Demon and its fellows,
Confront Hezenkoss
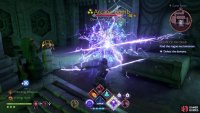
You’ll appear back in the library, where Hezenkoss will complain about your competence. Make your way back to the Grand Foyer and continue north from the main doors to reach some double doors leading to the as-of-yet unexplored center of the mansion. After some chatter you’ll find yourself in a fight with a Pride Demon, “Rampant Ego”, which fights just like every other Pride Demon we’ve fought since the start of the game. This one, however, is joined by a quartet of Shades, and it can turn one of them into a Lesser Pride Demon if you allow it, much like the one you may have encountered during the quest An Academic Interest. Focus on the Shades to prevent this from happening, as it’ll increase the threat your foes pose considerably. Once weakened, the Pride Demon may summon another pack of Shades, so be wary and consider saving up your ultimate to deal with these reinforcements when they pop up.
(1 of 2) Search for some candles, with which Emmrich will create a way to escape the Fade,
Search for some candles, with which Emmrich will create a way to escape the Fade, (left), after crossing Emmrich’s bone bridge, loot a chest. (right)
Defeat your foes and after a bit more chatter, loot a chest dropped by the Pride Demon to score some loot, then talk to Emmrich to complete the quest. Well, after you talk to him a bit more back at The Lighthouse. Once the quest is well and truly done you’ll earn 3,000 EXP and +100 Mourn Watch Strength.








No Comments