While you’ll visit Minrathous and Arlathan Forest first, the Crossroads is one of the first major regions of the game where you’ll be free to do some optional exploration. That said, it’s also one of the most segmented regions in the game, with new areas opening up as you progress through various main quests and side quests, meaning you’ll be coming back here repeatedly, opening up a bit more of the Crossroads every time. During just about every new bout of exploration you’ll be taunted by barriers you cannot breach and treasures you cannot reach, but do not fear - this page will guide your exploration of the Crossroads and point out every treasure chest and statue in the Crossroads and how - and when - you can get them in Dragon Age: The Veilguard!
Page Breakdown
Exploring the Crossroads
The Crossroads, as the name implies, is a hub region in Dragon Age: The Veilguard, housing numerous eluvians through which you can travel to reach other regions. Most of the time you’ll skip the legwork and just fast travel to regions as you desire, but the eluvians are the in-game explanation for your mobility and once in a while you’ll have to actually hoof it across the Crossroads to find eluvians leading to new regions, at least for the first trip. In typical video-game logic, new parts of the Crossroads will open up as needed to allow you to reach these new eluvians, so some quest progression will be necessary to unlock more of the Crossroads.
This fragmented section of the fade also served as the stronghold for Solas’s rebellion against the Evanuris, as well, and the scars of this ancient war still remain. In addition to opening up new regions via quest progression, there are sealed pockets of the Crossroads that can only be unlocked by dealing with threats past and present. You’ll have to complete the quests ![]() Regrets of the Dread Wolf and
Regrets of the Dread Wolf and ![]() The Heart of Corruption to gain access to these areas, and the chests and statues they hold, as well as several Gate quests that involve hunting down blighted darkspawn champions in various other regions. Simply put, even after you’ve unlocked all the islands in the Crossroads you’ll still be doing a lot of back and forth to explore everything, and in the case of the champions you must defeat and the revenants that they lead to, some of these fights can be quite challenging.
The Heart of Corruption to gain access to these areas, and the chests and statues they hold, as well as several Gate quests that involve hunting down blighted darkspawn champions in various other regions. Simply put, even after you’ve unlocked all the islands in the Crossroads you’ll still be doing a lot of back and forth to explore everything, and in the case of the champions you must defeat and the revenants that they lead to, some of these fights can be quite challenging.
All that said, finding chests and statues in the fade is more about completing quests and unlocking new areas than completing puzzles, so for organizational purposes they’ll be segmented based on what progress you need to make, what quests you need to advance and what regions you need to explore.
Into the Crossroads: Converged City
Completing the main quest ![]() The Singing Blade you’ll end up back in the Lighthouse and after some chatter you’ll get three new main quests: Into the Crossroads, Sea of Blood and
The Singing Blade you’ll end up back in the Lighthouse and after some chatter you’ll get three new main quests: Into the Crossroads, Sea of Blood and ![]() The Smuggled Relic Case. The latter two task you with traveling to Treviso and Minrathous, respectively, while the first is all about discovering new eluvians that’ll take you there. These eluvians can be found in the Crossroads, a part of the fade which serves as a fast-travel hub and a proper explorable region in its own right. During this first visit you’ll start out on Beacon Island before taking a ship south to the Converged City, where you can claim a few treasures enroute to these new eluvians.
The Smuggled Relic Case. The latter two task you with traveling to Treviso and Minrathous, respectively, while the first is all about discovering new eluvians that’ll take you there. These eluvians can be found in the Crossroads, a part of the fade which serves as a fast-travel hub and a proper explorable region in its own right. During this first visit you’ll start out on Beacon Island before taking a ship south to the Converged City, where you can claim a few treasures enroute to these new eluvians.
Chest 1: Converged City 2F
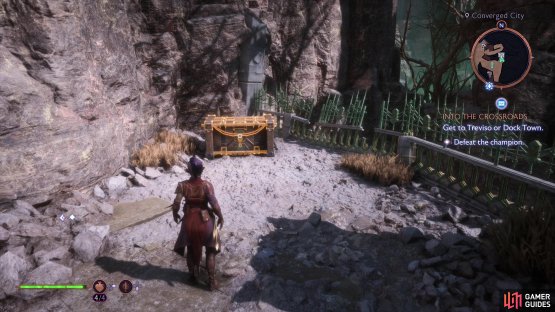
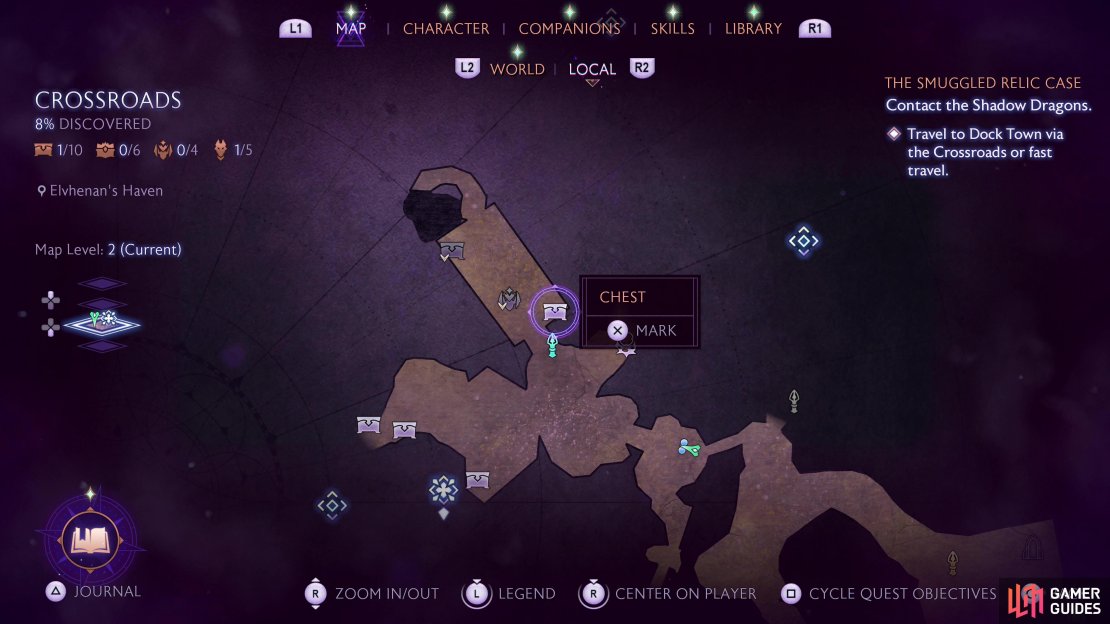
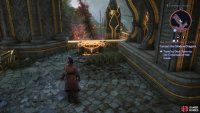
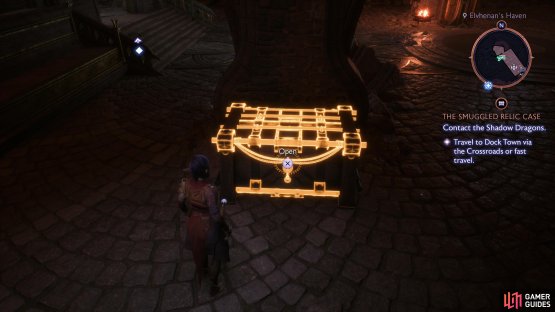
From the dock at the northern edge of the Converged City, head south to find a hub of sorts - a crossroads within the Crossroads, if you will. Soon this area will be crawling with spirits - some of them serving as merchants, but on your first visit you’re just likely to encounter Venatori and the odd Sentinel. The Gate of Lost Ages lies to the northwest and the Gate of Deep Sorrows is to the northeast - these will yield loot later on, but are inaccessible on your first visit. Head up some stairs to the southeast and you’ll find a beacon, and beyond that, a fork. Turn north at this fork to find this chest.
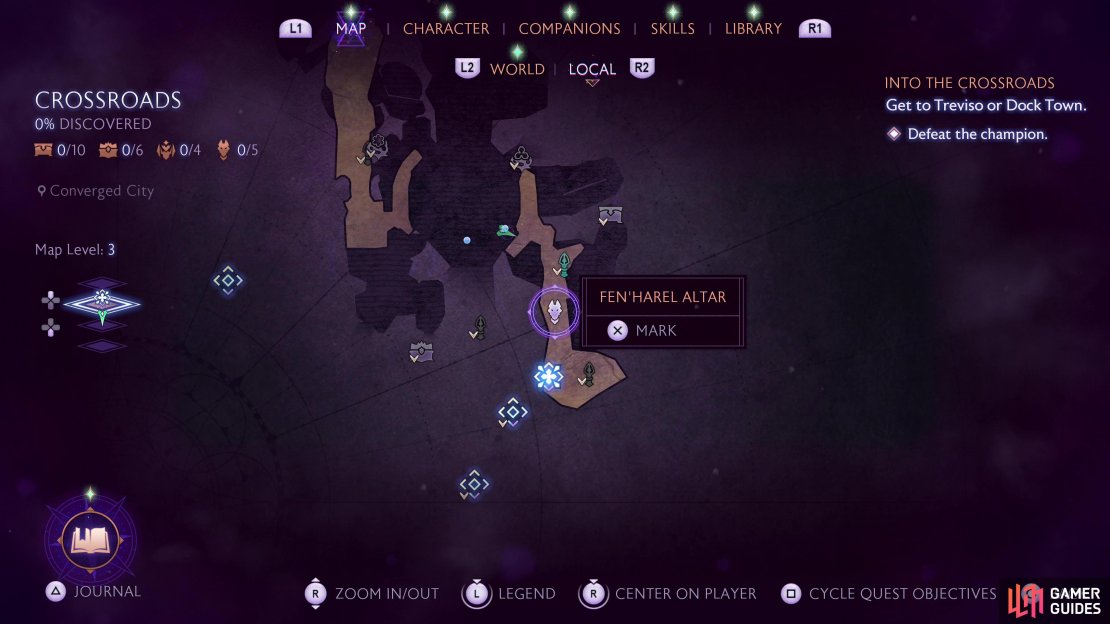
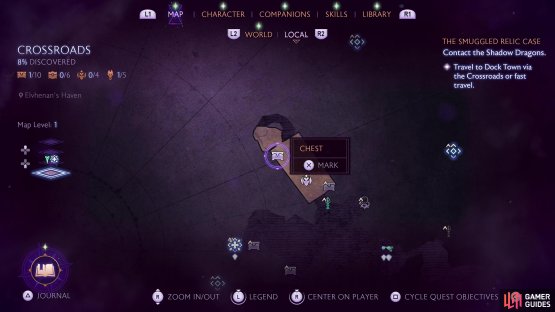
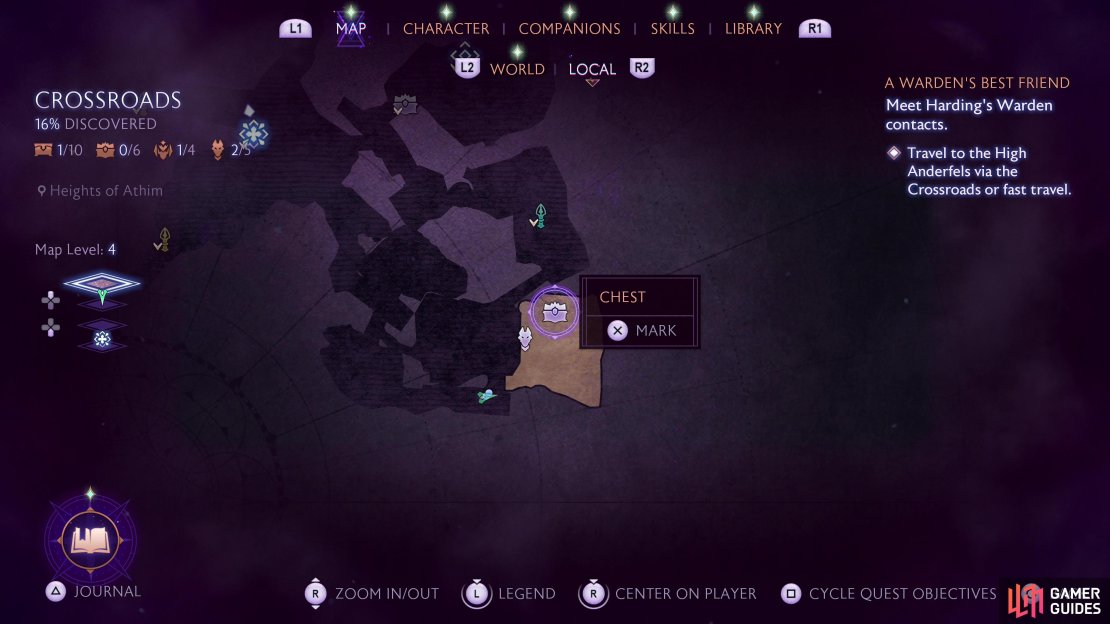
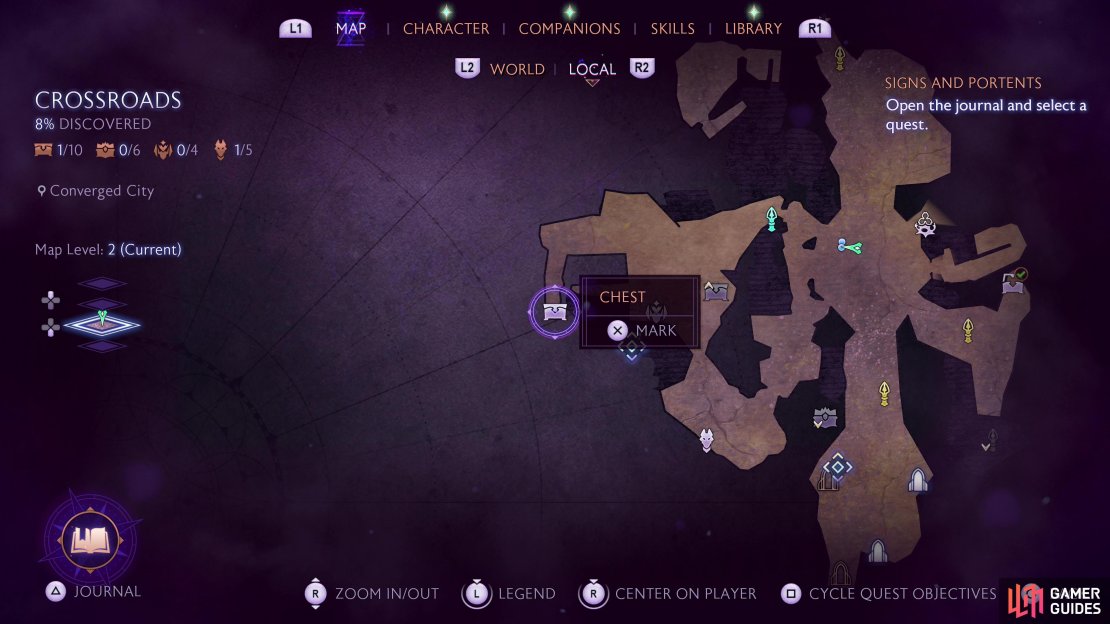
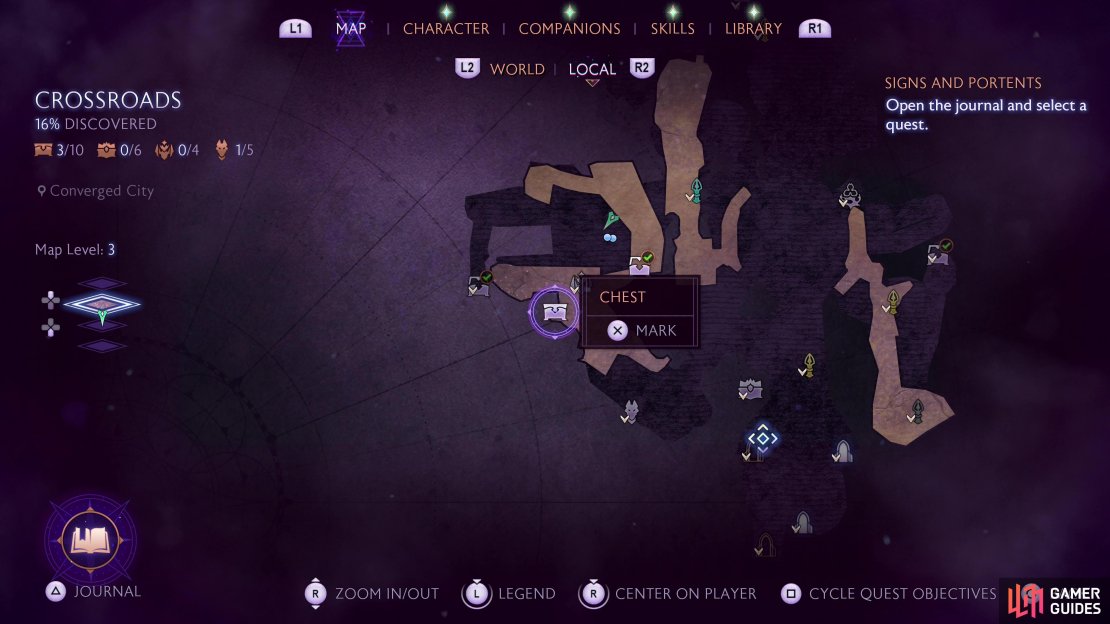
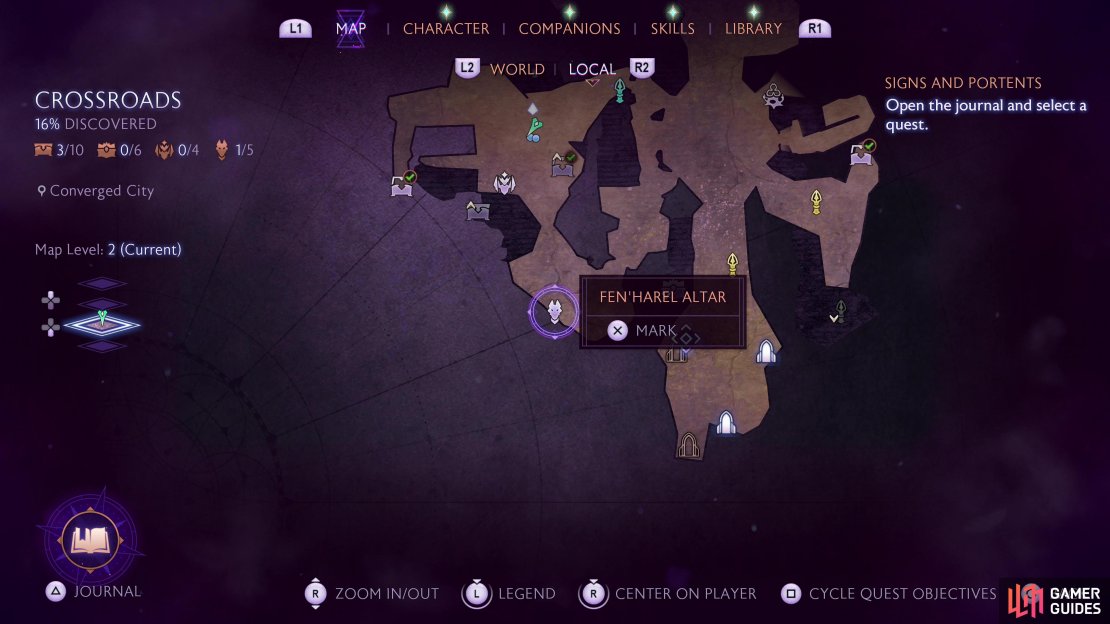
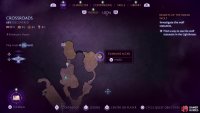
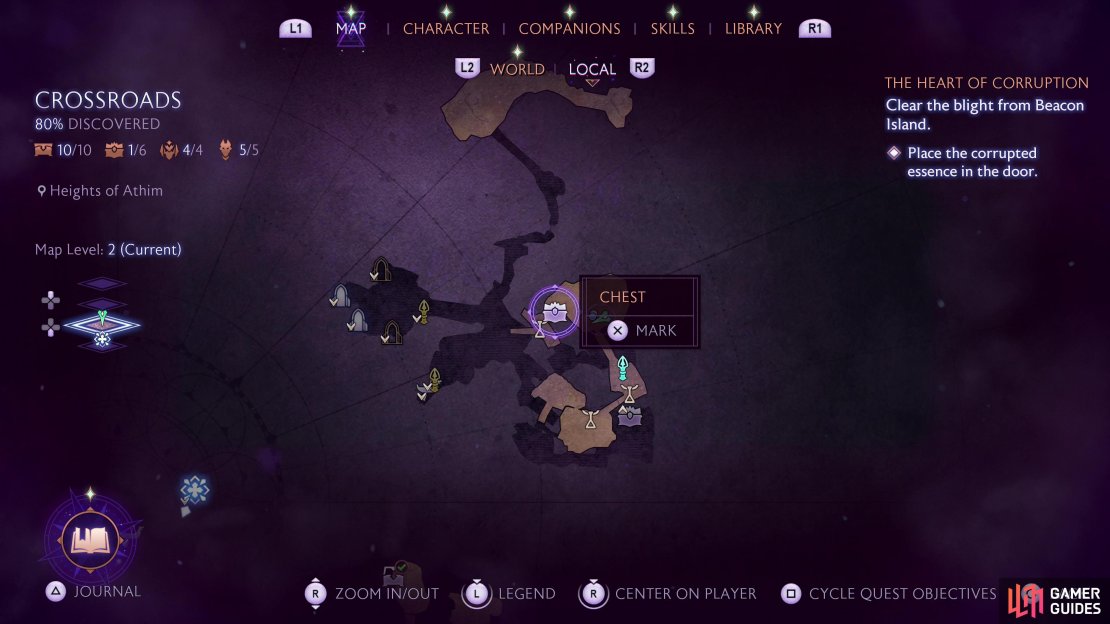
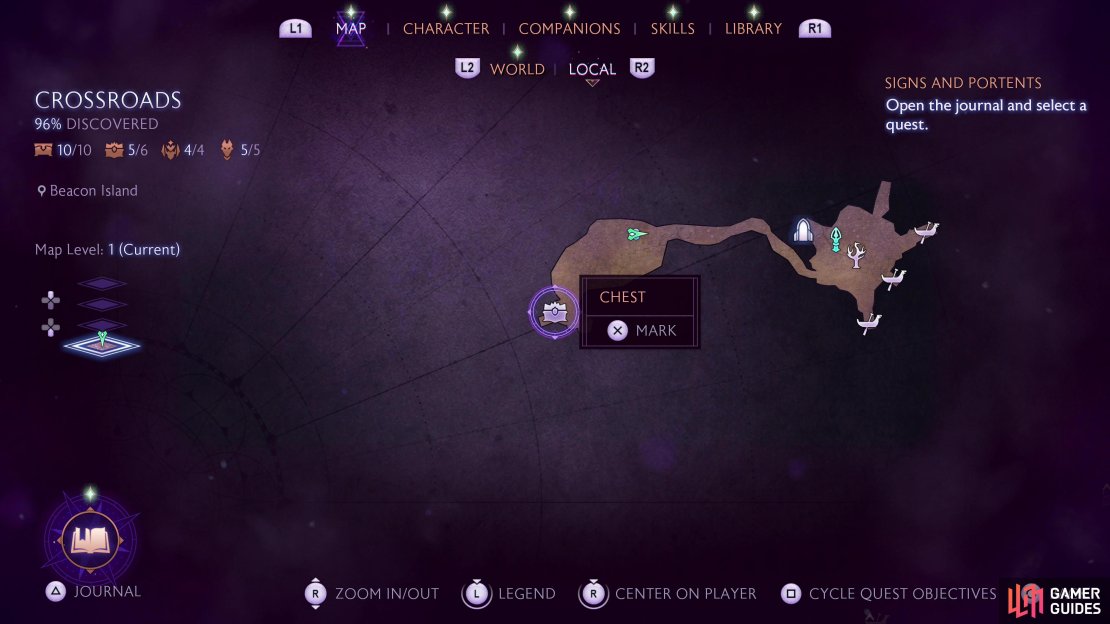
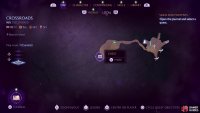
(1 of 2) The location of the first Crossroads chest on the map.
The location of the first Crossroads chest on the map. (left), The first chest in the Converged City can be found north of a beacon, which itself is just southeast of the central hub area. (right)
Fen’Harel Statue 1: Converged City 3F
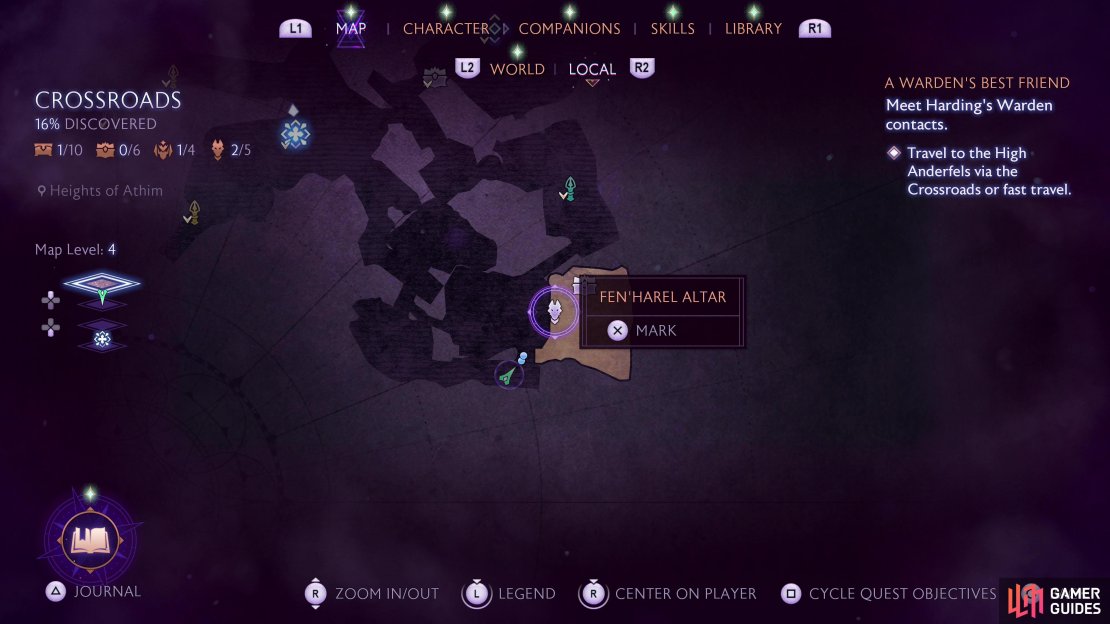
From the first chest, head south and climb up some ledges and eventually you’ll come to a somewhat more open area housing a blight cyst, inside of which is a darkspawn champion. You need to defeat this creature to open a gate to the south of the crossroads/hub area mentioned earlier. As far as this statue goes, however, head uphill to the north from the aforementioned blight cyst and you’ll find it along the road - impossible to miss. Interact with it, then continue north to find an elevated ledge off the road to the northeast. Jump up there and you’ll find this statuette.
(1 of 3) The location of the first Crossroads Fen’Harel statue on the map.
An Unfamiliar Sense: Elvhenan’s Haven
Complete the main quest Sea of Blood and you should unlock Harding’s companion quest ![]() An Unfamiliar Sense if you subsequently talk to her in the Lighthouse. This will direct you to return to Arlathan Forest, which in turn will unlock the route there - next time you’re in the Crossroads, head to the southeastern dock on Beacon Island and the Caretaker will sail you to Elvhenan’s Haven.
An Unfamiliar Sense if you subsequently talk to her in the Lighthouse. This will direct you to return to Arlathan Forest, which in turn will unlock the route there - next time you’re in the Crossroads, head to the southeastern dock on Beacon Island and the Caretaker will sail you to Elvhenan’s Haven.
Chest 2: Elvhenan’s Haven 2F
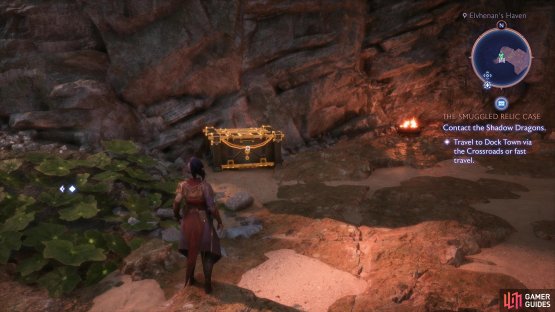
From the dock at the southeastern edge of the island, head northwest and north up some stairs and under an archway. Destroy some upstairs to the east and you’ll find the eluvian taking you back to Arlathan Forest. Instead, continue north to find a sealed blight passage. Ignore it and grab an elven power cell from near a petrified body to the east of the blighted passage and place it in the receptacle to the west of the blighted passage.
This will create a bridge - cross it to the west, go down some stairs to the northwest and note a statue puzzle. It’ll get you treasure shortly, but for now ignore it and continue down another flight of stairs to the west Keep heading west up a sandy slope, following it until it wraps around to the south, where you should find this chest waiting for you out in the open.
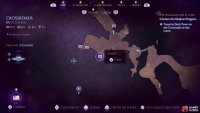
(1 of 2) The location of the second chest on the Crossroads map.
The location of the second chest on the Crossroads map. (left), Head west past the statue puzzle and up a sandy slope to find this chest. (right)
Chest 3: Elvhenan’s Haven 2F
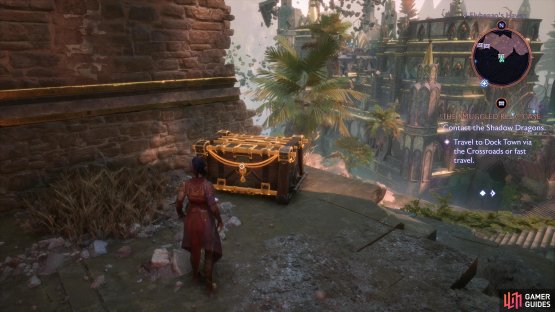
From the previous chest head up a leafy slope to the southeast, climb some ledges and some stairs and you’ll find this chest on a cut stone ledge.
(1 of 2) The location of the third chest on the Crossroads map.
The location of the third chest on the Crossroads map. (left), Go up a slope to the southeast from the previous chest to find this chest. (right)
Chest 4: Elvhenan’s Haven 2F
Backtrack to the eastern part of this area and solve the statue puzzle by rotating the statues so they’re all facing the ruined walkway - northwest, west and southwest. Each time you point a rotating statue in the right direction, a Sentinel will awaken and attack and a bridge will form between the segments of the shattered walkway. Kill the Sentinels and cross the restored walkway to find an ancient elven building with a beacon outside.
Kick down a ladder to the southeast then head inside, but be wary, as the enemies inside can be quite high-leveled - they’ll likely be at least level 24 regardless of your own level. Still, they shouldn’t be an insurmountable hurdle, they’re just generic undead. Once they’ve been put to rest, go through a doorway to the northeast to reach a balcony, then turn southeast to find this chest.
Chest 5: Elvhenan’s Haven 2F
If you’re up to it, exit the building where you found the last chest via a hole in the wall to the northwest and descend a twisting ramp to reach the lower floor, where you’ll find more leveled enemies. Kill them if you can, then head into the lower level of the building and turn right (southwest) to find this chest behind a pillar.
(1 of 2) The location of the fifth chest in the Crossroads.
The location of the fifth chest in the Crossroads. (left), Exit the ancient elven building via a hole in the wall to the northwest, follow a ramp down and enter the lower level of the building, then turn right to find this chest behind a pillar. (right)
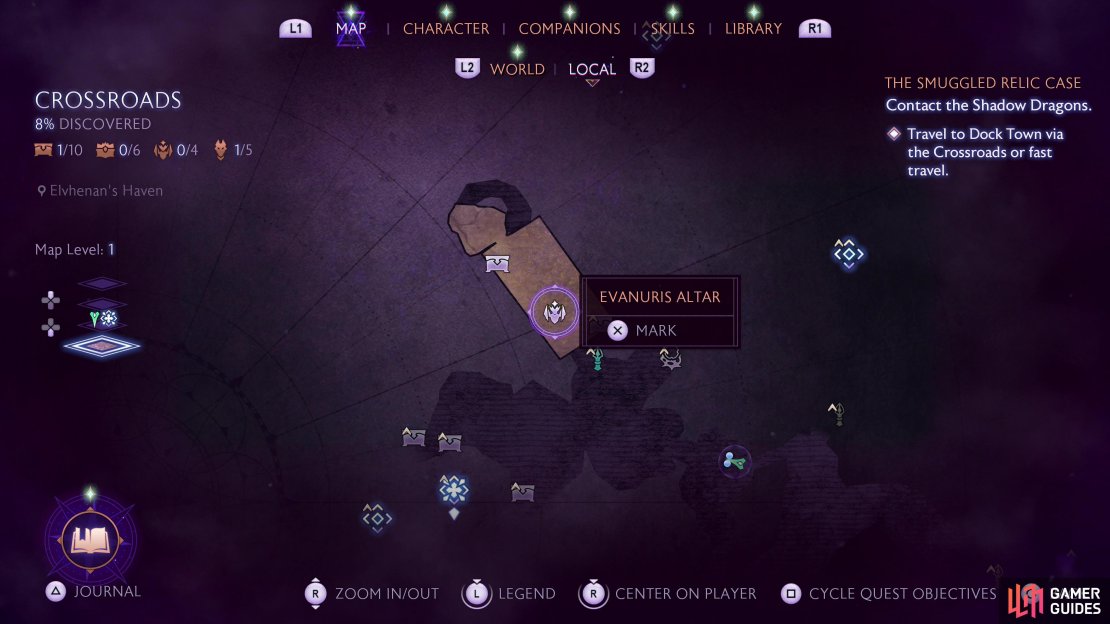
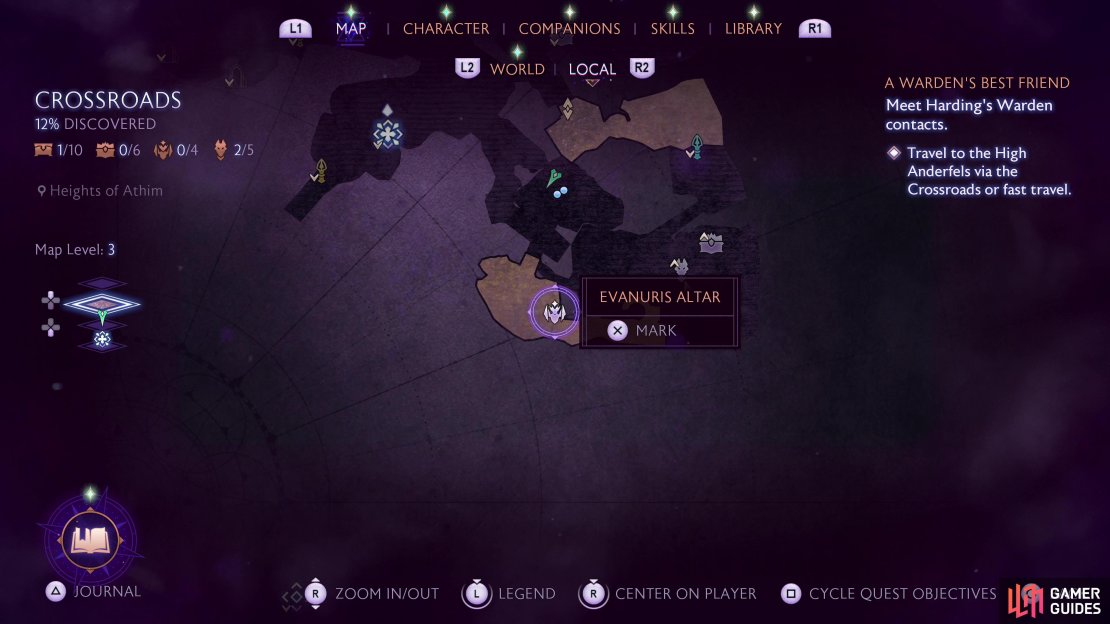
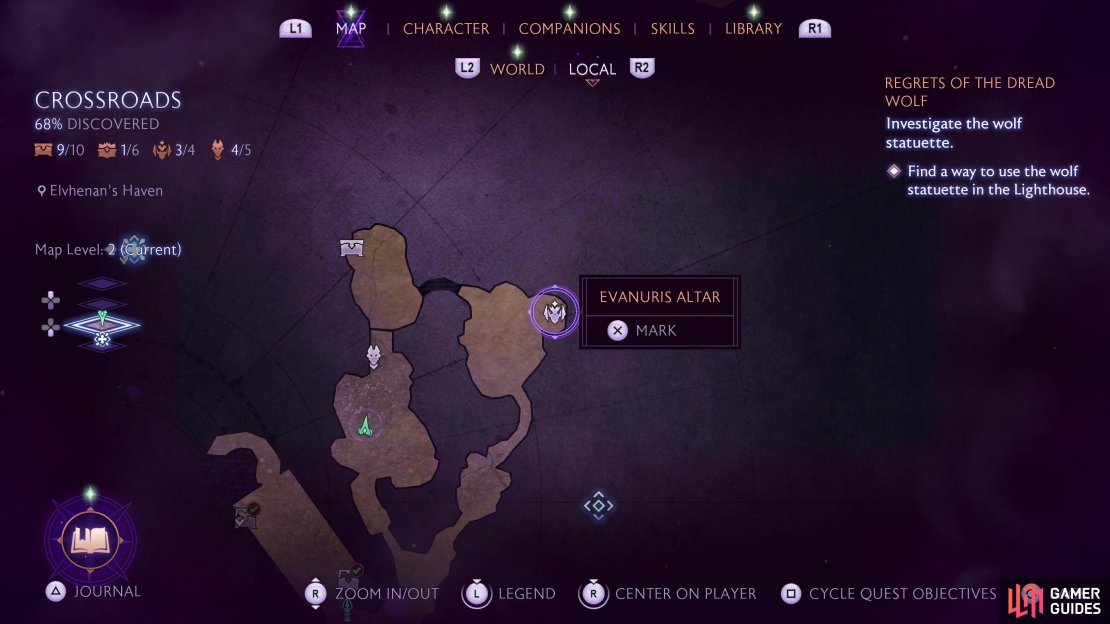
Evanuris Altar 1: Elvhenan’s Haven 1F
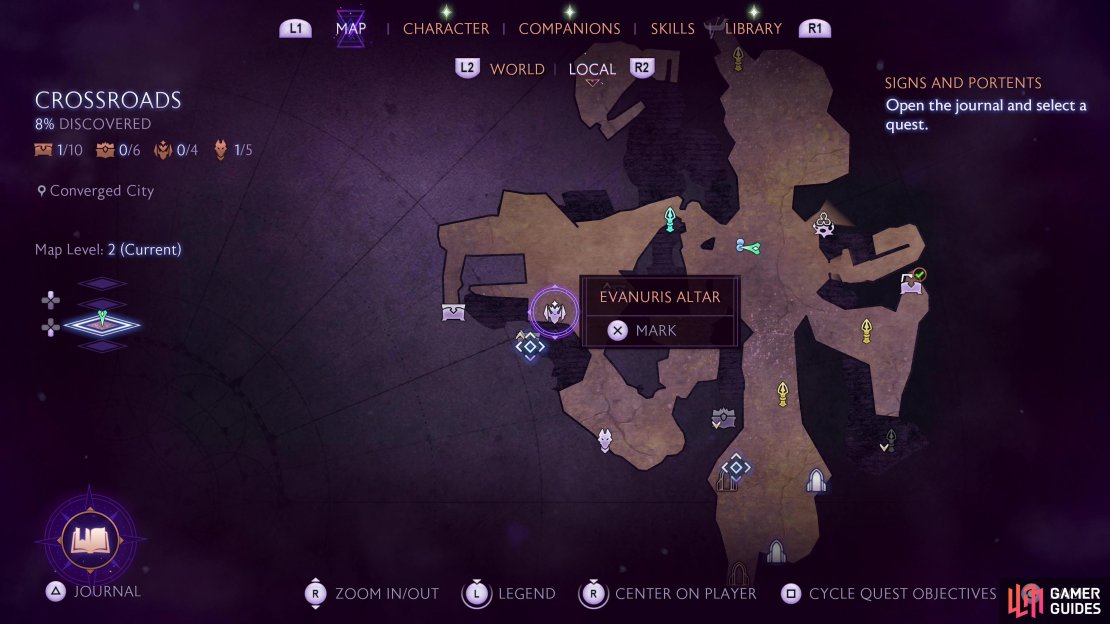
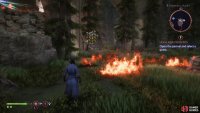
From the last chest, continue southeast across the lower floor of this building and around a corner to find an Evanuris altar. Interact with it and seek out and destroy the four shard clusters floating about to complete that statue, earning the standard +100 Health boost. All these shard clusters are around the corner from the statue - just be wary of the flames that spawn on the ground, as they can deal damage if you stand in them.
(1 of 3) The location of the first Evanuris altar on the Crossroads map.
A Warden’s Best Friend: Heights of Athim
Completing all the main quests you can until eventually you’ll start ![]() A Warden’s Best Friend, which necessitates a trip to the High Anderfels, and hence, the discovery of a new eluvian. Return to Beacon Island and head to the northeasternmost dock to get a ride to the Heights of Athim, courtesy of the Caretaker. Expect to fight quite a few darkspawn here - this area is somewhat busy. On the plus side, that means a fair bit of treasure!
A Warden’s Best Friend, which necessitates a trip to the High Anderfels, and hence, the discovery of a new eluvian. Return to Beacon Island and head to the northeasternmost dock to get a ride to the Heights of Athim, courtesy of the Caretaker. Expect to fight quite a few darkspawn here - this area is somewhat busy. On the plus side, that means a fair bit of treasure!
Fen’Harel Statue 2: Heights of Athim 1F
From the dock on the southwestern corner of the Heights of Athim, head northeast then turn northwest into a ruined building. From here, head up a slope then up some stairs to the northeast and north to reach a plain occupied by some darkspawn. Once they’re dead, follow some rails to the northwest and pop a blight barrier to find a beacon and the eluvian you seek… but since we’re here for treasure this is not where we want to be just yet.
Instead, follow the tracks back southeast and climb a short ledge to find some wooden huts. Or what’s left of them, anyways. In between these huts you’ll find a Fen’Harel altar. Activate it and it’ll point north, and if you want this one you’re going to have to get some elevation. Backtrack northwest to the tracks and you should see a zipline on some rocky high ground ahead of you. Circle around to the southern side of this rock formation, climb up some wooden bracing, go upstairs, then ride the zipline up to the east. The Fen’Harel statuette is on the ground to the southeast.
(1 of 4) The location of the second Fen’Harel statue on the Crossroads map.
Evanuris Altar 2: Heights of Athim 3F
Backtrack to the Fen’Harel statue (above) and enter the northernmost hut. Pass through it and climb a ladder out back, kill some darkspawn, go up some stairs to the southwest, kill even more darkspawn then turn left to spot this statue near some collapsed stairs. Before you interact with it, however, kick down some stairs to the north - they’ll come in handy soon. Interact with the statue and he’ll send out some shards:
- One cluster can be found up a slope to the northwest.
- A second can be found in a ruined tower, also to the northwest.
- To get the third, run and jump up the stairs and ledges near the Evanuris altar , make your way east then north through the building to get outside, then follow a circular wooden walkway around a tower - the third shard is on this walkway.
- Drop off the walkway to the north (be wary - darkspawn) then enter a ruined building to the north to find the fourth shard cluster spinning near a ladder.
Fen’Harel Statue 3: Heights of Athim 4F
The ruined building where you found the fourth Evanuris altar shard cluster will be interesting in the future - but not just yet. Exit to the south, then head down a wooden ramp to the ladder you kicked down earlier, which provides a shortcut back up to the Evanuris altar. From here climb the stairs and ledges again, press through the building to the east, then north, this time going up the wooden stairs to the west to find a clearing dominated by a large, blighted tree. Kill the darkspawn here then turn north to find another Fen’Harel statue near the battlements. Use it and it’ll turn west, then head back down to the ruins where you found the fourth shard cluster earlier, climb the ladder, turn south and you’ll find the Fen’Harel statuette sitting on the edge of the floor past some arches.
(1 of 3) The location of the third Fen’Harel statue on the Crossroads map.
Unique Chest 1: Heights of Athim 4F
Return to the last Fen’Harel statue - the one near the big tree - and turn your attention to the aforementioned tree. Get close to it and eventually you should see a progress bar pop up telling you that you need to kill 50 darkspawn (along with your current kill count). Fewer than 50 darkspawn appear in this region at once, but lesser darkspawn might crawl out from the snow if you tarry too long. You could also just fast travel to another region (not another island - a whole different map) then come back and run through the Heights of Athim again to get your numbers up. Do this until you’ve culled 50+ darkspawn, then head back to the tree and destroy a section of it to reveal a unique chest, which houses the unique ring Maw of the Black City.
(1 of 4) The location of the first unique chest on the Crossroads map.
Gate of Lost Ages: Converged City
To make any more progress in the Crossroads you’re going to need to hunt down champions, which are named ogres with unique abilities, functionally optional minibosses. Defeating them will yield essences, which will allow you to unlock blighted passages in the Crossroads. The weakest of these is Quyn the Sparkwielder (Lv15), who can be found in the Lost Company Mine in Dock Town. Kill him, take his essence, return to the Converged City in the Crossroads and venture northwest from the (now spirit-infested) hub in the center of the island to find the blighted passage. This is all part of the side quest Gate of Lost Ages. Use the essence to open the gate to access a new area, where more collectibles await.
This is probably the most lucrative champion gate, housing a total of five collectibles, so you’ll be well-rewarded by dabbling with this side content.
(1 of 3) The location of the champion in Dock Town.
Chest 6: Converged City 2F
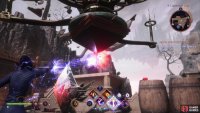
Pass through the Gate of Lost Ages, trigger a beacon, and head southwest to find a giant spinning device in the air with three arms, all of which are powered by crystals. You’ll need to hunt down these crystals sequentially, destroying the unshielded ones until all three of the crystals in the arms of the device are destroyed, after which you can destroy the central crystal in the device to open the way forward. You’ll need to deal with this to get most of the treasures here, but you’ll also get some in the process of hunting down these crystals.
Kill the Ventatori on the ground near the device, then head down some stairs to the west, climb a ledge to reach the end of the walkway, then turn south, use the Veil of Instability ability to create a platform and cross it to reach this chest.
(1 of 4) The location of the sixth chest on the Crossroads map.
Chest 7: Converged City 3F
From the last chest, cross back to the north, then turn east and backtrack up the stairs running northeast to the now-open blight passage. Atop these stairs turn west and ascend a different flight of stairs, then turn east and climb some ledges before ascending more stairs. Look southeast and you’ll spot another warp instability you can use to create fade platforms via Lucanis’s Veil of Instability ability. Do so and cross to the southeast to find this chest on a ledge.
(1 of 3) The location of the seventh chest on the Crossroads map.
Evanuris Altar 3: Converged City 2F
This Evanuris altar can be found beyond a gate just south of the device, in the area where you fought the first group of Venatori (and where more will spawn as you destroy the crystals powering and protecting the device). To get this gate open, you need to destroy all the crystals powering the device - there are three clusters protecting the three crystals on each of the device’s arms and once those are gone, you can destroy the central crystal and stop the device. This will open the gate and allow you to interact with the statue, spawning four shard clusters:
- From the Evanuris altar, head east to find a cluster on some high ground.
- From the Evanuris altar, head west up some stairs to find this cluster behind a large barrel.
- From the Evanuris altar, head north until you reach some high ground, at which point turn west down some stairs and keep going west until you find some floating crates. Turn north here and you’ll find a cluster in a rocky alcove.
- From the Evanuris altar, head north, then northeast up some stairs leading back to the blight passage. Atop the stairs turn south to find this cluster next to a cliff face, beyond a stone railing.
Chest 8: Converged City 3F
To get the last two bits of loot in this area you’ll need to make your way south from the device and up some stairs, where you’ll find a ladder on a ledge. Strike it to break the lock and lower the ladder, climb up it, then descend into an arena overlooked by massive snake statues to the south. Defeat the Venatori here, then set about destroying their crystals. You goal is to breach a red barrier to the northwest, beyond which you’ll find a ladder leading up to a ledge where you’ll fight two more powerful Venatori. Defeat them, too, then turn west to note a ledge holding a Dread Wolf statuette and this chest. This statuette is part of the superquest Regrets of the Dreadwolf and is worth quite a bit of EXP, but the real prize here is the chest.
Fen’Harel Statue 4: Converged City 2F
The last bit of loot in this area, to get it head back down to the arena presided over by snake statues and look southwest to find this Fen’Harel statue on a ledge up some stairs. It’s behind both a gate and a barrier, but the former is redundant - destroy the crystals and the gate will rise when the barrier falls, allowing you to access the statue. Do so, then head back up the ladder to the northwest, circle around a rock and look southeast to spot a warp distortion. You know the drill - use Lucanis’s Veil Instability ability to summon some fade platforms, run across the summoned platforms before time expires to reach a distant ledge, and grab this statue on said ledge.
(1 of 4) The location of the fourth Fen’Harel statue on the Crossroads map.
Gate of Deep Sorrows: Converged City
To open up this gate you’ll need to find and defeat the champion Desmal, Bloodhound to Elgar’nan (Lv25) in the Crow’s Road Rooftops area of Treviso. Once done, claim his essence and return to the Converged City in the Crossroads and use the essence to open the Gate of Deep Sorrows, which is northeast of the spirit-occupied hub in the center of the Converged City area.
Chest 9: Converged City 1F
After opening the Gate of Deep Sorrows, advance through the area, killing undead (including General Rathera - grab a wisp and bring it to the gate he’s behind so you can kill him, ensuring his loyalists will stay dead, too) until you reach some doors. Open them and you’ll trigger a beacon, after which the Caretaker will show up to warn you about a powerful foe ahead. This chest is up some stairs to the west.
(1 of 3) The location of the ninth chest on the Crossroads map.
Unique Chest 2: Converged City 1F
From the last chest, continue west through another set of doors to reach the lair of a revenant named “Betrayal of Felassan” (Lv32), a proper optional boss by all definitions. Defeat it and you can loot the unique chest along the western edge of its lair, near some doors.
(1 of 3) The location of the second unique chest on the Crossroads map.
Gate of Faded Glories: Elvhenan’s Haven
To unlock the Gate of Faded Glories you’ll have to hunt down and defeat Entarus the Rekindled (Lv25), who can be found in the Tainted Woods area of Arlathan Forest. However, in order to access this part of the map you have to complete Davrin’s companion quest How to Train Your Griffon. This is the last gate you can clear before making significant story progress, but the enemy’s you’re facing might make leveling a wise prospect.
Fen’Harel Statue 5: Elvhenan’s Haven 2F
Use the champion’s essence to open the blighted gate, then enter the newly unlocked region. You’ll have to solve rotating statue puzzles to advance, defeat Antaam, and deal with them shooting at you from afar, but the key to pretty much every puzzle here is just rotating statues to face other statues, creating bridges. A blue light will show up on some nearby bit of ruin every time, so there shouldn’t be much guesswork here.
Anywho, from the now-dispersed blighted passage, head northwest and cross a bridge to reach some ruins on an island, where a Dread Wolf statue sits suspiciously out in the open. Grab it to trigger an ambush, fend off your attackers, then go through a doorway to the north. Immediately turn east and drop off a ledge, then turn north and drop down again (or use the ladder, if you insist) before finally rounding a corner to the west to find this statue.
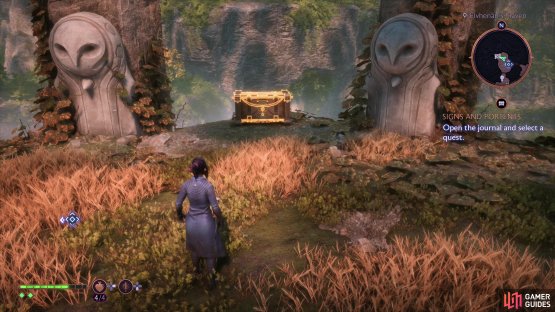
Finding the statue is just the beginning of your work here, as you effectively have to complete this area to reach the statuette. Said statuette lies to the north, but you’ll have to work your way back south, around to another island to the northeast, then across a bridge to the west, solving rotating statue puzzles as you go. ![]() Ascend some stairs to reach the top of a rocky hill, defeat the Sentinels and Antaam you find waiting for you, then find this statuette to the north, between two owl statues.
Ascend some stairs to reach the top of a rocky hill, defeat the Sentinels and Antaam you find waiting for you, then find this statuette to the north, between two owl statues.
(1 of 4) The location of the fifth Fen’Harel statue on the Crossroads map.
Evanuris Altar 4: Elvhenan’s Haven 2F
Use the champion’s essence to clear the blight passage and pass through, where you’ll soon reach a fork - if you go northwest you’ll find a fake Dread Wolf statuette and a Fen’Harel statue (see above), while going northeast leads to a dead end. Grab the statuette and you’ll be attacked by Antaam, and after the fight Antaam artillery will start dropping fire on the walks ways to the south. You’ll have to wait to deal with that, but for now head to the eastern end of the island to find a rotating statue and turn it so it’s facing southeast, towards another statue beyond a gap. This will create two bridges, one the southeast, and once you cross it you’ll find the other bridge, which runs northeast to another floating island.
Clear out the Antaam and use the Ignite companion ability on a fire pot to the south if you want to destroy the Antaam artillery, then head to the northeastern edge of the island and climb some ledges to find this Evanuris altar. Interact with it to spawn four more clusters, and note that once again, fire will spawn along with the clusters to provide just a pinch of gameplay to this puzzle:
- Drop off the ledges leading up to the Evanuris altar and immediately turn southeast to spot the first cluster, near a tree.
- From the ledges leading up the Evanuris altar head northwest towards a brazier, around some fire on the ground, and when you reach the edge of the island turn northeast to find this cluster hiding behind a ruined elven pillar.
- Along the southwestern edge of the island, near a rotating statue. It’s behind a pillar.
- Along the southern edge of the island, near the end of the bridge you crossed to get here.
Chest 10: Elvhenan’s Haven 2F
To reach this final treasure you’ve got to reach the final island in this area, and to do this you’ll need to turn a rotating statue on the island with the Evanuris altar to face another statue above the Fen’Harel statue, with the former facing west and the latter facing east. Once done, not only will a bridge appear between these two statues, but another bridge will appear on the northwestern edge of the island with the Evanuris altar. Cross this second bridge, circle around to the south, climb some stairs and defeat the Antaam and Sentinels that spawn up here. Once done, you’ll find this chest between two owl statues, to the west.
(1 of 2) The location of the tenth chest on the Crossroads map.
The location of the tenth chest on the Crossroads map. (left), Reach the final island and ascend to where the Dread Wolf statuette is, then search the northwestern end of the island to find this chest. (right)
Gate of Parched Hopes: Elvhenan’s Haven
Defeat The Disciple-in-Ichor (Lv30), the champion in the Old Crossroads area of the Hossberg Wetlands, and take its essence to the blighted passage in Elvhenan’s Haven. This blighted passage - the ![]() Gate of Pale Reflections - can be located just north of the dock. There’s only one treasure here - a unique chest - and this will be the standard going forward.
Gate of Pale Reflections - can be located just north of the dock. There’s only one treasure here - a unique chest - and this will be the standard going forward.
Unique Chest 3: Elvhenan’s Haven 2F
Proceed through the area until you encounter the revenant “Slaughter of the Pillars” (Lv37). Defeat this foe, claim its revenant essence, and exit the arena by going through a doorway to the southwest, up some stairs, and around the corner to the east. You’ll find this unique chest sitting right out in the open for you to claim.
(1 of 3) The location of the third unique chest on the Crossroads map.
Gate of Pale Reflections: Heights of Athim
The final and strongest champion, Amarell the Unwoven (Lv35), dwells in the Solitude’s Edge area in the Hossberg Wetlands. Cleanse the world of this creature, then take its essence to the Heights of Athim in the Crossroads to open the Gate of Pale Reflections. This one takes a bit of work to get to - the blighted passage itself is along the southeastern edge of the Heights of Athim (2F), but you can only get there by heading to the southern end of the place and taking a zipline, and before that you need to clear out some blight cysts.
Unique Chest 4: Heights of Athim
Once you have access to the blight passage, use the champion’s essence on it to clear the way, then head down a short hallway to the northwest to find the demesne of the “Fall of the Protector” (Lv42), the third and final revenant you need to slay. Do so, if you can, then head to the western edge of its arena to find this chest near the exit gate.
(1 of 3) The location of the fourth unique chest on the Crossroads map.
Unique Chest 5: Nest of the Ancients 1F
Most of the Crossroads have been cleared, but there are two more unique chests out there, and these take a bit of work to get. You must complete the super quest Regrets of the Dread Wolf which involves completing all of Solas’s memory side quests in the Crossroads (![]() The Labs Below,
The Labs Below, ![]() The Wolf’s Call and
The Wolf’s Call and ![]() Disrupt and Conquer) and hunting down Entarus the Rekindled (Gate of Faded Glories) and Quyn the Sparkwielder (Gate of Lost Ages). You must also complete the main quest Shades of the Blight. After this you can start placing the wolf statuettes you’ve been finding on pedestals in the Library area of the Lighthouse to watch memories. Watch all five, then return to Beacon Island in the Crossroads and talk to Morrigan to unlock the final dock - this time on the northeastern edge of Beacon Island.
Disrupt and Conquer) and hunting down Entarus the Rekindled (Gate of Faded Glories) and Quyn the Sparkwielder (Gate of Lost Ages). You must also complete the main quest Shades of the Blight. After this you can start placing the wolf statuettes you’ve been finding on pedestals in the Library area of the Lighthouse to watch memories. Watch all five, then return to Beacon Island in the Crossroads and talk to Morrigan to unlock the final dock - this time on the northeastern edge of Beacon Island.
Get in a boat at the aforementioned dock and the Caretaker will ferry you across to a new island, the Nest of the Ancients. Head northeast and you’ll eventually encounter Mythal - your responses will determine whether you have to fight her or you can talk her into helping you (check out the page Convince or Battle Mythal Choice for more info on that). Either way, descend into the arena to the north and exit via a passage to the southeast which will lead you uphill to a dropoff overlooking where you entered. This chest is at the edge of this cliff.
(1 of 4) The location of the fifth unique chest on the Crossroads map.
Unique Chest 6: Beacon Island 1F
After you’ve defeated all three revenants dwelling in the Crossroads, take their essences and use them to open a gate along the western edge of Beacon Island. Proceed forward past the gate, then descend a slope to reach a large arena - suitable for the game’s super boss, the Revenant Dragon (Lv50). Defeat this foe with or without Mythal’s help, then search the southwestern edges of the arena to find this chest.
(1 of 4) The location of the sixth and final unique chest on the Crossroads map.
There might only be twenty-five collectibles in the Crossroads, but between all the puzzles and quests you have to do - not to mention the bosses you have to fight - to get them all, it’s arguably the most complex region in the entire game!










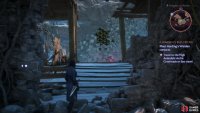






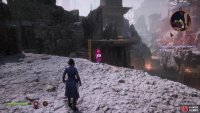
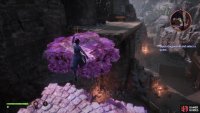
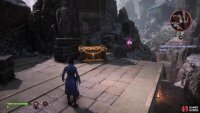

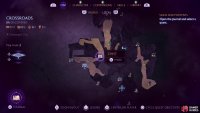





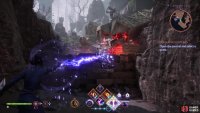
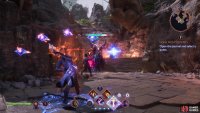
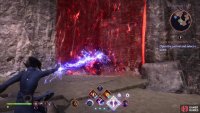
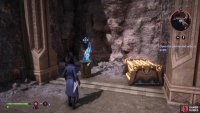







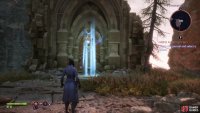
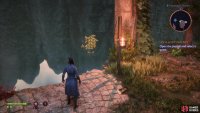







For one of the chests it says "Now look below the door to use Bellara’s power to dispel the barrier" but it's actually Neve's power - not that it matters since it uses the right power automatically anyway.