After the setback suffered during the quest The Siege of Weisshaupt, the Veilguard turns to introspection to prevent a repeat of the aforementioned debacle. Calling back to Mass Effect 2, the game’s second act focuses on your companion’s problems, seeking to satiate them and remove distractions so they can operate unburdened by doubt and worry. The source of your companion’s discontent is usually some antagonist or another, and in many cases said antagonist has allied with the god, so dealing with your companion’s problems also helps weaken your primary enemies. Davrin is a prime example, and when a possible lead on the Gloom Howler shows up it behooves you to deal with this threat. This page will provide a walkthrough for the quest ![]() The Cauldron in Dragon Age: The Veilgaurd.
The Cauldron in Dragon Age: The Veilgaurd.
Page Breakdown
| Quick Search |
|---|
| Starting The Cauldron |
| Reach The Cauldron |
| Destroy the Blight in the Courtyard |
| Investigate The Cauldron |
| Destroy the Blight |
| Defeat the Darkspawn Horde |
Starting The Cauldron
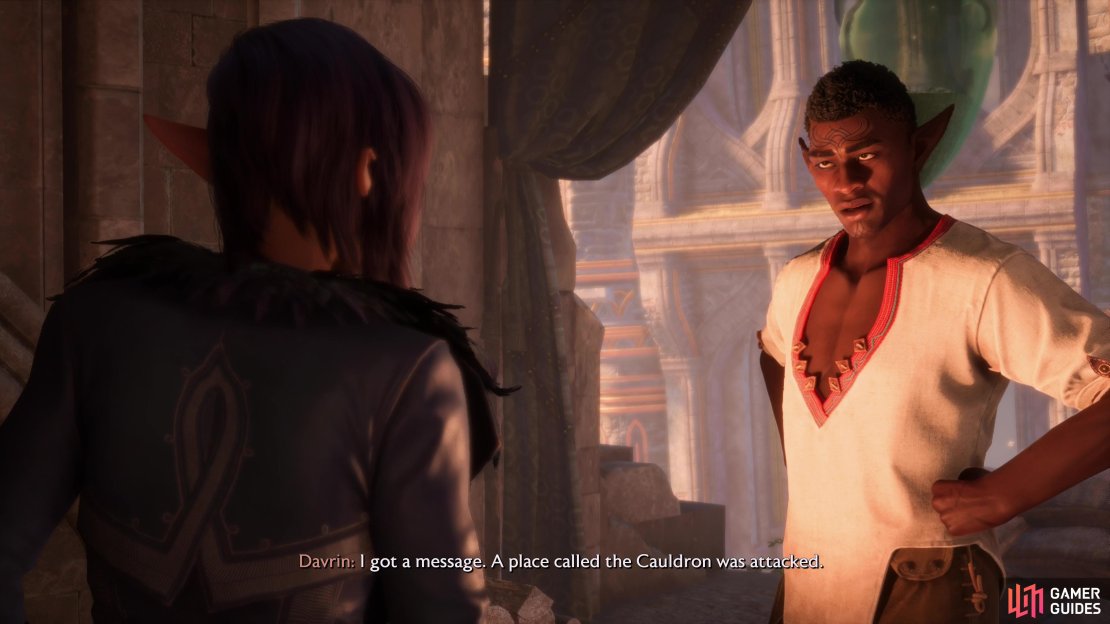
Complete the main quest The Siege of Weisshaupt and you’ll be back at the Lighthouse, where the next quest After the ![]() Storm will begin. This quest tasks you with talking to various companions to get a laundry list of tasks you’ll need to complete going forward, and one of these companions just so happens to be Davrin. Once you’ve heard him out you’ll get the objective Give Davrin time to track down information - complete all the other objectives for this quest, leave the Lighthouse, then return to start the objective Check in with Davrin. Talk to him again to start The Cauldron.
Storm will begin. This quest tasks you with talking to various companions to get a laundry list of tasks you’ll need to complete going forward, and one of these companions just so happens to be Davrin. Once you’ve heard him out you’ll get the objective Give Davrin time to track down information - complete all the other objectives for this quest, leave the Lighthouse, then return to start the objective Check in with Davrin. Talk to him again to start The Cauldron.
Hear out your companion’s problems and concerns following “The Siege of Weisshaupt” and Davrin will eventually give you this quest.
Reach The Cauldron
Travel to the Hossberg Wetlands and note that your destination is far to the south of Lavendel. You can shorten things considerably by fast traveling to the Swamp Road beacon, but there’s still a bit of a slog ahead, complete with the odd darkspawn encounter to slow things down even further. Fight your way through the Lost Village to reach the Castle Gates and you’ll finally stumble across a structure suited to house Grey Wardens in their endless war against the darkspawn - a war that, by all appearances, has not favored the Grey Wardens.
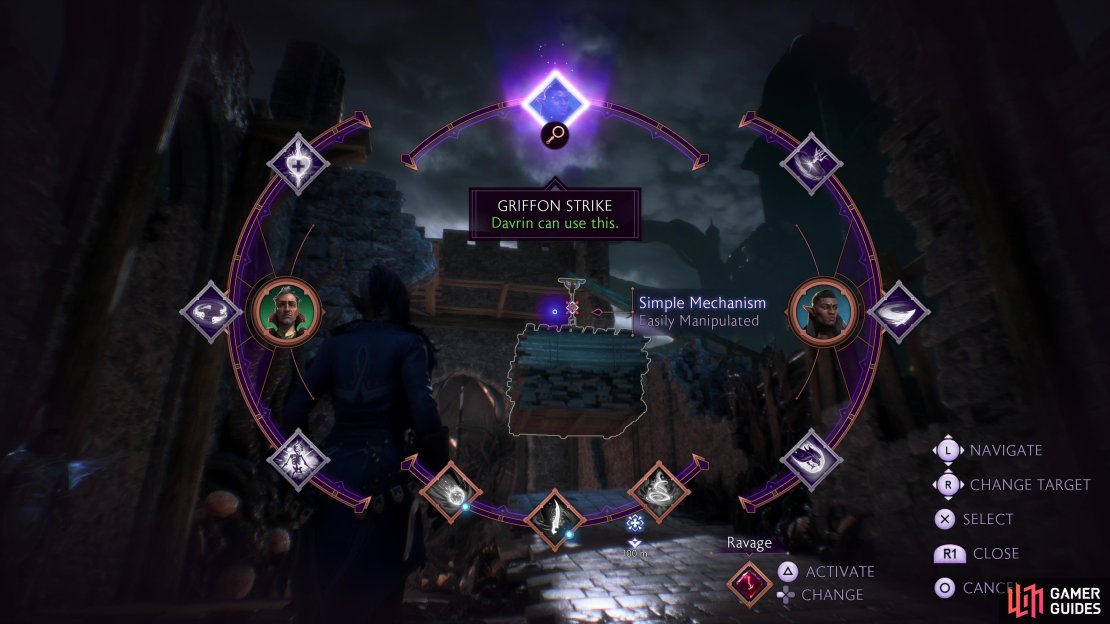
Enter the blighted fortress via a ruined gate and respond to Davrin however you wish (you’ll get some approval for saying ”No time to waste.”), then use Griffon Strike to knock down a suspended palette of lumber. Use the now-grounded platform to reach and climb a ladder, which will get you from the Castle Gate area to the Castle Grounds area.
Immediately turn southwest to spot some stairs leading down to a beacon, beyond which lies swamp, blight and darkspawn. If you want to be sneaky, avoid the riff-raff in the courtyard below and instead follow the walls northwest, turn southwest when you reach a building, and follow a blight tendril through an archway to the southwest to find a ballista. You can use this weapon to fire down upon the darkspawn below, thinning the herd a bit and making your life easier. Just don’t get complacent - they can and will climb a ladder nearby, so don’t expect the ballista to solve all your troubles.
(1 of 3) Call Assan to knock down a palette of lumber, creating a platform,
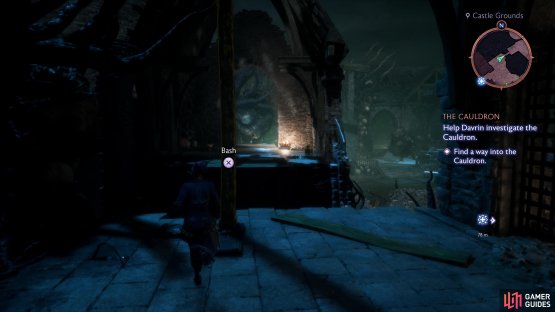
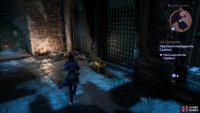
Once the darkspawn are dead - don’t fuss with all the blight cysts yet, you can get to them later - backtrack southeast to return to the caged-off building you turned at earlier and head inside via one of the archways that’s not sealed. Kick down a beam to the northeast and use it to cross the swamp below to reach another building, where you’ll find a small chest containing the ![]() Hemorrhage rune, along with a ladder to the northeast you can lower. Now that this fringe chest has been plundered, let’s explore the courtyard properly.
Hemorrhage rune, along with a ladder to the northeast you can lower. Now that this fringe chest has been plundered, let’s explore the courtyard properly.
Return to the Castle Grounds beacon and from there head downstairs to the southwest to reach the swamp you fired upon earlier. Keep going southwest through the swamp until you find some stairs leading up to the northwest. Alas, these are currently stairs to nowhere, as the walkway ahead has been inconveniently destroyed, leaving another palette of lumber as your only ingress into the fortress beyond. Assan can knock this down for you… once the blight holding it in place is removed. The next bit of this quest, then, will focus on removing this blight.
(1 of 2) Kick over a beam and cross it,
Kick over a beam and cross it, (left), to find a small chest housing the Hemorrhage rune. (right)
Destroy the Blight in the Courtyard
That doesn’t mean we’re going to neglect optional loot, however. Turn southeast and stroll across the courtyard towards some large gates atop some stairs. At these gates turn northeast, jump a gap, head up a wooden platform, and destroy any barrels and crates in your way. Jump another gap to a wooden platform under a ruined arch to find a chest which contains minor goodies, including the Banded Mage Brim cosmetic. Backtrack to the gate and this time turn southwest, use Assan to drop a palette, then jump up to an elevated wooden platform to find another chest.
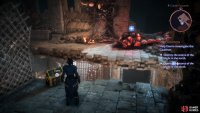
Drop into the courtyard and make your way back northeast towards the beacon, destroying any blight cysts on the ground as you go - these won’t make any progress, but blight cysts deserve to be popped, nonetheless. From the beacon, head along the wall to the northwest, then turn southwest towards the ballista. This time, however, as you approach the ballista keep an eye to the left to find some wooden stairs leading up to and around the broken stone walkway above. Just jump a gap and follow the wooden platforms until you reach the edge of the stone walkway, which you can easily climb up.
Enter the archway to the northwest and kill two darkspawn Berzerkers inside the keep, then turn northeast and destroy a blight cyst - one of several you’ll need to destroy to reach The Cauldron. Kick a ladder down to provide an easier way back up here, and note if you head to the southwestern edge of this chamber you’ll just find another way to drop down to the ballista, which we don’t need to do… yet.
Instead, head to the northwestern edge of this chamber to find two staircases flanking a gate. Go up the southwestern stairs and you’ll reach a dead end near a small chest. Loot it to score the ![]() Divert rune, then blast the blight cyst across the gap. Drop down to the lower floor, then return to the ballista to find a new blight cyst on the wall behind it - rather, a newly vulnerable blight cyst. Destroy it, and just like that you’re halfway done.
Divert rune, then blast the blight cyst across the gap. Drop down to the lower floor, then return to the ballista to find a new blight cyst on the wall behind it - rather, a newly vulnerable blight cyst. Destroy it, and just like that you’re halfway done.
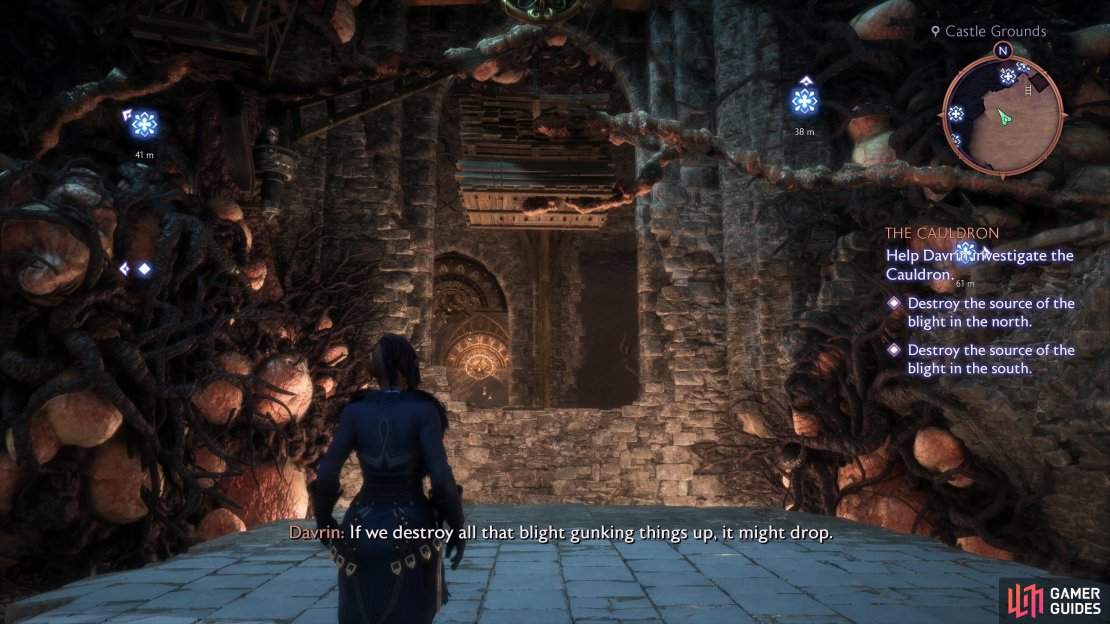
(1 of 4) Find some stairs leading to the interior of the keep - to The Cauldron itself. To get access you’ll need to destroy some blight cysts.
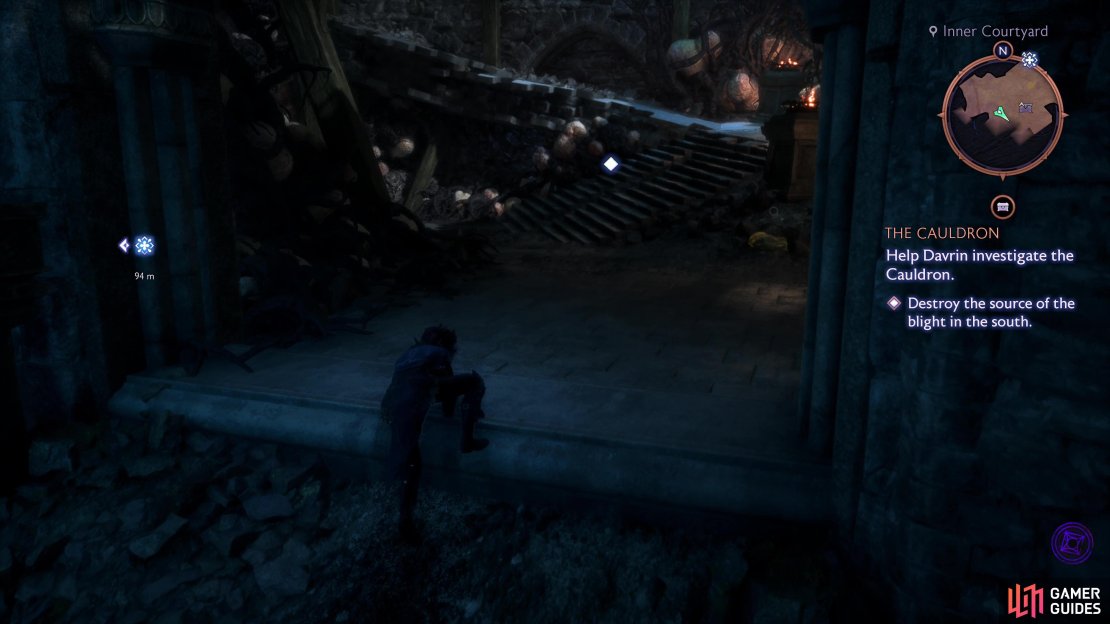
Head back down to the swampy courtyard and cross it to the southwest - there are several archways you can use, just weave around the blight to transition from the Castle Grounds to the Inner Courtyard. Unsurprisingly you’ll be attacked by numerous darkspawn, including ghouls, blighters and the odd axe-armed Hurlock. Kill them, then note the Evanuris Altar to the southeast, which you can solve if you want the extra health.
When you’re done, make your way to the southwestern most edge of this area, where you’ll find a short flight of stairs in the western corner that lead to a small chest. Loot it to score a Bronze Armet and other goodies, then head southeast to find another set of stairs leading up to a ramp that in turn takes you to a segmented stone walkway running back to the northwest. Jump the gaps in the walkway as you head northwest, kill a pair of Javelineers when they spawn (one of them dropped us an Insulated Suit cosmetic), and note a blight cyst on the wall to the northeast as well as a broken wall near said cyst that leads to the interior of the castle.
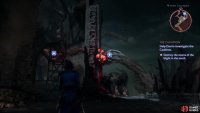
Destroy the cyst on the wall, then enter the castle through the hole in the wall and note a cyst up some stairs ahead of you, past some scaffolding. Destroy it, but note if you continue upstairs you’ll find a wisp receptacle, and without a wisp that’s not going to help us much. Fortunately a wisp can be found on a wooden platform below us and to the north - to get there head along the wooden walkway opposite the stairs and down a ladder. Loot a chest to the south to score an Antivan Parade Helm cosmetic and some other goodies, then use Emmrich’s “Soothe Torment” ability to free the wisp. Lure the wisp to you and run back to the receptacle and a ladder will lower nearby. Climb it, run and jump over to the northwest, then head up some stairs to score a large chest. Once you’ve plundered this chest, jump down to the southeast, exit out to the courtyard, then destroy a large blight cyst to the northeast and head through it to find another, smaller blight cyst. Destroy this last blight cyst to finally open the way to The Cauldron.
Assan will automatically knock the palette down for you, and you can jump down to the northeast to reach the landing leading to The Cauldron - just jump onto the palette to the northwest and climb up a ledge and you’re in. Continue down some stairs to the northwest and at an intersection turn left to snipe a small chest, then head right (northeast) to reach a small door leading into The Cauldron proper. Yep, after all this, we’re finally at the start of the quest. You’ll need Davrin along to proceed any further.
Investigate The Cauldron
Talk to Davrin in The Cauldron and start the quest. Once you zone in, continue northwest, chatting with your companions and investigating points of interest to learn more about what the Wardens were storing here. When you’re ready to go on, destroy a blight cyst up the stairs to the northwest, loot a chest the blight was concealing, then head back downstairs and turn southwest to find another, newly vulnerable blight cyst you can pop. Do so and you’ll enter a massive chamber housing something well worth being buried and forgotten.
Destroy the Blight
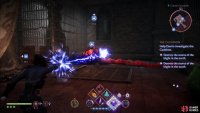
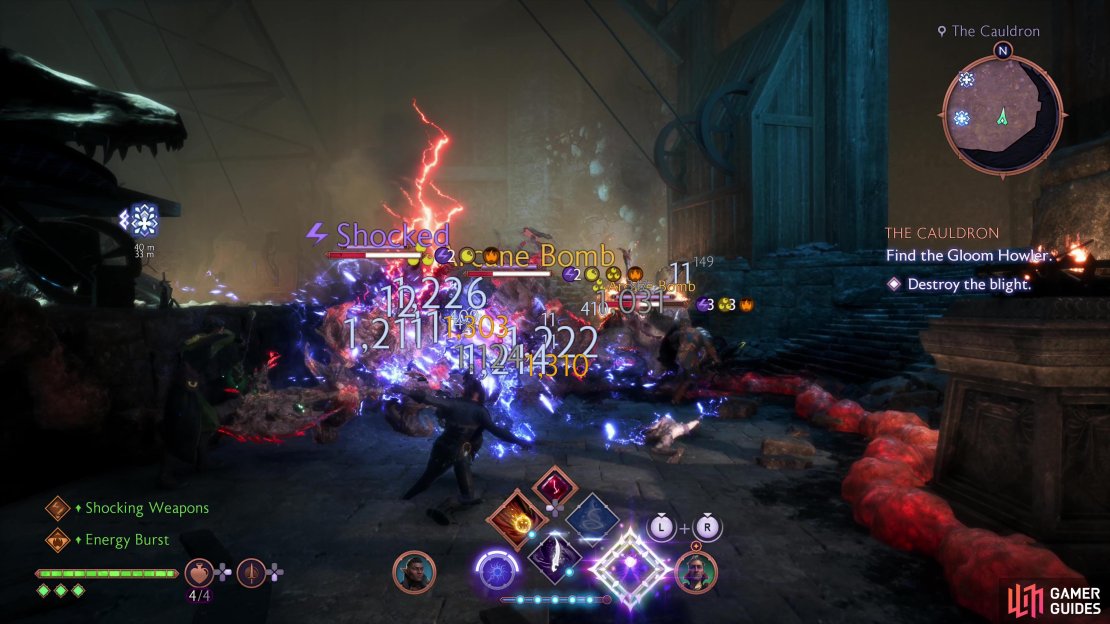
Drop off the ledge and head south to the marked pool of blight you need to search. After some chatter you’ll find yourself fighting against the Gloom Howler’s seemingly endless horde of darkspawn, which includes a Greater Ogre, some melee Hurlocks, Hurlock Blighters and Ghouls. Indeed, your initial goal - after defeating the Ogre - should be to seek out and destroy three blight cysts along the eastern edge of the chamber, stopping to dispatch darkspawn only when necessary or convenient. They’re not your primary objective, but rather the blight cysts are.
Once done, two blight growths atop two flights of stairs to the west will become vulnerable - destroy them and seize the high ground, where you’ll need to repeat the process. More darkspawn will spawn, and they’ll continue to do so until you destroy three more blight cysts, the last of which is in the remains of the Archdemon. Destroying these blight cysts will trigger a cutscene.
(1 of 3) You may be tempted to fight the darkspawn that appear, but your real objective are the blight cysts littered throughout the chamber.
Defeat the Darkspawn Horde
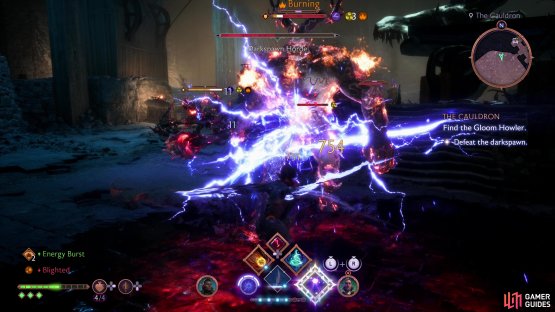
Now it’s time to turn your attention to the darkspawn. Killing them actually matters now, in fact, it’s your sole objective. A “Darkspawn Horde” meter sits at the top of the screen and as you kill darkspawn it’ll deplete. You’ll largely face the same enemies this time around as you did earlier - an Ogre, melee and blight-throwing Hurlocks, and plenty of Ghouls. Kill them all and after some chatter, you’ll be able to freely explore this area. Not that there’s much to see - loot a chest right in front of you, then talk to Davrin when you’re ready to leave and end the quest.
(1 of 2) Once all the blight cysts are destroyed you can turn your attention to the darkspawn.
Once all the blight cysts are destroyed you can turn your attention to the darkspawn. (left), Defeat the horde and you’ll be free to plunder the area and end the quest. (right)
You’ll get some gear from the chest, as well as your typical quest rewards of 670 gold, 5x Fade-Touched Ore and an ![]() Antaam Bindings cosmetic. Once you talk to Davrin and leave you’ll also get +100 Grey Wardens Strength and the next quest A Fighting Chance will begin.
Antaam Bindings cosmetic. Once you talk to Davrin and leave you’ll also get +100 Grey Wardens Strength and the next quest A Fighting Chance will begin.












No Comments