The Venatori may have been thwarted in the Necropolis (mostly), but their profane rituals and acts of violence roused the dead from their slumber, and these restless spirits must now be placated. This page will provide a walkthrough for the side quest ![]() Restless Spirits in Dragon Age: The Veilguard.
Restless Spirits in Dragon Age: The Veilguard.
Page Breakdown
| Quick Search |
|---|
| Starting Restless Spirits |
| Wrangling Wisps in the Belfry |
| Western Wisp |
| Southwestern Wisp |
| Southeastern Wisp |
| Eastern Wisp |
Starting Restless Spirits
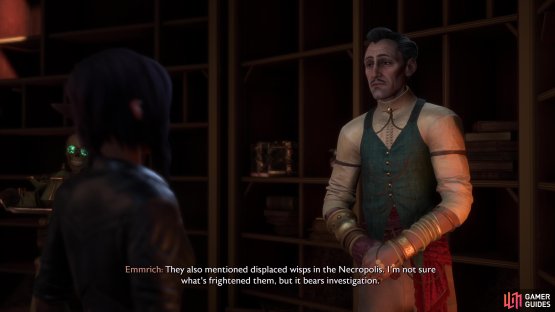
Complete the main quest Where the Dead Must Go then talk to Emmrich in the Lighthouse. He may have a timed conversation of little consequence you have to get out of the way, first, but he should eventually mention some hauntings Myrna and Vorgoth wanted him to investigate, as well as some restless spirits in the Necropolis. This starts the quest Restless Spirits and more importantly unlocks the Necropolis Halls as an explorable region! This, of course, means even more quest, more plunder via exploration, and a new faction merchant you can barter with.
(1 of 2) Talk to Emmrich after recruiting him to start this quest,
Talk to Emmrich after recruiting him to start this quest, (left), and unlock the Necropolis Halls as an exploration destination. (right)
Wrangling Wisps in the Belfry
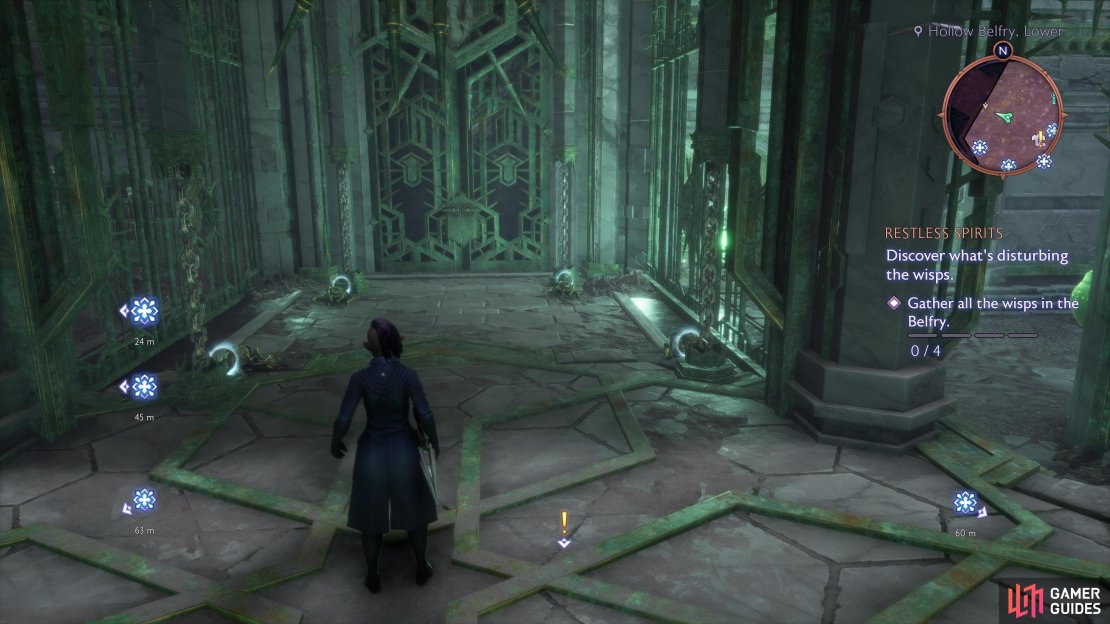
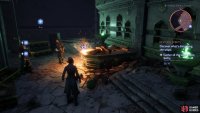
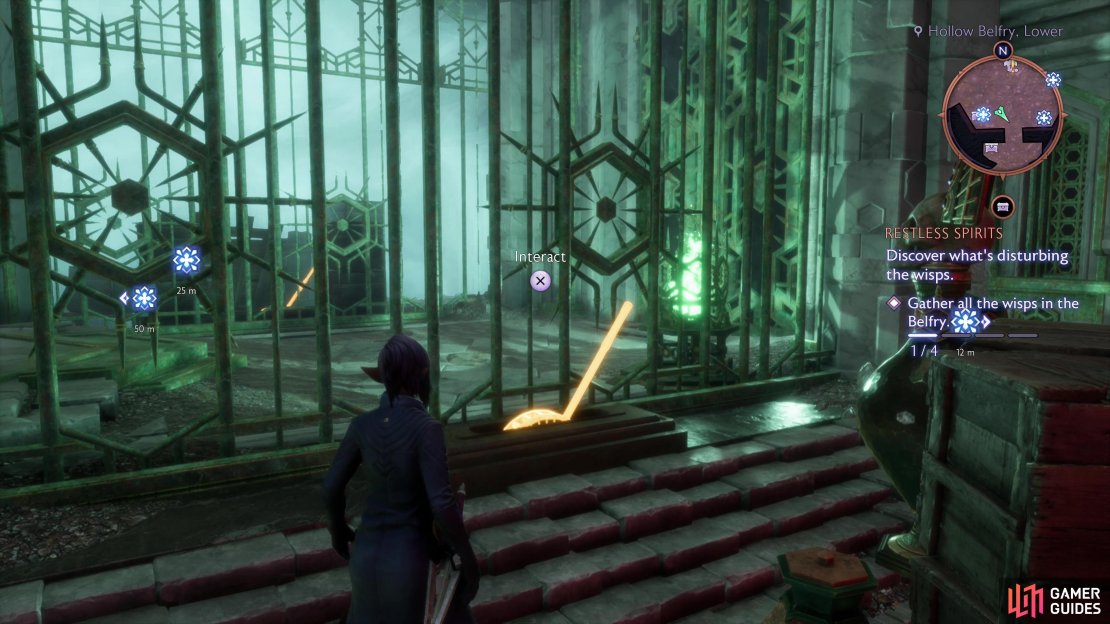
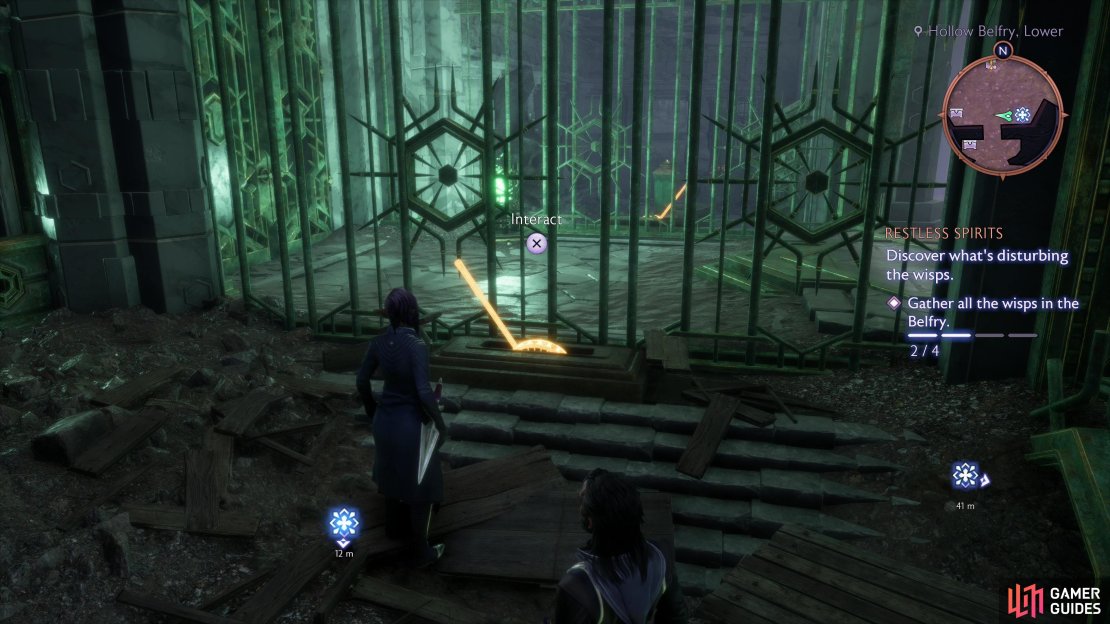
Fast travel back to the Necropolis and enter the Hollow Belfry, Lower, where you’ll find numerous members of the Mourn Watch along with Myrna and Vorgoth, the latter of which now serves as the faction merchant. When you enter you’ll also spot four quest markers, each pointing to a different wisp that needs to be lured out and escorted to a gate to the northwest, where four receptacles await. We’ll start at this gate and work our way counter-clockwise through this chamber, wrangling wisps until this quest is complete.
Western Wisp
Open a door just south of the receptacle-cluttered gate, grab the note An Overview of SPirits Malign from off a table, then head to the southern end of this room to find two braziers. Light them up and a wisp will appear at the edge of another table. Use Emmrich’s “Placate Wisp” ability to draw the wisp out, then approach to draw it to you and escort it out to the receptacles to the north. Not too bad - one down, three to go.
(1 of 3) Find a gate with four receptacles near it - gather wisps and lure them to the receptacles to open the door.
Southwestern Wisp
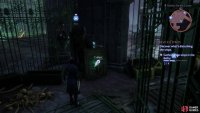
Make your way to the southernwestern corner of this hexagonal chamber, passing a gate to the southwest and a sealed door you can’t open and enter a door leading to a room on the southern end of the chamber. A barrier blocks progress to the west and none of the crystals you have access to are vulnerable, so turn east and pull a lever, exit the room and enter the door to the northwest, which is now open. Time to hunt some crystals:
- Destroy a crystal behind some crates to the northwest.
- Look south and destroy a second crystal beyond a broken section of fence.
- Enter the southernmost room and destroy another crystal behind some boxes to the southeast.
- Destroy the barrier crystal to the west.
Once the barrier is gone you can loot a chest along the western edge of the room and pick up a wisp. Deposit it in the receptacle near the gate and you’re good to go - halfway done!
(1 of 3) Enter the southwestern chamber and pull a lever,
Southeastern Wisp
Mosey on over to the southeastern corner of the chamber to find a very similar setup to the last rooms. The door to the eastern room is locked, so go into the western room, destroy some crates, then pull a lever hidden behind them along the western corner of the room. Exit this western room and enter the now-accessible eastern room, then turn southwest, destroy some boards blocking your way, and grab an Impossible Map (+50 Caretaker Power), in the process spooking a wisp.
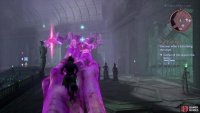
Exit this room and head west to find a “Veil Instability” in the sky. Lucanis can use this to conjure a massive pink skeletal and you can use it as a ramp to reach the third wisp, which had been mischievously floating around as you explored the previous two rooms. Just note that the lower part of this fade construct is along the western corner of the chamber, but it shouldn’t matter too much, as this particular conjuration lasts quite a while. Run up the skeletal arm, jump to get the wisp, then escort it back to the receptacle gate. Only one left.
(1 of 3) Enter the southeastern room to find a lever,
Eastern Wisp
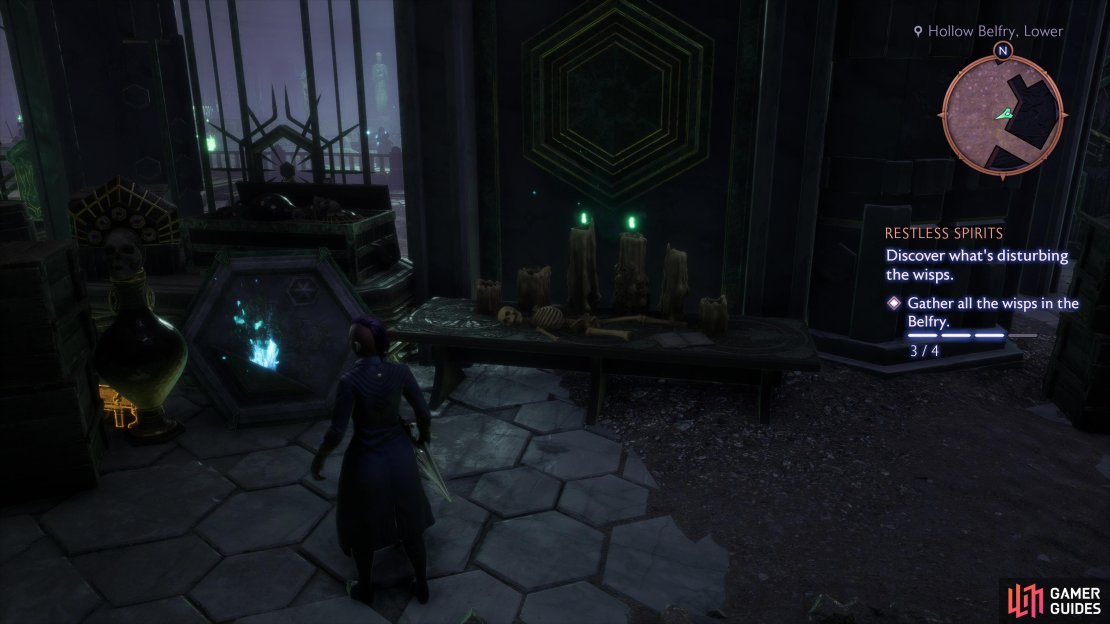
Now head to the eastern edge of the chamber and enter a room, then turn south to see a wisp pop up from a table. Light the wall sconce nearby (shamefully not hung on a wall) and a candle will obediently flicker to life on the nearby table - that’s called player feedback. Light two more wall sconces on the southeastern wall (destroy some junk to get access to one of them), repeat the process along the northeastern wall, then finish up by lighting a fifth wall sconce on the floor to the southwest, behind some junk near the first brazier you lit. Our playful wisp will appear above a corpse on the table, allow you to lure it and place it in the fourth and final receptacle.
(1 of 3) Light sconces and candles on a nearby table will light up,
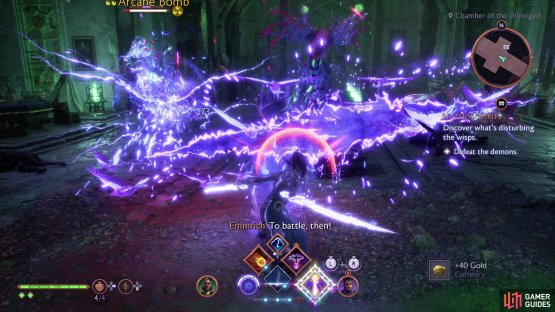
When all the wisps are in the receptacles, a corpse will animate and open the gate to the northwest. Head on into the chamber beyond, go downstairs and an Orbiting Envy Demon and some Shades will spawn. These are likely the source of the wisp’s discontent, but as far as combat is concerned, they’re a rather generic batch of demons.. Kill them and quest will end, earning you 500 EXP and +50 Mourn Watch Strength.
(1 of 2) Defeat the Shades beyond the sealed door,
Defeat the Shades beyond the sealed door, (left), then approach another door to start the quest “Pinnacle of its Kind”. (right)
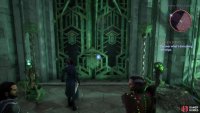
More importantly, if you press on to the northwest you’ll find a sealed door, and if you try to open it you’ll start the quest Pinnacle of its Kind, a rather more involved, difficult and lucrative quest.









No Comments