As you progress through Dragon Age: The Veilguard, you’ll gain access to exploration areas for each of the regions. Inside, you’ll find hidden chests among other goodies. Dock Town is the second area you’ll explore, and this page will help you find every hidden chest, including the difficult-to-locate unique chests.
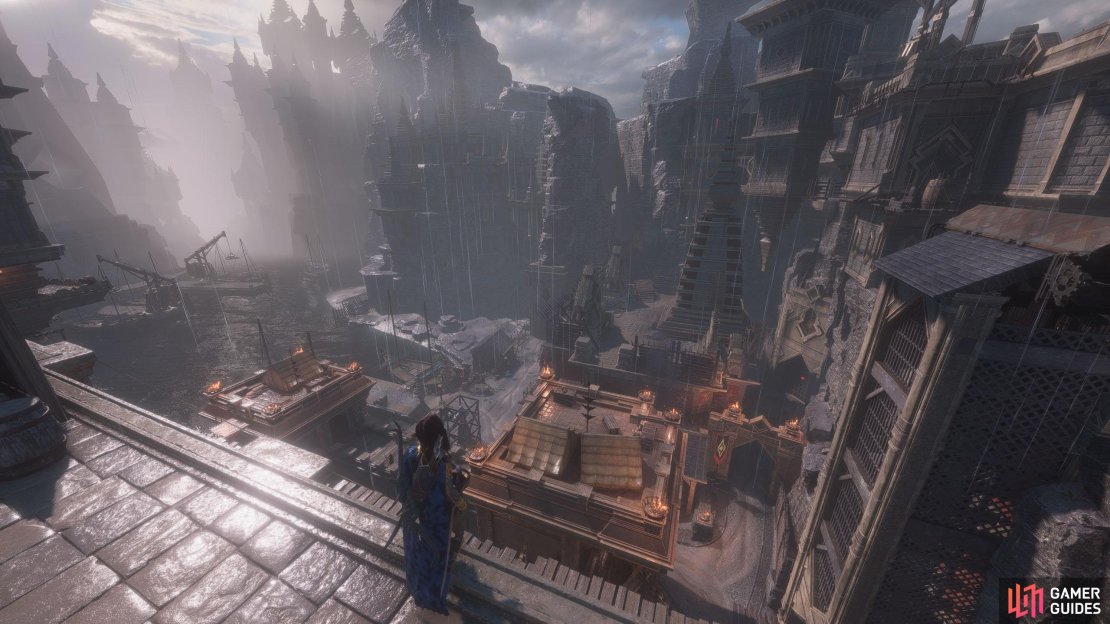
Dock Town is a large area with a mixture of verticality and intertwined paths, where many chests are hidden.
Table of Contents
If you want to jump to a specific section, click on the links below.
| Quickjump |
|---|
| Regular Chests |
| Unique Chests |
Regular Chests
There are a total of 11 regular chests to find in Dock Town, but to get some of these, you’ll need to come back at a later time when a new quest appears as it will open up more of the map to explore. Below, you can find the location of each chest.
Regular Chest 1 - Razikale Walk
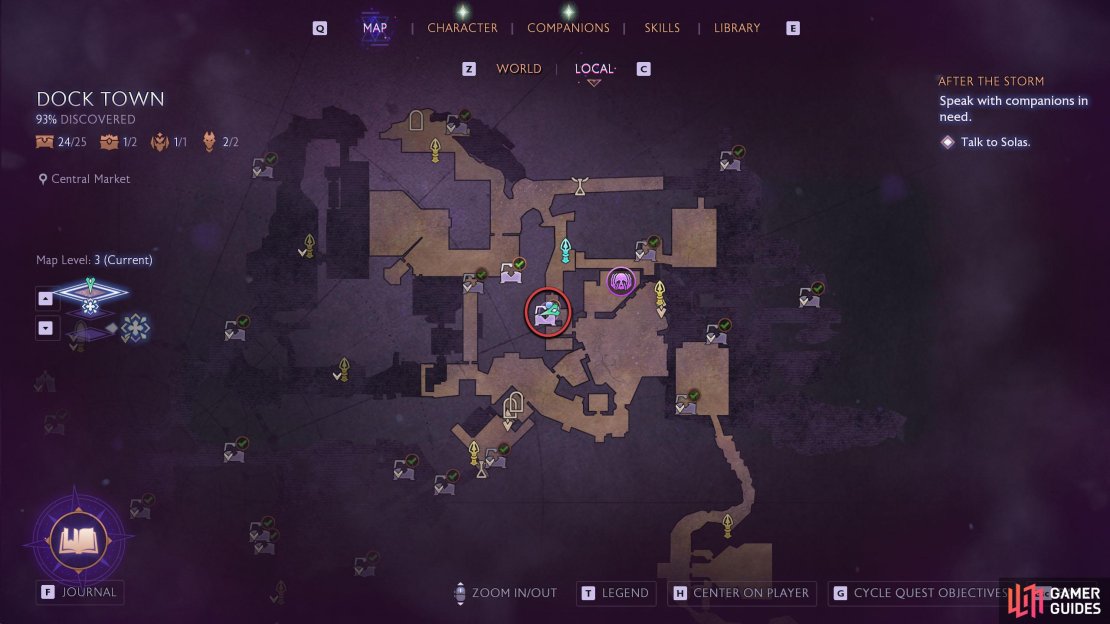
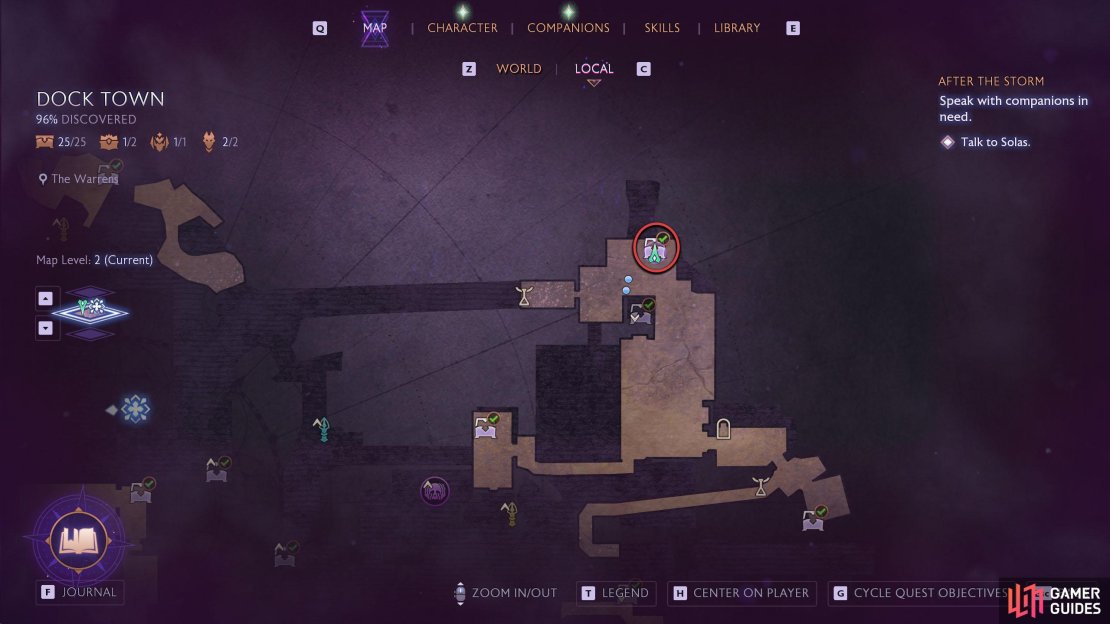
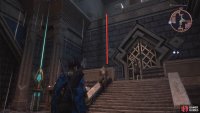
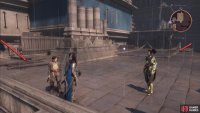
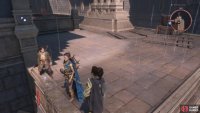
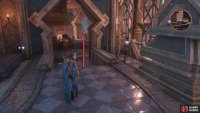
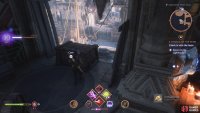
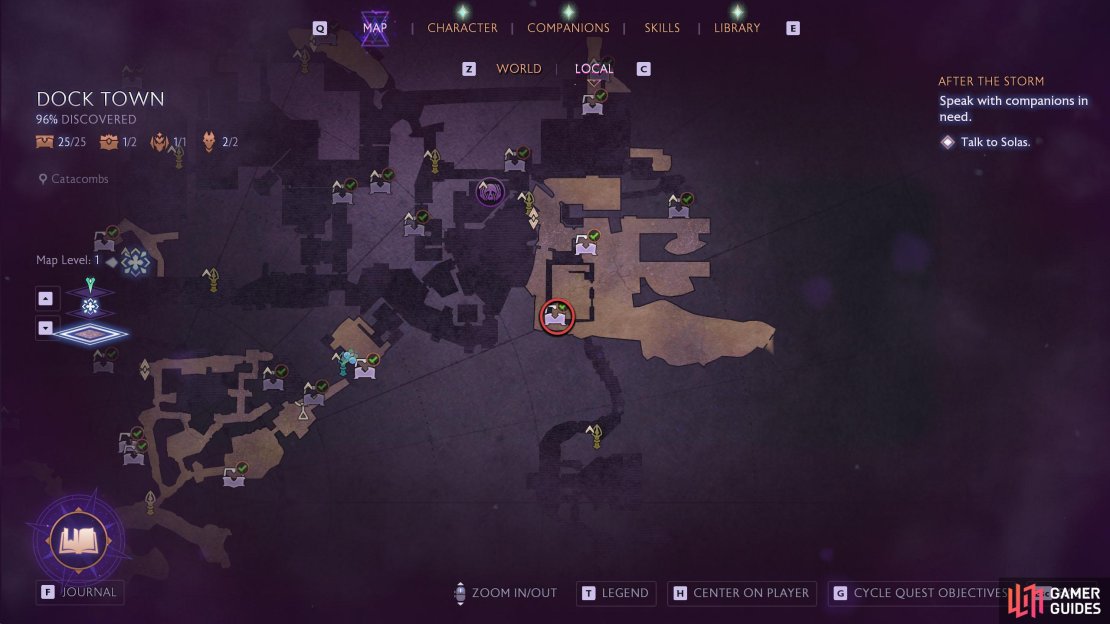
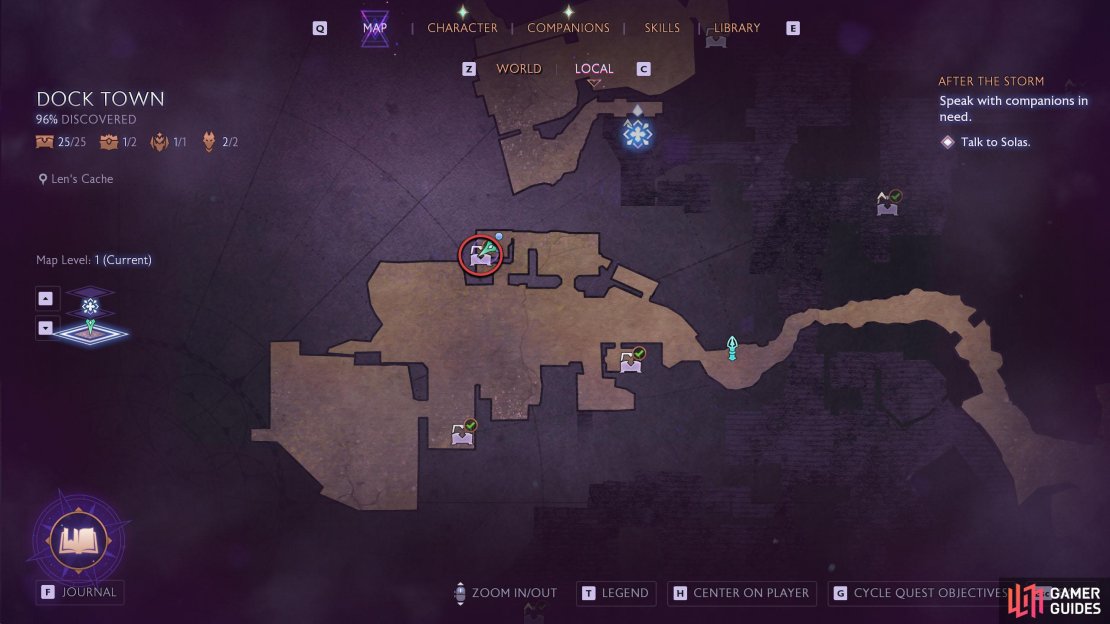
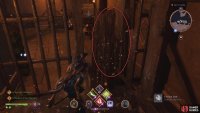
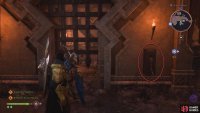
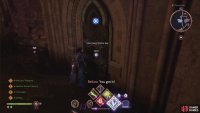
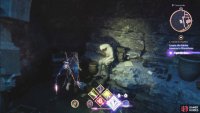
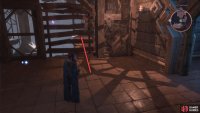
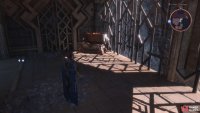
Available during your first exploration of Dock Town, teleport to the Razikale Walk Beacon (outside the Temple of Andraste), and follow the path up the stairs and through the doorway to the left of it. At the top of the stairs is a building with a locked gate to your left, and some debris to the right of it.
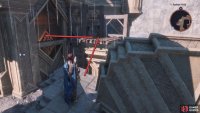
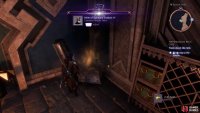
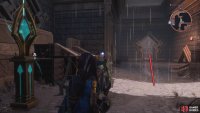
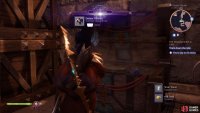
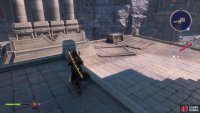
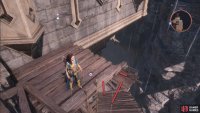
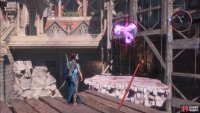
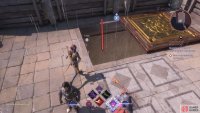
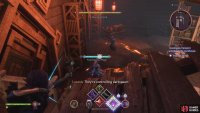
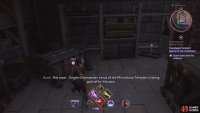
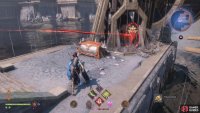
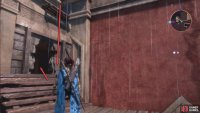
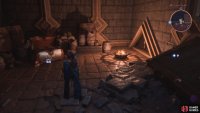
Climb up the debris, jump over to the scaffolding to the left of it, and finally jump into the gap at the top of the wall. Here, you’ll find a chest as well as a Memento. You can use the lever on the wall to open the door to exit the building.
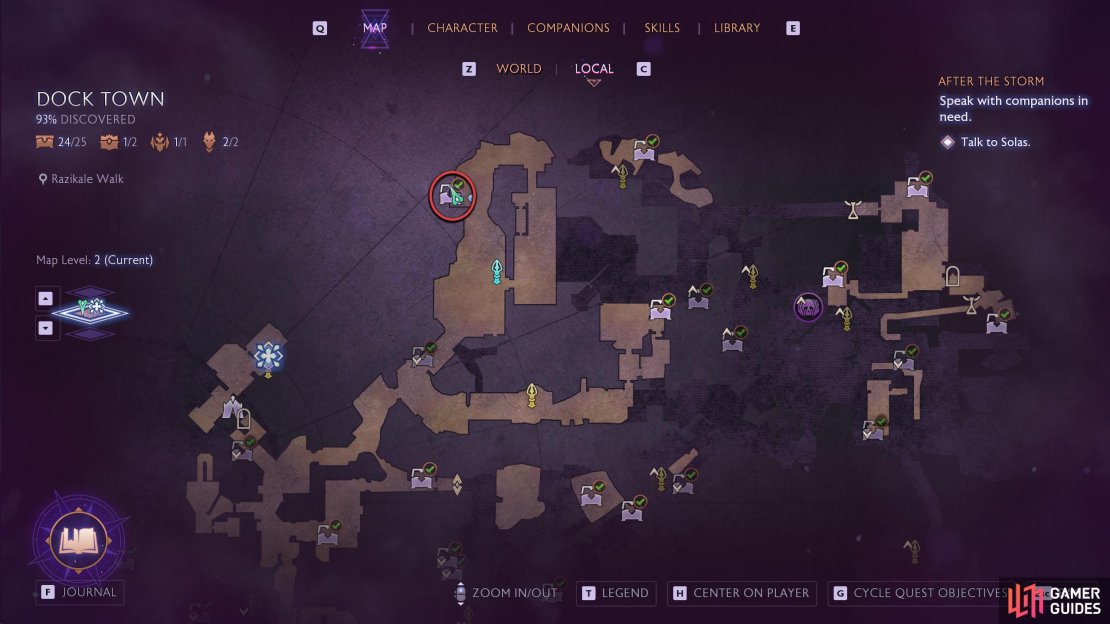
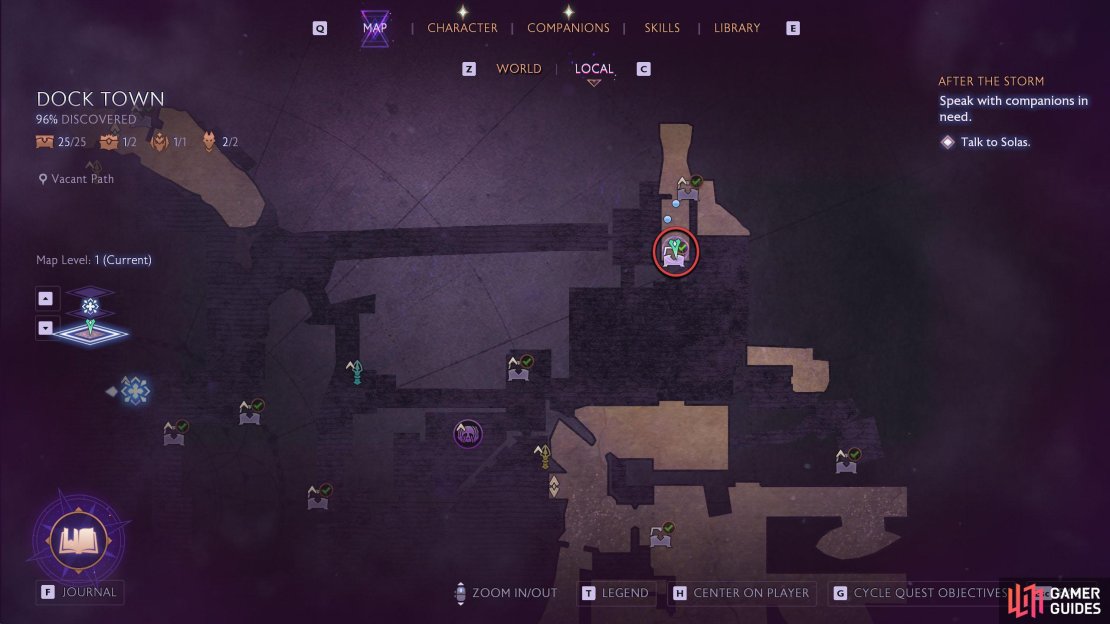
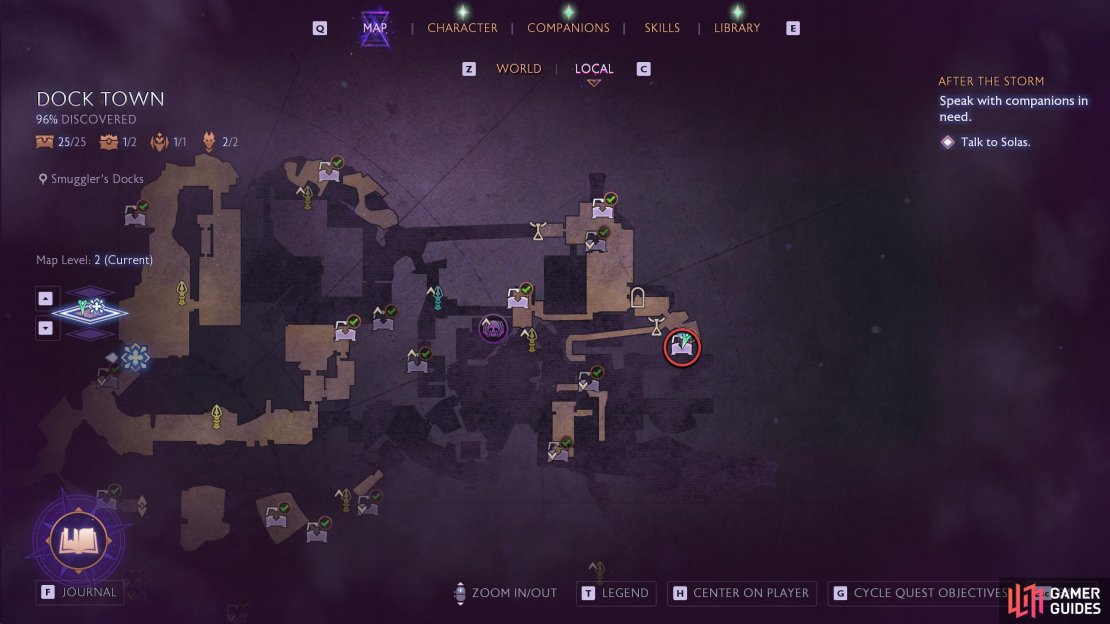
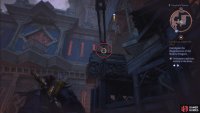
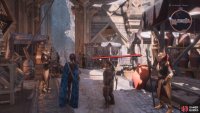
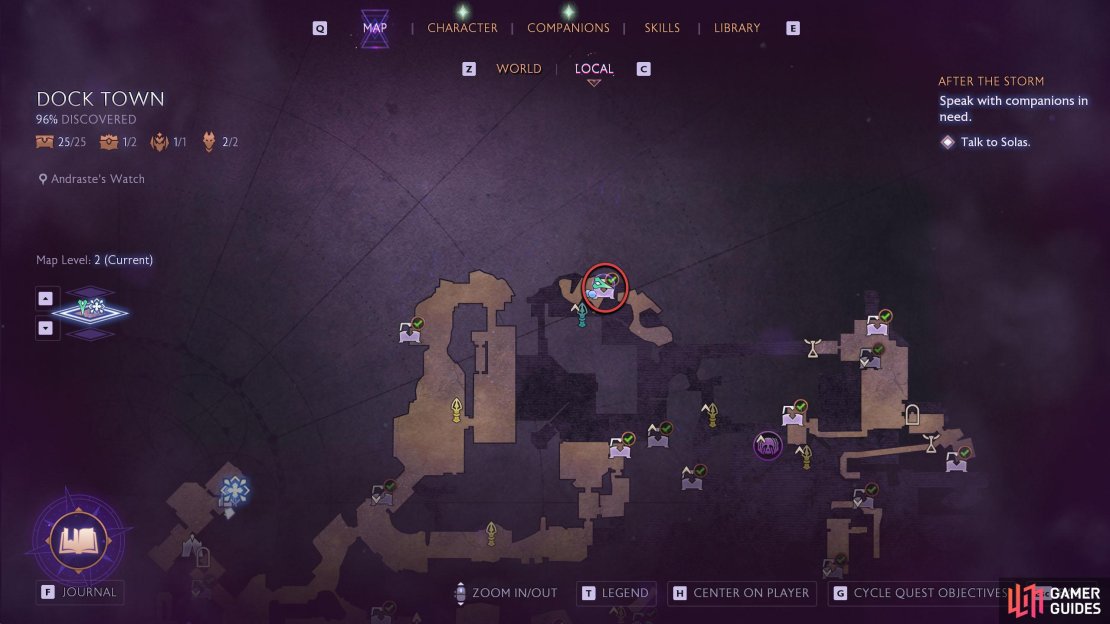
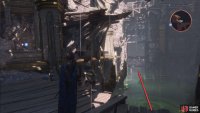
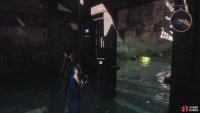
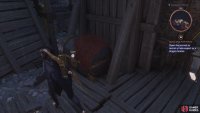
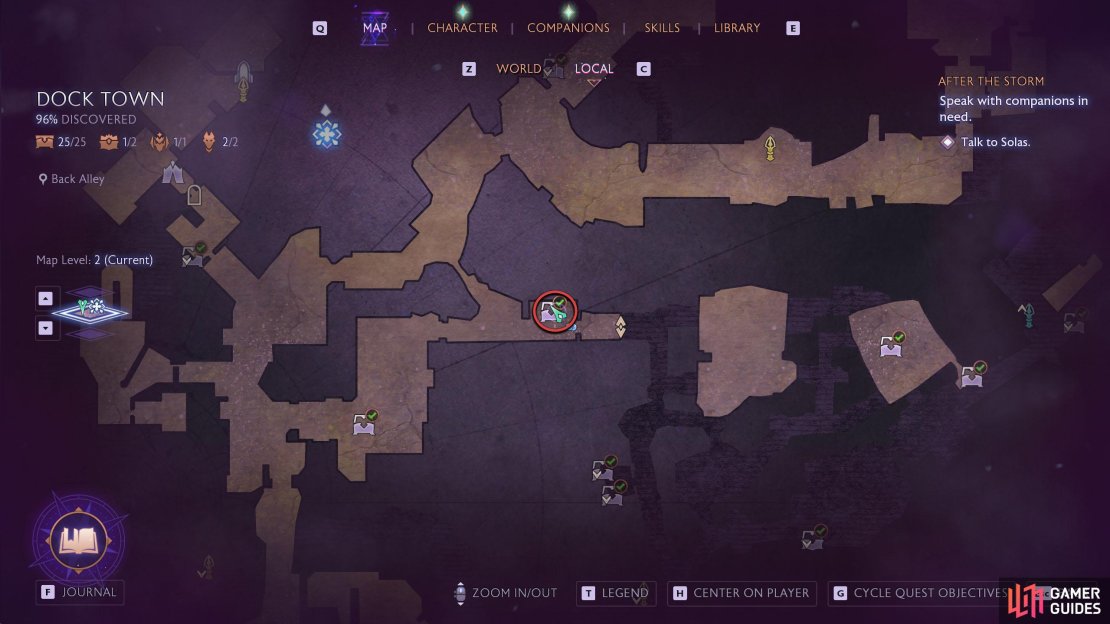
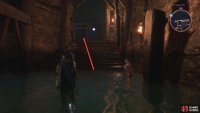
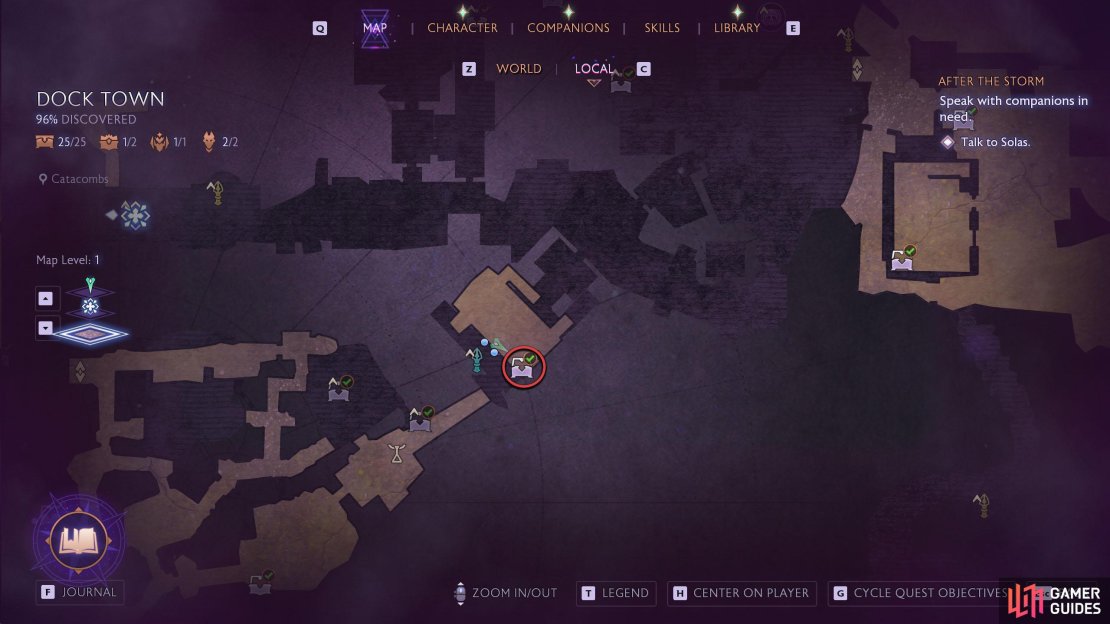
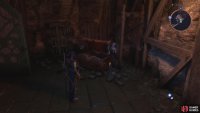
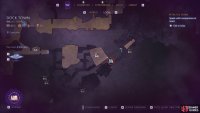
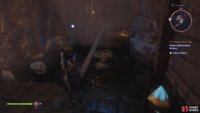
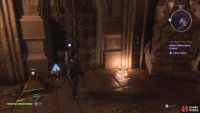
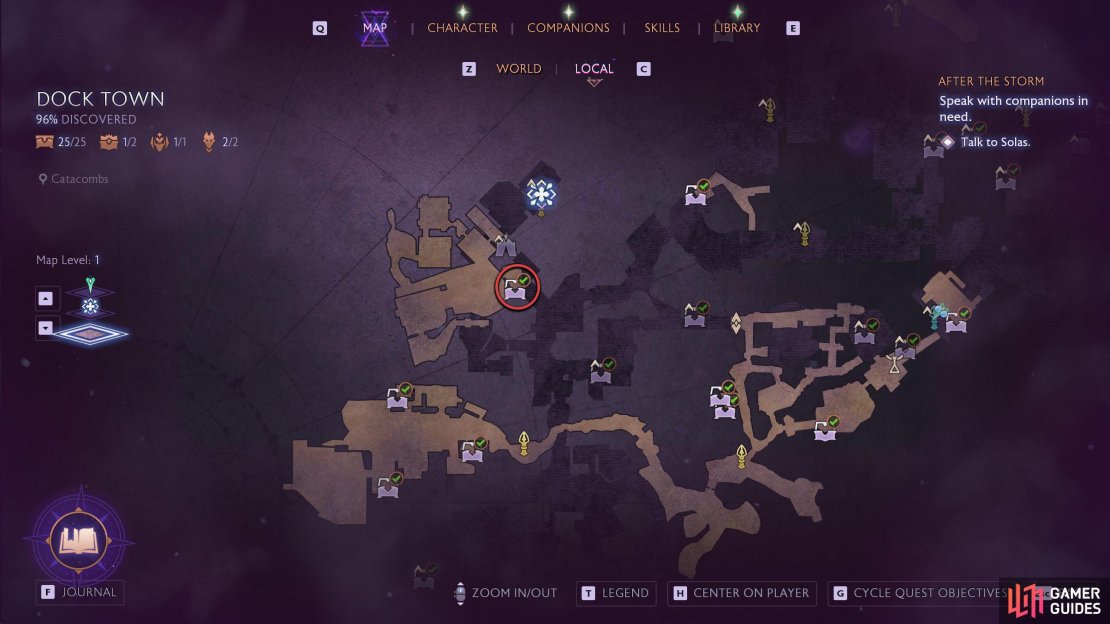
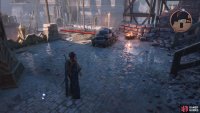
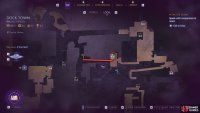
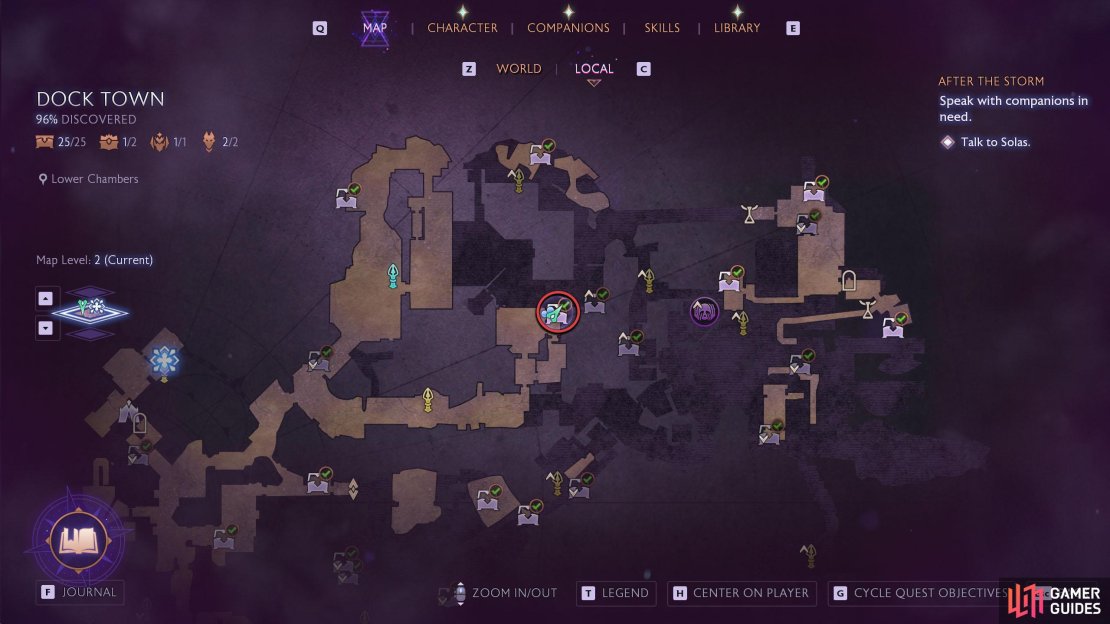
(1 of 4) Razikale Walk can be found in the north of Dock Town. The chest is north of the Temple of Andraste.
Regular Chest 2 - Temple Courtyard (Temple of Andraste)
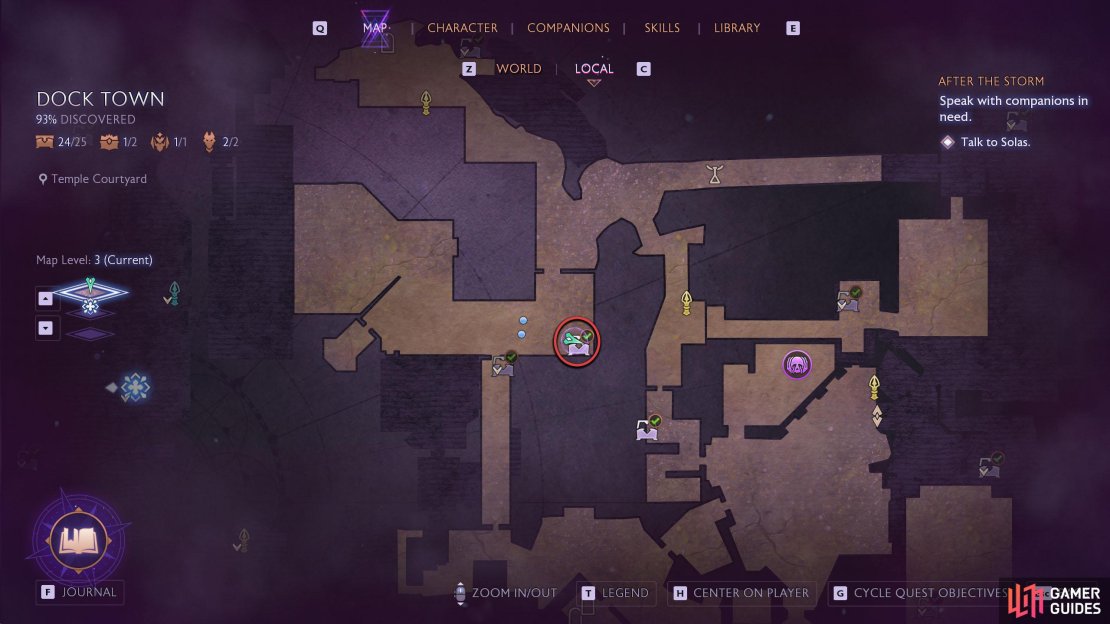
This chest can be found on map level 3, inside the Temple of Andraste. The main door of the temple is locked for now, so you’ll need to go behind it and enter it from the roof. From the previous chest location, head around the corner to the northeast to get behind the building, and you’ll find that a metal grating has been removed, granting you access.
You may need to be on ![]() The Smuggled Relic Case quest for this to be open. If it’s closed, this quest will take you there. Inside the temple, go south until you drop, and then head up the stairs to your west, where a group of Venatori will attack you. Defeat the enemies, go east up the stairs, and then go south and east to the end of the path, where you’ll find the chest in the corner.
The Smuggled Relic Case quest for this to be open. If it’s closed, this quest will take you there. Inside the temple, go south until you drop, and then head up the stairs to your west, where a group of Venatori will attack you. Defeat the enemies, go east up the stairs, and then go south and east to the end of the path, where you’ll find the chest in the corner.
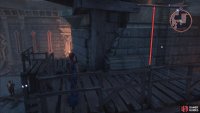
(1 of 4) Go north from the beacon and follow the path northeast.
Regular Chest 3 - Central Market
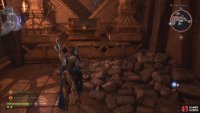
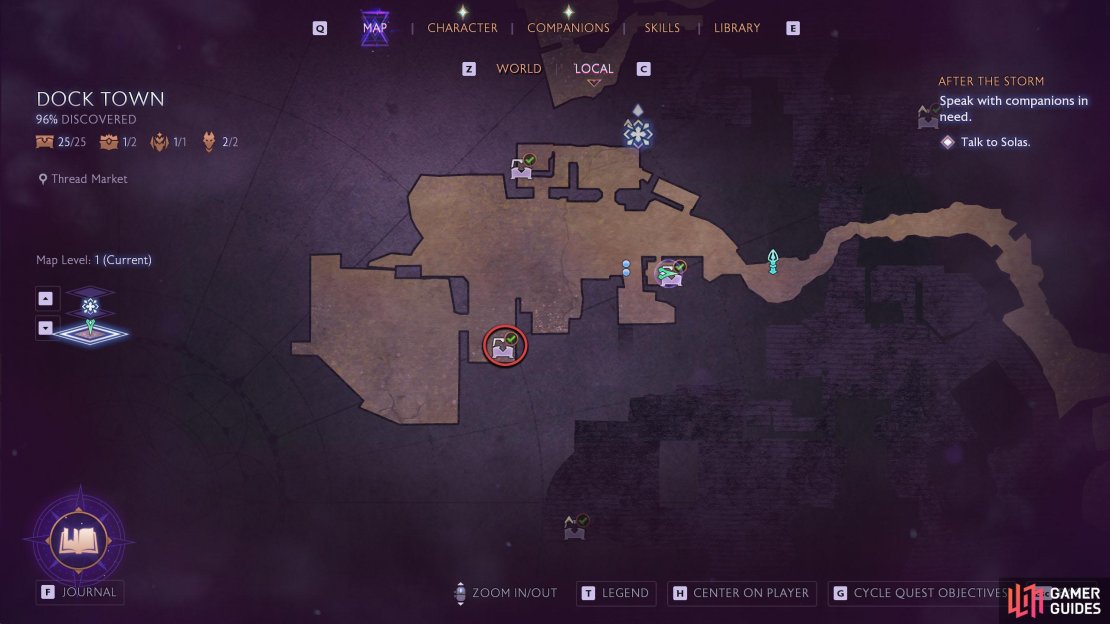
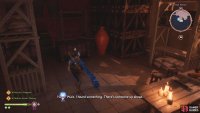
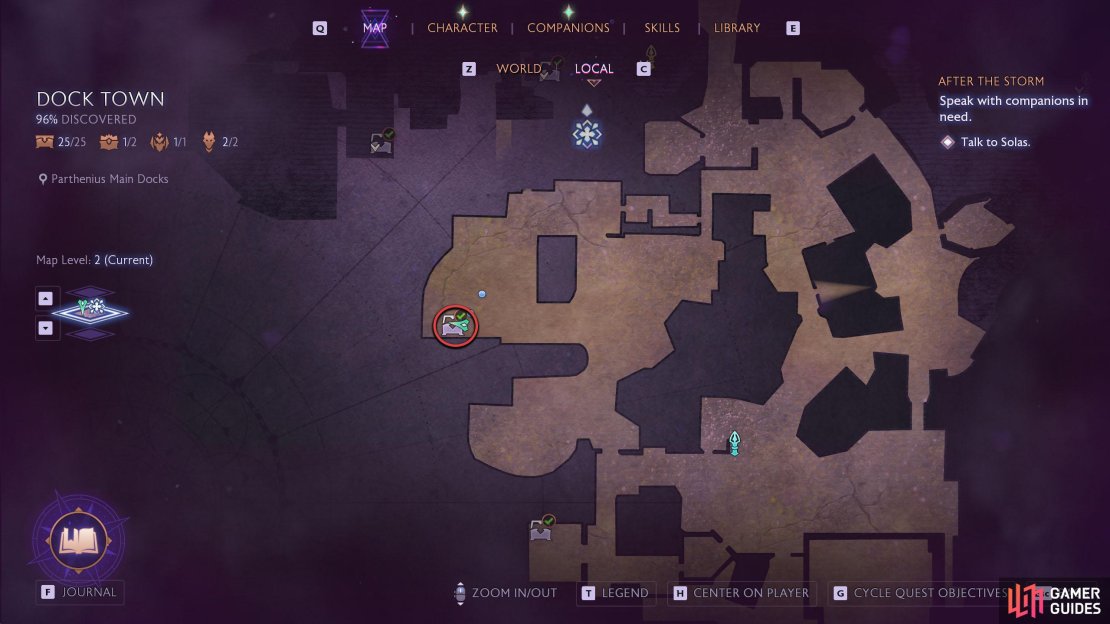
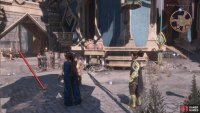
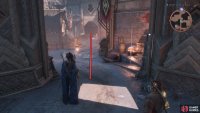
You’ll get this chest during The Smuggled Relic Case quest, however, if you missed it, teleport to the northwest Central Market Beacon, and go south into the pot room. Hug the right wall upon entering the room, and you’ll find the chest wedged in between two shelves.
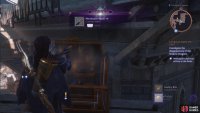
(1 of 3) Central Market can be found smack bang in the middle of Dock Town.
Regular Chest 4 - The Warrens
Another chest that you should find during The Smuggled Relic Case quest. This particular chest is on top of a roof that can be accessed by climbing the ladder next to the northwest Central Market Beacon. At the top, follow the path east and jump across to the nearby rooftop.
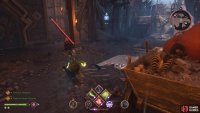
Now, run and jump off the wooden ramp to the north onto another rooftop. Upon landing, drop onto the rooftop to the northeast where you’ll find the chest on the northern edge of the rooftop.
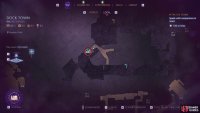
(1 of 4) Teleport to the northwest Central Market Beacon.
Regular Chest 5 - Vacant Path
Requires both Lucanis and Bellara to access.
One of the more difficult chests to find in Dock Town can be found just below The Warrens Chest above. From the previous chest, climb the southern ladder down opposite it, and then climb down a second ladder to the east of that. Follow the wooden path down and the chest will be behind the blue barrier.
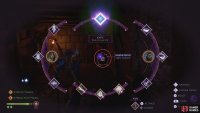
To unlock the barrier, use Lucanis power opposite the door, and jump across. Now look below the door to use Bellara’s power to dispel the barrier. Finally, use Lucanis’ power one more time to get back across, and go into the room to obtain the chest.
Regular Chest 6 - Smuggler’s Docks
Requires Davrin to access this chest.
Climbing the ladder next to the northwest Central Market Beacon and jump over the two rooftops (east and north). When you land, drop onto the rooftop to the northeast, and take the southern ladder down. Continue south and then east until you reach the Tavern in The Garden.
Exit the tavern on the other side and look up while facing southeast. Activate Davrin’s ability to drop the planks down and climb up. Now, aim your ranged weapon at the padlock on the ladder to release it and climb up once again to find a chest and Memento.
(1 of 4) This chest requires you unlocking Davrin as a companion.
Regular Chest 7 - Smuggler’s Dock 2
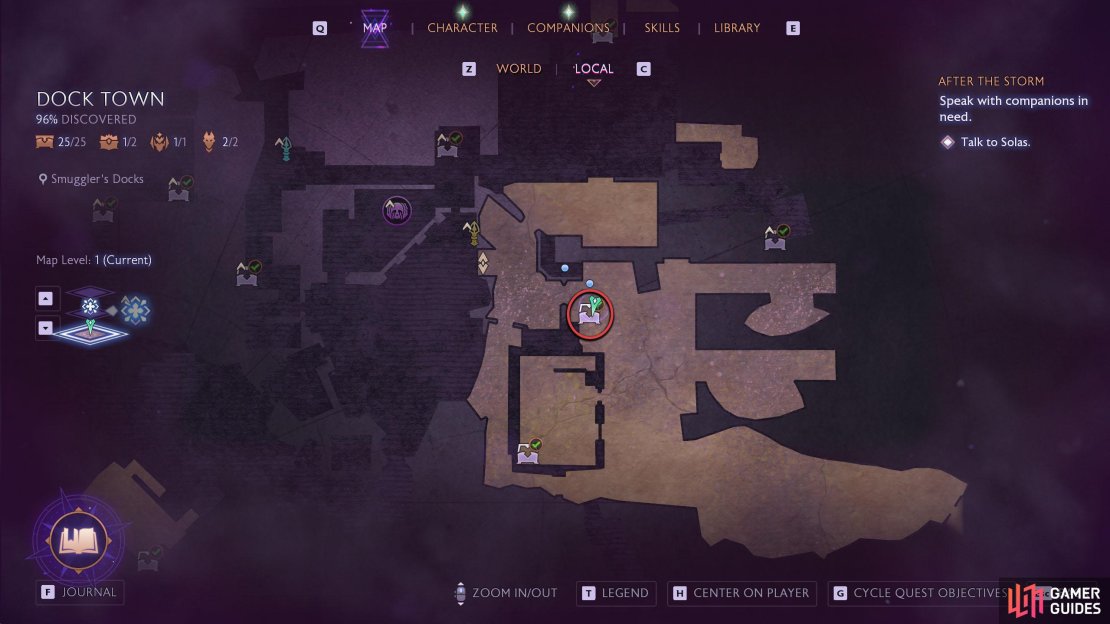
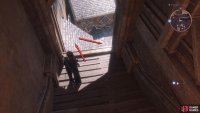
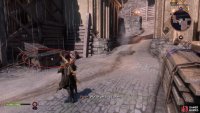
From the previous chest, take the Zipline west and follow the path until you can drop onto the rooftop below. At the bottom, you’ll find the chest opposite where you dropped.
(1 of 4) The chest can be found on the first floor in Smuggler’s Dock.
Regular Chest 8 - Glandivalis Square
Requires Davrin to access this chest.
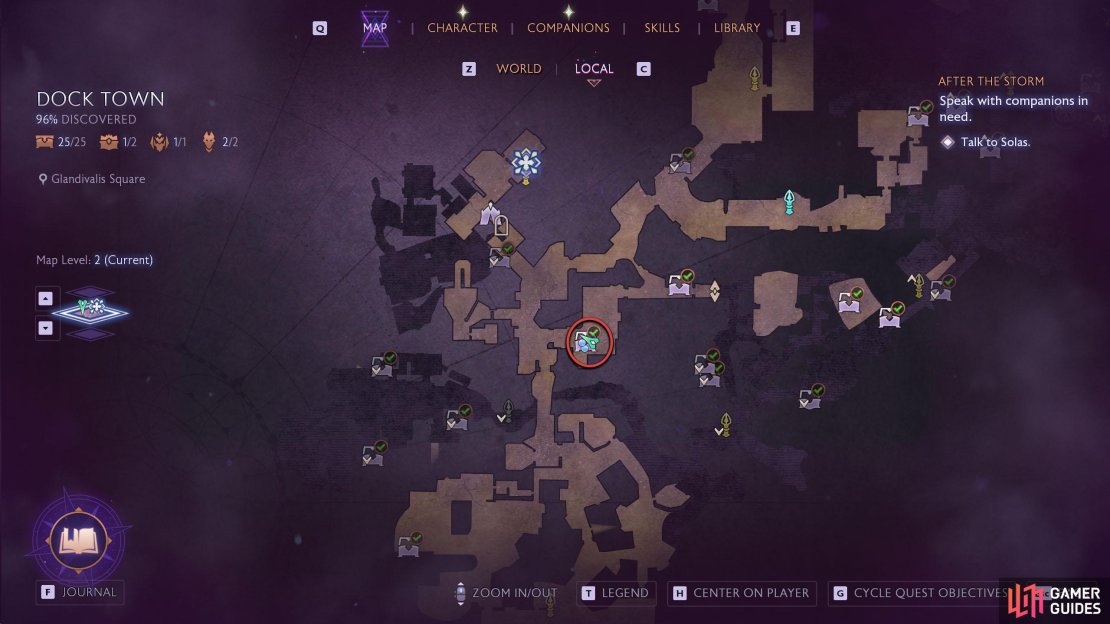
From the Shadow Dragon’s Safehouse, exit, and head south until you reach a doorway with a green eye above it. Head east, and you’ll find a crane holding some planks. Instruct the Griffon (with Davrin) to knock them down, and then use that to climb the scaffolding. Follow the scaffolding around and climb the ladder. The chest will be to the left.
(1 of 4) You can find this chest by leaving the Shadow Dragon’s hideout and heading south and then east.
Regular Chest 9 - Razikale Walk 2
Requires Lucanis and Dock Town Exploration Unlocked
You’ll need to unlock Dock Town Exploration to get this chest, which means completing the “![]() On Deadly Wings” story quest. Regardless of your choice in that quest, it won’t affect what chests you can get. Although this chest is technically in Razikale Walk, it borders Urthemiel Venue, which is the Beacon you want to teleport to.
On Deadly Wings” story quest. Regardless of your choice in that quest, it won’t affect what chests you can get. Although this chest is technically in Razikale Walk, it borders Urthemiel Venue, which is the Beacon you want to teleport to.
From the Beacon, head west until you reach the archway leading to Razikale Walk. Now, back up a little, and take the path north, between the market stalls. Follow the wooden platforms to the end and then use Lucanis’ power to create a temporary bridge across. On the other side, follow the path northwest to find the chest at the end.
(1 of 4) The chest can be found on the border between Urthemiel Venue and Razikale Walk.
Regular Chest 10 - Andraste’s Watch
Requires Dock Town Exploration Unlocked and be on the ![]() In Memoriam quest.
In Memoriam quest.
This chest requires you to get to the end of the In Memoriam quest to access Andraste’s Watch. The completion of the quest will bring you opposite the Fast Travel Beacon, so if you’ve done the quest but not got the chest, teleport to this Beacon.
Opposite the Beacon is a Fen’harel Altar, which you need to activate to gain access to the bottom of this area. Upon activation, a path leading down will appear behind it.
Take the path down to the bottom, where you’ll have to defeat an undead horde. Defeat the enemies, and follow the watery path northwest, where you’ll find an elevator. Take the elevator up, and you’ll find the chest in the northeast corner upon exiting.
Regular Chest 11 - Catacombs: Back Alley
Requires Dock Town Exploration Unlocked and be on the ![]() Cornered in the Catacombs quest.
Cornered in the Catacombs quest.
The Catacombs become accessible after accepting the quest “Cornered in the Catacombs”, which is available as soon as you get Dock Town exploration. You can start this quest by talking to the injured Vesta in the alleyways of Glandivalis Square.
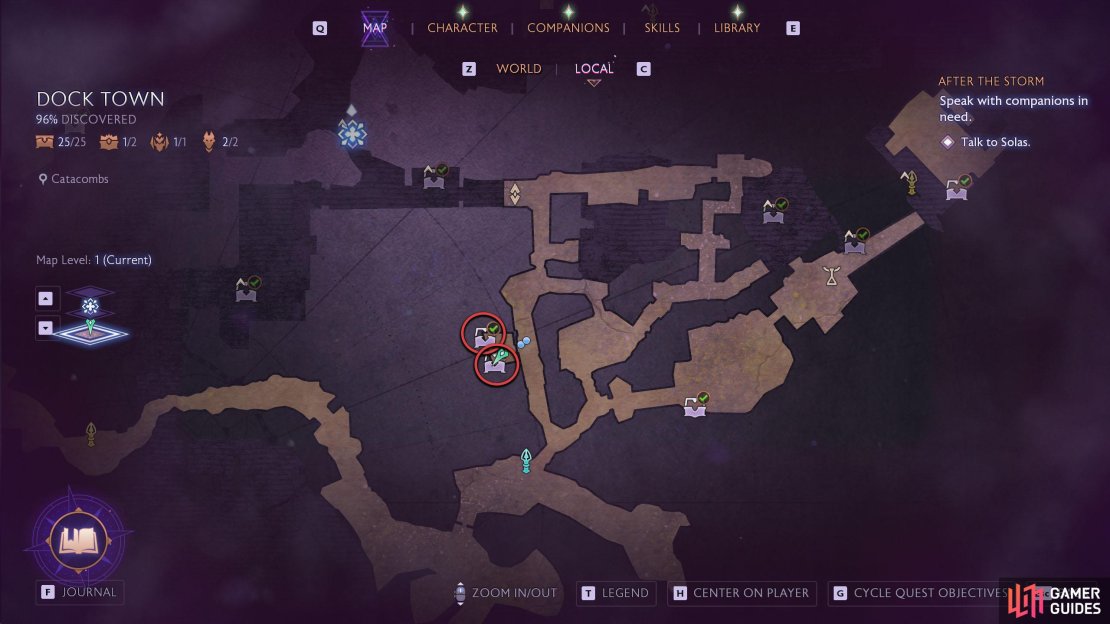
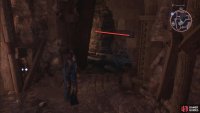
You should find this chest during the aforementioned quest. If you missed it, make your way back through to where you used the elevator inside. When you reach the elevator, take it up, and the chest will be on your right.
(1 of 3) You’ll need to be on (or completed) the Cornered in the Catacombs quest to access this chest.
Regular Chest 12 - Catacombs: Linus’ Room
Requires Dock Town Exploration Unlocked and be on ![]() The Snake Nest Deal quest.
The Snake Nest Deal quest.
You can obtain the quest by speaking to Sabina in Ferryman Row, opposite the shortcut to the Back Alley. Work your way through the quest until you get the Storage Key from the bartender in The Snake Nest as this will open the door opposite it. Inside, interact with the bookshelf to find a secret area, which has a lever in it.
Activating the lever will give you access to an elevator that leads into the Catacombs. In the Catacombs, drop in the center to your southwest (spikes on either side), and destroy the planks against the northeast wall. Slide down to the area below, climb over the half wall to your left, and open the door around the corner with the Linus’ Key. The chest will be in front of you as you enter the small room.
(1 of 5) Make your way through The Snake Nest Deal quest until you head into the Catacombs.
Regular Chest 13 - Catacombs: Cursed End
Requires Dock Town Exploration Unlocked and be on The Snake Nest Deal quest.
To access this part of the Catacombs, you’ll need to complete a small power crystal puzzle. Inside Linus’ room are two power crystals, and you’ll need them to access the area. Inside the same room, there is a tattered shelf you can destroy, exposing a wooden beam you can knock through the wall.
After you do this, pick up the first power crystal, and place it on the relic device near the door. Now, go back, pick up the second crystal, and go through the portal. On the other side, place the power crystal into the nearby device to create a bridge going across the gap.
(1 of 4) You’ll need to be on, or have completed, The Snakes Nest Deal side quest to access this area.
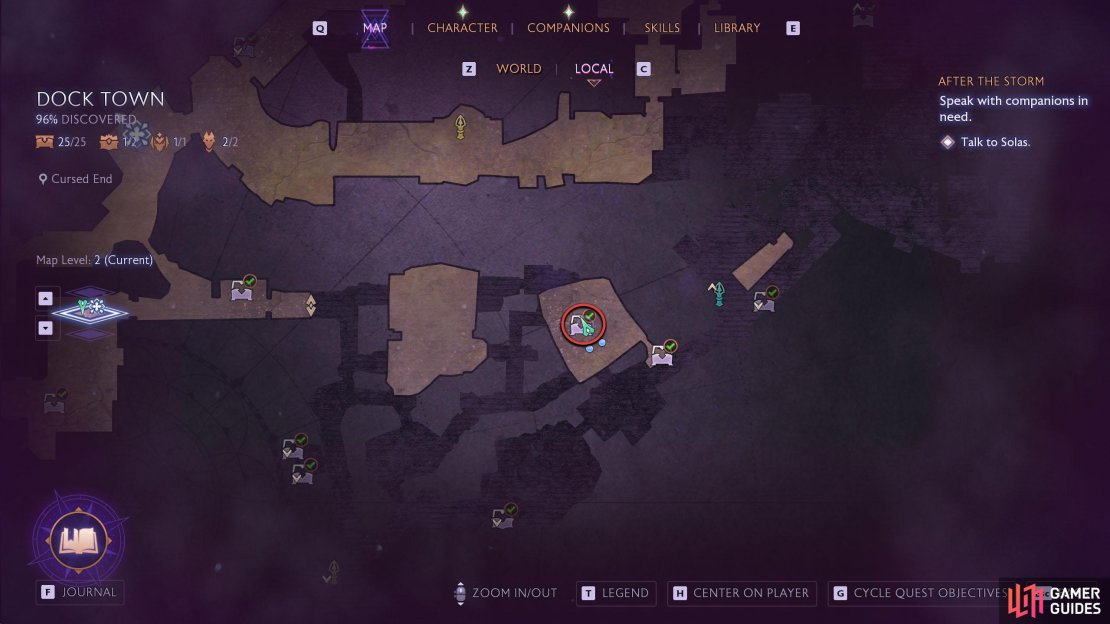
Go across the bridge, unlock the Fast Travel Beacon, and use Bellara’s power on the obscure device to the right of it to create another portal, but don’t go through this as it’ll take you back to the other part of the Catacombs. To the left of the Beacon is a Zipline. Take it across to the other side and enter the room to your right, where you’ll need to take out some undead. Inside this room is a chest, but it’s caged up.
This isn’t the chest we’re getting here, but remember it for later. For now, go around to the back of the “cage” to find some wooden boards you can break against the western wall. Make your way up, shoot the explosive barrel on the upper platform to your north, and climb up.
Here, you’ll need to get across, and this can be achieved by shooting another explosive barrel to the left of the wooden beam on the other side. Go across the makeshift bridge, follow the path through the doorway, and open the chest to the left.
(1 of 5) Take the Zipline down next to the Beacon and enter the room to your right.
Regular Chest 14 - Catacombs: Cursed End 2
Remember that caged chest earlier? Well, it’s time to get it right now. Hopefully, you’re still at the previous chest location, if not, follow the instructions above to get back there. From the previous chest, go back through the doorway, and look down and left. Here you’ll find some platforms leading to a lever. Guess what the lever does? Yup, open the cage, drop below, and open the chest!
(1 of 3) This is the caged chest in the Cursed End.
Regular Chest 15 - Abandoned Meats Shop
Requires Taash to access this chest.
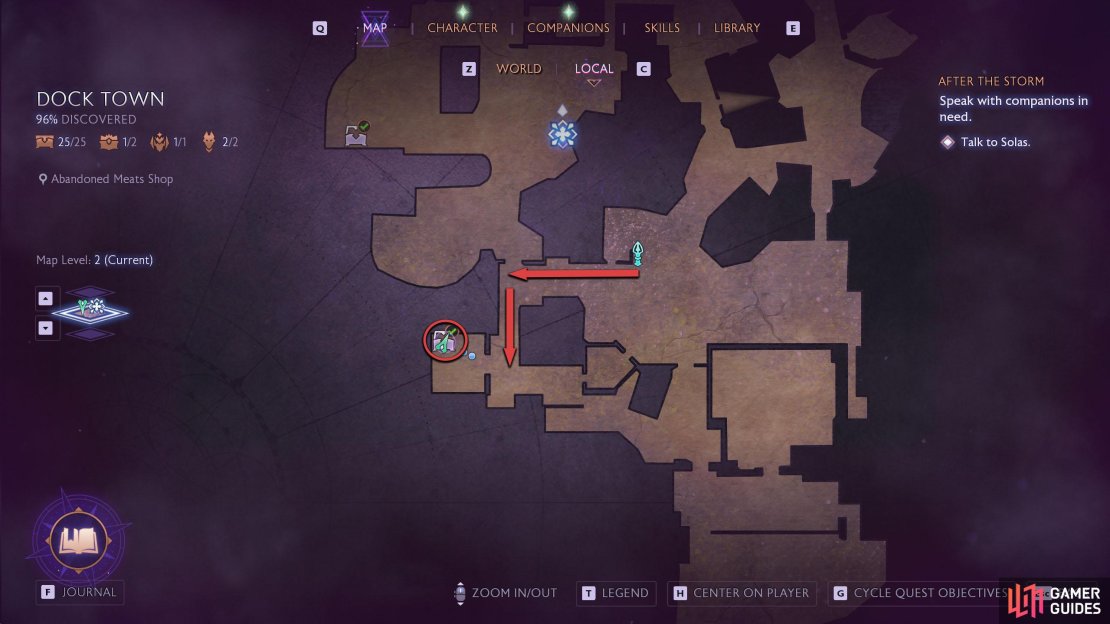
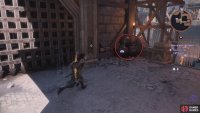
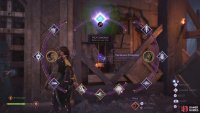
Teleport to the Wharf Crossing South Beacon and follow the path west and then south until you reach the stairs. There will be a room to your right as you reach the top that is locked up. To gain access, use Taash’s power to explode the combustible pots next to the leaver.
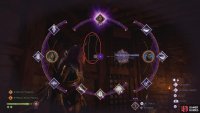
Now look through the hole to the right to find a mechanism that you can freeze with Neve’s power. Before you do this, activate the right lever first, and then freeze the mechanism.
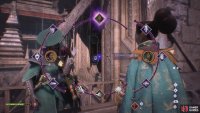
Activate the left lever, and quickly use Neve’s power on another mechanism on the left side of the room via a hole in the left wall. This will open the Abandoned Meats Shop, where you’ll find the chest against the right wall.
(1 of 5) From the Wharf Crossing South Beacon, head west and south to find the chest location.
Regular Chest 16 - Anvallenim
Must be on or completed the ![]() Shadows of Minrathous story quest.
Shadows of Minrathous story quest.
At the start of the Shadows of Minrathous main story quest, you’ll end up in Anvallenim, where you’ll need to defeat Brother Dee and Brother Nomad. After the battle, you can find the chest in the eastern side room, against the southern wall.
(1 of 3) This chest can be found during the Shadows of Minrathous story quest.
Regular Chest 17 - Warehouse (Smuggler’s Dock)
Must be on or completed the Shadows of Minrathous story quest.
You’ll go to the Warehouse during the Shadows of Minrathous story quest. Follow the quest until you go past the red barrier and end up on the rooftop. After a battle up there, you’ll have to drop into the Warehouse via the roof entrance.
Go through the door, and make your way to the bottom floor of the Warehouse until you reach the Bound Hurlock. Defeat the enemies, and you’ll find the chest in the southwest corner of the room.
(1 of 4) You must be on Shadows of Minrathous quest to obtain this chest.
Regular Chest 18 - Len’s Cache (Thread Market)
Must be on or completed ![]() The Cobbled Swan Case quest.
The Cobbled Swan Case quest.
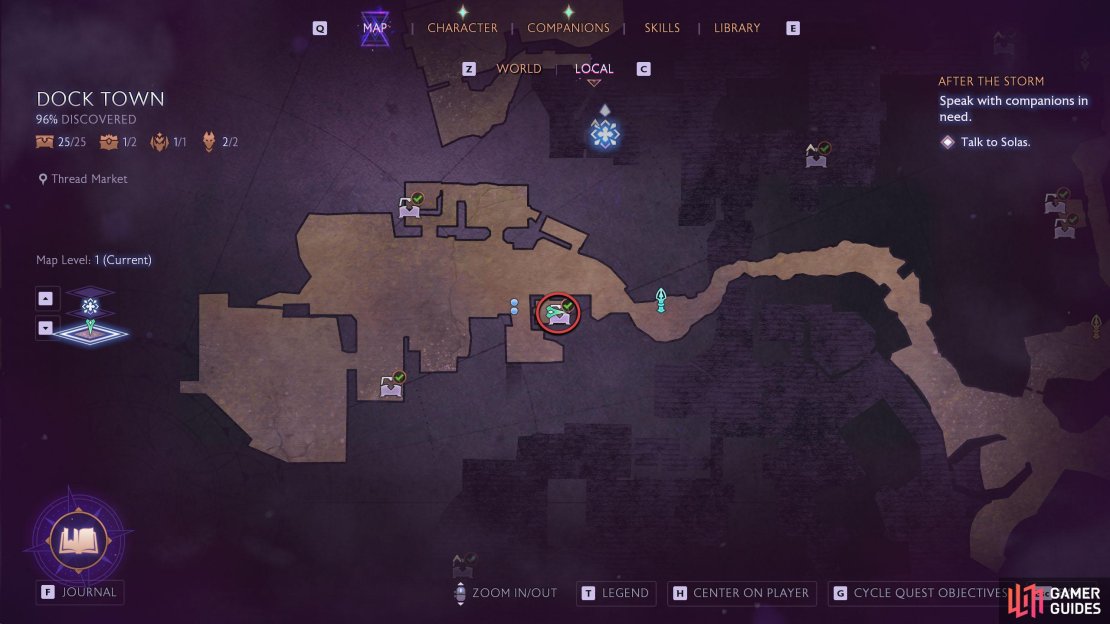
This chest is situated in Thread Market, accessed via Shoreline passage, but the way here can only be unlocked by accepting The Cobbled Swan Case quest, which isn’t until after ![]() The Siege of Weisshaupt story quest. After accepting the quest, follow the quest directions until you reach Thread Market. Upon entering the market, there’ll be a lot of enemies to defeat as part of the quest. Take them out, and interact with a lever on the north wall, near one of the prisoners, to open the door into the Thread Storehouse.
The Siege of Weisshaupt story quest. After accepting the quest, follow the quest directions until you reach Thread Market. Upon entering the market, there’ll be a lot of enemies to defeat as part of the quest. Take them out, and interact with a lever on the north wall, near one of the prisoners, to open the door into the Thread Storehouse.
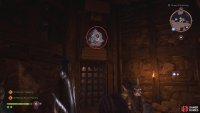
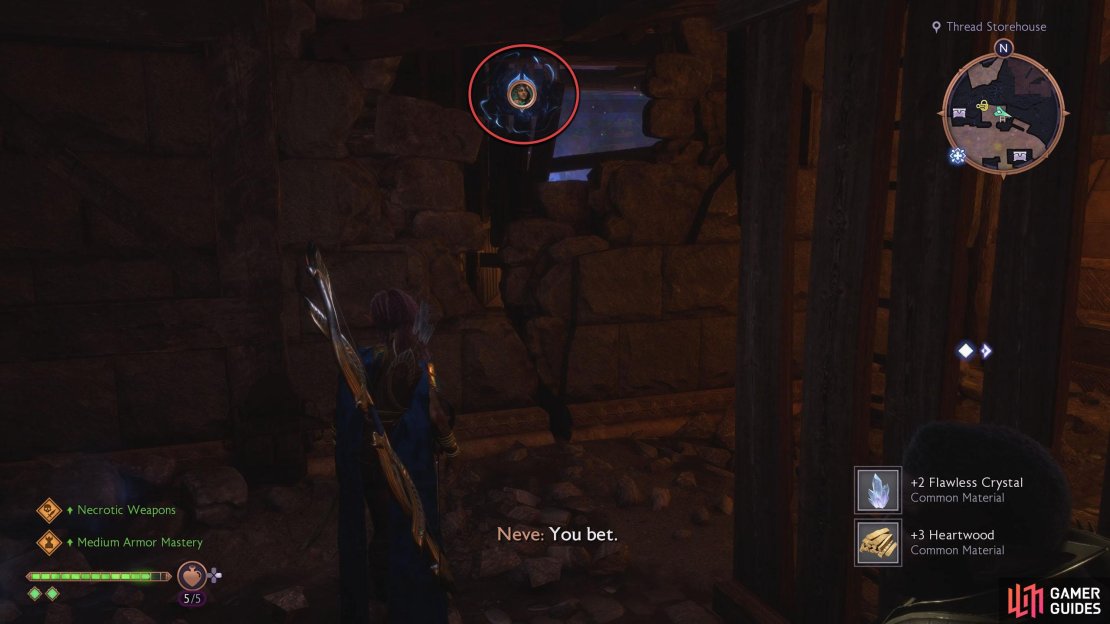
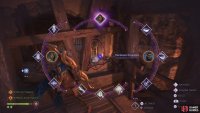
Now, you’ll need to do a puzzle. The first gate in front of you requires you to use Neve’s power to freeze the mechanisms while using the lever. First thing, jump on the box to the west and look through the hole to the left of the door, where you’ll find the first mechanism.
Freeze that, activate the lever, and once the first gate raises, unfreeze the mechanism above the gate, and activate the lever a second time to gain access to the next room.
(1 of 4) Len’s Cache is in the Thread Market, accessed during The Cobbled Swan Case quest.
Immediately after you enter the next room, there will be a barrier you can dispel with Neve’s power. Do so, and climb up the next ladder. At the top, activate the lever at the end of the path, and jump across.
Use Taash’s power on the nearby Gaatlok barrel to create a hole in the wall, and drop into the room below. As soon as you land, look at the nearby wall to find some wooden boards to break, giving you access to the chest, a memento, and some other loot.
(1 of 4) In the next room, use the power through the hole in the wall to dispel the barrier.
Regular Chest 19 - Thread Market 1
Must be on or completed The Cobbled Swan Case quest.
Opposite the previous chest is another, locked behind some gates in the small building to the south. Once again, you’ll have to complete a puzzle to get inside. Climb up the debris to the right of the building and look through the broken wall to the bottom right. Use Neve’s power on the mechanism, jump down, and quickly activate the lever. Go inside the building to find the chest in front of you.
(1 of 4) This chest is in the first building to your left after entering Thread Market.
Regular Chest 20 - Thread Market 2
Must be on or completed The Cobbled Swan Case quest.
The final chest in Thread Market fortunately doesn’t require any puzzles. Simply, go up the stairs in the south-central area of the market (in between two buildings), and follow the path around. Enter the building at the end of the path, and you’ll find the chest against the left wall.
(1 of 3) The final Thread Market Chest is west of the last one.
Regular Chest 21 - Parthenius Main Docks
Must be on The Price of the Past Story quest.
You can find this chest on the Parthenius Main Docks, near Wharf Crossing South. From the Wharf Crossing South Beacon, head through the western archway around the corner from the Beacon, and follow the path to the end before going north. In the Docks, head through the gate in the north, go west down the stairs, and across the boat to find the chest.
Regular Chest 22 and 23 - Catacombs
Must be on or completed the ![]() A Hidden Hoard quest, accessed during The Price of the Past Story quest.
A Hidden Hoard quest, accessed during The Price of the Past Story quest.
Finally, you’ll be able to get the last couple of chests in the pesky Catacombs, which you have probably been losing your mind about. Follow the quest objectives in the “A Hidden Hoard quest” accepted by examining a notice board. Near the quest’s completion, a wall will have been destroyed, which was previously inaccessible before.
As you follow the linear path inside the new area, you’ll be ambushed by a group of mercenaries as part of the quest. Defeat them, and enter the western door with the Heavy Bronze Key you obtained during the quest. You’ll find a chest on both sides of the room. Note that both these chests have necrotic traps, so make sure you roll away after opening them.
Regular Chest 24 - Central Market 2
Requires unlocking the companion, Taash.
From the northwest Central Market Fast Travel Beacon, climb the ladder onto the rooftops. Follow the path east and walk off the wooden planks to the platform below. Here, you’ll find a Gaatlok barrel by the wall. Get some distance and use Taash’s power to ignite the barrel, creating a hole in the wall. Head inside to find the chest.
(1 of 4) Teleport to the Central Market Beacon.
Regular Chest 25 - Lower Chambers (Temple of Andraste)
Requires unlocking the companion, Taash.
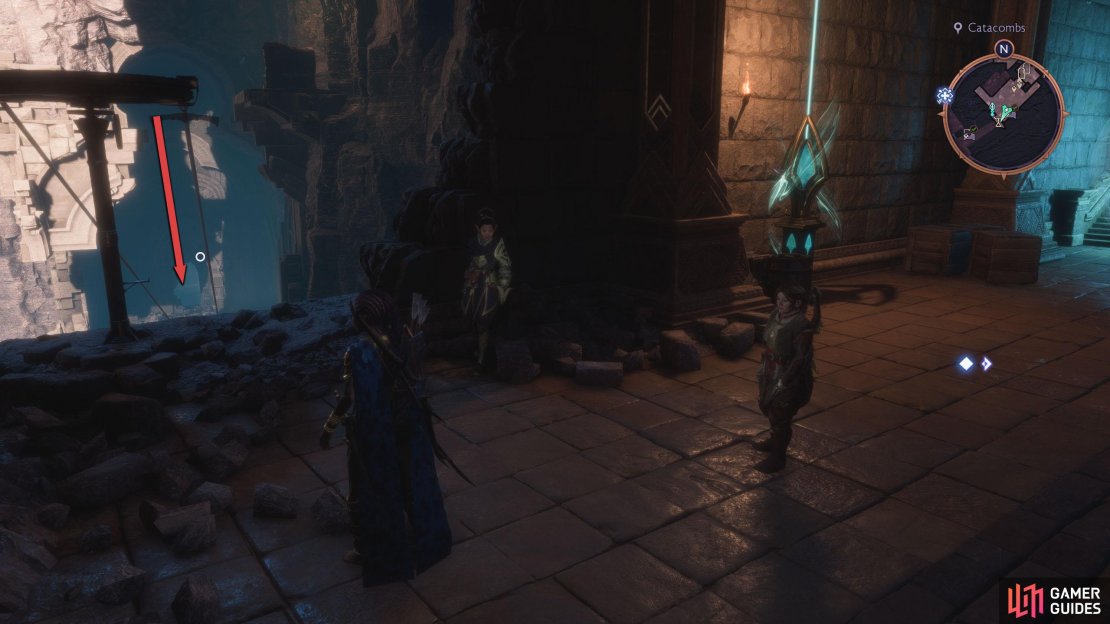
This chest can only be obtained after you’ve recruited Taash as you’ll need her power to destroy the crystals blocking your access. Head to the Temple of Andraste in Razikale Walk (north of the map) and enter it. Make your way through the temple to the Temple Courtyard, where you can head down the stairs. Here you’ll find some Venatori and a blue barrier. The chest is behind the blue barrier, but you’ll need to go around it, as you can’t dispel it from here.
Right of the barrier is some crystals blocking your way, that’ll need Taash to destroy. Smash the crystals with their power, and go into the new area. Head left and use Lucanis’ Fade power to build a temporary bridge and go across it. Finally, climb up the scaffolding and hug the left wall to find a hole you can drop. The Chest will be in the corner behind the barrier. Note that you will be attacked after deactivating the barrier.
(1 of 6) Go through the Temple of Andraste and head down the stairs into the courtyard.
Unique Chests
Outside the 25 Regular Chests in Dock Town, there are also two Unique Chests to discover. These chests will have unique loot that has some sort of gimmick. This is the same loot for all Classes.
Unique Chest 1 - Forgotten Sanctuary (Catacombs)
Must have completed the A Hidden Hoard quest, accessed during The Price of the Past Story quest.
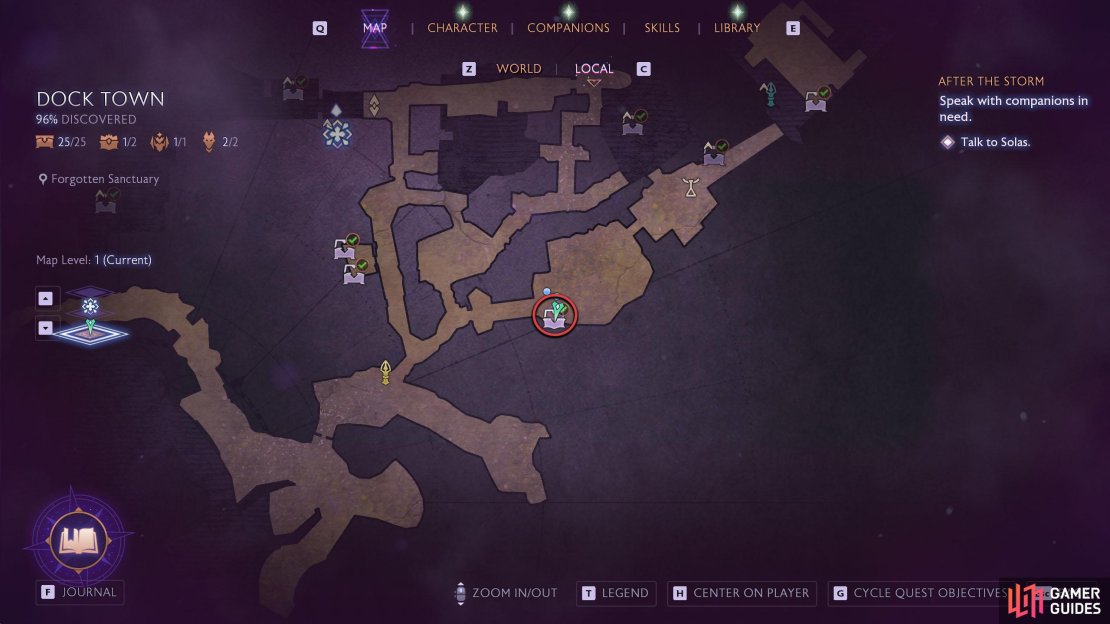
This chest is only available after completing The Hidden Hoard quest as this will give you the Desperate in Dock Town follow-up quest. Make your way through the Catacombs until you reach the Zipline (or use the Catacombs Fast Travel), and take it down to the lower floor. You may remember an ominous wall in the southwest, left of the stairs. Well, now it has a hole in it, leading to the Forgotten Sanctuary. Inside, you’ll find the Unique chest at the edge of the platform, rewarding you with the ![]() Magister’s End unique light armor. Note that you will have a difficult battle after opening this.
Magister’s End unique light armor. Note that you will have a difficult battle after opening this.
(1 of 4) This chest won’t be accessible until you complete The Hidden Hoard side quest.
Unique Chest 2 -
Have you been interacting with all those Candlehops you’ve encountered and wondered what they were for? Well, they’re for the final unique chest in Dock Town. There are seven in total to collect, each extremely well-hidden. Read our Candlehops Guide to find out how to obtain this chest.
That’s it for the Dock Town chests. The list above isn’t in a particular order, but the order we got them in. As long as you meet the requirements listed, you can get the chest. Many chests need you to have a specific quest or companion to access them. Why not check out our other chest guides below?












































No Comments