Following Solas’s failed ritual you’ll roam around Arlathan Forest until you get your bearings, at which point it becomes clear that you simply do not possess the manpower nor the expertise to deal with the threat at hand. That being the case, it’s time to recruit some allies! This page will cover the main quest Sea of Blood, including the locations of any missable treasures in the Ossuary!
Page Breakdown
Starting Sea of Blood
Explore the Crossroads for the first time with your goal being the eluvian at the southern end of the island the Caretaker disembarks at. Along the way you’ll need to fight some darkspawn, ancient elven constructs and the odd Venatori cultist, along with a darkspawn champion whose heart opens the gate leading to the eluvian. Along the way you can also take a detour to complete the quest The Labs Below, if you wish. In any event, once you reach the eluvian, you’ll find three of the mirror/portals waiting for you - Treviso lies through the easternmost one. Once you step through this quest will begin.
Meet the Crows
When you arrive you’ll be tasked with meeting the leadership of the Antivan Crows. Follow a Crow named Teia through the city, taking in the sights and sounds of occupied Treviso and eventually you’ll meet with Viago, Illario and Caterina. After some chatter you’ll set about orchestrating a very unusual prison break - follow Illario through the city and you’ll be on your way to the Ossuary.
(1 of 2) Go through the Crossroads to find an eluvian that’ll take you to Treviso.
Go through the Crossroads to find an eluvian that’ll take you to Treviso. (left), Once there, meet up with the Antivan Crows to get a lead on Lucanis. (right)
Rescue Lucanis
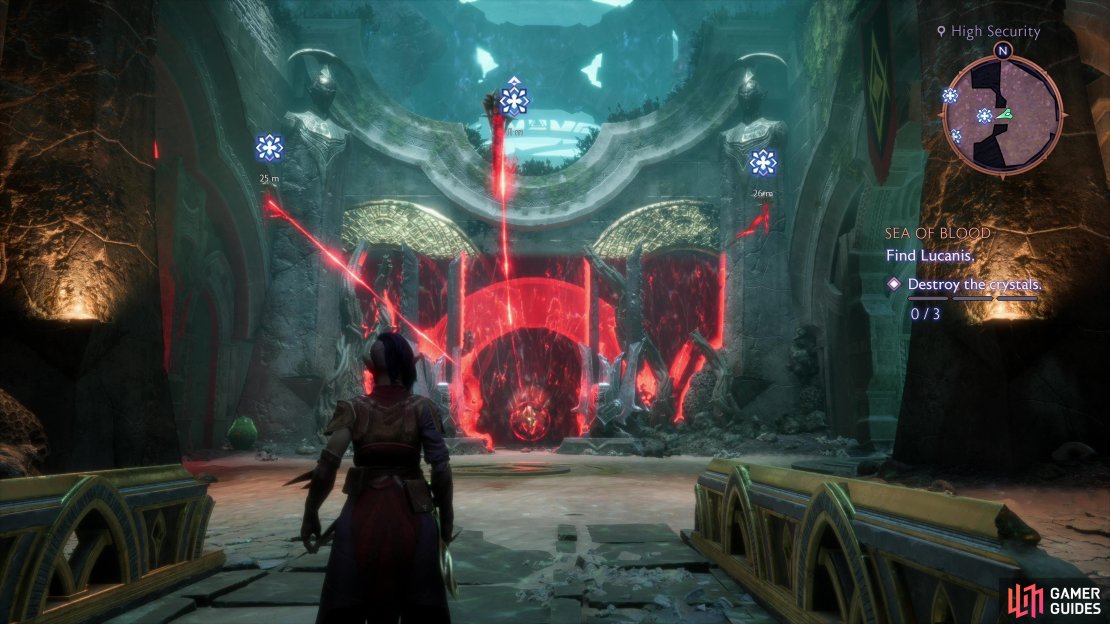
When you reach the Ossuary, make your forward down the linear path until you reach a crossroads, but the only route open to you right now is to the west, so turn right, climb over a wall, slide down a slope and cross a narrow walkway. From here go east up some stairs to find a chest, then head west across some uneven ground and rickety wooden platforms before dropping down, whereupon you’ll find the way forward blocked by some red barriers. Loot a chest to the south of a bridge, then cross said bridge and destroy some floating crystals to remove the barrier protecting a crystal powering the barrier to the west. Blast the offending crystal to bring the barrier down, then go through the door beyond it.
After a scene you’ll be introduced to Lucanis, who fills the currently empty third character slot in your party, bringing you up to full strength. It’s worth noting that while you can command Lucanis the same as any other companion, you cannot yet customize his skills, so don’t expect any healing out of him yet. Before you get your first taste of combat with Lucanis at your side, however, search behind the crystals to the west to find a chest, then exit back out to the east.
Find and Destroy the Vial of Lucanis’s Blood
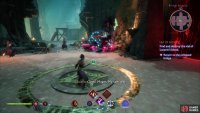
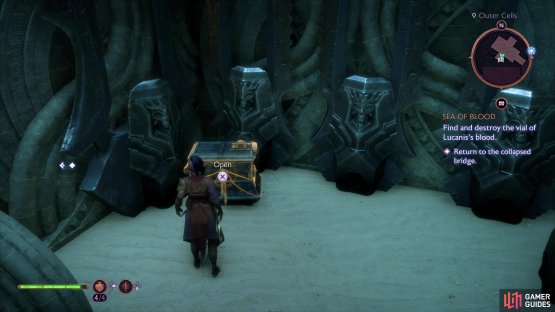
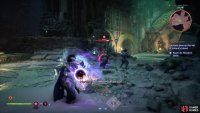
Lucanis needs his chains cut and we need a mage-killer, so before we can make our escape we need to destroy the sample of Lucanis’s blood the Venatori have. Once you’re back in the previous chamber you’ll be attacked by a trio of Cult Mages; Lucanis might be limited now, but his Abominate ability works well on anything with a barrier, and Debilitate can prime Sundered on enemies.
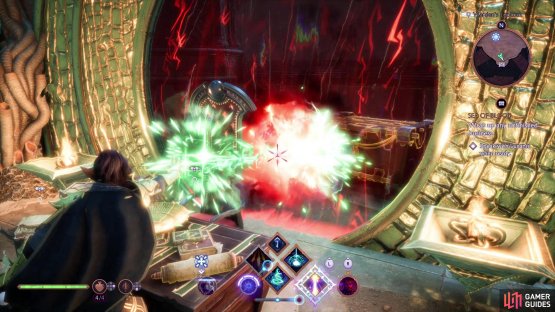
(1 of 3) Destroy three crystals shielding a a door crystal, then destroy it to take down the barrier - you’ll be doing a lot of this any time the Venatori are around.
Search the Lab
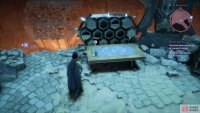
Defeat these foes, then loot a High-Security Key off of one of them, which opens a door up some stairs to the north. Before you go there, however, turn south to find another crystal-powered barrier. Destroy the crystal and when the barrier falls head south to find a chest, a note, and other loot. Backtrack north and go up some stairs to the north and through a door to reach a lab. Search a table to the west to find The Dragon’s Decoy Memento (+50 Caretaker Power), then scour the lab to notice there are more barriers blocking things off.
The two barriers to the south have shielded crystals, but the one upstairs to the west does not. Blast it, then work your way around to an upper ledge and loot some baubles, but more importantly look up and to the south to find an unshielded crystal above where you entered and destroy it, then drop down and head back to the doorway via which you entered the lab and look up to the north to find another crystal. This one was shielded before you destroyed the last crystal, and now it’s vulnerable, so smash it to remove the shielding on the two southern crystals. Destroy these crystals now to open up small storage areas, each of which houses a chest.
Now that this room is plundered, go up some stairs to the east, then after a scene ascend a second flight of stairs to the northeast and defeat some more Venatori. After the fight note you’re in a chamber with an odd device in the middle, with barriers to the northeast and northwest and a hallway beckoning you to the southeast. Ignore the latter for now and instead look up above the device in the middle of the room to find a floating crystal. Destroy it to leave the door barriers vulnerable and defeat the Frenzied Dead behind each barrier for a bit of EXP.
(1 of 2) Enter the lab and grab “The Dragon’s Decoy” Memento,
Enter the lab and grab “The Dragon’s Decoy” Memento, (left), then destroy a door crystal, head up to the upper ledge, and look back above the entrance to spot another crystal that needs to be destroyed. (right)
Power Crystal Puzzle
Go down the hallway to the southeast and you’ll reach a dead-end, near which is a power receptacle. Sure enough, inside a small room to the north is an elven power crystal. Grab it, but don’t put it in the nearby receptacle yet. Instead, backtrack down the stairs and head near the door to the lab, where you’ll find another receptacle near a gap to the west. Drop the power crystal in this receptacle and cross a newly created bridge to the northwest to find a chest ahead of you and two more barriers. Look up and destroy the crystal shielding them, then destroy the crystals maintaining the barriers in the doors and defeat the Frenzied Dead behind each barrier. Once done, loot the chest in the main room, and the chest in the cell to the southeast, then backtrack across the bridge.
(1 of 2) Drag a power crystal back to near the lab’s exit door and place it in a receptacle to create a bridge.
Drag a power crystal back to near the lab’s exit door and place it in a receptacle to create a bridge. (left), Knock out some more crystals and defeat some Frenzied Undead, then loot a chest in one of the cells. (right)
Veil Instability
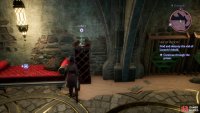
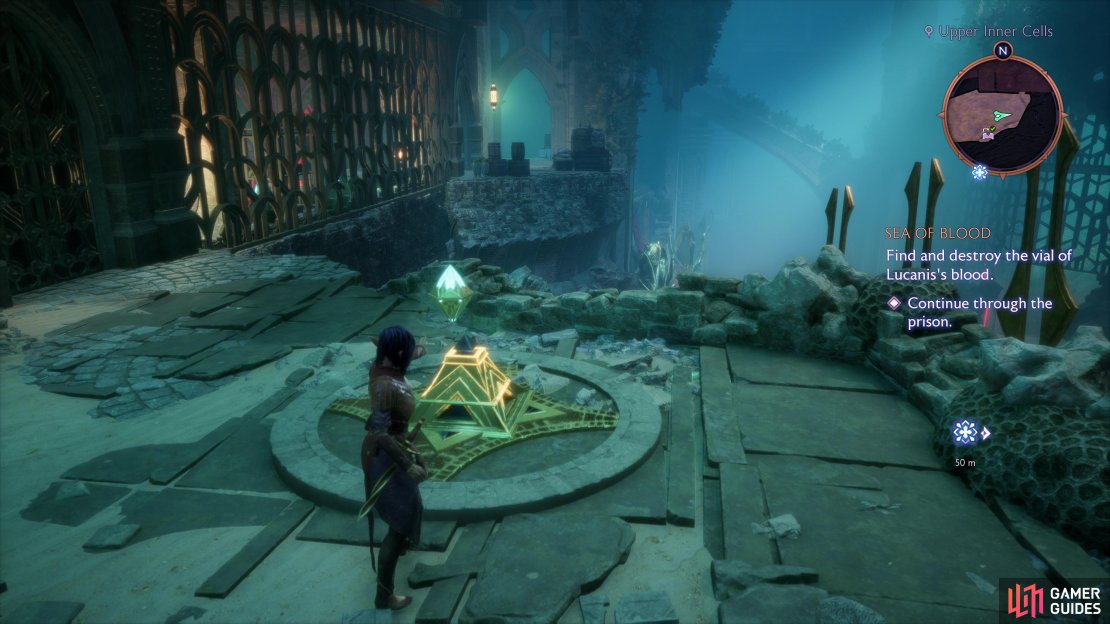
Reclaim the power crystal from the receptacle and run back up to the dead end and place the power crystal in this new receptacle to create a bridge allowing you to progress. Cross the bridge, go up some stairs, then drop off a ledge to find yourself… near where you entered the Ossuary? Work your way back south and you’ll find the first intersection before you recruited Lucanis. Since you have Lucanis with you this time, however, you can make use of his companion ability to reach new areas.
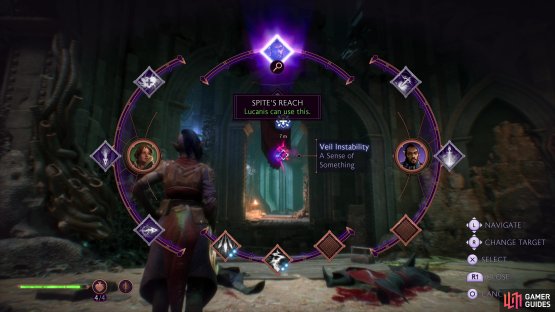
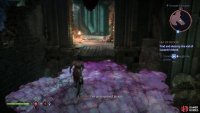
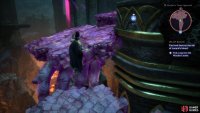
Look over to the southeast and you’ll see a purple distortion glowing in the air. Hold 

(1 of 2) Use Lucanis’s traversal ability “Spite’s Reach”,
Use Lucanis’s traversal ability “Spite’s Reach”, (left), to create some temporary but tangible platforms you can leap across. (right)
Boss: The Fabricator
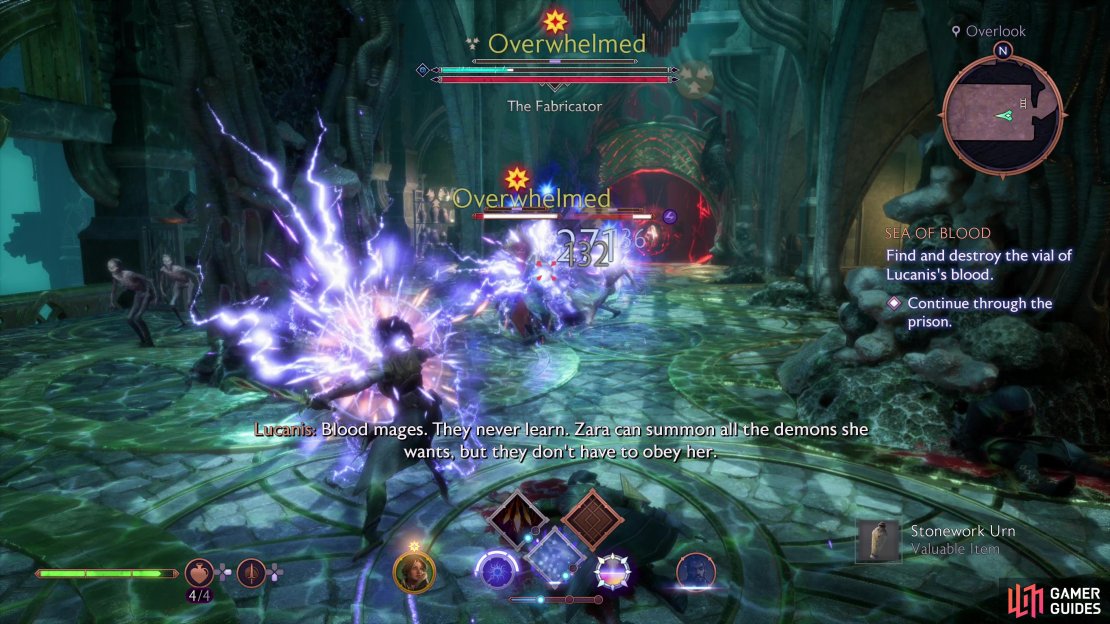
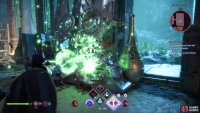
In another lab waits the Fabricator, a Venatori mage of some rank and authority that serves as a miniboss of sorts. The Fabricator is weak to necrotic damage and resistant to electric damage, making Lucanis a great source of damage - it can’t hurt to start the fight out by hitting The Fabricator with Abominate. You also need to be wary of the Frenzied Dead in the area - they’ll start out hostile to The Fabricator, but this won’t necessarily last, so you might want to deal with them if you have any AoEs at your disposal. Eventually the Fabricator will summon two Cult Mages to assist, but these are the last reinforcements you’ll need to worry about.
The Fabricator isn’t a terribly dynamic opponent, they can shoot bolts of lightning at their target (almost always the main character) and can conjure static orbs of electricity (marked by red AoE reticles on the ground). Otherwise they’ll busy themselves conjuring up to five magical bolts which appear as orbs above The Fabricator’s head, and your foe can unleash these one at a time in sequence, functioning pretty much like standard enemy mage bolts. The only tricky bit is that The Fabricator can fire these bolts in addition to their other attacks, but if you stay on guard you should be able to dodge them easily enough.
Defeat The Fabricator and loot the chest the mage leaves behind to find, among other, lesser treasures, the Glaciate Rune. If you’re doing this quest before Minrathous, this should be your first rune of the game, and while there’s more depth and strategy to using runes than is currently apparent, anything’s better than nothing. To equip it, enter the Character tab in the menu and select any of the three open sockets on the Lyrium Dagger, then pick the Glaciate rune. This rune will give you a +10% bonus to cold damage you inflict while equipped as a passive bonus and when used in combat it’ll cause your weapon attacks to deal cold damage for 20 seconds. Something to keep in mind if you fight enemies vulnerable to cold damage in the near future. Runes can be used just like abilities during combat, just hold 


Search The Fabricator’s lab and grab an unnamed Memento off a scroll rack near a red couch (+50 Caretaker Power), then scour around for treasure - be sure to hit the ladder in the northeastern corner of the room to ensure you loot the upper platforms!
(1 of 5) The Fabricator will be fighting some Frenzied Undead - use AoEs to blast them all rather than relying on the undead to remain focused on your foe.
Demonic Experiment Treasure
When you’re ready to press on, knock out a barrier to the west, drop down a ledge and loot a chest (which may or may not be trapped) ahead of where you land. Note a receptacle to the east, then explore to the west but look north and you should spot a power crystal hidden away along the wall. Grab it and install it on the receptacle and a door to the north will open.
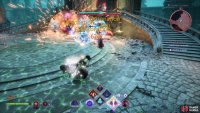
Enter and you’ll find some holding cells sealed by barriers - but they won’t remain sealed long. Several Demonic Experiments (functionally identical to Greater Shades; they have a barrier and shoot projectiles at you) will be joined by Armored Undead and the odd Frenzied Undead. Armored undead are durable shield-bearing undead that prefer to attack in melee, but aren’t above shooting the odd necrotic skull at targets.
This fight can be rather hectic, as the Demonic Experiments are fairly durable and you’ll want to keep the pressure on them to ensure their barriers don’t regenerate, but the Armored Undead are even more durable and will remain a nuisance until they’re defeated. Use the door to bottleneck your foes and protect you from projectiles, whittle down the Armored Undead, then dispatch the Demonic Experiments. The cells these undead were in do not have much in the way of treasure, but cross to the eastern end of the cell block and turn right (south) to find a doorway. Exit out and turn left (east) to find another doorway, beyond which is a large chest you can loot for some random bit of gear.
(1 of 3) Put a power crystal in a receptacle,
Reach the Warden’s Tower
Backtrack west to where you dropped down into this area, past the power crystal receptacle and drop down some ledges to the south to reach a room with a large, short dais in the middle, which is now covered with the corpses of Venatori and undead. Search a cell to the west to find a chest, then climb some ledges to the north to find A Small Painted Box, another Memento worth +50 Caretaker Power.
Continue southeast, scour two more cells, if you wish, then turn northeast to find some stairs. Ignore them and instead head left along the railing to find a narrow strip of ground leading to an isolated ledge, where you’ll find another chest. Backtrack to the stairs, descend them, then turn east to find some Venatori fighting a mob of Demonic Experiments. You can be cute and stay up by the stairs instead of jumping down and fighting properly, just be wary, as the Demonic Experiments can and will get over the gap.
Defeat these foes, jump across the gap if you haven’t already, ignore the slope to the east and instead turn south and go through a doorway, scavenging for loot as you go, then ascend some stairs in the southeastern corner of this area to find another chest to plunder, although you’ll probably have to fight some Frenzied Undead and Demonic Experiments to claim it safely. Once done head downhill to the north, then turn northwest to find yourself just east of the sandy slope you ignore earlier. Climb up a ledge to the northeast to find another chest, then drop down and approach a bridge to find a Venatori Executioner. This stealthy nuisance is fairly mobile and prone to dodging direct attacks, but it’s weak to cold damage, so use that Glaciate rune and hit him with abilities to deal some guaranteed damage to make short work of him. When the Venatori Executioner is dead, but before you cross the bridge, turn west alongside the bridge to find a ledge wrapping around some rubble. This leads to a chest. Sneaky!
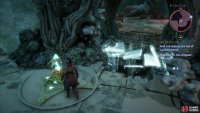
Cross the bridge, destroy a door crystal, then work your way around a statue to find yourself on another, less intact bridge. Lucanis will call you south to a “shortcut” (read - more platforms his inner demon can conjure) but ignore him for a moment and drop off a ledge to the north to find yet another chest down some stairs. Nab it, return to Lucanis, and use his Veil Instability ability to create temporary ledges you can jump across to reach less finite platforms. Don’t get greedy - reach a ledge after two platforms, wait for the fade platforms to vanish, resummon them and make it across the third fade platform to another, more material ledge, then look south to find another veil distortion you can use to summon more platforms to complete your traversal.
Once across, climb some stairs and drop down a slope to the southeast. When you come to a stop, note a gap you can jump to the east and ignore it, opting instead to drop down some ledges to the south to grab a chest, first. Once enlootened, jump across the gap to the east, turn northeast and slide down another slope, first stone, then sand. After all that you’re finally in the Blood Vault.
(1 of 3) Climb some ledges to find the “A Small Painted Box” Memento.
Search the Blood Vault
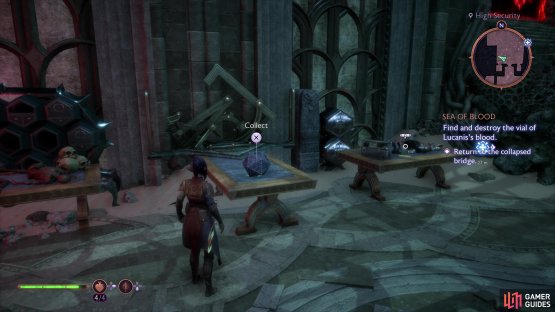
Work your way clockwise from where you start, drop down a ledge, then cross a bridge to the northeast. Examine some bodies on a table if you want, then turn south to find the Ammazzacaffe Memento (+50 Caretaker Power). Your destination is up the stairs to the east, where you’ll find a barrier blocking your way (crossing the broken walkway to the north just leads to an elevator you can’t use… yet).
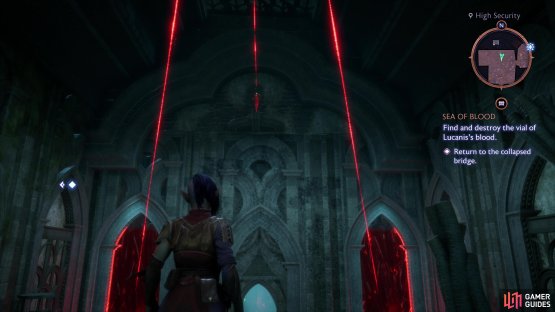
Head north from the barrier and you’ll find a crystal near a doorway, and if you watch you’ll see red lines running from these crystals. This is a common feature of such devices, but the crystal puzzles thus far have been too simple for it to really matter. The red lines of energy indicate which crystals directly power each other, so you can follow these lines to find each crystal in sequence to eventually find the one that isn’t shielded, then work your way down the line destroying them.
In this case, go through the doorway behind the aforementioned crystal to find a large storage room. Plunder it - the loot within isn’t noteworthy, but there are numerous crates, urns and other junk to destroy - then head around a corner to the northwest to find more pillage and plunder. More importantly, you’ll find the unshielded crystal in the air to the southwest. Destroy it, grab a chest beneath it, then work your way back through the storage room destroying crystals until you back in the main chamber of the Blood Vault.
Alas, that’s but one sequence of crystals destroyed, another awaits. Head to the central part of this chamber and look southeast past the table where you found the Ammazzacaffe Mermento to find another fade distortion. Use Veil Instability on it, then cross to reach a chamber to the southeast where another crystal floats in the air. Destroy it, search behind a collapsed statue to the south to find a chest, then obliterate some barrels to the east to find a small chamber where another chest awaits to the west. Cross back over to the center of the Blood Vault’s main chamber, destroy the last two crystals and the door crystal, then head upstairs to the east and through the formerly sealed doorway.
Approach the comically large container of Lucanis’s blood in the center of the room and destroy it. Venatori could have made a simulacrum of Lucanis with that much blood! Smash urns and vials on the shelves if you want to roll for some random loot (gold and valuables, mostly) then destroy crates to the north to find a chest hiding behind the northern shelves. Once that last bit of loot is yours, return to the main chamber of the Blood Vault and take the elevator to the north.
You’re almost done - just need to finish up some business with Calivan and we’re golden…
(1 of 3) When you reach the Blood Vault, snatch the Ammazzacaffe memento off the table,
Boss: Calivan
When the elevator stops, head south to find yourself in a large chamber, in the middle of which stands Calivan. Don’t let his arrogance trick you into thinking he’s a legit threat - dude’s name is just a derivation of Calvin, he’s a punk.
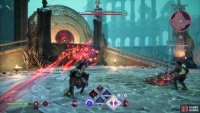
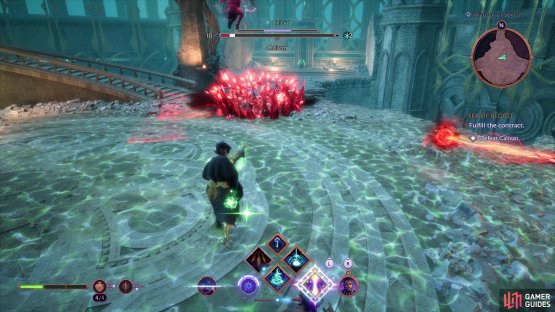
Okay, seriously though, he is a proper boss, with phases and adds and whatnot. After a bit of chatting you’ll end up fighting. He’ll start out by summoning some clones (AoEs should pop them in a single hit) after which he’ll engage in his standard attack routine - shooting singular bolts of energy (his clones will mimic this) and conjuring five orbs above his head which, like The Fabricator, Calivan can shoot out as well, albeit this time in pairs. After that he’ll likely conjure some blight spikes on the ground in a T-formation (you’ll see a red AoE indicator to help you avoid this attack) before starting over with the clones again. Calivan is weak to cold damage, so the Glaciate rune can come in handy, otherwise just use Abominate and normal attacks to whittle his health down.
(1 of 3) Take out Calivan’s clones with AoEs, if you can.
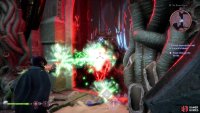
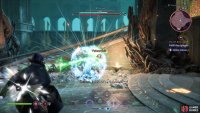
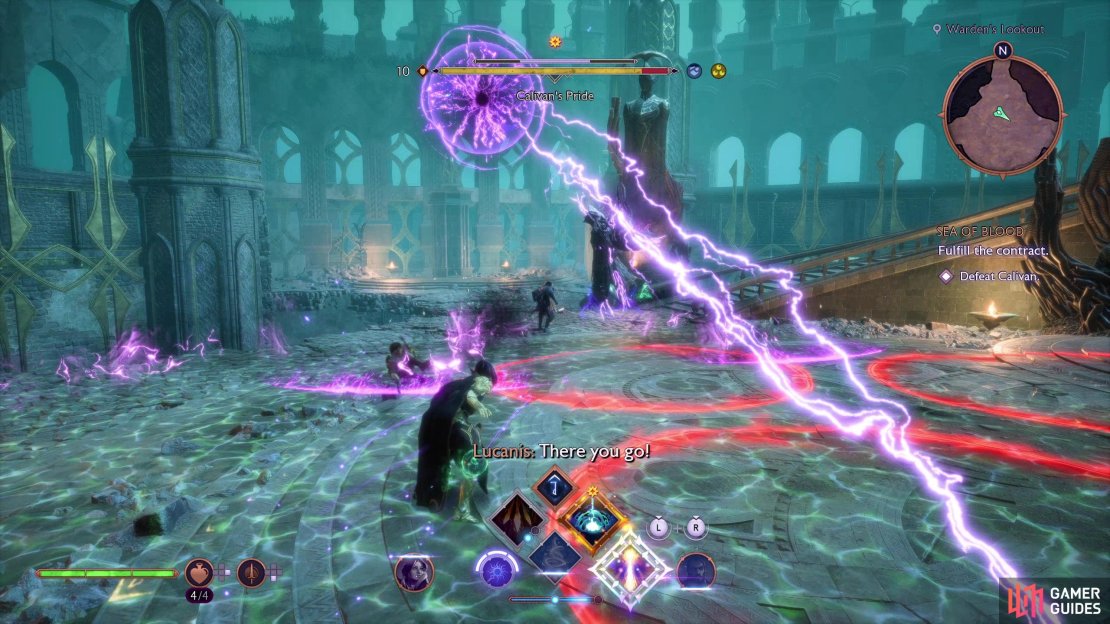
Once Calivan’s health is reduced to 50% he’ll summon a pride demon named Calivan’s Pride, fittingly enough. This fights like the pride demon you encountered just before Solas’s ritual site: it can strike with an electric blade, shooting blades of energy in the process (these attacks can be blocked), perform an unblockable pair of claw swipes before slamming the ground with a sword, shooting out an AoE shockwave in a line, and it can conjure balls of lightning (the affected areas will have red AoE markers on the ground). Blocking its sword attacks can stagger it, but if that’s too risky for you, Calvin’s Pride is also weak to necrotic damage, making Lucanis’s Debilitate ability fairly potent here.
(1 of 3) Be wary of the lightning Calivan’s Pride can conjure,
Defeat Calivan’s Pride and the mage will show up again, still injured but with his barrier back. He has two new attacks this phase: he can summon a magical lance that spins along the ground and he can create a blight spike AoE burst around himself, but otherwise he uses the same attacks, just more aggressively.
Defeat Calivan and after some chatter with Lucanis you’ll be free to search the area. Loot the chest Calivan left behind, then head upstairs and grab two notes off a desk. Behind the desk is a barrier, but the crystal maintaining it has no protection, so smash it and loot the large chest beyond. Once done, talk to Lucanis again and pick the option ”Let’s go.” to depart the Ossuary. You cannot return to the Ossuary once you leave, but since you can no longer explore most of it - anything outside of this chamber, really - there’s no point in staying.
(1 of 2) After you defeat Calivan’s Pride, the mage himself will reappear with a few new moves.
After you defeat Calivan’s Pride, the mage himself will reappear with a few new moves. (left), Put him down, then destroy the barrier behind a desk to score some bonus loot before leaving the Ossuary. (right)
Watch some scenes and navigate some dialog - it doesn’t look like Lucanis’s feud with the Venatori is over yet. Fortunately Lucanis is a workaholic - and a vengeful murderer - so he’s at your disposal from this point on. When the chatter is over you’ll be back at the Lighthouse - talk to your new recruit if you wish and note that Treviso can now be freely explored. You can also read a note in the Lighthouse Library to start the quest [A Slow Poison].

















No Comments