![]() Lives Spared is a side quest that can be found in the Hossberg Wetlands in Dragon Age: The Veilguard, and can be accessed after
Lives Spared is a side quest that can be found in the Hossberg Wetlands in Dragon Age: The Veilguard, and can be accessed after ![]() The Siege of Weisshaupt. Read on to find out where you need to go and what you get for completing the quest.
The Siege of Weisshaupt. Read on to find out where you need to go and what you get for completing the quest.
Greta would you to track down some missing wardens.
Table of Contents
If you want to jump to a specific section, click on the links below.
| Quickjump |
|---|
| Lives Spared Quest Location |
| Find Evidence in Lavendel |
| Investigate Blighted Grove |
| Lives Spared Quest Rewards |
Starting the Lives Spared Quest
Once you’ve completed The Siege of Weisshaupt Main Quest, speak with Warden Greta who can be found standing outside the Blighted Tunnel in the Lavendel Area. Unfortunately, some Wardens have gone missing so you need to look for evidence which may point you in the direction of their location.
Find Evidence in Lavendel
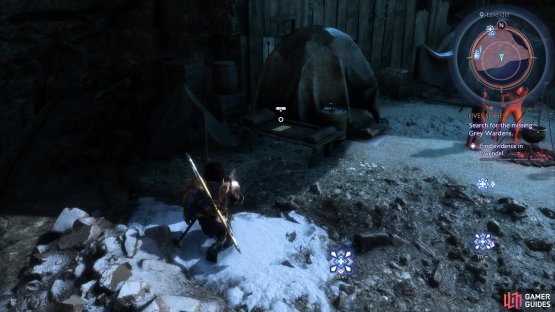
To begin, go across the bridge to the south and pickup the A Hastily Written Note from the bed, then head west and enter pickup the Quickly Missive from the floor in the shack (next to the merchant). Now, head over to another campsite to the northwest of the area and pickup the Meeting Plans from the bed, then make your way into the house to the east to find the A New Warden’s Journal from the table.
(1 of 2) Explore Lavendel to find evidence
Explore Lavendel to find evidence (left), such as A Hastily Written Note (right)
With all the evidence in your possession, you’ll discover that wardens have decided to meet up at the Grove without anyone knowing about it. Head to the southernmost point of the Sheltered Glade and climb up the ladder, then continue to follow the path along until you reach the Blighted Grove. There’s quite a large group of enemies waiting for you at the entrance and some of them have yellow shields which can be removed via heavy attacks.
Investigate Blighted Grove
Once the enemies have been successfully dealt with, head over to the center of the area to collect the Maferath, the Betrayer Memento (next to a torch), then interact with the corpse which is sitting on a platform to the right of the torch. You’ll obtain a Fallen Map which shows you the location of the meeting point, so go up the nearby stairs and use the zipline to bring you over to the Swamp Road, then head south to reach the Lost Village.
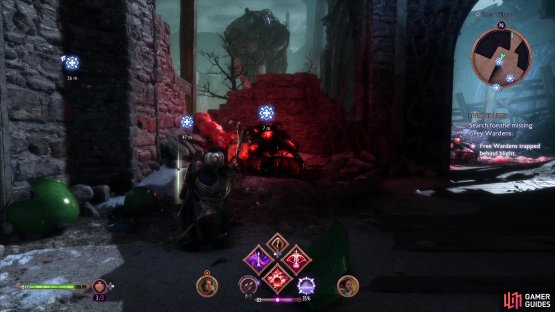
(1 of 2) Destroy the boils around the Lost Village
Destroy the boils around the Lost Village (left), to make the root vulnerable. (right)
The Wardens have found themselves trapped behind the blight, so you’ll need to destroy the root which is situated in the center of the room. You’ll need to take out boils of blight which are connected to it and they can be found in all four corners of the room. If you’re having trouble tracking them down, then follow the branches from the root itself.
Lives Spared Quest Rewards
After the root has been destroyed, shoot the now vulnerable blight thats sealing the wall on the left side of the room, then speak with the wardens at the end of the path to bring the quest to a close and you’ll be rewarded with 500 XP, +50 Grey Wardens Strength and Companion Bond Increase. Additionally, there’s a Gear Chest and the “Bones Beneath the Creek, Verse 2” Memento that can be found in this room.







No Comments