Your companions serve many roles in Dragon Age: The Veilguard, including the traditional roles of combat assistance (albeit relegated more to walking cooldowns in this game), plot devices and romantic interests. In addition, your companions also help you manipulate the environment in various ways, allowing you to open up new areas and reach treasures that would otherwise remain inaccessible. This page will discuss the traversal abilities you companions possess, how to use them, and what to look for in the environment to help you know when to use companion traversal abilities.
Page Breakdown
Companion Traversal Abilities Overview
Over the course of your adventure you’ll recruit seven companions into the ranks of the Veilguard, and each one has a unique power that will help you traverse the environment one way or another. Some companions move blocks of stone or summon fade objects to serve as platforms, others can freeze objects to help you solve timed puzzles, repair ancient elven artifacts to power various devices, or ignite objects to cause explosions or melt obstacles. When direct intervention won’t suffice, an animal companion can be called to destroy or manipulate simple mechanisms and blight growths, or docile (if mischievous) wisps can be summoned to activate various puzzles.
Suffice to say there are lots of different types of puzzles in Dragon Age: The Veilguard, even if many of them are comprised of similar gameplay elements, and if you ever find your exploration at an impasse, recruiting new companions or otherwise advancing the story may be what you need to reach new areas… not to mention the numerous locations that are arbitrarily sealed off until some companion quest or side quest opens the way. Just another way companions are important to traversal, albeit not one which will be discussed on this page.
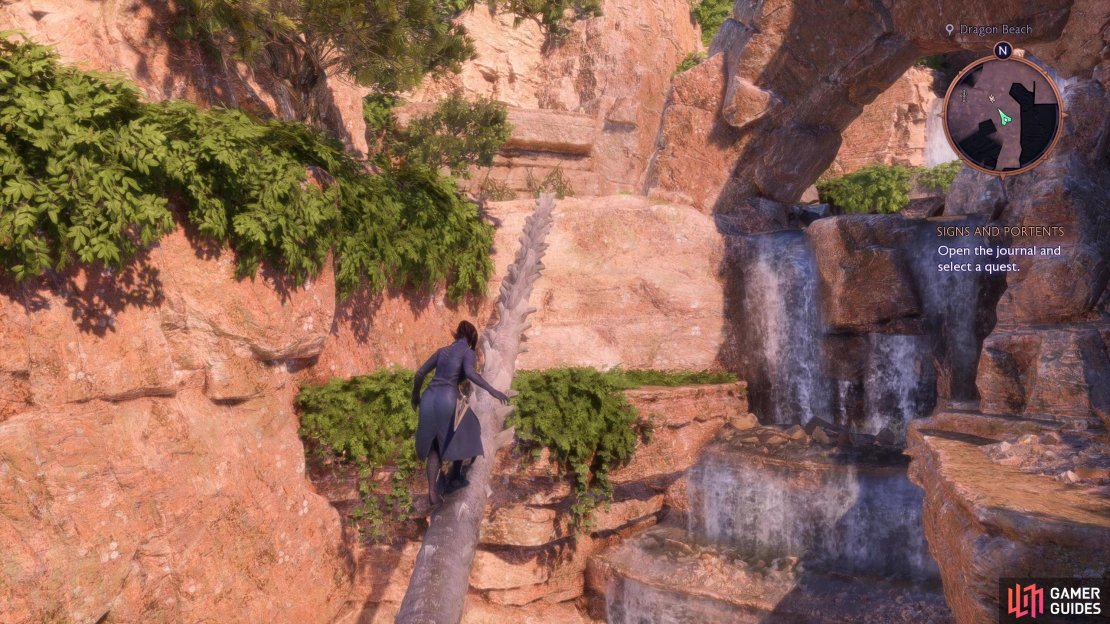
(1 of 4) In addition to looking out for opportunities to use various companion abilities, you’ll also have to keep an eye out for other traversal elements - fallen trees or beams,
Rook - Lyrium Dagger
Rook has no traversal powers, aside from the surprisingly plentiful platforming you’ll need to do in this game. She can, however, use any of her companion’s abilities thanks to the Lyrium Dagger, which you’ll find during the main quest [![]() The Singing Blade]. Why does this work? Don’t look a gift gimmick in the mouth, it saves us all the hassle of having to switch between characters while exploring.
The Singing Blade]. Why does this work? Don’t look a gift gimmick in the mouth, it saves us all the hassle of having to switch between characters while exploring.
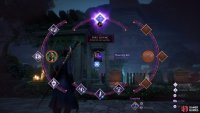
While you don’t need any specific companions around to use their traversal abilities, you still need to know what to look for to avoid solving said puzzles from being more of a slog than necessary. One useful tip is just to hold down the [R1] / [RB] button from time to time and look around. This normally brings up the skill/ability menu, but it also tends to snap onto objects that can be targeted by companion abilities, allowing you to functionally scan the area for such devices. This won’t work on obstructed objects, and it obviously won’t help you spot objects that don’t require companion abilities - your own eyes will have to suffice here, and specifically you’ll need to be on the lookout for:
- Ledges you can sidle across, climb up or jump over to
- Levers
- Ladders (especially ladders with locks that can be dislodged at range)
- Explosive barrels, especially near destructible (cracked) walls
- Beams that can be pushed over and used as walkways
- Crystals which power barriers and buff enemies
- Blight cysts - red pustules that can be destroyed via normal attacks. Sometimes these are connected by tendrils and must be destroyed sequentially.
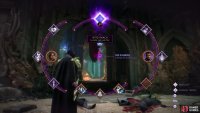
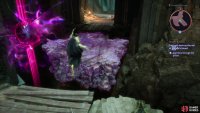
(1 of 3) Sometimes areas will be sealed or enemies buffed by magic crystals,
Harding - Stone Song
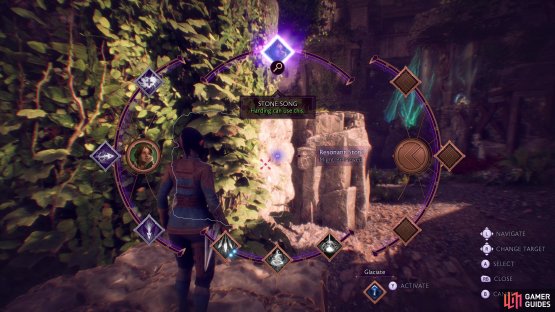
Despite the strange developments that Harding endures, she still remains a dwarf, so it’s fitting that the powers she develops allows her to control stones. Outside of cutscenes, this power is limited to moving cubes of stone a few feet in one direction, opening up passages, creating ledges you can climb or raising platforms you can jump across. These rock formations stand out and it’ll become second nature to spot them, especially since they don’t look much like natural stone. The only time these can be remotely tricky to spot is when they appear on cliffs underneath you or under water.
(1 of 2) Harding can move blocks of stone with her “Stone Song” ability,
Harding can move blocks of stone with her “Stone Song” ability, (left), creating passages and platforms you can use to reach new areas. (right)
Neve - Frost Binding and Unbind Wards
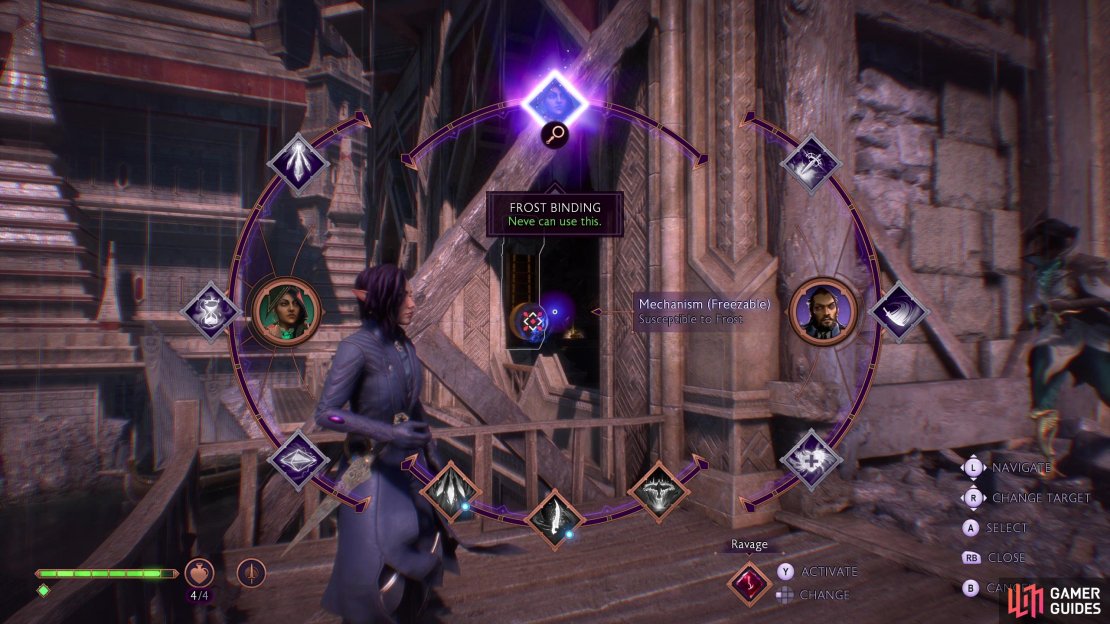
Neve has two abilities that allow you to manipulate objects in the game world to solve puzzles and take down barriers. First she has “Frost Binding” - Neve can use her ice magic to freeze mechanisms, halting their progress - freezing gears to stop a gate from descending being one example. This ability is quite rarely used, seen a bit in ![]() The Smuggled Relic Case and playing a role in a puzzle in Minrathous, but otherwise not being terribly prominent. In addition she has the “Unbind Wards” ability which does what it says on the tin - this is usually used to take down barriers, and you’ve got to find smallish runes to target, but if you see a barrier without another apparent mechanism you might want to check around for an opportunity to use this.
The Smuggled Relic Case and playing a role in a puzzle in Minrathous, but otherwise not being terribly prominent. In addition she has the “Unbind Wards” ability which does what it says on the tin - this is usually used to take down barriers, and you’ve got to find smallish runes to target, but if you see a barrier without another apparent mechanism you might want to check around for an opportunity to use this.
Neve’s under-utilized “Frost Binding” ability can freeze mechanisms.
Bellara - Tinker
Bellara has spent considerable time fussing around with ancient elven artifacts, and many of these devices have not become more reliable with age, especially considering the elven diaspora and resulting loss of their history and culture over the past centuries. Simply put, these devices are often on the fritz, but Bellara can repair them. These ancient elven devices largely consist of power crystals, power crystal receptacle, and mana beam focusers - often it’ll be the receptacle or some other nearby device that’s malfunctioning, and once it has been repaired you can move the beam or socket a power crystal, often creating a bridge or removing a barrier. You’ll find a lot of these in Arlathan, but the power receptacles pop up nearly everywhere. Just look out for golden elven relics and if one is shooting out sparks, Bellara’s tinkering will set it right.
(1 of 3) Bellara’s “Tinker” ability allows her to fix ancient elven relics.
Lucanis - Spite’s Reach
One of the lesser-used companion abilities, Lucanis can channel his inner demon to manifest objects from the fade into reality. In practice this means he’ll make pinkish platforms or ramps appear (sometimes in somewhat disturbing shapes - gotta stay on brand!), making Lucanis’s companion ability similar to Harding’s save for two differences: The rocks Harding can manipulate are almost always on the ground, part of a wall or on a cliff face, while Lucanis’s platforms manifest in thin air, and Lucanis’s platforms are timed, Hardings are not. Once summoned, don’t dawdle lest you miss your opportunity, and if you’re crossing back and forth, expect to have to use the ability once each way across.
You can detect a location where something in the fade can be manipulated by a swirl of purplish energy, which can be fairly hard to spot unless you’re specifically looking for it. All the more so because these purple energy disturbances can appear anywhere in the air.
(1 of 2) Use Lucanis’s ability on purplish vortices of energy,
Use Lucanis’s ability on purplish vortices of energy, (left), to draw objects from the fade into reality - usually platforms. (right)
Davrin - Blight Hunter & Griffon Strike
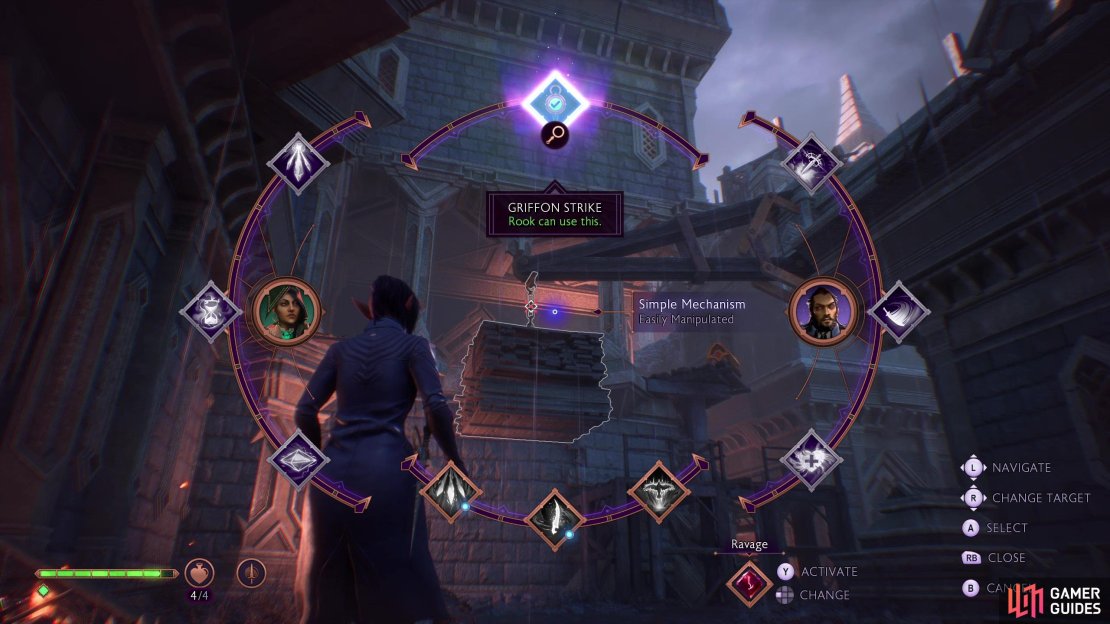
Davrin has a pet griffon. For better or worse, that’s his defining gimmick and most of your interactions with him revolve about this beast. It’s also the source of Davrin’s traversal abilities, as he can summon his griffon to handle a variety of obstacles. Via Griffon Strike the horse-lion hybrid can be called to manipulate simple mechanisms - cutting a rope holding a palette that can used as a platform, or knocking down a ladder. The griffon will also do what griffons do best in Dragon Age and harass Darkspawn - the Blight Hunter ability sics the griffon on Blight Abscesses which can’t otherwise be damaged, rendering connected blight cysts vulnerable to normal attacks.
(1 of 3) You can summon Assal - Davrin’s griffon - to attack simple mechanisms,
Taash - Fire Breath
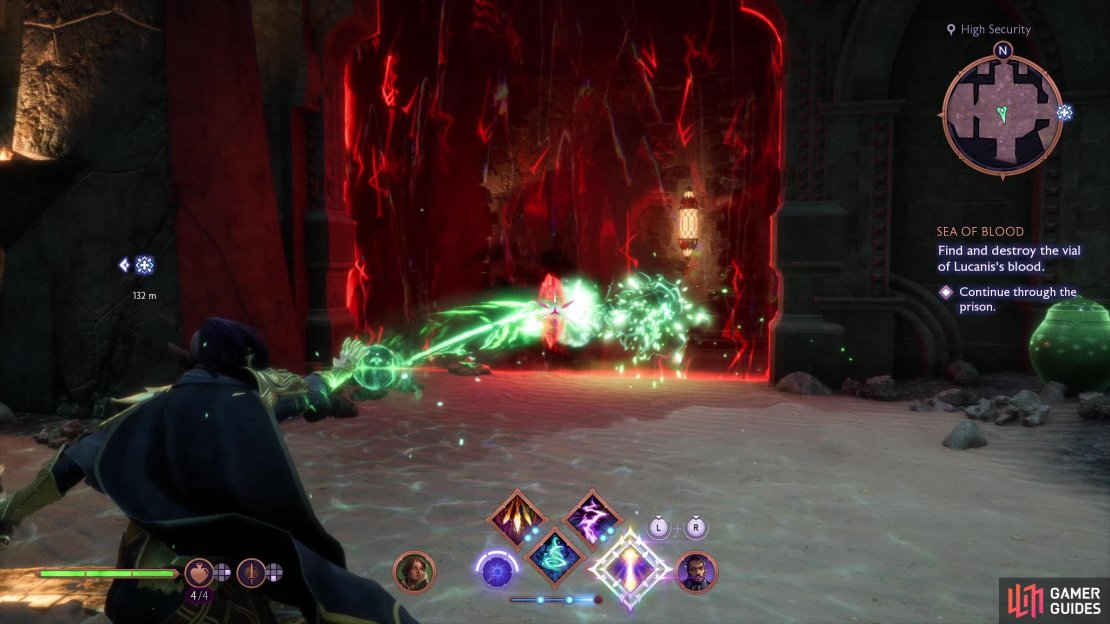
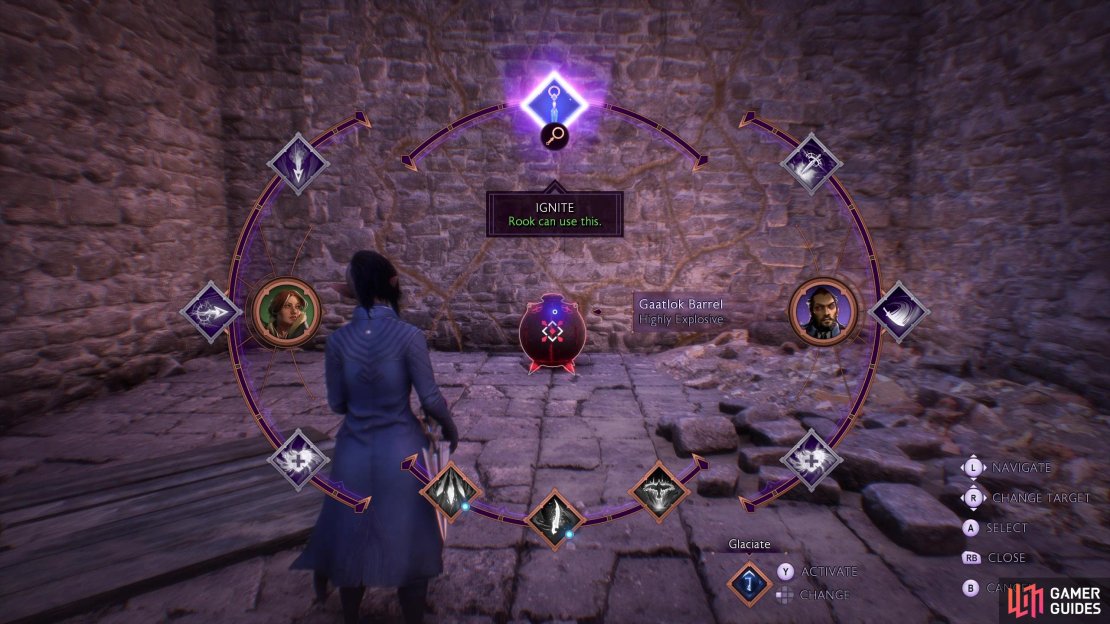
Taash is one of the later companions you’ll acquire, and her ability - fire breathing - has various applications, including simply detonating, melting or lighting objects that normal sources of flame at your disposal can’t. Yeah, doesn’t make much sense for a mage to be able to call down meteors, but not able to ignite Gaatlok Barrels, but sometimes gameplay has to come before sense, like with the Lyrium Daggert’s ability to channel companion abilities. You win some, you lose some.
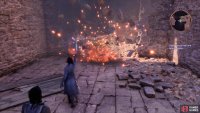
Taash’s fire breathing can be used to detonate the aforementioned Gaatlok Barrels (some explosive barrels can be detonated by conventional means), melt obstructions like Drakestone formations, and simply light braziers, the latter of which are almost exclusively used for the odd puzzle. That being the case, look out for red explosive urns, rather hard to miss crystal formations and the odd brazier.
(1 of 4) Taash’s fire breath can be used to ignite explosive,
Emmrich - Placate Mischief and Spirit Scrying
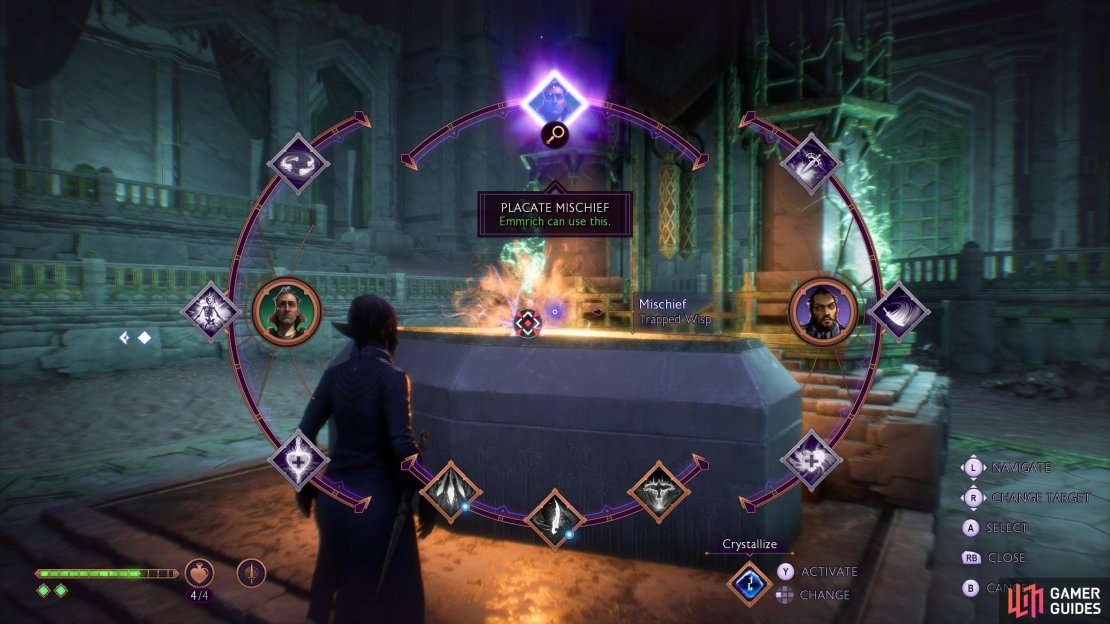
Emmerich stays true to his profession as a Mortalitasi - a necromancer - by using his magic to commune with the undead.. This mostly takes the form of dealing with mischievous wisps, either summoning them out of whatever they’re haunting via Emmrich’s Placate Mischief ability, or compelling wisps to partake in some puzzle or another via Emmrich’s Spirit Scrying ability. In the former case, once the wisp has been summoned you need merely approach it and it’ll follow you around for a limited period of time, during which you need to find a receptacle for it to dwell in, which usually unlocks some barrier, opens a gate, or otherwise allows you to advance. The puzzles triggered by Spirit Scrying are more complicated and unique.
(1 of 4) Emmrich’s “Placate Mischief” ability can cause wisps to emerge from their haunts.
Sadly, there’s no single trigger for these abilities, as wisps can haunt all sorts of things, including sarcophagi and… bells? You’ll just have to keep your eye out for the button prompts for these abilities. It’s also worth noting that wisps can also appear on their own in levels - you won’t need Emmrich to lure these ones, as their natural curiosity will cause them to follow you.










If you chose Treviso over Minrathos, you can sell to the crystal merchant in Treviso instead, as the one in Minrathos will be gone.