After discovering the fate of the village of D’Meta’s Crossing in the ![]() Shadows Crossing main quest, you’ll being the task of tracking down the Lyrium Dagger with Harding’s aid, as such, you’ll be returning to the scene of where the prologue took place. Keep reading to learn how to complete all of the objectives in
Shadows Crossing main quest, you’ll being the task of tracking down the Lyrium Dagger with Harding’s aid, as such, you’ll be returning to the scene of where the prologue took place. Keep reading to learn how to complete all of the objectives in ![]() The Singing Blade quest in Dragon Age: The Veilguard.
The Singing Blade quest in Dragon Age: The Veilguard.
The Singing Blade is a main quest in Dragon Age: The Veilguard.
Table of Contents
If you want to jump to a specific section, click on the links below.
| Quickjump |
|---|
| Starting The Singing Blade |
| Find the Lyrium Dagger |
| Retrieve the Lyrium Dagger |
| Defeat the Lyrium Ghoul |
Starting The Singing Blade
Once you return to Arlathan Forest following the completion of Shadows Crossing, you’ll have a conversation with the Veil Jumpers back at the camp and meet Morrigan before learning that your next task should be to track down the Lyrium Dagger that Solas used in the prologue and you’ll immediately travel to the Ritual Site and The Singing Blade will begin.
Find the Lyrium Dagger
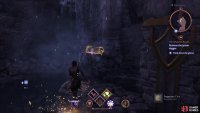
Begin by heading forward and speaking with Harding, she seems to be taking it hard being back at the site of Varric’s encounter with Solas. When you regain control, follow the path down to the south and you’ll notice there is still some lingering magic from the Lyrium Dagger, press on and go through the door in front of you to discover the culprit who took the Dagger.
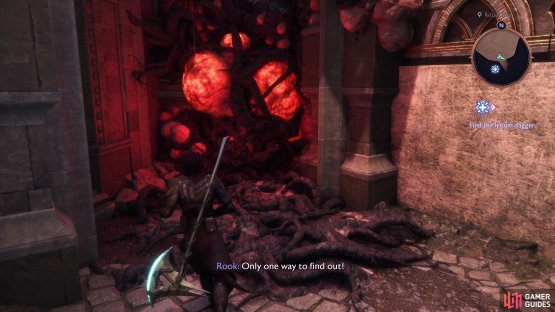
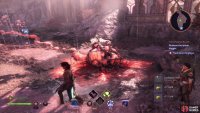
Look to your left to find some Blight Boils to burst, then continue to trigger an encounter with a Hurlock, a stronger Darkspawn that can deal some nasty damage should he hit you. Make use of your Combos with your companions to take it down, using any Fire-based attacks you may have on you.
(1 of 2) Burst the Boil to continue.
Burst the Boil to continue. (left), Then take care of the Hurlock. (right)
Retrieve the Lyrium Dagger
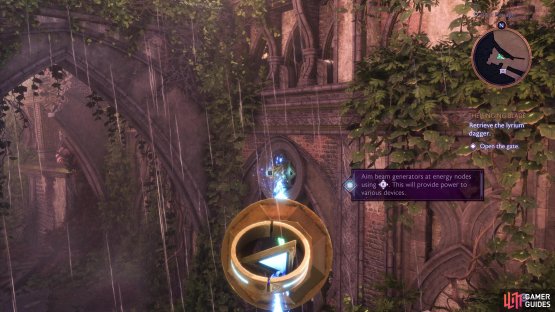
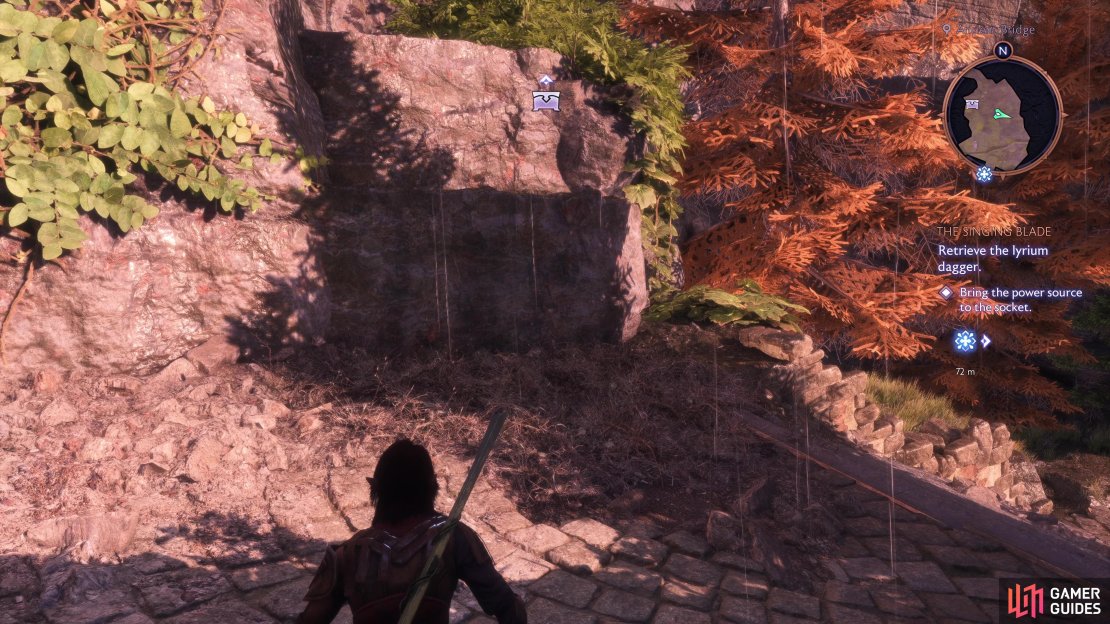
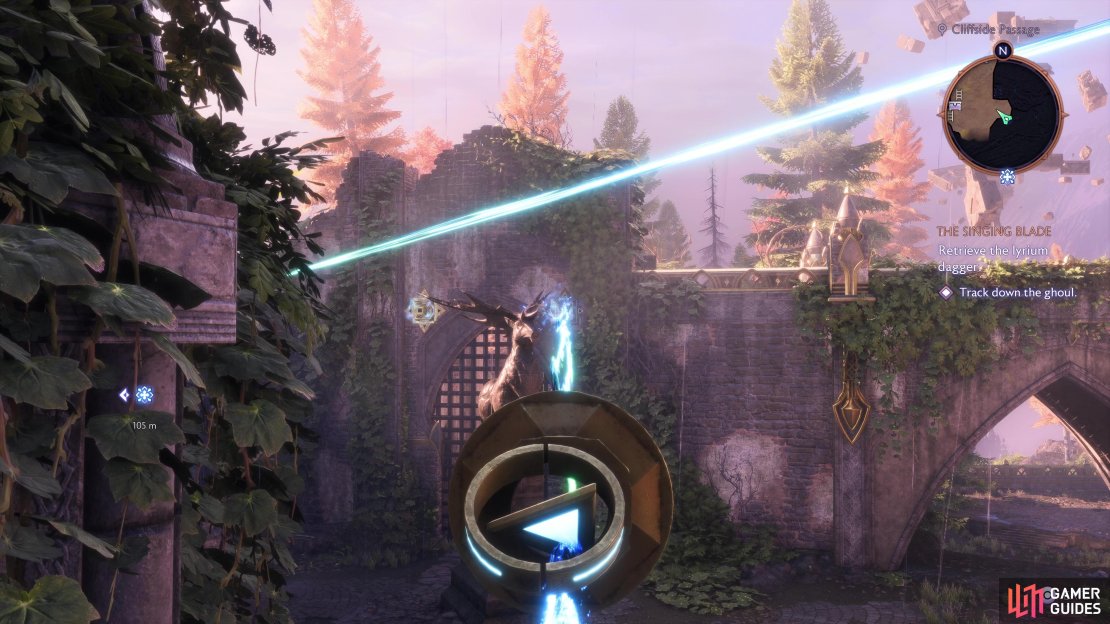
The gate in front of you is preventing you from continuing to chase the Darkspawn with the Dagger, so go under the arch to the north and break some wooden boards to find a gap you can squeeze through. Immediately go to your right and leap a small gap behind you to find a small chest, then take the stairs up and leap across another small gap to find a beam generator you can interact with. This will allow you to move the laser, do so and direct it at the Power Crystal on top of the gate to open it and claim the gear chest.
Follow the linear path and it will lead you back outside to the Overlook area. Continue along the path, dealing with the Darkspawn Ghouls that attack, and you’ll learn how to Stagger and Takedown enemies. Essentially, as you fill the stagger meter, enemies will become available to Takedown, which will finish them off in style. This is more important later as you get skills that impact both Stagger and Takedown, but it’s a good idea to get used to it now.
(1 of 2) Direct the beam at the Power Crystal on the gate to open it.
Direct the beam at the Power Crystal on the gate to open it. (left), Be sure to destroy these Boils to prevent more Darkspawn from appearing. (right)
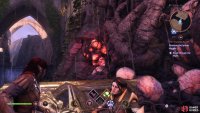
You’ll notice in this next group of Darkspawn that Ghouls will keep spawning, this is due to the Blight Boils that are scattered around here. During situations like this, always make it your first priority before focusing on other enemies, they may not deal much damage, but they can get in your way and cause you to get hit by the deadlier enemies. With the Blood Boil here burst, you can now burst the others blocking the way forward.
As you start going down the stairs, keep an eye out for some ledges on the left you can climb, these will take you to the bridge above and a gear chest waiting to be opened.
Drop down from here and as you pass under the arch, you’ll discover that more Blight is blocking the way forward, and you’ll need to find a way to burst the connecting Blight Boils. Start by bursting the glowing red Boil to the left of the blockage, then pick up the Power Crystal to make the bridge disappear, this will allow you to hit a hidden Boil underneath it. Finally, burst the Boil that’s blocking the way to continue and find another Gear Chest and a pedestal where you can place the Power Crystal to open the way.
(1 of 4) Look to these ledges on your left and climb them.
Continue to follow the path through the Cliffside Passage and you’ll encounter yet another group of Darkspawn. Focus your attention on the two Darkspawn hitting you at range first before taking care of the Hurlock. Once the threat is gone, direct the first beam generator at one of the Power Crystals above the gate, look behind the wall to the left of the gate to find some boards you can break. This will lead to a ladder that takes you to the second beam generator that you should direct at the other Power Crystal, opening the gate and allowing you to claim another gear chest.
Return to the Blight Boil now and burst it to continue through the ruins and you’ll quickly run into another group of Darkspawn, this one including a Protected Javelineer that has a Barrier. Remember to use ranged weapons to deplete this, then take it out before you down the rest of the group. One more Hurlock awaits you at the bottom of the slope, so be prepared to deal with it as you go down.
(1 of 4) Direct the first beam generator to one of the power crystals.
Follow the path down to the bottom and the Old Quarry and then, instead of following the objective, go back on yourself to find a well hidden gear chest at the end of the path. Go back toward the objective marker now and you’ll eventually corner the Ghoul who took the Dagger.
Defeat the Lyrium Ghoul
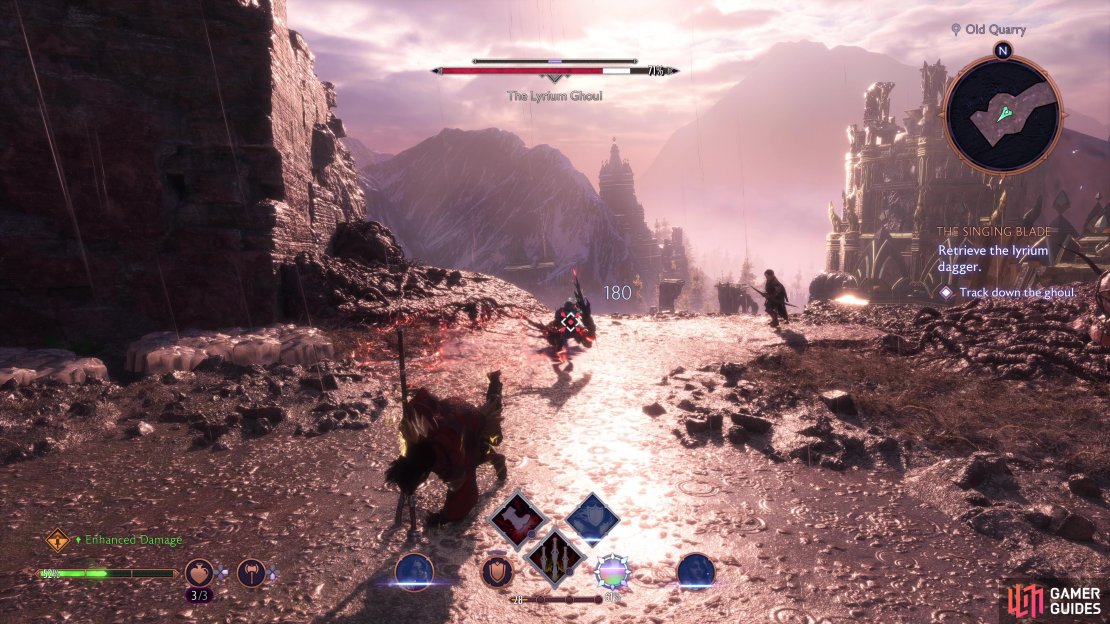
The Lyrium Ghoul will have no choice but to attack you here, and having had the Dagger in its possession for so long has imbued it with magical energy. Despite not having much more health than a regular Ghoul, this tricky customer is far more agile and aggressive so don’t get too lax with it. More importantly, it will use a magical attack in a cone AoE, look for the red indicator and get away from it. If you’re quick, you can use this to get beside it and get some free attacks in during this.
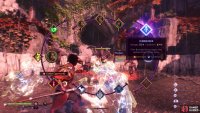
A scene will trigger following its defeat and after Harding discovers she has new powers, you’ll be thrust back into battle against more Darkspawn. You have a much smaller arena to fight these in now, thanks to Harding having no control over new rock powers, so be sure to keep on the move at all times. You’ll officially learn about Primers and Detonators for Combos here, and you can put it into action with both Harding and Neve (Shred + Icebreaker).
(1 of 4) The Lyrium Ghoul is agile and aggressive.
After you defeat these Darkspawn, the Lyrium Ghoul will return once again, only this time it has been enhanced further. You’ll need to deplete a Barrier this time around, so used ranged attacks to help, and then resume the same strategy as before. Hopefully, by now, you have your Ultimate, use it against the Lyrium Ghoul to finish it off.
Multiple scenes will take place following the defeat of the Lyrium Ghoul and you’ll find yourself back at The Lighthouse as the quest comes to an end. As a reward, you’ll obtain a new bow for Harding.









No Comments