You’ll have to wait a while before you finally gain access to the Hossberg Wetlands in Dragon Age: The Veilguard, the region where the Grey Wardens can be found. In this dreary area, you’ll find Darkspawn everywhere and the Blight blocking off access across the region. As with all exploration zones, you’ll find hidden chests, optional quests, and mystical altars. This page will help you find every chest and solve the puzzles required.
Table of Contents
If you want to jump to a specific section, click on the links below.
| Quickjump |
|---|
| Regular Chests |
| Unique Chests |
Regular Chests
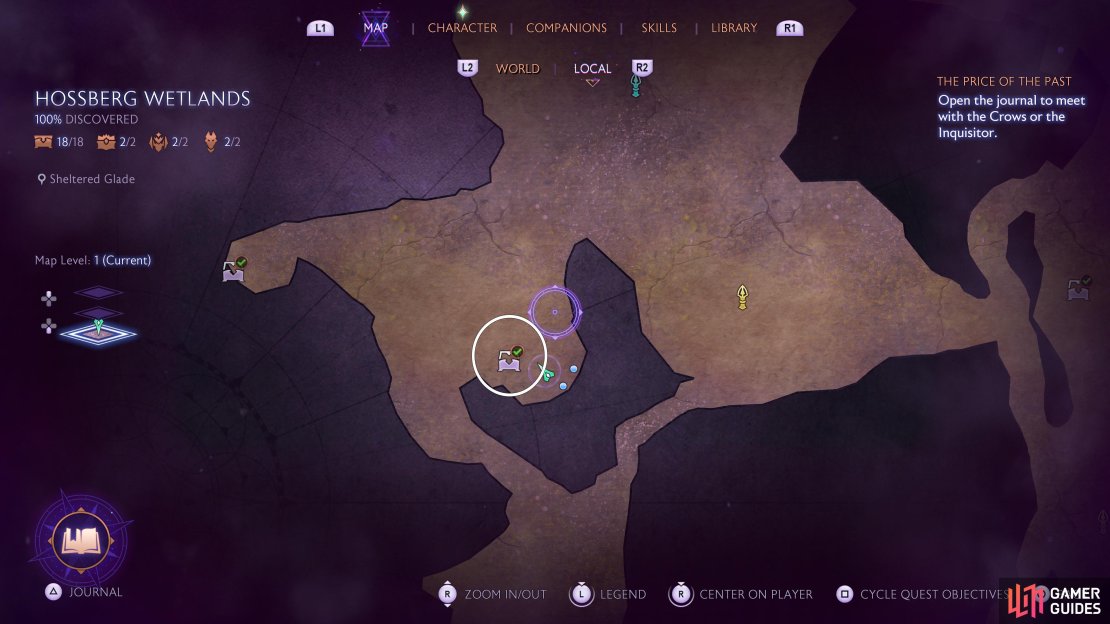
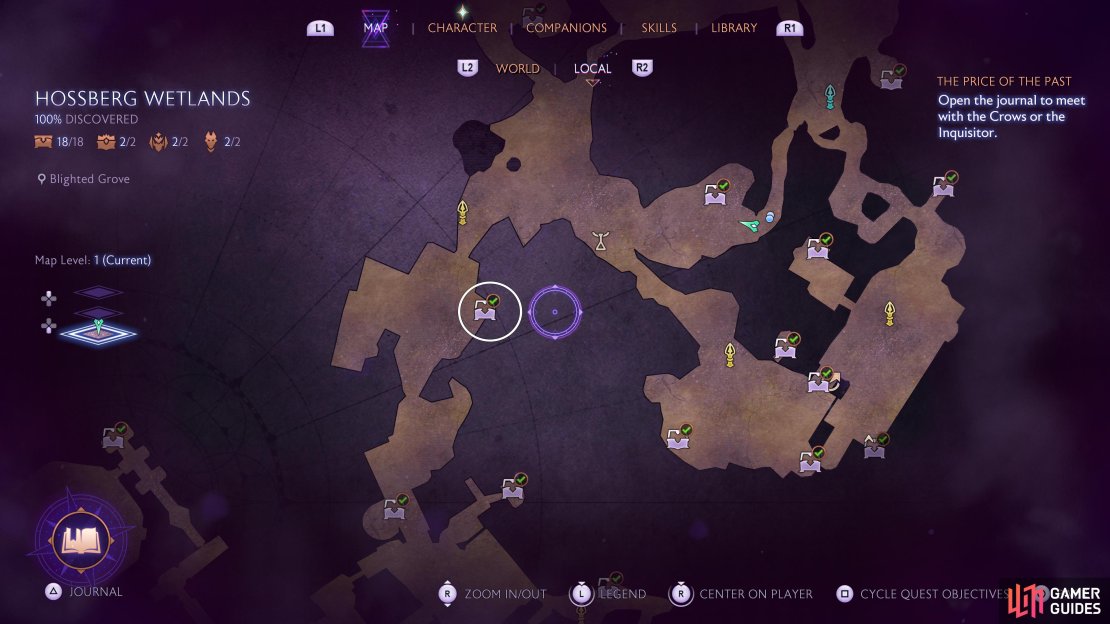
There are a total of 18 regular chests to find in the Hossberg Wetlands, and you’ll have to visit multiple times throughout the adventure to gain access to all of them. Below, you can find the location of each chest.
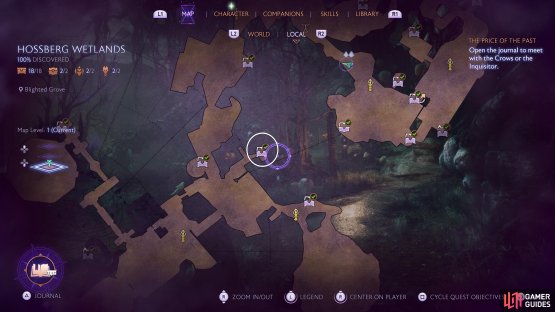
Regular Chest 1 - Old Crossroads
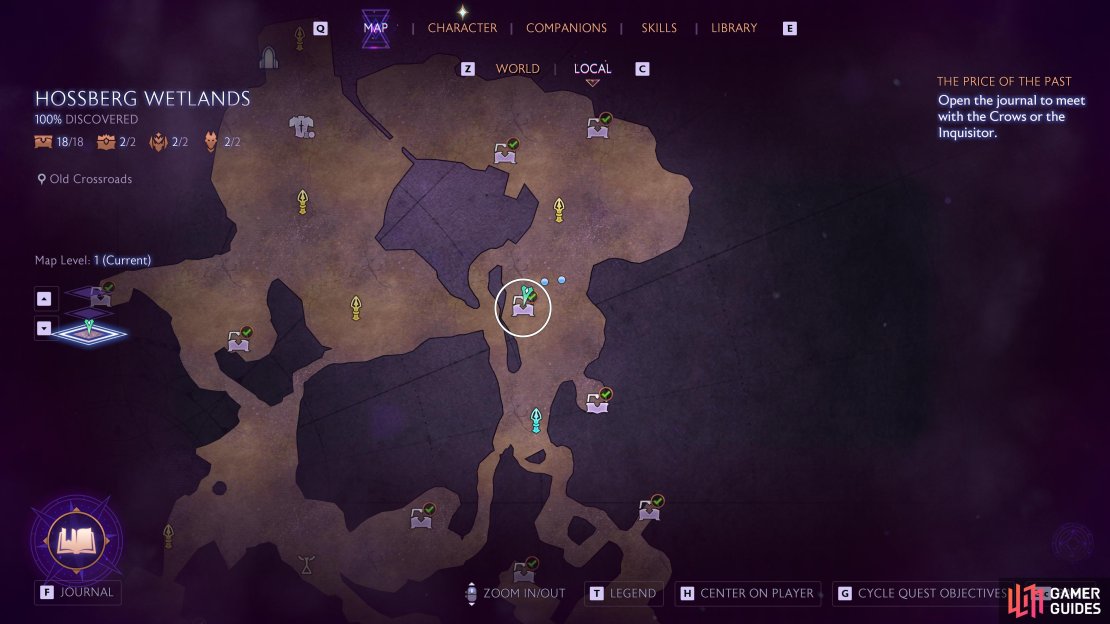
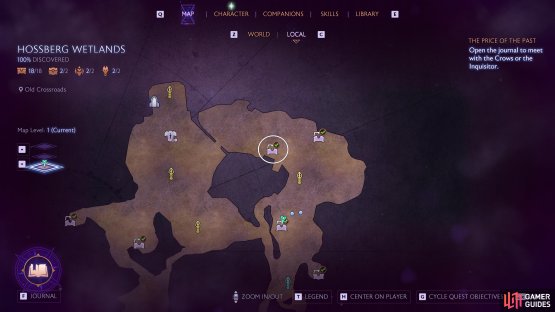
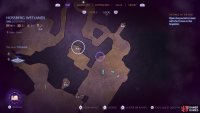
(1 of 3) Go to the Old Crossroads in the Hossberg Wetlands
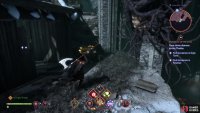
You’ll have to go through the Flooded Farmlands to get this chest, but still, start at the Old Crossroads Beacon (east of the map) and head north until you enter the Flooded Farmlands. Immediately turn to your left, remove the Boil on the ladder in the house (if you’ve not already done the main quest here) and climb it. To your left are some ledges you can climb, do so and you’ll find the chest around the corner.
Regular Chest 2 - Flooded Farmlands
(1 of 2) The second chest can be found in the Flooded Farmlands of Hossberg Wetlands.
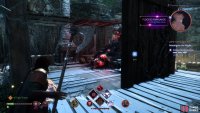
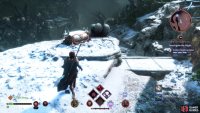
The second chest can be found in the Flooded Farmlands of Hossberg Wetlands. (left), Go around the back of the house to find an entrance for this simple chest. (right)
One of the easier chests to get in the Hossberg Wetlands, from the Flooded Farmlands Beacon (north east of the map), head to the western wall and hug it as you go north. You’ll eventually reach a house and if you enter from the northern side, you’ll be able to easily stroll up to the chest and loot it.
Regular Chest 3 - Flooded Farmlands
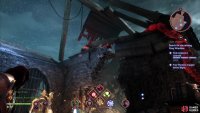
A second chest found in the Flooded Farmlands, this one requires a bit more work to reach. If you head to the northeast of the same Beacon, you’ll find a house covered in Blight, your goal, then, is to remove it all. Start by heading west of the Flooded Farmlands into Lavendel Barricade and then take a right straight away to reach the first Boil. Jump over the wall and burst the next two Boils in front of you, then head to the opening you just created. Before you go into the house, stand at the top of the stairs and look to your right to spot the final Boil, hit it from ranged and then go into the house to claim the chest after unbinding the Magical Wards.
Regular Chest 4 - Sheltered Glade Statue Puzzle
From the Lavendel Beacon, head west into the Sheltered Glade and stand on the platform in the southeast. If you look above to the southeast, you’ll spot a Blight Abscess that you can have Assan attack, allowing you to break the Boil to the left and right of it. This will drop a ladder that you can climb to reach three statues. Rotate them so they’re facing (with Rook facing north):
- North Statue: East
- Southeast Statue: Southwest (facing the statue next to it)
- Southwest Statue: Northwest (toward the platform below the ladder)
Doing this will open the door nearby, allowing you to open the chest and pocket some more Gear.
Regular Chest 5 - Cavernous Tunnels Crystal Puzzle
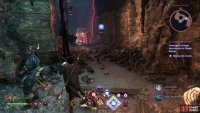
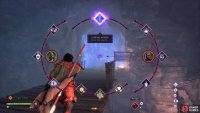
You must accept the An Academic Interest quest to reach this next Chest. Once accepted, go to the Old Crossroads Beacon and head southeast into the Cavernous Tunnels, you’ll immediately run into a Crystal Puzzle. Look to the west of the barrier to find the first shard, then face the barrier and look up to see the next one can be hit. This will let you break the crystal on the ground and then the barrier itself, letting you move on.
A second Crystal Puzzle awaits you in the next area, so start by clearing the enemies out so you can look in peace. The first shard can be found directly in front of you, in the air, as you enter the area. Climb up the stairs and then hang a left and go up some more to find the second shard, then smash the one right next to it and the first large Crystal. This will let you move south and hit the next shard, which you can follow a simple line of shards to the next Crystal and through the barrier to a third and final Crystal Puzzle.
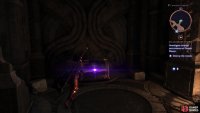
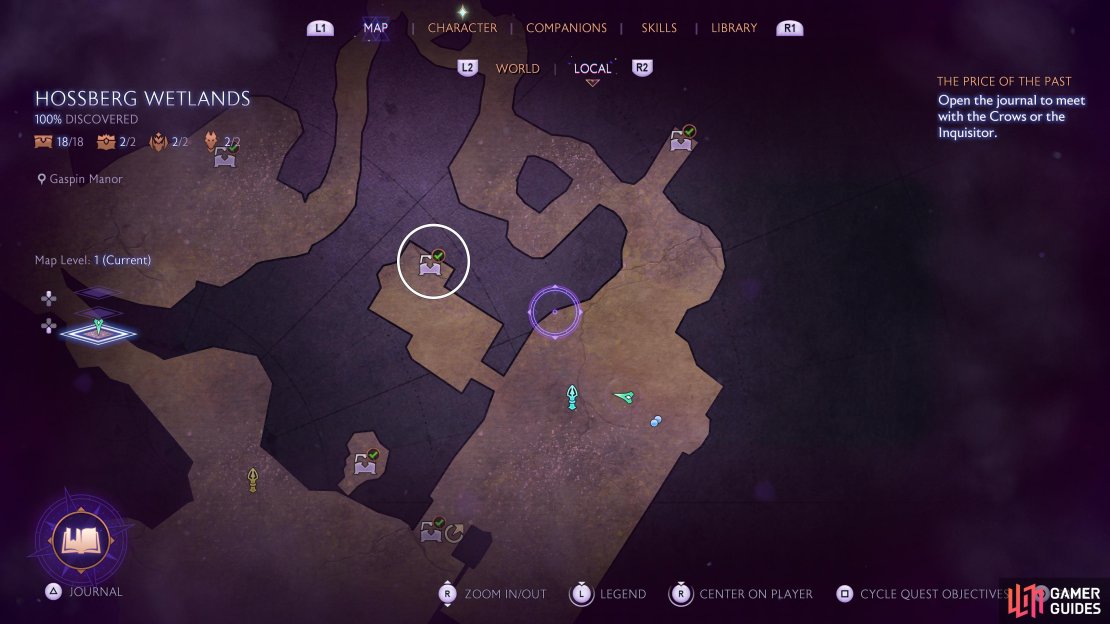
You don’t actually need to solve this third puzzle, as it’s part of the requirements for the An Academic Interest Quest. Go up the stairs though toward the barrier, and then cross the bridge behind you to find a barrier you can disable, the chest sits just behind it.
Regular Chest 6 - Gaspin Manor Crystal Puzzle
(1 of 4) This is the first of several chests in Gaspin Manor.
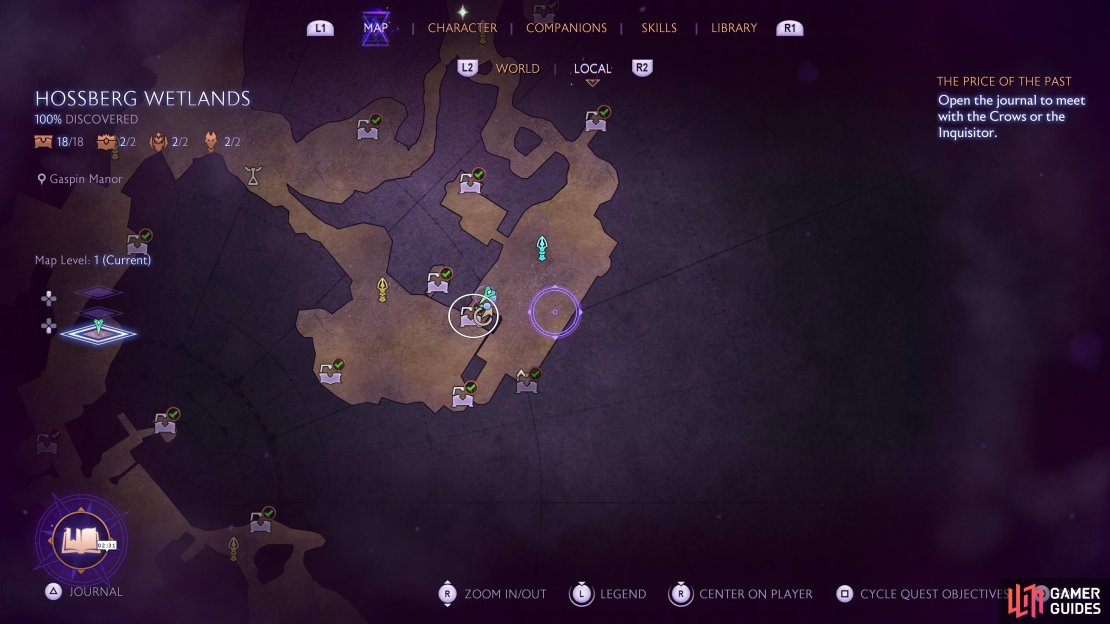
Make your way to Gaspin Manor for the next set of Chests, you’ll find the area and the Beacon in the southwest of the Hossberg Wetlands. After defeating the initially group of enemies, you’ll find Crystals scattered all over the courtyard, smash these in the right order to reach the Cellar. As you open the door inside, you’ll need to defeat a Consuming Obsession demon before you can claim the chest at the back.
Regular Chest 7 - Gaspin Manor
(1 of 3) Another chest can be found in Gaspin Manor.
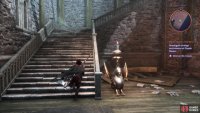
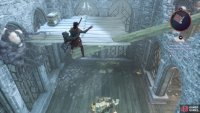
The next chest in Gaspin Manor can be found inside the Manor itself, simply go inside and up the stairs to the left, then through the door in front of you. Leap across the gap to the other side to find a chest you can loot.
Regular Chest 8 - Gaspin Manor
(1 of 3) This is the easiest of the three Gaspin Manor chests to find.
From your current position, return outside of the Manor itself and you’ll spot a locked gate just to the side of it. Ignore this for now and instead look just to the right of it spot some wooden boards. Break these and you’ll spot the final Gaspin Manor chest inside. While you’re here, why not solve the Gaspin Manor Statue Puzzle so you can create a shortcut to Solitude’s Edge?
Regular Chest 9 - Blighted Grove
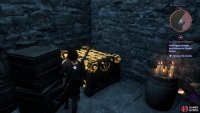
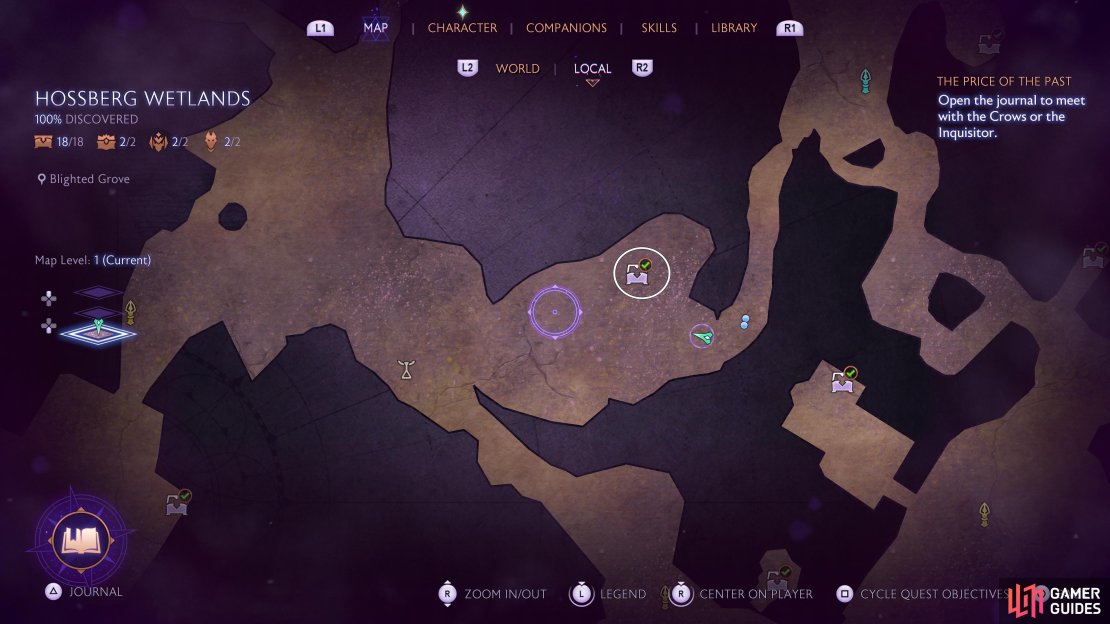
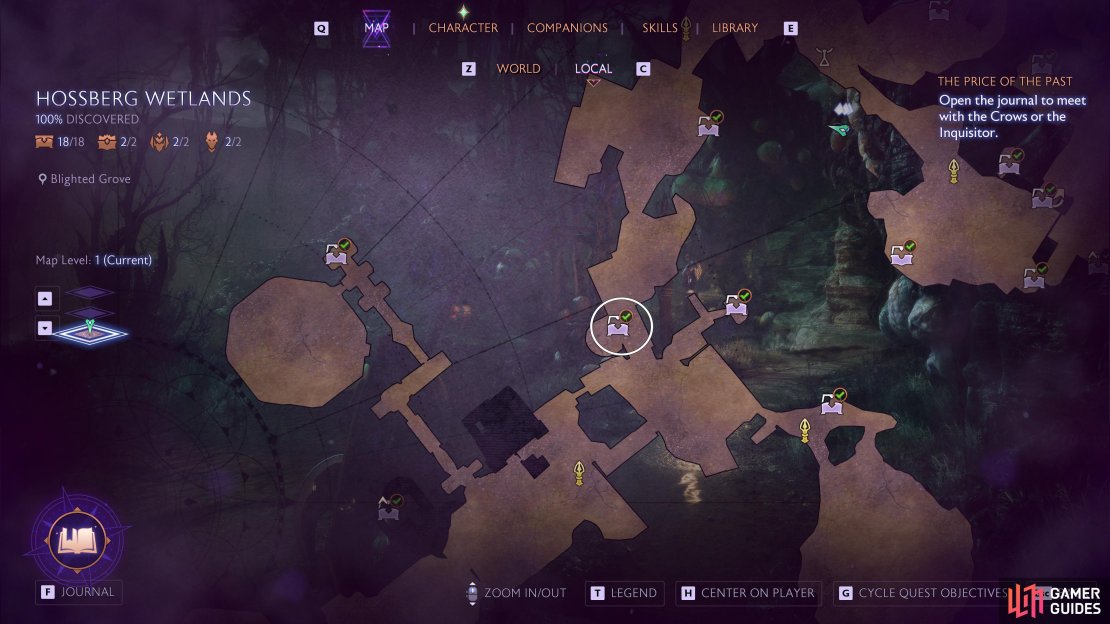
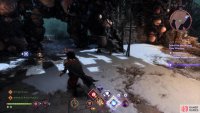
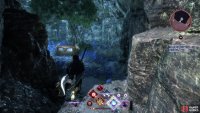
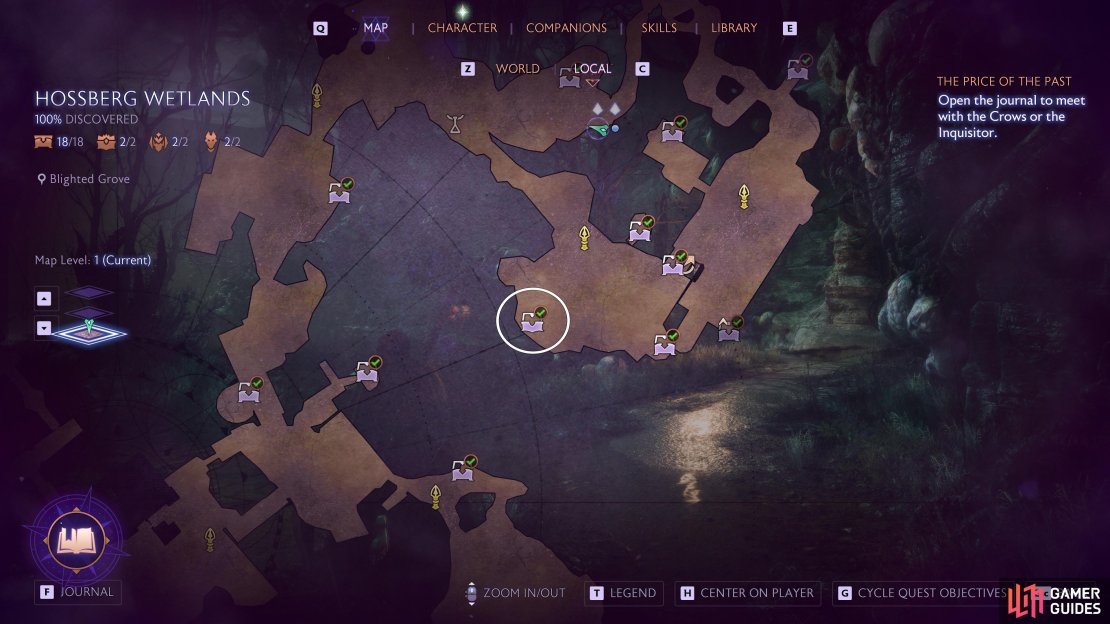
You can find the Blighted Grove by heading to the Old Crossroads Beacon and taking the southwest tunnel. Once there, clear out the enemies and then look to the northeast of the area, you’ll spot a Blight Abscess, ignore this for the moment though and climb up the nearby ledges, then look to the northeast to spot a normal Boil you can break with your ranged attack. Look just to your left now to spot the next Boil and burst that too, then break the entryway just in front of you.
Look to your right as soon as you go inside to spot some Blistering Drakestone you can melt with Taash’s Dragonfire and then use Assan to attack the Abscess and burst the Boil behind the Drakestone. This will allow you to hit the next Boil by the blocked entryway and then, after taking that you, you can finally go and claim your loot from the chest.
Regular Chest 10 - Castle Gates
(1 of 4) The first of two chests at the Castle Gates area.
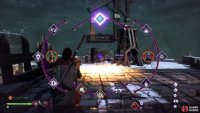
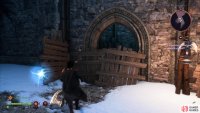
Make your way to the Castle Gates, accessed by going south through the Lost Village from the Swamp Road Beacon (west of the map). As you go up the stairs into the area, look to your left to find a Wisp you can activate with Emmrich. Grab it and head south, keeping an eye on the wall to your right to spot some boards you can break. Go inside and put the Wisp in the device to drop a ladder leading to the chest.
Regular Chest 11 - Castle Gates
(1 of 2) The second chest to be found in the Castle Gates area.
The second chest to be found in the Castle Gates area. (left), Go across the wooden beam here to reach the chest. (right)
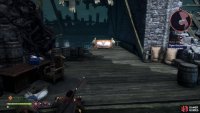
Another chest that can be found in the Castle Gates area and this one is much simpler to find. As you continue south from the previous chest and into the courtyard, look for a doorway to your left, go through and to the back of the area, across the beam, for a simple chest.
Regular Chest 12 - Solitude’s Edge
Starting from the Solitude’s Edge Beacon (southeast of the map) go to the northeast and you’ll spot a Blight Abscess for Assan. Do so and then hit the Boil on the wall next to you, then the other Abscess at the back so you can hit the next Boil to the right of it. This will then let your burst the Boil on the doorway of the house where you can then break the boards at the back to reach another path leading to the chest.
Regular Chest 13 - Lost Village
(1 of 4) This chest can be found in the Lost Village after the Lives Spared quest.
You won’t be able to get to this Chest until you start the Lives Spared quest, that becomes available after the Siege of Weisshaupt main quest. Return to the area following that and you’ll be able to burst the Boils after dealing with the enemies. The Boils you need to burst are simple to find and once you find the last, you’ll be able to get through the Blight on the wall where you can finish the quest and finally grab this chest.
Regular Chest 14 - Castle Grounds
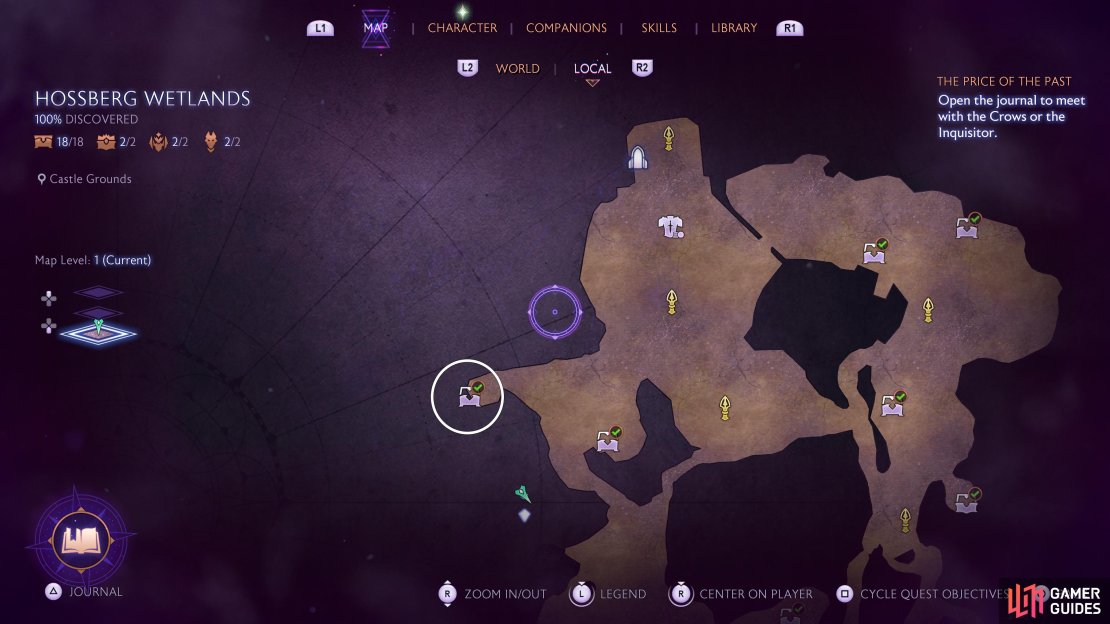
(1 of 3) Go to the Castle Grounds in the southwest.
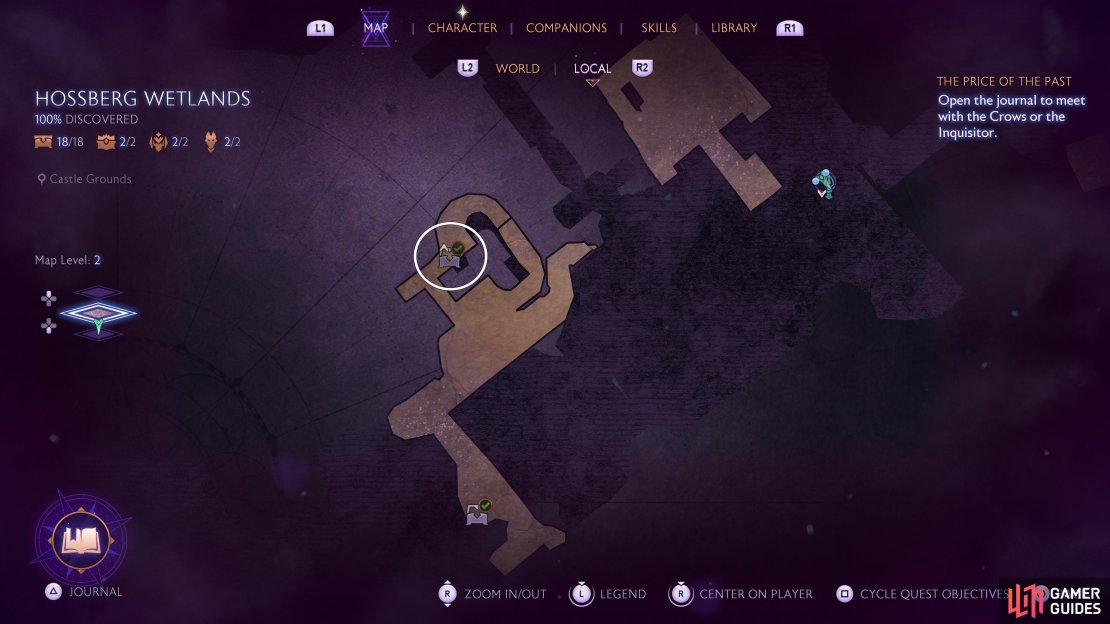
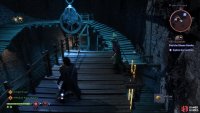
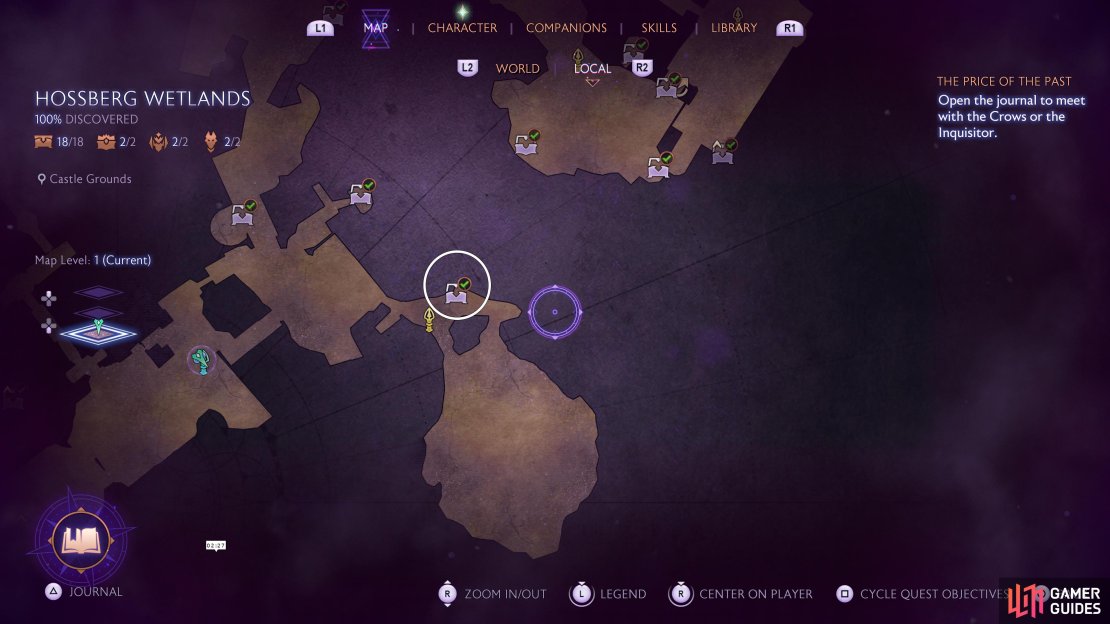
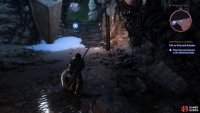
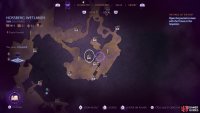
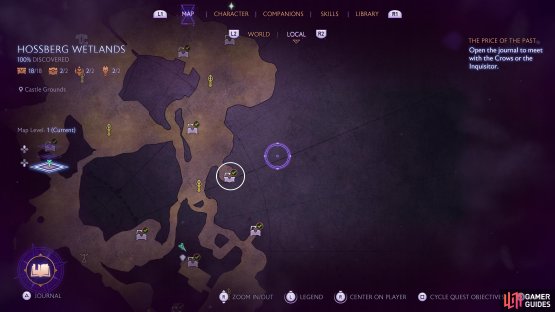
You’ll need to progress the story until you unlock The Cauldron main quest, as it’ll allow you to reach the Castle Grounds area to the southwest of the Hossberg Wetlands. As part of the quest, you’ll need to remove the Blight from the entire area so you can get into the castle, do so, and then head to the far southwest of this area to find some stairs leading up to a simple to find chest.
Regular Chest 15 - Inner Courtyard
(1 of 3) Go to the Inner Courtyard in the Castle Grounds for the next chest.
Still in the same area, you’ll head into the Inner Courtyard as you’re going around bursting Boils to get into the Castle. To reach this area, climb up so you’re higher on the northern wall and you’ll spot one of the Boils needed high up, and some walkways. Go down to the bottom to find a Wisp you can soothe with Emmrich, then quickly head back up and climb the ladder to place it in a device. This will drop a ladder for you, climb to the top and leap over to the other walkway where you can find the chest.
Regular Chest 16 - Blighted Shallows
(1 of 3) Go to the Blighted Shadows area after the Fire and Ice main quest.
You’ll need to wait until after you’ve completed the Fire and Ice main quest, after which you can finally explore this area. From the Blighted Shallows Beacon (southeast of the map), head south toward the arena where you fought the dragons and then loop around (instead of jumping down). Have Harding retract the stone platform so you can burst the Boil and then head into the house, break the boards at the back, and claim the chest.
Regular Chest 17 - Sheltered Glade
(1 of 3) You’ll find yourself in this part of the Sheltered Glade after completing the Something Coming quest.
You won’t be able to reach the final two Regular Chests and the Unique Chest until you’ve completed the final quest in Hossberg Wetlands, Something’s Coming. The final objective of that quest will have you meet with Evka and Antoine in the Sheltered Glade, where the previous Blight wall has now been removed. Inside, you’ll find flowers have returned to the Wetlands but, more importantly, a chest awaits you!
Regular Chest 18 - Solitude’s Edge
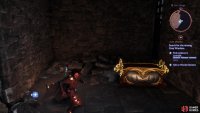
(1 of 2) The final regular chest can be found in Solitude’s Edge.
The final regular chest can be found in Solitude’s Edge. (left), In the now open area after completing Something’s Coming. (right)
With Something’s Coming complete, return to the Solitude’s Edge Beacon (southeast of the map) and head south while hugging the wall to your left, you’ll find yet another Blight wall that is now gone, with the final regular chest inside.
Unique Chests
Outside of the 18 Regular Chests in the Hossberg Wetlands, there are also two Unique Chests to discover. These chests will have the same loot for all Classes and are often specialized. One of these chests requires you to finish the final side quest in the Hossberg Wetlands, Something’s Coming, to reach the area.
Unique Chest 1 - Solitude’s Edge
(1 of 4) You’ll need to have activated the Gate of Pale Reflections quest in the Crossroads first.
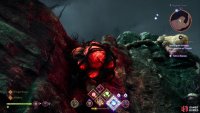
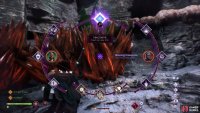
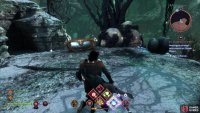
You’ll need to have accepted the Gate of Pale Reflections quest in the Crossroads to be able to work on this Unique Chest. Once you have, head back to the Solitude’s Edge area to find a Champion cyst which, when burst, will spawn Amarell the Unwoven, a Level 35 Champion. You’ll have a large area in which to fight this brute, but beware of the its ability to blind you, in these situations, prioritize dodging its attacks until you can see again. Once it falls, you can open the Unique Chest behind it to obtain the Field-Commander’s Helm.
Unique Chest 2 - Old Crossroads
(1 of 2) Return to the Old Crossroads after Something’s Coming is complete.
Return to the Old Crossroads after Something’s Coming is complete. (left), You’ll be able to reach a new area to the southeast with the second Unique Chest. (right)
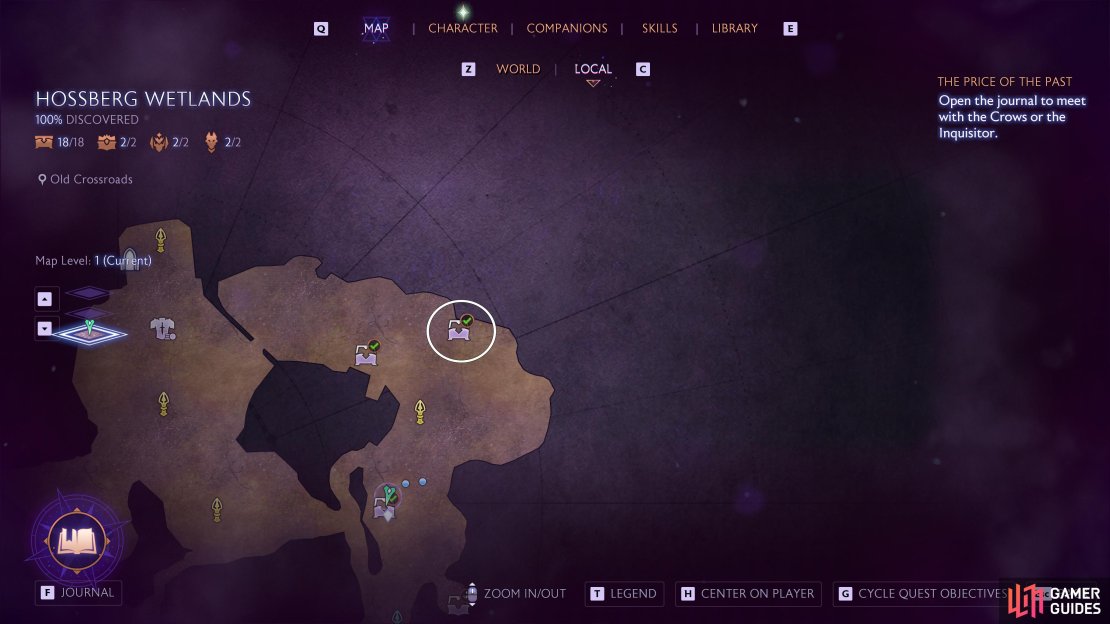
You must wait until after you’ve completed the final quest in Hossberg Wetlands, Something’s Coming before you can reach this Unique Chest. Return to the Old Crossroads to discover that the Blight Wall to the southeast is now gone, allowing you to head inside and open the Unique Chest.
There you have it; you now know where to find all of the hidden Regular and Unique Chests in the Hossberg Wetlands. This will give you some useful equipment with which to build towards your ideal Rook.























No Comments