The citizens of Weisshaupt are under attack from an Archdemon, so Rook and his team along with the assistance of the Grey Wardens will need to put a stop to it before too much harm is done. On this page, we’ll provide you with the necessary steps to defeating the Archdemon Razikale
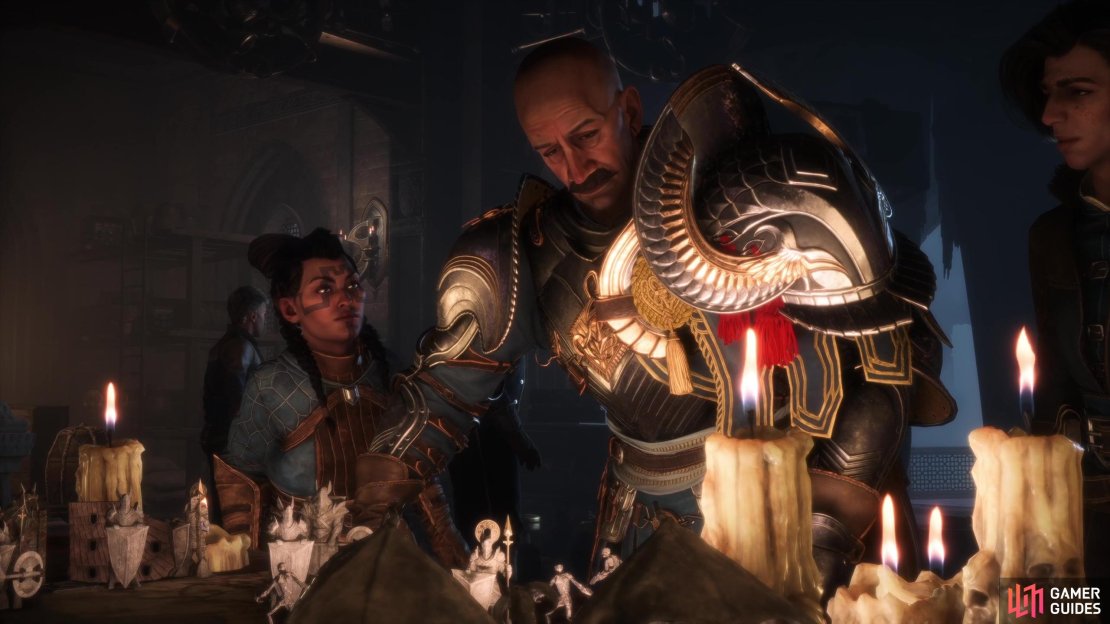
The First Warden still isn’t accepting Rook’s help.
Table of Contents
If you want to jump to a specific section, click on the links below.
Starting The Siege of Weisshaupt
There’s an Archdemon causing havoc to Weisshaupt and they need your help, but before you set off you’ll want to pay a visit to the Mediation Chamber within the Lighthouse and speak with Solas to learn more about your enemy. You’ll now need to select your team for the upcoming battles and we recommend that you bring along Davrin as his attacks will allow you to hit the bosses elemental weakness and any of the mages (Neve, Bellara, and Emmrich) because their attacks can combo off the back of Davrin’s attacks.
Find Antoine and Evka
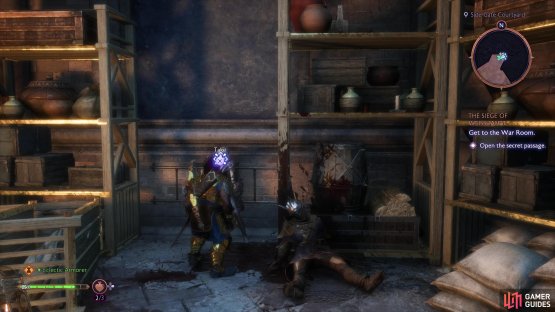
Once you’ve arrived at Weisshaupt you’ll need to track down both Antoine and Evka, so head through the double doors up ahead and deal with the enemies that are overtaking the Side Gate Courtyard. These are relatively simple enemies to deal with, but some of them have yellow shields so you’ll need to perform heavy attacks on them to remove it before you can return to attacking normally. Now, you’ll want to follow Mila to the War Room and pick up the Ring of Warden Royal Memento, then interact with the corpse to reveal a hidden room.
(1 of 2) Interact with the corpse to access a hidden room
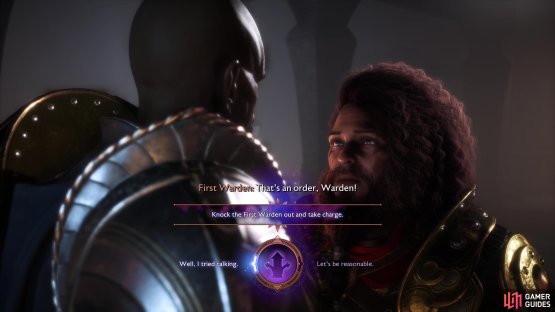
Interact with the corpse to access a hidden room (left), then choose to either hit or talk the First Warden down. (right)
Head out to the Outer Wall Barracks and follow the narrow path along to the south until you reach the Outer Wall Courtyard, then destroy the blight before clearing out the enemies, as this will prevent the enemies from respawning. Collect the Fang of the Third Memento which is located to the left of the door and then proceed into the War Room to trigger a cutscene. Here you’ll have the opportunity to knock out the First Warden or talk some sense into him.
Choice: Talk Sense or Knock Out The First Warden?
The decision you make here doesn’t affect the overall story too much, but there are some things you should consider. If you choose to knock him out then he’ll become your sworn enemy and refuse to help you in Davrin’s final companion quest, but more importantly it’ll affect your relationship status with your companions, as Neve, Taash, Davrin, Harding and Lucanis will greatly approve and the others will disapprove.
However, if you choose to reason with him, then he will assist you during the side quest, but Bellara and Emmirch will approve and the others will disapprove, so your choice should be based on who you’re trying to romance. After the cutscene has come to a close, head back out onto the wall and deal with the enemies, then shoot the blight to the left of the blocked entranceway.
Find The Dragon Trap
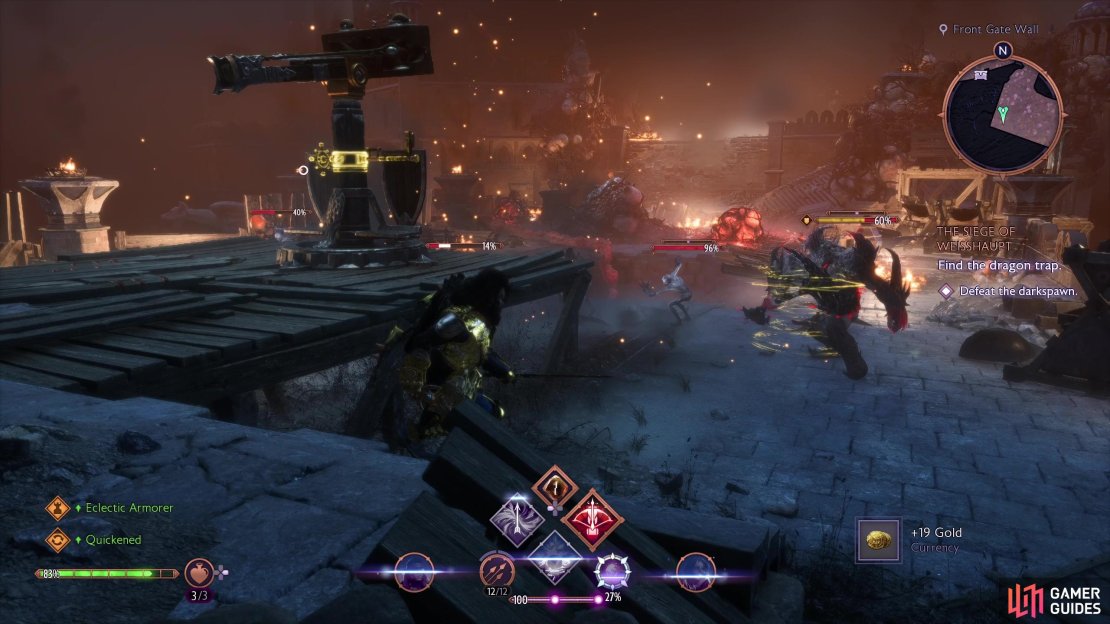
Drop down into the Front Gate Wall and take care of yet another large group of Darkspawn, but this time we recommend that you keep your distance as they can explode upon death. We recommend that you utilize the nearby ballista and focus on clearing out the smaller enemies to begin with as they don’t have much HP, then everyone can shift their attention onto the larger ones. Before you progress further into the area, there’s a boil out in the open and another in the hole that you can shoot to make a Gear Chest in the corner become accessible.
(1 of 3) Use this Ballista to take down the enemies
Shoot the large cluster of boils on the stairs to free the path and head up, then shoot the three boils which are located on the left and center of the tower and in the middle of the area to free the ballista. Use the ballista to strike down the incoming enemies from the tower, then drop down into the First Wall Scaffold. From here, follow the narrow path ahead until you reach the Front Gate Courtyard, then clear out the enemies before destroying the boils which can be found in the center of the area and above the gate.
Defeat The Relentless Wall
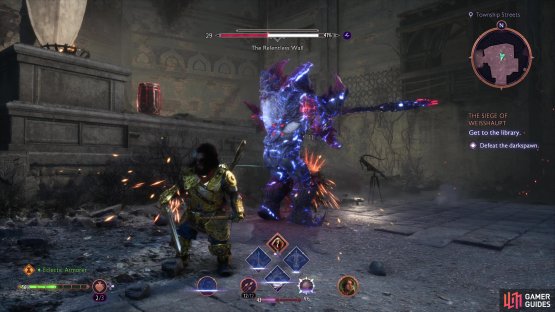
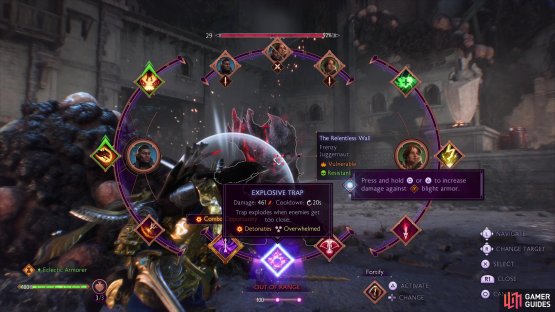
Enter the now open gate and open up the Gear Chest, then head through the double doors to the west and work your way through the Township Streets until you reach a large open area. Here you’ll want to clear out the enemies by utilizing combo attacks and shooting the nearby explosive barrels, then a boss named The Relentless Wall will smash through the wall. You’ll want to begin the battle by stripping away it’s shield by using heavy attacks and then you’ll want to use any combo attacks when they become available while weaving in any fire-based attacks to hit its elemental weakness.
(1 of 2) Avoid The Relentless Wall’s attacks by keeping your distance
Avoid The Relentless Wall’s attacks by keeping your distance (left), and use fire-based attacks to hit its elemental weakness. (right)
The majority of its attacks involve him swinging his axe at high speed, so you’ll want to tackle this fight from a distance to avoid taking excessive amounts of damage. Once you’ve defeated the boss, head through the wall where the boss came from, then work your way through the Bell Tower until you drop down into the Bell Tower Ruins. Smash the wall on the right to find the Fang of the Fourth Memento and a Gear Chest, then clear out the blight/enemies.
Find a Way Through The Library
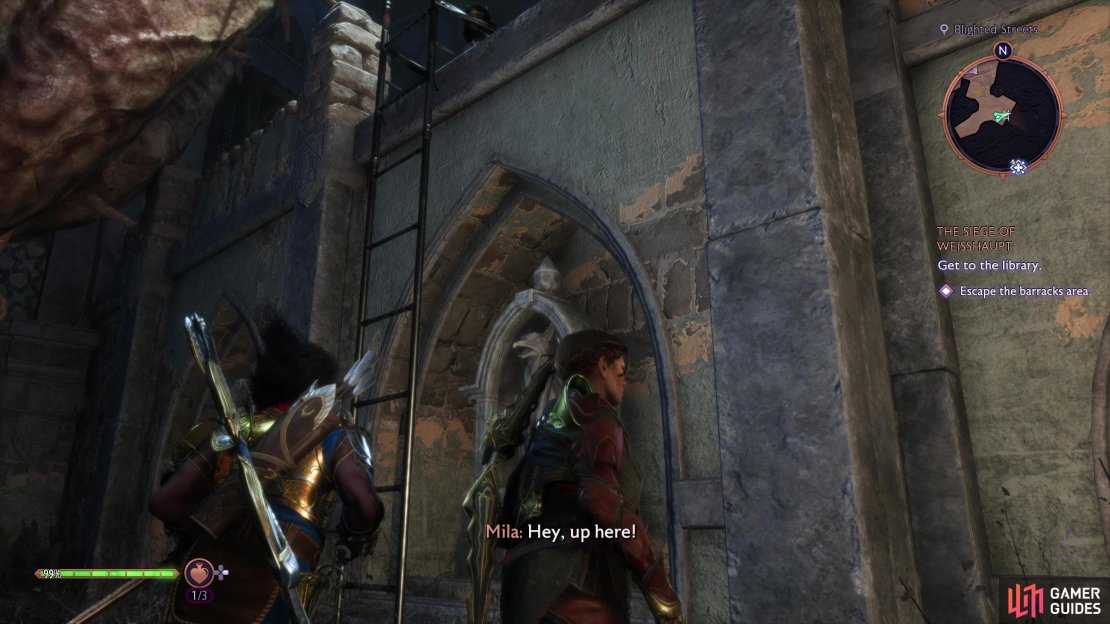
Open the door and take out the large group of enemies by using AoE Attacks, then head to the end of the path and wait for Mila to drop a ladder down. Climb up and follow her to the front of the library and clear out the enemies to be let inside. Take the elevator up to the West Wing and shoot the cluster of boils to free the path to the next room, then shoot the boils that are scattered around this room to reveal a Gear Chest in the center and proceed into the next room.
(1 of 3) Wait for Mila to drop the ladder down
Again, shoot all of the boils and collect the Fang of the First Memento and open another Gear Chest, then head out to the Trap Battlement Dais. Here you’ll be greeted by another group of enemies, but you can ignore them and rush straight to the next area by shooting the boils. However, if you’re near a level up, then we recommend killing them for the extra XP.
Defeat Archdemon Razikale
Archdemon Razikale is the main opponent of the Siege of Weisshaupt, but overall it isn’t a difficult battle. You’ll want to start off the fight by removing its shield which can be done via any of the ranged attacks (Rogue: Bow, Mage: Staff and Warrior: Shield Throw), then move out of the AoE Marker and wait for it to launch towards you. Use this opportunity to get a few hits in. If you took Davrin, then use his fire-based skills to allow you to deal damage while the boss is in the air. Eventually it’ll become staggered and you’ll start to deal a lot more damage.
Once you’ve dealt with the Archdemon Razikale another two will appear, so focus your attention one at a time and focus on hitting its weak spot which is located below/above its head. It doesn’t have any additional attacks, but this time around you’ll need to worry about ads, so destroy the boils first to prevent them from spawning and then focus on taking them down before returning to Razikale. Unfortunately, once you’ve done about 50% damage to both of them Ghilan’nain will take them back and then summon three at once!
(1 of 3) Focus on hitting the bosses weak points
You’ll notice that all of them share the same health bar, so you’ll want to prioritize attacking the one with the exposed weak point to deal maximum damage. When they dive towards you (which will happen a lot) stand in-between them to avoid getting hit. There’s also a couple more attacks to worry about this time. It’ll launch down blight boils which will explode, so keep your distance and they will spray poison from one side of the battlefield to the other, but you can roll through this to avoid taking damage.
Siege of Weisshaupt Rewards
Once Ghilan’nain and the Archdemon Razikale have been dealt with, a fairly lengthy cutscene will playout and you’ll be rewarded 4,500 EXP, ![]() Bloodletter’s Twinblade, +700 Gold, +2 Dragonfire Catalyst, +250 Grey Wardens Strength and Companion Bond Increase for your efforts.
Bloodletter’s Twinblade, +700 Gold, +2 Dragonfire Catalyst, +250 Grey Wardens Strength and Companion Bond Increase for your efforts.
More Dragon Age: The Veilguard Guides
Veilguard has so much to offer so if you’re feeling lost, or just want to find out more about new features, tips, and tricks on the combat system, then be sure to check out the links below!.









No Comments