You’ll gain access to the Rivain Coast when you’re off to search for a Dragon Slayer in the main quest. Rivain, however, is unique compared to the rest of the regions in the game as you’ll only be able to explore a small part of the region until near the end of Act 2, where completing Taash’s companion quests will open up the other half of the region. As such, this will most likely be where you obtain the Across the Imperial Highway Achievement/Trophy for visiting all of the areas in Dragon Age: The Veilguard. Still, a new region brings the opportunity for more hidden chests, quests, and mystical altars and this page will help you find every chest and solve the puzzles required.
Table of Contents
If you want to jump to a specific section, click on the links below.
| Quickjump |
|---|
| Regular Chests |
| Unique Chests |
Regular Chests
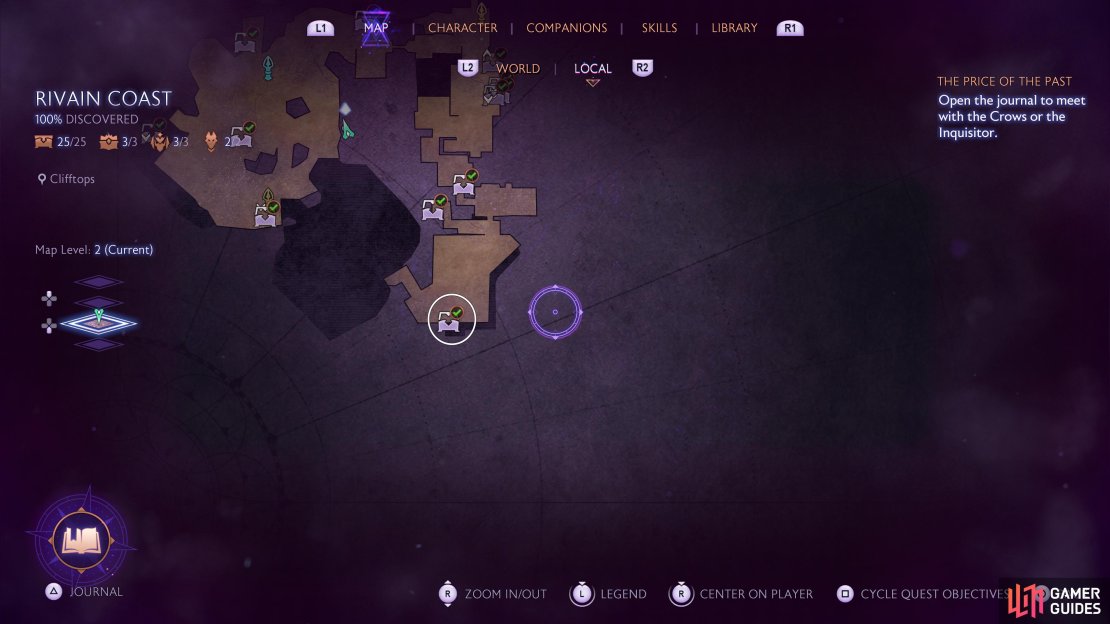
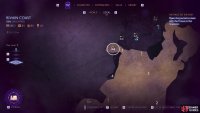
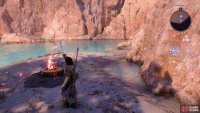
There are a total of 25 regular chests to find in Rivain, the most out of any region in Dragon Age: The Veilguard, and you’ll have to visit multiple times throughout the adventure to gain access to all of them. Below, you can find the location of each chest.
Regular Chest 1 - Winding Shoreline
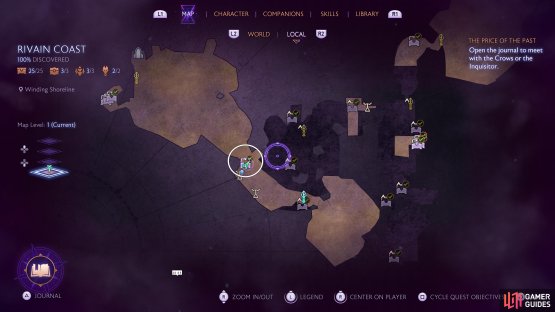
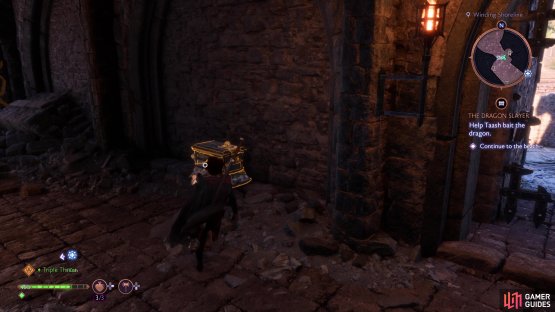
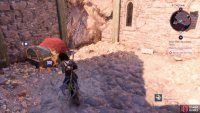
(1 of 2) The first chest in Rivain can be found in the Winding Shoreline.
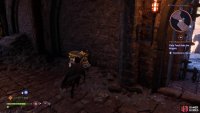
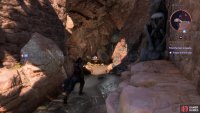
The first chest in Rivain can be found in the Winding Shoreline. (left), As you head through this cave, look against the wall to spot the chest. (right)
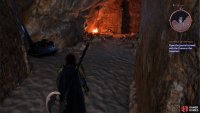
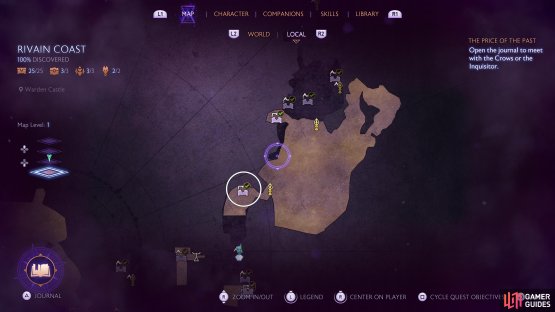
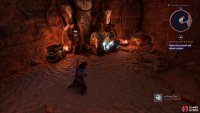
A simple chest to find, as you proceed through the Dragon Slayer main quest, you’ll head into some caves after a bout with the Antaam. As you head inside, look to your right to spot the chest, it’s hard to miss.
Regular Chest 2 - Clifftops Statue Puzzle
(1 of 4) The next available chest can be found in the Clifftops area.
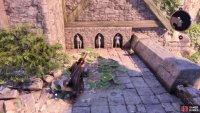
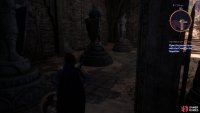
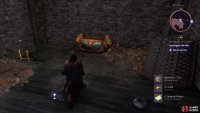
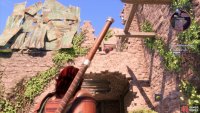
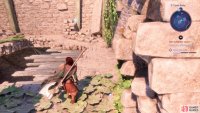
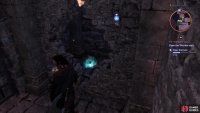
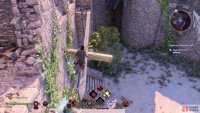
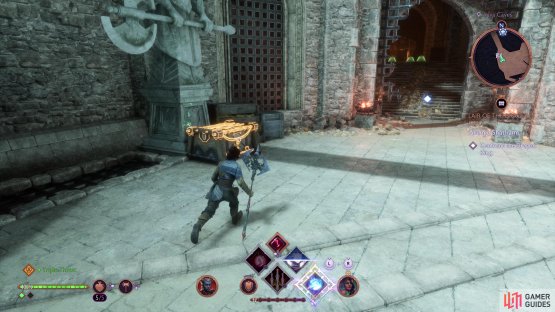
During the same main quest, you’ll start making your way to the Grey Warden fort, and just before you reach the gates of it, you’ll spot a chest behind a locked gate. Before going down the nearby ladder, look to the right of the gate to spot three statues (or check out our screenshots above) to see three statues facing specific directions. Go down the ladder now and follow it to the end to spot three larger statues you can rotate, do this in the following directions when facing them:
- Left Statue: Right
- Middle Statue: Left
- Right Statue: Facing the wall
This will drop a ladder that will allow you to climb up the other side of the locked gate and claim the chest.
Regular Chest 3 - Warden Castle
(1 of 2) The next Rivain chest can be found in the Warden’s Castle area.
The next Rivain chest can be found in the Warden’s Castle area. (left), Follow the corridors south and you’ll walk right by this chest. (right)
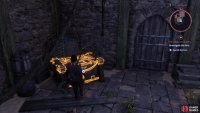
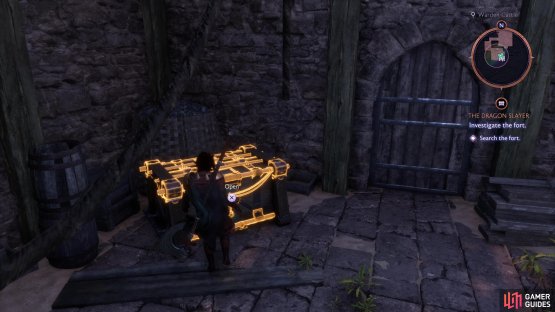
Another regular chest that’s hard to miss and that you’ll most likely get during the Dragon Slayer main quest. As you head through the Warden Castle, there’s only one way you can go and just before you head out into the open area to the south of the castle, you’ll spot walk right by this chest.
Regular Chest 4 - Clifftops
(1 of 2) Head to here in the Clifftops to find some ledges.
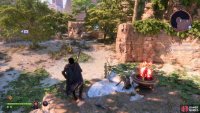
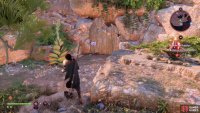
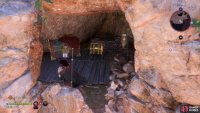
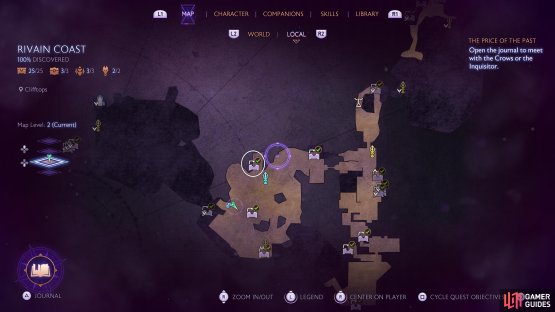
Head to here in the Clifftops to find some ledges. (left), Climb up them to find a chest on the way to an altar at the top. (right)
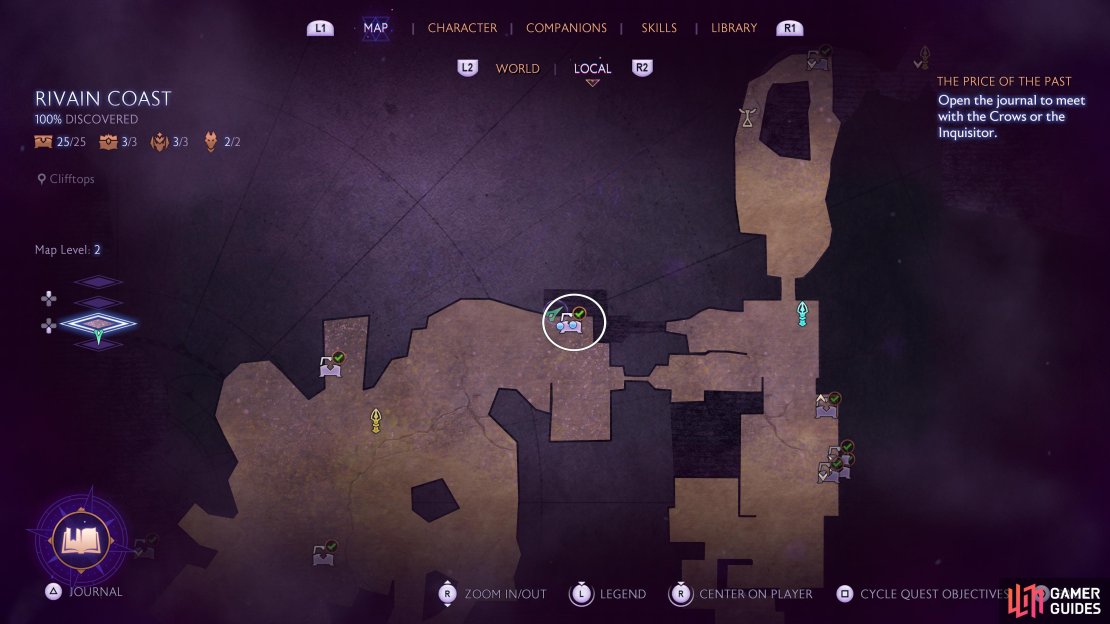
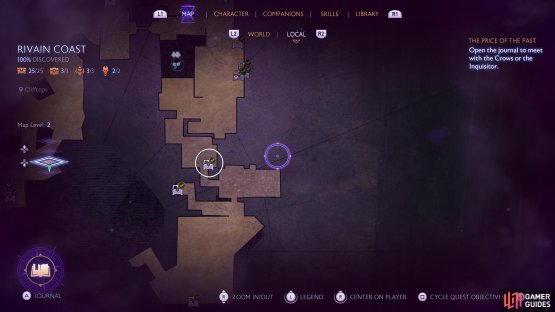
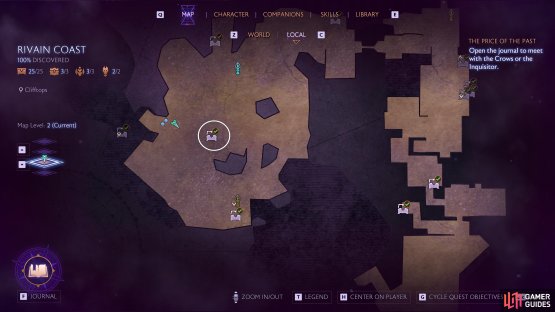
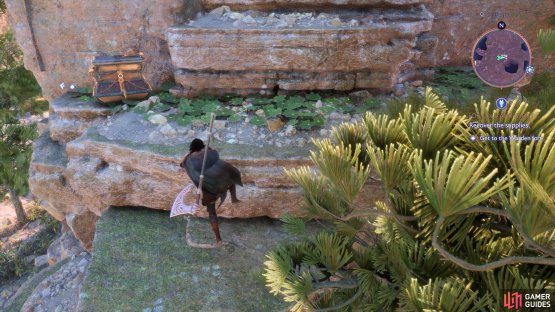
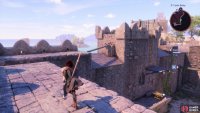
The first of three particular chests in this part of the Clifftops area. From the Beacon, head toward the west side of this area (close to a ladder leading down) to find some ledges you can climb. Do so, and then leap across to the next platform where you can find a chest to loot.
Regular Chest 5 - Clifftops Brazier Puzzle
(1 of 5) You’ll need to solve a Brazier puzzle to open this door, the numbers on this map shows you the order to light them in.
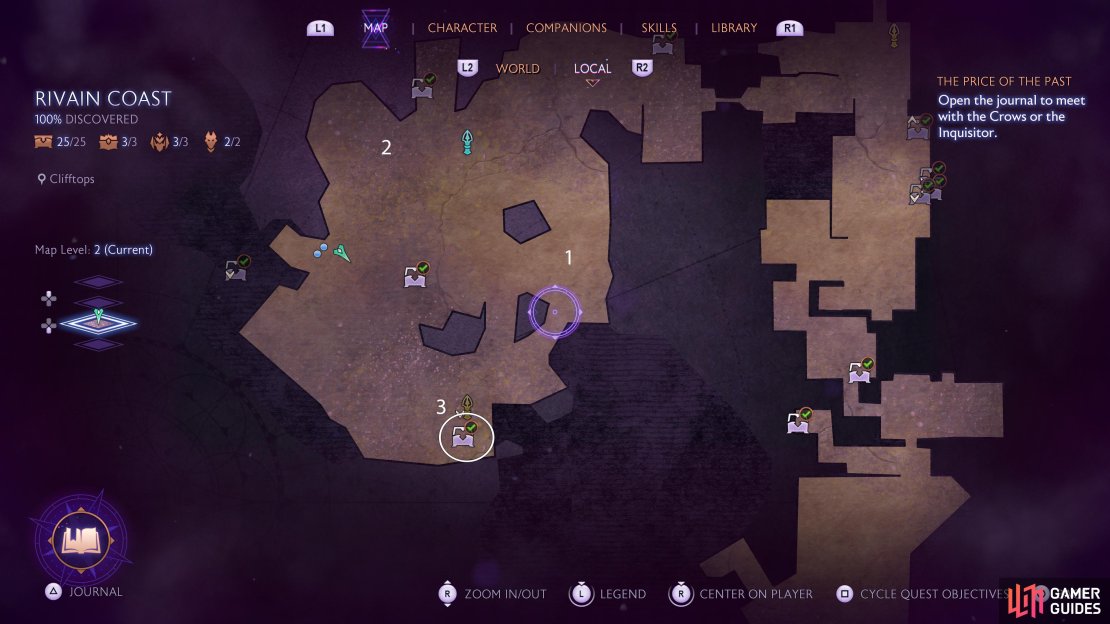
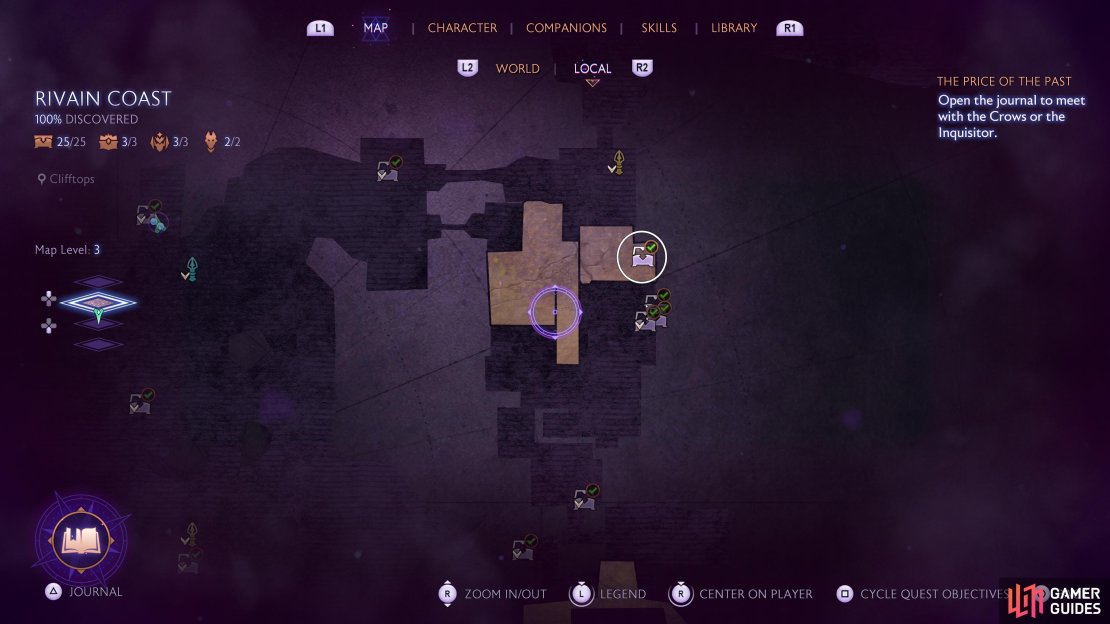
Remaining in the same area, you’ll spot some Braziers scattered around the area, with a locked door in the southeast. The goal, then, is to light the Braziers in the correct order withing the time limit to get that door open. The first Brazier can be found by going north from the door and climbing some ledges to your right. The second Brazier is found just to the west of the Beacon, on a ledge. The final Brazier is sitting just in front of the door, once all are lit, the door will open, revealing the chest.
Regular Chest 6 - Clifftops
(1 of 2) A third chest can be found in the Clifftops.
A third chest can be found in the Clifftops. (left), Use Lucanis’ ability on the ledges west of the Beacon to reach it. (right)
The final chest to get in this part of the Clifftops is another simple one, go west from the Beacon and climb the ledges leading up the cliff. Eventually, you’ll spot a Fade tear where you can use Lucanis’ ability to create a platform across, leading to a chest.
Regular Chest 7 - Warden Castle Torch Puzzle
(1 of 5) You’ll need to find the first Warden Lock for this chest in the Warden Castle.
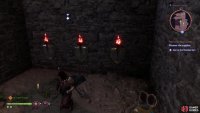
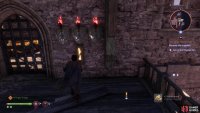
The first of several chests to be found in the Warden Castle, and nearly all of them related to the Warden’s Vault quest. This first one in particular can be found when looking for the first Warden Lock. Use Taash’s ability on the Gaatlock Barrel near the entrance to reach a new part of the castle, then activate the torches and head upstairs to unlock the gate where the chest is.
Regular Chest 8 - Warden Castle Wisp Puzzle
(1 of 4) The next Warden Castle chest can be found with the third Warden Lock.
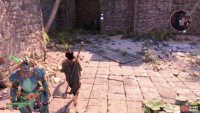
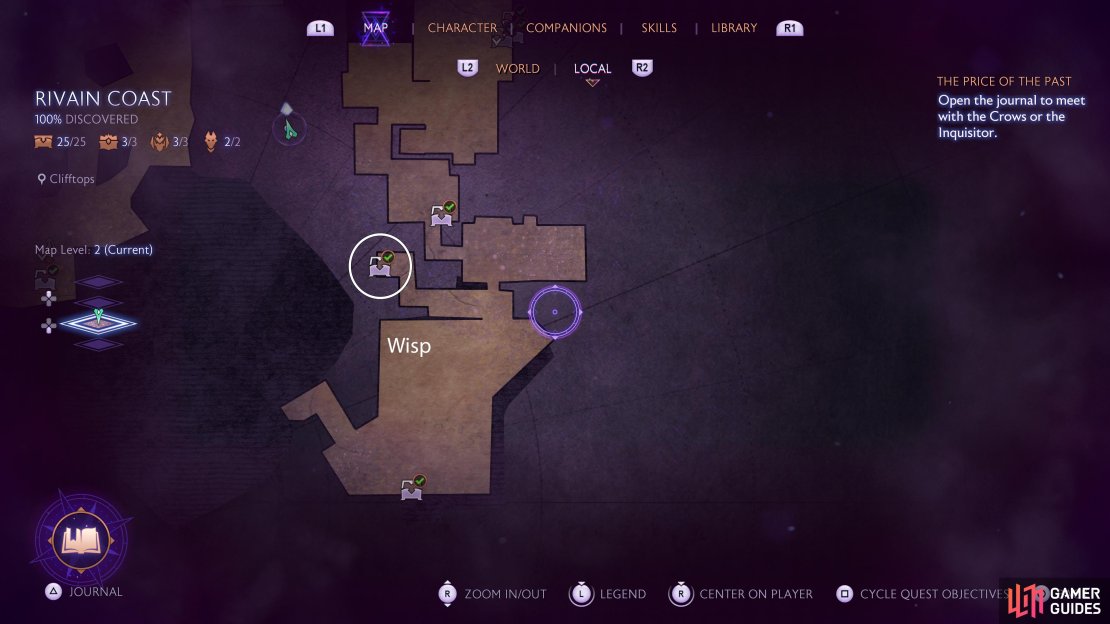
The next chest in the Warden Castle can be found by pursing the third Warden Lock during the Warden Vault quest. This means you’ll have to solve the Wisp puzzle which begins by heading to the Castle Bailey (to the south), looking up to your right to spot a Gaatlock Barrel that drops a ladder. Climb up this ladder to grab the Wisp and then drop back down, go into the Castle and immediately go left, taking the Wisp to the end of the corridor. This will activate a device and allow you to get into the room where the chest is.
Regular Chest 9 - Castle Bailey
(1 of 3) Head to the Castle Bailey for the next chest.
You’ll find this chest in the Castle Bailey, and it follows a similar process as the last chest. After you’ve knocked the ladder down that leads to the Wisp, climb it and follow the walkway all the way around to the south side of the Bailey, where you’ll find a ladder that leads down to the chest.
Regular Chests 10 and 11 - Warden Castle
(1 of 2) You will find the next two chests as a reward for the Warden Vault Quest.
You will find the next two chests as a reward for the Warden Vault Quest. (left), Burn away the Drakestone with Taash and enter the vault once the locks have been released to find your loot. (right)
These next two chests (and a Unique chest) are your reward for completing the Warden Vault quest. Once you’ve released all three Locks, go back to the main hall and down the stairs to spot some Drakestone you can melt with Taash. This will lead to the Vault itself where you can now open it to find two chests and a Unique Chest!
Regular Chest 12 - Ravine Descent
(1 of 2) You will need to wait until you reach Lair of the Dragon King to open this side of Rivain for exploration.
You will need to wait until you reach Lair of the Dragon King to open this side of Rivain for exploration. (left), Head to the bottom of the ravine to find this chest out in the open. (right)
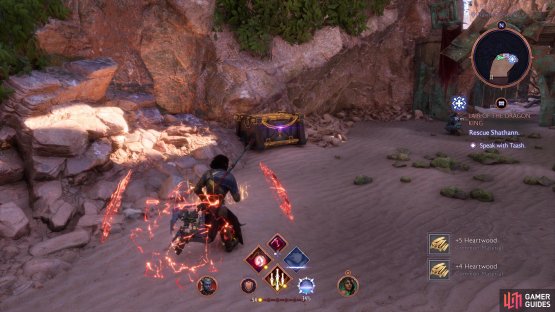
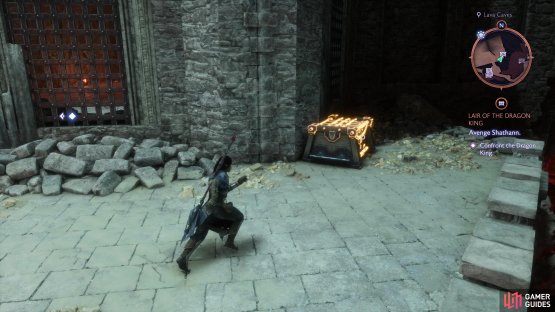
A simple chest that you’ll most likely find while on the ![]() Lair of the Dragon King quest that opens this area for exploration. As you make your way to the bottom, you’ll run into a group of Antaam, defeat them and then enter the chest to the side before you reach the next Beacon.
Lair of the Dragon King quest that opens this area for exploration. As you make your way to the bottom, you’ll run into a group of Antaam, defeat them and then enter the chest to the side before you reach the next Beacon.
Regular Chest 13 - Cliff Climb
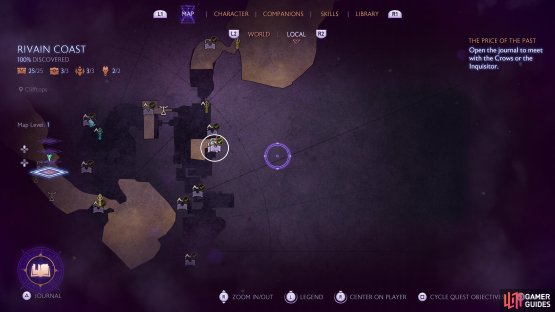
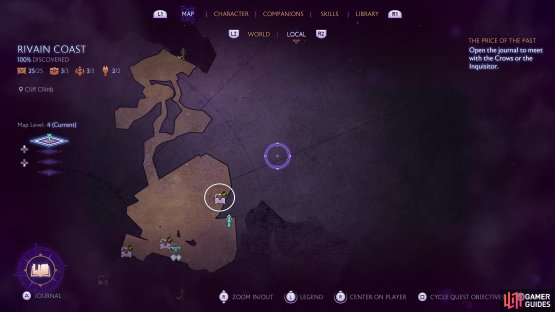
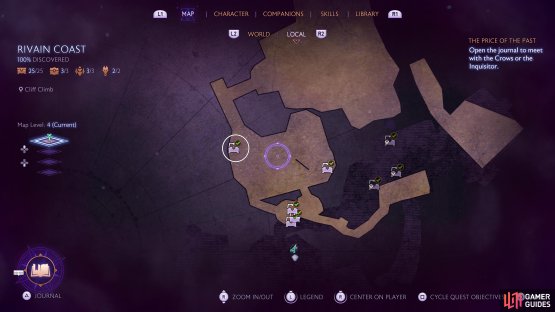
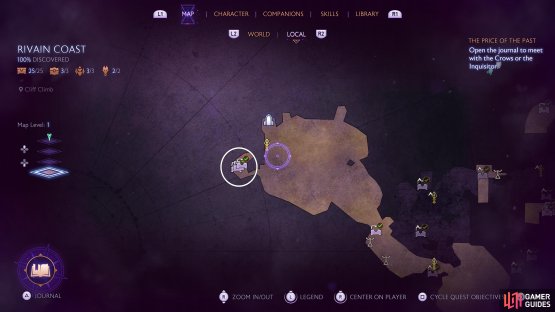
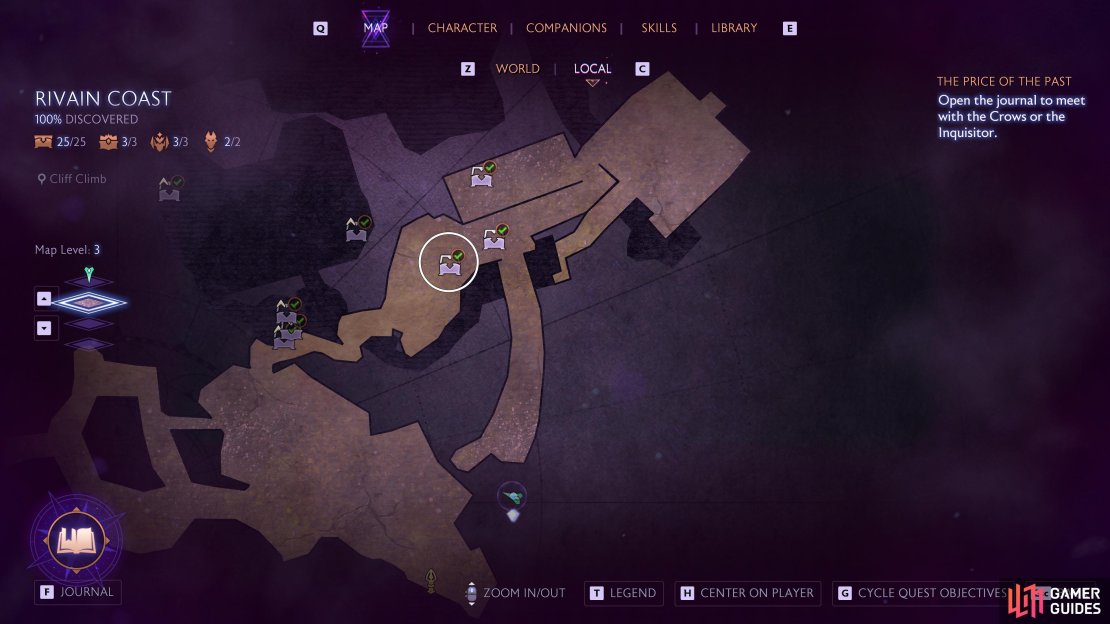
(1 of 3) Start at the Cliff Climb Beacon seen on this map and go downstairs.
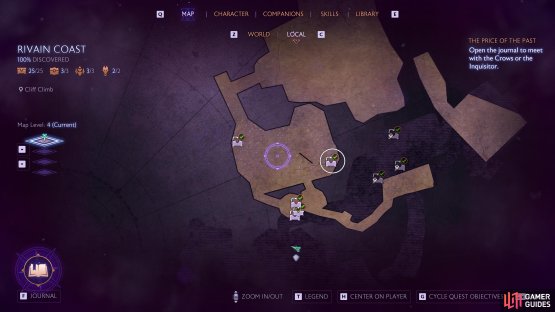
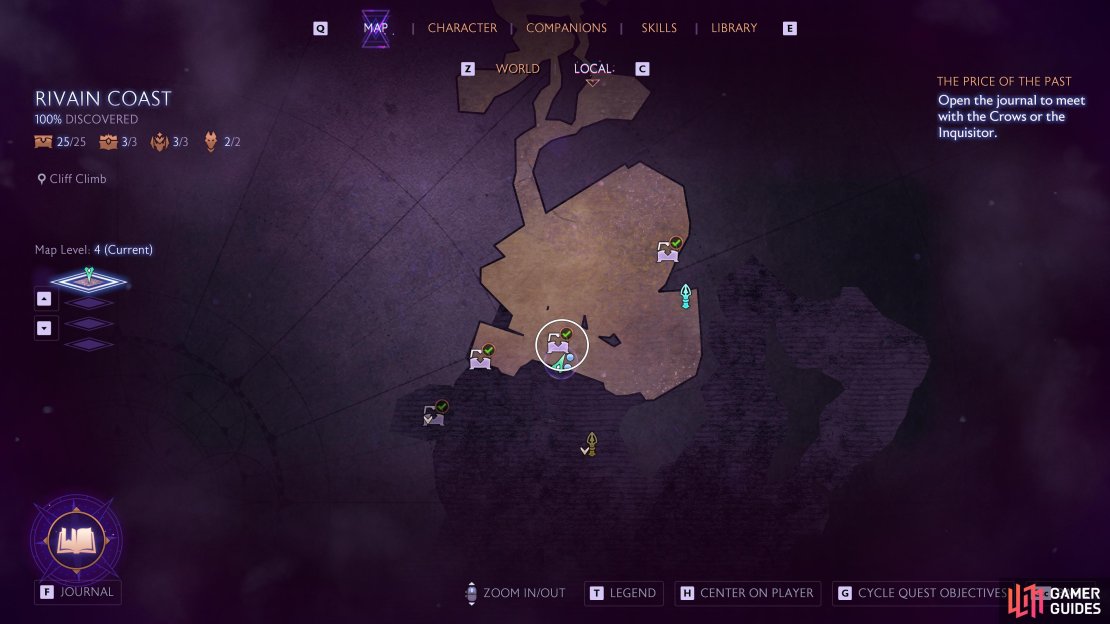
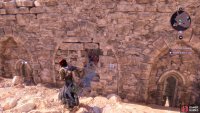
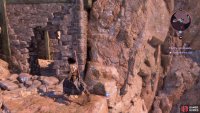
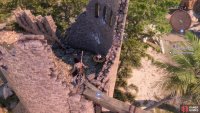
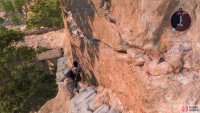
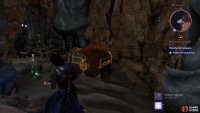
From the Cliff Climb Beacon, head back down the stairs behind you and go across the wooden beams to reach the hole in the wall, you’ll find the chest inside. You can also reach this chest from below and take the wooden beams that go up to reach the same hole.
Regular Chest 14 - Cliff Climb
(1 of 2) This is an easy to find chest near the Cliff Climb Beacon.
This is an easy to find chest near the Cliff Climb Beacon. (left), Simply search along the eastern wall to find it. (right)
Another simple chest you’ll most likely find during Lair of the Dragon King. From the Cliff Climb Beacon, take out any nearby enemies and then look along the eastern wall before you start climbing the ledges to spot a chest out in the open.
Regular Chest 15 - Lava Caves
(1 of 2) Make your way to the Lava Caves for this chest.
Make your way to the Lava Caves for this chest. (left), You’ll find it out in the open after defeating Cutter in Lair of the Dragon King. (right)
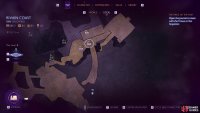
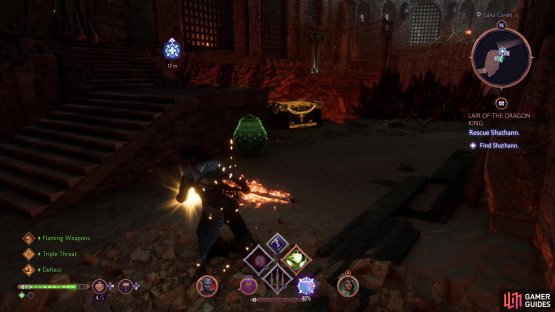
Yet another chest you won’t be able to miss during the Lair of the Dragon King quest. As you proceed through the area, you’ll reach the Lava Caves and be attacked by Cutter. Once you defeat him, keep heading toward the objective to find this chest out in the open.
Regular Chest 16 - Lava Caves
(1 of 2) This is another chest found in the Lava Caves.
This is another chest found in the Lava Caves. (left), From the previous chest, go up the stairs to the left of them to find this chest. (right)
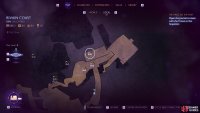
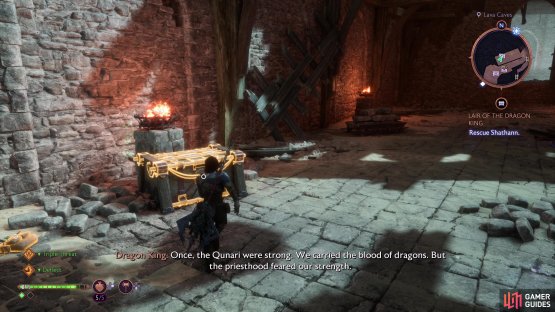
Almost directly next to the previous chest, climb the stairs next to the chest you just opened and you’ll almost immediately stumble into the chest, you’ll most likely get this during Lair of the Dragon King.
Regular Chest 17 - Lava Caves
(1 of 2) The next chest can also be found in the Lava Caves.
The next chest can also be found in the Lava Caves. (left), Check around to the right of the wall instead of going forward to find the chest. (right)
Even more chests you’ll find in the Lava Caves, and like the previous one, a simple one you’ll most likely plunder during Lair of the Dragon King. As you reach the top of the Lava Caves, instead of going through the door in front of you, look around the corner to the right to spot the chest.
Regular Chest 18 - Lava Caves
(1 of 2) Make your way to the top of the Lava Caves for the next chest.
Make your way to the top of the Lava Caves for the next chest. (left), This is found just before you exit to the north where the dragon awaits. (right)
The final chest that is directly on your path during the Lair of the Dragon King quest, as you go into the building from the last chest, you’ll need to take out a group of Antaam. Once they’re defeated, go toward the northern exit to spot this chest on your left.
Regular Chest 19 - Cliff Climb Gaatlock Barrel Puzzle
(1 of 4) Head to the Cliff Climb Beacon for the next chest.
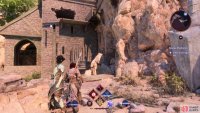
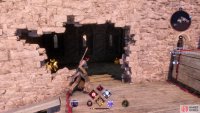
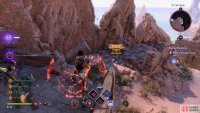
Return to Rivain after completing Lair of the Dragon King to resume your search for the remaining Chests. Starting at the Cliff Climb Beacon and west to the remains of a house. There is a gap you can look through where you can use Taash’s Dragonfire to blow a Gaatlock Barrel. This will open a hole in the wall from the other side so go back around and through the new opening to reach this chest.
Regular Chest 20 - Tide Flats Brazier Puzzle
This is one of the more difficult chests to obtain in the Rivain Coast, as you’ll have to find four Braziers that are fairly tricky to find. Starting at the Tide Flats Beacon, you’ll find the locked door directly to the west and once again, you must light some Braziers to open the door. There are four of them to find around the Tide Flats, and you’ll find them in the following locations:
- First Brazier: Just outside the door where the chest is
- Second Brazier: Head to the southeast of the shore and have Assan dig the sandpile
- Third Brazier: Find the large bones on the beach and raise a stone platform so you can use them to reach the tower where another Brazier hides
- Fourth Brazier: Climb the two ladders to the left of where the locked door is, then go around the edge of the cliff to the left to find the Brazier
After all four are lit at the same time, return to the door to find it now unlocked and the chest yours to claim.
Regular Chest 21 and 22 - Winding Shoreline
(1 of 2) You’ll find two chests and an unique chest behind the wall in the Winding Shoreline.
You’ll find two chests and an unique chest behind the wall in the Winding Shoreline. (left), You must complete the Dead Men Tell Some Tales quest to unseal it. (right)
You must accept the Dead Men Tell Some Tales side quest in The Lighthouse, once you’ve completed Lair of the Dragon King, to get to this room with these chests. You’ll start the quest up at Cliff Climb and it will lead you to spots where demons can be found, one you dispatch the final group near the southwest of the Winding Shoreline, a rock will slide down, granting you access. For more information on this side quest, check out our ![]() Dead Men Tell Some Tales guide.
Dead Men Tell Some Tales guide.
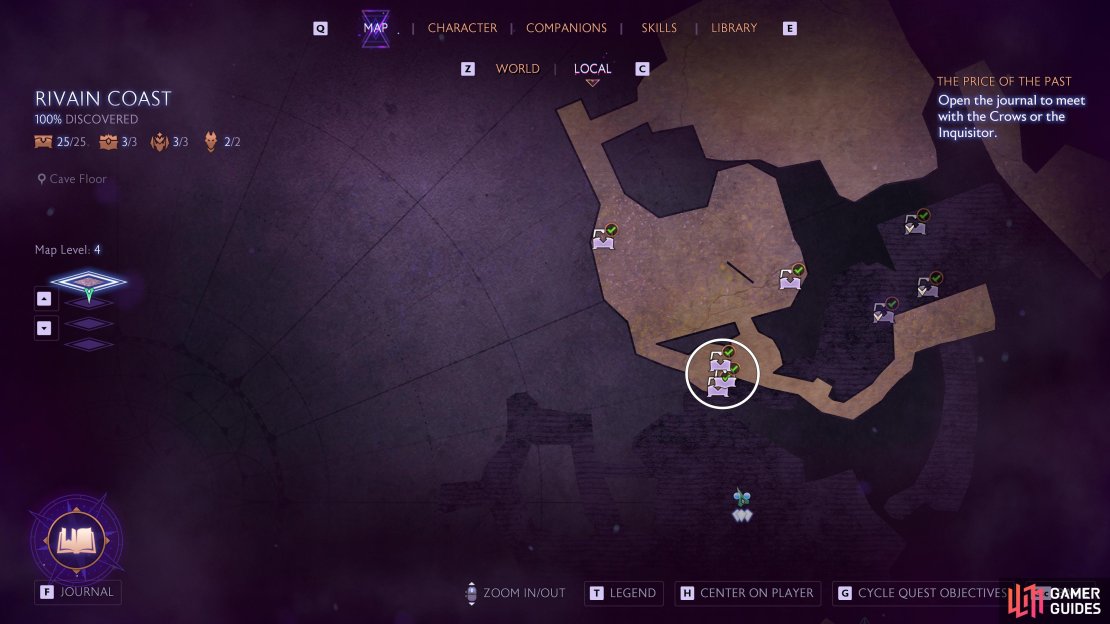
Regular Chest 23 - Lava Caves
(1 of 3) Return to the area of the Lava Caves near chest #15.
Starting at the Cave Floor Beacon in the Lava Caves, head up to the northwest to find a path back up and then follow it to the east until just before you reach the area where you fought Cutter during the Lair of the Dragon King quest (and where chest #15 is). You’ll spot a ladder leading up, and a Veil Vulnerability where you can use Lucanis’ ability to create a platform across. Do so and go across the wooden beams after to reach the chest below.
Regular Chests 24 and 25 - Lava Caves: Treasure of Sharksmouth Mountain Statue Puzzle
(1 of 3) You will find the statue puzzle for these final chests at the top of the Lava Caves.
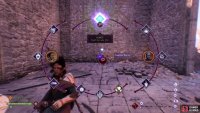
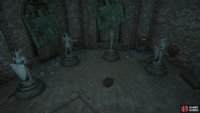
The final regular chests, along with the final unique chest, can be found by completing the ![]() Treasure of Sharksmouth Mountain side quest, which involves finding clues (which is optional) throughout the Lava Caves that will tell you how to rotate the statues to open the locked door. To find the statue room, head to the very top of the Lava Caves to just before where you fought the dragon, the same area where you found Chest #18. You’re supposed to uncover clues throughout the Lava Caves, but if you just want to know the answer, check out below (read the plaque behind the statue to see the name of it):
Treasure of Sharksmouth Mountain side quest, which involves finding clues (which is optional) throughout the Lava Caves that will tell you how to rotate the statues to open the locked door. To find the statue room, head to the very top of the Lava Caves to just before where you fought the dragon, the same area where you found Chest #18. You’re supposed to uncover clues throughout the Lava Caves, but if you just want to know the answer, check out below (read the plaque behind the statue to see the name of it):
- Dheon: North
- Ifean: South
- Cruach: West
- Rian: East
If you rotated them successfully (check the screenshots above for more help), they’ll lock into the place, leave the building the same way you came in and you’ll find some stairs leading down in the corner, take them to reach the treasure room with two regular chests and a unique chest. If you’re looking for more assistance on how to complete this quest, check out our Treasure of Sharksmouth Mountain guide.
Unique Chests
Outside of the 25 Regular Chests in Rivain, there are also three Unique Chests to discover. These chests will have the same loot for all Classes and are often specialized. All three of these chests are found via completing specific quests, with the last two requiring you to wait until the second half of the area unlocks late in the adventure.
Unique Chest 1 - Warden Castle
(1 of 2) You will find the first Unique chest as a reward for the Warden Vault Quest.
You will find the first Unique chest as a reward for the Warden Vault Quest. (left), Burn away the Drakestone with Taash and enter the vault once the locks have been released to find your loot. (right)
The first Unique chest you can get during the first time exploration unlocks, you’ll need to complete the Warden Vault quest. Once you’ve released all three Locks, go back to the main hall and melt the Drakestone. This leads to the Vault where you can now open it to find two chests and a Unique Chest!
Unique Chest 2 - Winding Shoreline
(1 of 2) You’ll find two chests and an unique chest behind the wall in the Winding Shoreline.
You’ll find two chests and an unique chest behind the wall in the Winding Shoreline. (left), You must complete the Dead Men Tell Some Tales quest to unseal it. (right)
You must first complete Taash’s Lair of the Dragon King quest so you can then accept the Dead Men Tell Some Tales side quest in The Lighthouse. You’ll start the quest up at Cliff Climb and it will lead you to spots where demons can be found, one you dispatch the final group near the southwest of the Winding Shoreline, a rock will slide down, granting you access. For more information on this side quest, check out our Dead Men Tell Some Tales guide.
Unique Chest 3 - Lava Caves: Treasure of Sharksmouth Mountain Statue Puzzle
(1 of 3) You will find the statue puzzle for these final chests at the top of the Lava Caves.
The final unique chest can be found alongside the final two regular chests, and they can be located by completing the Treasure of Sharksmouth Mountain side quest. To find the statue room, head to the very top of the Lava Caves to just before where you fought the dragon, the same area where you found Chest #18. If you just want to know the answer for the statue puzzle, check out below (read the plaque behind the statue to see the name of it):
- Dheon: North
- Ifean: South
- Cruach: West
- Rian: East
If you rotated them successfully (check the screenshots above for more help), they’ll lock into the place. Leave the building the same way you came in and you’ll find some stairs leading down in the corner, take them to reach the treasure room with two regular chests and a unique chest.
There you have it; you now know where to find all of the hidden Regular and Unique Chests in Rivain. If you’ve been diligent in your adventures, these may well be the final chests you need to find outside of the game’s final Act, congratulations!
























No Comments