It’s convenient that your allies generally get along, otherwise you’d have to make some hard choices about who to support, perhaps use some diplomacy to keep everybody happy… unfortunately your allies are fairly incompetent without Rook’s direct supervision, and even gestures of goodwill between them only bear fruit after you intervene to resolve whatever difficulties said allies may be facing. Case in point, when the Lords of Fortune attempt to send supplies to the Antivan Crows, only to have their resources intercepted by the Antaam. This page will cover the side quest ![]() For Gold and Glory in Dragon Age: The Veilguard.
For Gold and Glory in Dragon Age: The Veilguard.
Page Breakdown
| Quick Search |
|---|
| Starting For Gold and Glory |
| Locate the Crow Agents |
| Find the Supply Cache |
| Rescue the Crows |
Starting For Gold and Glory
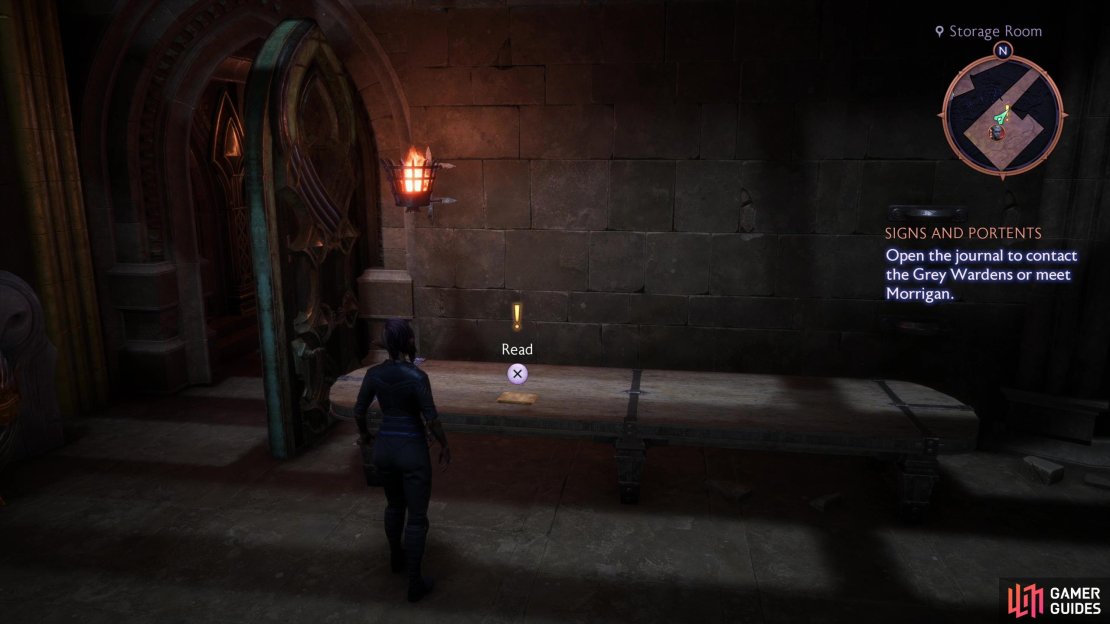
Complete the quest The Dragon Slayer to get Taash on the team, and after the obligatory post-quest chatter you’ll find yourself back at The Lighthouse. Make your way up to Taash’s room, which is upstairs to the southwest in the Library. You don’t need to talk to Taash, however - instead search a table to find the note Help for Treviso, which starts this quest.
Find the note “Help for Treviso” in Taash’s room in The Lighthouse to start this quest.
Locate the Crow Agents
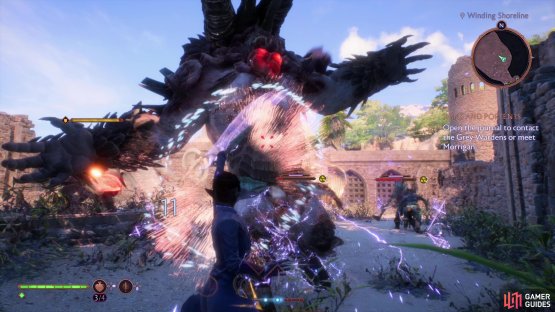
Once you have this quest, fast travel back to the Rivain Coast and from where you appear along the western edge of the Winding Shoreline area, make your way east to the ruins of the Grey Warden fort. Just like your first visit, the place is crawling with Antaam, although they’re more numerous this time, with about half a dozen enemies led by a God-Touched Valotaar. The “God-Touched” bit is code for “will turn into a Ravager at some point during the fight”, so watch out for that. You can prevent this by killing the God-Touched Valotaar before he can transform, but unless you’re insanely overpowered (or playing on a lower difficulty) you may need to use an ultimate ability or inflict well-timed debuff like freeze.
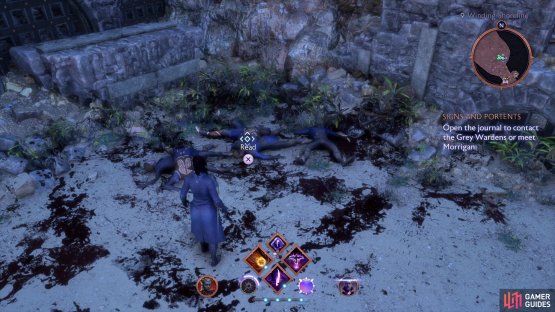
Whether you fight a Ravager or not, search the eastern end of these ruins to find the corpses of several Antivan Crows. Examine the pile of corpses to find A Blood-Stained Note to learn about the location of a supply drop spot.
(1 of 2) Defeat the Antaam in the ruins, including a God-Touched Valotaar who will turn into a Ravager when injured,
Defeat the Antaam in the ruins, including a God-Touched Valotaar who will turn into a Ravager when injured, (left), then search some mangled Antivan Crows to find “A Blood-Stained Note”. (right)
Find the Supply Cache
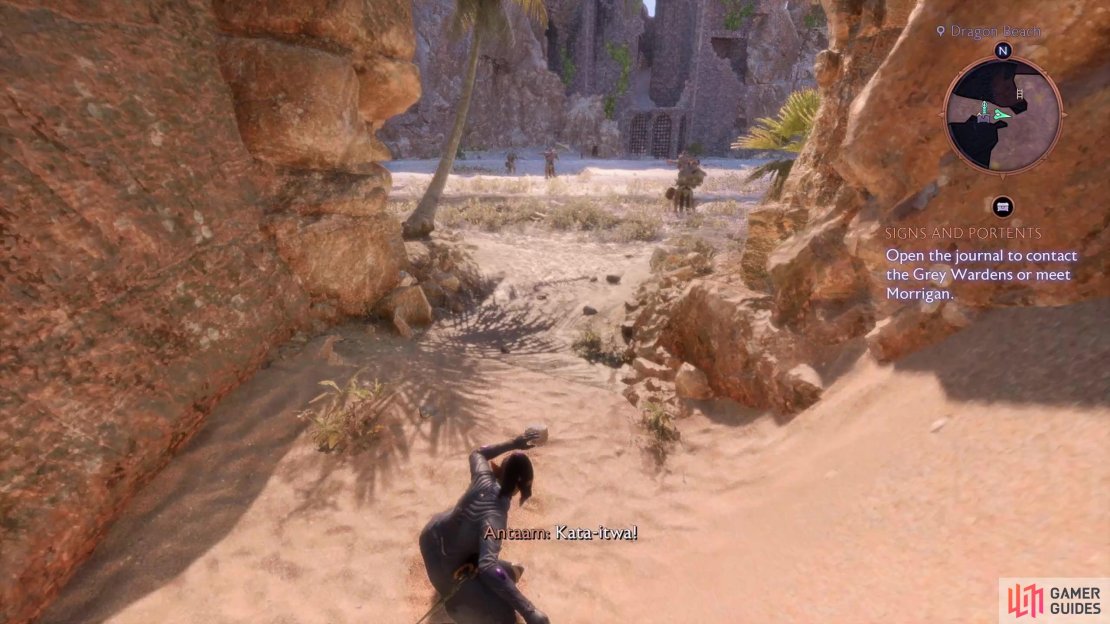
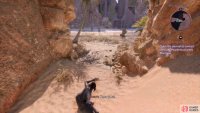
Spoiler alert - you’re basically going to have to retread your way through the entire Rivain Coast area you explored during The Dragon Slayer for this quest, although there are some skips available if you came back here to explore at some point. Assuming that’s not the case (this quest unlocks at the same time you can actually explore the Rivain Coast, after all), continue through the ruined fort to the southeast, using the zipline if you can, otherwise sidling along a ledge and sliding down a sandy slope to reach the Dragon Beach area. Or you could use the southeasternmost Winding Shoreline Beacon to save yourself some time.
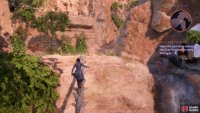
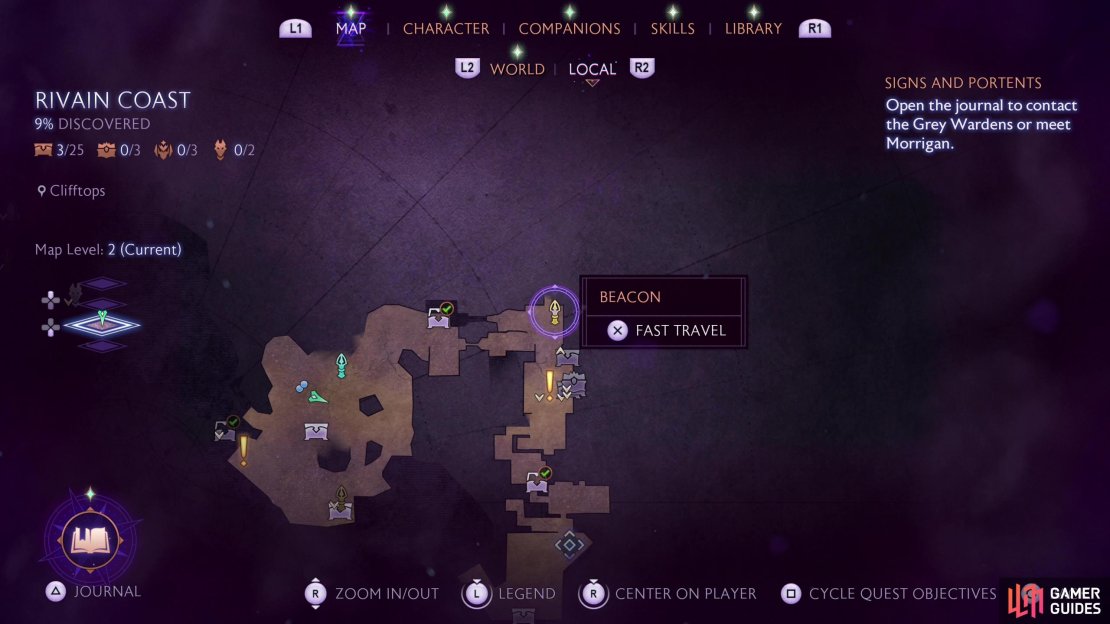
However you reach Dragon Beach, you’ll once again find it swarming with Darkstalkers, but fortunately a squad of Antaam are busy burning them away. Kill both varieties of pest… or just run north and climb a ladder to reach the cliffs, jump your way across some wooden platforms to the north, then follow the river up ledges and use a fallen tree to cross to a higher ledge. In short, follow the river upstream towards the abandoned Grey Warden fort, but once you cross the tree turn left (west) to find the Clifftops fast travel beacon. This area was inaccessible during The Dragon Slayer, but now that the aforementioned main quest is over, you can properly explore it. Once again, if you have the beacon already (however unlikely), you can fast travel here immediately after reading “A Blood-Stained Note” to save yourself some time and bother.
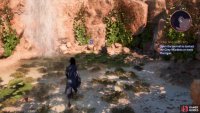
In any event, from the beacon head west off a cliff, then turn northwest to find a waterfall feeding a pond. Wade into the pond and search some rocks east of the waterfall to find some Antaam Orders to get the name “Penshanek” and the potential location of some captive Antivan Crows.
(1 of 4) Slide down a slope to reach the Dragon Beach,
Rescue the Crows
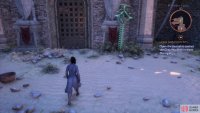
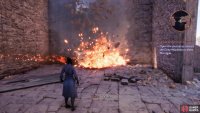
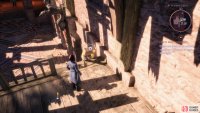
Now for a skip everyone can enjoy - fast travel to the Warden Castle Beacon to the east - you should have uncovered this during The Dragon Slayer - and note the gate into the interior is now closed. That’s fine, with Taash in your party, you have new ways of getting into places, however well fortified. From the portcullis, turn right (west) and go through a pair of doorways, then turn south to find a Gaatlok Barrel near a cracked wall. Have Taash ignite it to bring down the wall, then continue south through another doorway to find some stairs up. ![]() Ascend them, then turn let and climb some stacked lumber and from there turn north to climb up to a stone walkway. Continue north until you find a door to the right (east) which leads back into the interior of the castle.
Ascend them, then turn let and climb some stacked lumber and from there turn north to climb up to a stone walkway. Continue north until you find a door to the right (east) which leads back into the interior of the castle.
Head inside, kick a ladder down to the south so you can move between floors more easily, then pull a lever to the north to open the portcullis, allowing you to pass through the gate again. Note there are some torches and a lever near another gate on the eastern wall - if you want to get inside, check out the page The Warden Vault - Puzzle Solution, although you may want to finish this quest, first.
(1 of 4) Save yourself some time by fast traveling to the Warden Castle Beacon,
Defeat Penshanek
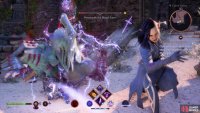
Speaking of which, take the ladder down and head north, killing another trio of Antaam before you go through a doorway to the west. Work your way south through the castle to reach the Castle Bailey area, where you’ll find Penshanek the Blood Eater and his retainers. As you may have gathered from his moniker, Penshanek isn’t a friendly sort, even by qunari standards. He fights like any standard axe-wielding Antaam, albeit with a lot more health; that being the case, you may be better off just focusing on his subordinates, who are easier to kill. Especially the gaatlok cannon-armed Antaam, who will harass you from afar until you deal with them. Once the lackeys are gone, putting Penshanek down should be a trivial matter.
(1 of 3) Defeat Penshanek’s minions to make your life easier,
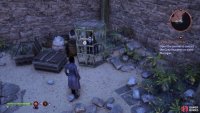
Loot Penshanek to find a piece of gear (our mage Rook got a ![]() Researcher’s Coat), then investigate the southeastern edge of the bailey to find a caged Antivan Crow, who is surprisingly still alive. Free her and after some chatter this quest will end, earning you 500 EXP, another piece of gear (our mage Rook obtained a
Researcher’s Coat), then investigate the southeastern edge of the bailey to find a caged Antivan Crow, who is surprisingly still alive. Free her and after some chatter this quest will end, earning you 500 EXP, another piece of gear (our mage Rook obtained a ![]() Thorn of Misfortune), +50 Antivan Crows Strength and +100 Lords of Fortune Strength.
Thorn of Misfortune), +50 Antivan Crows Strength and +100 Lords of Fortune Strength.






No Comments